Google Calendar is an excellent way of having a centralized calendar that you can easily organize and edit from any device anywhere. You can also invite people to an event, and display all the details pertaining to it like location, time, general notes, and much more.
In addition to that, you can also create completely separate calendars. For example, you can have two calendars, one for work and the other for personal purposes, which will allow you to compartmentalize the information. Let’s get going.
Setup a New Calendar
Setting up a new Google Calendar can be easily achieved by heading to the Google Calendar website. But at the time of writing this article, there is no way to create a new Calendar right from the Google Calendar mobile app. However, once you have added and set up the calendar from the website, it will be displayed in the app as well.
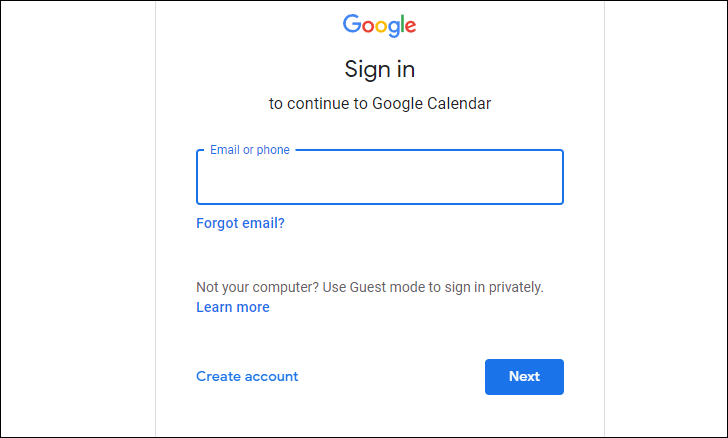
First, head to calendar.google.com using your preferred browser. Then, log in if required.
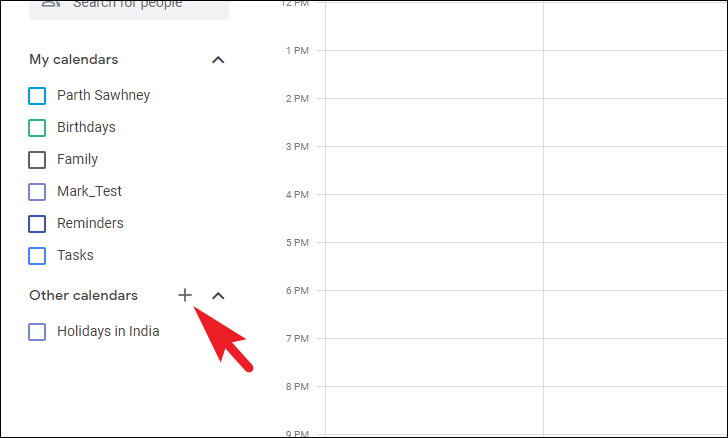
Once logged in, click on the ‘+’ icon following the ‘Other Calendars’ field.
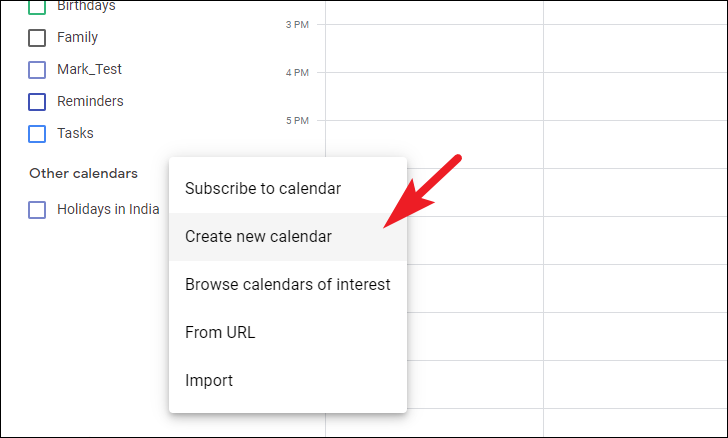
After that, click on the ‘Create new calendar’ option to proceed.
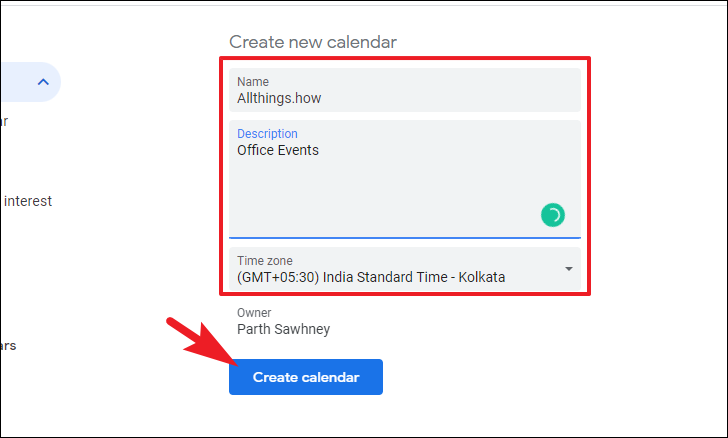
On the next screen, provide an appropriate name for the Calendar along with a description of it. Then, select a time zone for the Calendar. Finally, click on the ‘Create calendar’ button to proceed.
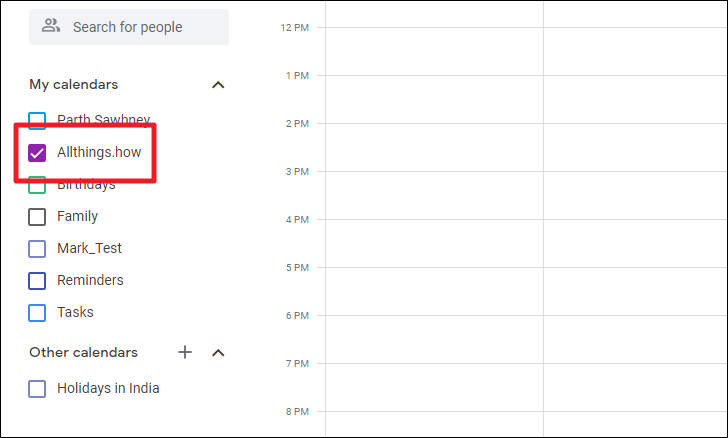
That’s it, you have successfully created a Calendar. You can find the newly created Calendar under the ‘My Calendars’ field on the left sidebar.
To add multiple calendars to your Google Account, repeat the steps for each new calendar. At the time of writing this article, there is no cap on the number of calendars an individual can create. But Google does advise that you should not create more than 60 calendars in a short period of time. This may put a limit on the account for several hours during which you won’t be able to create a calendar to prevent abuse.
In addition to that, you can also follow Google Calendars that you have been invited to.
Edit, Set Preferences, Share or Delete a Calendar
Once you have created the calendar, you might need to tweak it up a little bit according to your preference.
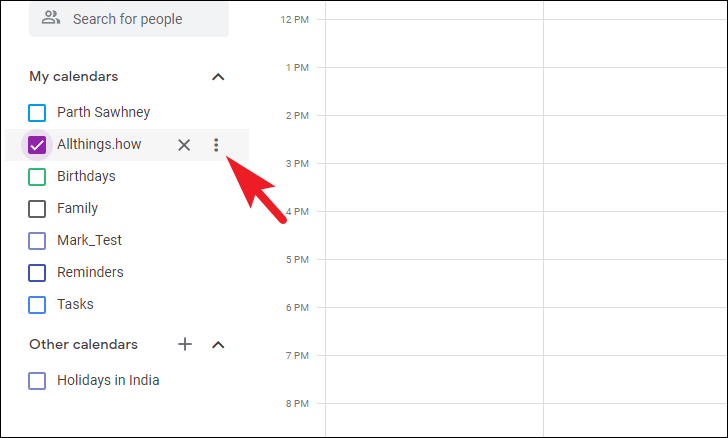
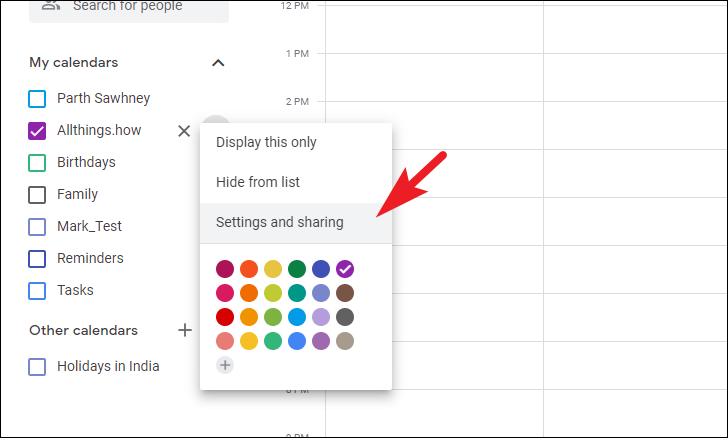
To change the calendar color, hover over the calendar listing under the ‘My Calendars’ section in the left sidebar. Next, click on the ‘kebab menu’ icon.
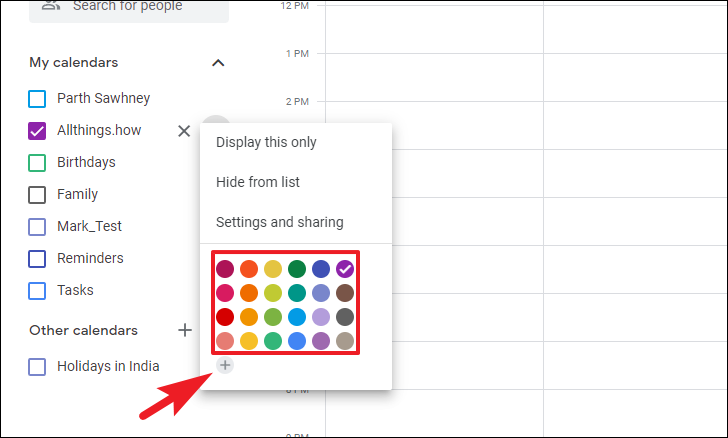
Then, choose a present color from the grid. Otherwise, click on the ‘+’ icon to add a custom color for the calendar. This will bring an overlay window to your screen where you can choose the custom color.
To edit a calendar, hover over the calendar listing under the ‘My Calendars’ section in the left sidebar. Then, click on the ‘Settings and sharing’ option to continue.
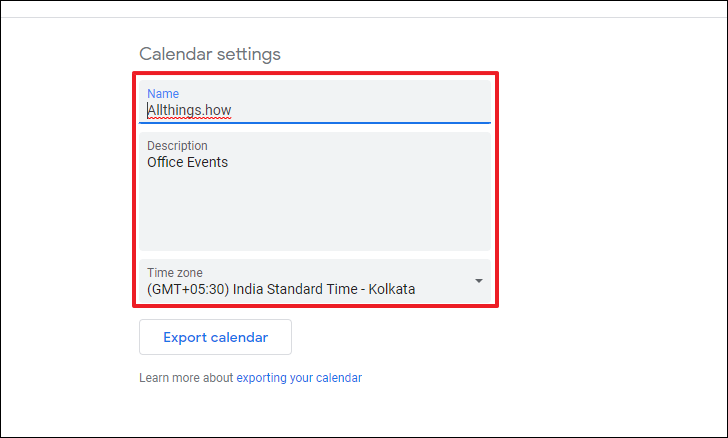
After that, if you wish to edit the basic details of the calendar such as Name, Description, and Timezone, you can do so from the respective fields on the page.
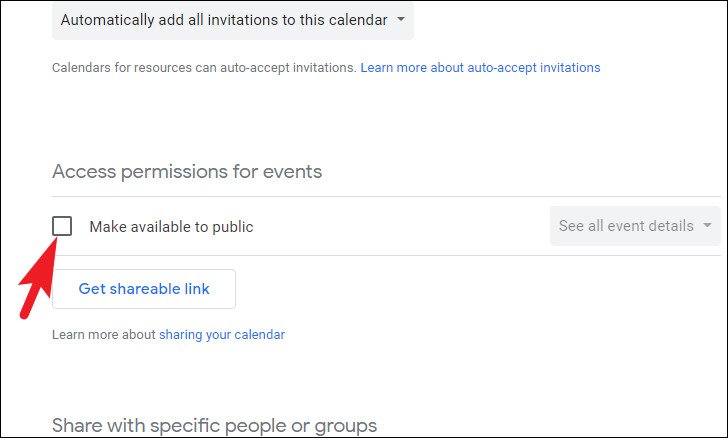
If you wish to make your calendar public, click on the checkbox preceding the ‘Make available to public’ option. An overlay window will appear on your screen, click on the ‘OK’ button to proceed. Until and unless you share your Google Calendar explicitly with others, they cannot see your calendar or the events in it.
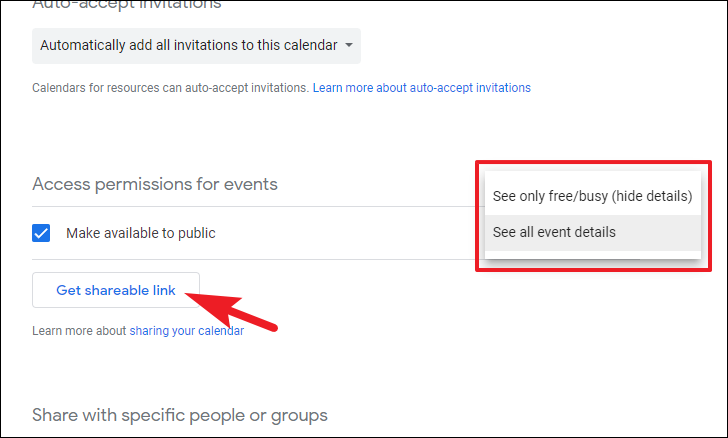
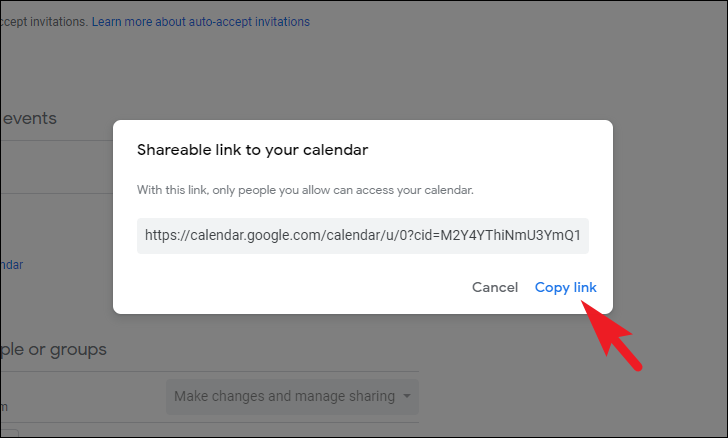
While making your calendar public, you can choose whether you want all details about the event to be visible, or only when you’re free/ busy, i.e., the event details will be hidden. Click on the dropdown menu and select the desired option from ‘See all details’ or ‘See only free/ busy’. In case you want to share the calendar via a link, click on the ‘Get a shareable link’ button. This will bring an overlay window to your screen.
Note: This will make your calendar completely public and it will also appear in Google searches and is different from sharing the calendar with only a particular set/group of people.
Next, click on the ‘Copy link’ button and then share the link using your preferred platform.
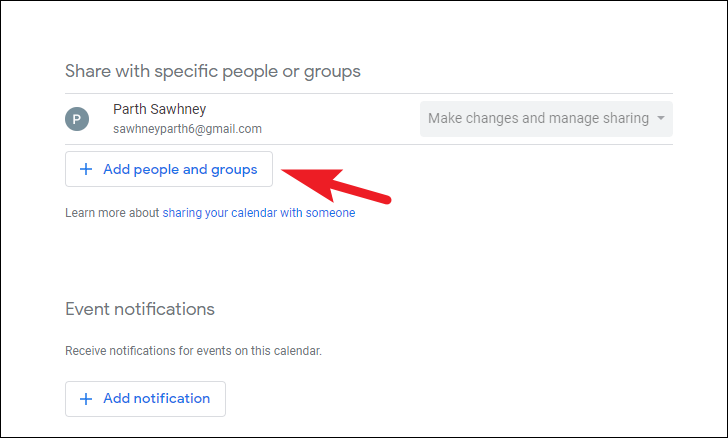
If you want to share the calendar with a group of people, click on the ‘Add people and groups’ button. This will bring an overlay window to your screen.
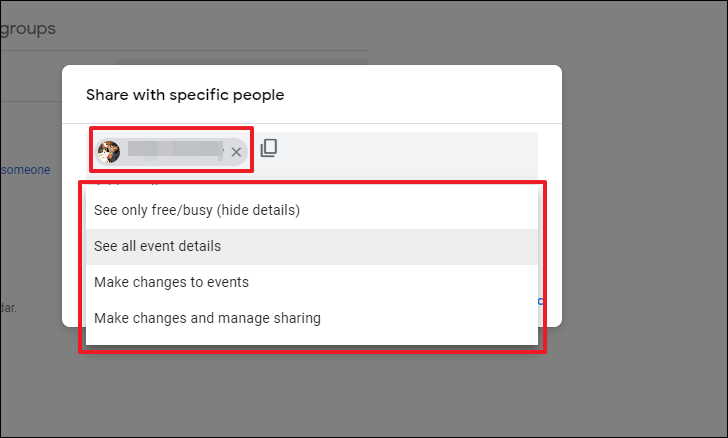
After that, enter the email address of the contacts you wish to invite. You can also set the permission level for the particular contact(s) by clicking on the drop-down menu available. Once done, click on the ‘Send’ button.
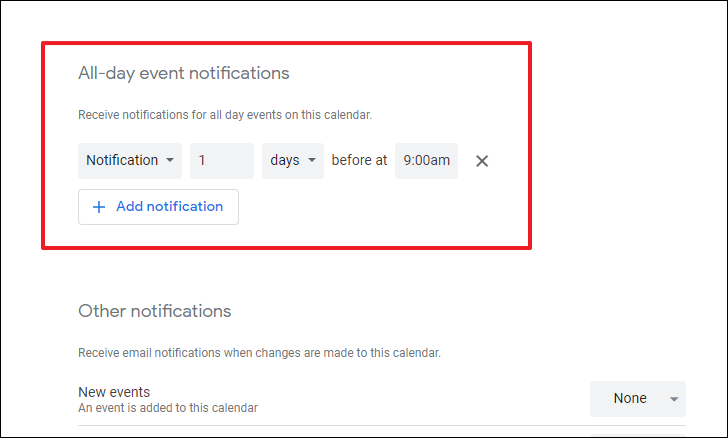
To receive notifications for events on the calendar, click on the ‘Add notification’ button.

Then, choose to receive a notification or email for the event. Then, set the time for the notification to arrive before the time of the event.
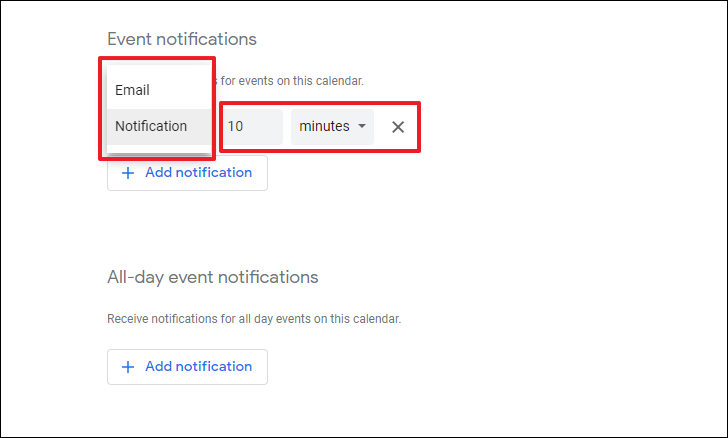
If you wish to receive a notification for an all-day event, you can repeat the above-mentioned process in the ‘All-day event notifications’ section.
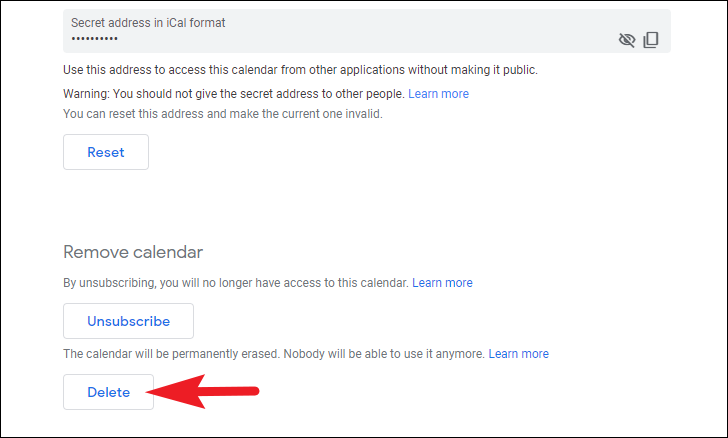
To delete the calendar, scroll down to the bottom of the page and click on the ‘Delete’ button.
That’s about it. You can use Google Calendar to create a separate calendar for work and family, or you can have a calendar that only follows events of particular sports like soccer, cricket, etc. Otherwise, if your routine involves you in international communication/work, you can have a calendar comprising holidays from other countries you need to keep track of.


