
Figma has established itself as the go-to tool for graphics designers by offering powerful features while being easy to use. This makes it perfect for both industry professionals and newcomers to the world of graphic design.

If you're just starting out, one of the first projects you might want to try is creating a mockup of a mobile app. Doing so will help you become familiar with the tools of the platform and understand how to design applications that not only look fantastic but are also intuitive to use. So, here is a guide on how to create a simple UI mockup in Figma.
Step 1: Create a wireframe for your mockup
In the world of graphics design, a wireframe is a basic outline of your app that shows where different elements like text and buttons will appear. Effectively, it works just a like blueprint by depicting the structure of your app and how users will interact with it. It is usually created at the very beginning of any design project. You can find design ideas for your wireframe online on various websites. Once you've picked a design, it is time to start creating your wireframe.
- Head to the Figma website and sign up or log in if you already have an account.
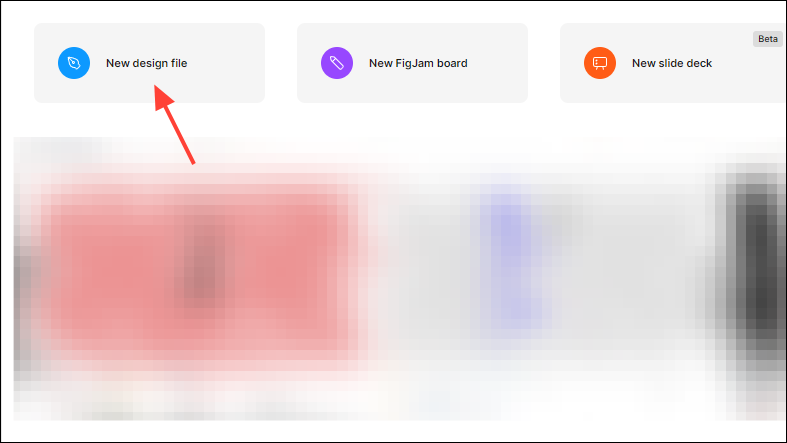
- Once you're logged in, click on 'New design file' at the top.
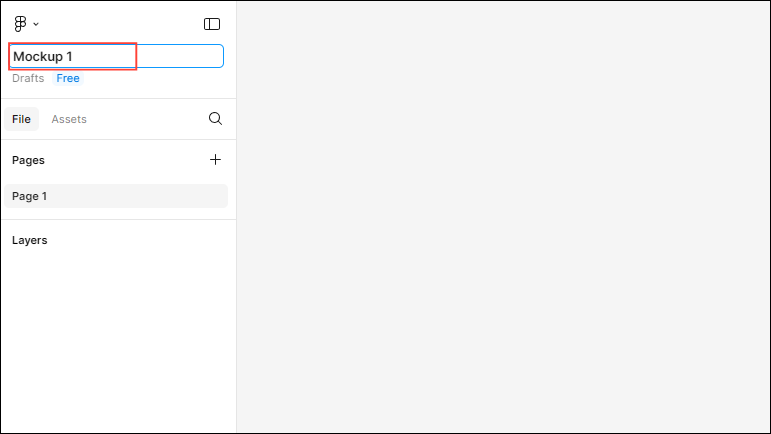
- Name your project by typing it in the text field at the top left.
- The grey space you see on your screen is the canvas. It will serve as the background for your project. Figma uses frames that serve as containers for all projects. To create a frame, press the
Fkey or click on the second icon on the toolbar at the bottom.
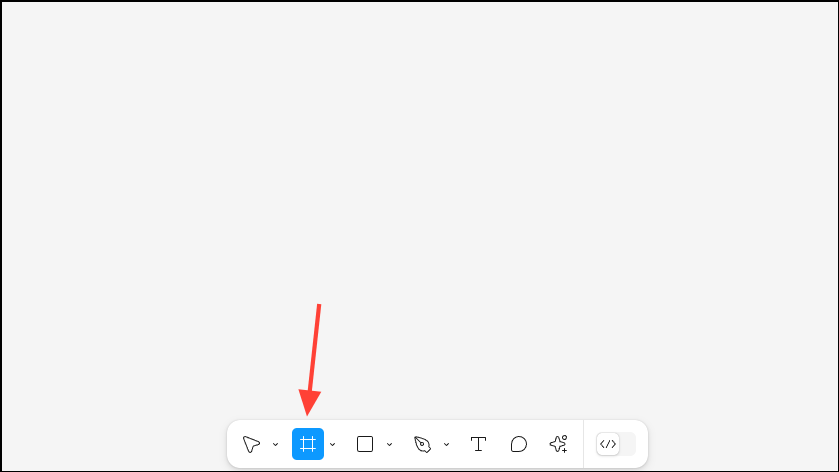
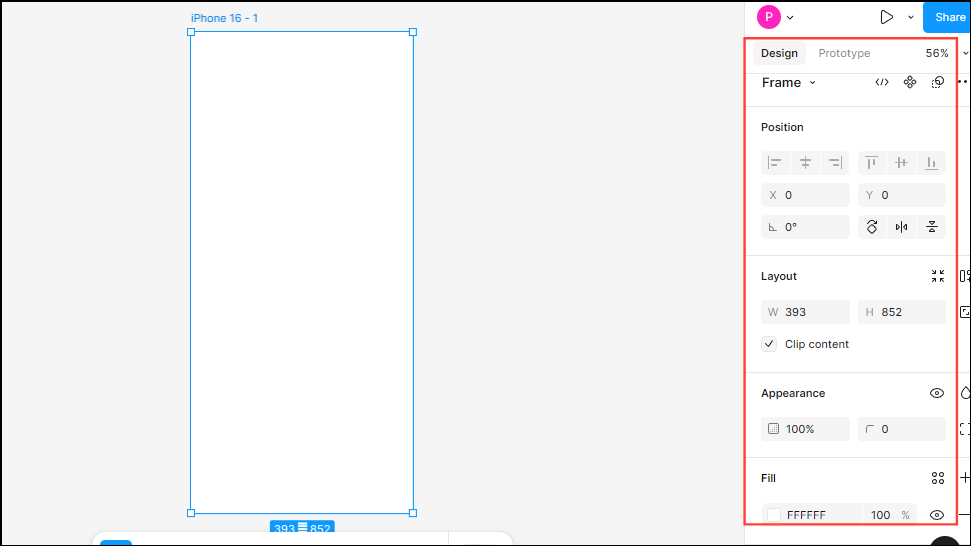
- Then click and drag on the canvas to create a frame. You can also select from several presets that will appear on the right when you select the Frame tool, such as iPhone 16.

- When you create a frame, you will see various attributes for the frame on the right that you can change.
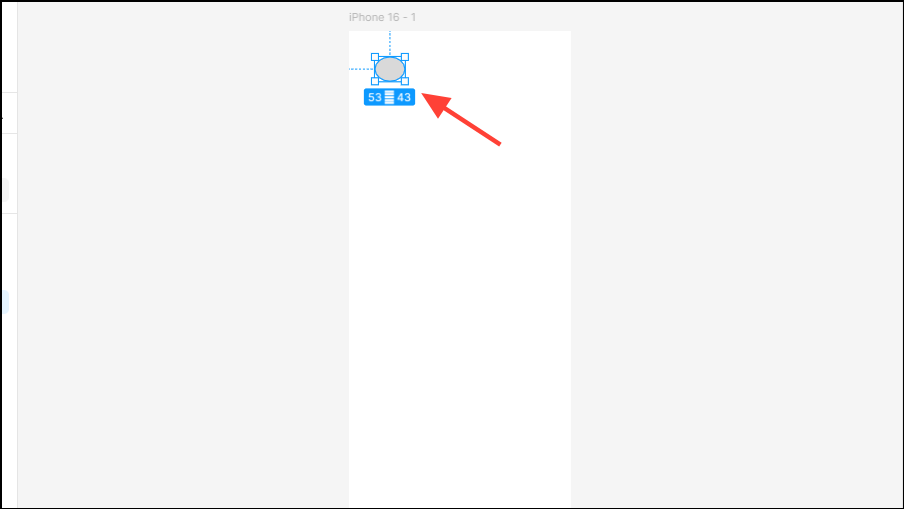
- Now, click the dropdown next to the 'Shapes' tool, which appears as a square on the toolbar, and select the ellipse option.

- Click and drag at the top left on the frame you created to create an ellipse.
- Then select the rectangle from the Shapes tool and create a few rectangles with varying dimensions on the canvas, depending on how you want to create your app mockup.

Step 2: Install plugins
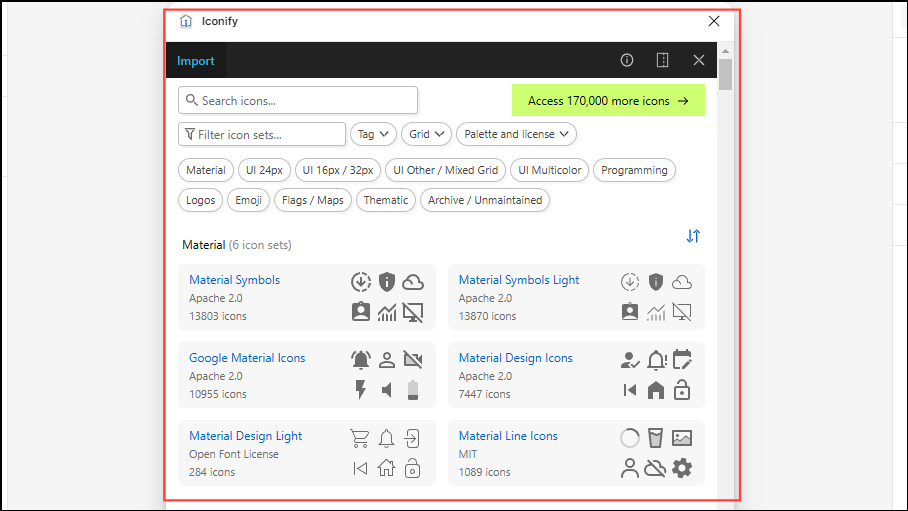
Figma supports several plugins that you can integrate with the design tool and enhance its capabilities. Some integrations you should check out include Unsplash, User Profile, Lorem Ipsum, and Iconify.
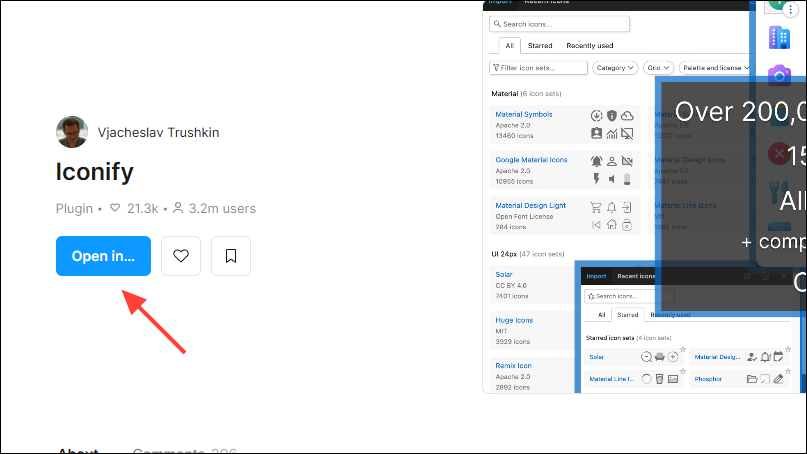
- To install a plugin, head to the plugin page and click on the 'Open in' button on the left.
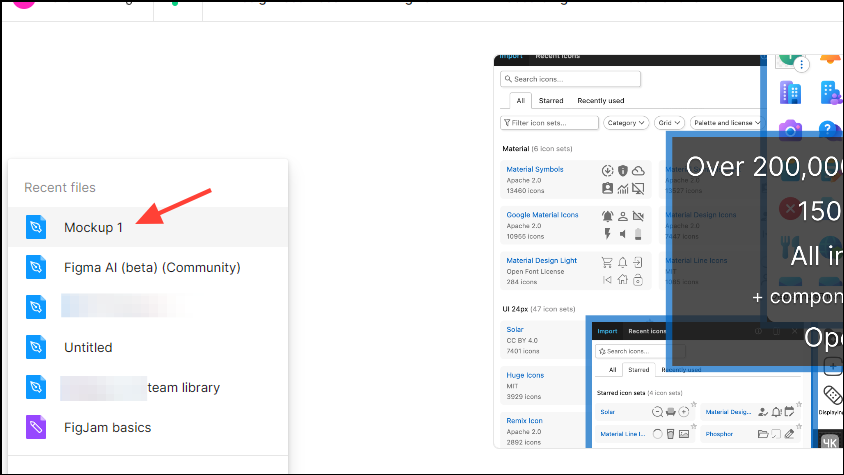
- Then select the Figma project you want to use that plugin in.
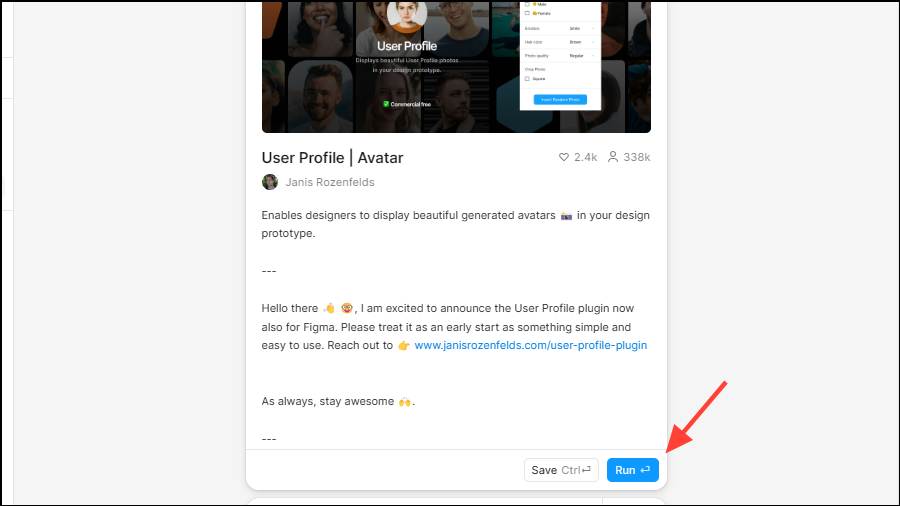
- Then click on the 'Run' button.
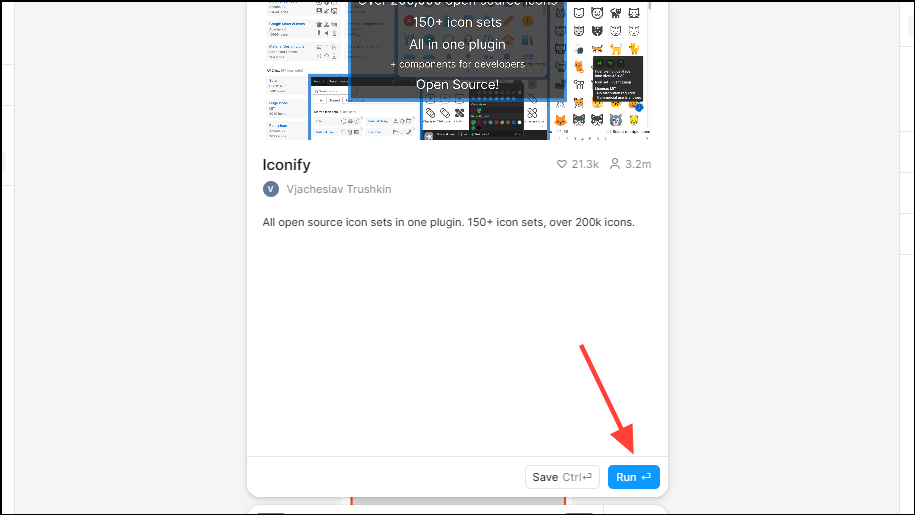
- You should now see the plugin in your project, ready to use.
Step 3: Adding content to your wireframe
Basic wireframes that contain very few details are known as low-fidelity wireframes, such as the one you've created here. Then there are high-fidelity wireframes, which are detailed representations of the website or app you are designing. Now, you will transform your low-fidelity wireframe into a high-fidelity one by adding content.
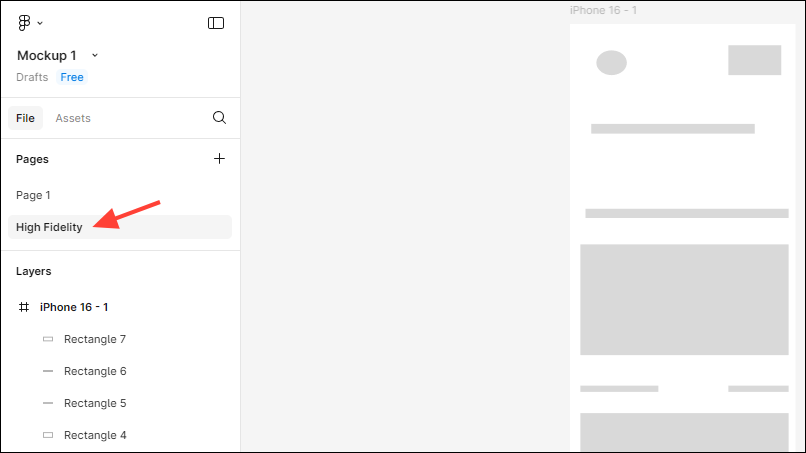
- Right-click on 'Page 1' on the left and click on 'Duplicate page'.

- Once the page is duplicated, rename it to something like 'High-fidelity' by clicking where it says 'Page 2' on the left.
- Now, click on the ellipse on the top left that you created earlier and use the
Ctrl+/shortcut to open the Search option.
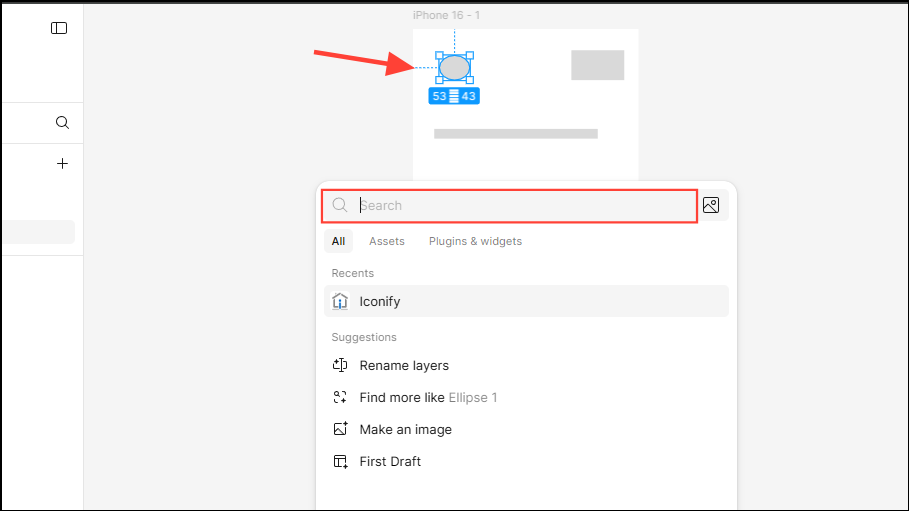
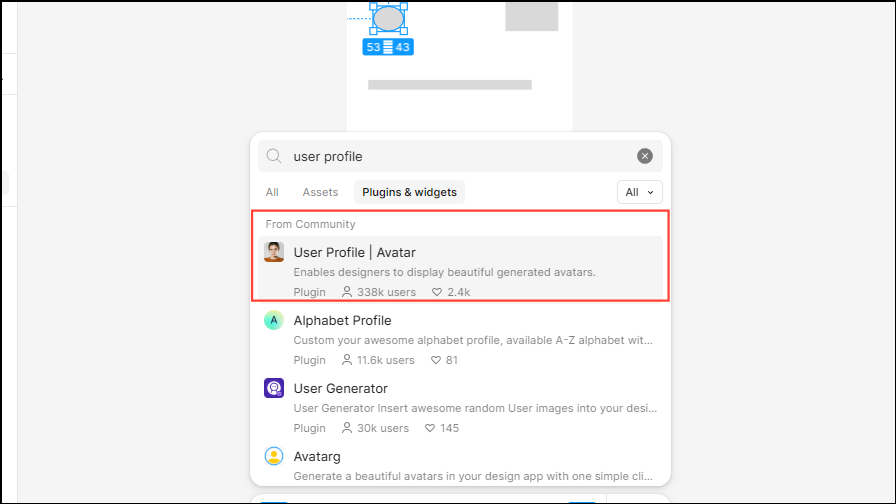
- Type
user profilein the search box and click on 'search in plugins and widgets'.
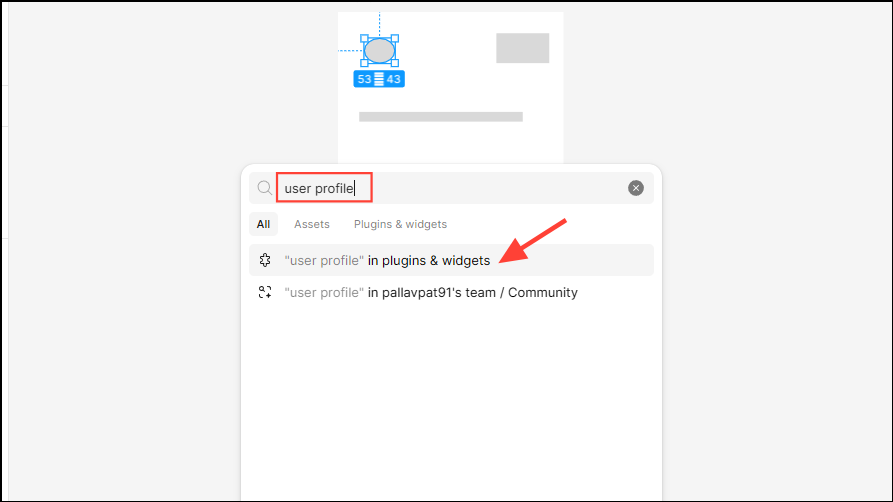
- Then click on the 'User Profile' plugin.
- Click on the 'Run' button to activate the User Profile plugin.
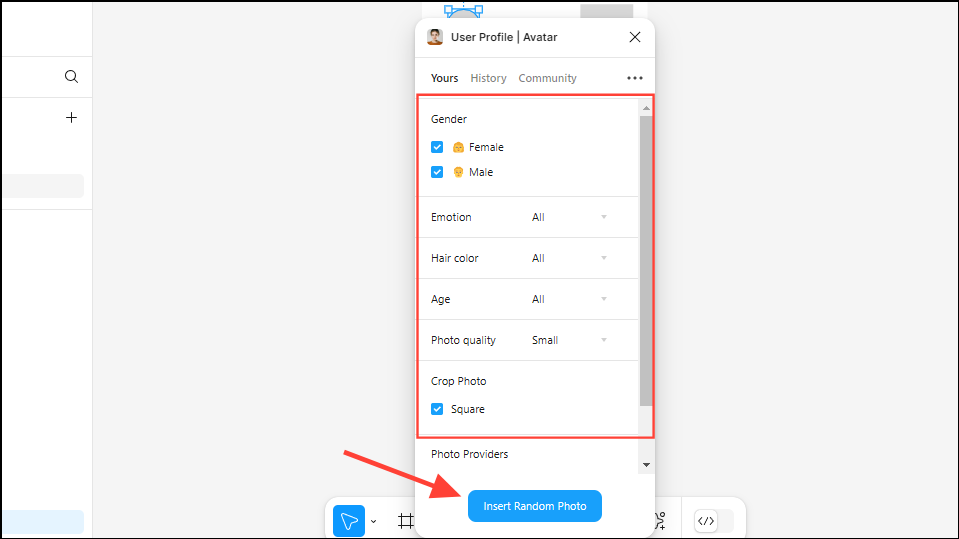
- You will have to join the waitlist by logging in with your Google account. Once you do so, you can select various aspects of the avatar you want to add, such as age, hair color, and gender before clicking on the 'Insert Random Photo' button.
- Follow the same process to fill in the other boxes in your project with suitable images, depending on what the mockup will be about. For instance, if your app is about recipes, you can add images of various recipes.
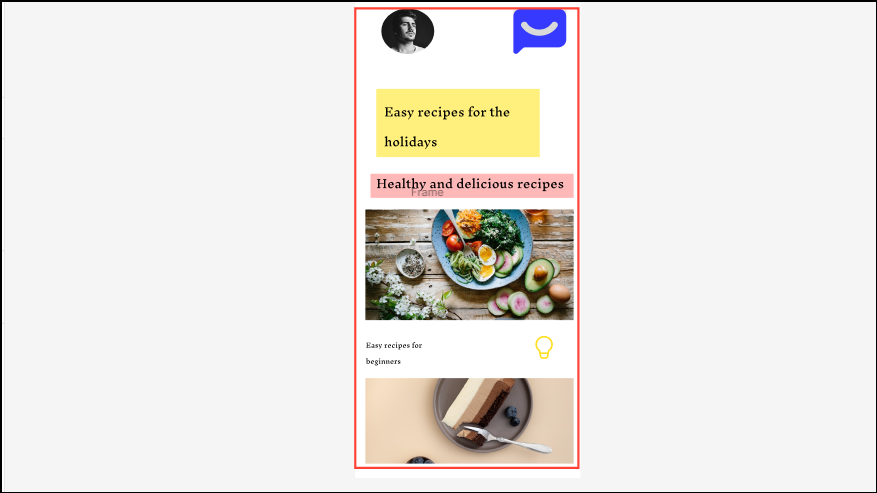
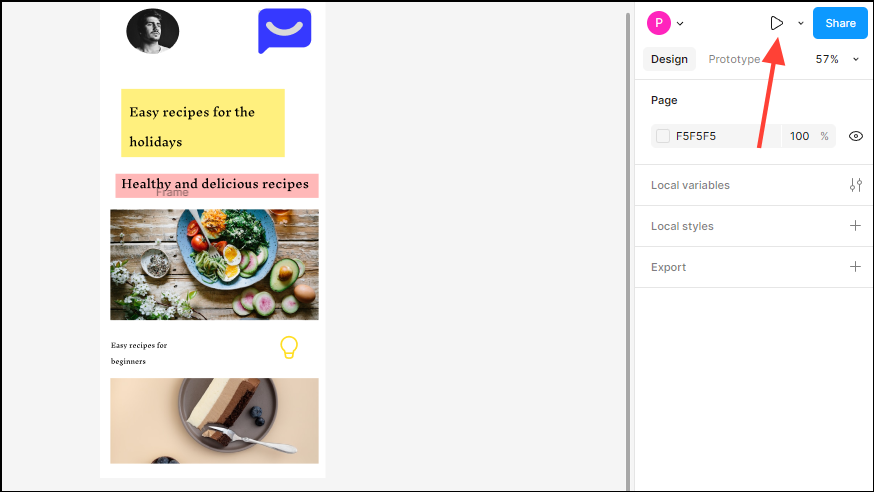
- Once you've finalized your mockup, click the 'Play' icon at the top right to preview of how it will appear on the device for which you designed it.
Step 4: Collaborating and getting feedback
By collaborating with other designers and actual users, you can improve your design through feedback.
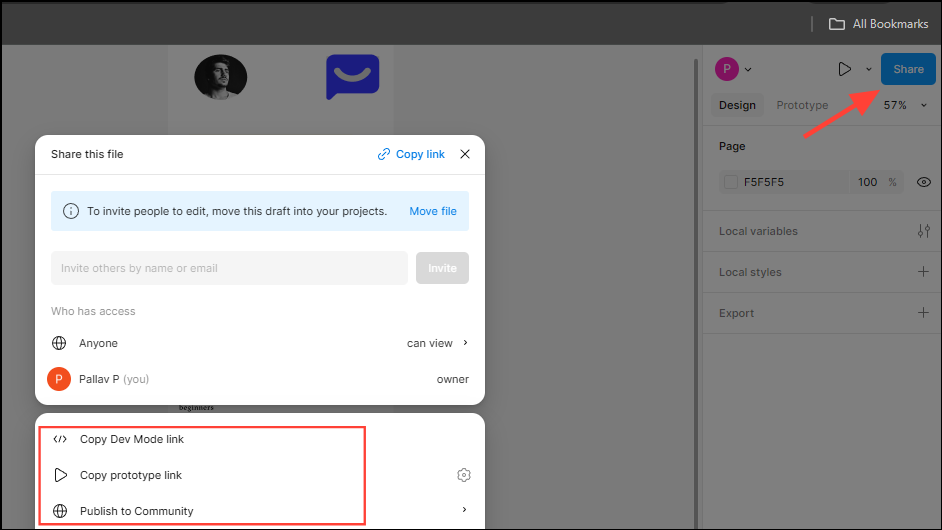
- To share your project with others, click the 'Share' button on the top right and then you can choose how you want to share it. You can copy the project link, copy its Dev Mode or prototype link, or publish it to the community.
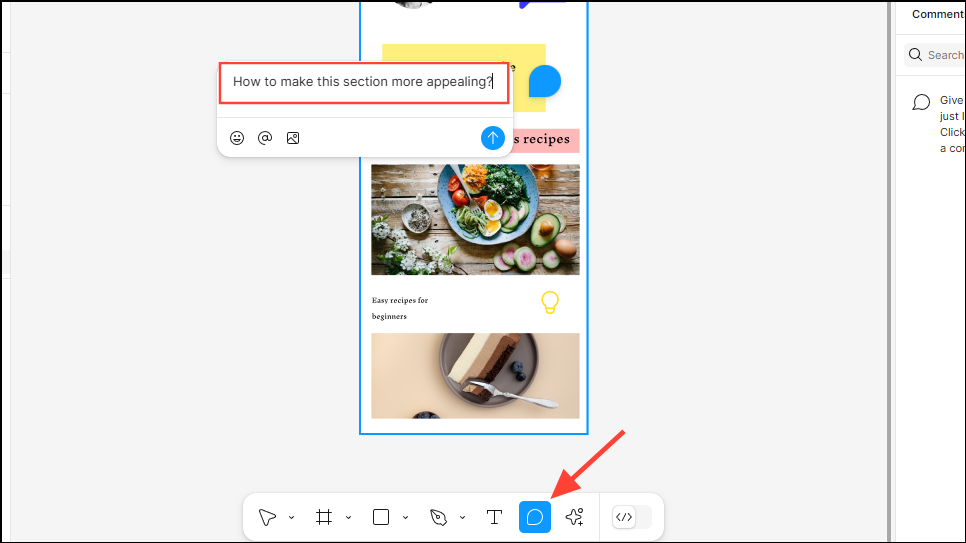
- Click the 'Comment' tool on the Tools panel at the bottom and then click anywhere on your project where you want to add a comment. A text box will appear in which you can type in your comment for collaborators to see and respond to.
- If you want to share your design with the Figma community, click the 'Share' button and then select the 'Publish to community' option as explained above.
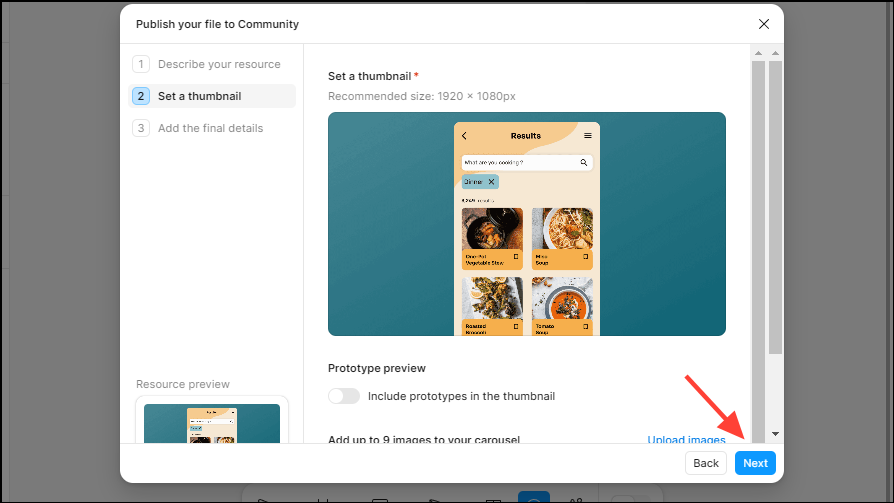
- A new dialog box will appear where you can enter details like the name of the project, description, category, and tags. Click the 'Next' button after filling in the details.

- Now, you can upload an image to be used as a thumbnail for the design as well as additional images for the carousel. Click the 'Next' button when done.
- Finally, you can add additional collaborators by typing in their names, providing an email address for support, and choosing whether to allow comments from community members. Then click the 'Publish' button to finish.

Things to know
- When creating mockups, make sure to stick to a limited set of font styles, sizes, line heights, and weights. This will ensure your design has a professional and sophisticated appearance.
- Your mockups should be designed for different screen sizes, especially when designing a website. Consider desktop, tablet, and mobile screen sizes when designing.
- Keeping your designs simple and clean will not only help them look attractive but also make your app or website easier to navigate. Using too many elements and adding too much information can confuse users.
- Consider what users in the real world will experience when using your app or website. This will significantly enhance your approach to creating attractive and intuitive designs.