
Most people think of Figma as a tool for designing websites and apps. However, you can also use it to create presentations. It lets you customize slides in numerous ways, and its Prototype feature allows adding various transitions that you won't find elsewhere. On top of that, Figma supports several plugins, that further extend its capabilities for creating impressive presentations. So, if you want to learn how to create presentations in Figma, this is just the guide you need.
Step 1: Prepare your first presentation frame
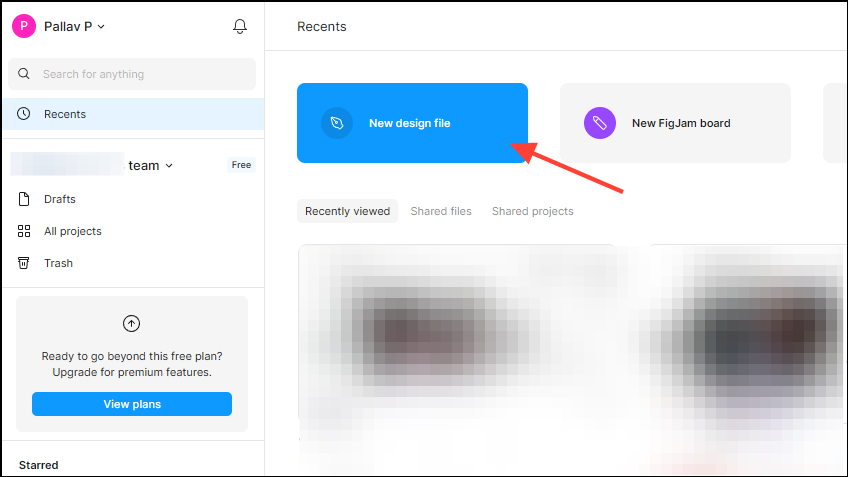
- Go to the Figma website in your browser and create an account or sign in. Alternatively, open the Figma desktop app.
- Click on 'New design file' at the top.
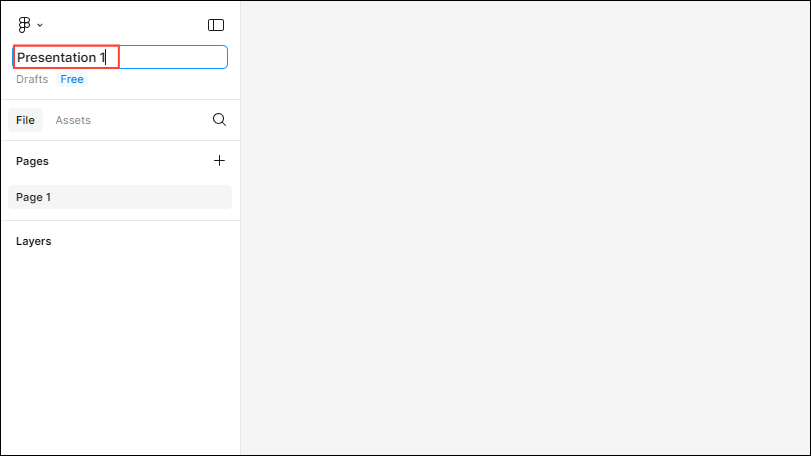
- Once the new design file opens, click on the name field on the left and type in any name you want for your presentation, such as 'Presentation 1'.
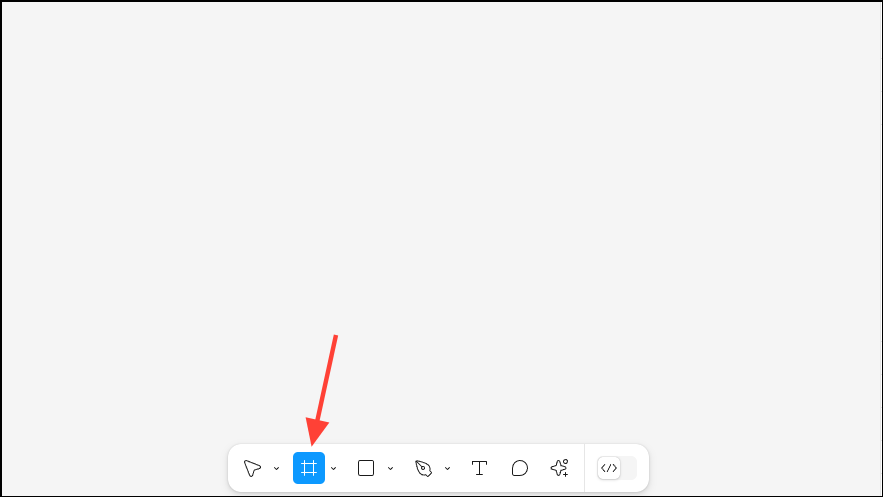
- Press the
Fkey or click on the second tool on the Tools panel at the bottom to select the Frame tool.
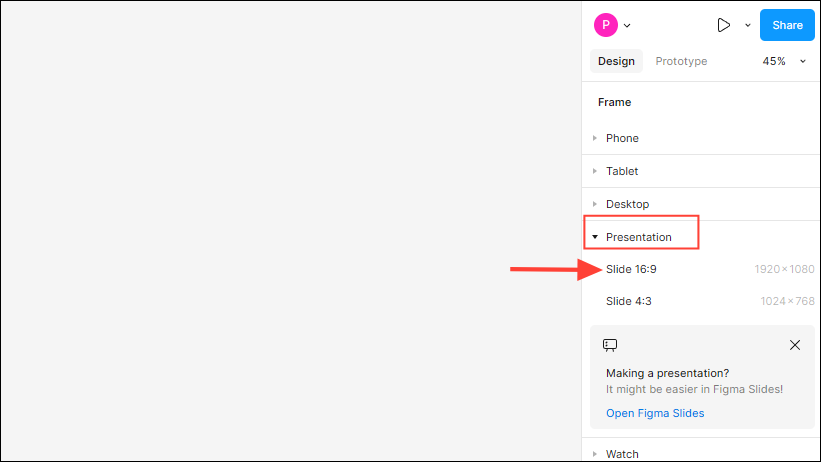
- When you select the Frame tool, a new panel will appear on the right, showing several presets that you can use. Click on the 'Presentation' preset to expand it and then select ' Slide 16:9'.
- Double-click the name of the slide at the top and rename it.

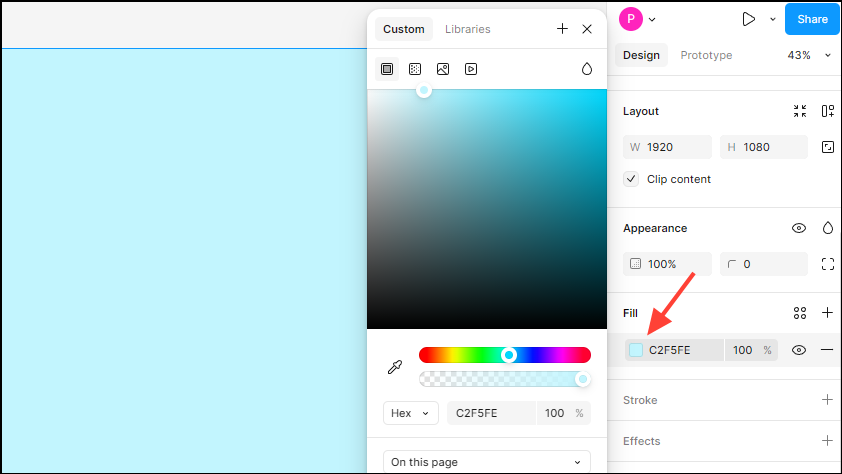
- If you want, you can change the background color of the slide by clicking the color swatch under the 'Fill' option on the panel on the right. You can always change the background color later if needed.
Step 2: Add the title text
In Figma, you use the Text tool to add text to any design.
- Click on the 'T button' on the Tools panel at the bottom or press the
T keyto select the Text tool.
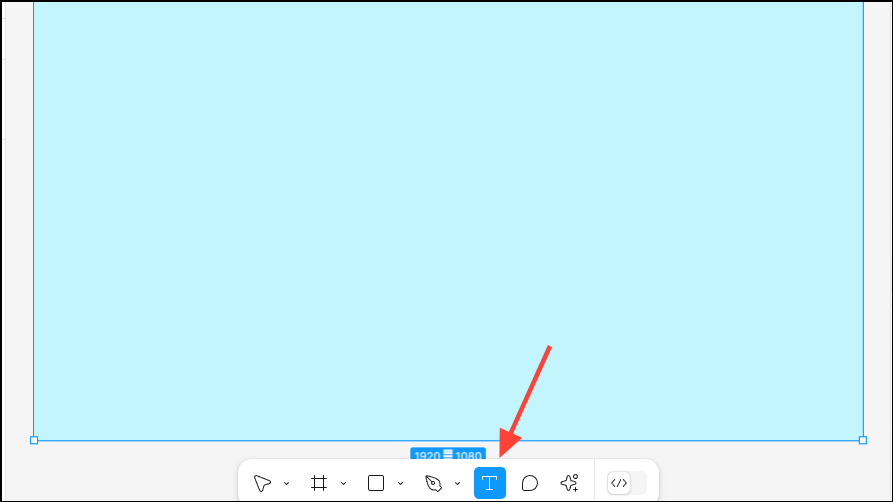
- Click inside the slide you created and type the text for the title.
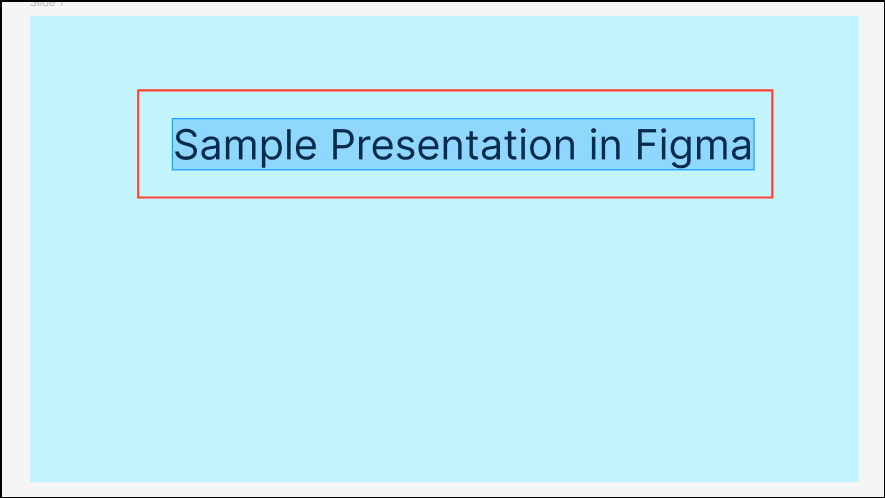
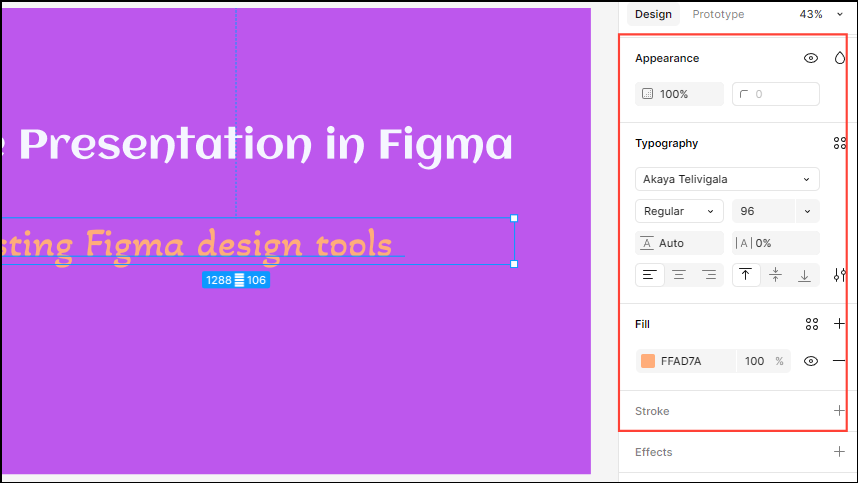
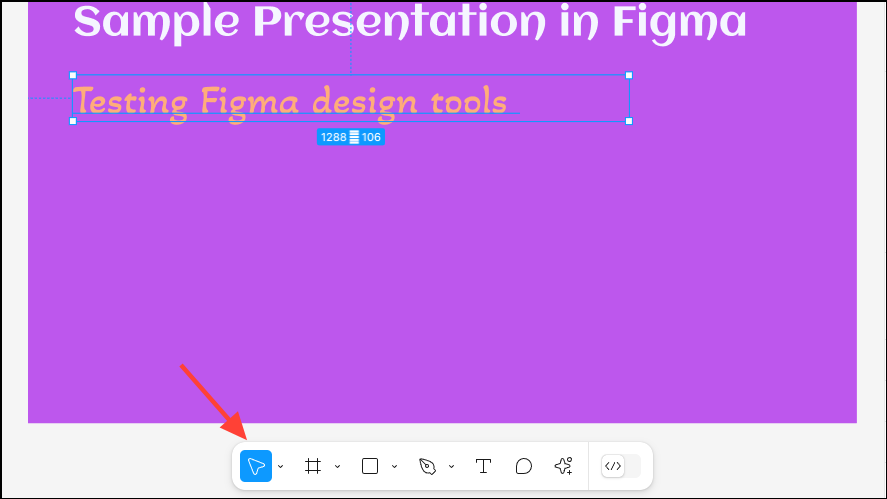
- You can change the font, font style, size, color, etc. using the Properties panel on the right. When adding the title text, write each line in its own separate box and avoid using too many words in each line.
- Once you've added your text, click the first tool on the Tools panel or hit the
Vkey to select the Move tool. You can then click and drag the text boxes to reposition them as you like.
Step 3: Add images
After adding your title text, it is time to add images to your presentation.
- Click the dropdown next to the third tool on the Tools panel to view the available shapes you can use to add an image. You can also use shortcuts like the
Rkey for creating a rectangle or theOkey for an ellipse.
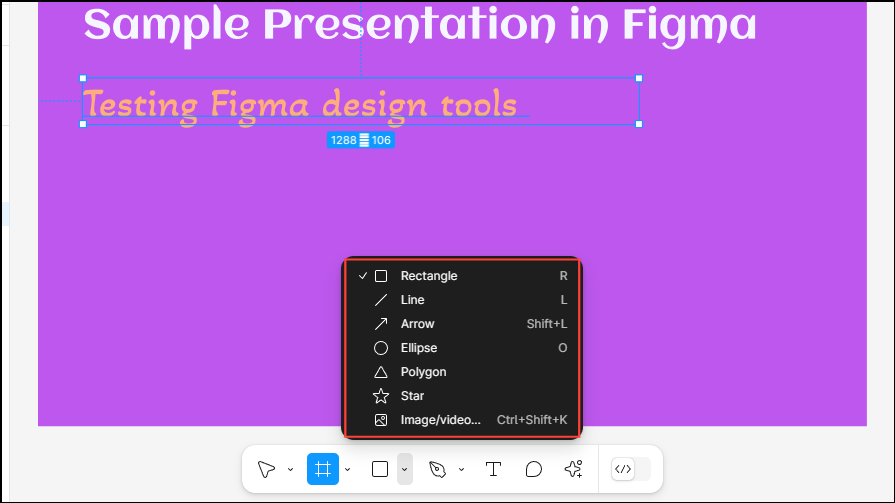
- To draw a shape, select it from the pop-up before clicking and dragging on your slide.
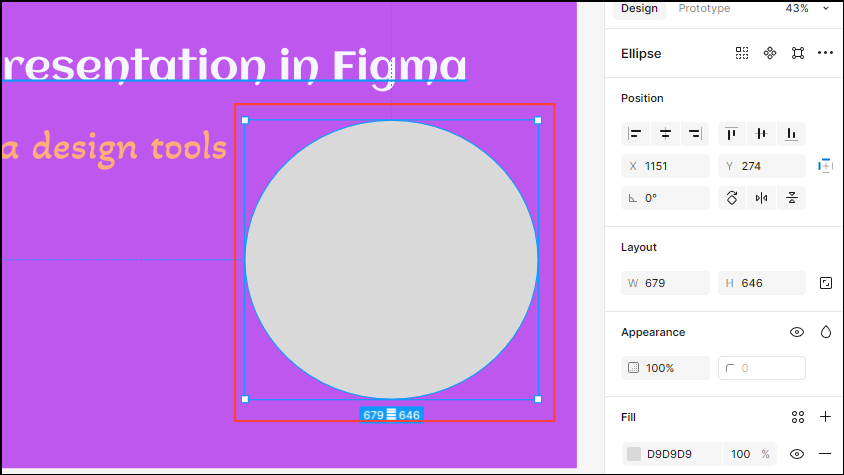
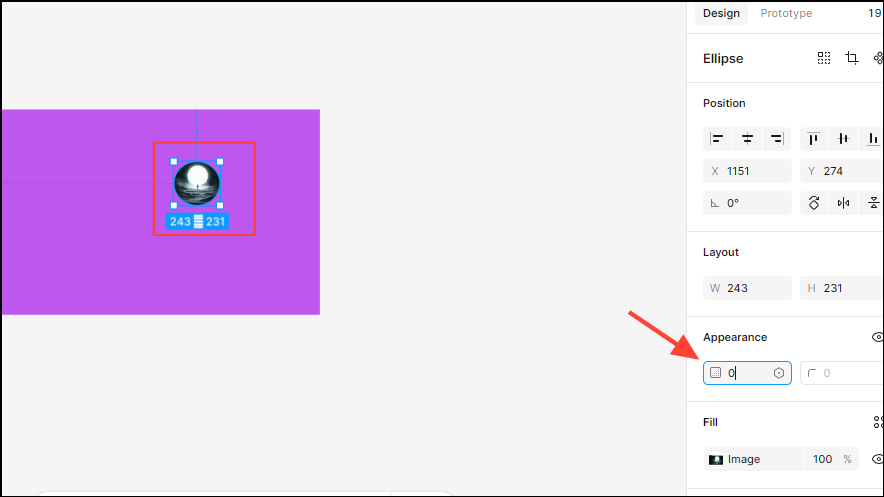
- After creating your shape, click on the color swatch under the 'Fill' option on the right and select 'Image' in the pop-up.
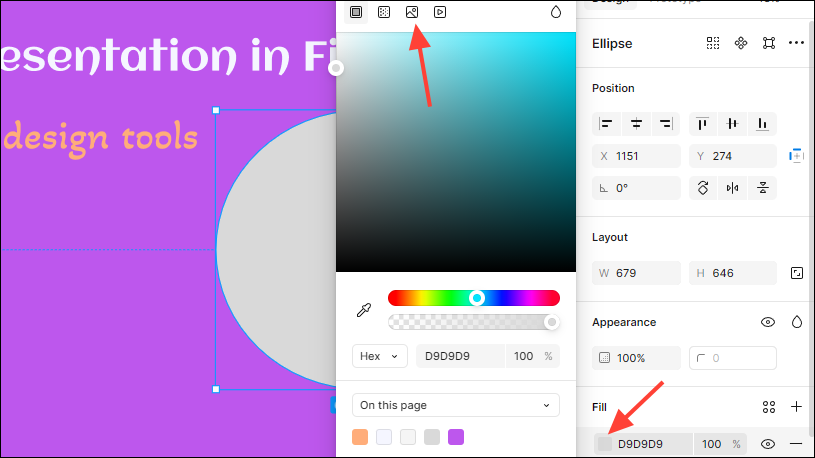
- Now you can choose whether to upload or create a new image. Click on the 'Upload from computer' button.
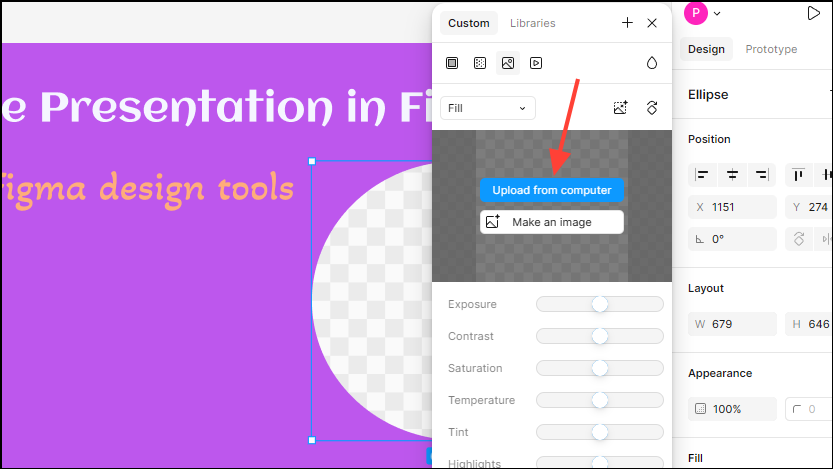
- Now select an image from your computer and it will automatically be inserted in the shape you created earlier.
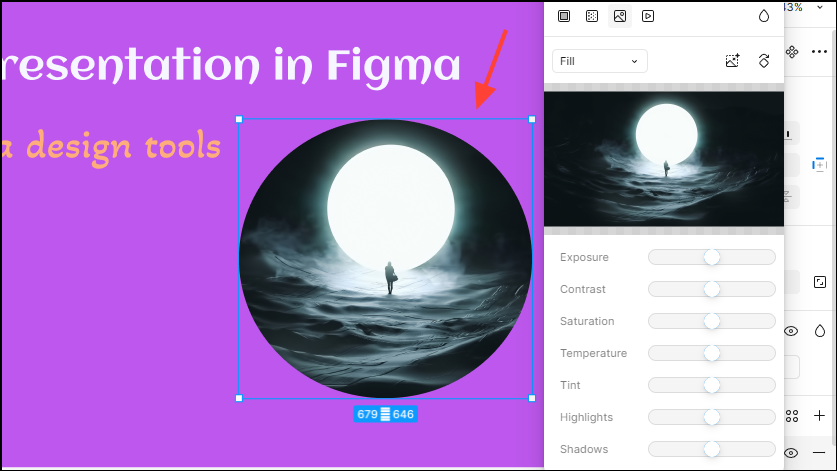
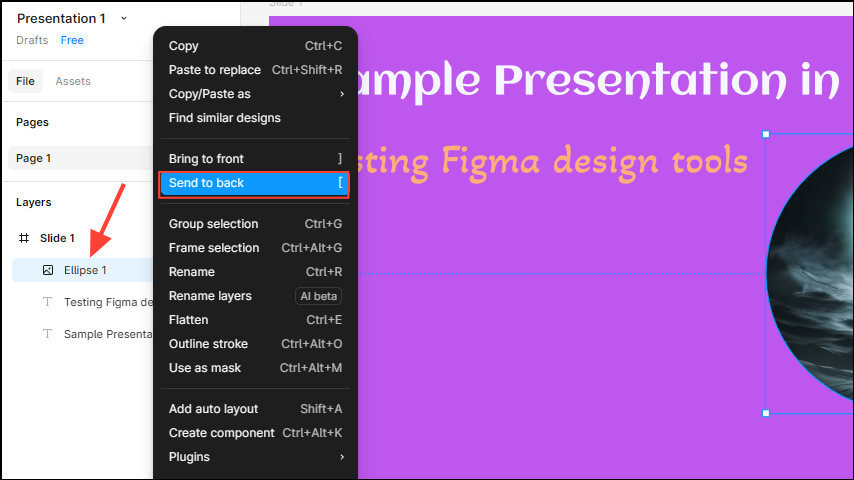
P key to draw a shape in which you want to insert an image. This lets you create non-standard shapes that are not available with the Shapes tool.- You can rearrange the order of the text and image layers from the left panel. This can be handy when you want to place one object on top of another, such as text on top of an image. Right-click on the Ellipse layer on the left and then click on 'Send to back' to place it below the text layers.
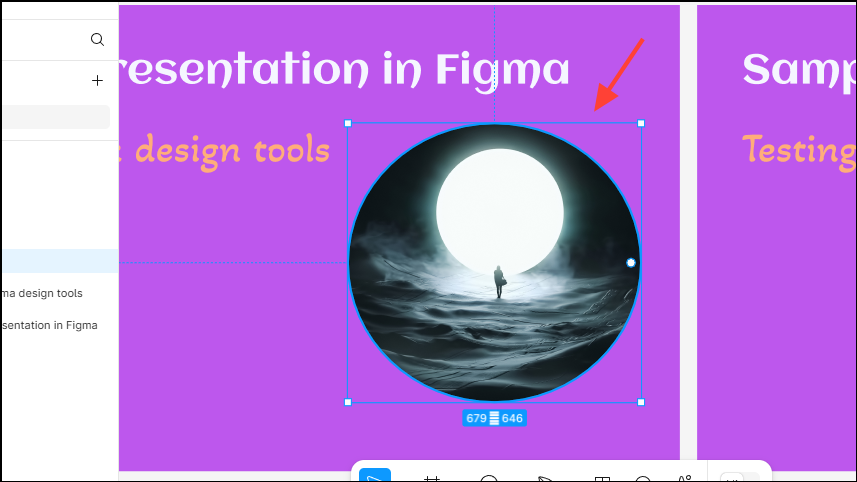
- In the same way, you can rearrange other layers of your presentation. You can also use the shortcuts
Ctrl+[to move a layer back andCtrl+]to bring it forward.
Step 4: Create the first transition
The first transition will determine how the objects on the slide appear at the start of the presentation. Here, the transition will show the image and allow the title text to slide in.
- Select the first frame and use the
Ctrl+Dshortcut to duplicate it. - Then select the image in the frame on the left.
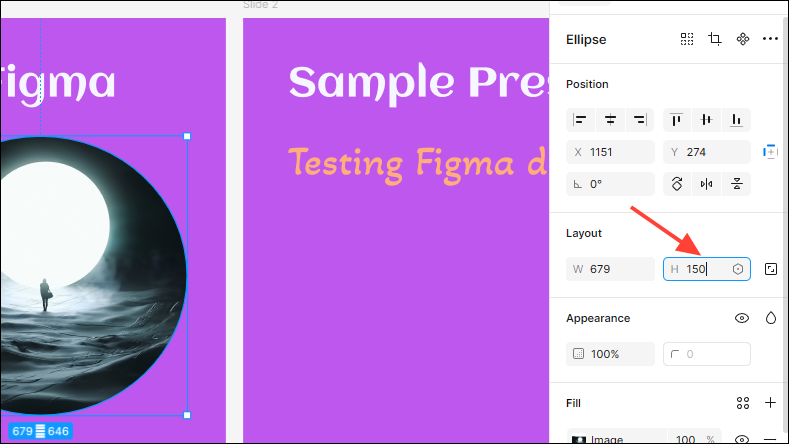
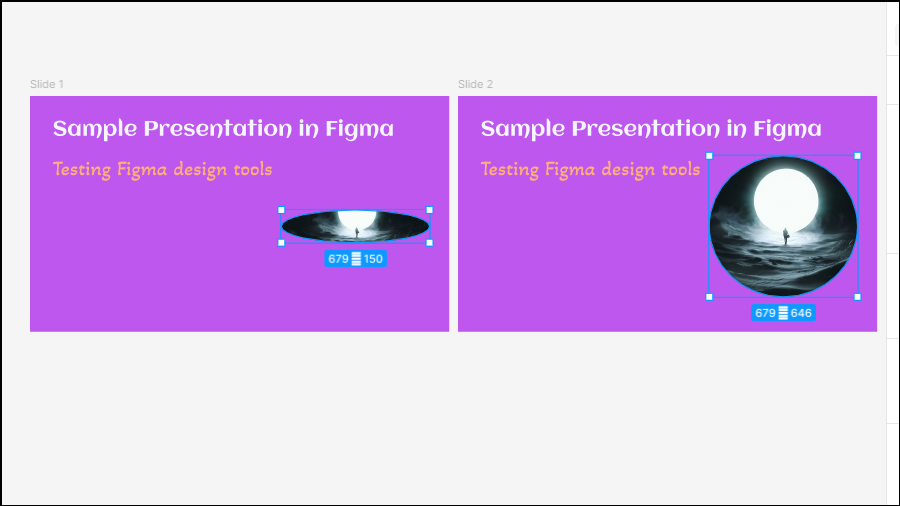
- Click in the 'H' box that determines the height attributes of the image and change the height to something like 150.
- Select both images in the two frames by pressing and holding the Shift key and clicking on both images. Then use the
Alt+Vshortcut to align their centers vertically.
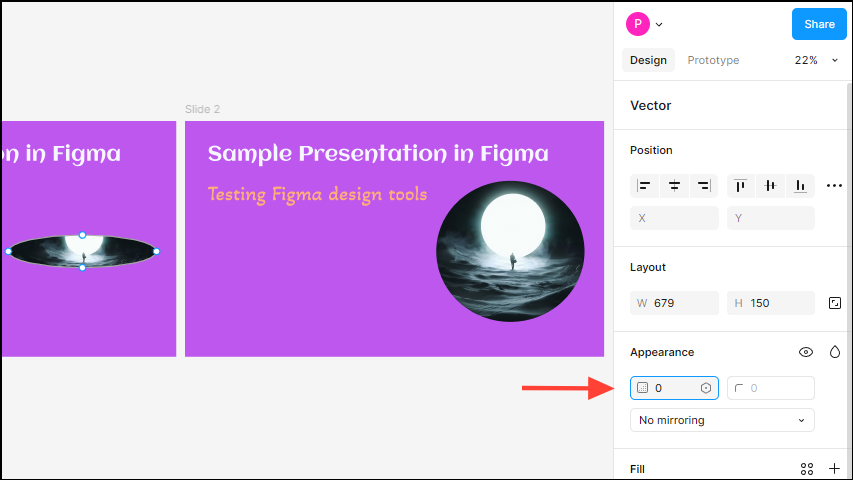
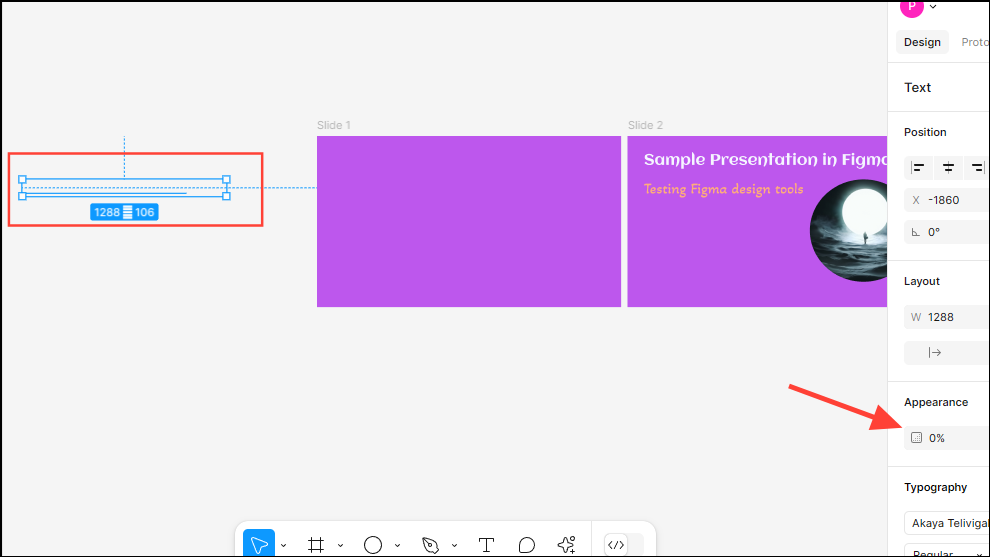
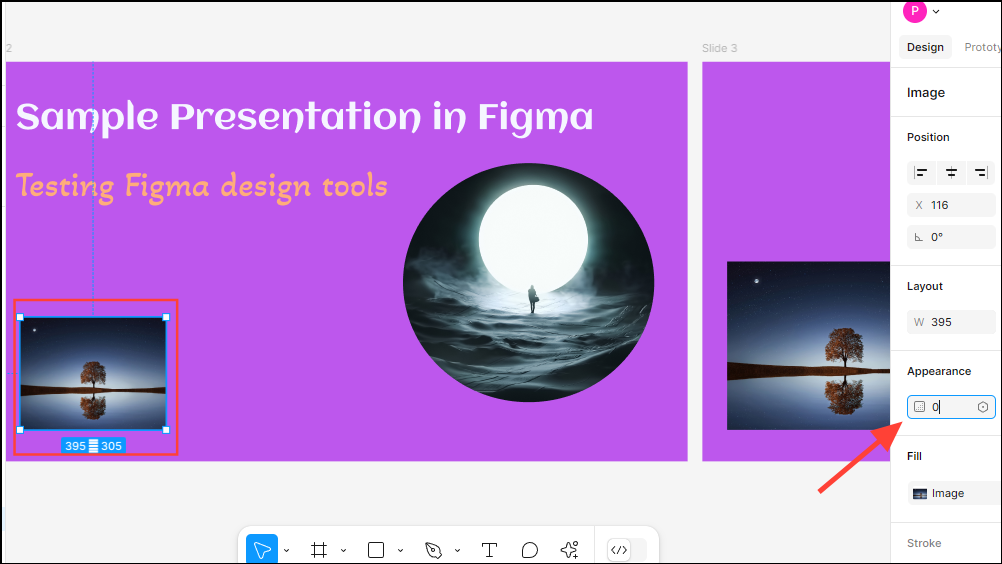
- Click on the image in the left frame to select it and change its opacity to
0%in the box next to 'Pass through under Layer' on the right panel.
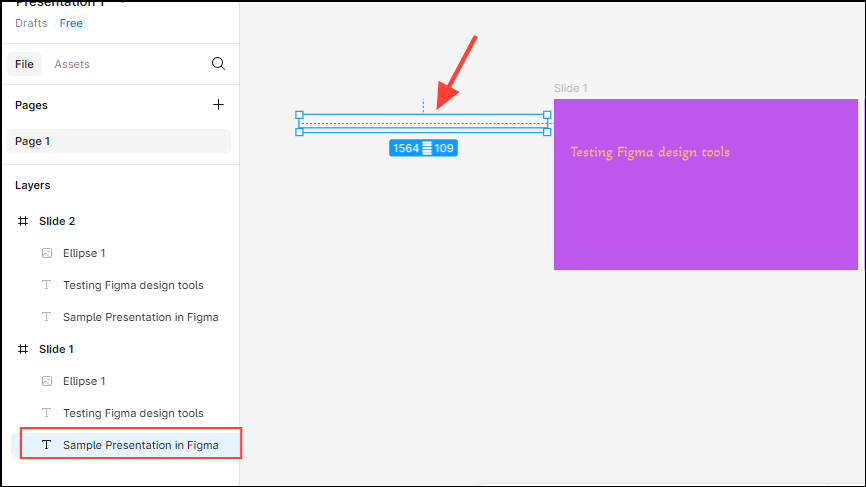
- Click on the first text box and press and hold down the Shift key. Start dragging the text outside the frame and then press and hold the Spacebar.
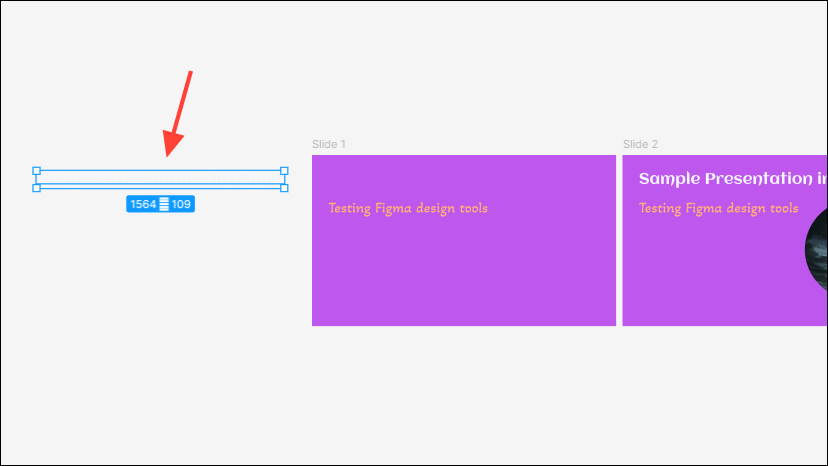
- Pressing the Spacebar after you start dragging will ensure that the text stays within the frame even while the text box appears to move out of it. Check whether the text layer appears within the Slide 1 frame on the left panel even after moving the text box out of it.
- Repeat this process for other text boxes, moving each one to a little further to make the animation more impressive. Then reduce the opacity of all text layers to zero as you did for the image.
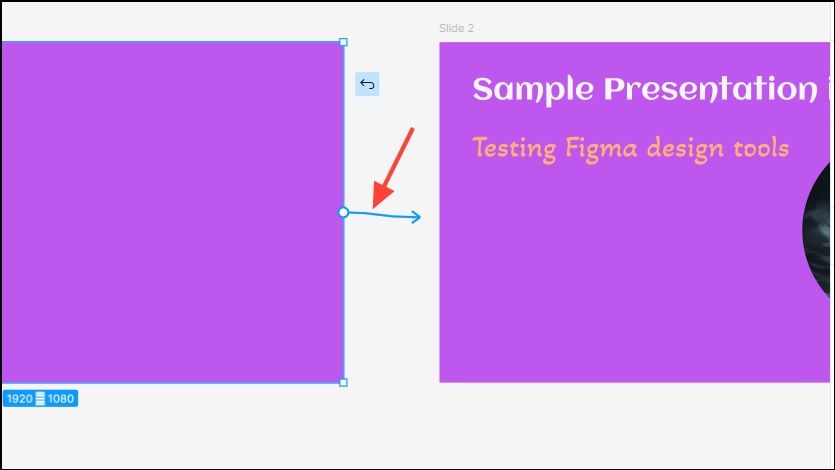
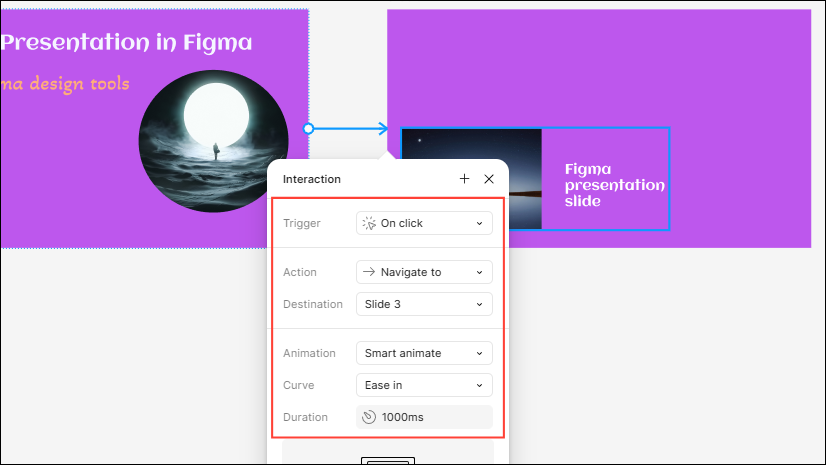
- Now switch to the Prototype tab on the top right.

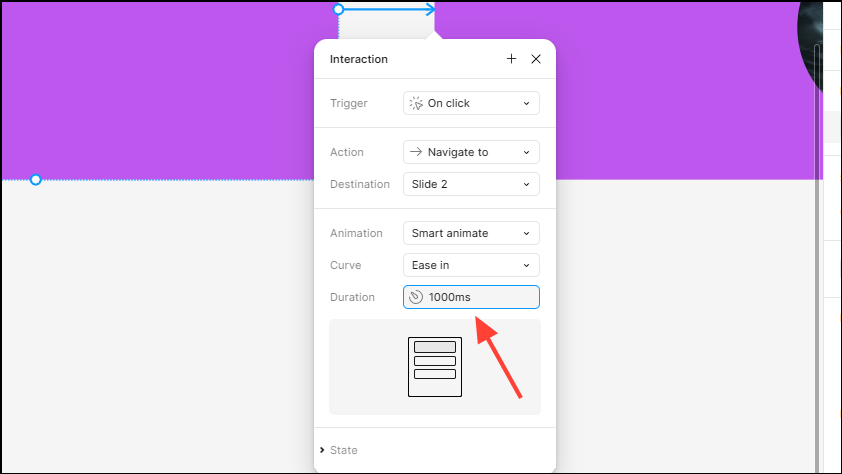
- Click on the left frame to select it and bring the cursor to the right edge of the frame. A '+' icon will appear. Click on it and drag the arrow to the right to connect it to the right frame.
- A dropdown menu will appear. Click on the 'Animation' dropdown and select 'Smart animate'.
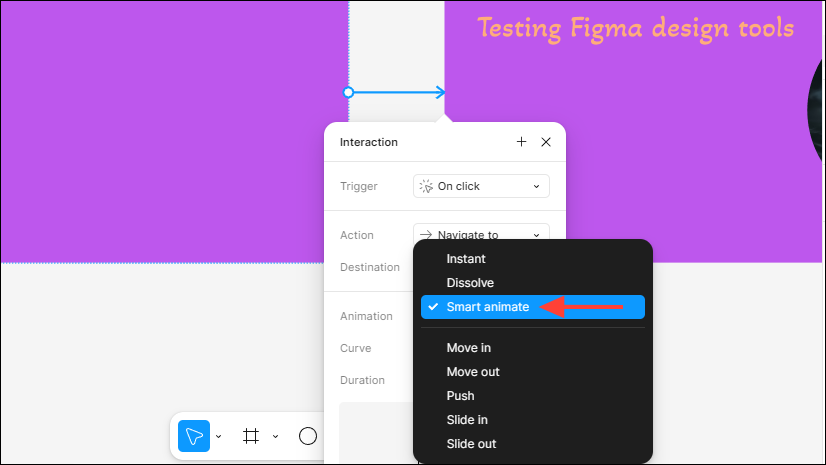
- Click on the 'Curve' dropdown and select 'Ease in'.
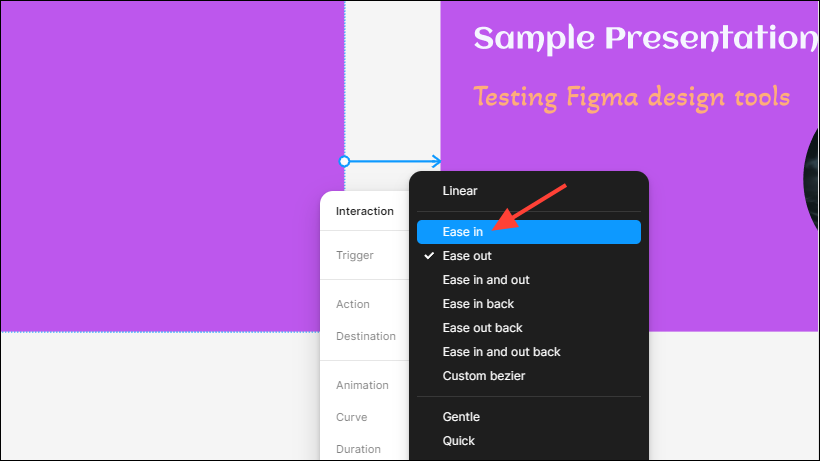
- Change the duration to '1000 ms' and keep the default values for everything else.
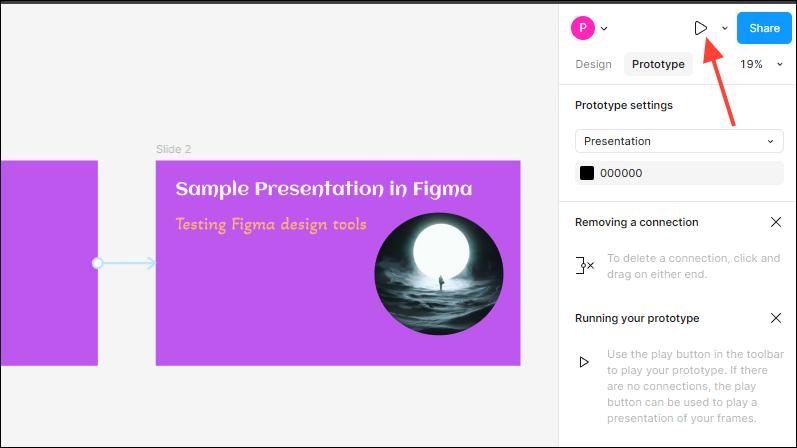
- Click the 'Play' button on the top to preview the presentation.
Step 5: Add more slides
You will need more slides for a complete presentation.
- Duplicate the second slide using the
Ctrl+Dshortcut. - Then drag the text boxes out of the frame as you did previously but to the right and reduce their opacity to zero.
- Now, click on the image to select it, hold down the
Shiftkey, and drag inward to reduce its size. Then reduce its opacity to zero.
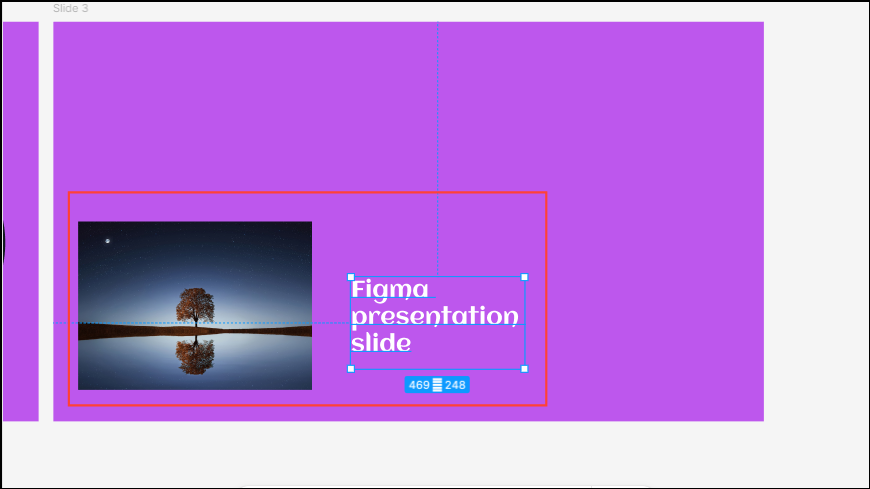
- You can now add some additional text and images to the slide if you want.
- After adding your images and other elements, select them and use the
Ctrl+Gshortcut to group them together. - Copy the image in the slide using the
Ctrl+Cshortcut and paste it in the previous slide using theCtrl+Vshortcut. Reduce its size and change the opacity to zero before moving it back with theCtrl+[shortcut.
- Go back to the right slide and group all text layers with
Ctrl+Gbefore pasting them in the previous slide. - Click on the Prototype tab at the top right and connect the left slide with the right one as you did before. Figma will retain all animation attributes from the last time. Click the 'Play' button to check whether the animation is working properly.
Step 6: Adding and labeling mockups
You can also add mockups to your presentation. There are several Figma plugins you can use to create mockups like Vectary 3D Elements, Mockuuups Studio, and Clay Mockups 3D.
- After creating your mockup, create a new frame and paste your mockup into it before adjusting its size to fit the frame.
- Paste a copy of the mockup in the previous slide as well before reducing its size and lowering the opacity to zero.
- Move the mockup to the back and link the slide to the next one from the Prototype tab.
- Duplicate the mockup slide and then add a title and description with the Text tool. Then group them together using the
Ctrl+Gshortcut before naming the group. - You can use the Line tool from the Tools panel or
Lkey to connect the feature you are explaining in the mockup with its description. Press and hold theShiftkey while drawing a line to keep it straight. - Next, you can add a bullet point indicator. Create an ellipse with the Shapes tool and reduce its fill by 50% while adding a Background Blur of 20%.
- Connect one line with one ellipse for an indicator and group them together before naming the group. Add a description next to the indicator.
- Repeat the process for the different features you want to explain in your Mockup, duplicating the frame for each feature.
- Switch to the Prototype tab, connect the different slides, and then press the 'Play' button to check if it is working properly.
Step 7: Finalize and share your presentation
- For the last slide, follow the same steps as before. Write some text and add images before copying them to the previous slide.
- Reduce the size of the text in the previous slide while holding down the
Kkey to ensure the text does not lose its formatting. Then send the text layer to the back and lower its opacity to zero. - Go back to the final slide and drag all the other objects out of the frame as before. Then connect the previous slide to the last one from the Prototype tab and click the 'Play' button once more to preview the presentation.
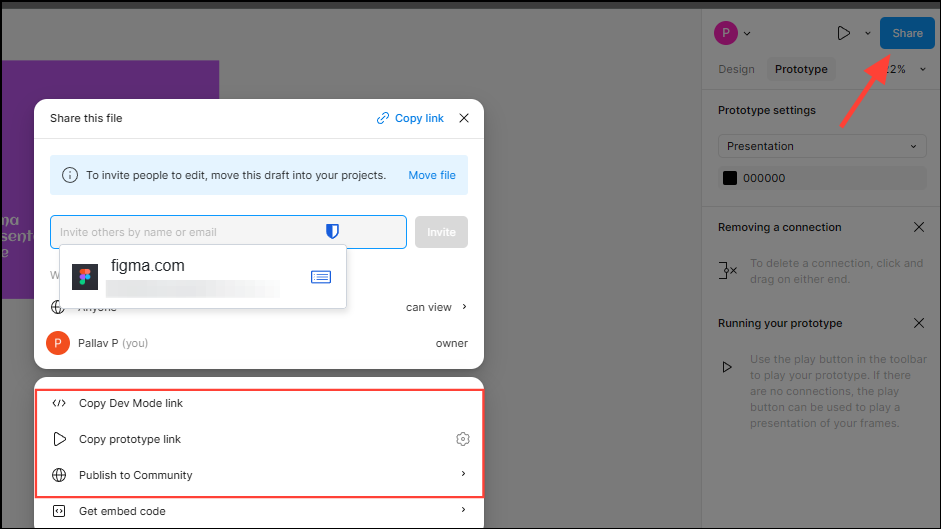
- Click the 'Share' button on the top and you can then copy the link to the presentation and share it with others. You can also copy the Dev Mode link, and prototype link, and publish the project to the Figma community.
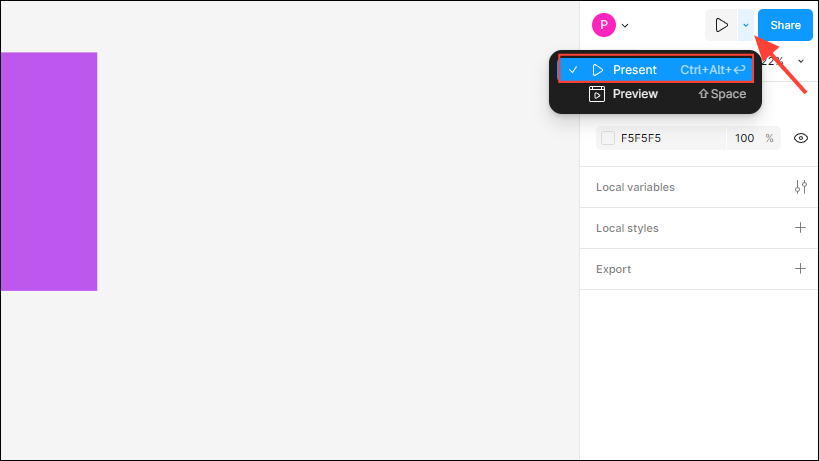
- To run the presentation, click the dropdown next to the Play button at the top and click on 'Present' or use the
Ctrl+Alt+Entershortcut. Use theSpacebarto switch to fullscreen when presenting.
Things to know
- You can use Figma's grid and layout options to ensure different elements in your presentation are aligned properly and there is consistency between them.
- Avoid using more than two to three fonts in your presentation but establish a clear hierarchy by changing their sizes and weights. Similarly, stick to limited colors that complement each other, keeping the purpose of the presentation in mind.
- You can even export your Figma presentation in formats like PDF and PNG, which can be handy if you do not want to share it from Figma directly.
- Figma lets you collaborate with others on projects, so you can easily ask others to provide feedback on your presentation, helping you improve it. You can also use the 'Comments' tool in the Tools panel to add comments for collaboration and feedback.