
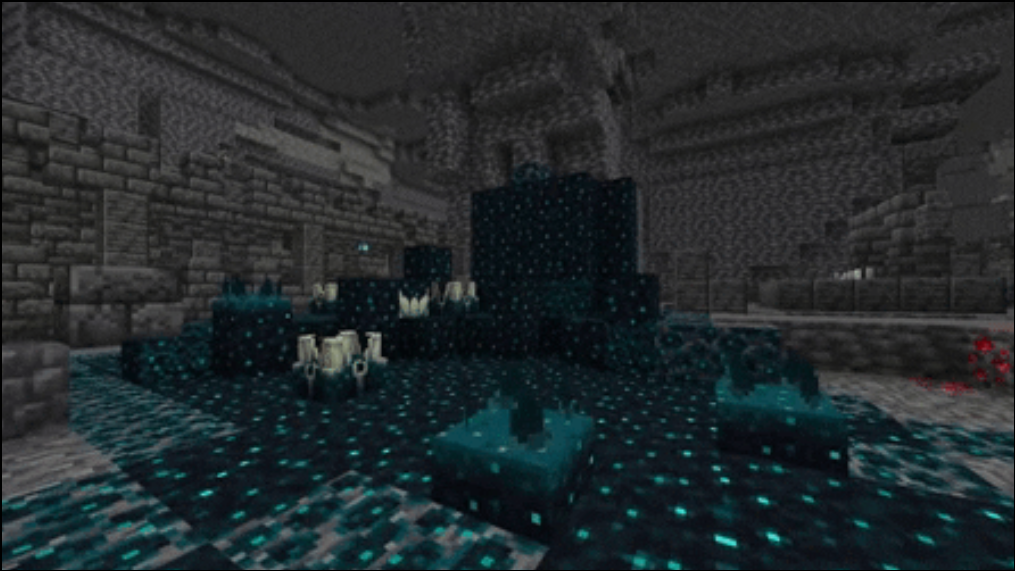
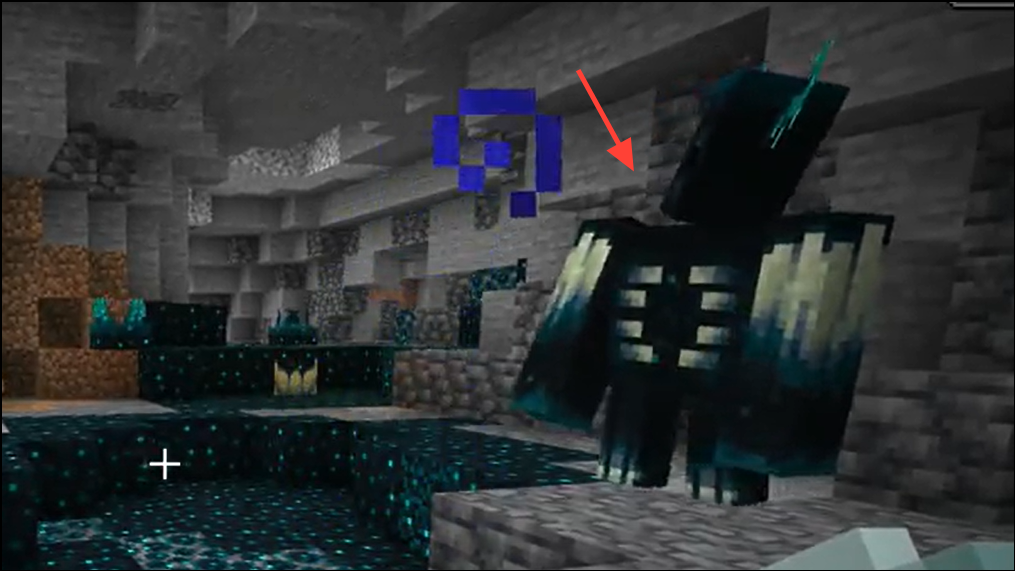
The Warden is blind, relies on vibrations and smell, applies periodic Darkness, and uses two attacks: a devastating melee swing and a ranged sonic boom that pierces blocks. It spawns in the Deep Dark only when a naturally generated sculk shrieker issues four warnings for a player. Sonic boom damage ignores armor and enchantments; only the Resistance status effect reduces it. Fire and lava do not hurt the Warden, drowning is ineffective, and it despawns on its own after about one minute without detecting any activity.
Key numbers you can plan around: the sonic boom targets up to roughly 15 blocks horizontally and 20 blocks vertically, shields are disabled by its melee, and it drops only a sculk catalyst and a small amount of experience when killed. Those constraints shape the safest ways to neutralize it below.
Preparation checklist (gear and setup)
Show up overprepared; it shortens the fight and reduces mistakes.
- Armor: Diamond or Netherite with Protection IV. Turtle Master potions provide Resistance to soften sonic boom hits, but they also slow you dramatically.
- Weapons: Power V bow with plenty of arrows (Infinity helps) or a Loyalty trident for repeat throws. A shield is poor value here; the Warden disables it on hit.
- Utilities: Night Vision helps you see despite Darkness, though visibility still collapses beyond a short radius. Carry food, regular and splash healing, and a Totem of Undying if you have one.
- Blocks: Wool blocks/carpets for silent paths, plenty of building blocks for towers or tunnels, and cobwebs if you’ll use a trap.
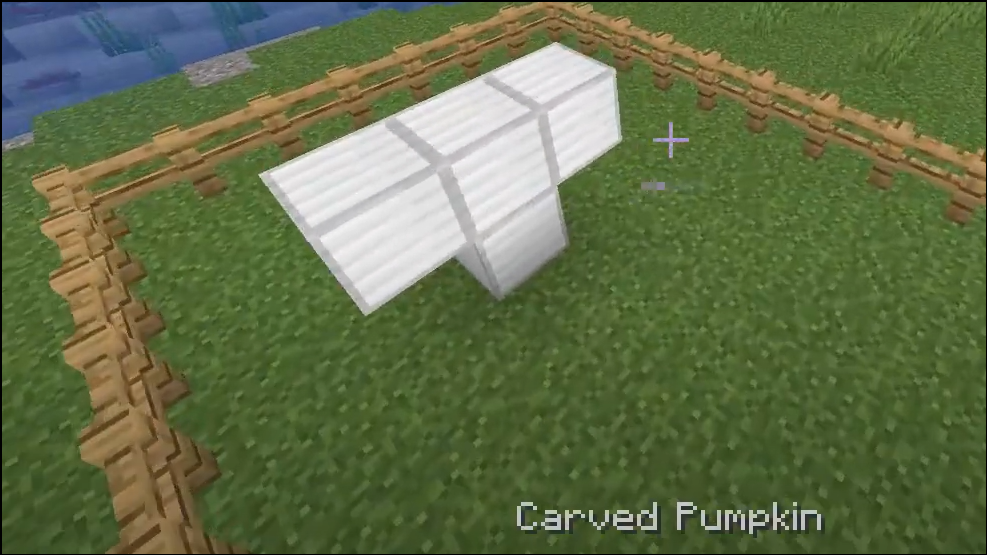
- Special items (optional): End crystals with obsidian for burst damage, carved pumpkins and iron blocks if you plan an iron golem group.
Method 1: Make the Warden despawn (lowest risk, no combat)
This approach clears the area so you can safely loot Ancient City chests without a drawn-out fight.
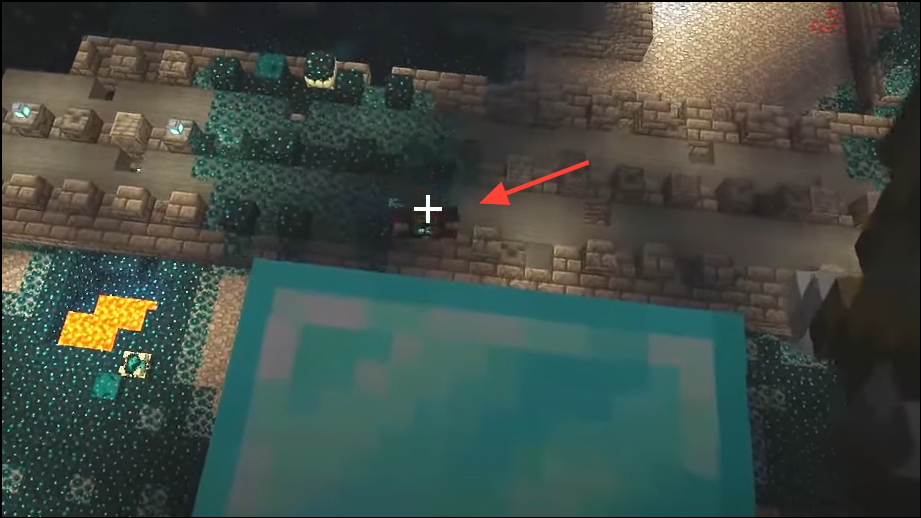
Step 1: Break line of sight and stop moving. The Warden tracks vibrations within about 16 blocks; standing still and sneaking on wool keeps your position ambiguous.
Step 2: Get into a sealed, quiet room. Close doors, avoid mining or placing blocks, and prevent nearby mobs from wandering near you, as their movement resets the despawn timer.
Step 3: Wait roughly 60 seconds with no detected vibrations. If the Warden remains “calm” that long, it burrows and despawns, letting you continue exploration safely.
Method 2: Distance kill with a bow — tower or tunnel
Killing at range works because sonic boom has a finite vertical and horizontal reach and pierces walls.
Step 1: Build your position before the Warden spawns. Either pillar up so your feet are over 20 blocks above where the Warden will stand, or dig a straight tunnel so you can shoot from 16+ blocks away.

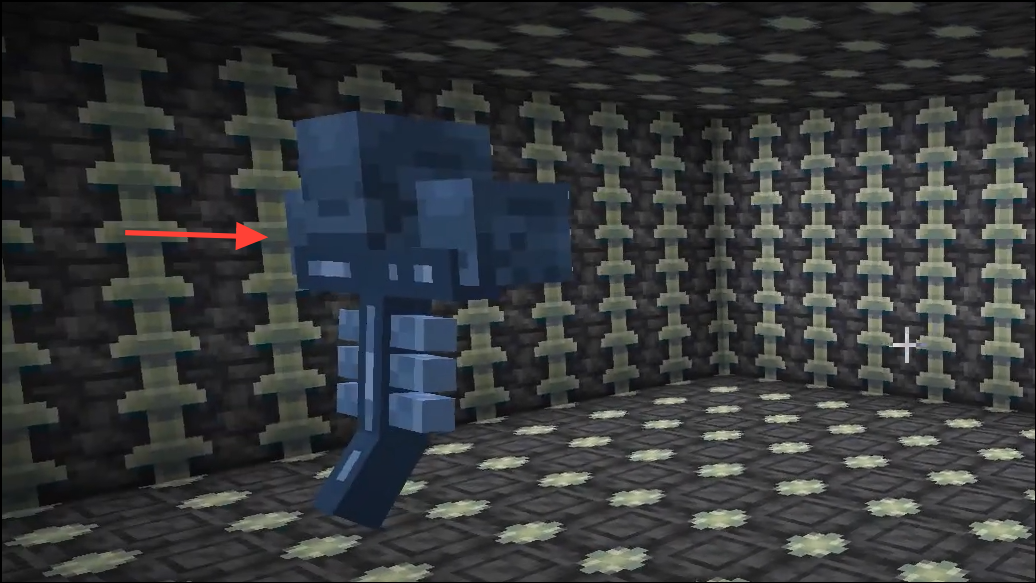
Step 2: Trigger the shrieker to summon the Warden, then hold position. It takes several seconds to emerge and is invulnerable until fully out of the ground; do not waste shots early.
Step 3: Start sustained bow fire from your safe range. Use a Power V bow; Punch helps create space if you’re using a horizontal tunnel.
Step 4: Maintain spacing while managing Darkness. Night Vision improves near-field visibility, and a Turtle Master potion lets you survive a sonic hit if you misjudge range.
Step 5: Reassess if it approaches. If using a tunnel, back up to keep beyond roughly 15 horizontal blocks; if on a tower, stay 21+ blocks above its head height.
Method 3: End crystal burst damage
End crystals do very high damage when detonated in sequence; this minimizes the time the Warden has to pressure you.
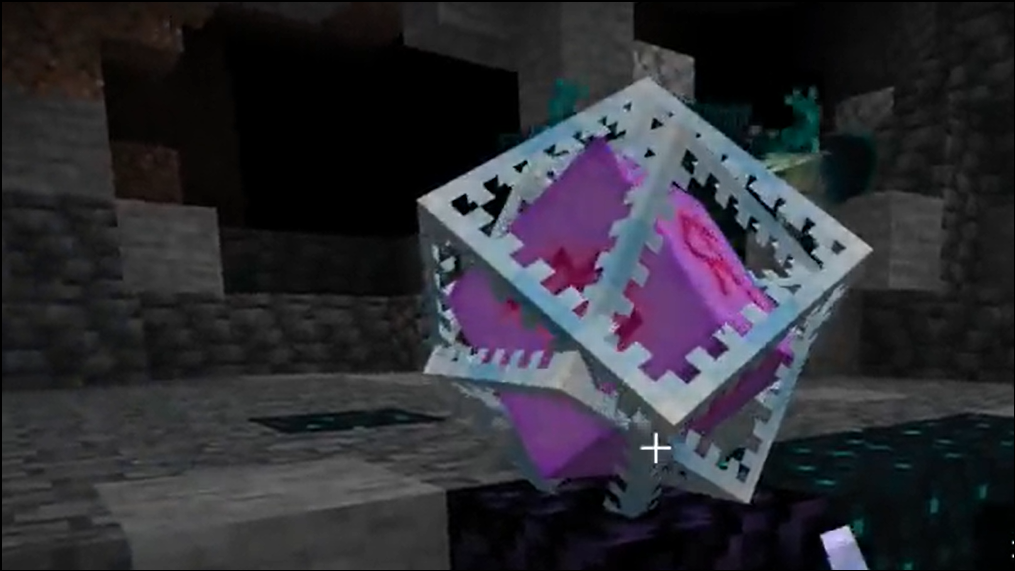
Step 1: Place an obsidian block with an end crystal on top in a clear area. Carry multiple crystals; you will detonate them one at a time as the Warden reaches each spot.
Step 2: Lure the Warden to the crystal, then detonate it from a safe angle. Use arrows or a single melee tap and retreat; wear Blast Protection if you expect to be close.
Step 3: Repeat the lure-and-detonate cycle. Plan a simple path so you can place and explode several crystals quickly; expect multiple blasts to finish the job.
Method 4: Cobweb pit trap with safe DPS
Slowing the Warden in cobwebs buys you time for clean ranged damage while you control your position.
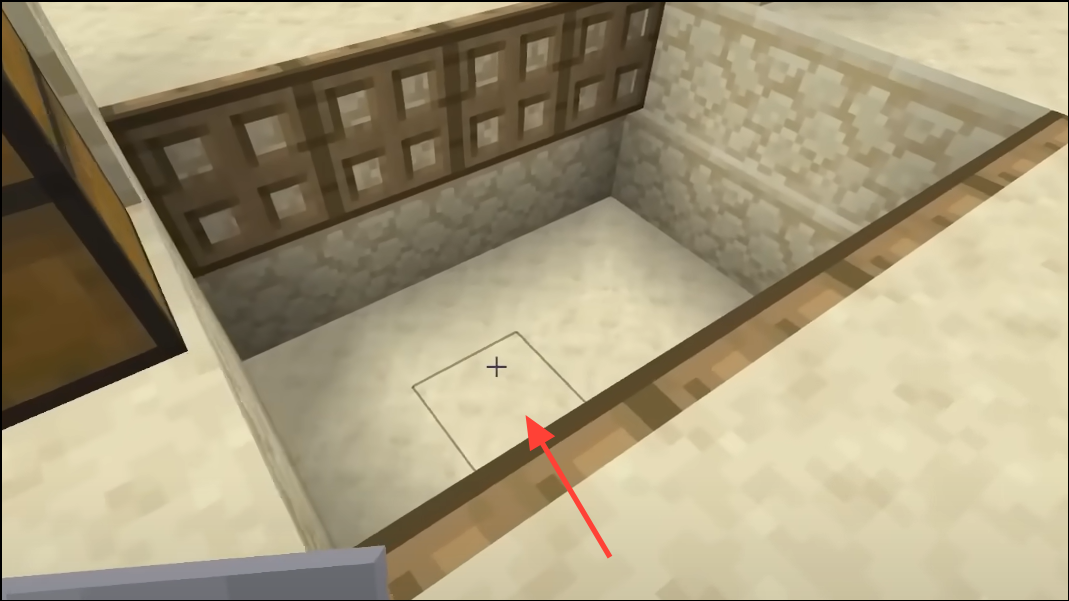
Step 1: Pre-build a 2×2 pit at least 3 blocks deep, filled with cobwebs. Add trapdoors at the top so it walks “across” and drops through when opened.
Step 2: Bait the Warden over the trap and open it. Use eggs, snowballs, or a quick tap to set aggro, then move onto silent wool to keep your own vibrations minimal.
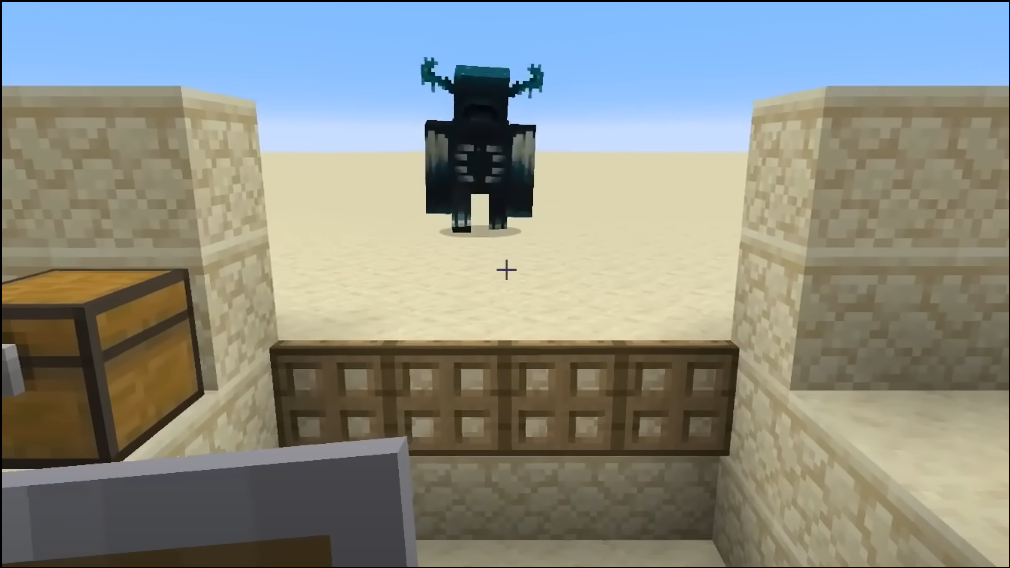
Step 3: Attack from a safe lane. A bow or Loyalty trident lets you stand outside sonic boom’s effective reach; if you get too close, expect it to swap to melee quickly.
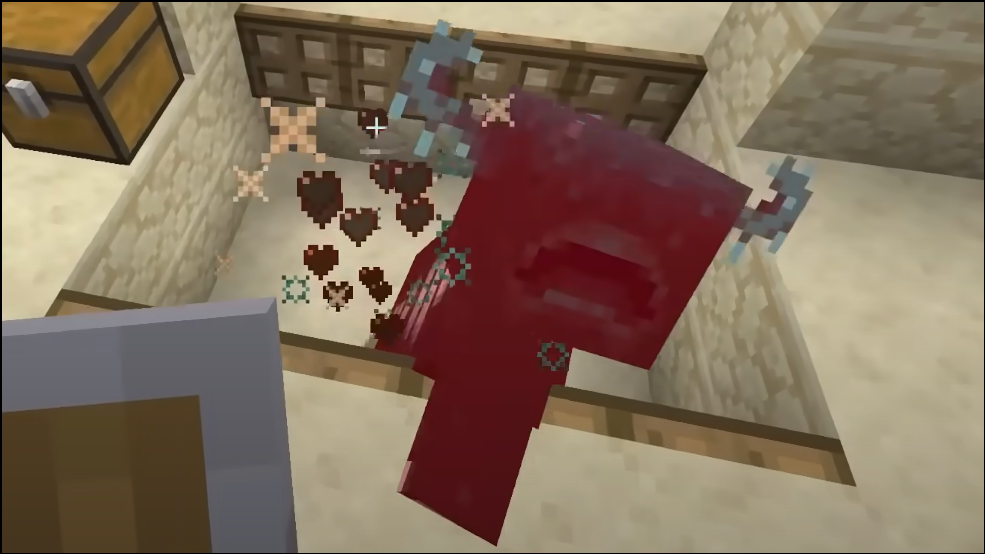
Step 4: Add wool carpets around your firing position. That dampens stray step sounds and makes it harder for the Warden to reacquire you if you reposition.
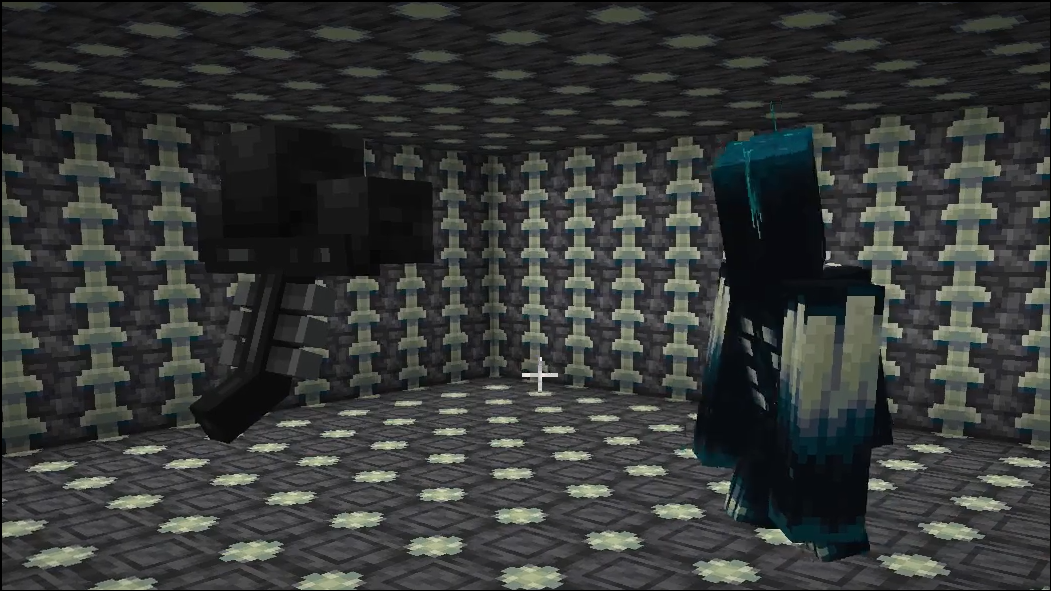
Method 5: Proxy fight — spawn a Wither
Let two heavyweights damage each other while you stay out of danger, then clean up the survivor.
Step 1: Prepare the Wither in a controlled cavity near the Ancient City. Confirm your escape route and that you won’t collapse the area you’re using.
Step 2: Spawn the Wither and immediately break contact. Its activity will trigger a Warden; both mobs typically focus each other fast in tight spaces.
Step 3: Wait until one is low and finish the survivor at range. Expect terrain damage and be ready to disengage if either approaches your position.
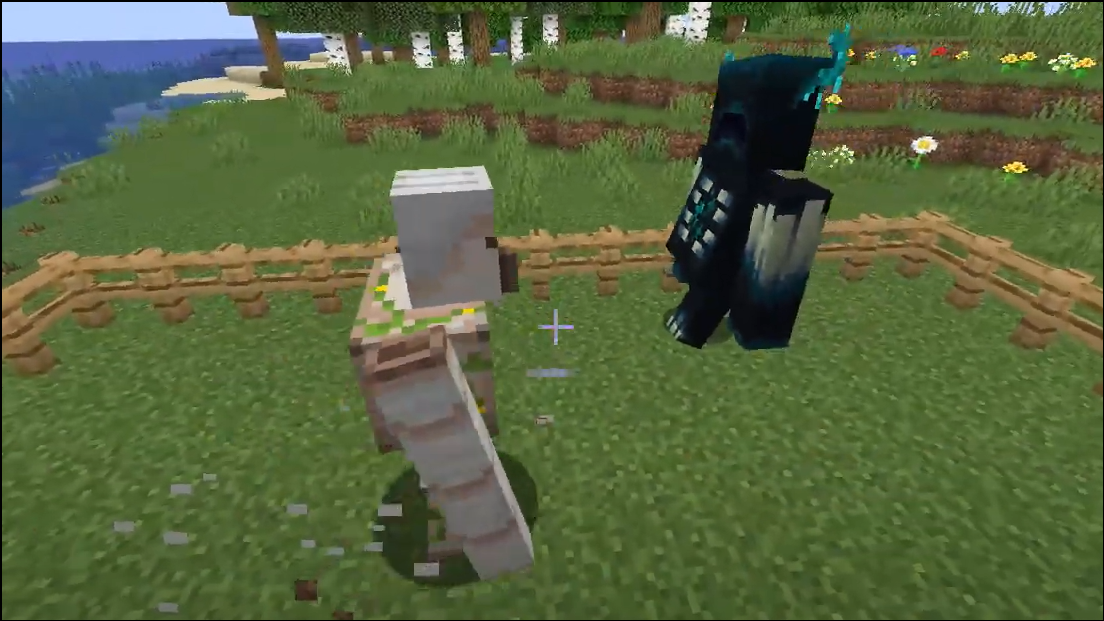
Method 6: Iron golem group
A golem squad is expensive but can pin the Warden long enough for you to contribute damage safely.
Step 1: Bring iron blocks and carved pumpkins to the city. Build a flat summoning area so golems don’t clip on uneven terrain.
Step 2: Summon several golems quickly and keep your distance. A single golem loses one-on-one; a group can corner the Warden while you fire from range.
Step 3: Replace losses until the Warden falls. Expect to consume a lot of iron; this is practical only if resources are plentiful.
Spawn control and prevention
Fewer shrieks means fewer Wardens. Manage the environment to avoid repeated spawns mid-fight.
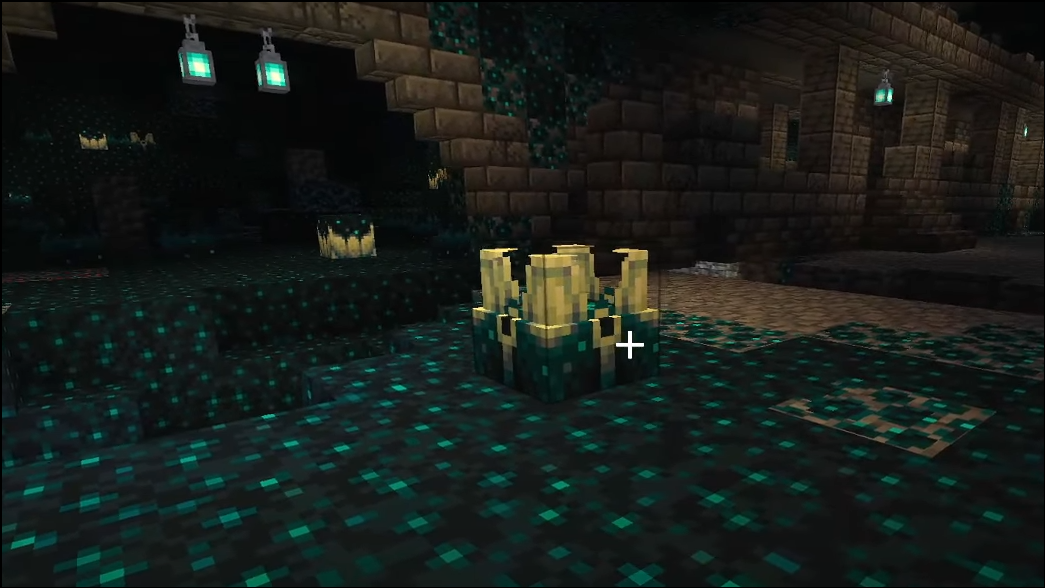
Step 1: Identify naturally generated sculk shriekers before you start. Remember: the warning count is per player, and shriekers can trigger again once a Warden is gone.
Step 2: Sneak on wool and carefully mine shriekers. Silk Touch lets you relocate them; otherwise, destroy key shriekers along your route to reduce accidental summons.
Step 3: Build silent paths with wool carpets and avoid sprinting or jumping. Snowballs or arrows thrown away from you can redirect the Warden via vibration pings.
Admin or single-player quick options (cheats)
For testing or server maintenance, commands can end the encounter immediately.
Step 1: Disable spawns temporarily if you’re managing an area. Use /gamerule doWardenSpawning false to stop new Wardens when shriekers trigger.
Step 2: Remove a Warden on demand. Use /kill @e[type=minecraft:warden] to delete existing Wardens in range.
What the Warden drops and why that matters
For the risk involved, the loot is modest: a single sculk catalyst and a small XP reward when killed by a player or tamed wolf. If your goal is Ancient City loot or a safe Deep Dark passage, despawning or bypassing fights is often the smartest play.
Plan your terrain, control sound, and keep the fight on your terms. Whether you let it dig away or take it down from safety, discipline and preparation make the Warden manageable.