
Nowadays, designing your own website has become incredibly easy thanks to the large number of tools that are available for this purpose. Figma is one such tool that lets you do so without needing any coding knowledge. It is a versatile program that lets you put together a website simply by dragging and placing objects together on a canvas. There are several ways by which you can go about designing your website using Figma and here is one of the simplest ones you can try out.
Step 1: Set up your design project
To start designing your own website in Figma, you first need to set up a new design project.
- Head to the Figma website in your browser or launch the Figma desktop app and sign up or log in to your account.
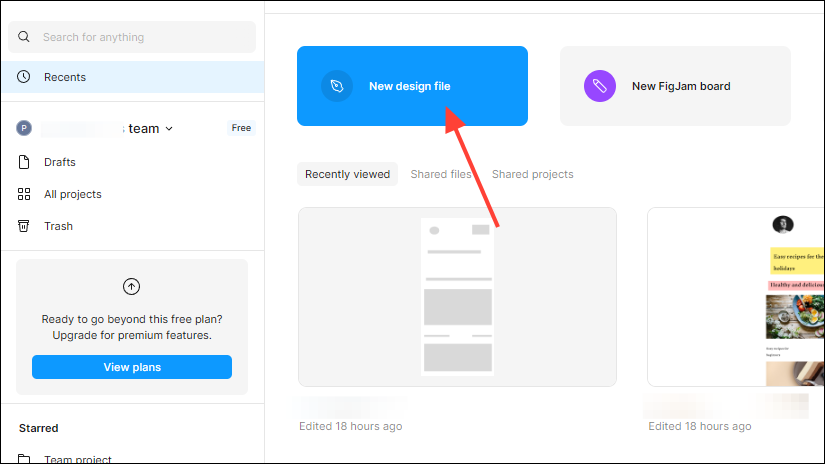
- Once you are logged in, click on 'New design file'.
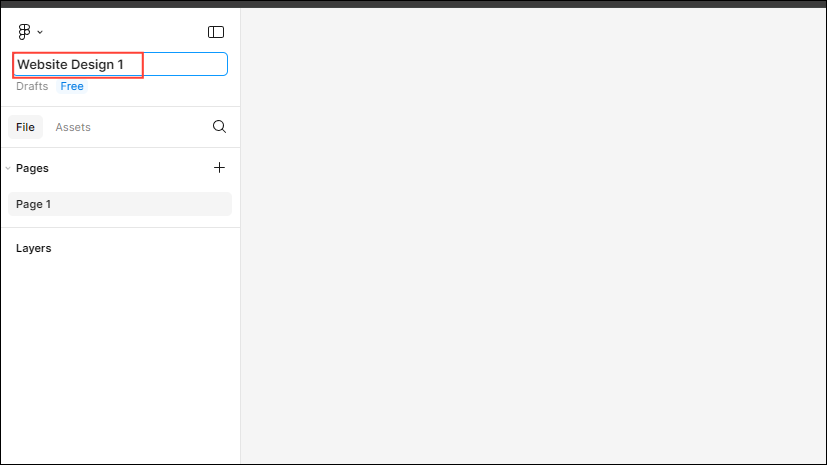
- When the new design file opens, click on the top left where it says 'Untitled' and type in a name for your project, such as 'website design'. On the right, you will see the canvas on your screen, which is the grey background for your design project.
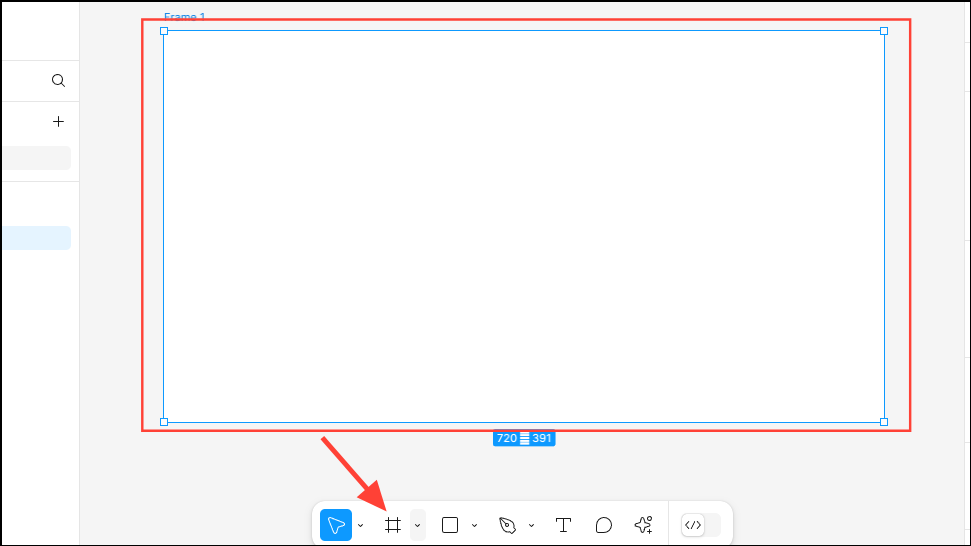
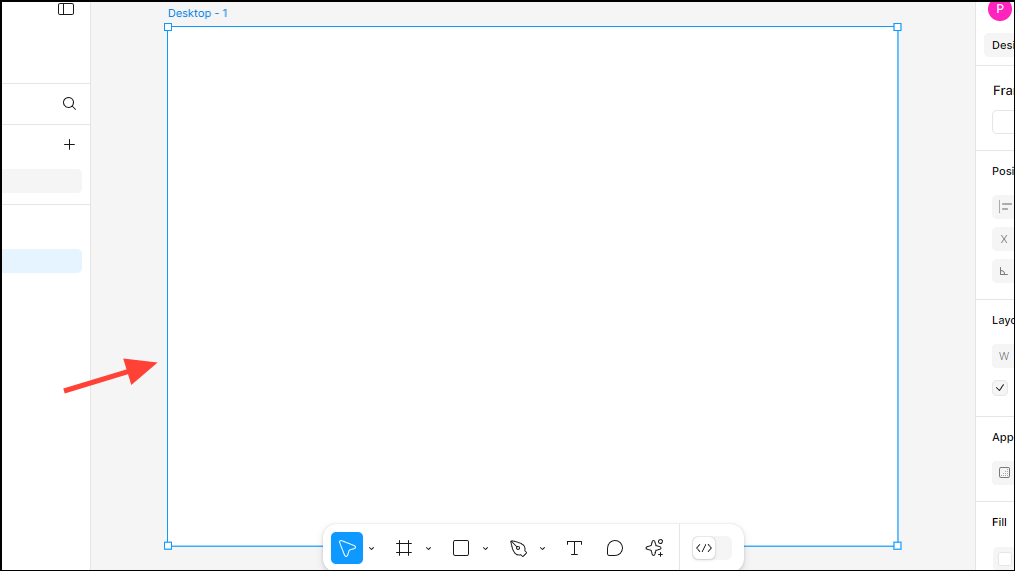
- To start designing a website or anything else in Figma, you use frames, which are containers that hold all other objects and elements. Press the
Fkey or click on the second tool, which is the Frame tool, on the Tools panel at the bottom and then drag on the canvas to create a frame.
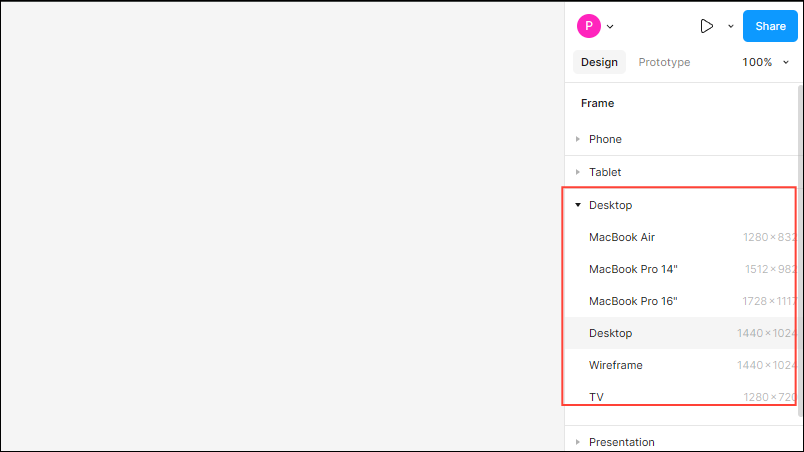
- When you select the Frame tool, you will also see several presets on the right. You can click on any of these to create a frame for a specific screen size, such as Desktop, Macbook Air, etc. If you want to create a website for traditional desktop screens, go with the desktop option.
- Once the frame is created on the canvas, you can drag the edges of the frame to resize it as you like.
Step 2: Define the layout and structure of your website
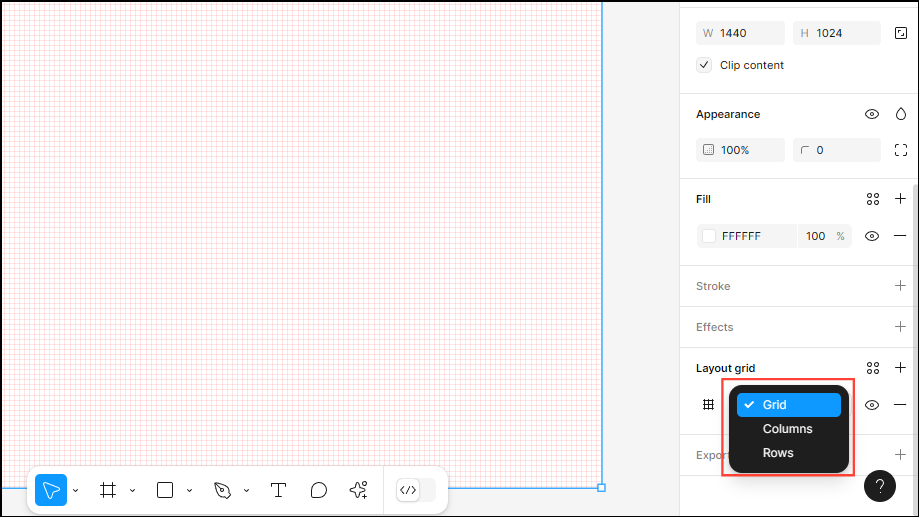
After setting your frame, you need to design the layout of your website. The layout of your website will determine the user experience. In Figma, you can use Layout Grids to organize your website content.
- Click on the frame you created and click on the 'Layout Grid' section of the Properties panel that appears on the right.
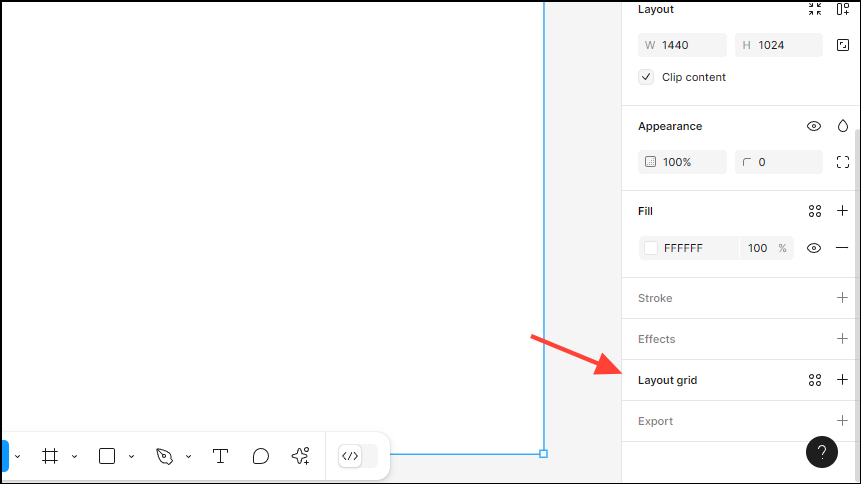
- Then click the dropdown that appears and choose between Grid, Columns, and Rows depending on how you want to structure your website. Here, you can select the Columns option for this project.
- Before you start designing the website, you need to plan its structure. A website has various sections, such as the Header, the Hero section, the main content area, and the Footer.
The Header will have navigation links to different pages of the website, while the Hero section will have text, images, and call-to-action. Then there is the main content area, which can contain blogs, services, features, etc. At the bottom, you have the Footer with social media page links, contact information, and other details.
Step 3: Create and arrange text elements
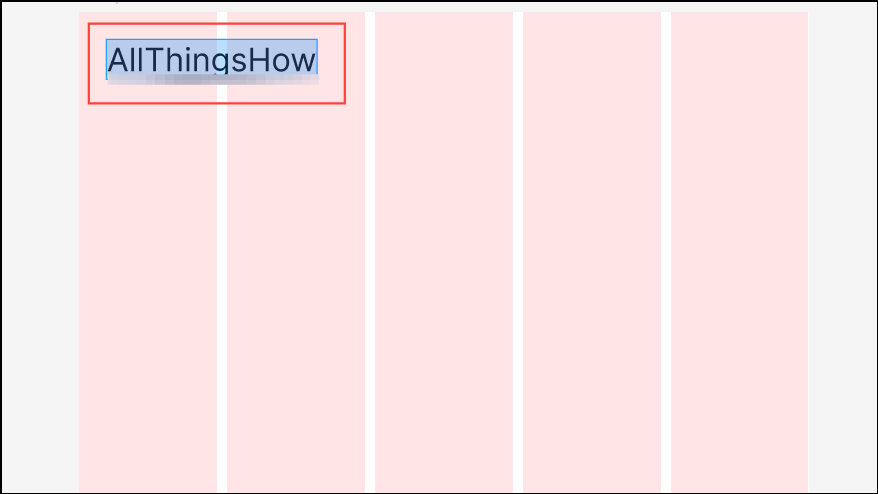
Once you have a clear idea about the structure of your website, you can begin the design process. Start by creating the text elements like the website name first.
- Press the
T keyto select the Text tool or click on the 'T' button on the Tools panel at the bottom.
- Then click anywhere near the top of your frame. You should see the typing cursor appear there and can type in text, such as the name of your website.
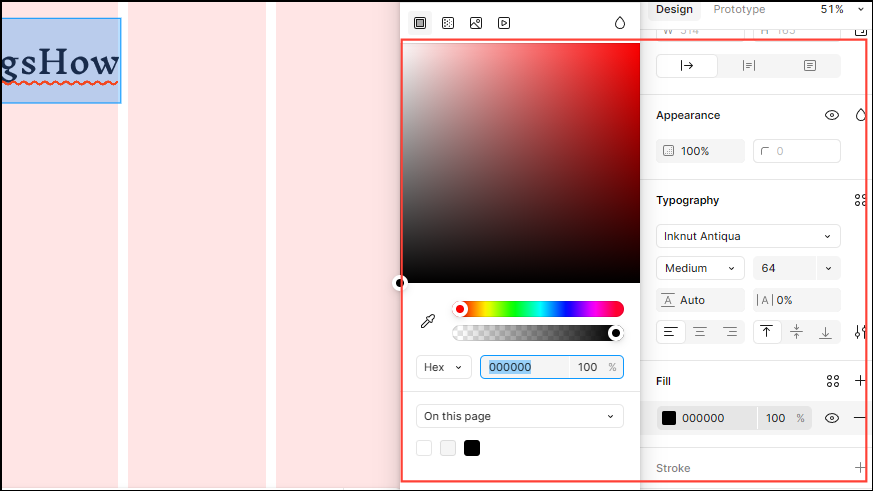
- You can customize how the text appears from the Properties panel on the right. Here you can change the font size, color, style, and more.
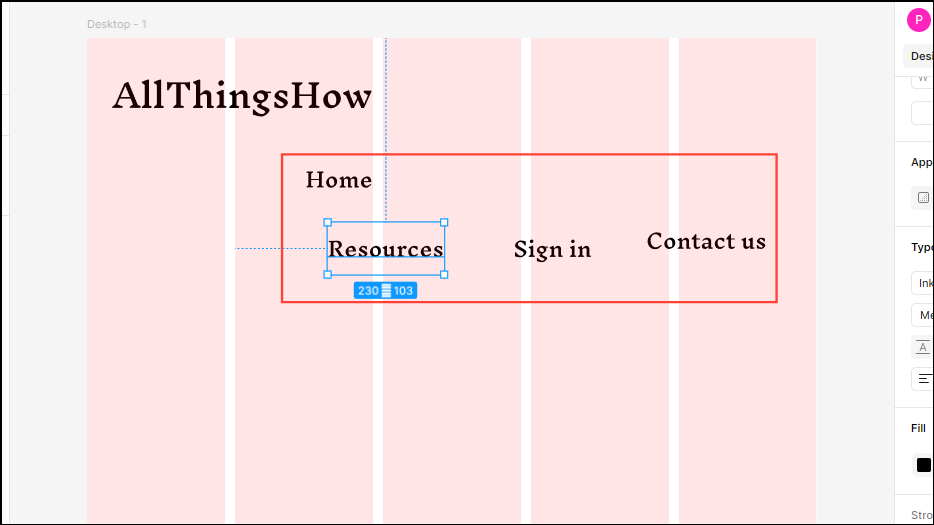
- After creating your website name, use the Text tool to create navigation items in the same way, such as Home, Resources, Sign in, and Contact Us. You can keep the font the same as your website name if you like, but lower the font size and weight for the navigation items to create a visual hierarchy.
- After creating your text elements, press the
Vkey or click on the first tool on the Tools panel to select the 'Move' tool.
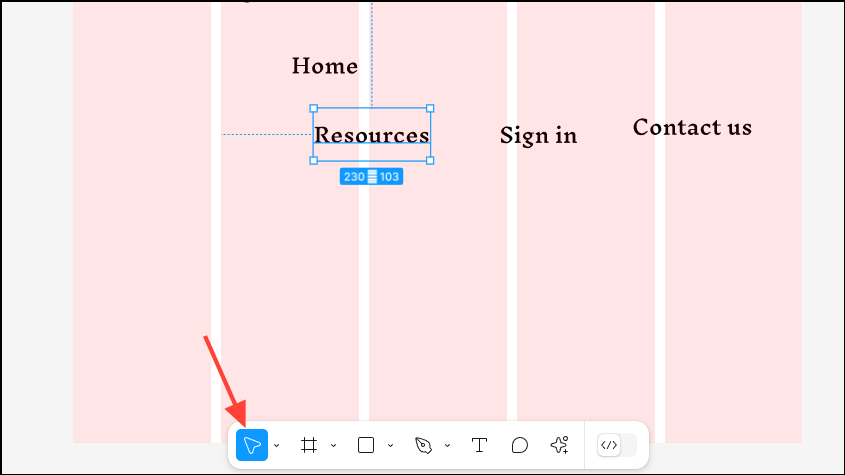
- Then click on a text element, such as your website name to select it. Now, you can drag and reposition it as you want. While moving it, you will see red lines appear on the screen. These allow you to snap different elements, ensuring they are aligned properly. Reposition the different elements as you want.

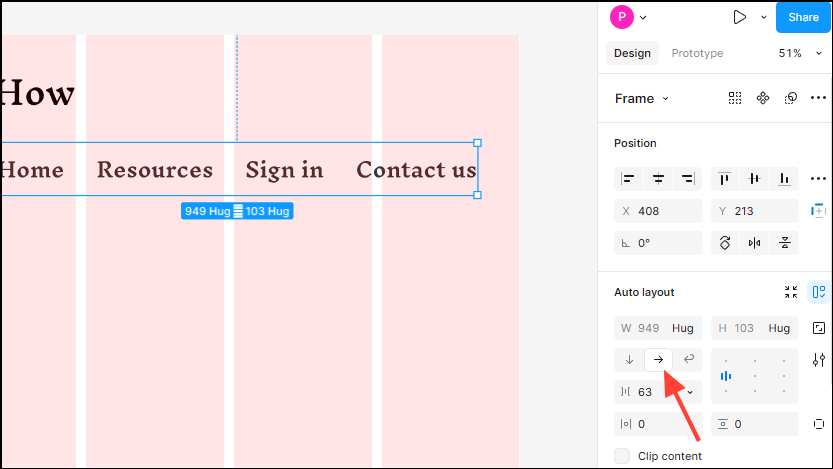
- Alternatively, you can use the
Shift+Ashortcut to add Auto Layout to your project. Then drag and select all elements you want to align before clicking on the 'Horizontal Layout' button in the Auto Layout section on the right.
Step 4: Add images to the design
After you're done with the text elements, it is time to add some images to your website. Figma lets you add images in various ways, but here we will use the Unsplash plugin for adding professional-looking images.
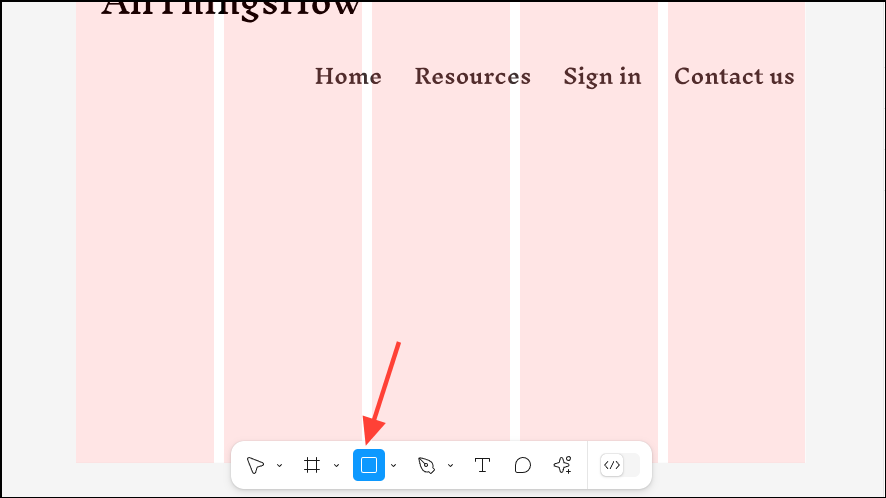
- Click the 'Shapes' tool, which is the third from the left on the Tools panel, or press the
Rkey to select the 'Rectangle' tool.
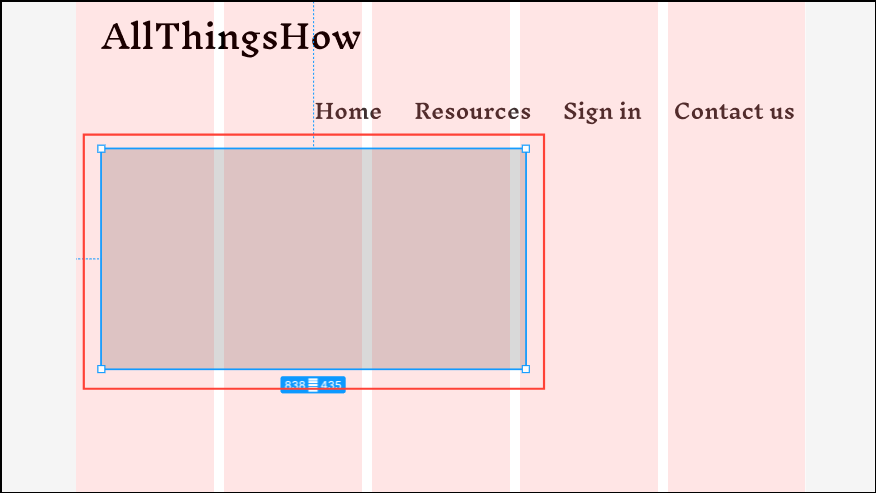
- Click and drag to create a rectangular frame for your first image. You can drag the edges of the frame after creating it to adjust its size.
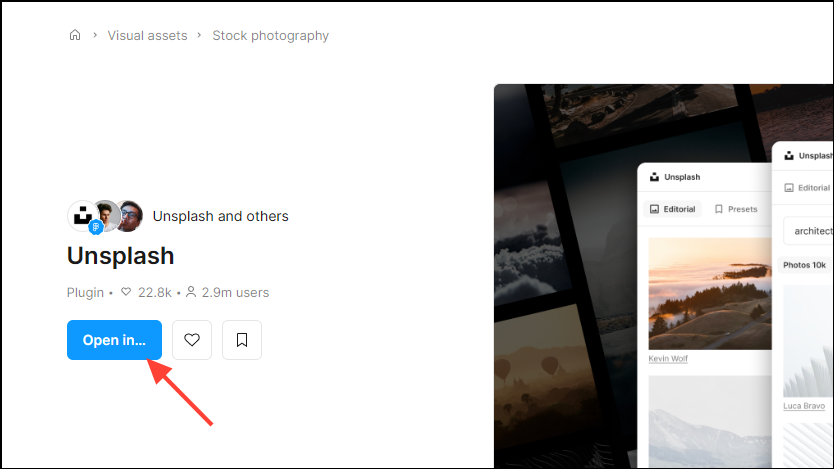
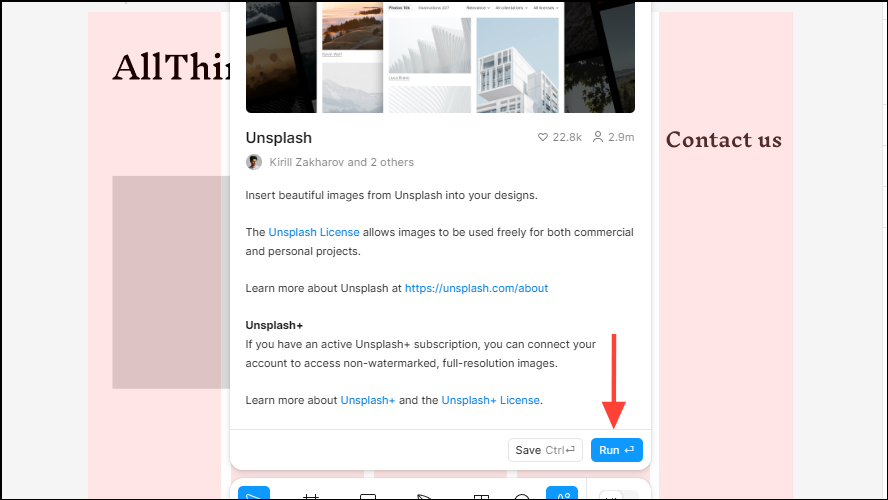
- Open a new browser tab and head to the Unsplash Figma plugin page. Click on the 'Open in' button on the left.
- Select your website design project from the list of projects by clicking on it.

- Then click the 'Run' button to enable the plugin.
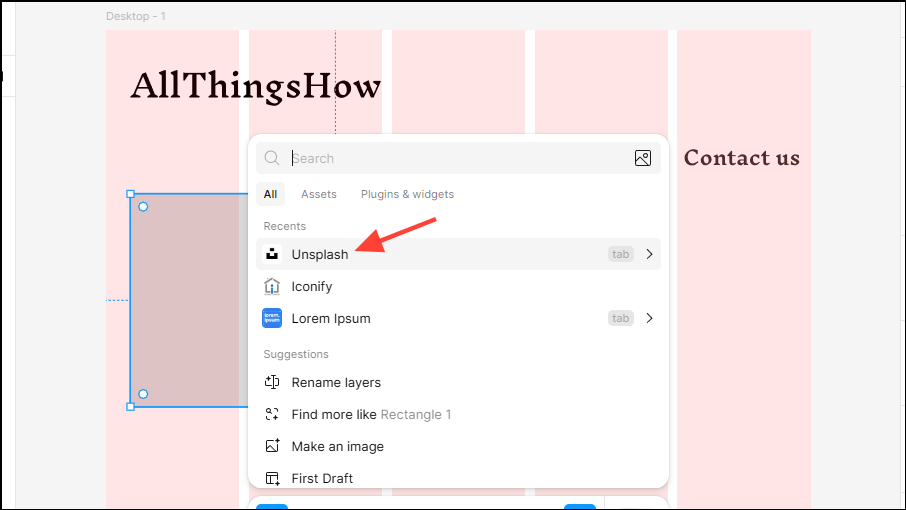
- Click inside the rectangle you created earlier and use the
Ctrl+/shortcut to search for available plugins. Then click on the Unsplash plugin to select it.
- When the plugin appears, enter the type of images you want to search for in the search field and click the 'Search' button. You can search for food, tech, travel, business, etc. depending on what your website is about.
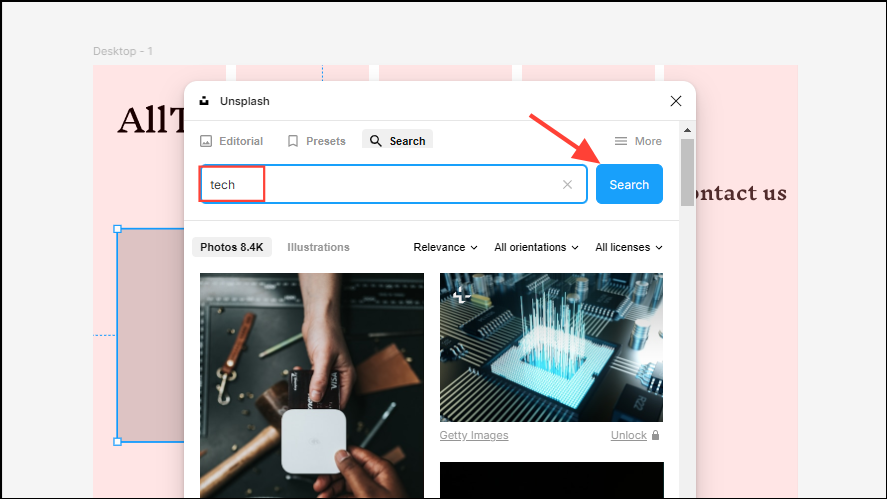
- The Unsplash plugin will show you images relating to the text you enter. Scroll through them and click on the image you want to add to your website and it will appear in the rectangle.
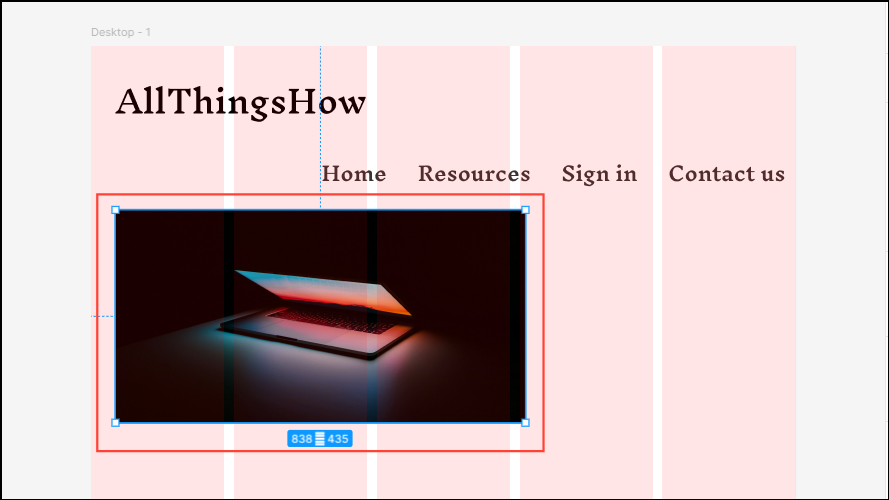
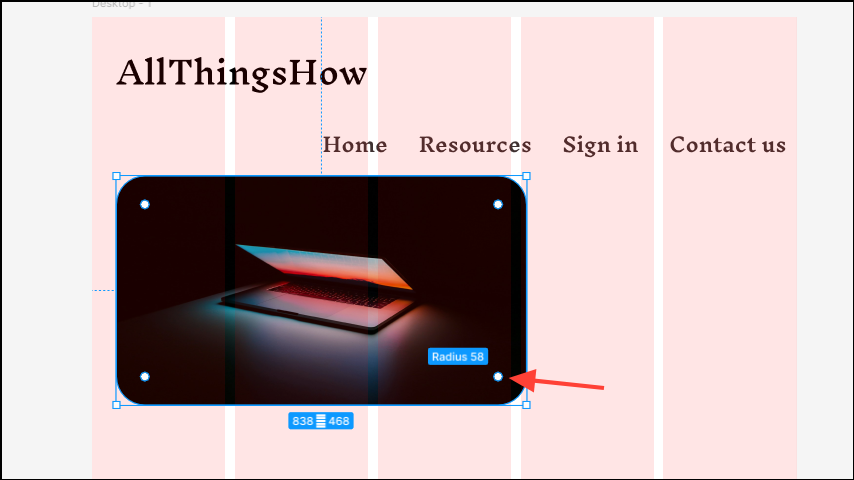
- Again you can click and drag the inserted image from the edges to resize it. Hover your cursor close to the inside edge of the image and you will see handles on all four corners. Dragging from here will let you adjust the corner radius of the image.
Ctrl + K shortcut to insert images. - If you want to add more images, you can do so and resize and reposition them as you like. Remember the purpose of the website when adding images and avoid cluttering the page as that can adversely affect the aesthetic of your website and confuse website visitors.
Step 5: Add buttons and icons
Besides images, your website needs buttons and icons, which will help users interact with it.
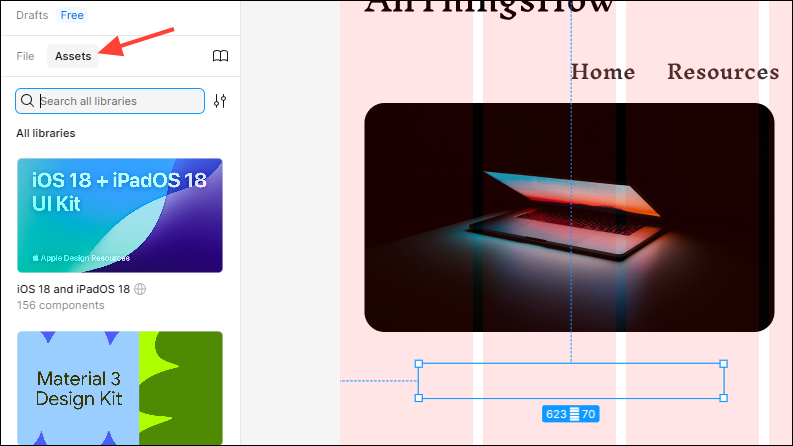
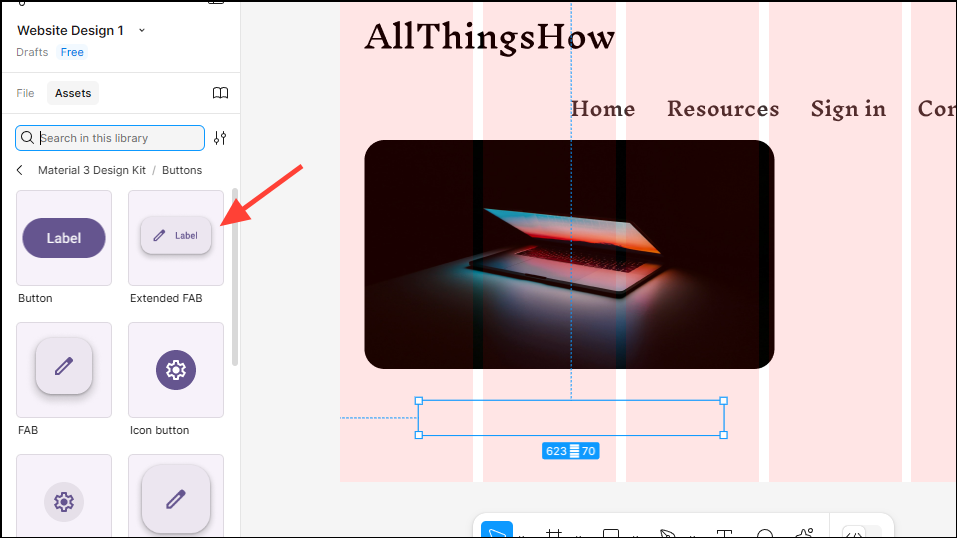
- To create a button, click on 'Assets' on the left.
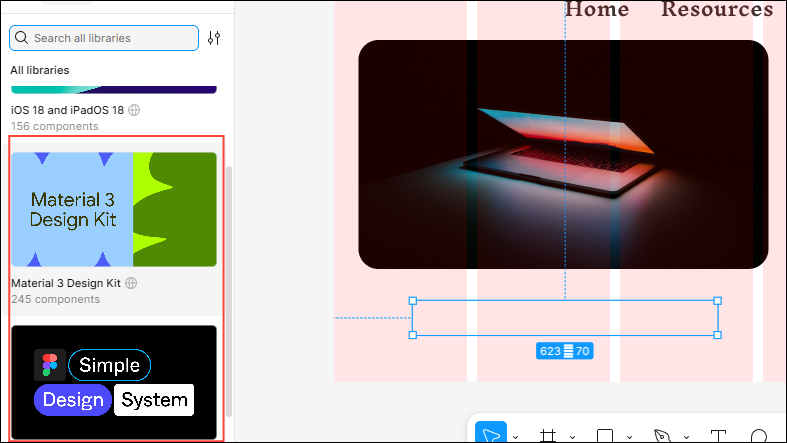
- Here you will find libraries for various components like buttons and icons. Click on a library to open it and see its contents.
- Scroll down and click on 'Buttons' in the library.
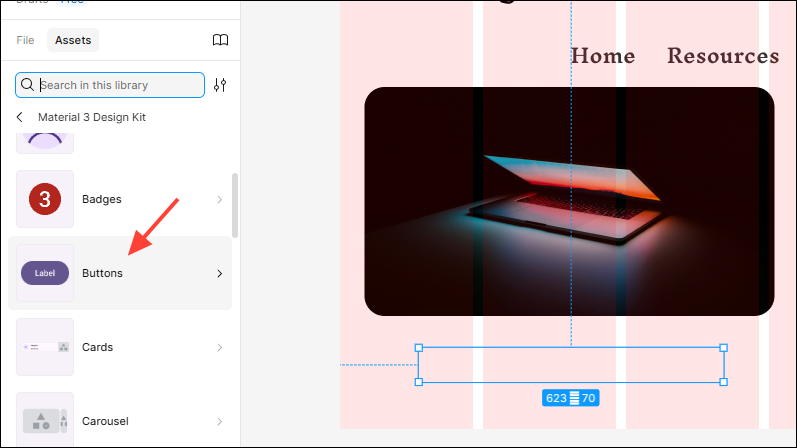
- Click on the button you want to add to your design.
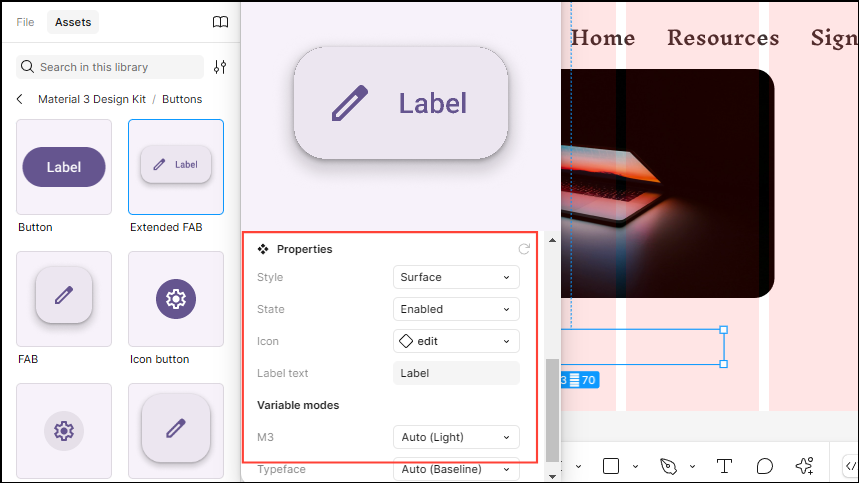
- When you select a button, you will be able to see all its properties and change them as needed. For instance, you can change the style, state, icon, and label of the button.
- After making changes to the button, click on 'Insert instance' to add it to your design.
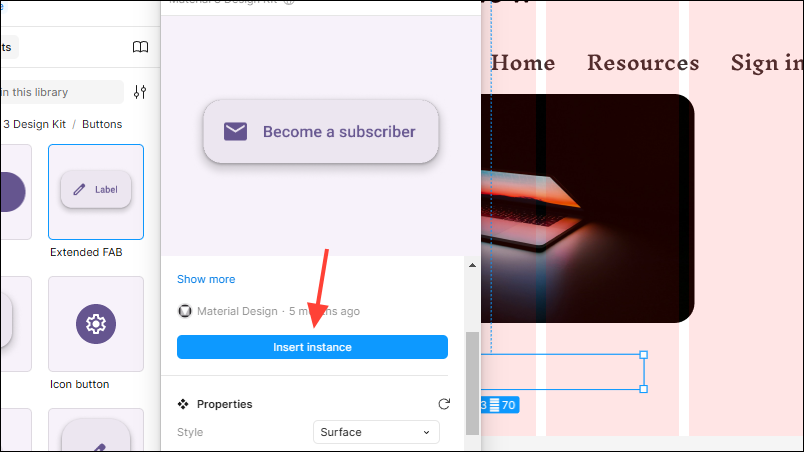
- Once the button appears, you can use the Move tool to drag, resize, and reposition it where needed.

- In the same way, you can add icons to your website design. Go back to the Assets panel on the left and click on the 'Icons' category.
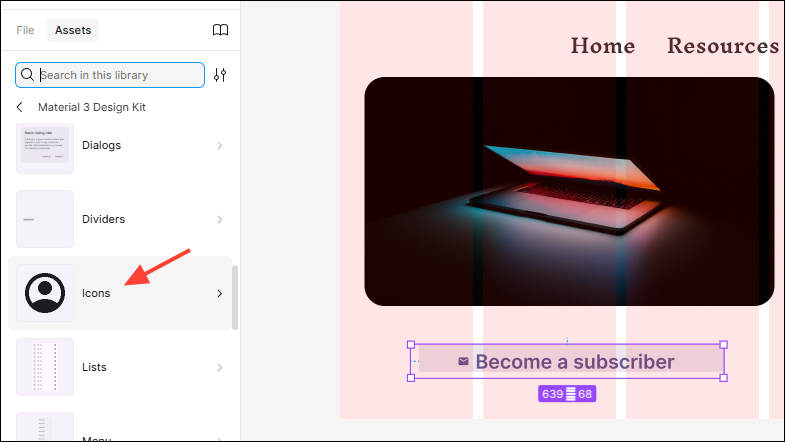
- Click on the icon you want to add and then click on the 'Insert instance' button.
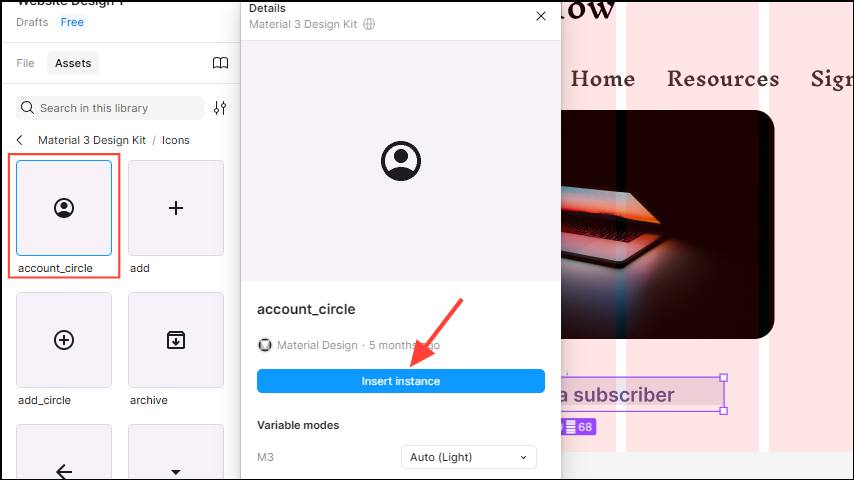
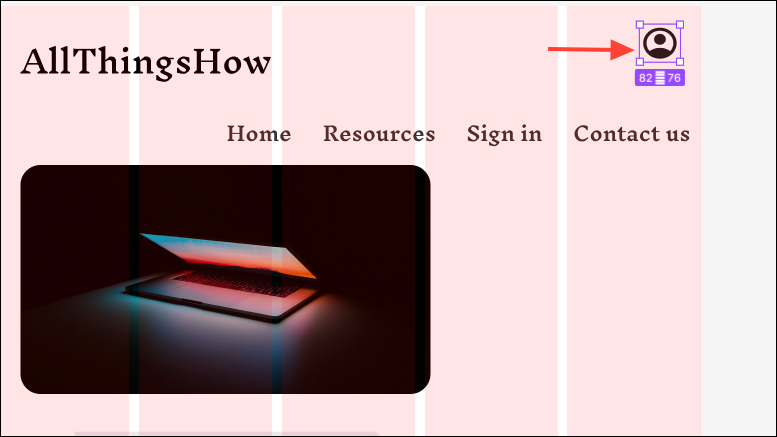
- Resize and reposition the icon where you want after inserting it.
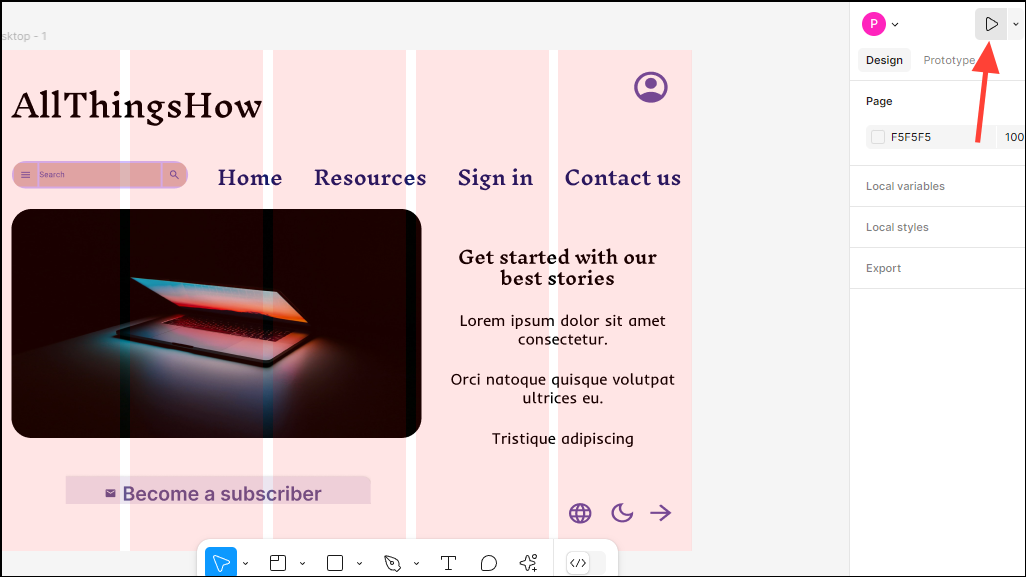
- Before you preview your website, finalize all your design elements. Add any remaining text, images, buttons, and icons you want. Once you're done, click the 'Play' button on the top right to see a preview of your website design.
Things to know
- When designing a website, make sure to stick to a limited set of fonts and colors. This will ensure consistency, provide your website with a simpler, more appealing appearance, and prevent users from getting confused.
- You can play around with different styles when adding elements to the website. Styles let you adjust things like borders, shadows, and colors for such elements so you can make them look more attractive and intuitive.
- An important step of any design is getting feedback. Figma lets you directly share your design with others and get feedback just by inviting them to the project or by sharing the project link with them.
- When creating a website in Figma, designing is just the first step in the process. It is followed by the prototype stage, where you connect the different elements you designed with each other, determine user flow, and test the functionality of the design to see how well it works.