If you're a gamer using Logitech peripherals, you know how essential it is to have seamless control over your devices. Logitech G Hub is a powerful application that brings customization and management of all your Logitech G gear under one roof on Windows 11. This guide will show you how to download, install, and utilize Logitech G Hub to enhance your gaming setup.
Features of Logitech G Hub
Logitech G Hub provides a centralized platform to configure and personalize your Logitech G devices easily. With its intuitive interface, even beginners can navigate through the customization options effortlessly. The software supports a wide range of devices, including mice, keyboards, headsets, joysticks, and more, allowing you to tweak settings, program buttons, adjust lighting, and engage with a community of gamers.
Here's what you can do with Logitech G Hub for different devices:
- Mice: Adjust the optical sensor settings, set DPI levels, configure scroll and acceleration preferences, program buttons, manage onboard memory, and customize LIGHTSYNC lighting.
- Keyboards: Create macros with G Keys, remap keys, set up multi-key bindings, design intricate macros, and program LIGHTSYNC effects.
- Headsets and Speakers: Customize EQ settings and surround sound preferences for each game profile, program LIGHTSYNC lighting, and assign G Keys on headsets for quick actions.
- Webcams: Develop custom camera and video profiles that can be switched instantly, with settings saved and applied at startup.
LIGHTSYNC is a standout feature that enables you to synchronize lighting effects across supported devices. You can choose from various animation effects, create your own, or download profiles shared by the community to have coordinated lighting during gameplay.
Moreover, Logitech G Hub offers access to game profiles shared by streamers and professional players, making it easy to experiment with different mouse settings, keybinds, and macros. You can also create and share your own profiles for individual games or even different characters within a game.
The software supports third-party app integration with platforms like Discord, OBS, and Overwolf, expanding its functionality further. Logitech G Hub automatically detects your devices, recognizing their types, and unlocks all available customization options without any additional configuration.
Downloading and Installing Logitech G Hub
Getting Logitech G Hub on your Windows 11 system is straightforward.
Step 1: Visit the official Logitech G Hub download page for Windows 11 and click on the ‘Download Now’ button.
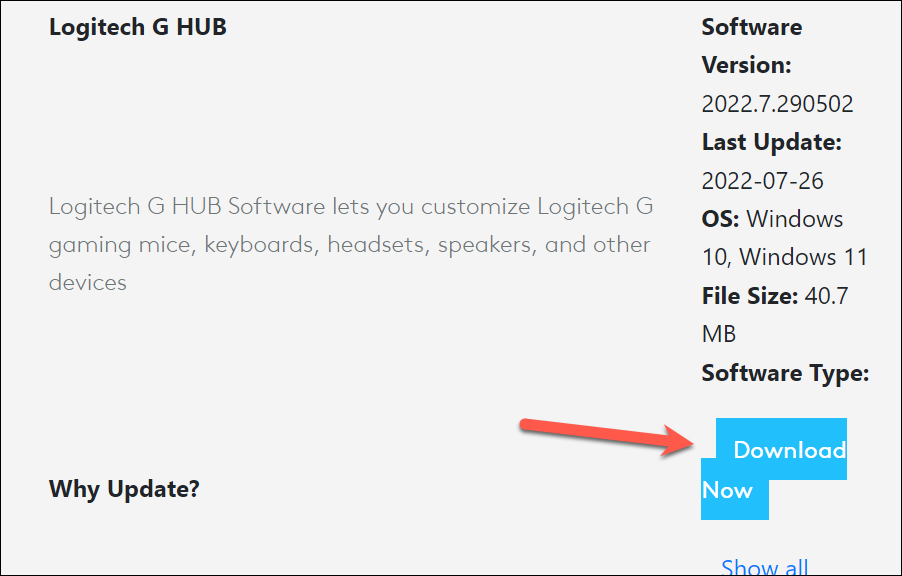
You can also download it from the Logitech G Hub webpage. Even if it mentions ‘Download for Windows 10’, the application is fully compatible with Windows 11. The download link provides the same executable file in both cases.

Step 2: After downloading, navigate to your downloads folder and double-click the .EXE file to start the installation process.
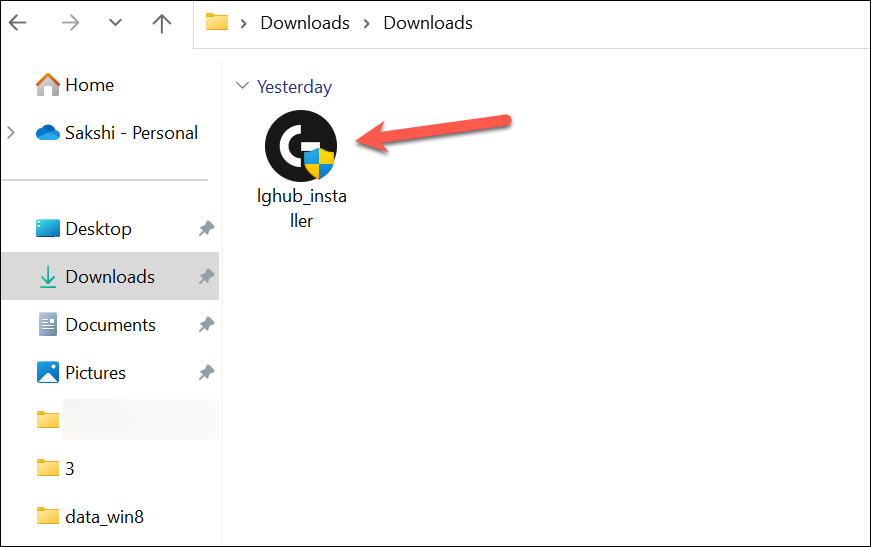
Step 3: When the User Account Control prompt appears, click ‘Yes’ to proceed. The installer will begin downloading preliminary files required for the main installation.
Step 4: You'll be prompted to restart your computer once the initial files are downloaded. Choose whether to restart immediately or at a later time that suits you.
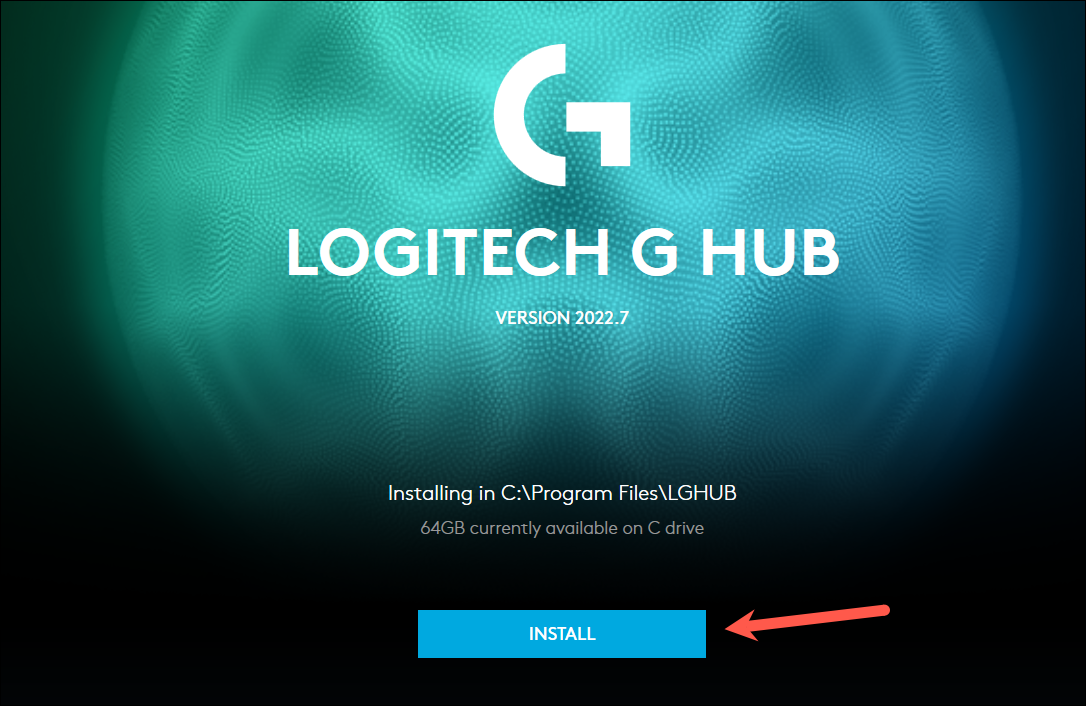
Step 5: After restarting (if you chose to do so), the installer will reopen automatically. If it doesn't, open it manually by double-clicking the .EXE file again. Click the ‘Install’ button to begin the full installation.
Using Logitech G Hub
Once the installation is complete, the Logitech G Hub application will launch.
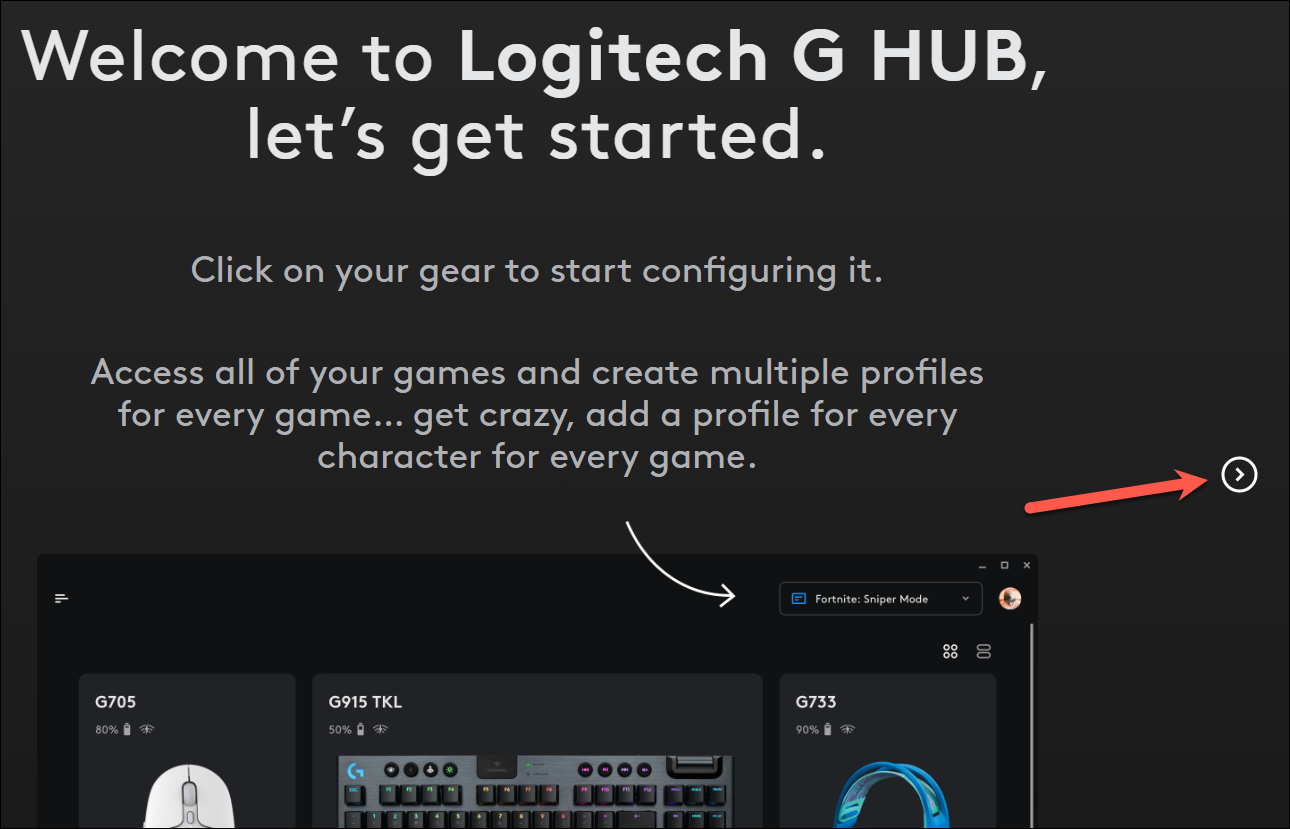
Step 1: Go through the initial setup screens by clicking the arrow on the right until you reach the final screen.
Step 2: Click on ‘Launch G Hub’ to open the main application.

Step 3: A prompt will ask if you wish to send analytics data to Logitech. Choose your preference by selecting the appropriate option and click the button below to proceed.
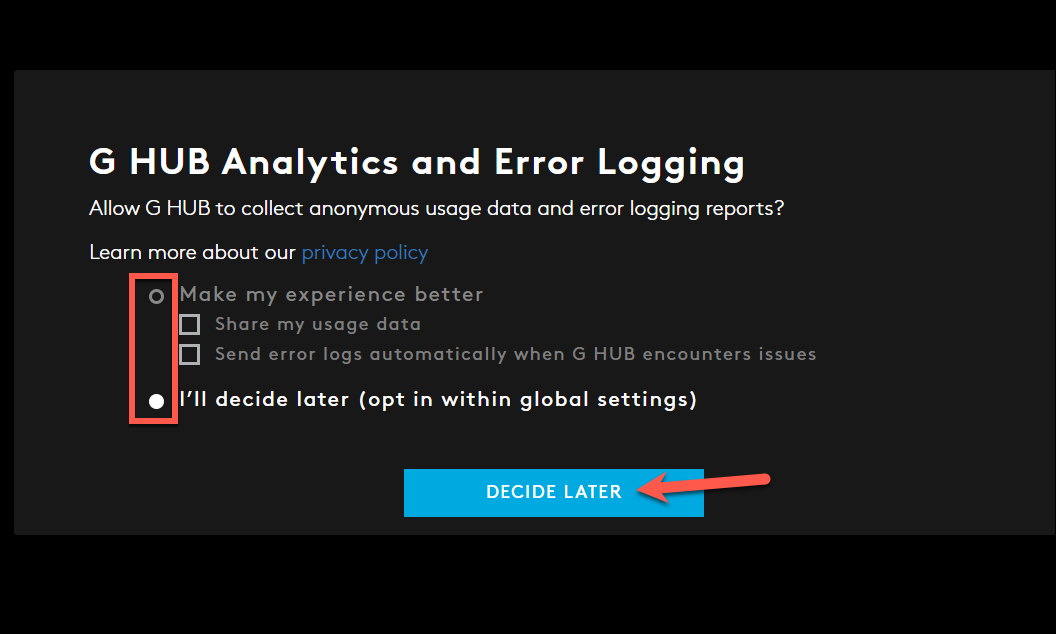
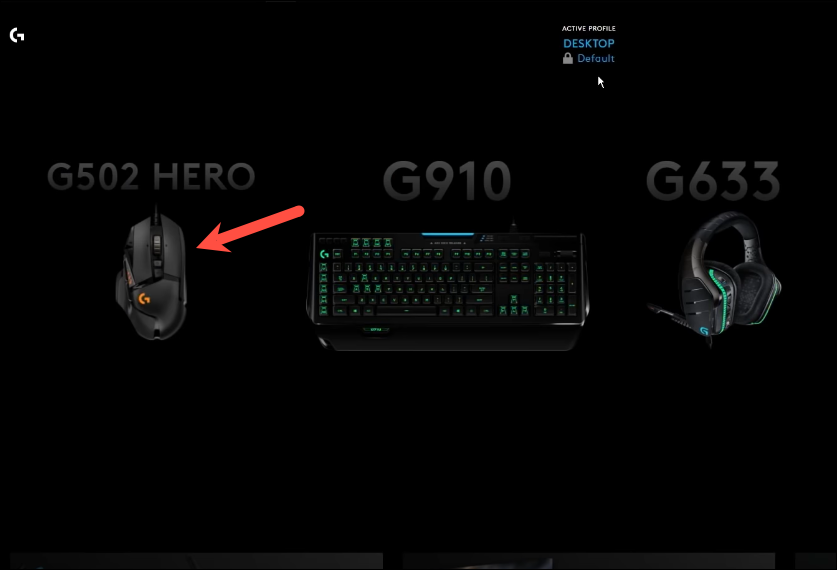
Step 4: The application will automatically detect your Logitech G devices. On the dashboard or Home screen, click on the device you wish to configure.
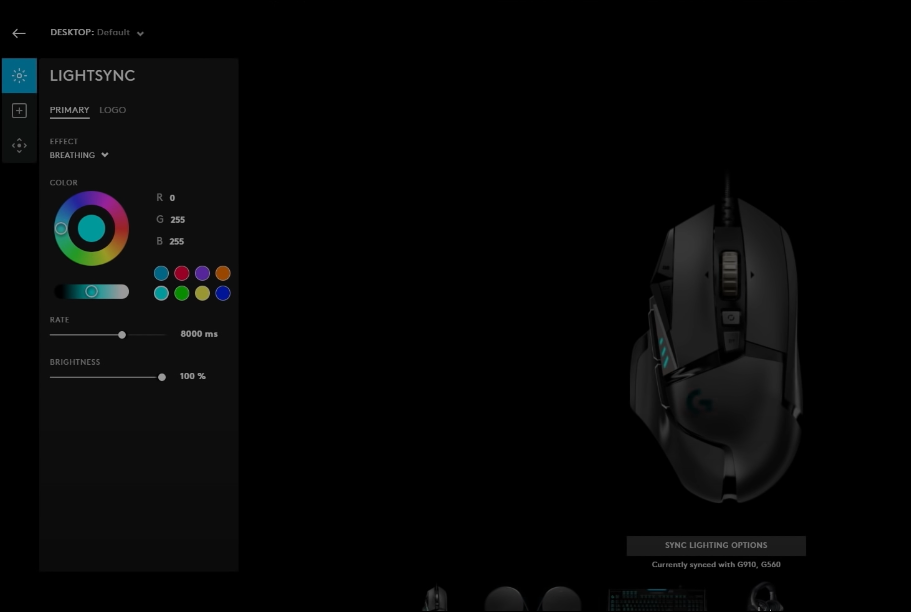
Step 5: The device's customization screen will open, displaying options specific to that device. Here, you can adjust settings like LIGHTSYNC lighting, DPI levels for mice, macro assignments for keyboards, and more.
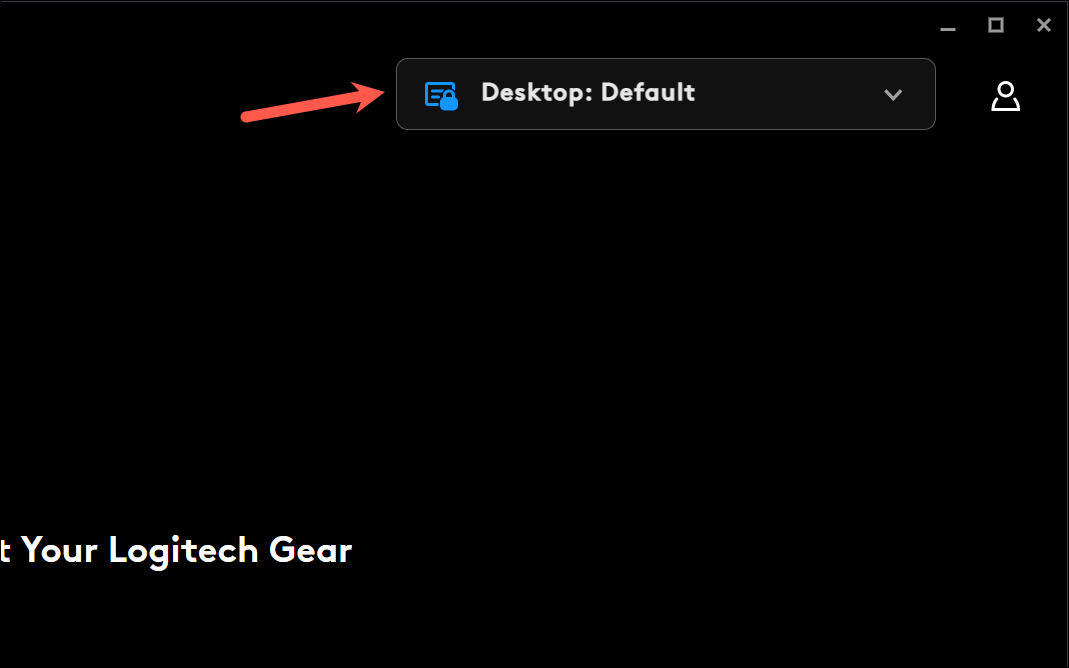
By default, the profile selected is ‘Desktop’.
Step 6: To manage profiles, click on the profile drop-down menu at the top of the screen and select ‘Manage Profiles’.
Step 7: Logitech G Hub will scan your system for installed games and applications, displaying them under ‘Games & Applications’. If a game isn't detected, you can add it manually.
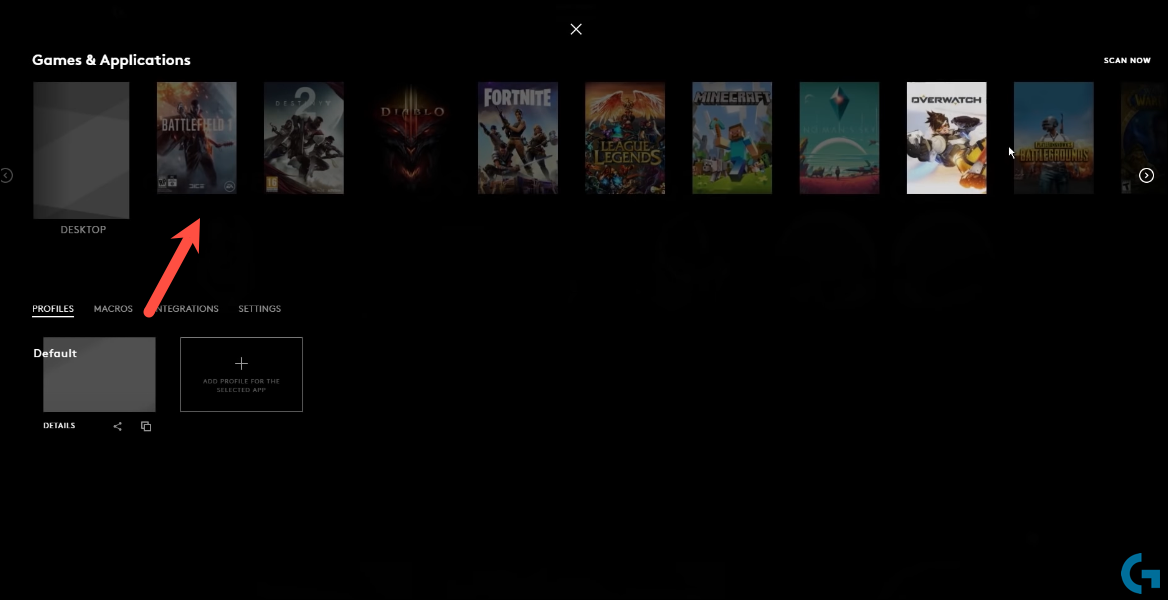
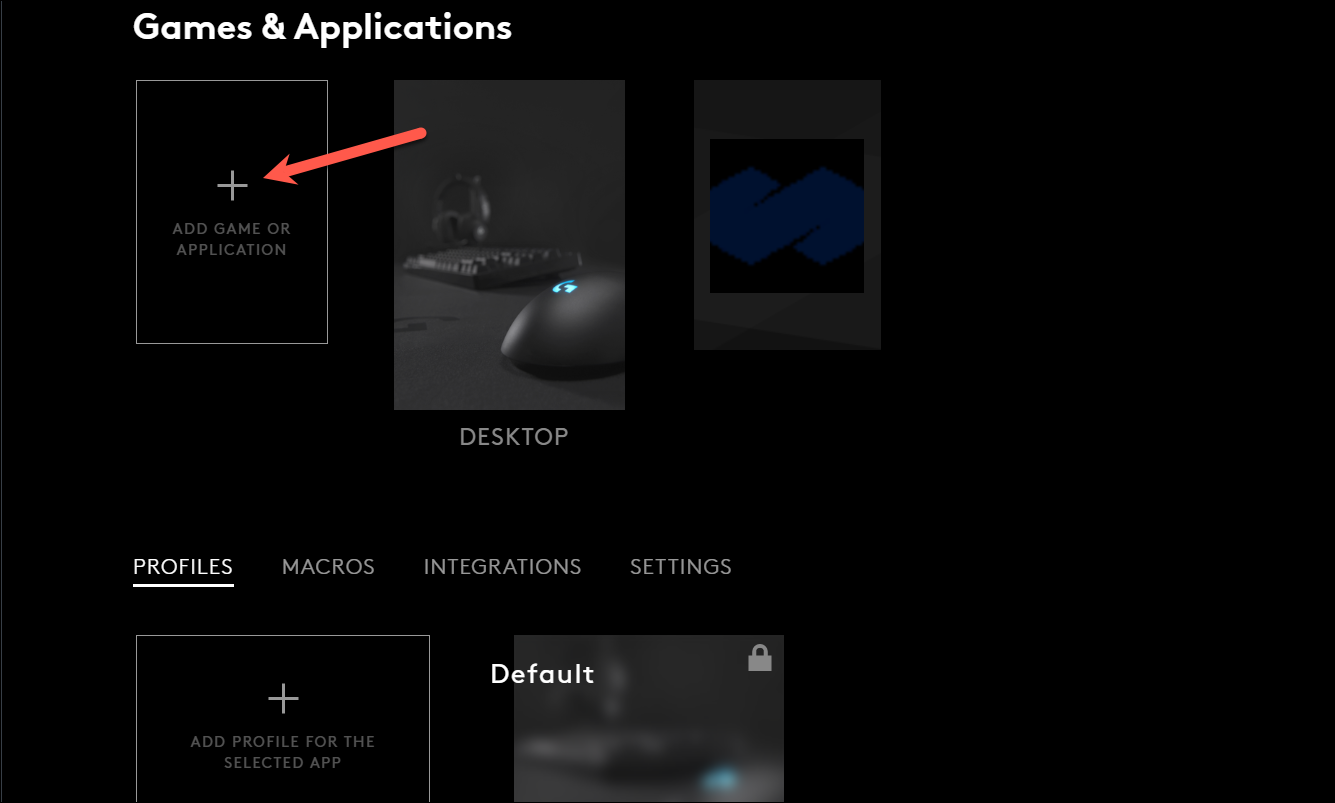
Step 8: To manually add a game or application, click the ‘Add Game or Application (+)’ button and navigate to the application's executable file on your computer.
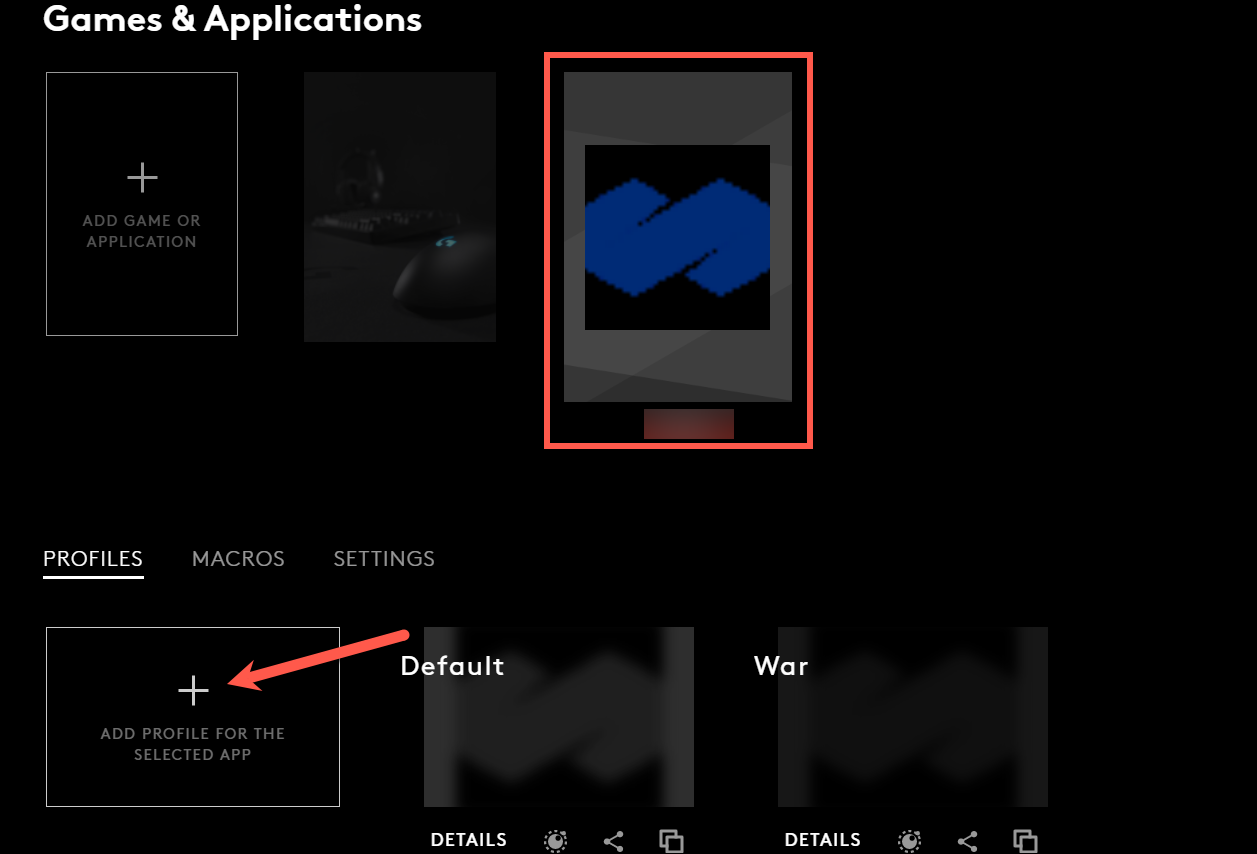
Step 9: To create a new profile for a game, select the game icon under ‘Games & Applications’ and click on ‘Add a Profile for the Selected Game’.
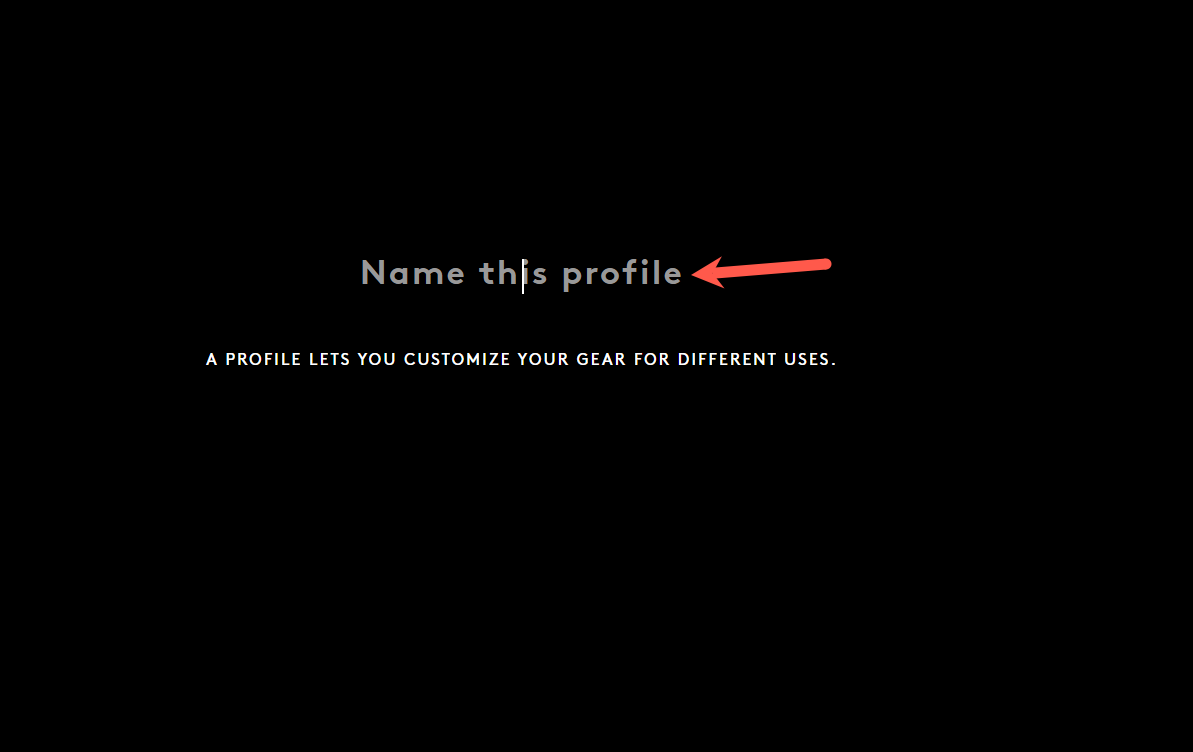
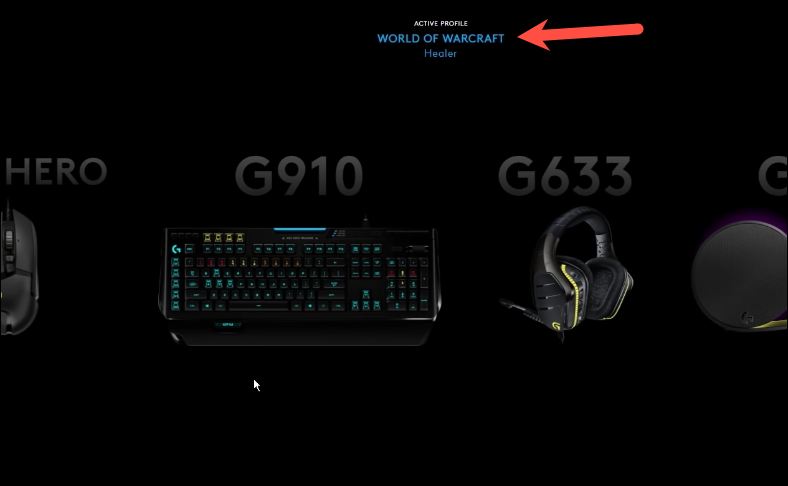
Step 10: Enter a name for your new profile. This allows you to create multiple profiles for different roles or characters within the same game, such as Sniper or Healer setups.
Step 11: Click on the newly created profile to begin customizing your device settings for that specific profile. Ensure you're editing the correct profile by checking the profile name at the top of the Home screen.
With Logitech G Hub, controlling and customizing your Logitech G devices becomes an intuitive and seamless experience. Personalize your gear for each game or application to elevate your gameplay to the next level.

