Managing a crowded inbox can be overwhelming, especially when you have to return to the inbox after handling each email. Fortunately, Gmail offers an Auto-advance feature that streamlines this process by automatically opening the next email after you delete, archive, snooze, or mute a message.
Step 1: Open Gmail on your computer and click on the Settings gear icon located in the top-right corner of the screen. From the dropdown menu, select Settings.

Step 2: In the Settings page, click on the Advanced tab near the top of the page. Here, you will find the Auto-advance option at the beginning of the list. Select the Enable option to activate this feature.

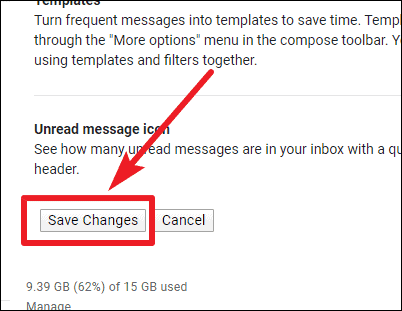
Step 3: Scroll down to the bottom of the page and click on Save Changes to apply your new settings. Remember, the subsequent steps won't take effect until you've saved these changes.

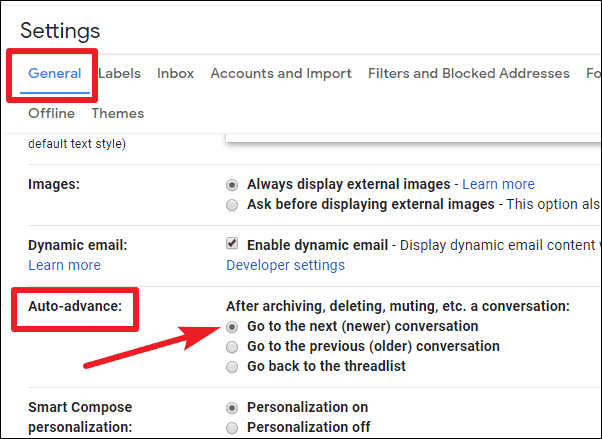
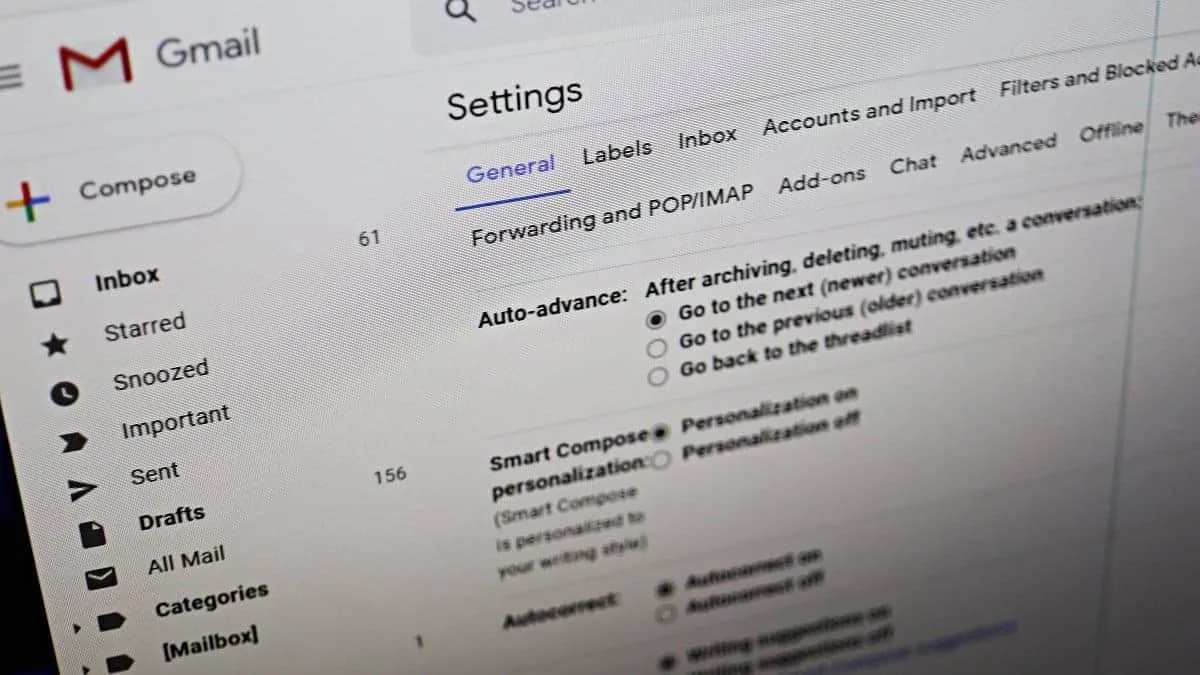
Step 4: After saving, you will be redirected back to your inbox. Click on the Settings gear icon once more and select Settings. This time, remain in the General tab. Scroll down until you find the Auto-advance section. Here, you can choose what happens after you deal with an email. You have three options: Go to the next (newer) conversation, Go to the previous (older) conversation, or Go back to the threadlist. Select the option that best suits your workflow. If you prefer to move to newer emails, choose the first option.

Step 5: Once you've made your selection, scroll down and click on Save Changes to finalize the setup.
With the Auto-advance feature enabled, you can now navigate through your emails more efficiently without constantly returning to your inbox. This simple adjustment can save time and make managing a busy inbox much smoother.

