
Windows 11 offers customization options that include enabling Dark Mode in built-in apps like the Calculator. Activating Dark Mode can enhance readability and reduce eye strain, especially during prolonged usage.
Enable dark mode via Calculator app settings
To enable Dark Mode specifically for the Calculator app, adjust its settings directly within the app.
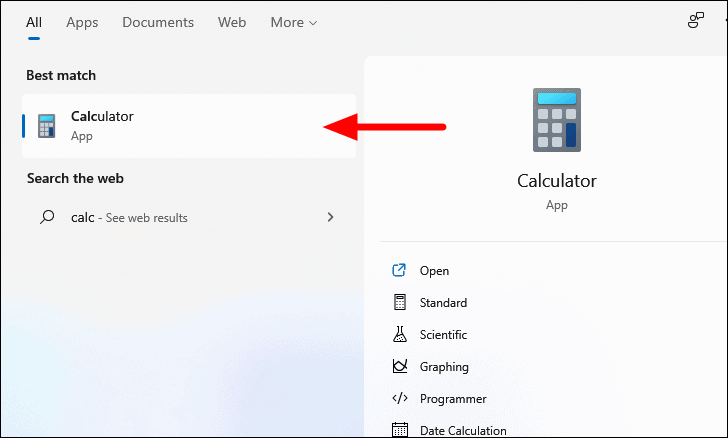
- Launch the Calculator app by pressing
WINDOWS+S, typing Calculator into the search bar, and selecting it from the results.
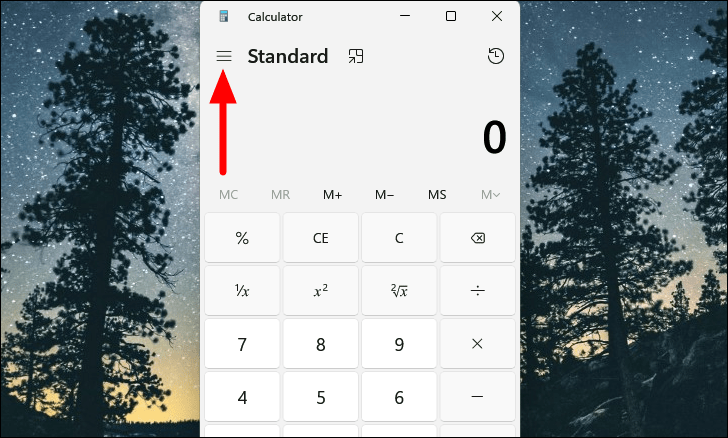
- In the Calculator window, click the Menu icon (three horizontal lines) located at the top-left corner.
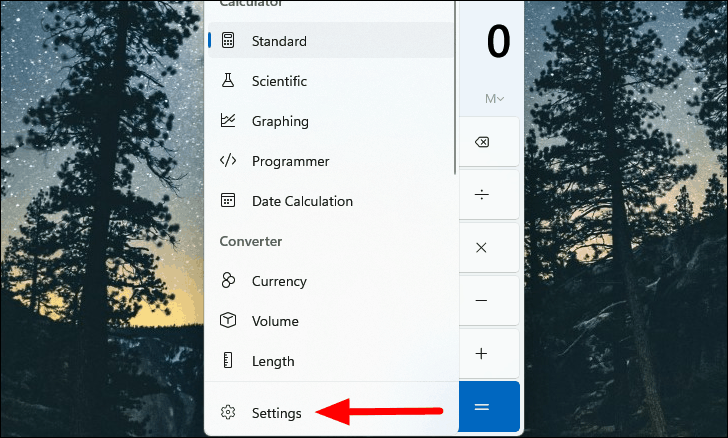
- From the menu that appears, select Settings at the bottom of the list.
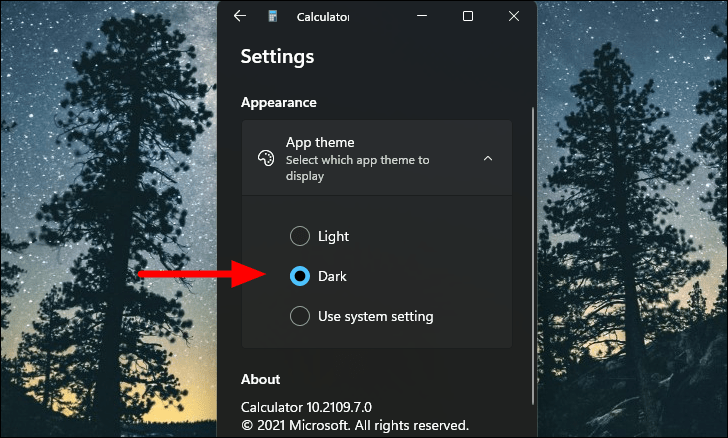
- Under the Appearance section, click on the App theme drop-down menu.
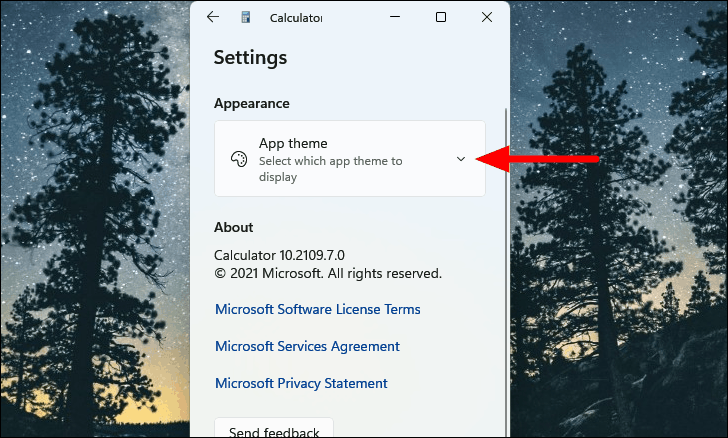
- Select Dark from the options to switch the Calculator app to Dark Mode.
Enable dark mode via personalization settings
You can also apply Dark Mode system-wide through Windows 11’s personalization settings, which will affect all compatible apps, including the Calculator.
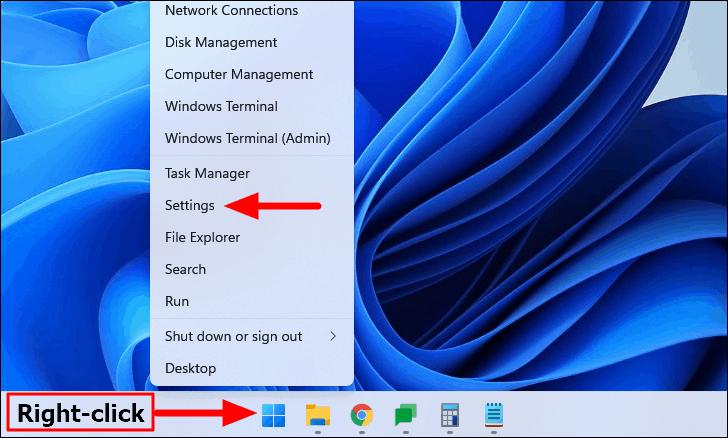
- Open the Settings app by right-clicking the Start button and selecting Settings, or by pressing
WINDOWS+I.
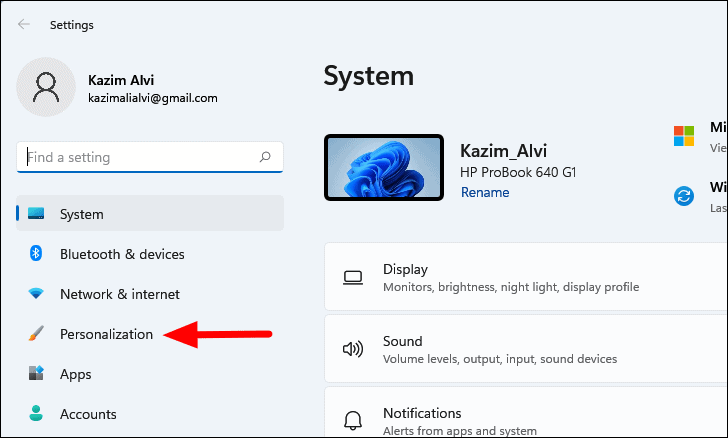
- In Settings, choose Personalization from the left-hand menu.
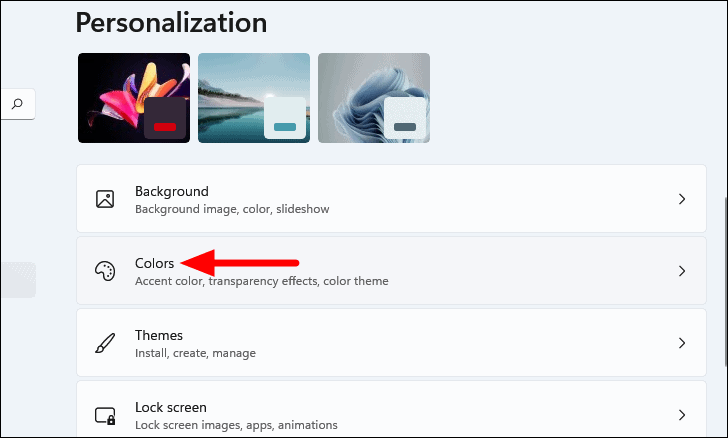
- Click on Colors on the right side of the window.
- Under Choose your mode, click the drop-down menu.
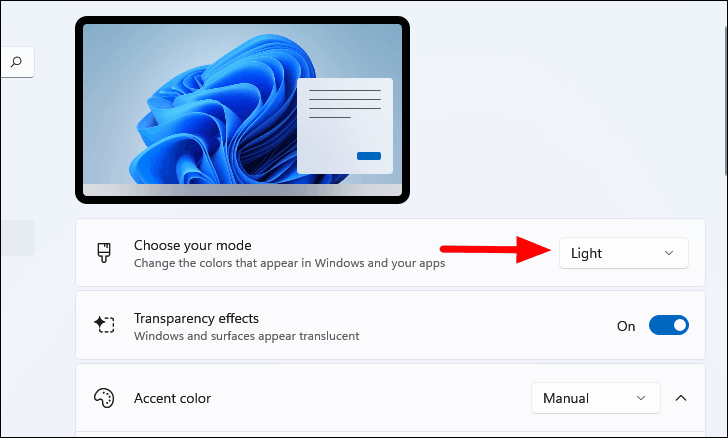
- Select Dark to apply Dark Mode across Windows 11.

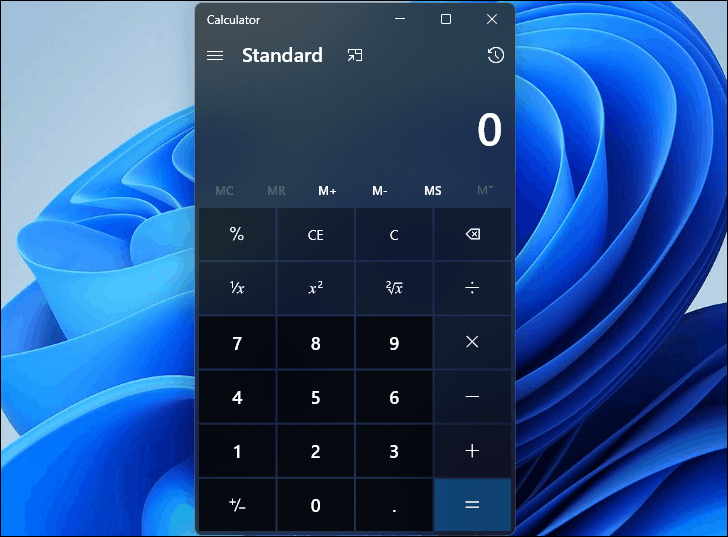
The Calculator app, along with other supported apps and system elements, will now display in Dark Mode.
By following these methods, you can easily enable Dark Mode in the Calculator app, whether you prefer to adjust the app individually or apply the theme across the entire system.


