
At times, Windows can experience stuttering issues even on the best hardware, which means if you're using anything else, the chances of encountering such problems are quite high. Stuttering can occur due to corrupted system files, outdated drivers, low storage space, malware, and other reasons. If you're facing this problem, you can try out the various solutions shared here.
Solution 1: Turn off the wallpaper slideshow
On Windows, you can set your desktop wallpaper to automatically change using the slideshow option. In some cases, when the wallpaper changes, your computer can freeze and then start stuttering, preventing you from using your PC. You can prevent this by turning off the wallpaper slideshow or changing the intervals at which the wallpaper changes.
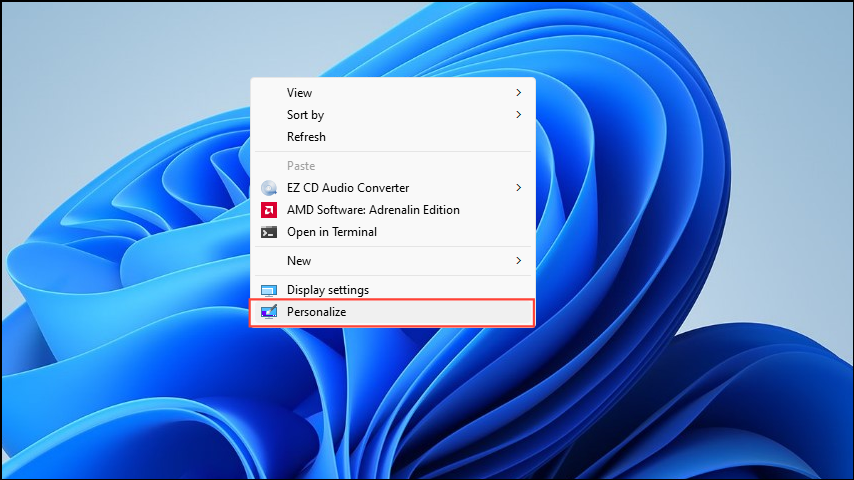
- Right-click on an empty area of the desktop and click on 'Personalize'.
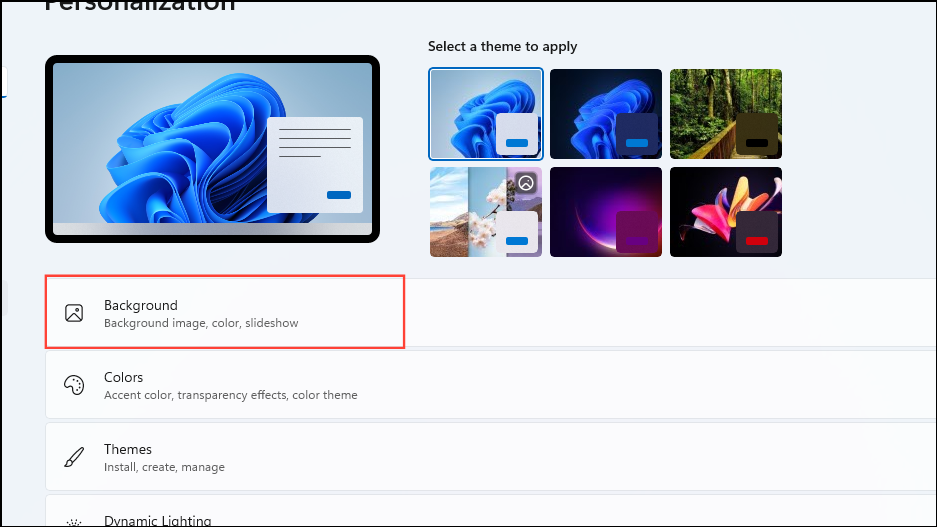
- When the Personalization page opens, click on 'Background'.
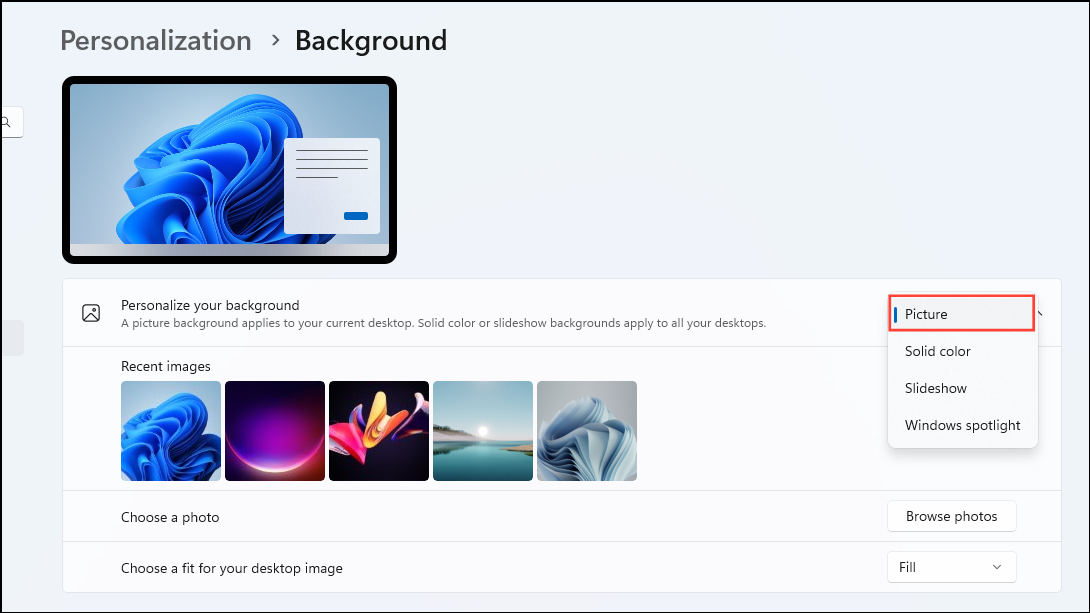
- Now, click on the dropdown menu on the right where it says 'Slideshow' and select 'Picture' or 'Solid color' to turn off the slideshow.
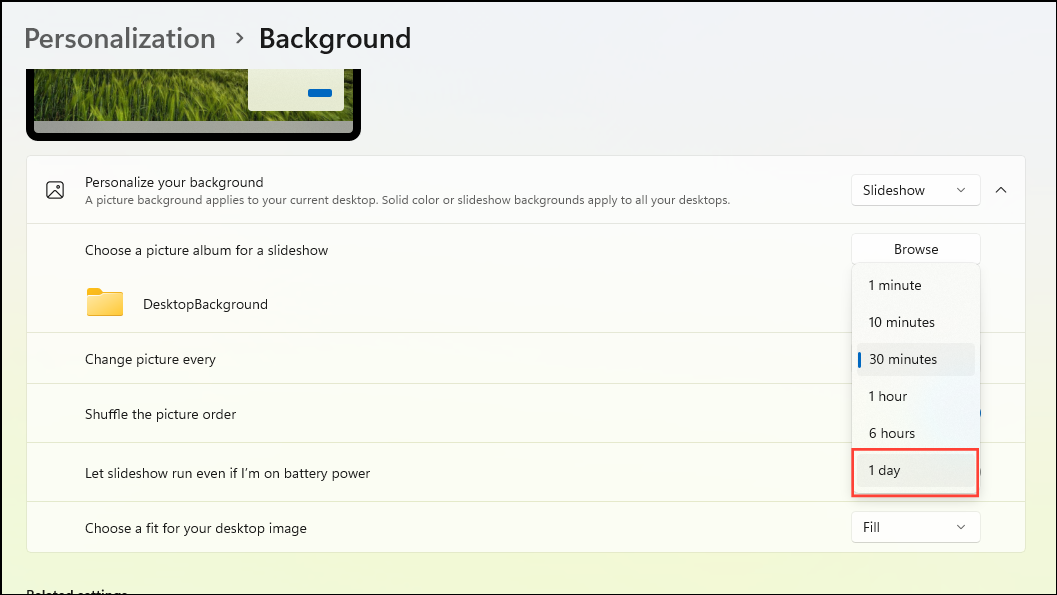
- If you want to leave it turned on, select slideshow from the options and then click on the dropdown menu below and set the time to '1 day'.
Solution 2: Run a malware scan
If your computer is infected with a virus or malware, system resources may be being used in the background, causing your computer to stutter when you use it. To check this, you should use Windows Defender or your third-party antivirus program to scan for malware.
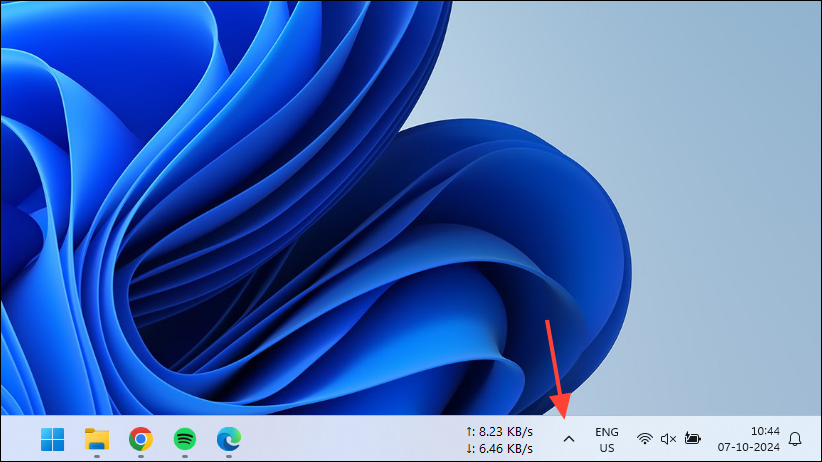
- Click on the taskbar overflow icon that appears like an arrow to view hidden icons.
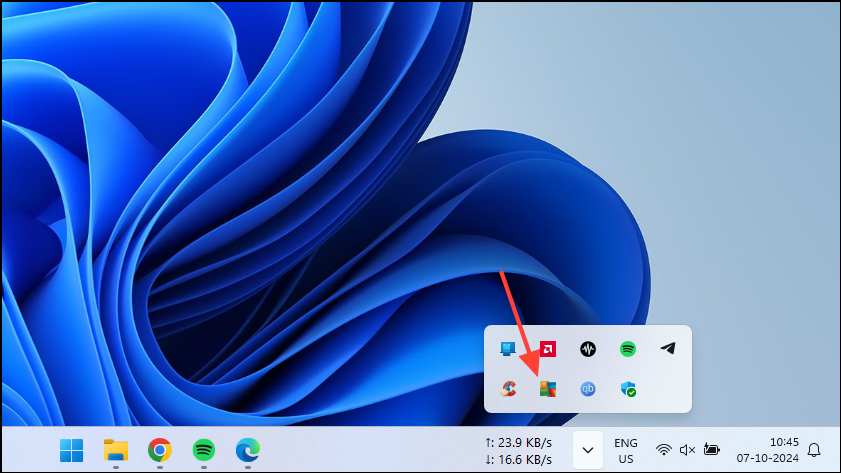
- When the hidden icons appear, click on your antivirus to open it.
- Once your antivirus launches, click on 'Deep scan', 'Complete scan' or any other similar option that may be present to start scanning your system for malware.

- If the antivirus finds any virus or malware on your system, it will recommend the steps you need to take to get rid of them. Follow the steps and reboot your PC.
Solution 3: Reinstall or update drivers
Outdated or buggy drivers can be another reason why your computer stutters so much. You can try updating them or reinstalling them afresh to resolve the problem.
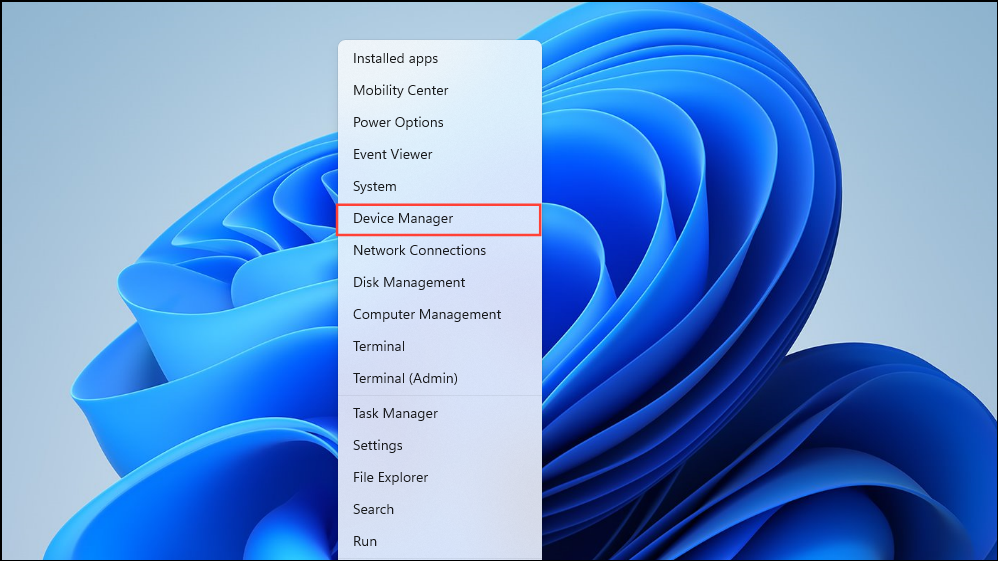
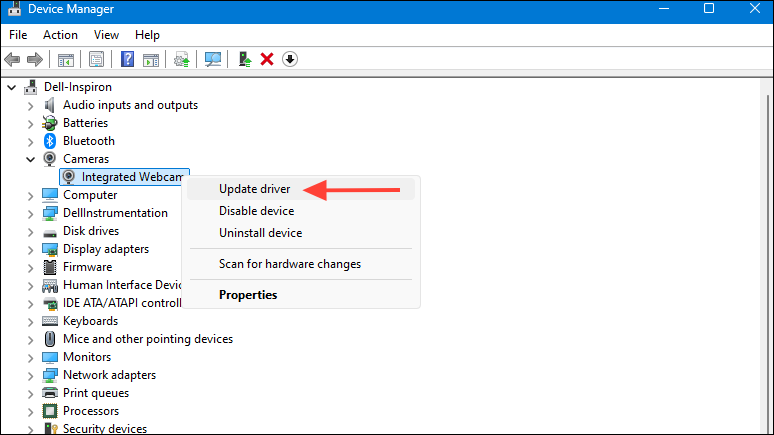
- Right-click on the Start button and click on 'Device Manager'.
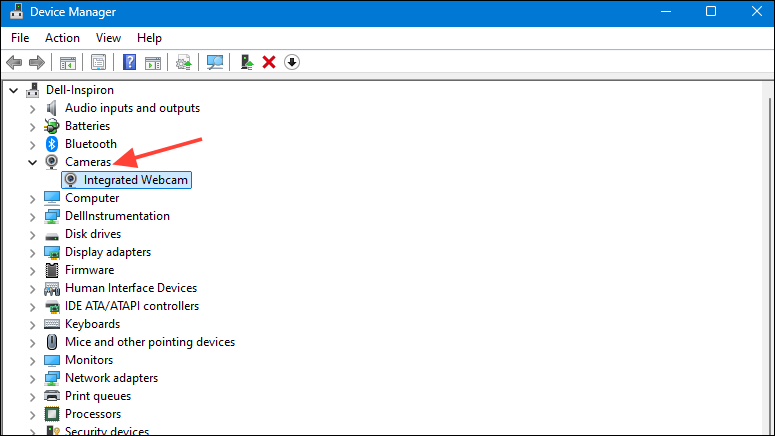
- When the Device Manager opens, click on the device whose driver you want to update or reinstall to expand it.
- Expanding the device will show you the installed drivers. Right-click on the driver and click on 'Update driver'.
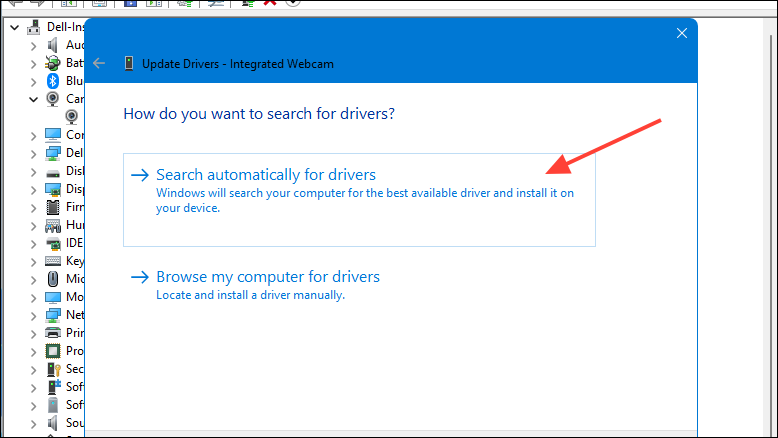
- Next, click on 'Check automatically for drivers' in the pop-up that appears.
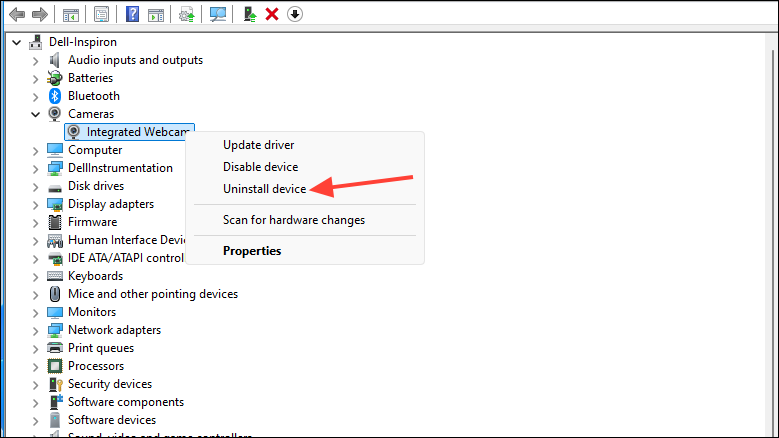
- Wait for Windows to search for drivers online and install them. Then you can restart your computer. If you think your present drivers are the most suitable ones, you can reinstall them to get rid of any bugs and glitches that may be causing the stuttering. To do that, right-click on the driver and click on 'Uninstall device'.
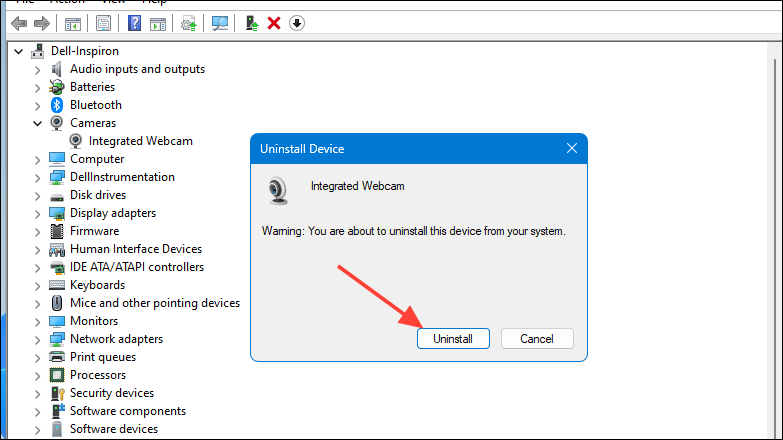
- Then click on the 'Uninstall' button again. Once the device is uninstalled, restart your PC and Windows will automatically reinstall the drivers for the device.
Solution 4: Resolve thermal throttling issues
When running tasks and processes requiring a lot of resources, your computer may experience thermal throttling. In this, your PC will reduce its operating speed to prevent itself from overheating and shutting down. When the operating speed reduces, you will experience stuttering in whatever applications you are running. To fix this, you need to identify what is causing the throttling issues.
- Download Prime 95 to test your CPU or FurMark to test your GPU.
- Once you've downloaded these applications, run them one by one and they will push your CPU and GPU to their maximum limits to test them. Keep in mind that the tests can take some time so let them run completely.
- If you notice that the maximum temperature goes up to the limit specified by your PC manufacturer, throttling is taking place, affecting your computer's performance. In that case, you need to ensure your computer does not reach that temperature.
- You can open up your CPU or laptop and clean it properly so any dust trapped within is removed. Also, check that the thermal paste and cooling system are in good condition.
- Finally, if you are overclocking your PC, stop doing that as that not only generates a lot of heat but also puts your hardware components under considerable strain.
Solution 5: Run Windows Update
Bugs present in your system can sometimes be fixed by updates, so try checking for updates using Windows Update.
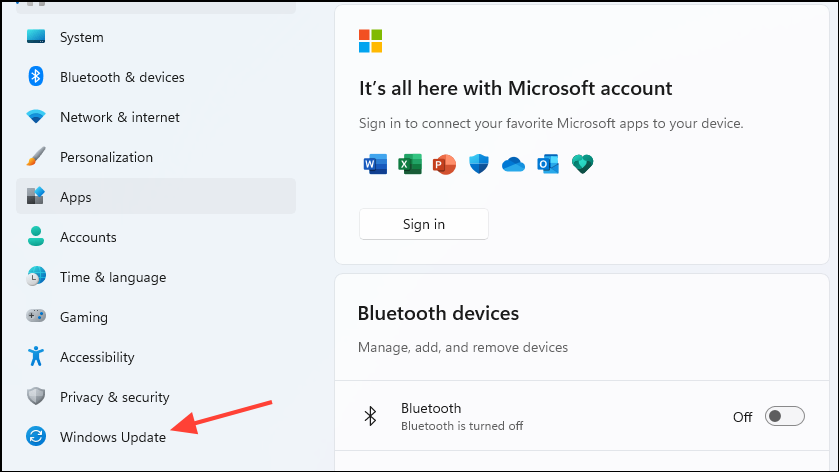
- Open the Settings app using the
Win + Ishortcut and click on Windows Update on the bottom left.
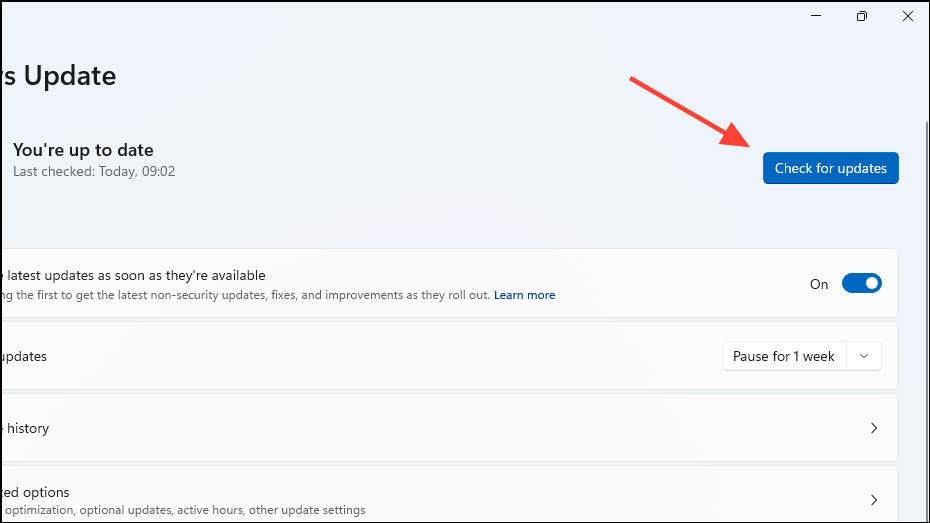
- Click on the 'Check for updates' button on the right. If updates are available, Windows will download and install them, and you may have to reboot your PC.
Solution 6: Remove recent updates
While Windows updates can bring bug fixes, they can sometimes cause issues themselves, which may result in stuttering and other issues. If the stuttering started happening after installing an update, consider removing it from your PC.
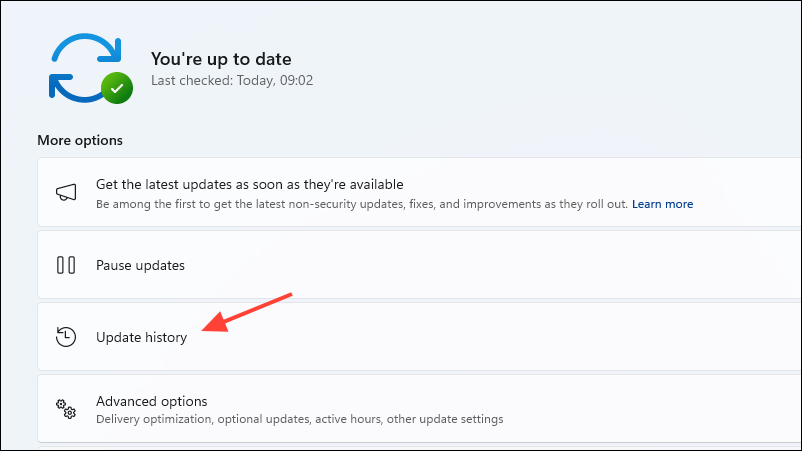
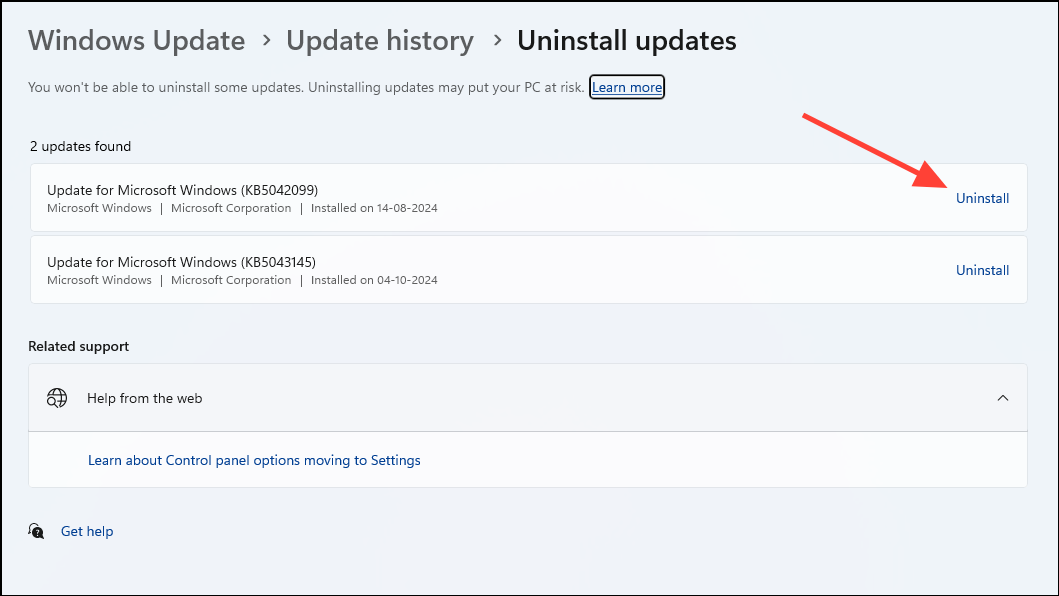
- Open the Windows Update page and click on 'Update history'.
- Scroll down on the Update History page and click on 'Uninstall updates'.
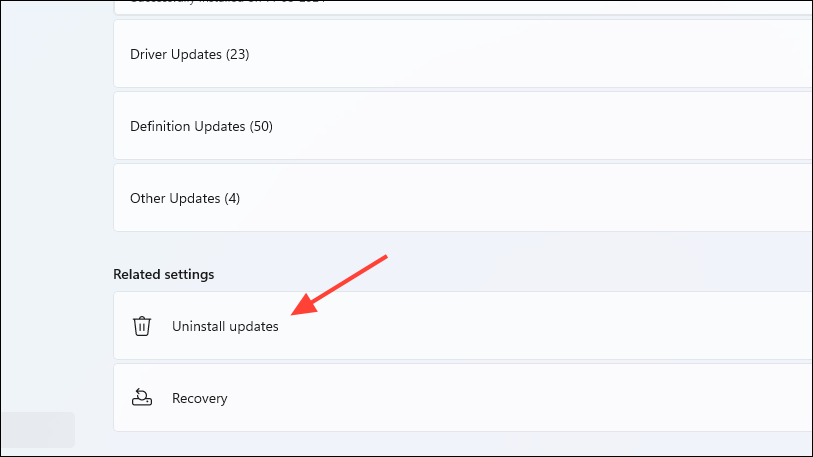
- Now, click on the 'Uninstall' option on the right to remove recent updates.
Solution 7: Remove problematic applications
Sometimes you may experience stuttering only in certain programs, which may be because they are not compatible with your hardware or have other issues. Removing those programs from your computer may help get rid of the stuttering.
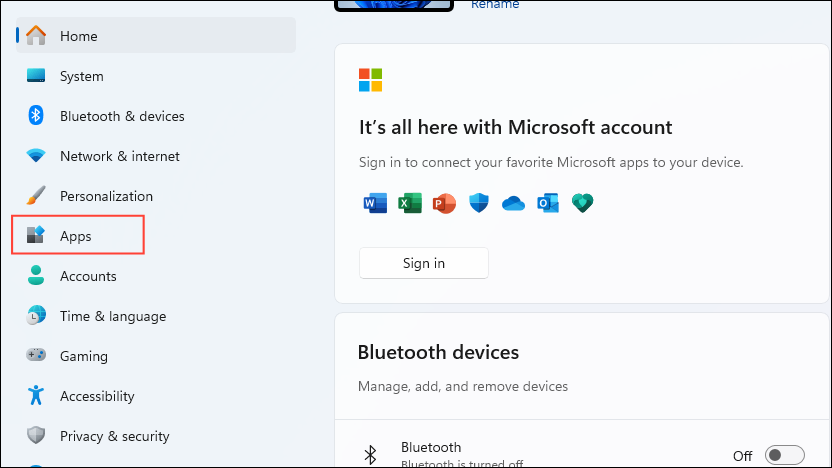
- Open the Settings app and click on 'Apps' on the left.
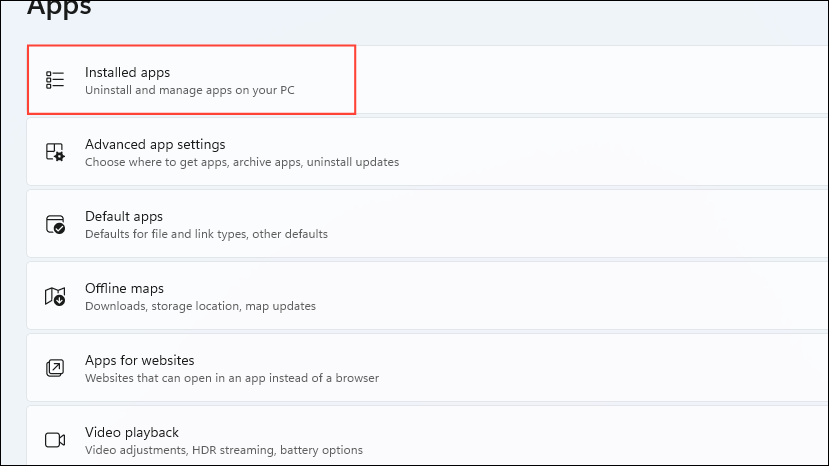
- On the Apps page, click on 'Installed apps'.
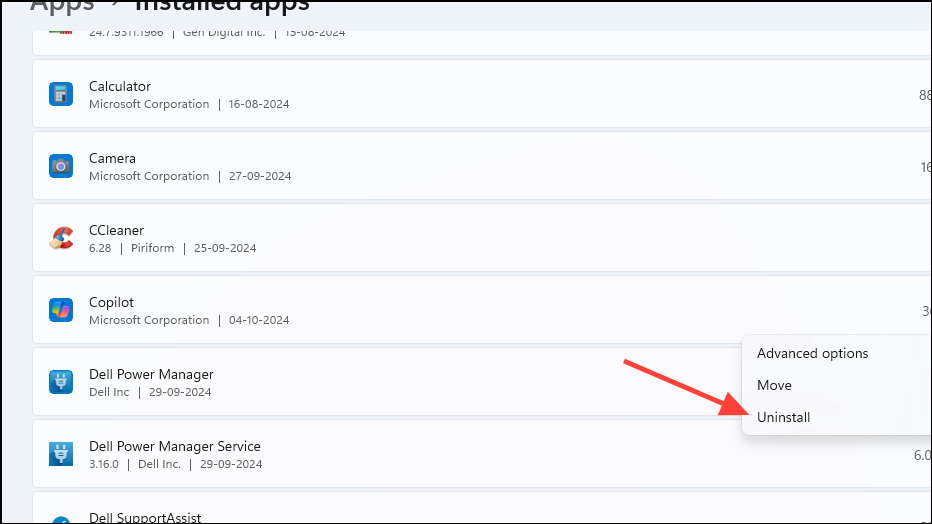
- All installed apps will appear on your screen. Click on the three dots on the right of the app you want to remove and then click on 'Uninstall'.
Solution 8: Disable background apps
When too many applications are running in the background, Windows can freeze and stutter when you try to use the system. Try turning the background apps off and see if that helps get rid of the stutters.
- Use the
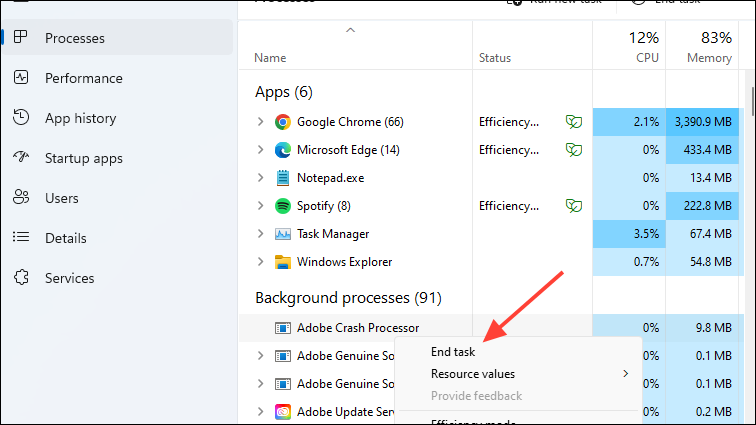
Ctrl + Shift + Escshortcut to open the Task Manager. All background applications will appear under the 'Background processes' section.

- To close a program, right-click on it and click on 'End task'. Repeat this for all the applications you want to close.
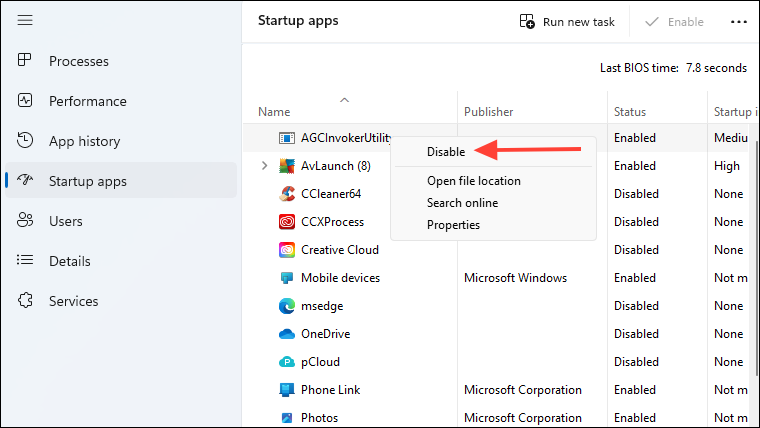
- Once you have turned off the applications, click on the 'Startup apps' tab on the left.

- Now, right-click on the apps on the right and click on 'Disable'. This will prevent these applications from starting automatically every time you boot up your computer.
Solution 9: Check power plan settings
Windows offers different power plans for various situations. If your PC is using power-saving mode, it will reduce the resources applications can access, causing stutters and freezing. You can check the power plan settings and change them as needed to fix this.
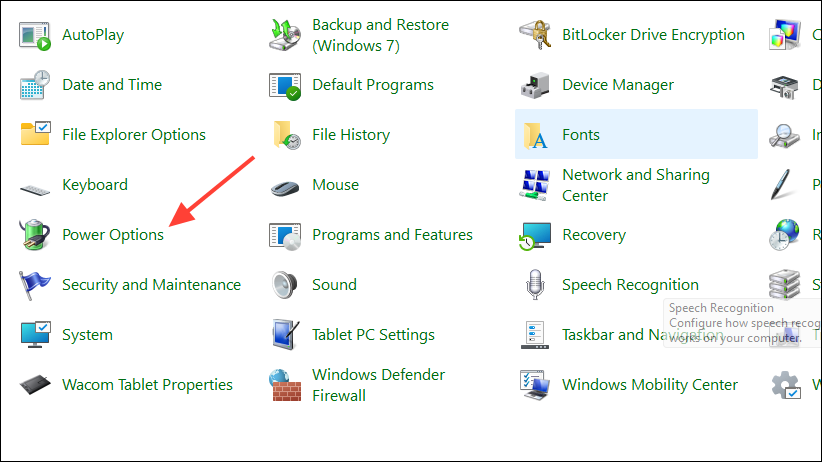
- Open the Control Panel from the Start menu and click on 'Power Options'.
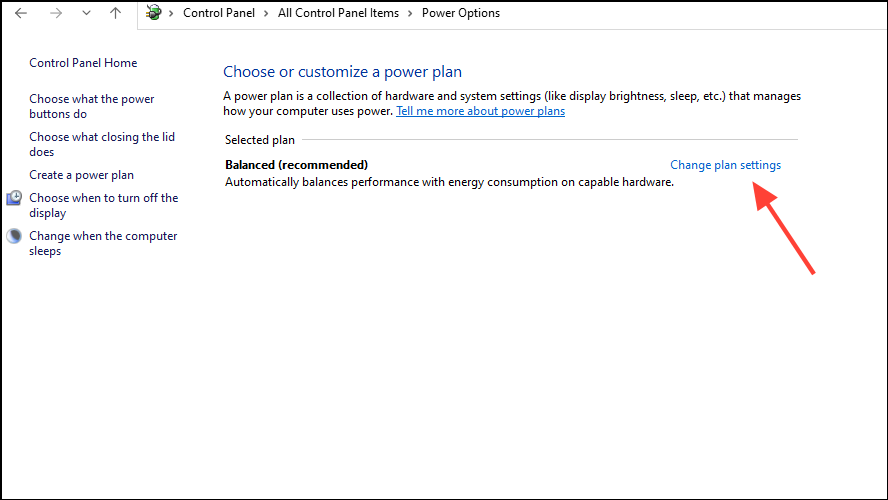
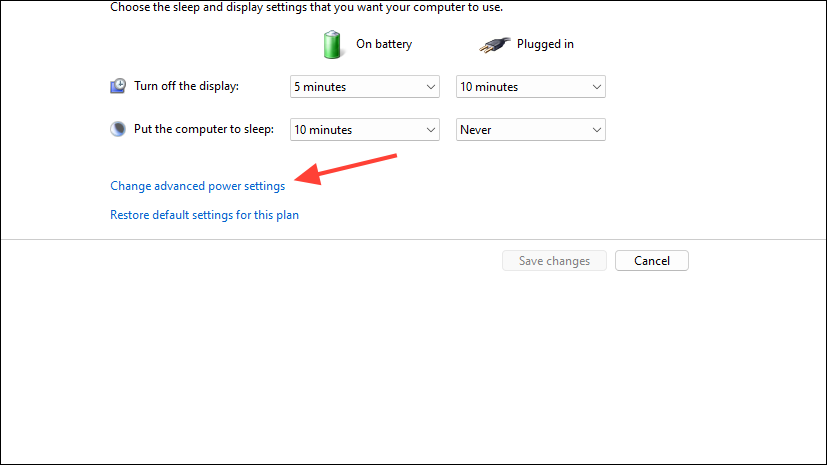
- On the Power Plan page, click on 'Change plan settings'.
- Next, click on 'Change advanced power settings'.
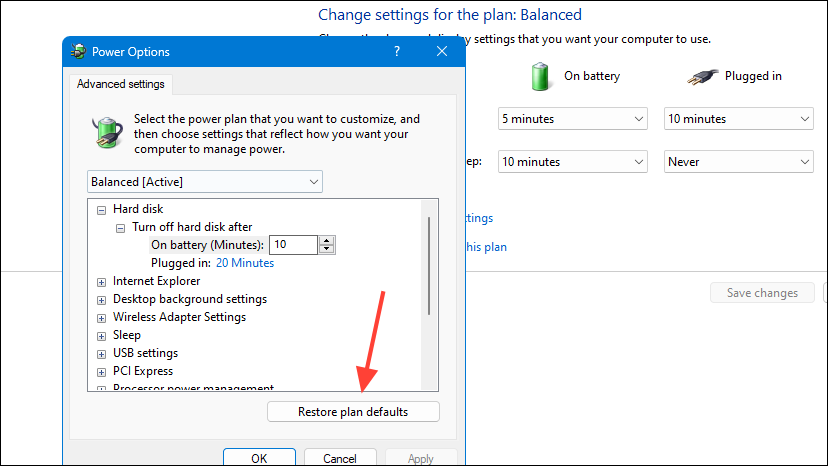
- Finally, click on the 'Restore plan defaults' button in the pop-up that appears. If you have multiple power plans, you will need to restore the defaults for all of them separately. Then reboot your PC and check whether stuttering is still present.
Solution 10: Perform an SFC scan and disable Host SuperFetch
Windows has a built-in utility called System File Checker that scans your system for corrupt files and attempts to fix them. It can help you resolve the stuttering issues plaguing your PC.
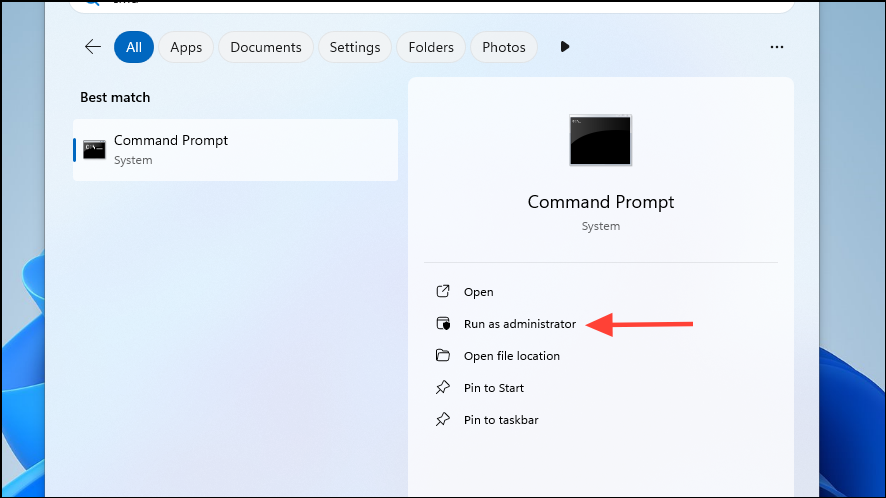
- Open the Start menu, type
cmdand click on 'Run as administrator'.
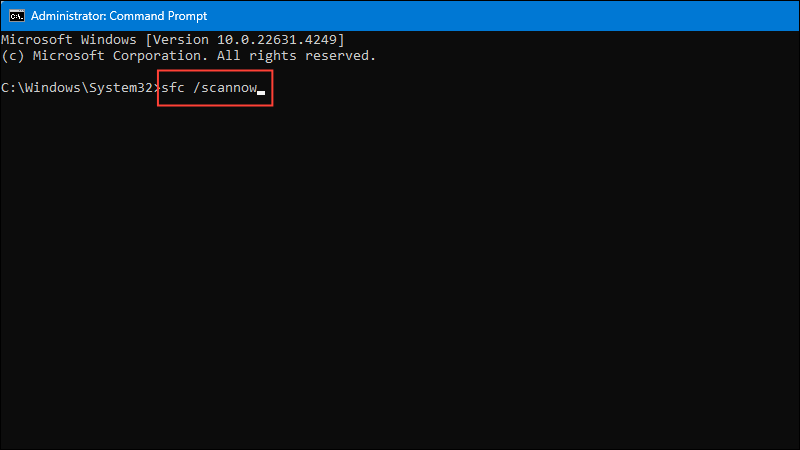
- When the Command Prompt window appears, type
sfc /scannowand press Enter to start scanning your system.
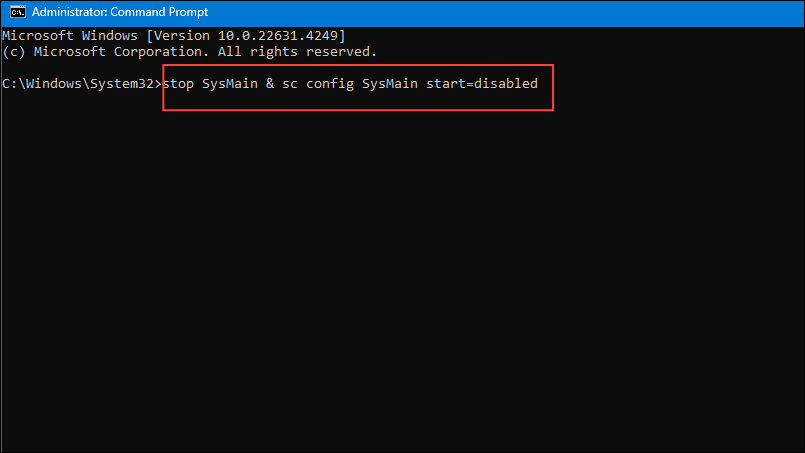
- Once the scan is complete, type
sc stop SysMain & sc config SysMain start=disabledand press Enter again to disable Host SuperFetch.
Solution 11: Disable the Action Center and Notification Center
Turning off the Action Center and Notification Center is another possible solution to stuttering issues.
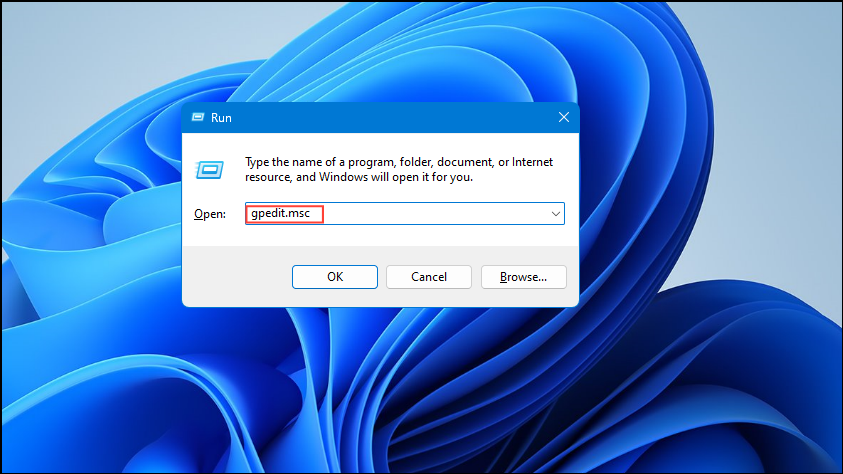
- Open the 'Run' dialog using the
Win + Rshortcut and typegpedit.mscbefore pressing Enter.
- When the Group Policy Editor opens, go to
User Configuration>Administrative Templates>Start Menu and Taskbar.
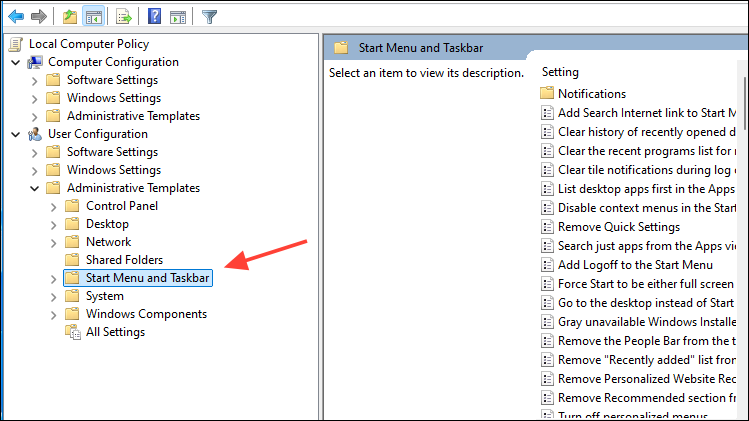
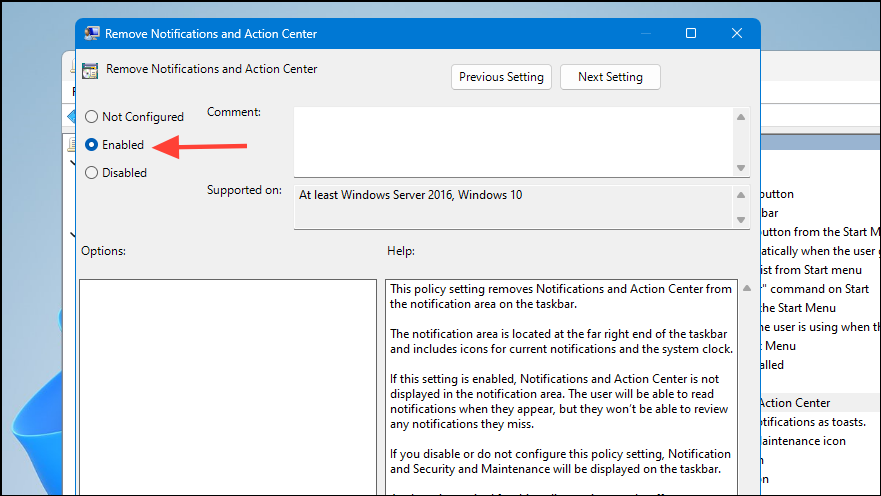
- Double-click on the 'Remove Notifications and Action Center' setting on the right.

- Now, click on the 'Enabled' option to turn it on. This will remove the Action Center and Notifications from your system. Then click on the 'Apply' and 'OK' buttons and restart your computer.
Solution 12: Turn off High Precision Event Timer Device
The HPET or High Precision Event Timer in Windows helps avoid unwanted timestamp calculations but can sometimes cause stuttering issues. You can disable it from the Device Manager in such situations.
- Open the Device Manager as explained above and click on 'System Devices' to expand it.
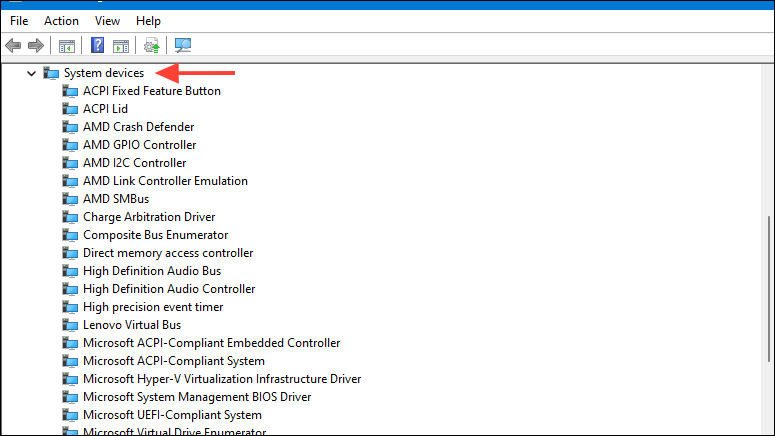
- Right-click on the 'High Precision Event Timer' device and click on 'Disable device'.

Solution 13: Disable CD/DVD drive
If your computer has a CD or DVD drive, try disabling it and then re-enabling it to get rid of stuttering issues.
- Open the Device Manager and click on 'CD/DVD ROM drives' to expand it.
- Right-click on it and click on 'Properties'.
- In the Properties dialog box, click on the 'Driver' tab and click on 'Disable device'.
- Click on 'Apply' and then on 'OK' and restart your PC. Then repeat the above steps but this time use the 'Enable device' option.
Solution 14: Reset BIOS
Resetting the BIOS can help get rid of any corruption that is destabilizing your system and causing stutters.
- Turn on your PC and press the key that lets you access the BIOS. This can vary depending on your PC manufacturer, make, and model. This can be
F2,F12,Delete, or others. - Once inside the BIOS, select the 'Load Setup Defaults' or 'Setup Defaults' option. These options may be present under the 'Security' tab. You can also press
F9to load the default configurations and then confirm your decision.
Solution 15: Turn off Game DVR and Game Bar
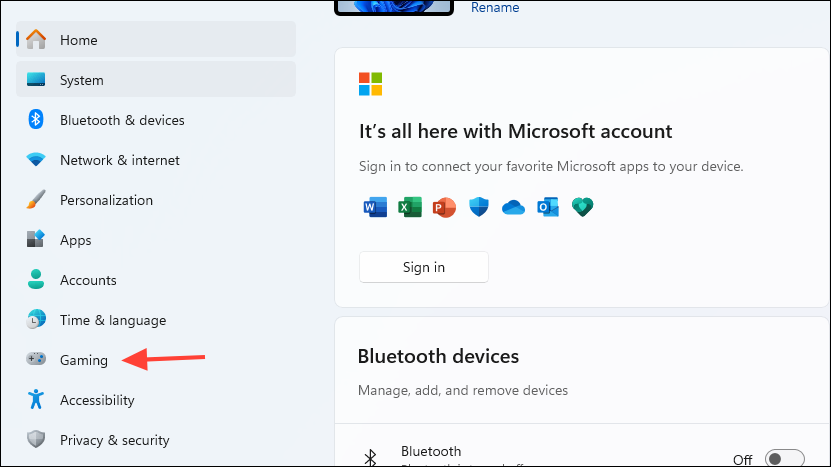
- Open the Settings app and click on 'Gaming' on the left.
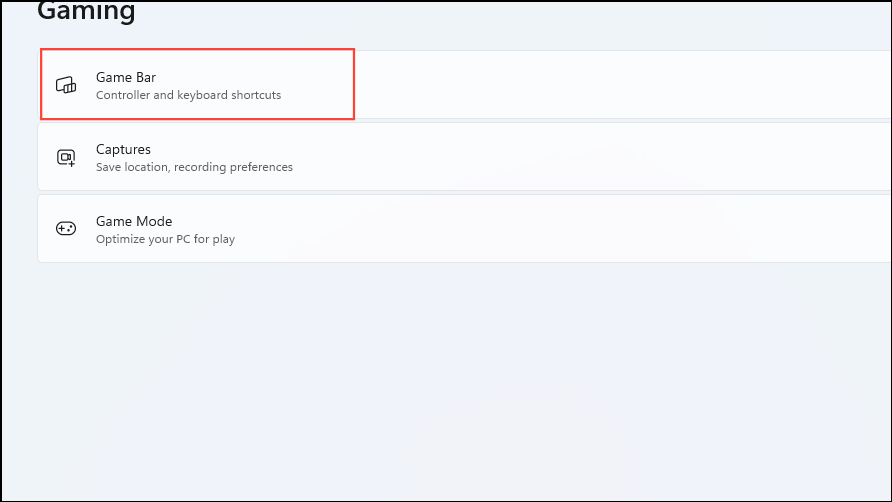
- Click on 'Game Bar' on the next screen.
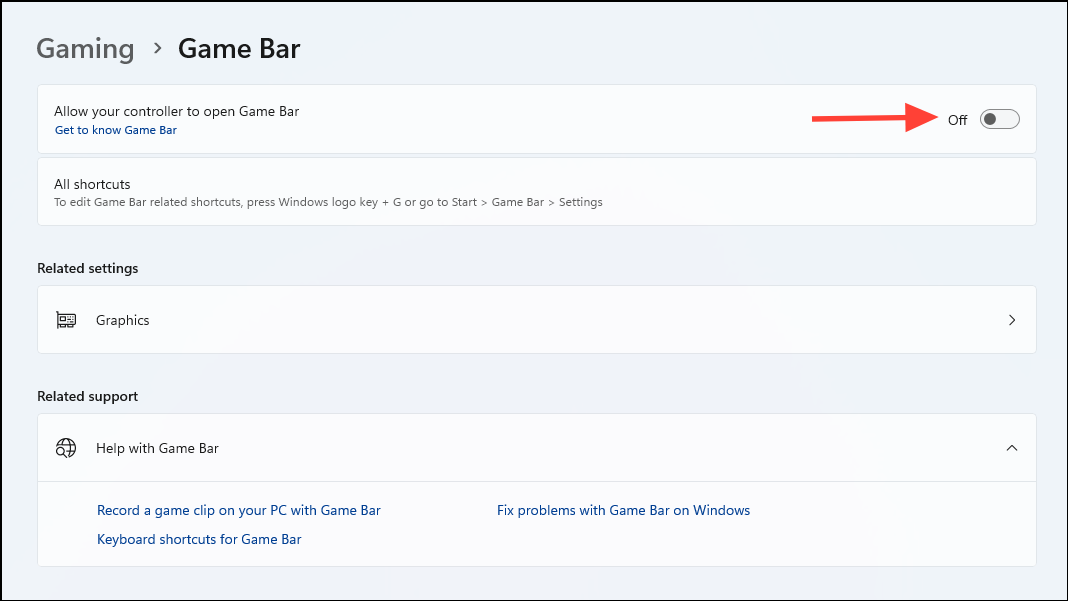
- Then click on 'Allow your controller to open the Game Bar' toggle and turn it off.
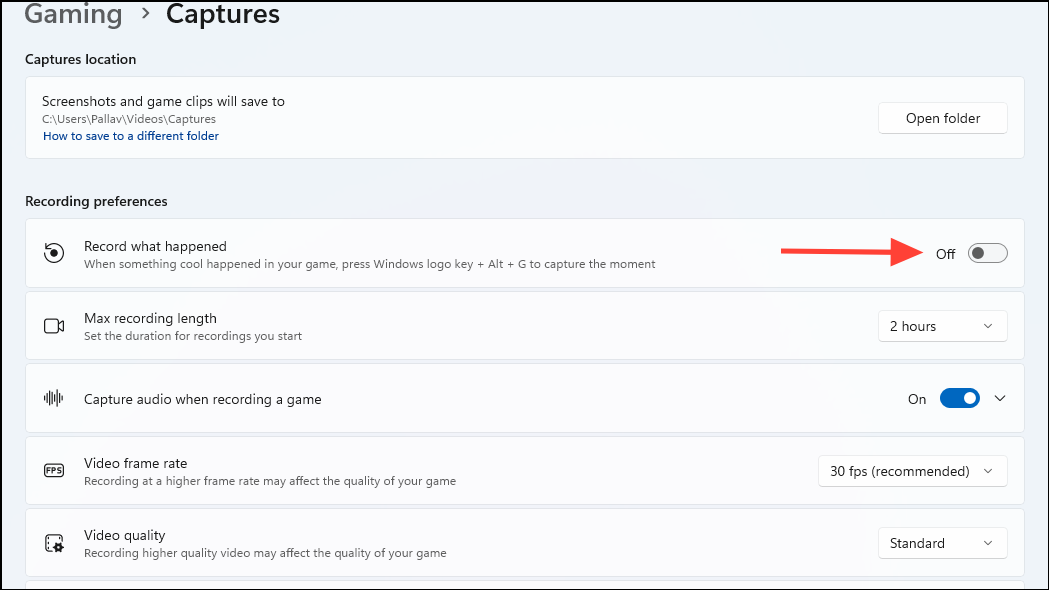
- Then go back and click on 'Captures'.
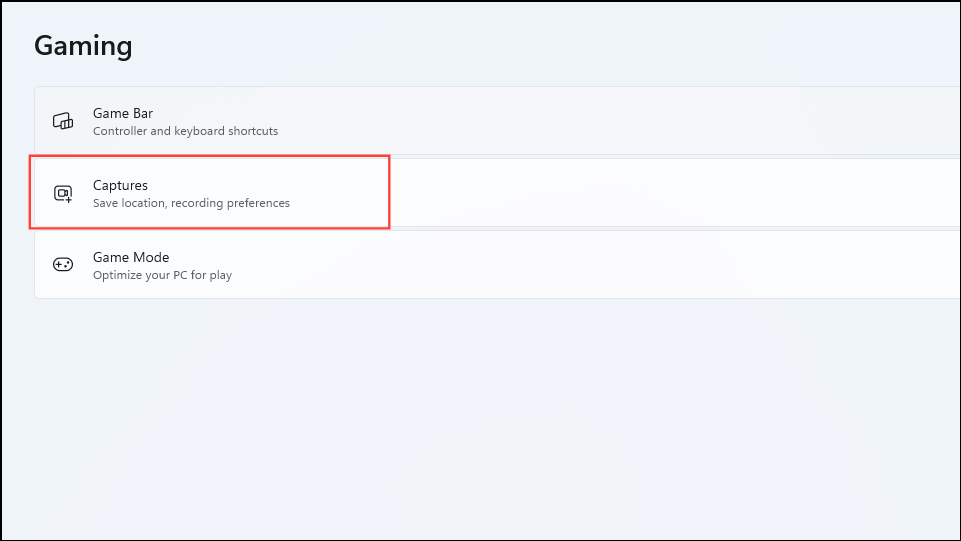
- Now, click on the 'Record what happened' toggle and turn it off.
Solution 16: Perform a clean boot
A clean boot disables all third-party services, keeping only those services active that are required for the computer to operate. It may help you identify the cause of the stuttering.
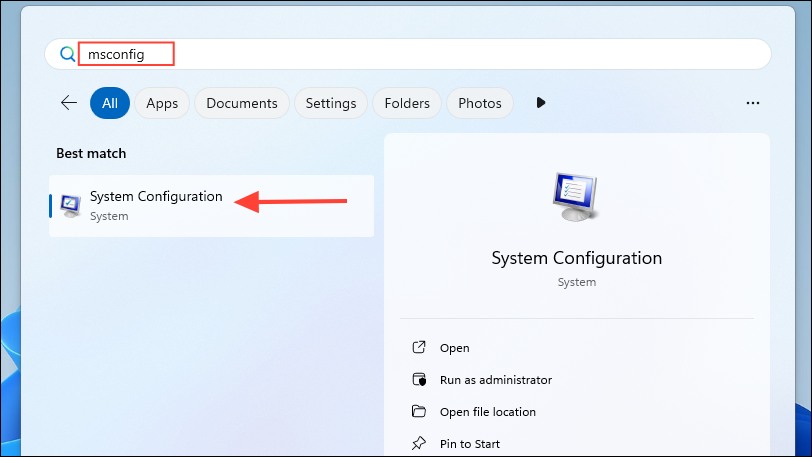
- Open the Start menu, type
msconfigand click on the System Configuration utility to launch it.
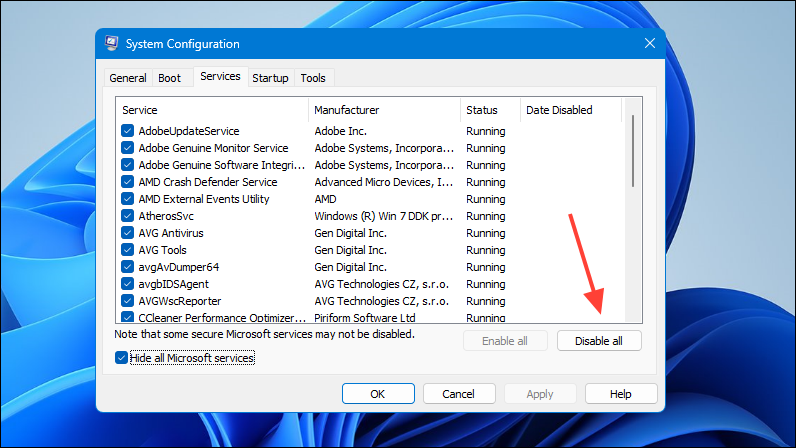
- Once the System Configuration utility opens, click on the 'Services' tab and then on the 'Hide all Microsoft services' checkbox.
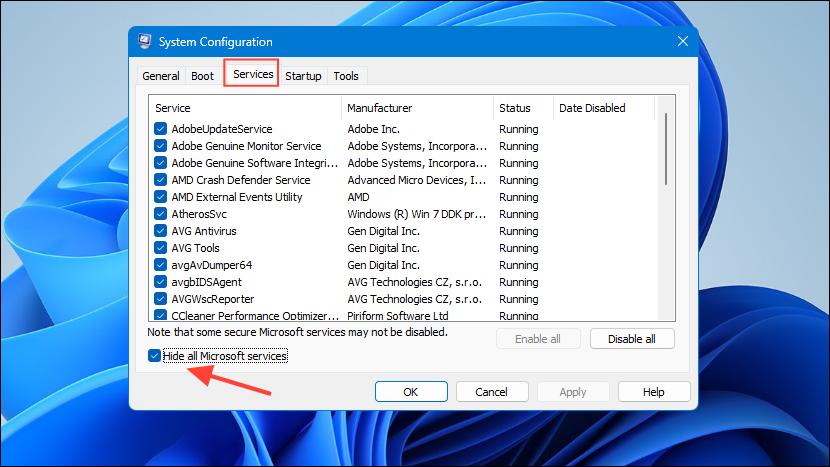
- Then click on the 'Disable all' button on the right.
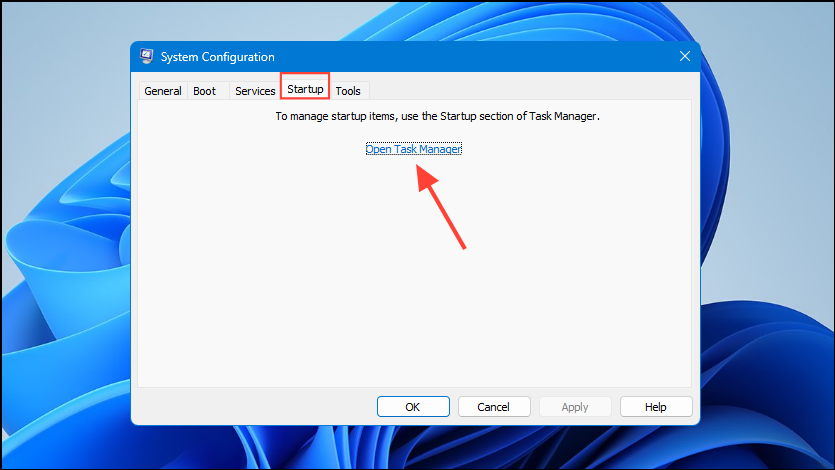
- Now, click on the 'Startup' tab at the top and then on 'Open Task Manager'.
- When the Task Manager opens, right-click on each program on the right and click on 'Disable'. This will prevent the applications from starting when Windows boots.
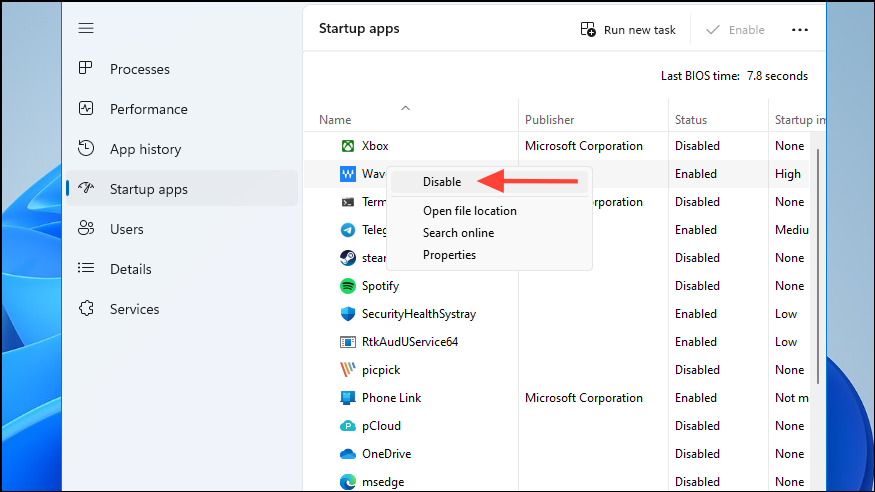
- Click on the 'OK' button, close the System Configuration utility, and restart your computer. It will boot into a clean state and you can now enable the programs one by one and check which one is making your PC stutter.
Things to know
- Hardware issues can lead to a variety of problems. For instance, a faulty drive or memory stick can cause your system to freeze and stutter. Check that all hardware components are working properly.
- If you're using a traditional hard drive, modern applications and games can stutter, especially if other hardware components are outdated. You may want to switch to a Solid State Drive or SSD, which is more durable and offers higher speeds that are suitable for running modern programs and games.
- In case you're using a machine with 4GB or less RAM, stuttering is one of the many problems you are going to come across. For a PC to be able to run Windows properly, at least 8GB RAM is recommended. While you can run Windows 10 with lower RAM, the experience is not going to be pleasant, so consider upgrading your RAM if possible.
- If you experience stuttering issues while playing high-end games, your GPU, CPU, or both may be unable to handle the processing required for those. Go into the game settings, lower the graphics settings, and see if that reduces the stuttering. You may also want to turn on V-Sync to reduce stuttering in games.