
When Windows 11 refuses to let you change your desktop background, it can signal issues with system settings, user permissions, or corrupted cache files. Instead of displaying your chosen photo, the system may revert to a solid color or ignore your selection entirely. This guide covers proven methods to resolve the issue, restore wallpaper-changing functionality, and explain why these fixes work.
Reset the Wallpaper Cache and Permissions
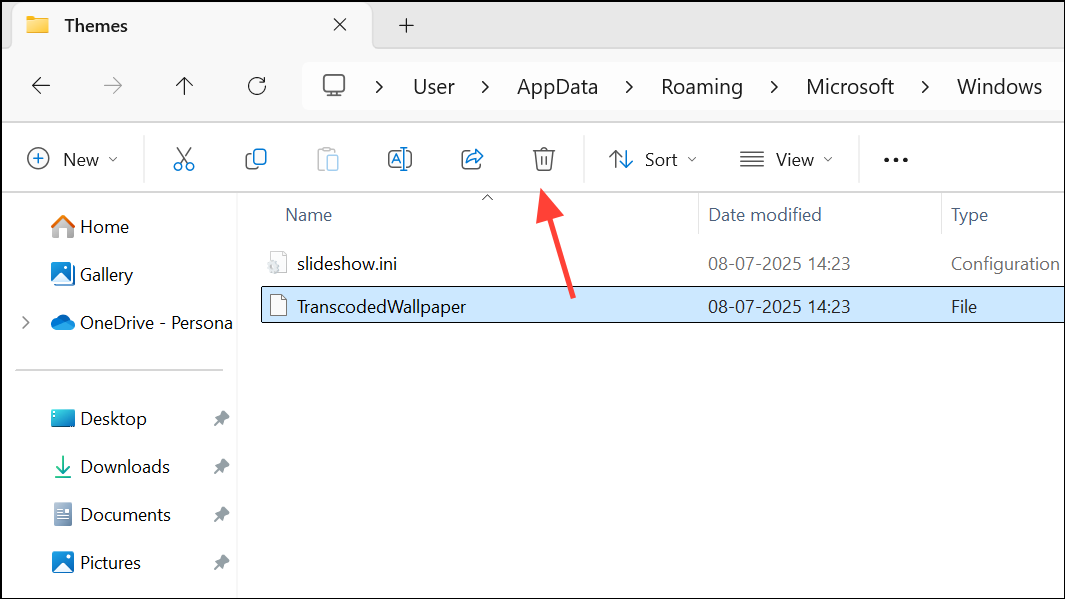
Step 1: Open File Explorer and reveal hidden items by clicking the “View” tab and checking Hidden items. Navigate to %APPDATA%\Microsoft\Windows\Themes by pasting it into the address bar and pressing Enter.

Step 2: Locate the file named TranscodedWallpaper. Right-click and either delete it or rename it to something like TranscodedWallpaper.bak. This step removes any corrupted cache that may prevent your wallpaper from updating.
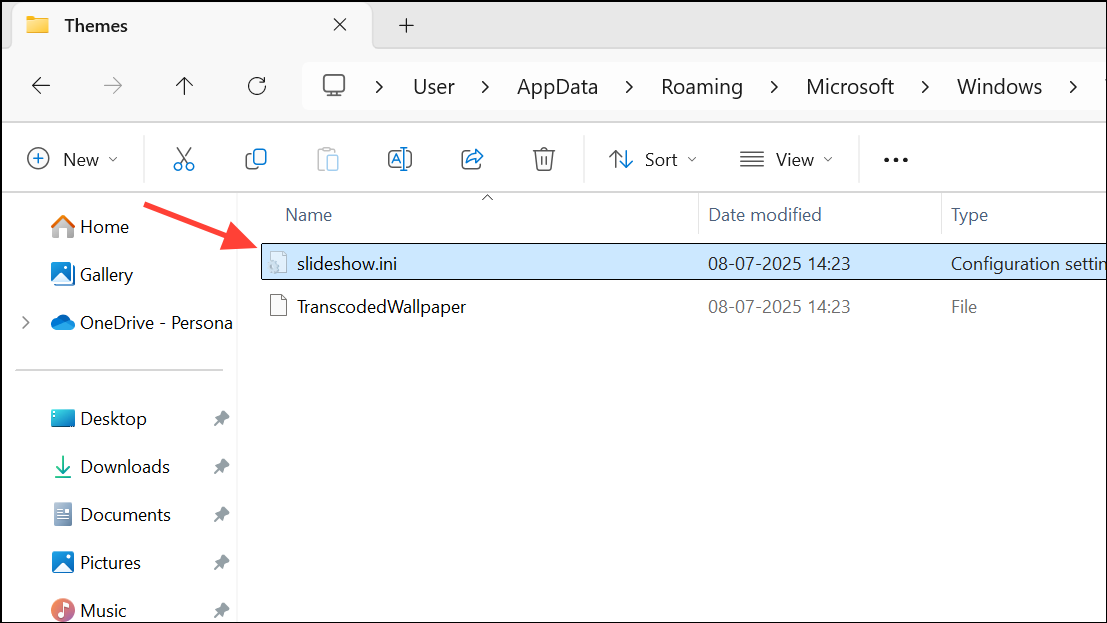
Step 3: If you see a file named slideshow, open it with Notepad, select all the text, and delete the contents. Save and close the file.
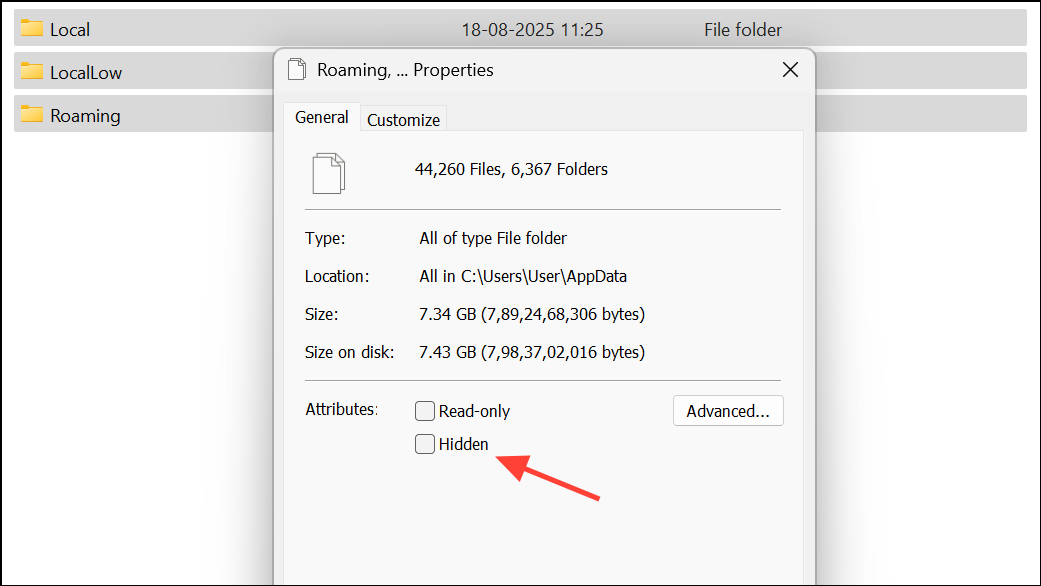
Step 4: In File Explorer, go to C:\Users\<YourUserName>\AppData. Right-click the Local, Roaming, and LocalLow folders. Choose “Properties” and ensure that only the root AppData folder is hidden, not its subfolders. Click “Apply” to confirm changes. Hidden subfolders can block Windows from saving or reading wallpaper settings.
Step 5: Restart your computer. After rebooting, try setting your desktop wallpaper again through Settings or by right-clicking an image and selecting Set as desktop background.
Check and Adjust Group Policy Settings
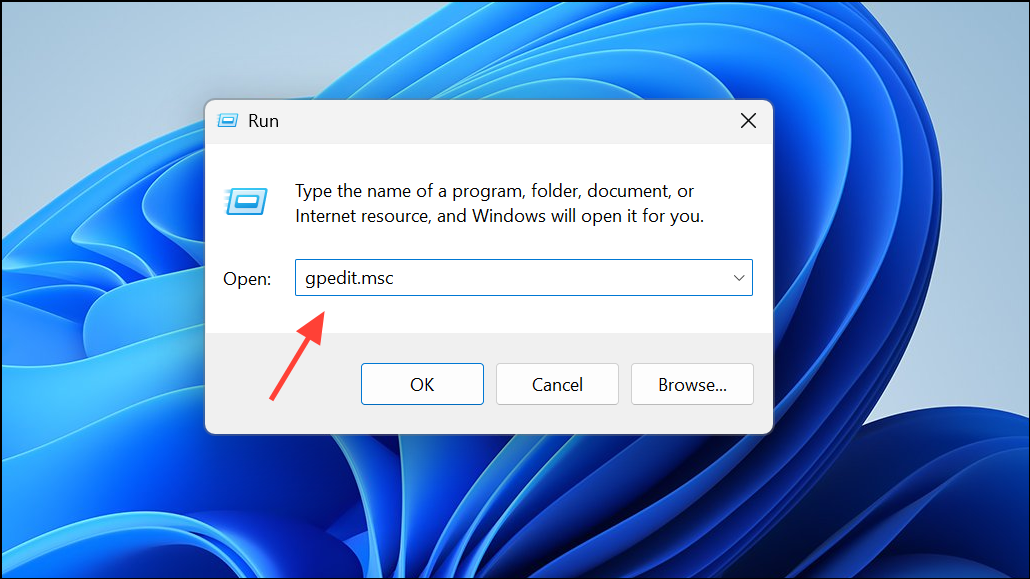
Step 1: Press Windows + R, type gpedit.msc, and press Enter to open the Local Group Policy Editor.
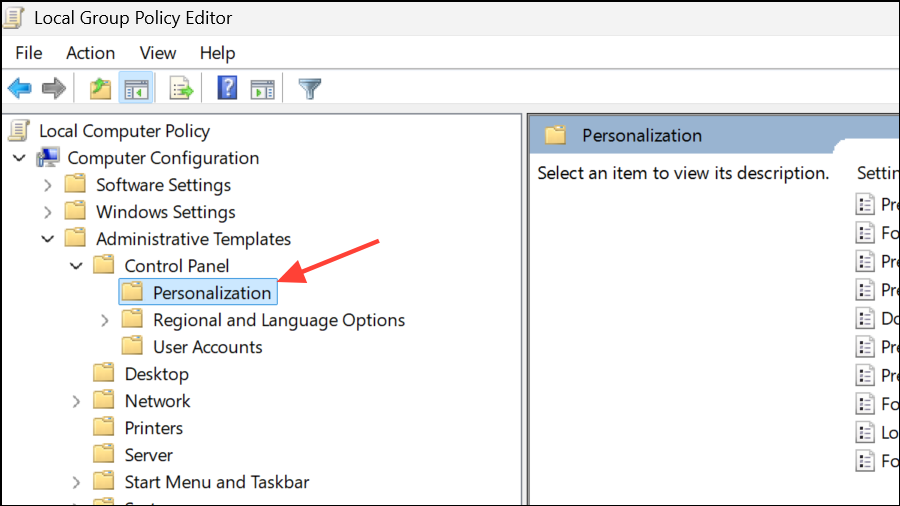
Step 2: In the left pane, navigate to User Configuration > Administrative Templates > Control Panel > Personalization.
Step 3: Double-click the policy named Prevent changing desktop background.
Step 4: In the window that opens, select either Not Configured or Disabled. Click “Apply” and then “OK.” This ensures that Windows does not block users from changing the background.
Step 5: Close the Group Policy Editor and restart your PC for the changes to take effect.
Modify the Windows Registry
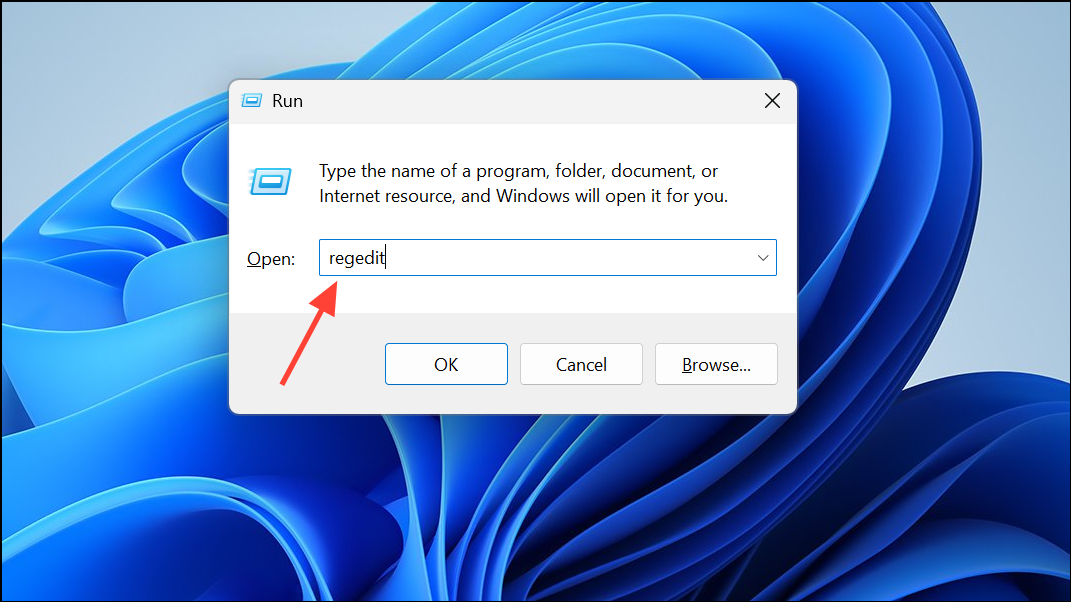
Step 1: Press Windows + R, type regedit, and press Enter to launch the Registry Editor. If prompted by User Account Control, click “Yes.”
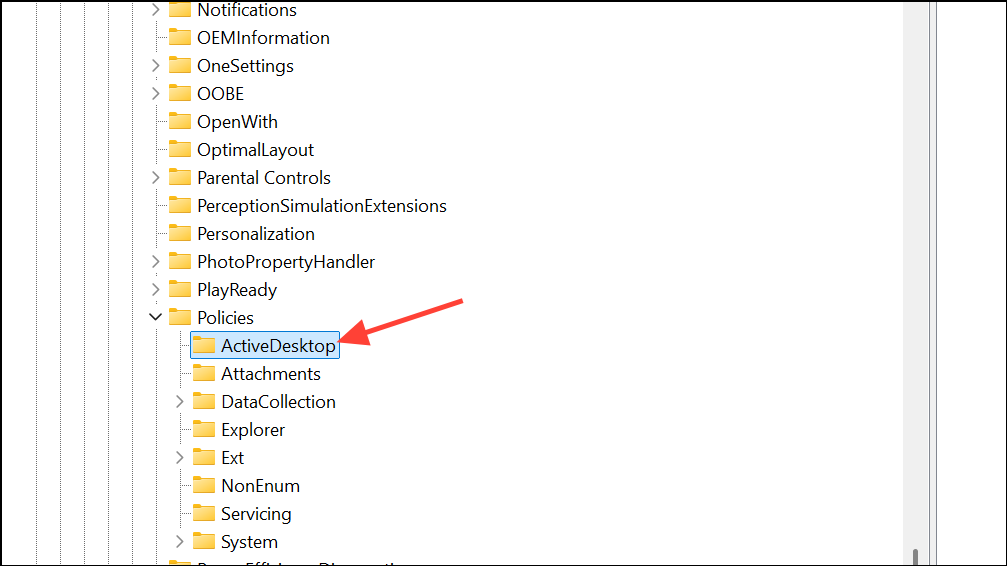
Step 2: In the Registry Editor, navigate to HKEY_LOCAL_MACHINE\SOFTWARE\Microsoft\Windows\CurrentVersion\Policies. Look for a subkey named ActiveDesktop. If it doesn’t exist, right-click Policies, choose “New” > “Key,” and name it ActiveDesktop.
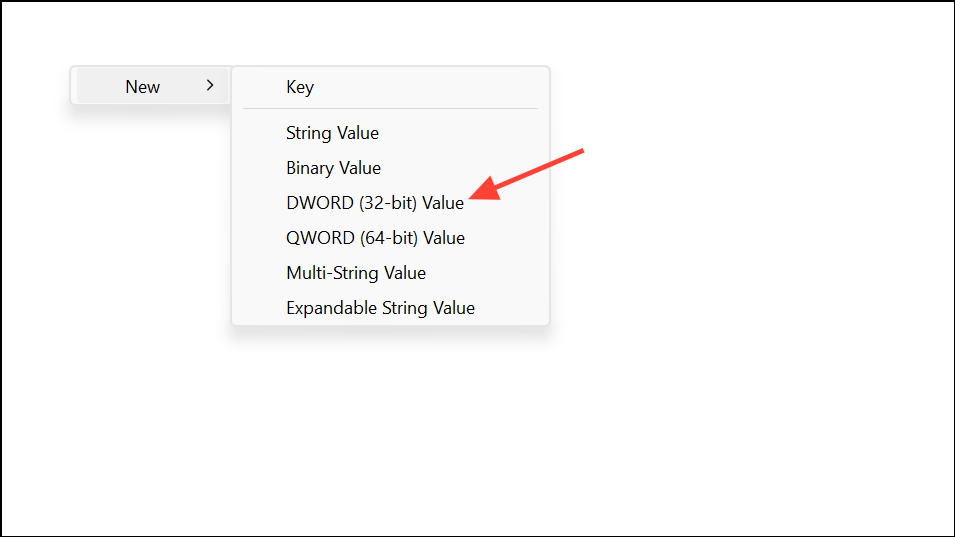
Step 3: Inside ActiveDesktop, look for a value named NoChangingWallPaper. If present, double-click it and set its value to 0. If it’s missing, right-click the right pane, select “New” > “DWORD (32-bit) Value,” name it NoChangingWallPaper, and set its value to 0.
Step 4: Close the Registry Editor and restart your computer to apply the changes.
Setting NoChangingWallPaper to 0 removes system-level restrictions that can block wallpaper changes for all users.
Disable the "Remove Background Images" Accessibility Setting
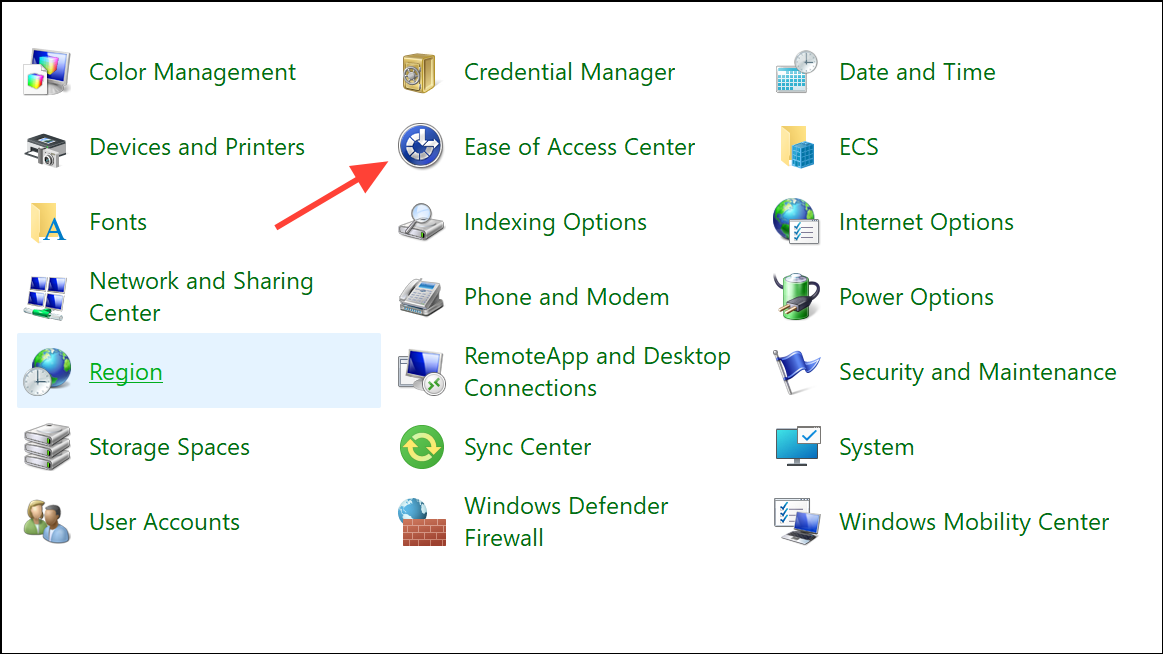
Step 1: Open Control Panel, switch the “View by” option to “Large icons,” and select “Ease of Access Center.”
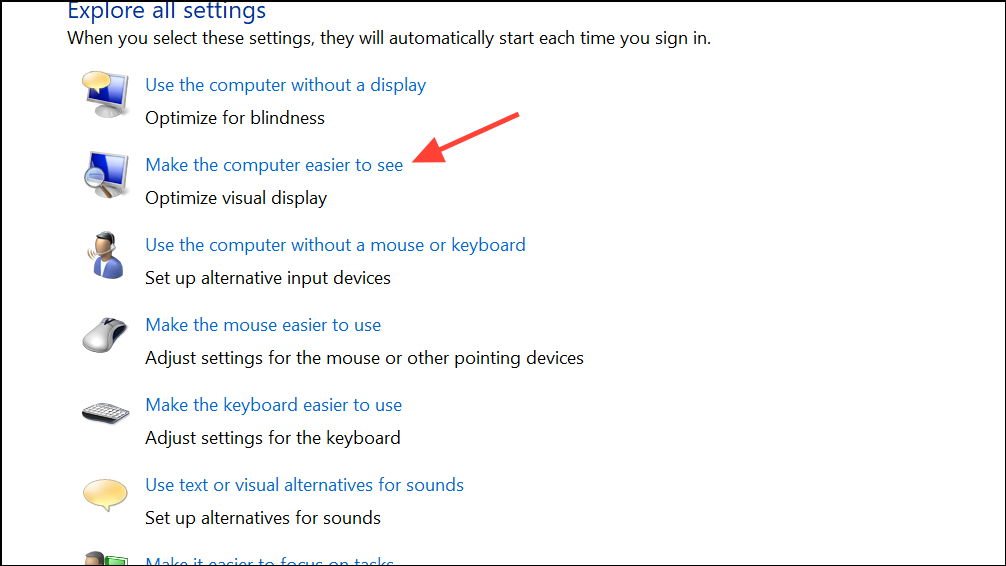
Step 2: Click “Make the computer easier to see.”
Step 3: Scroll down and find the option labeled “Remove background images (where available).” If checked, uncheck this setting. Click “Apply” and then “OK.”
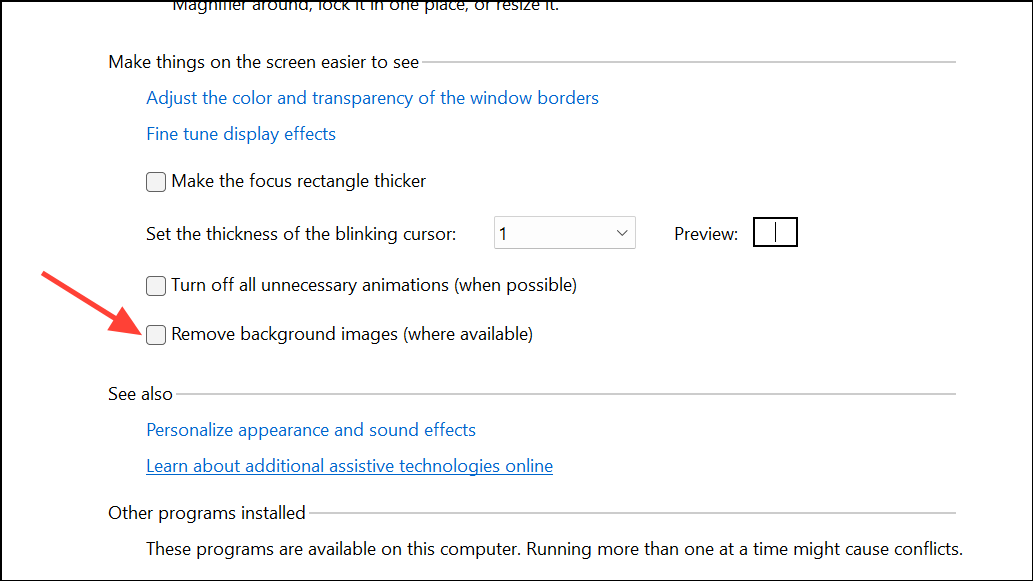
This accessibility feature, when enabled, removes desktop backgrounds for improved readability but can inadvertently force a solid color background.
Switch to Default Themes and Check Sync Settings
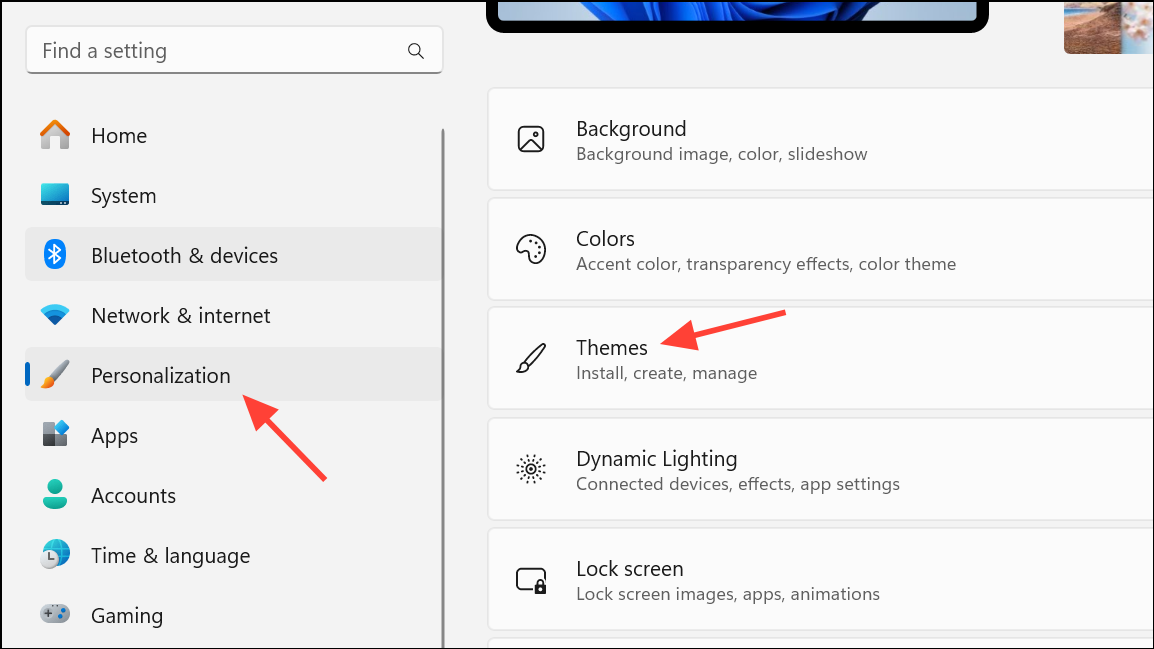
Step 1: Go to Settings > Personalization > Themes. Choose a default Windows theme, such as “Windows (Light)” or “Windows (Dark),” to rule out custom theme conflicts.
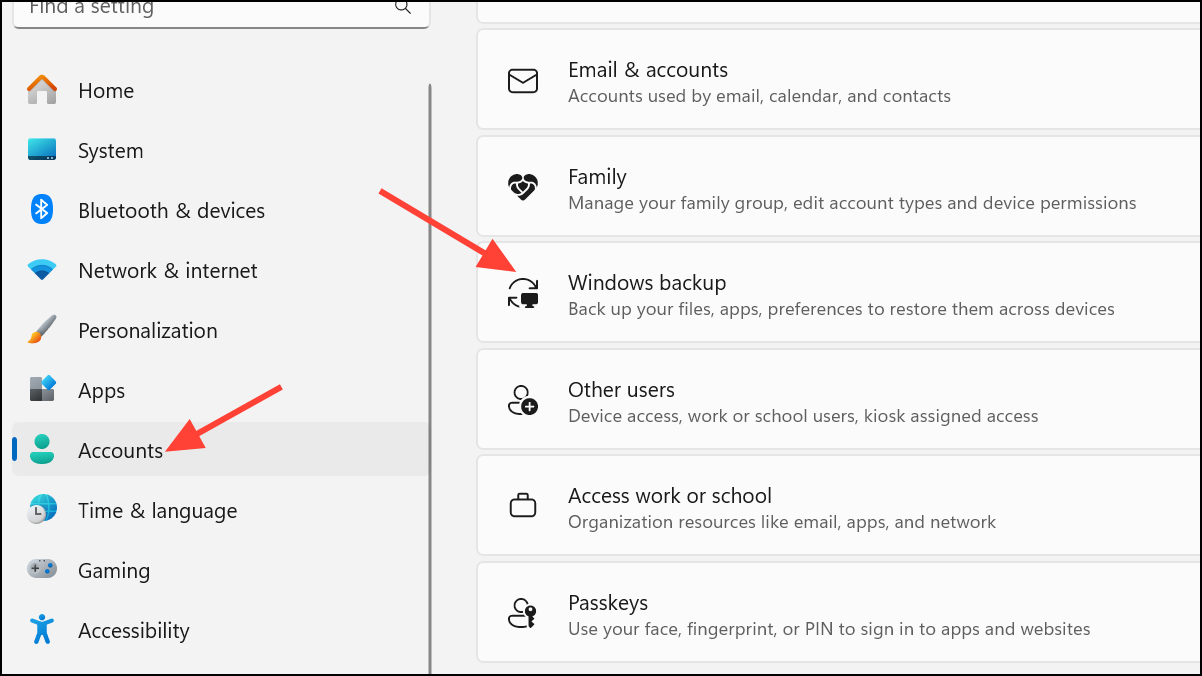
Step 2: If your wallpaper keeps reverting or syncing incorrectly, open Settings > Accounts > Windows backup and turn off “Remember my preferences.” This prevents Windows from syncing wallpaper settings across multiple devices linked to your Microsoft account.
Try Alternative Wallpaper-Setting Methods
Step 1: If the standard method fails, right-click your desired image and select “Open with” > “Paint.” In Paint, click “File,” hover over “Set as desktop background,” and choose your preferred fit.
Step 2: Alternatively, open the image in the Photos app, click the three-dot menu, hover over “Set as,” and select “Background.”
This approach can bypass some restrictions or bugs in the main Personalization interface, especially on unactivated Windows installations.
Resolve Issues with Unsupported Image Files
When attempting to set a very large or unusual image file (such as a 30MB HDR photo) as your wallpaper, Windows may fail silently and revert to a solid color. To address this, open the image in Paint and save it as a standard .jpg or .png file. Then try setting it as your background again. This process strips out unsupported metadata and reduces file size, which increases compatibility.
Additional Troubleshooting Steps
- Ensure Windows is activated. Unactivated systems restrict some personalization features, including wallpaper changes.
- Perform a clean boot to rule out interference from third-party apps or antivirus software.
- Check for Group Policy or Registry restrictions applied by system administrators, especially on work or school devices.
- Temporarily disable BitLocker if enabled, as it can occasionally interfere with personalization settings.
- Update Windows to the latest version to resolve bugs that may impact desktop personalization.
Restoring the ability to change your desktop background on Windows 11 often comes down to fixing corrupted cache files, adjusting system policies, or resolving theme and accessibility conflicts. After applying these steps, you should be able to personalize your desktop with any image you choose.