
Windows Update error 0x80070543 interrupts the update process on Windows 11 when system files or configuration settings are misconfigured, preventing updates from downloading or installing. This issue can stall important security or feature updates, leaving your system out of date. Several proven solutions address the root causes and restore normal update functionality.
Modify Component Services Settings
Incorrect settings in the Component Services console, particularly for Distributed Component Object Model (DCOM) authentication and impersonation, frequently cause error 0x80070543. Adjusting these values ensures Windows Update can communicate securely with system components.
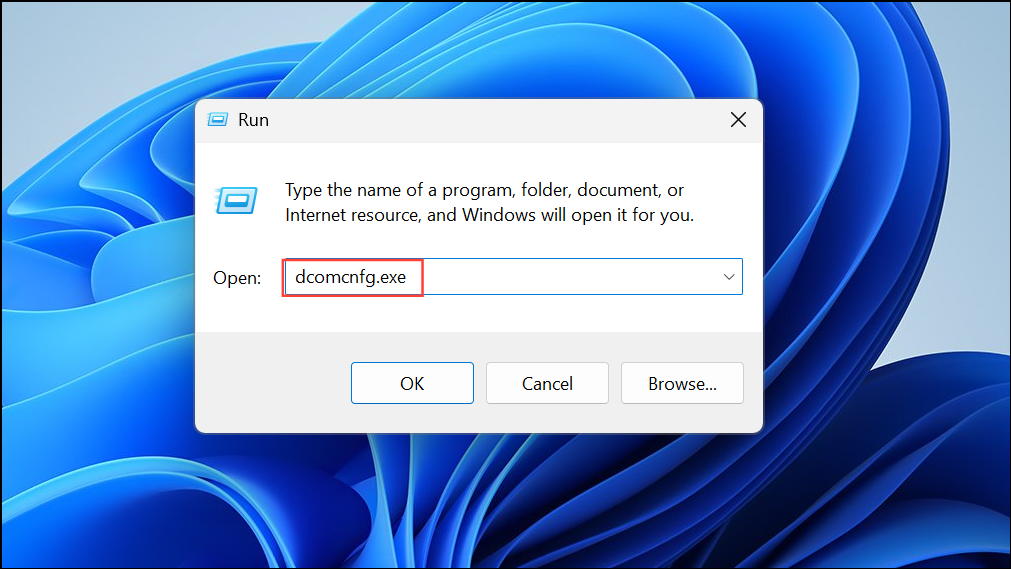
Step 1: Open the Run dialog by pressing Windows + R. Type dcomcnfg.exe and press Enter to launch the Component Services console.
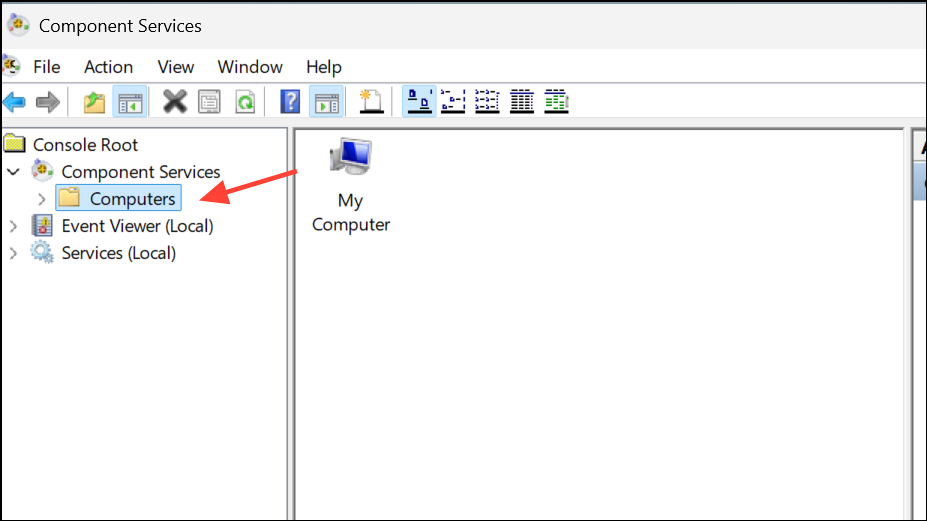
Step 2: In the left pane, expand Component Services, then expand Computers.
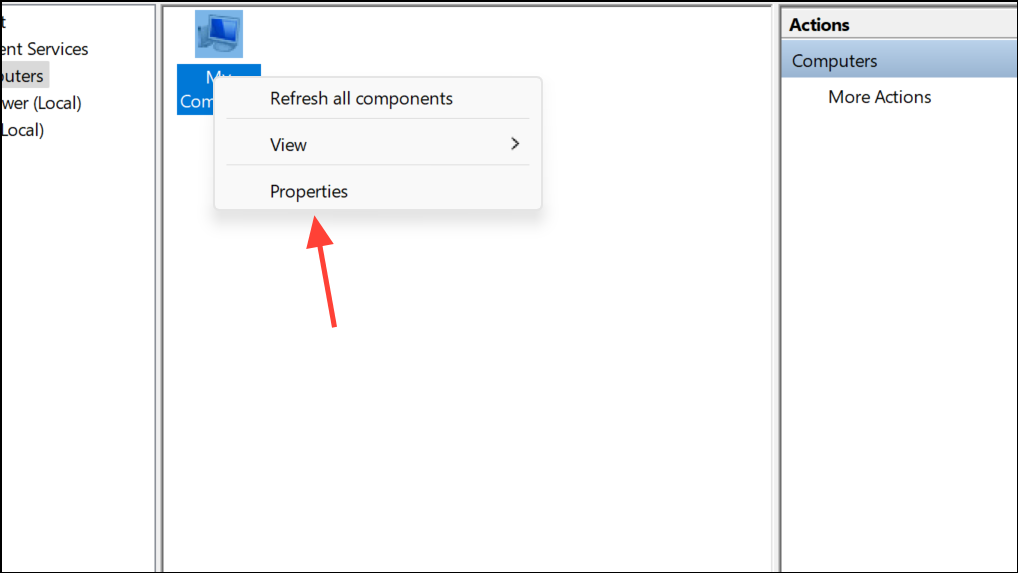
Step 3: Right-click My Computer in the middle pane and select Properties.
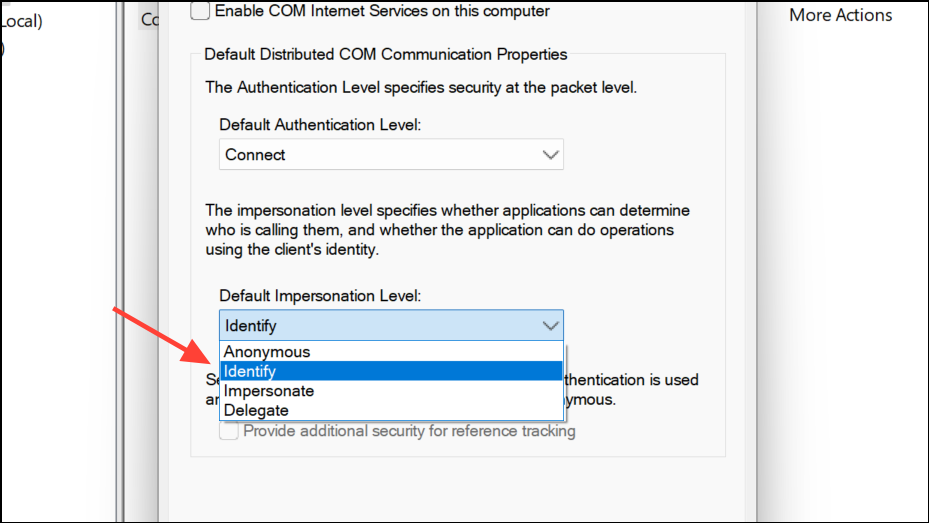
Step 4: Switch to the Default Properties tab. Set Default Authentication Level to Connect if it’s set to None. (If the value is not None, do not change it, as it may be set by your administrator.)
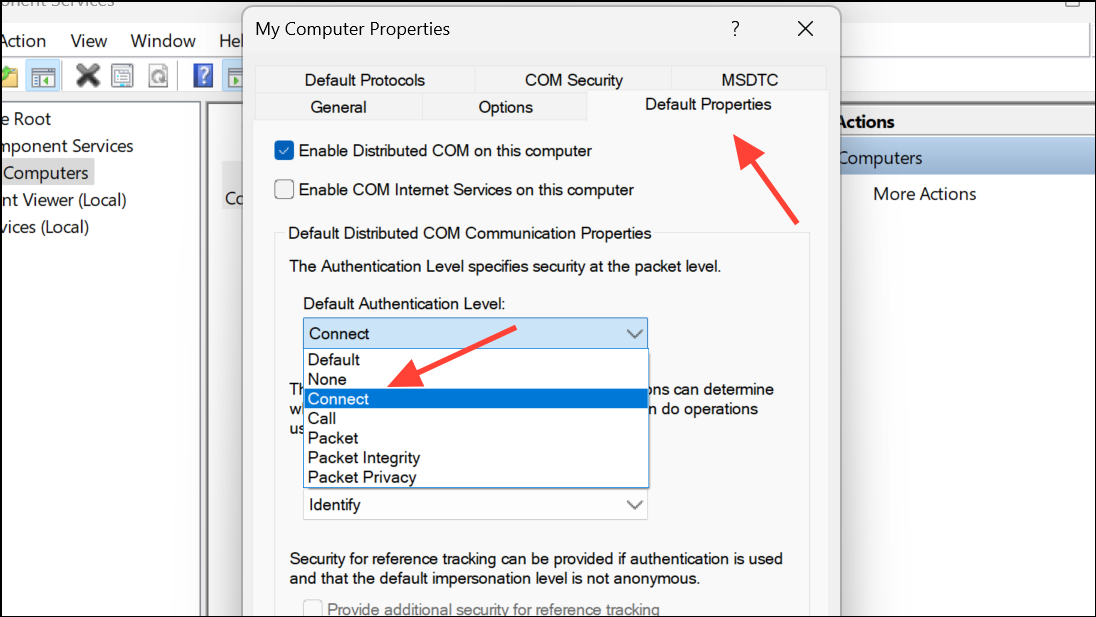
Step 5: Set Default Impersonation Level to Identify. Click Apply, then OK to save changes.
Step 6: Restart your computer and check for updates again. This adjustment allows update processes to authenticate and interact properly with system components.
Run the Windows Update Troubleshooter
Windows includes a built-in troubleshooter that can automatically detect and resolve common update issues. Running this tool often resolves problems caused by misconfigured update components or minor corruption.
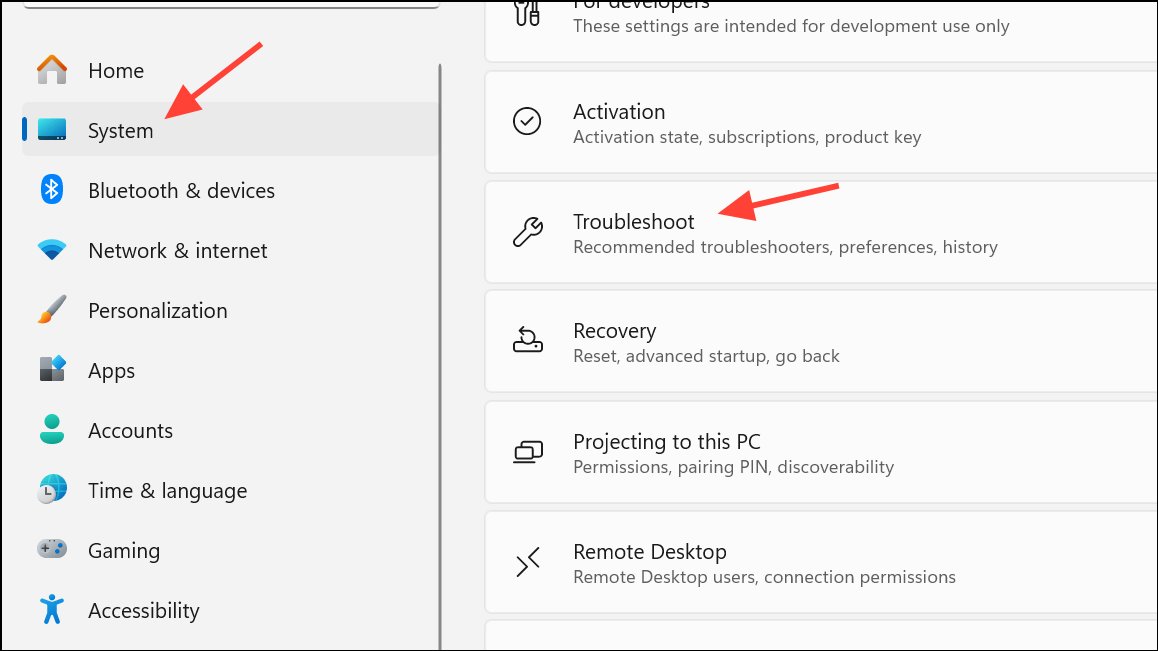
Step 1: Open Settings using Windows + I. Navigate to System, then select Troubleshoot.
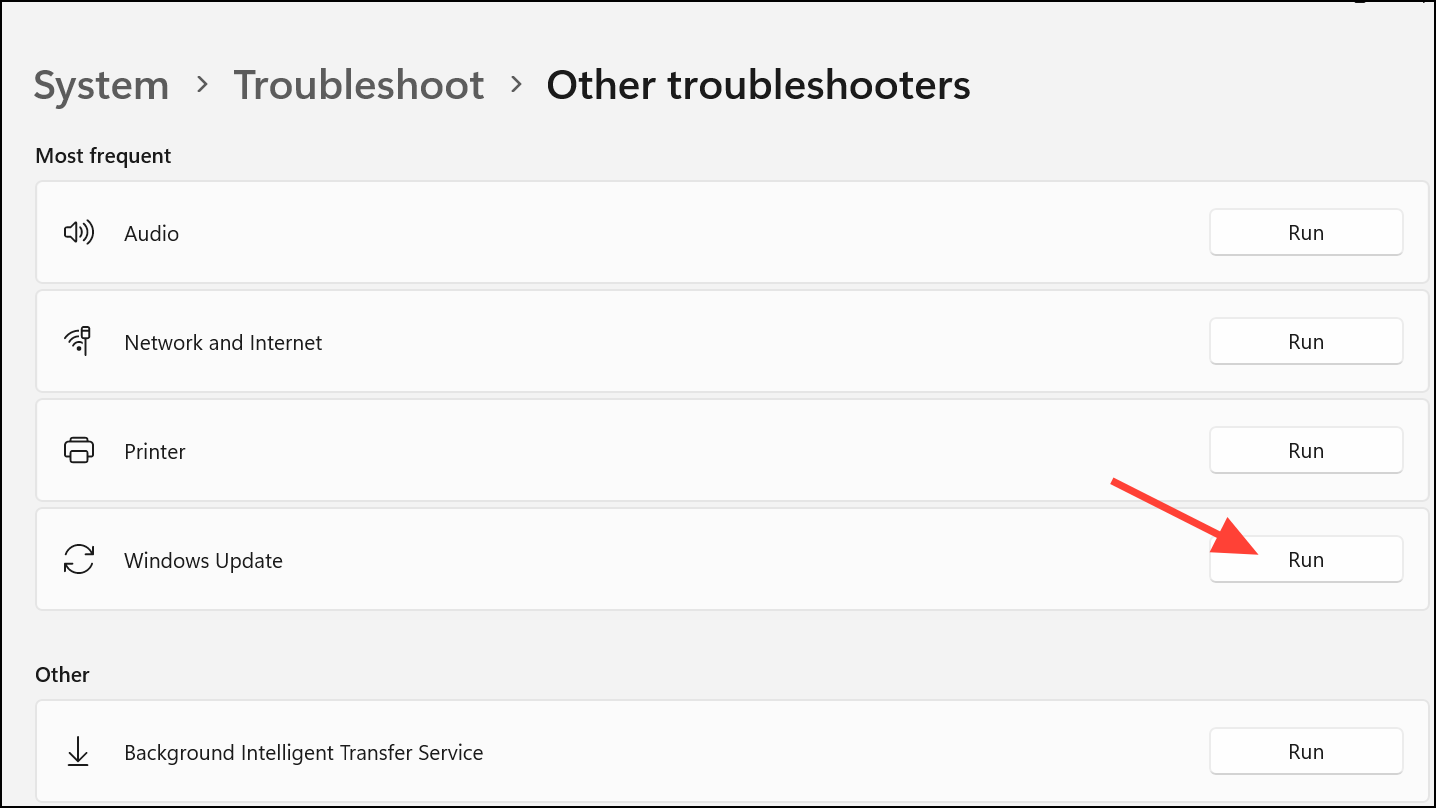
Step 2: Click Other troubleshooters, then locate Windows Update and click Run.
Step 3: Follow the on-screen instructions. The troubleshooter will scan for issues and apply fixes where possible.
Step 4: After the process completes, restart your PC and attempt to download or install updates again.
Repair System Files Using SFC and DISM
Corrupted or missing system files can block Windows Update from functioning. The System File Checker (SFC) and Deployment Imaging Service and Management Tool (DISM) utilities scan for and repair these files, restoring system stability.
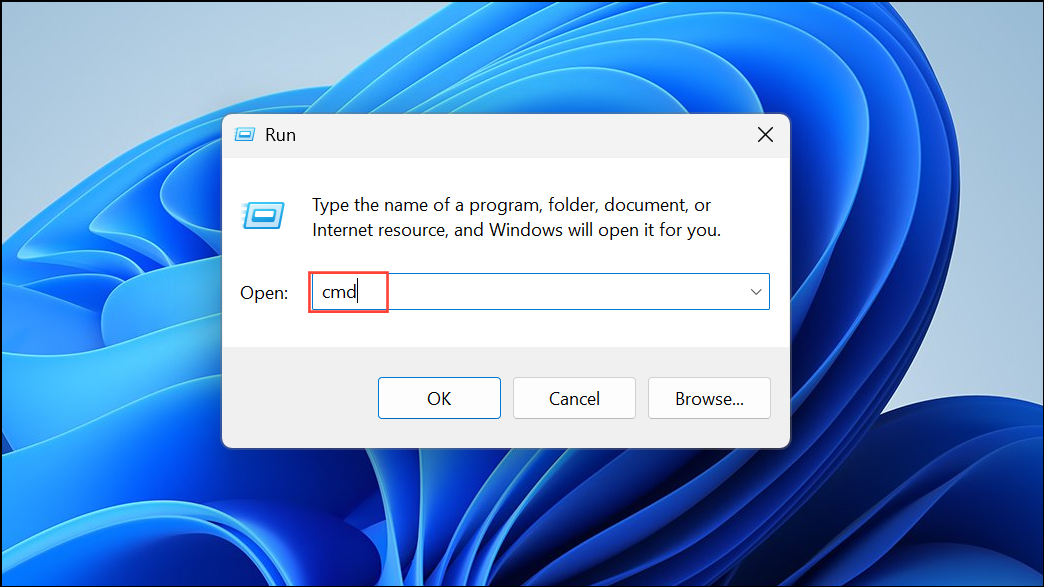
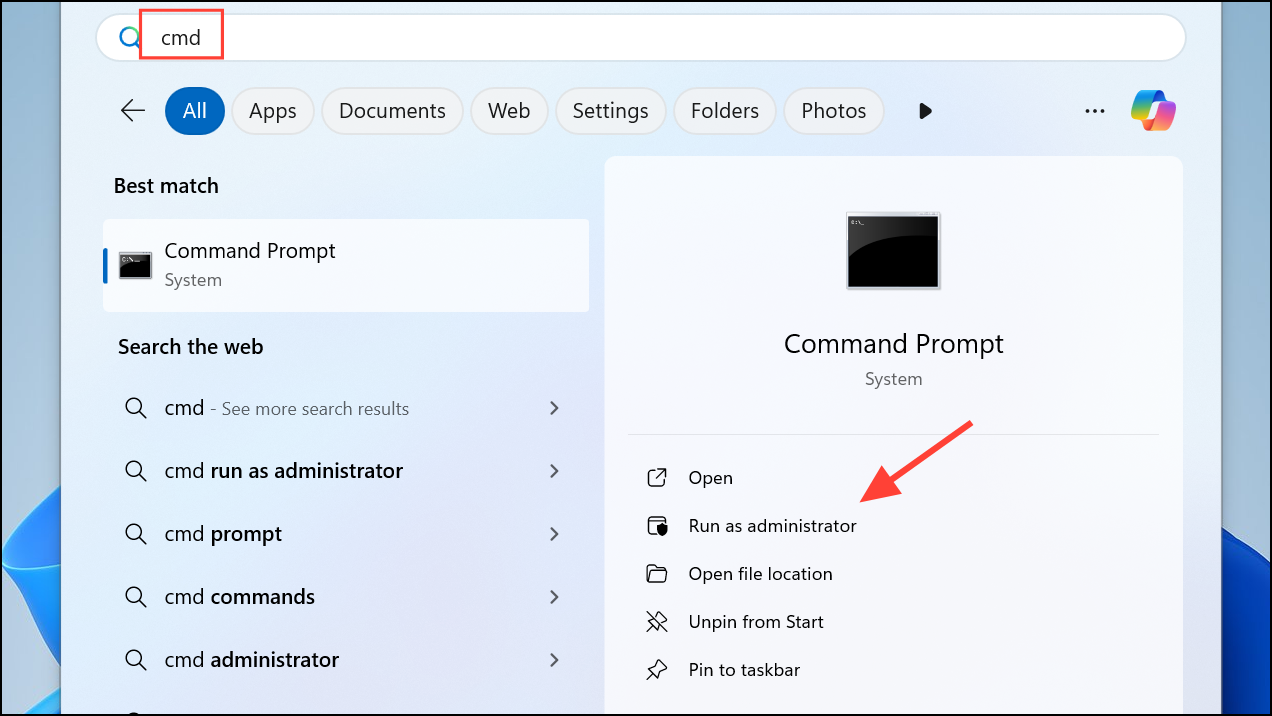
Step 1: Open the Run dialog (Windows + R), type cmd, then press Ctrl + Shift + Enter to launch Command Prompt as an administrator.
Step 2: Enter the following command to run the System File Checker:
sfc /scannow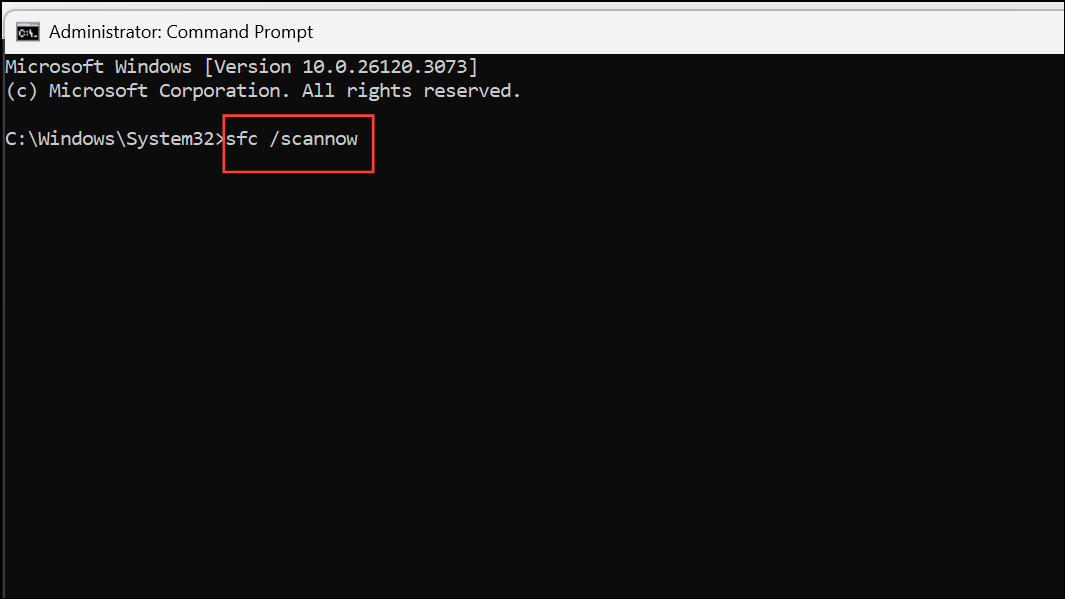
This scan checks for and repairs corrupt system files. Wait for it to finish, then restart your computer.
Step 3: After restarting, open Command Prompt as administrator again and run the following command to repair the Windows image:
DISM /Online /Cleanup-Image /RestoreHealth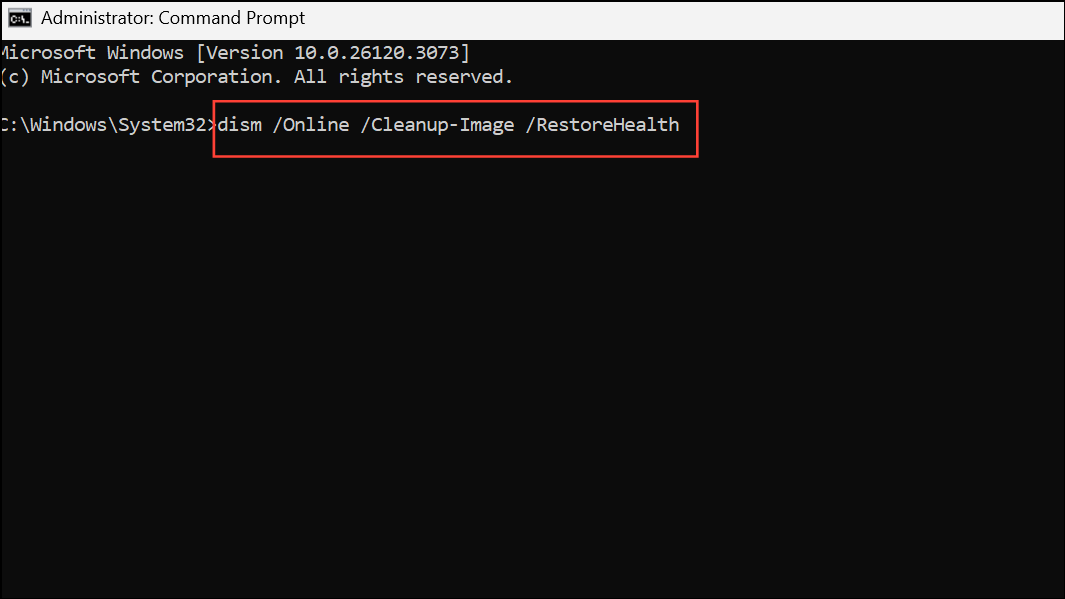
This command checks the health of the Windows image and replaces damaged or missing files. Once complete, restart your PC and try updating again.
Reset Windows Update Components
Persistent update failures may result from corrupted update components or services. Resetting these components restores their default state and clears out problematic cached data.
Step 1: Open Command Prompt as administrator.
Step 2: Stop the Windows Update service and Background Intelligent Transfer Service (BITS) by running:
net stop wuauserv
net stop bits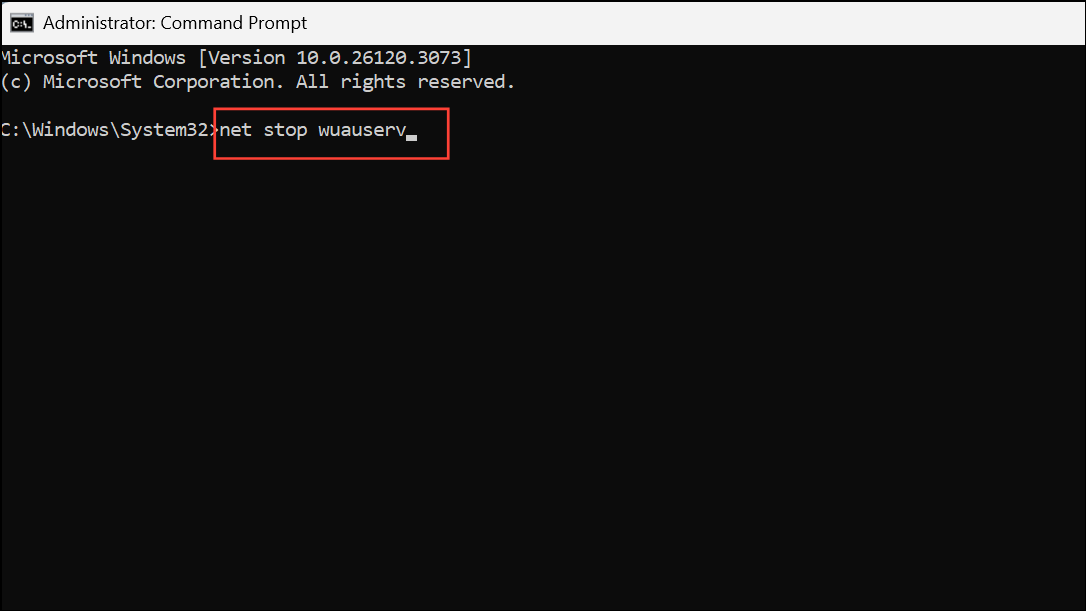
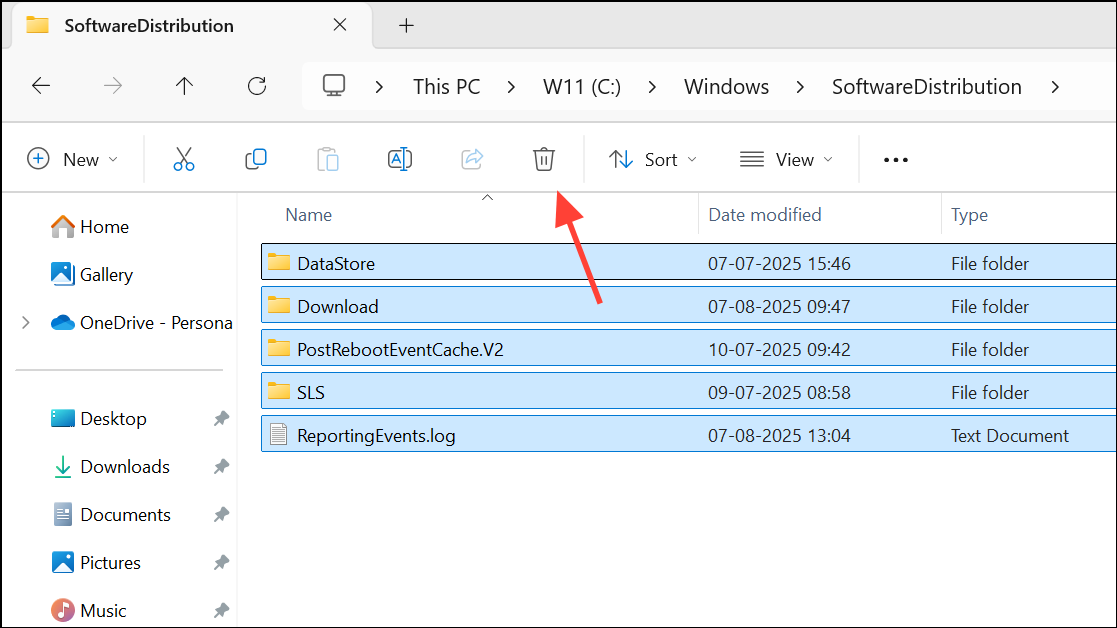
Step 3: Delete the contents of the C:\Windows\SoftwareDistribution and C:\Windows\System32\catroot2 folders using the File Explorer. This removes outdated update files and catalogs.
Step 4: Restart the services:
net start wuauserv
net start bits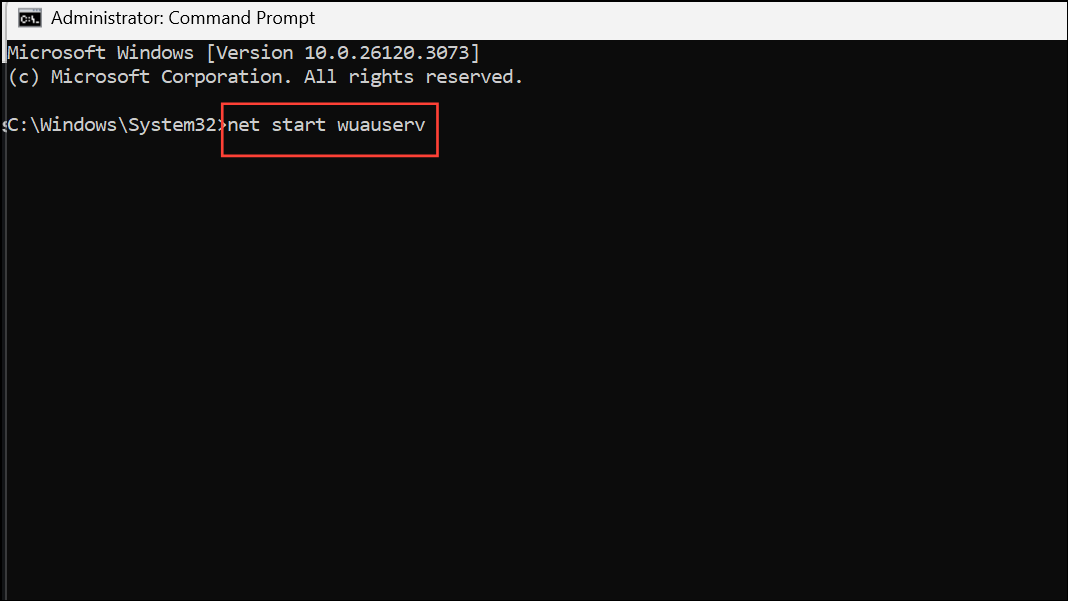
Step 5: Reboot your PC and attempt to install updates again.
Install Updates Manually
If automatic updates continue to fail, manually downloading and installing the specific update can bypass issues with the Windows Update process.
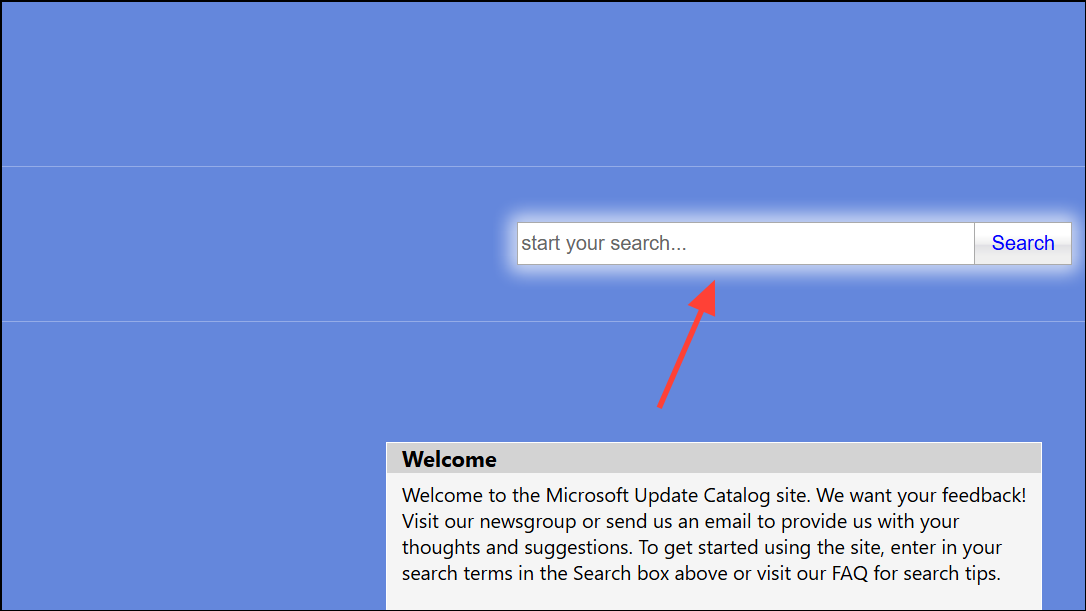
Step 1: Visit the Microsoft Update Catalog and search for the update code (e.g., KB5028185).
Step 2: Download the correct version for your system (x64, ARM, etc.).
Step 3: Double-click the downloaded file to install the update. Follow any prompts to complete the installation.
Step 4: Restart your computer when prompted, then check if the update is listed as installed.
Other Troubleshooting Steps
- Temporarily disable antivirus or firewall software during the update process, as these can sometimes interfere with Windows Update.
- Run Windows Update in a Clean Boot state to isolate third-party service conflicts. To do this, open System Configuration (
msconfig), select Selective startup, and disable non-Microsoft services. - If disk errors are suspected, run
chkdsk /f /rin Command Prompt to scan and repair disk issues. ReplaceC:with your Windows drive letter as needed. - Use the Background Intelligent Transfer Service (BITS) troubleshooter if downloads stall or fail to start.
Applying these methods restores normal Windows Update operation and allows updates to install without error 0x80070543. Regularly maintaining system files and checking configuration settings helps prevent future update issues.