Microsoft recently made a change to its Activation and Validation Servers which caused Activation issue for the Windows 7 Professional and Enterprise users. Apart from Windows 7, other Microsoft products using the KMS activation service were also affected by the changes made.
Most Windows 7 users are seeing KMS activation issue post installing the latest security updates KB4480970 and KB4480960, but Microsoft confirmed that the activation issue is not related to the recent security updates.
Below are the common errors displayed on affected systems:
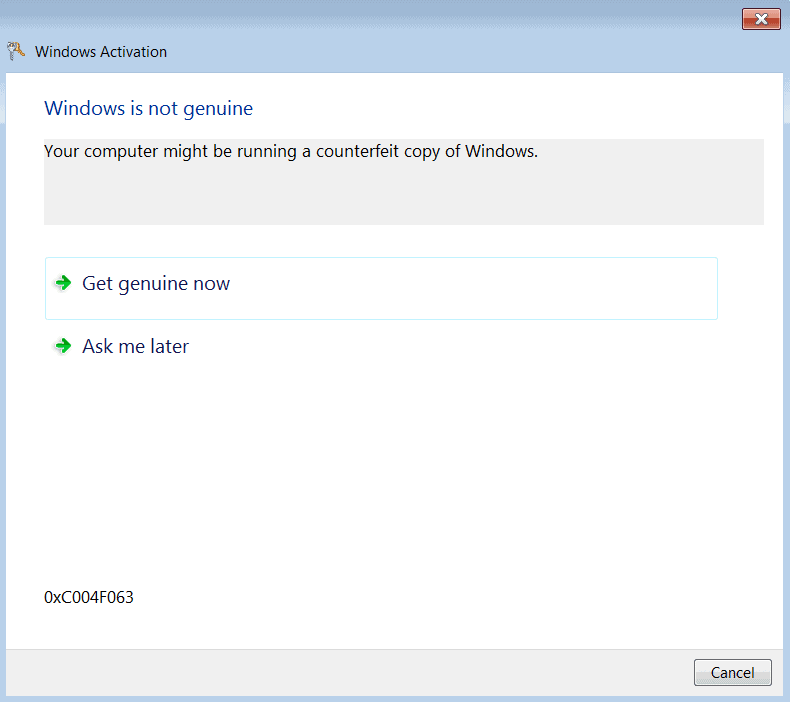
- The system displayed an error message – “Windows is not genuine“ with a completely black desktop background.
- The command that used to display the license information details – “slmgr /dlv” started showing an error code – 0xC004F200
- The “slmgr /ato” command started showing an error message – “Windows is running within the non-genuine notification period. Run ‘slui.exe’ to go online and validate Windows”
- The event log incorporated the following failed attempts notices:
- ID 13 — Genuine validation result: hrOffline = 0x00000000, hrOnline =0xC004C4A2
- ID 8196 — License Activation Scheduler (sppuinotify.dll) was not able to automatically activate. Error code: 0xC004F200:
- ID 8208 — Acquisition of genuine ticket failed
- ID 8209 — Acquisition of genuine ticket failed
According to Microsoft, the change in activation servers only affected users who had the KB971033 update installed on their Windows 7 PCs. The activation issue started on 8th January 2019 and was resolved on 9th January 2019. Microsoft had to revert the changes made to the Activation servers to fix the problem.
If you are facing activation issues on your Windows 7 machine, follow the resolution provided by Microsoft (below) to fix the problem.
How to fix KMS Activation issue on Windows 7
- Remove the KB971033 update from the affected device by issuing the following commands in a command prompt window and hit enter:
wusa /uninstall /kb:971033
- Restart your PC.
- Now open a command window again and issue the following commands one-by-one:
net stop sppuinotify
sc config sppuinotify start= disabled
net stop sppsvc
del %windir%system327B296FB0-376B-497e-B012-9C450E1B7327-5P-0.C7483456-A289-439d-8115-601632D005A0 /ah
del %windir%system327B296FB0-376B-497e-B012-9C450E1B7327-5P-1.C7483456-A289-439d-8115-601632D005A0 /ah
del %windir%ServiceProfilesNetworkServiceAppDataRoamingMicrosoftSoftwareProtectionPlatformtokens.dat
del %windir%ServiceProfilesNetworkServiceAppDataRoamingMicrosoftSoftwareProtectionPlatformcachecache.dat
net start sppsvc
cscript c:windowssystem32slmgr.vbs /ipk <edition-specific KMS client key>
└ Replace the text in bold with the KMS client key for your Windows 7 edition from the table below.
cscript c:windowssystem32slmgr.vbs /ato
sc config sppuinotify start= demand
Windows 7 edition specific KMS client keys
| OS Editions | KMS Client Set Up Keys |
| Windows 7 Professional | FJ82H-XT6CR-J8D7P-XQJJ2-GPDD4 |
| Windows 7 Professional E | W82YF-2Q76Y-63HXB-FGJG9-GF7QX |
| Windows 7 Professional N | MRPKT-YTG23-K7D7T-X2JMM-QY7MG |
| Windows 7 Enterprise | 33PXH-7Y6KF-2VJC9-XBBR8-HVTHH |
| Windows 7 Enterprise E | C29WB-22CC8-VJ326-GHFJW-H9DH4 |
| Windows 7 Enterprise N | YDRBP-3D83W-TY26F-D46B2-XCKRJ |
After following the instructions above, the KMS activation issue on your Windows 7 PC should resolve. Cheers!