Microsoft has made software updates mandatory for the Windows 10 users. This initiative by the company received a lot of thumbs downs as users are not able to schedule the updates as they want to.
Though the Windows 10 Pro users have the option to postpone the update, the Windows 10 Home users have no control over it. Automatic updates consume a lot of data and sometimes often, causes technical issues in the computers.
If you are pissed off with the Windows 10 automatic updates and want to get rid of them, then here are three different methods to disable Windows 10 updates.
Turn off automatic updates using Local Group Policy
Windows 10 Pro has an invisible, automatic update disabling option. You can use the Local Group Policy Editor to make the option visible.
- Press the Win + R keys together to open the Run window.
- Type gpedit.msc and click OK to open Local Group Policy Editor.
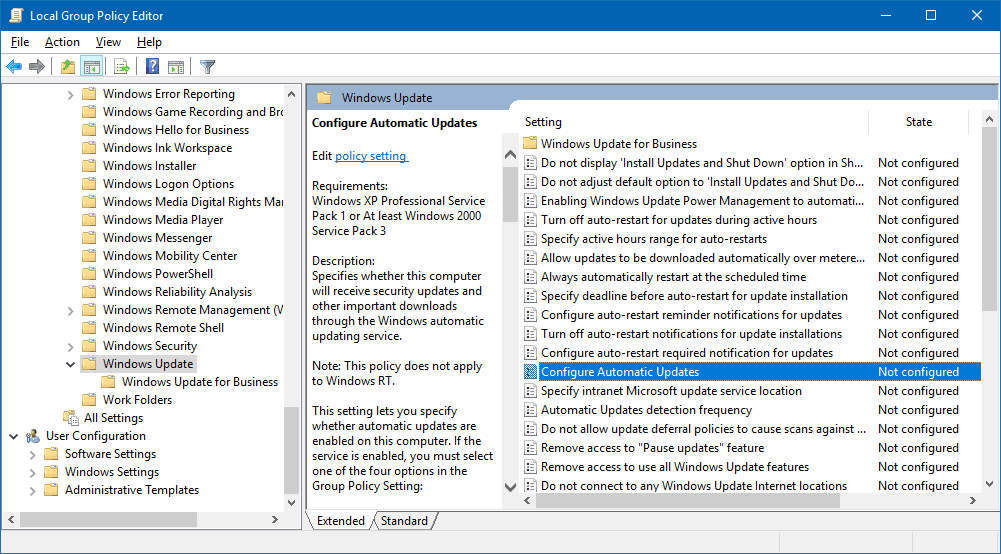
- From the left panel on the Local Group Policy Editor, go to Computer Configuration » Administrative Templates » Windows Components » Windows Update folder.
- On the right-panel, look for Configure Automatic Updates setting and double-click on it to edit the policy.
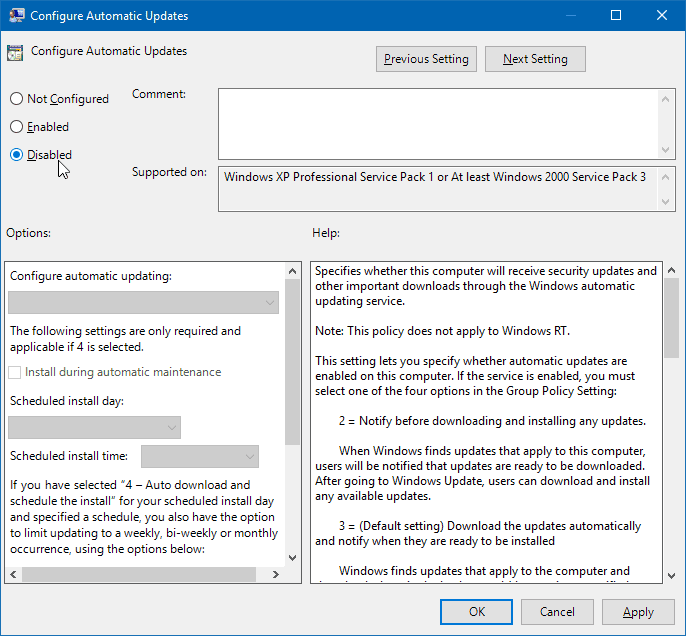
- Click the Disabled option, then click Apply and then finally click OK.
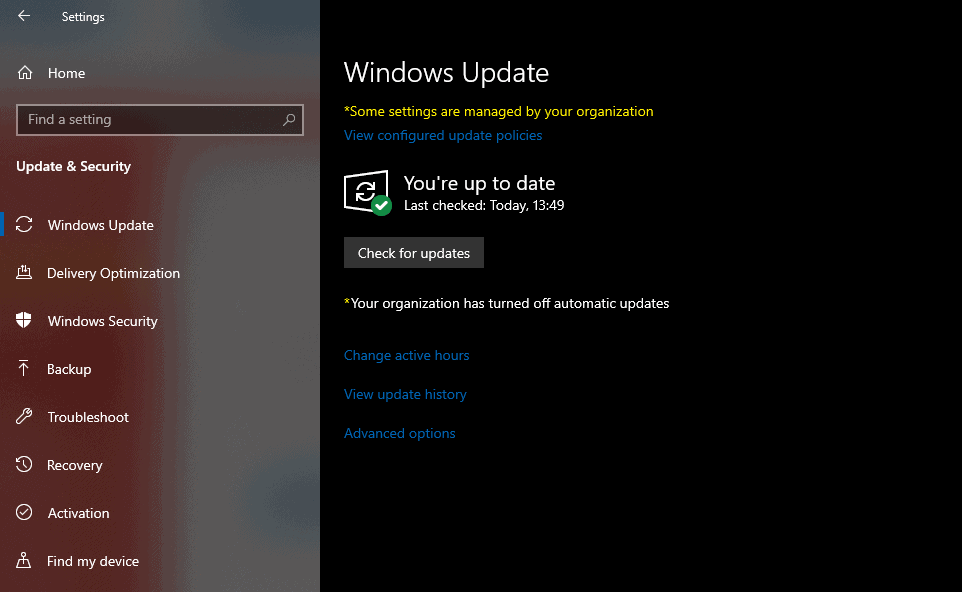
This should stop Windows 10 automatic updates on your PC.
Disable updates you don’t want to install
Microsoft has released an automatic update troubleshooting tool which lets Windows 10 users selectively hide updates they don’t want to install on their PCs. You can download the tool and learn how to use it from the link below:
→ How to Hide Windows 10 Updates
Once you disabled an update using the tool above, it won’t ever install automatically on your PC. However, future Windows updates will continue to download/install automatically on your computer.
Tell Microsoft you have a metered WiFi connection
Microsoft allows you to limit the data used when your PC is connected to a WiFi network. You can take advantage of this setting to tell Microsoft to stop downloading Windows updates automatically as it costs you bandwidth.
Note: This method will only work if you use a WiFi connection as the data source for your computer.
- Open Start menu, type WiFi Settings and then click on it from the search results.
- Click on Manage known networks link.
- Click on the network you wish to set as a metered connection, then select Properties from the expanded menu.
- Under the Metered connection section, turn on the toggle for Set as metered connection option.
That’s all! Once you enable the above option, Microsoft will receive the message that you are on a limited data plan and it won’t push future updates automatically on your system.


