
Several Windows users have been reporting that they are not able to access any of their downloaded games. When trying to launch a game, they are faced with the error code 0x000001f4. Some can’t even access the menu that displays all the game titles.
Typically, you can face this issue when the Xbox services are down, an incorrect MAC address is entered, or a system file has been corrupted or damaged. Fortunately, the most common culprits can be easily resolved using the methods listed down below.
Method 1: Verify the Status of Xbox Live Services
The first and foremost fix is to check whether the services are active or not. It is very straightforward to check it.
Head to support.xbox.com/xbox-live-status using your preferred browser. Then, click on the ‘Games & gaming’ tab to extend and learn if there are any outages currently.

If there are outages, wait until the outage is cleared out, and then try. It should work perfectly fine.
Method 2: Run Microsoft Store Troubleshooter
If there is no outage of service, the second fix you can try is to run the app troubleshooter to check if there are issues with the app itself that is causing the issue.
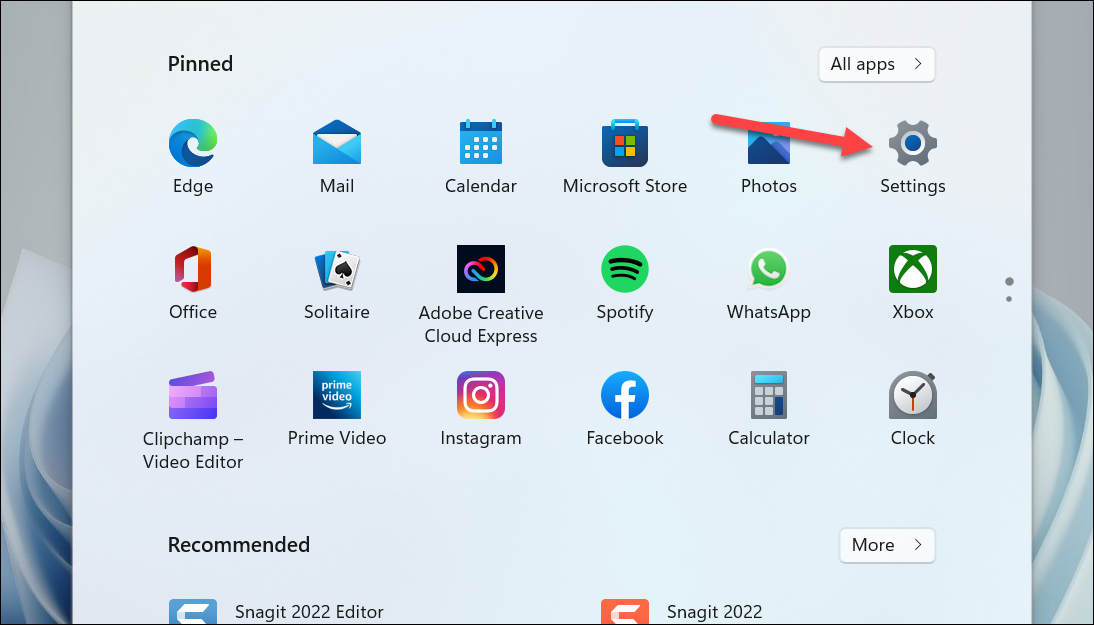
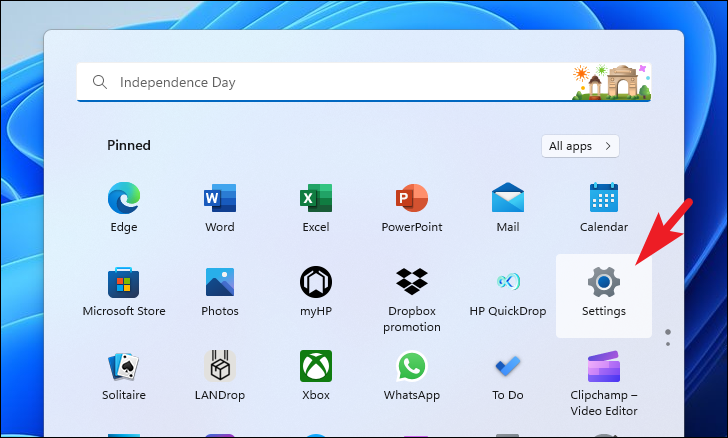
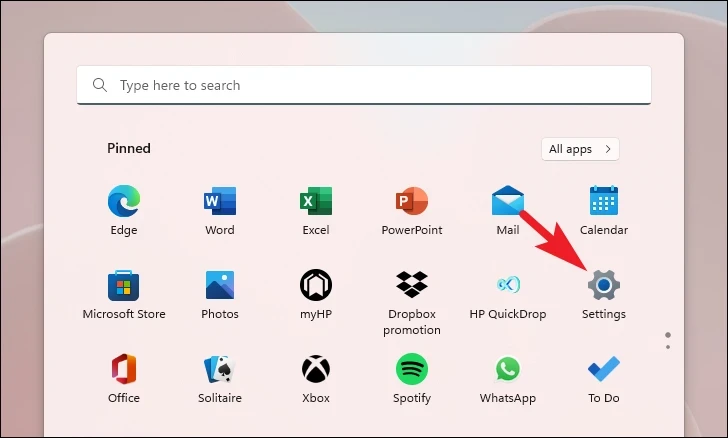
First, head to the Start Menu and click on the ‘Settings’ tile to proceed. Alternatively, type Settings to perform a search for it.
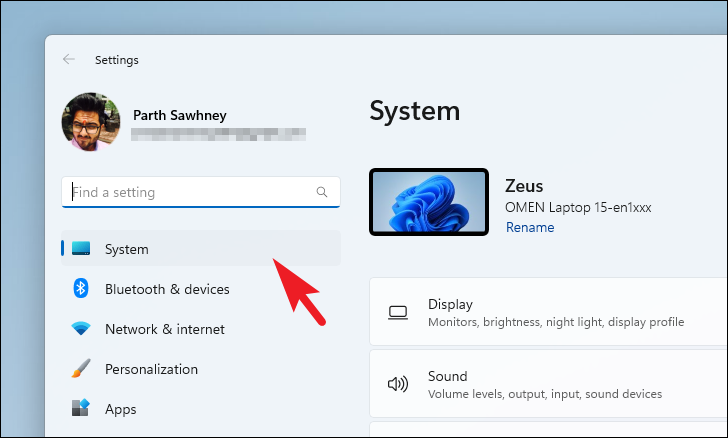
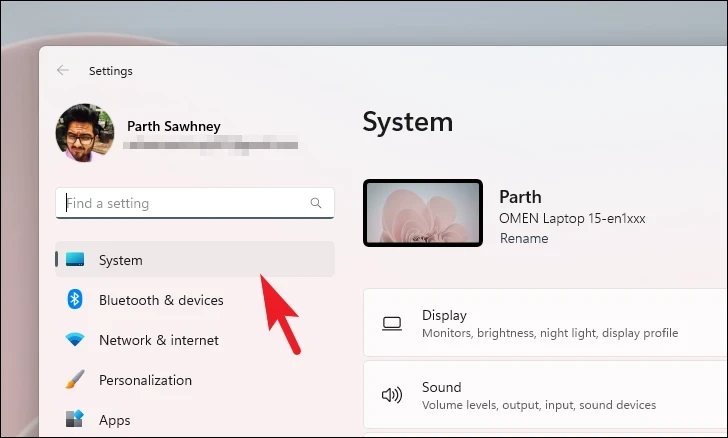
Then, make sure you have selected the ‘System’ tab from the left sidebar to continue.
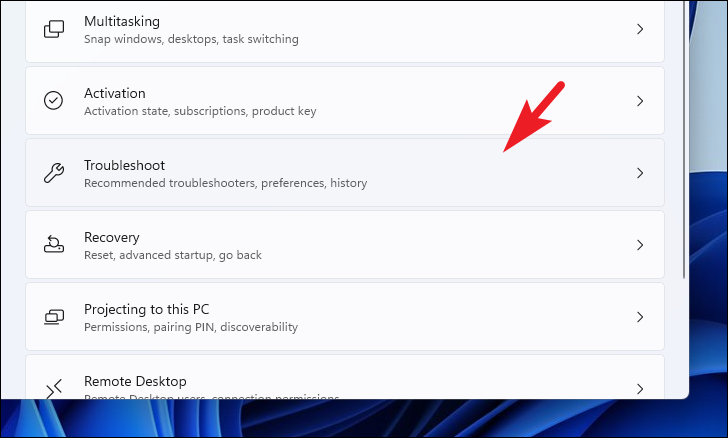
Next, click on the ‘Troubleshoot’ tile to proceed.
Then, click on the ‘Other troubleshooters’ tile.

Afterward, click on the ‘Run’ button present on the ‘Microsoft Store Apps’ tile to run the troubleshooter.
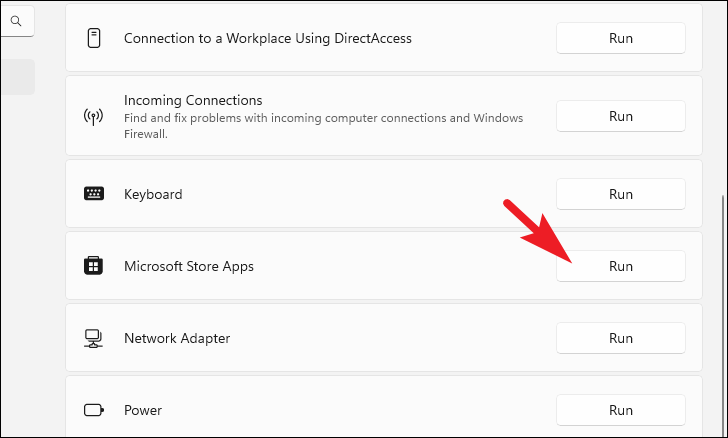
Windows will now check the system and search for probable issues.
Method 3: Re-register Microsoft Store
Many of the users have been able to resolve the issue by re-registring the Microsoft Store on their PC using the Powershell command line tool. It may sound a bit technical, but all you need to do is just follow the steps mentioned below and you will be done before you know it.
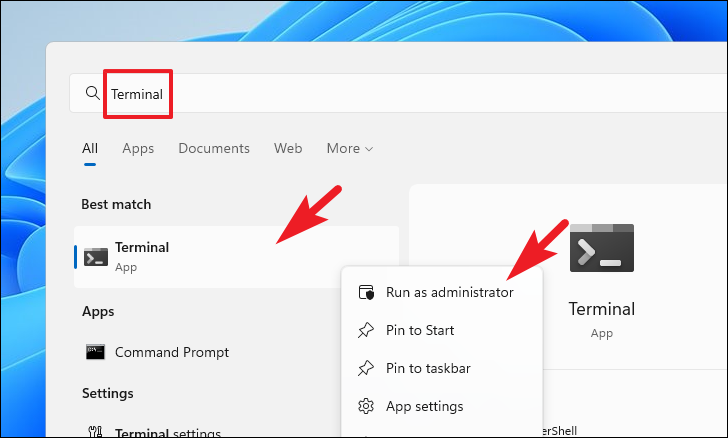
First, head to the Start Menu and type Terminal to perform a search for it. Then, from the search results, right-click on the ‘Terminal’ and select the ‘Run as administrator’ option.
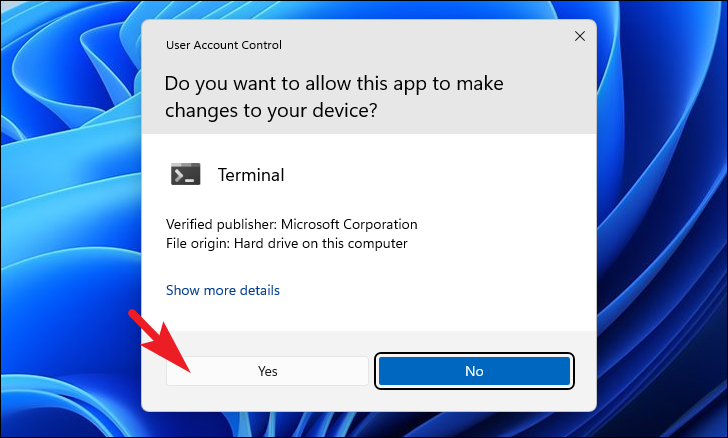
Now, a UAC window will appear on your screen. Enter credentials for an administrator account, if you are not logged in with one. Otherwise, click on the ‘Yes’ button to continue.
After that, on the Terminal window, type or copy+paste the below-mentioned command and hit Enter on your keyboard to execute it.
Get-AppXPackage *WindowsStore* -AllUsers | Foreach {Add-AppxPackage -DisableDevelopmentMode -Register “$($_.InstallLocation)\\AppXManifest.xml”}
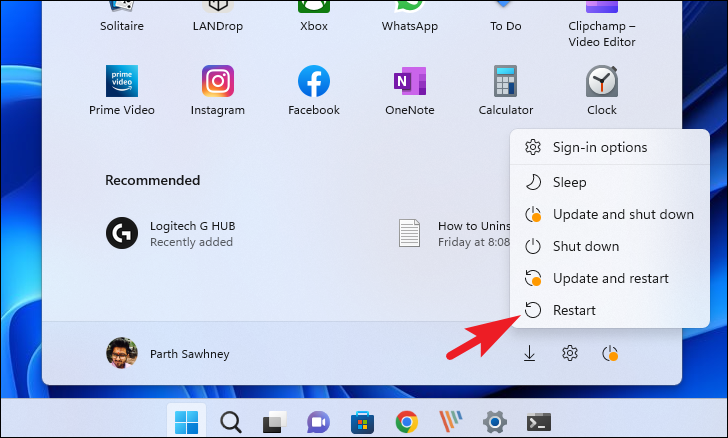
Once the command has been executed, restart your PC from the Start Menu to let the changes take effect.
Method 4: Try Using a New User Account
If you go by forum chatter, a set of users have also been able to resolve the issue by creating a new user account. Creating a new Microsoft or local account is as plain sailing as it gets.
To create a new user account, head to the Start Menu and click on the ‘Settings’ tile to proceed. Alternatively, press the Windows+I keys together on your keyboard to open the app.
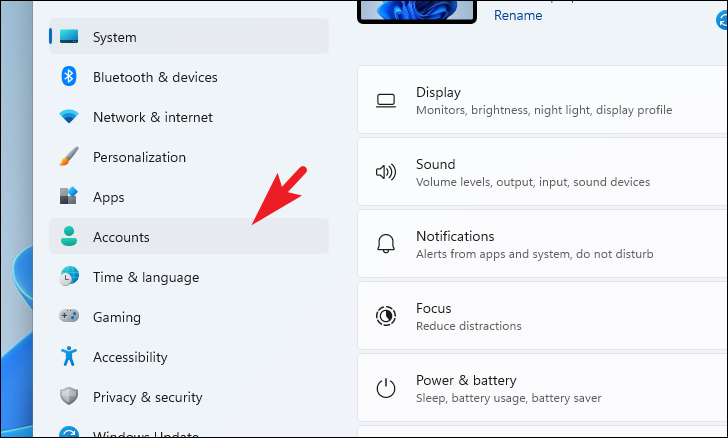
Next, click on the ‘Accounts’ tab from the left sidebar to proceed.
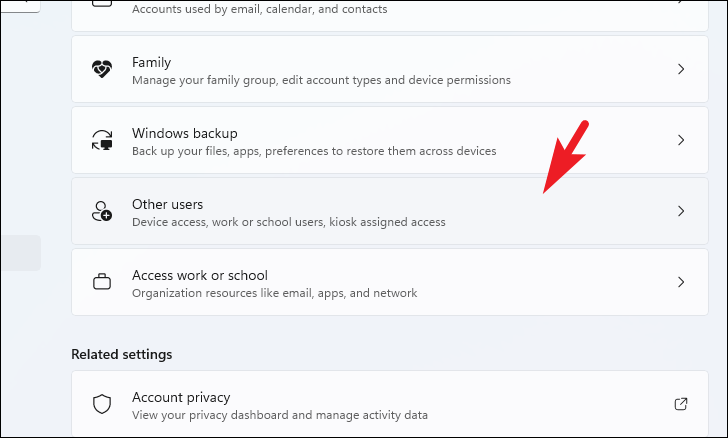
After that, from the right section, click on the ‘Other Users’ tile to continue.
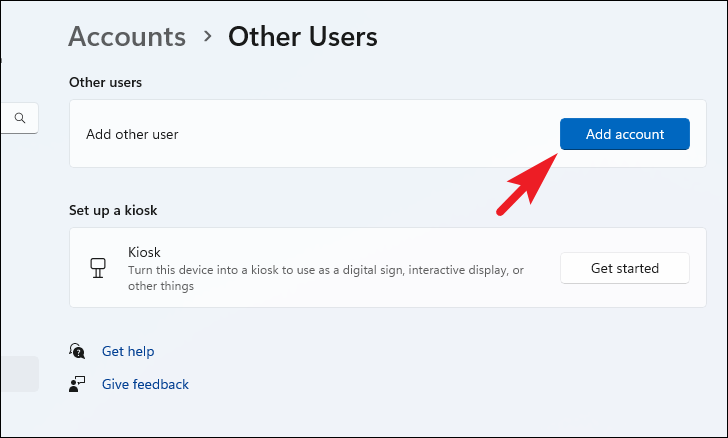
Then, click on the ‘Add account’ button to proceed. This will bring a separate window to your screen.
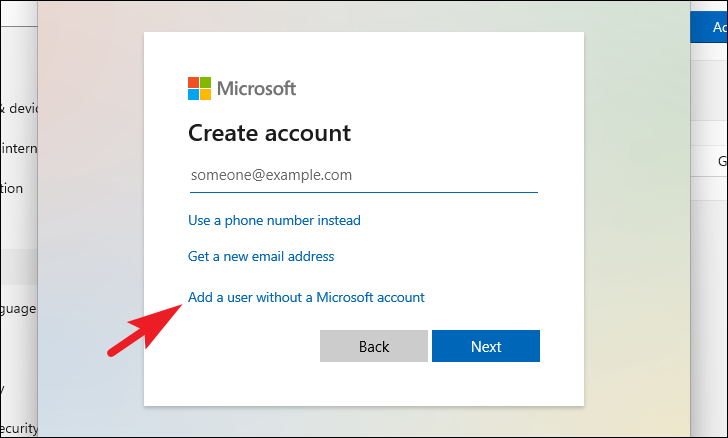
Now, if you wish to create a Microsoft account, enter the email address you wish to create an account with. Otherwise, click on the ‘I don’t have this person’s sign-in information’ option.
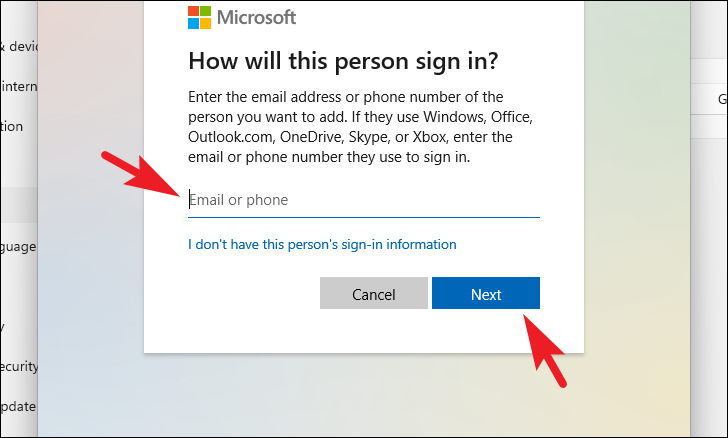
If you did not enter an email in the above step, click on the ‘Add a user without a Microsoft account’ option. This will create a local account on the system.
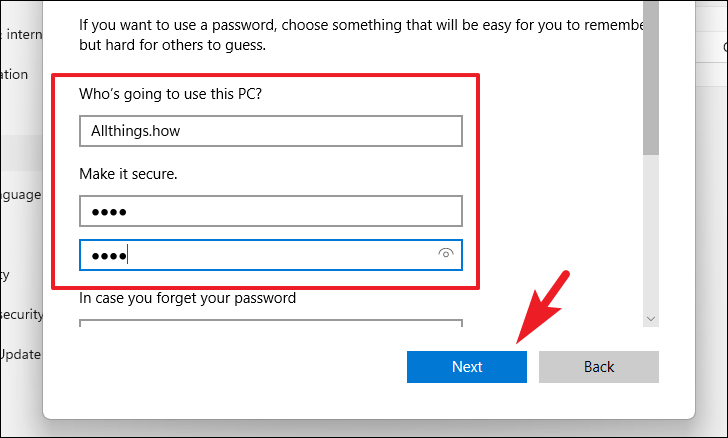
After that, enter the name of the user in the first text box and then enter the password under the ‘Make it secure’ field. Once you have entered all the details, click on the ‘Next’ button to continue.
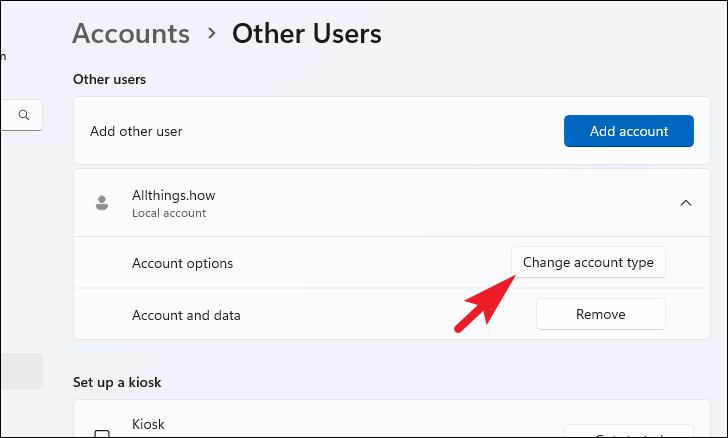
Once the account has been created, click on the ‘Change account type’ button. This will bring a separate window on your screen.
Now, click on the dropdown menu and select the ‘Administrator’ option and click on the ‘OK’ button to confirm and close.
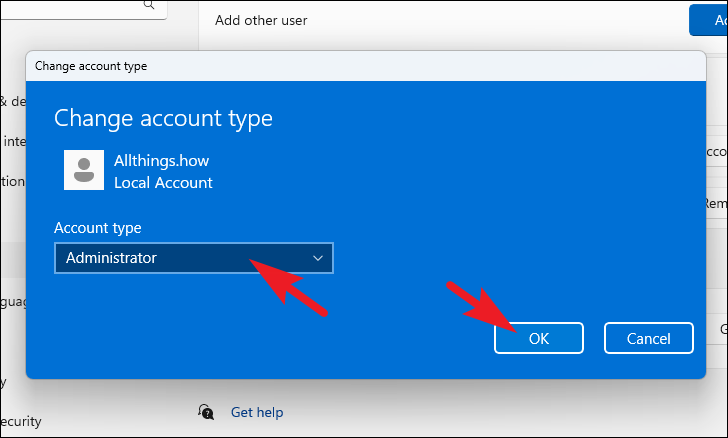
Once you have successfully set the ‘Admin’ privileges to the account, log in using the newly created account and then try again to check if the issue still prevails.
Method 5: Reset your PC
If you do not wish to use a separate account just to access your games, you can also reset your PC which will restore system settings to a factory state whilst leaving your personal files and folders as is. You can also choose to completely wipe your disk if you wish to.
Head to the Start Menu and click on the ‘Settings’ icon to proceed. Alternatively, press the Windows+I keys to open the app.
Next, make sure you have selected the ‘System’ tab from the left sidebar to proceed.
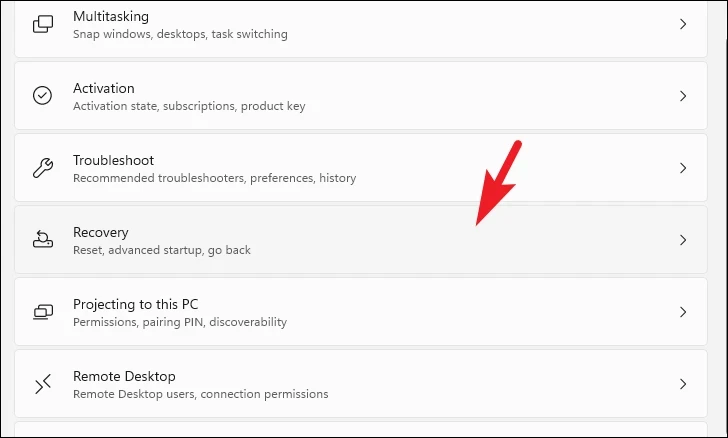
After that, click on the ‘Recovery’ tile to continue.
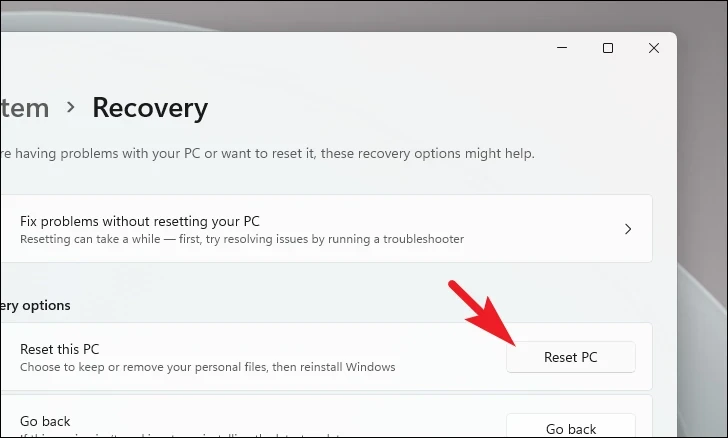
Then, click on the ‘Reset PC’ button to continue. This will bring a separate window to your screen.
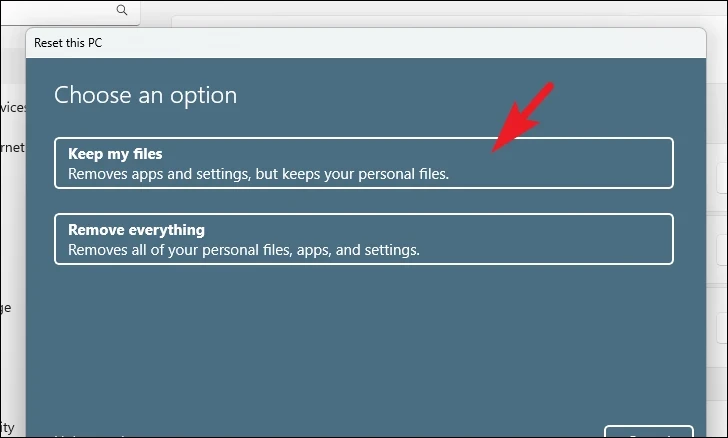
After that, if you wish to keep your personal files as is while only resetting the system settings, click on the ‘Keep my files’ option. Otherwise, click on the ‘Remove everything’ option.
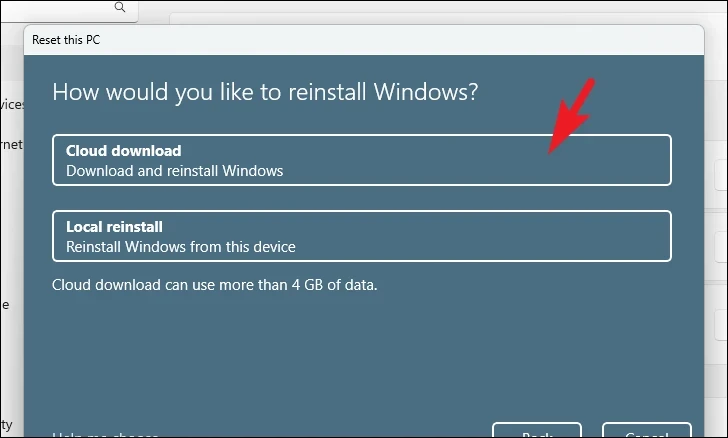
Then, choose a method for reinstalling the operating system. The ‘Cloud download’ will download the operating system from Microsoft servers. Whereas the ‘Local Reinstall’ option will reinstall the operating system using the locally stored files. When facing such an issue, the ‘Cloud download’ option will be much more reliable.
Note: The ‘Cloud download’ option will require an active internet connection and will consume upwards of 4 GB of data.
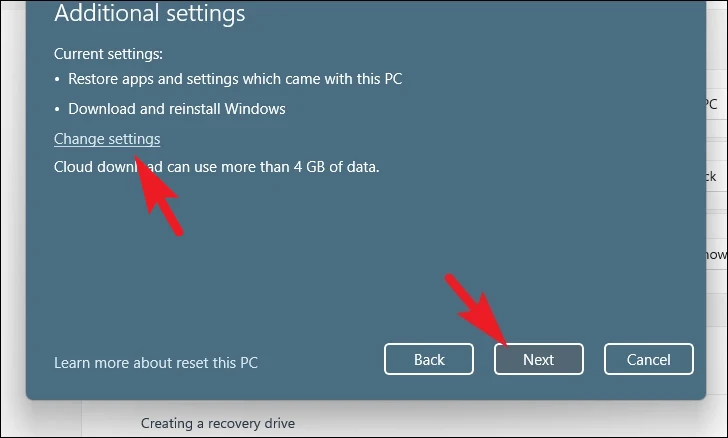
Now, Windows will list the settings chosen by you. Click on the ‘Change settings’ option if you wish to change. Otherwise, click on the ‘Next’ button to proceed.
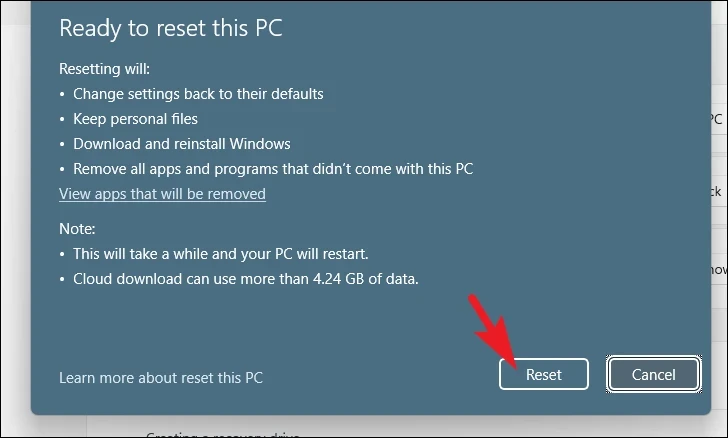
After that review, all the impacts of resetting your PC are displayed on your screen. Click on the ‘Reset’ button to continue. This will immediately restart your PC and commence its resetting.
That’s about it, people. Using the above-mentioned methods, you can easily resolve the error code 0x000001f4 in Microsoft Store and access it once more.