
The error message “The code execution cannot proceed because opencl.dll was not found. Reinstalling the program may fix this problem” often appears when launching applications that rely on GPU computing, such as games or video editing software. OpenCL.dll is a dynamic link library essential for running software that leverages graphics processing power. On Windows 11, this issue typically signals a problem with your graphics drivers, system files, or a missing/corrupted OpenCL.dll file.
Update Graphics Card Drivers
Outdated or improperly installed graphics drivers are the most frequent cause of OpenCL.dll errors. Since the OpenCL.dll file is usually bundled with your GPU driver, updating to the latest version often resolves the issue.
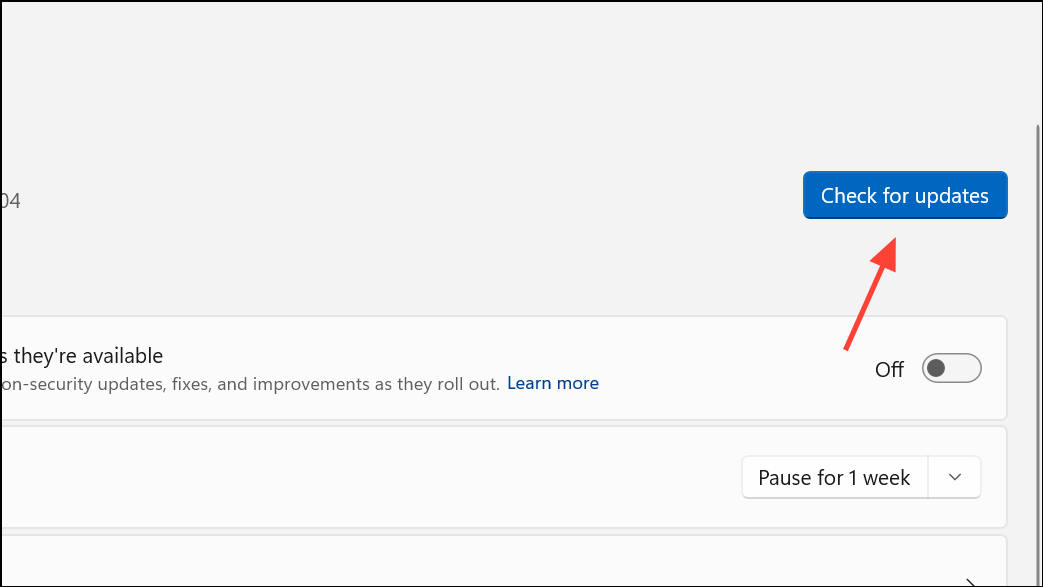
Step 1: Open Settings > Windows Update and install all pending updates, including optional driver updates. Reboot your computer after installation.
Step 2: Visit the official website for your GPU manufacturer (NVIDIA, AMD, or Intel). Download the latest driver for your graphics card that matches your Windows 11 system architecture (32-bit or 64-bit).
Step 3: Run the installer and follow the prompts to update your drivers. If prompted, choose a “clean” or “custom” installation to remove old driver remnants that might cause conflicts.
Step 4: Restart your computer and check if the application launches without the OpenCL.dll error.
Restore the Missing OpenCL.dll File
If updating drivers does not resolve the problem, restoring the missing OpenCL.dll file manually can help. This approach is useful if the file was deleted or corrupted during a Windows update or software installation.
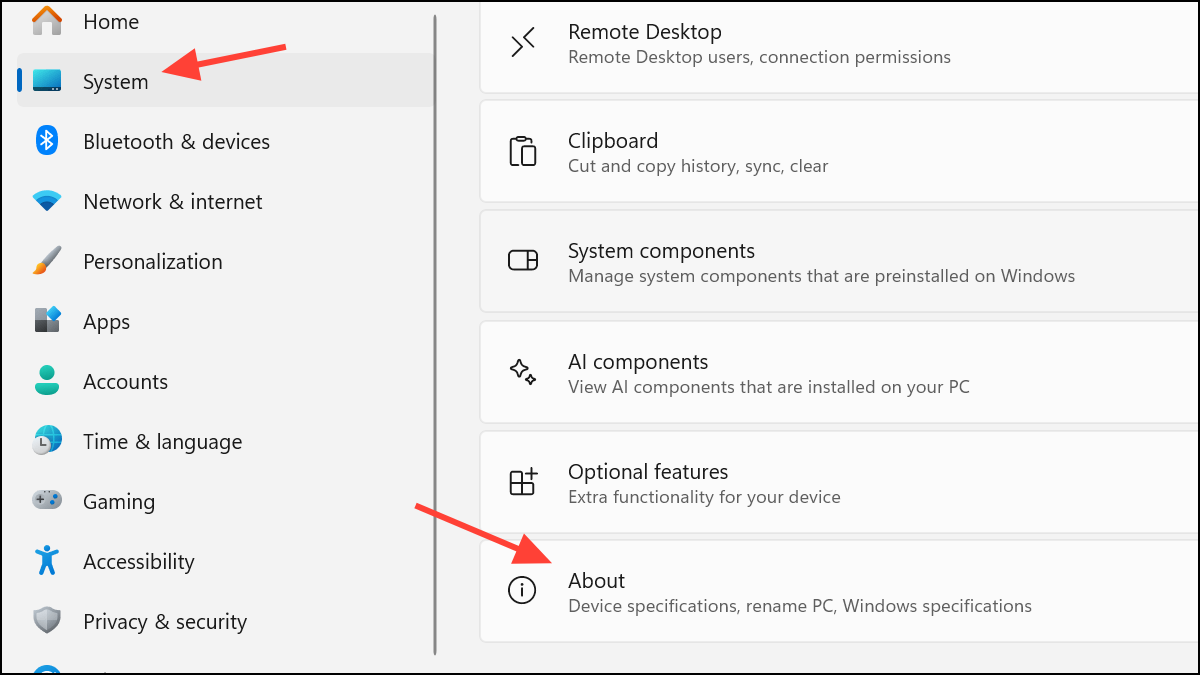
Step 1: Identify your system architecture by going to Settings > System > About and checking the “System type” field.
Step 2: Download a legitimate copy of OpenCL.dll from a trusted source, such as your GPU vendor’s official driver package. Avoid third-party DLL download sites, as they may host unsafe files.
Step 3: Copy the OpenCL.dll file to the appropriate directory:
- For 64-bit systems:
C:\Windows\System32andC:\Windows\SysWOW64. - For 32-bit systems:
C:\Windows\System32.
Step 4: If replacing the file, back up the original first. Overwrite the existing file if prompted.
Step 5: Optionally, register the DLL by opening Command Prompt as administrator and running:
regsvr32 opencl.dll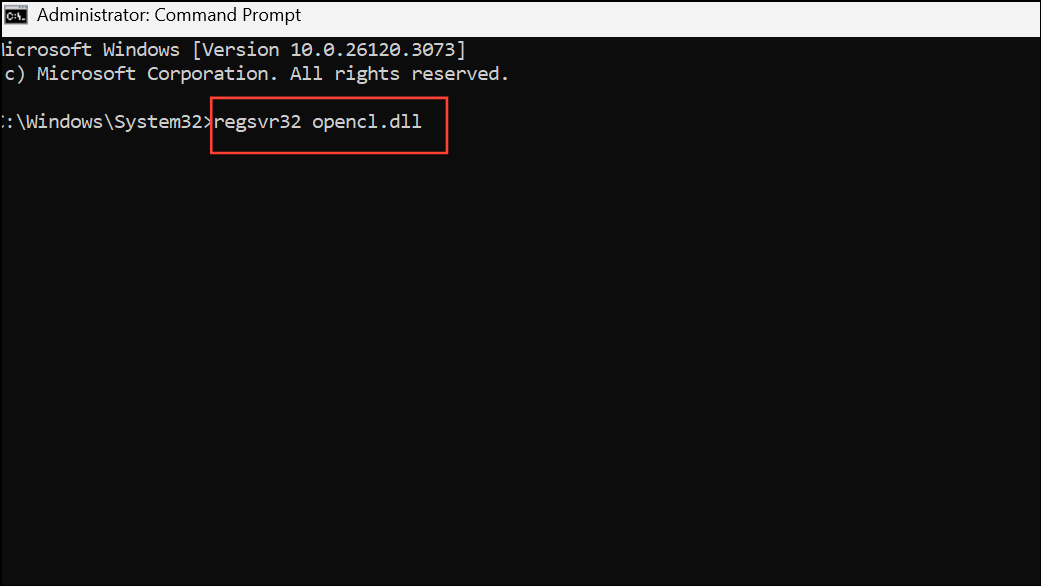
Step 6: Restart your computer and try launching the affected application again.
Reinstall the Problematic Program
Sometimes, the OpenCL.dll error is tied to a specific application. Reinstalling the program can restore the correct version of the DLL file that the software expects.
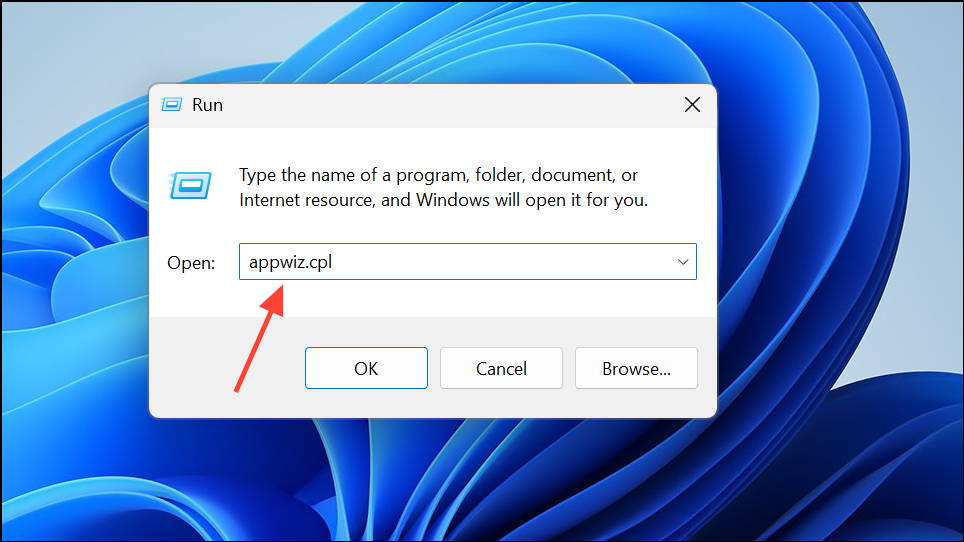
Step 1: Press Windows + R, type appwiz.cpl, and press Enter to open the Programs and Features window.
Step 2: Locate the program showing the error, right-click it, and select “Uninstall.” Confirm any prompts to remove the application.
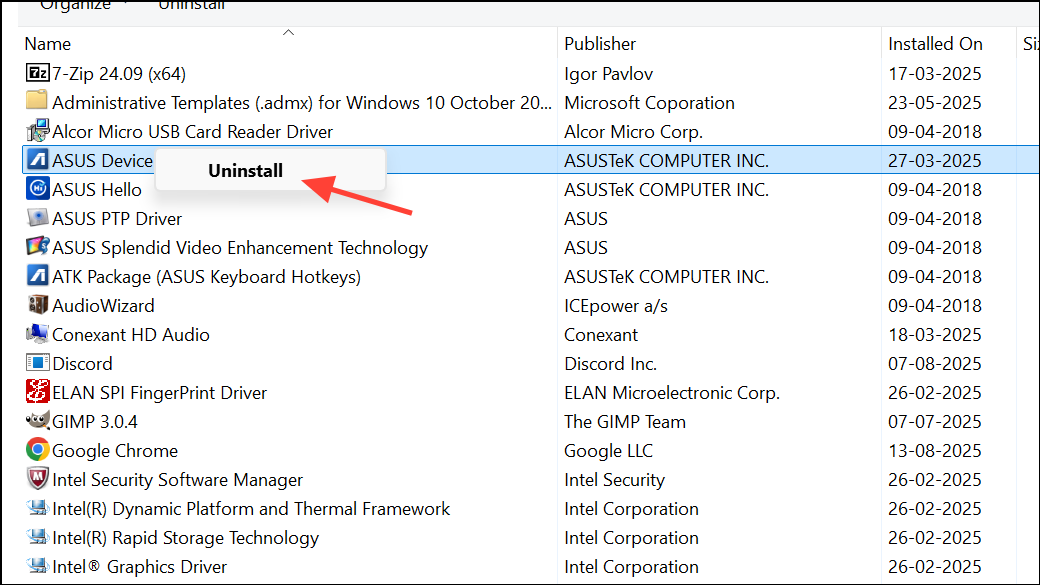
Step 3: Delete any leftover installation files or folders for the program.
Step 4: Restart your PC, then download the latest version of the program from the official website and install it.
Step 5: Launch the program to see if the error has been resolved.
Scan for Malware and System Corruption
Malware or system file corruption can also trigger OpenCL.dll errors by deleting, blocking, or tampering with essential files. Running a thorough scan can identify and remove threats, restoring system stability.
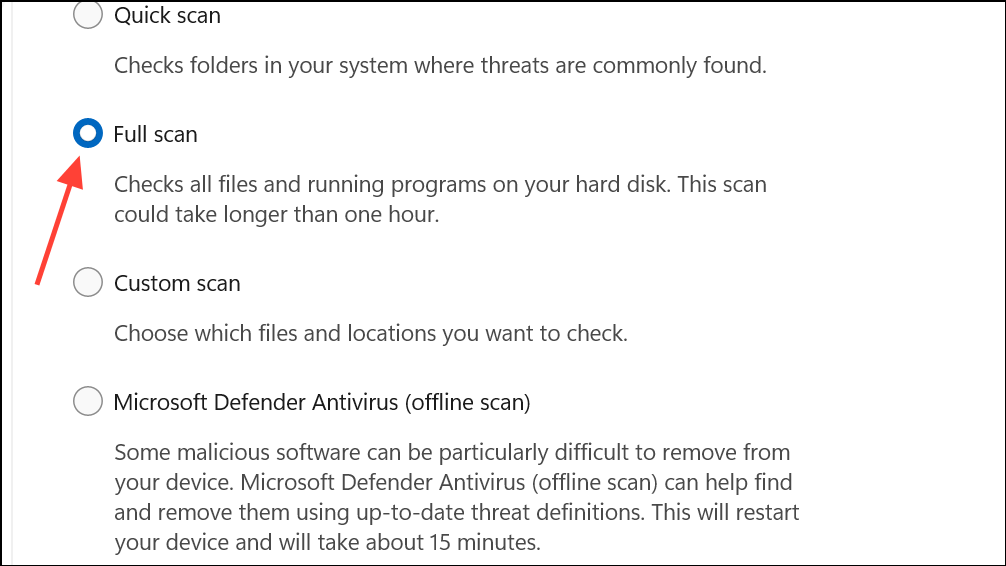
Step 1: Use a reputable antivirus program (such as Windows Defender, Avira, or Panda) to perform a full system scan. Follow the antivirus instructions to quarantine or remove any detected threats.
Step 2: After the scan, restart your computer.
Step 3: To check for system file corruption, open Command Prompt as administrator and run:
sfc /scannow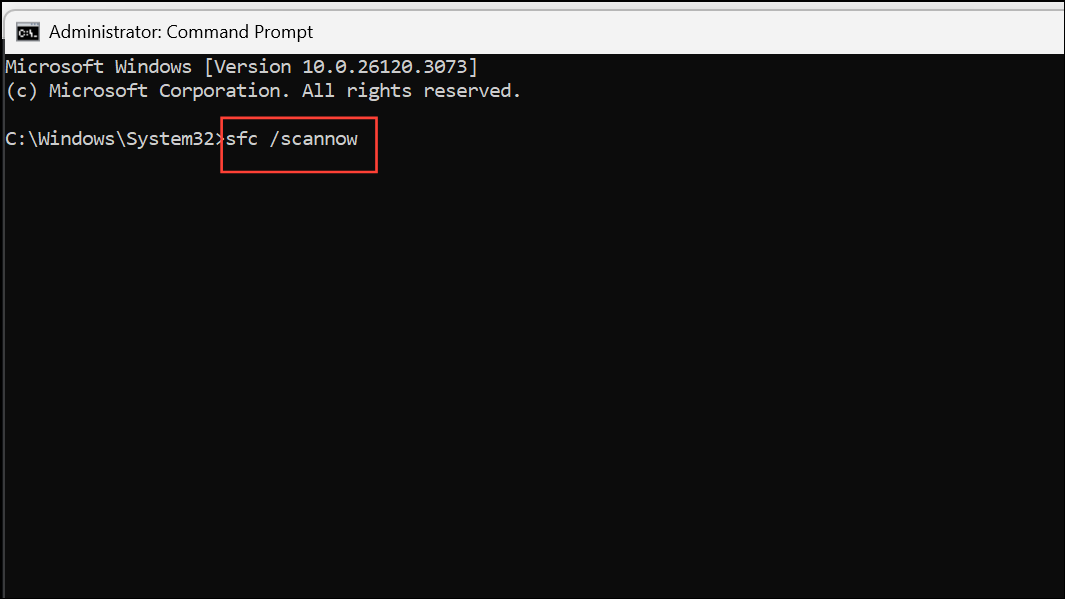
This command scans for and repairs corrupted or missing system files. Wait for the process to complete, then reboot your PC.
Advanced Driver Cleanup and Reinstallation (For Persistent Issues)
If the above steps do not resolve the error, a deeper driver cleanup may be necessary—especially if you recently changed graphics cards or experienced multiple driver installations.
Step 1: Uninstall your current graphics drivers using the manufacturer’s uninstaller or Device Manager.
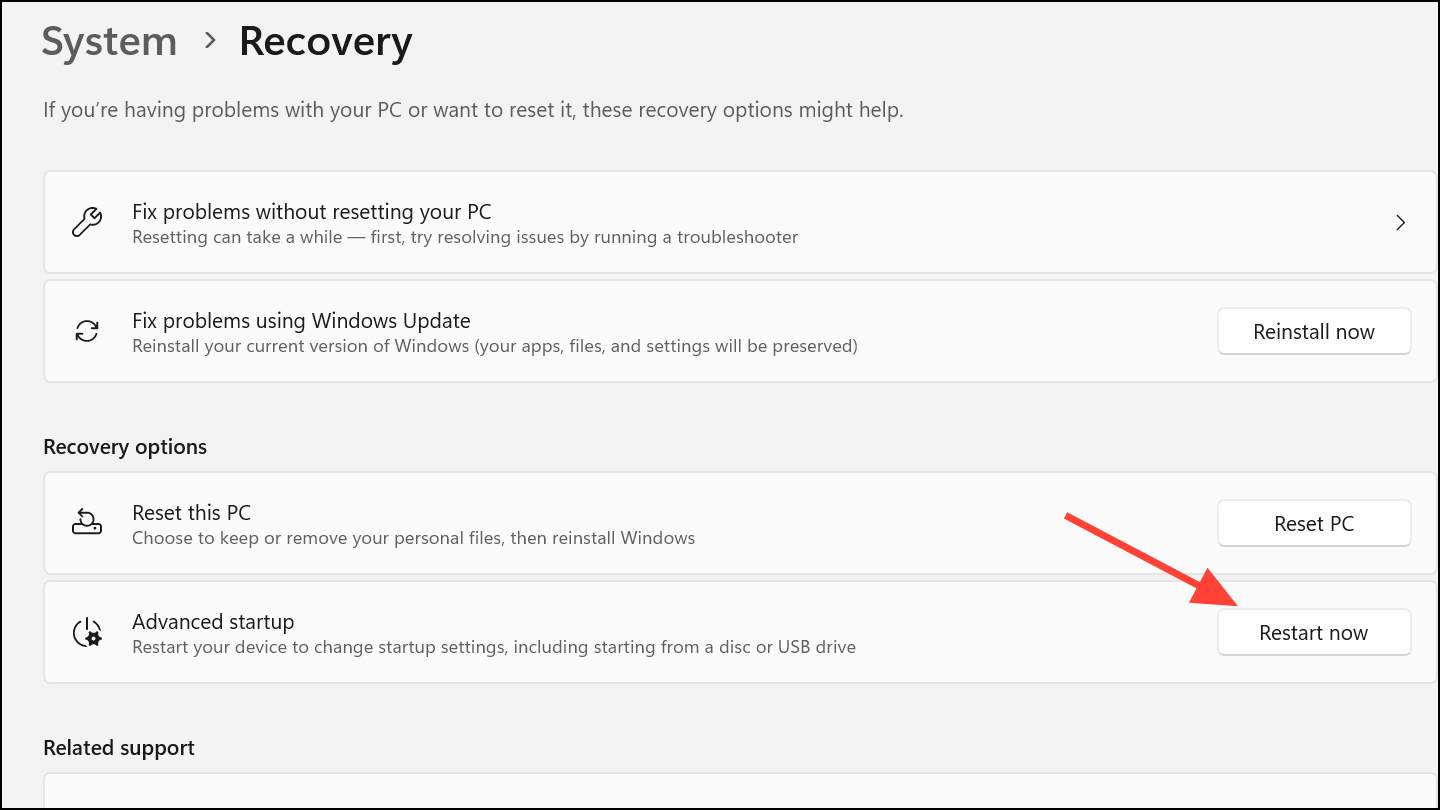
Step 2: Boot into Windows Safe Mode. To do this, open Settings > System > Recovery, then under “Advanced startup,” click “Restart now.”
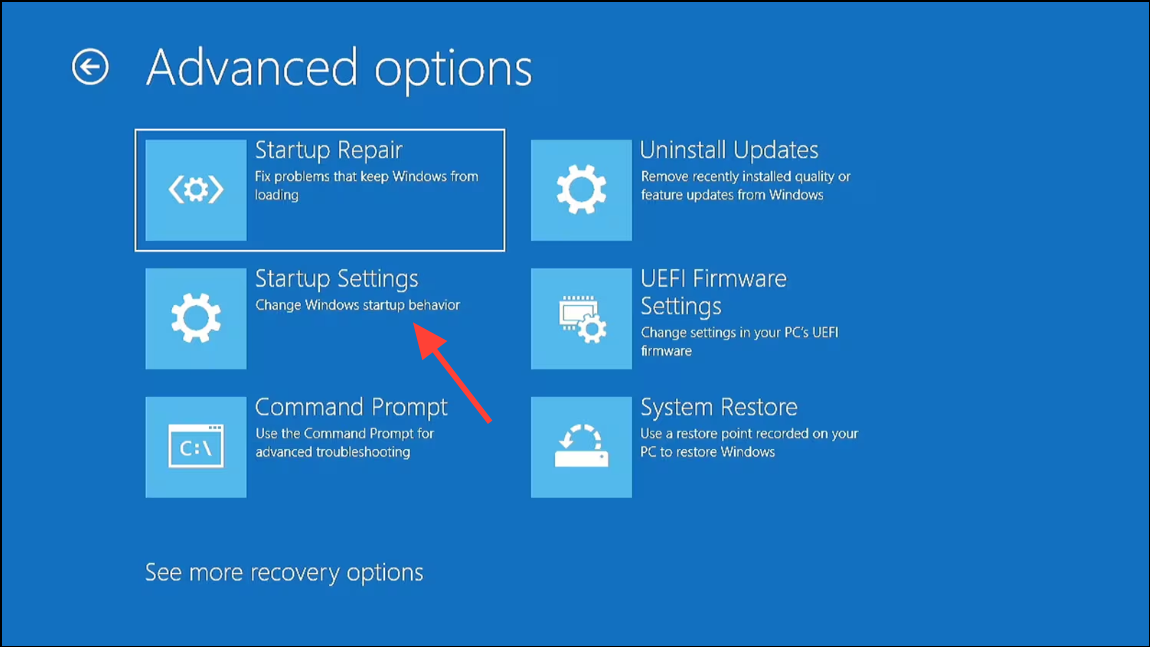
Step 3: After rebooting, navigate to Troubleshoot > Advanced options > Startup Settings > Restart, then select “Enable Safe Mode.”
Step 4: In Safe Mode, use a tool like Display Driver Uninstaller (DDU) to remove all traces of your GPU drivers. This prevents conflicts from leftover files.
Step 5: Reboot into normal mode and reinstall the latest graphics drivers from the official website.
Step 6: Restart your system and verify if the OpenCL.dll error is gone.
Resolving the OpenCL.dll missing error on Windows 11 usually comes down to updating your graphics drivers, restoring the DLL file, or reinstalling affected programs. Keeping your system and drivers current minimizes the risk of this error recurring.