
Usually, if there is a problem with your printer, or some other issue is preventing Windows from printing documents, you will see an error code on your device. The 'Printer not activated, error code-30' is one such code and it can be quite frustrating to deal with it. Fortunately, this error is quite easy to fix, and here are the solutions that can help you do so.
Fix 1: Check your hardware
Before trying out the more advanced solutions, you should check your hardware and make sure it is working correctly. If you use a wired printer, check that the USB connection is not loose and fits properly. You should also disconnect the printer and see whether the cable is okay. If it is frayed out, you will need to replace it before reconnecting the printer to your PC. Additionally, make sure the printer has adequate ink and paper before you try to print anything.
Fix 2: Update USB drivers
Outdated USB drivers can also create issues resulting in the 'error code 30' message. If you've checked and ensured that your hardware is working fine, you should then try updating your USB drivers to resolve the error.
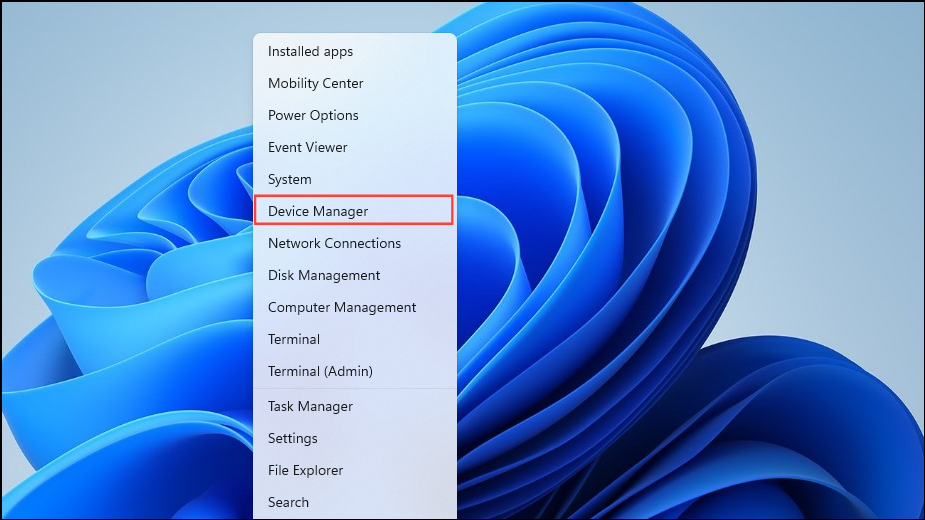
- Right-click on the Start button and click on 'Device Manager'.
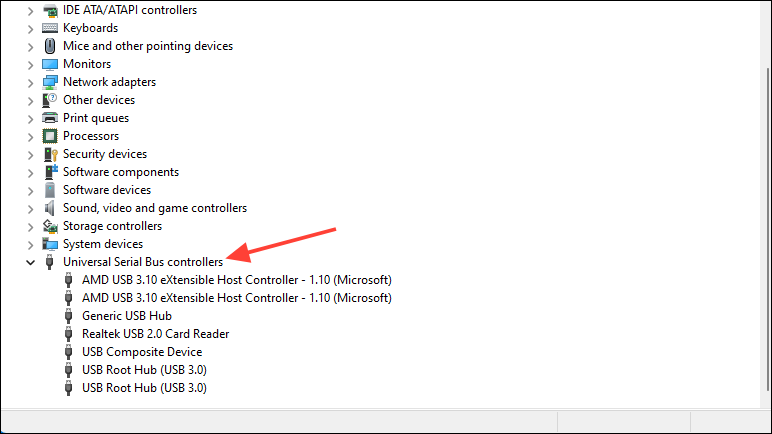
- When the Device Manager opens, click on 'Universal Serial Bus controllers' at the bottom to expand it.
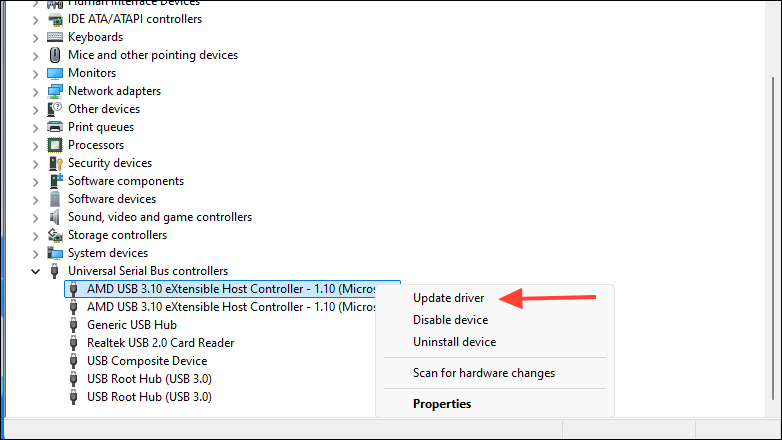
- Now, right-click on the USB port you want to update the drivers for and click on 'Update driver'.
- Next, click on 'Search automatically for drivers'.
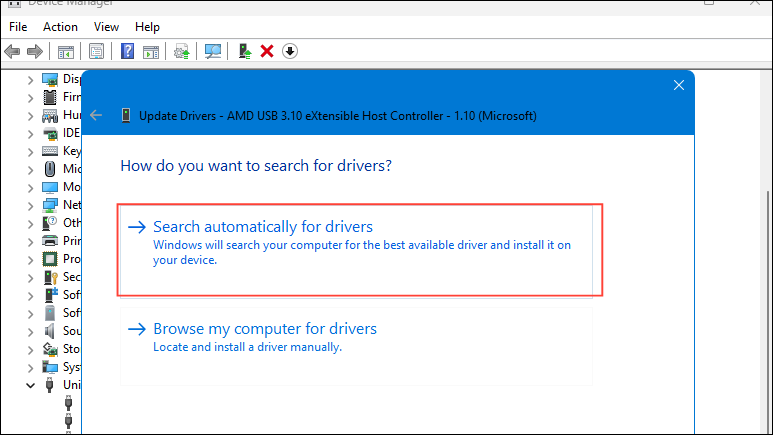
- If Windows finds a newer driver, it will install it and you can restart your computer.
Fix 3: Run Windows Update
Another possible cause of the 'printer not activated' error is that your system is missing important updates. In this case, you should check for updates and install them through Windows Update.
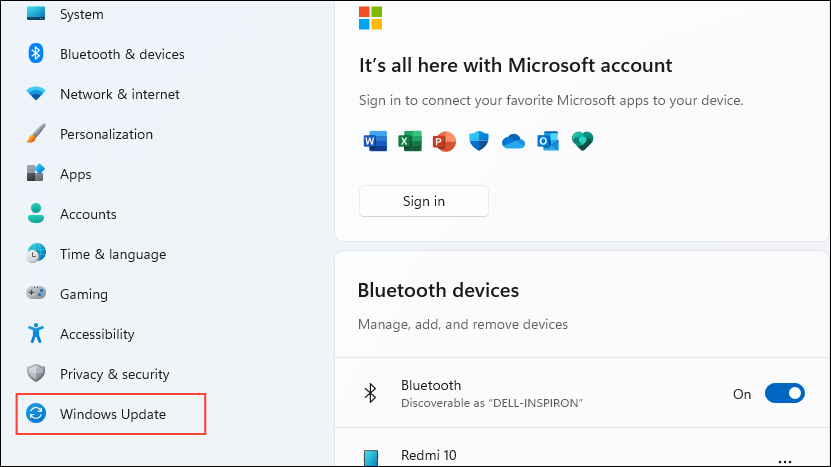
- Open the Settings app using the
Win + Ishortcut and click on 'Windows Update' on the left.
- On the Windows Update page, click on the 'Check for updates' button on the right.
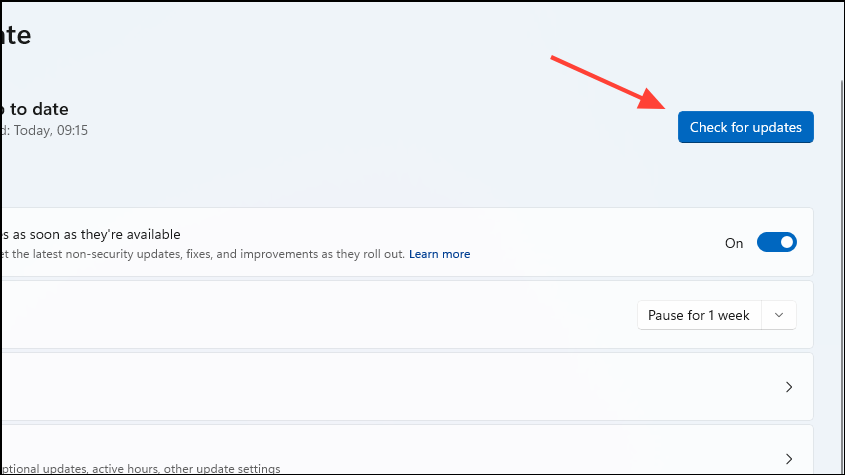
- Wait for Windows to check for and install updates and then restart your computer.
Fix 4: Set the connected printer as the default
The 'Printer not activated, error code-30' can also appear if the printer you are trying to use is not set as the default option. To set it as the default,
- Open the Settings app and click on 'Bluetooth and Devices' on the left.
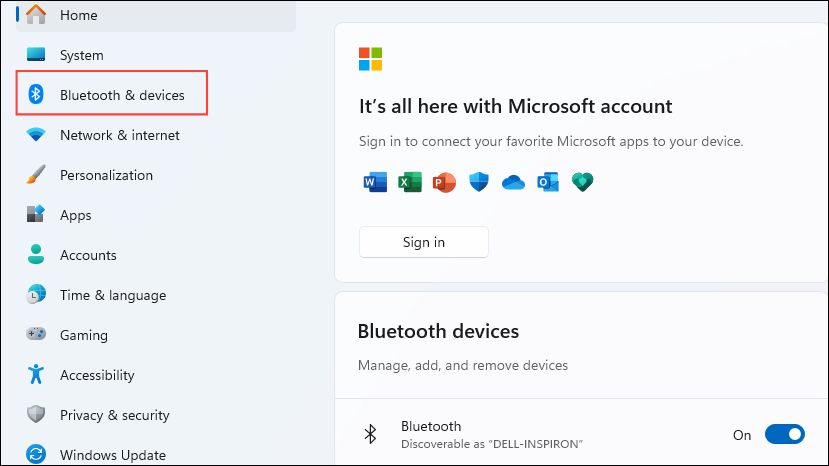
- Then click on the 'Printers and Scanners' option.

- Here you can select the printer you want to set as default by clicking on it.
- Check that the Printer status for your selected printer isn't offline and then click on the 'Set as default' button. If the printer is offline, disconnect its cable and then reconnect it.
Fix 5: Reinstall printer drivers
If the drivers of your printer are corrupted or out of date, you may run into various errors like the 'Printer not activated' error. To resolve this, first,
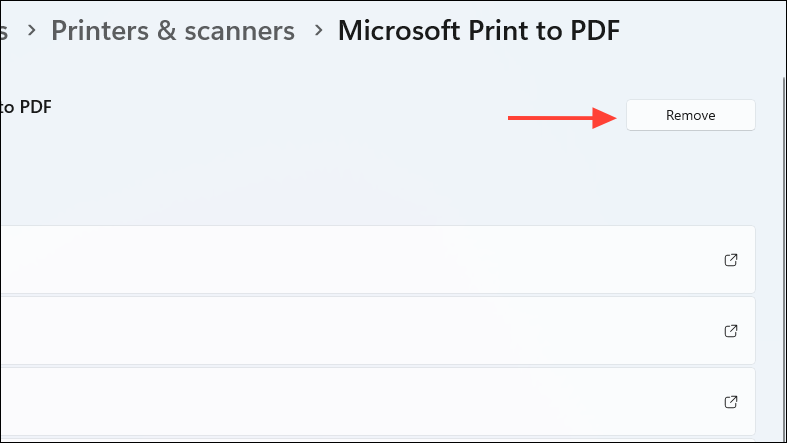
- Open the Printers and Scanners page in the Settings app and remove your printer from the list of devices by clicking on it and then clicking on the 'Remove' button.
- Once you've removed the printer, open the Device Manager as explained above. Then click on 'Software devices' to expand it.
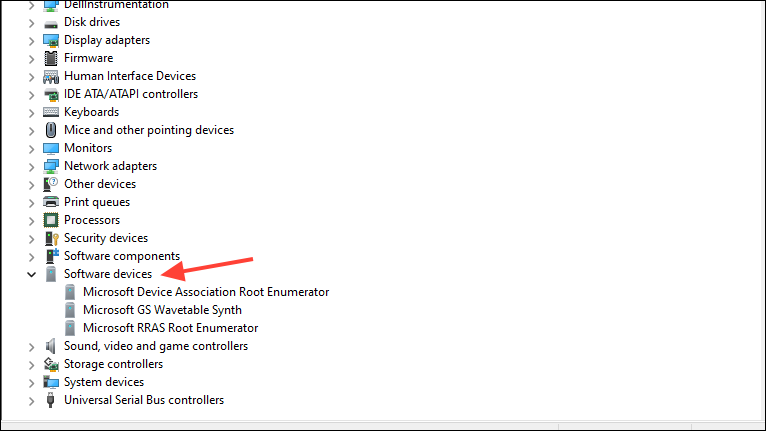
- Right-click on your printer and click on 'Uninstall device'. Then restart your computer and reconnect your printer. Windows will automatically download and install the best drivers for the device.
Fix 6: Run the printer troubleshooter
The built-in printer troubleshooter in Windows can help you detect and fix problems with your printer.
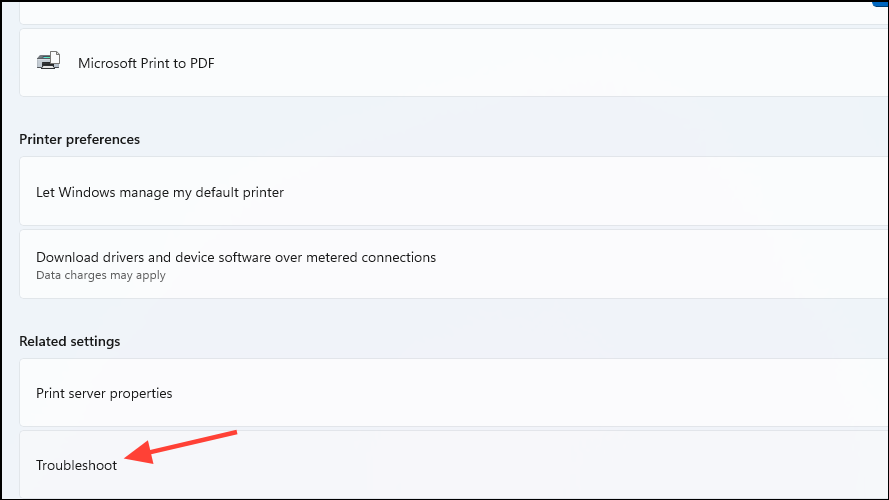
- Select 'Printers and scanners' on the Bluetooth and devices page in the Settings app.
- Click on the 'Troubleshoot' option at the bottom.
- Let the troubleshooter run and then try to use your printer again.
Fix 7: Enable full control for the program
If you're running into the 'Printer not activated' error in a specific program, you can try changing the settings and giving it full control over the printing functions.
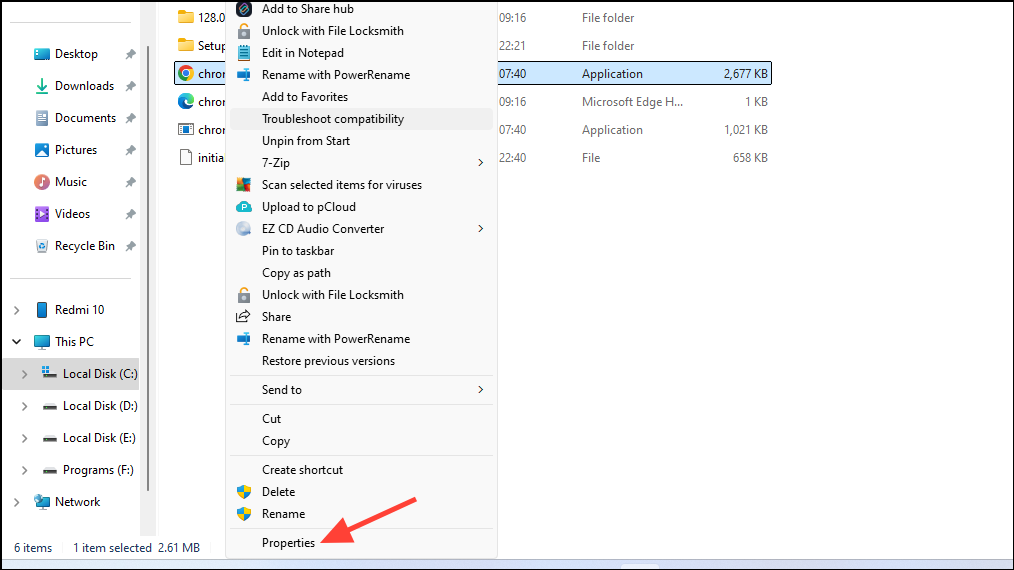
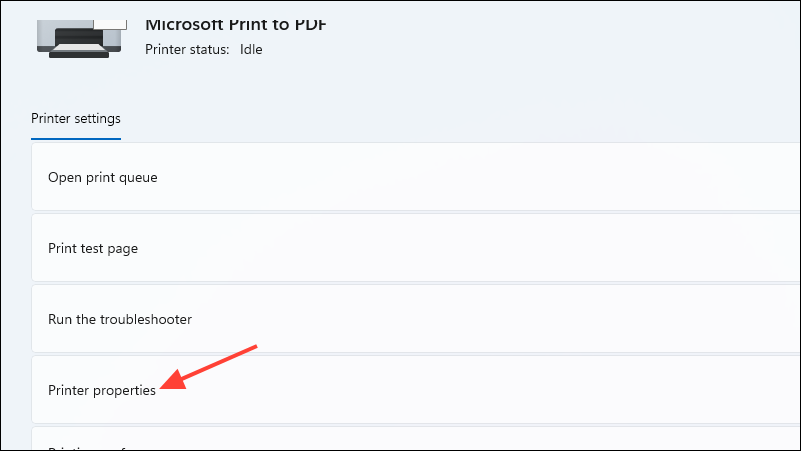
- Right-click on the application and click on 'Properties'.
- In the Properties dialog box, click on the 'Security' tab at the top and then on the 'Edit' button.
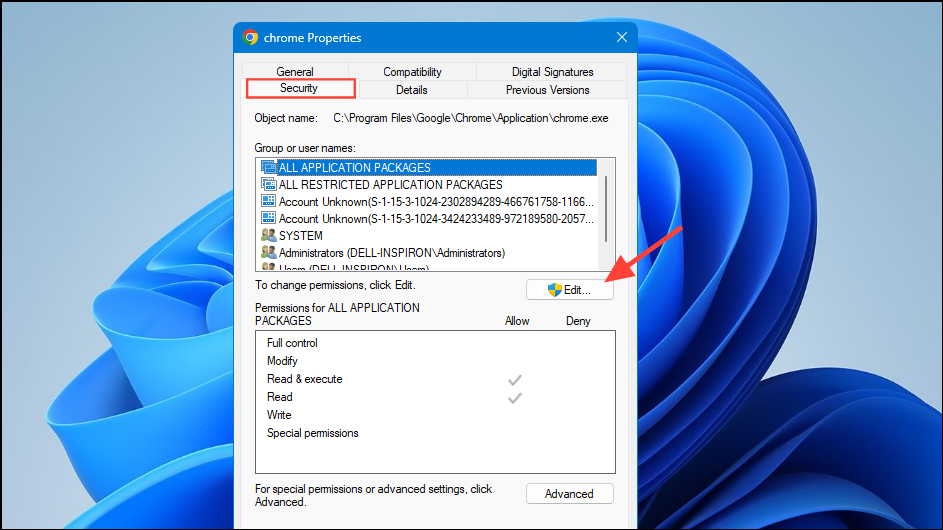
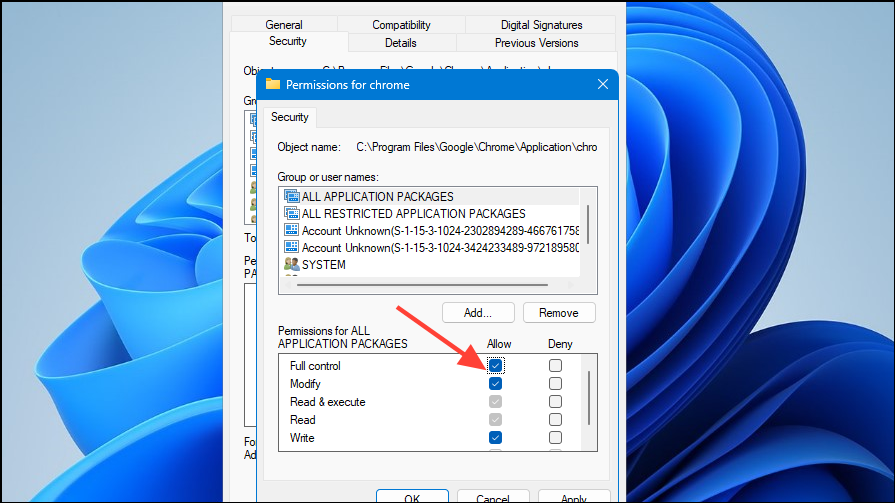
- Now click on the 'Allow' checkbox on the right of the 'Full control' option to enable it.
Fix 8: Uninstall recent updates
A recent update may contain bugs and be responsible for the error code 30 problem. To fix that, you can uninstall recent updates from the Settings app.
- Open the Windows Update page in the Settings app and click on 'Update history'.
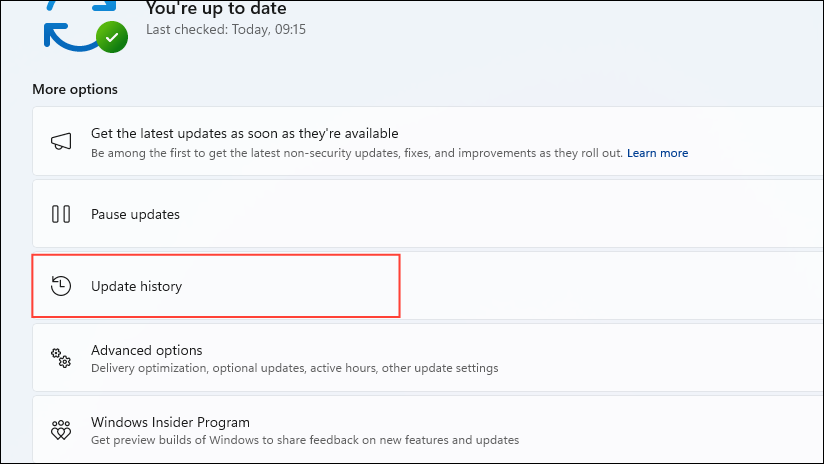
- Now click on the 'Uninstall updates' option on the Update History page.

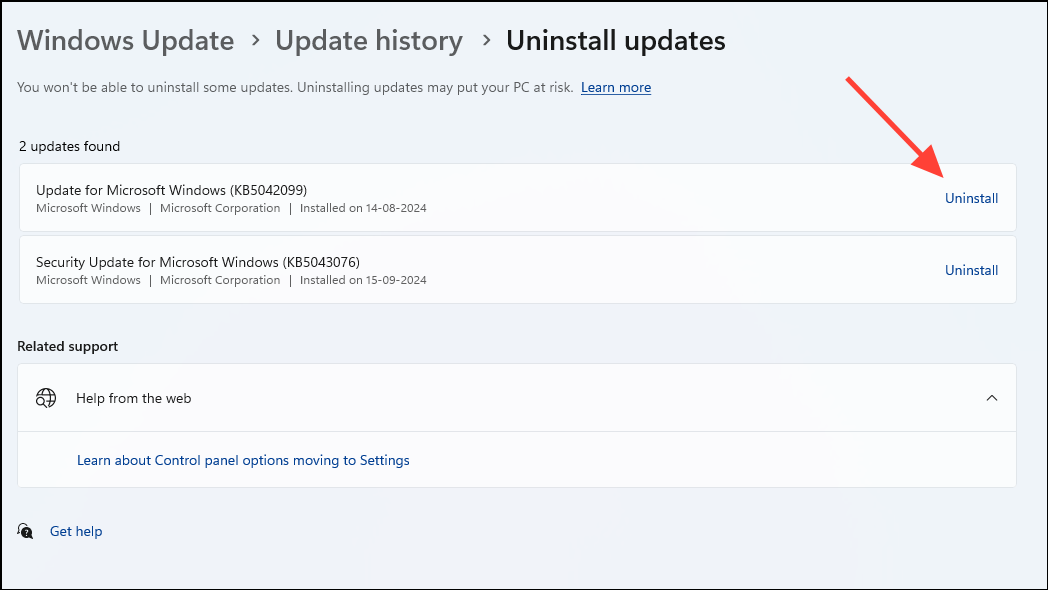
- You will see all recent Windows updates here. Click on the 'Uninstall' option on the right for the updates you want to remove.
Fix 9: Use the Print to PDF option
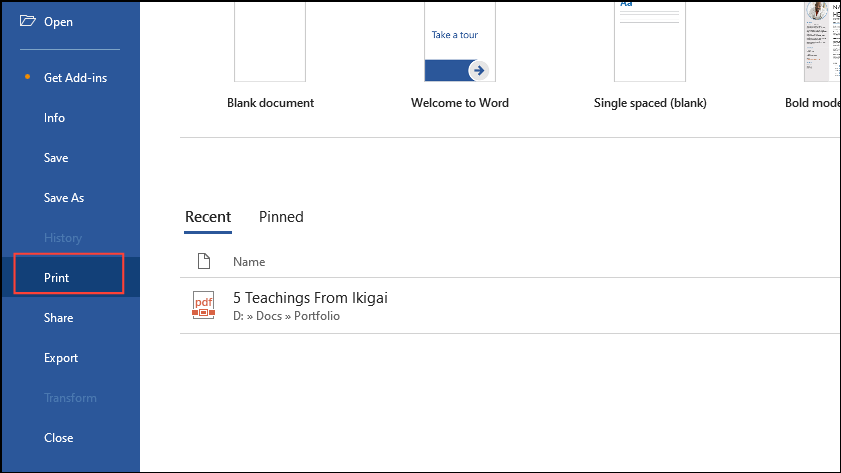
- Open the document you want to print and click on the 'File' menu at the top before clicking on 'Print'.
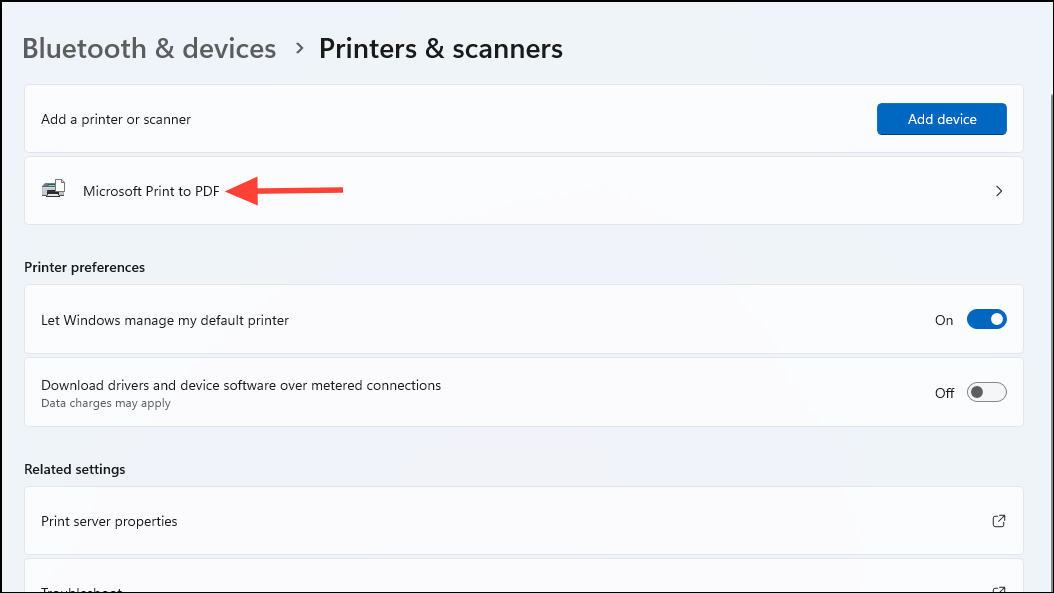
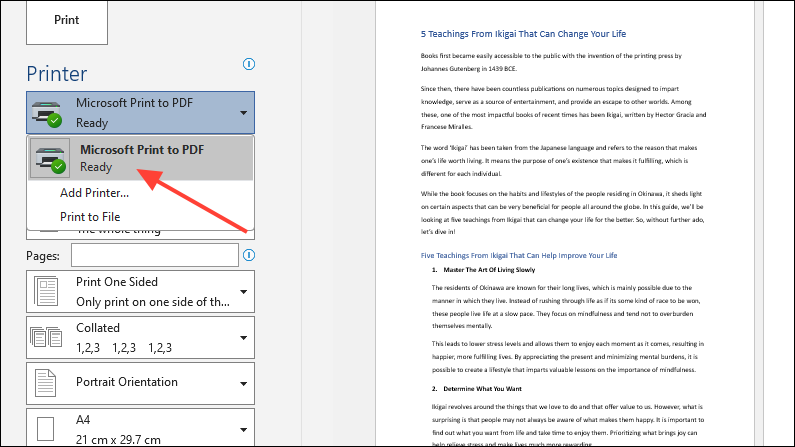
- Then select 'Microsoft Print to PDF' from the dropdown menu on the left.
Fix 10: Restart the printer spooler service
If the printer spooler service is not working properly, it can lead to various issues, such as the 'Printer not activated' error. Restarting the service may help fix the problem.
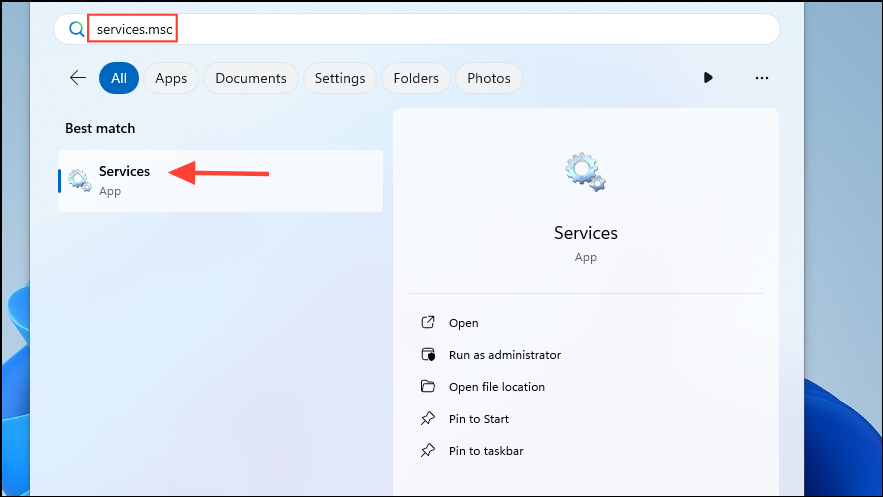
- Open the Start menu, type
services.mscand click on the Services utility in the search results.
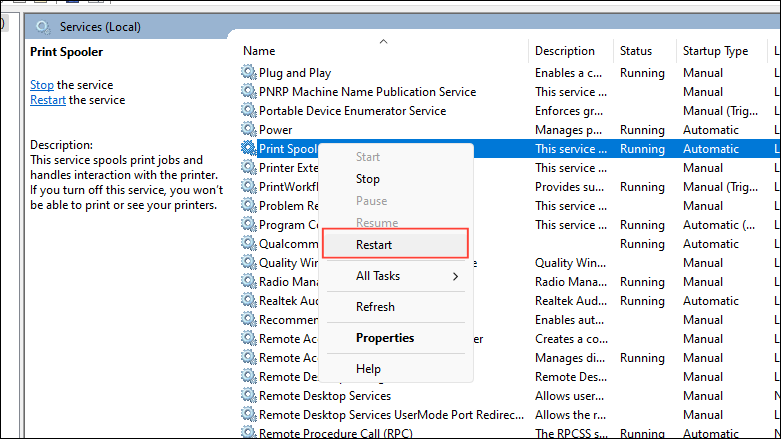
- When the Services utility opens, look for the Print Spooler service. When you find it, right-click on it and click on 'Restart'.
Fix 11: Clear the print queue and check printer settings
At times printing jobs can get stuck and cause various errors. Similarly, incorrect printer settings can result in problems. Here is how to clear the print queue and check your printer settings.
- Open the 'Printers and scanners' page in the Settings app and click on 'Open print queue'.
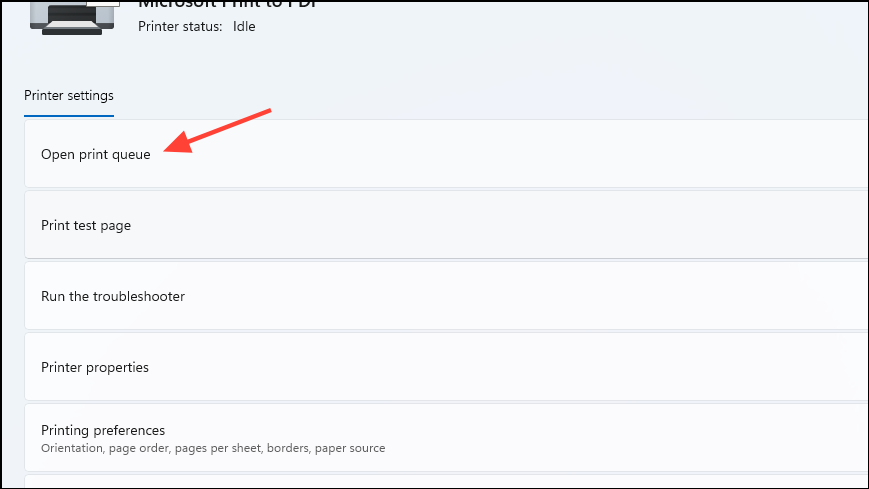
- If you see any print jobs, click on the 'Cancel' button after selecting them. Then close the window and click on 'Printing preferences'.
- Check that the various settings like print quality and paper size are correct and make the changes needed if they are not.
Fix 12: Use System Restore
You can revert your PC to an earlier state when the error code 30 problem was not present using the System Restore feature if you had set up a restore point earlier.
- Open the Start menu, type
system restoreand click on 'Recovery'.
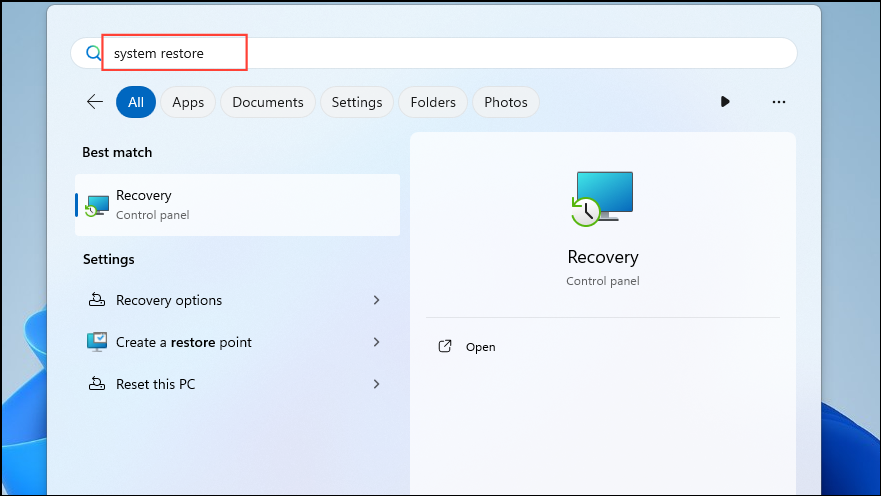
- Then, click on 'Open System Restore' in the window that opens.

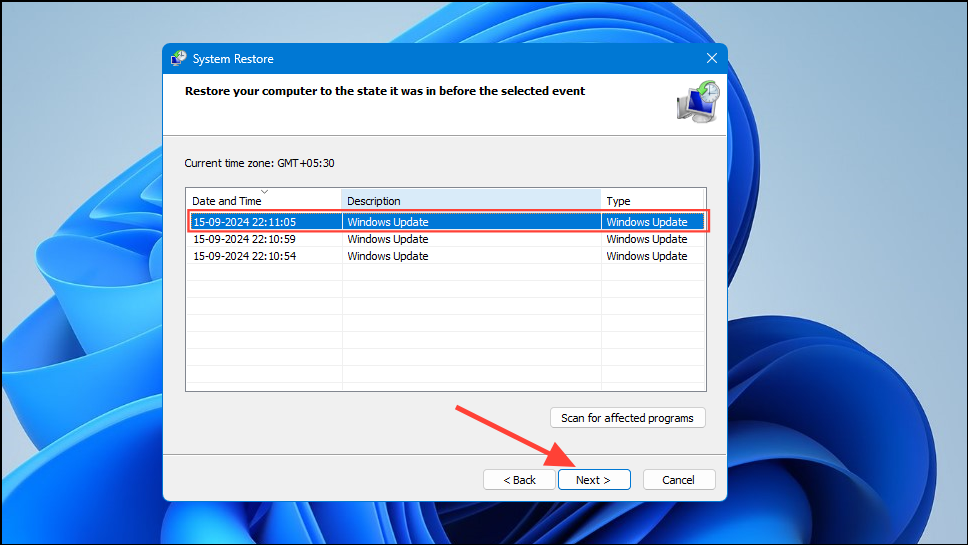
- When the System Restore utility opens, click on the 'Next' button.
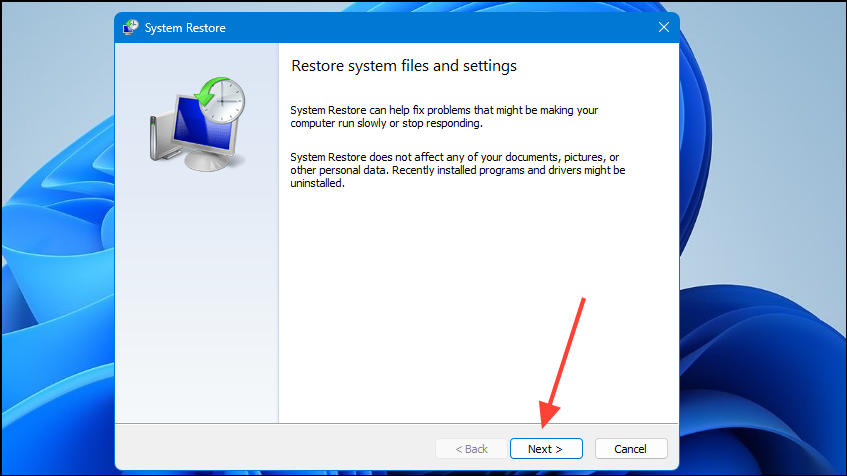
- Then select the restore point you want to use from the list of the restore points that appear on your screen and click on the 'Next' button again.
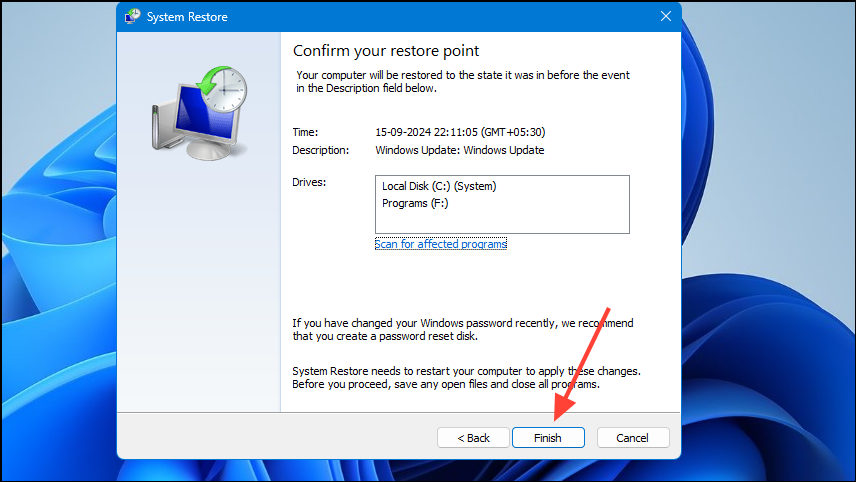
- Finally, click on the 'Finish' button and wait for the process to complete before using your printer again.
Things to know
- Printers often come with specific software from their manufacturers that you need to install before you can use them. Check the website of your printer's manufacturer to download the latest version of the software and install it on your PC.
- The error can also occur when using the quick printing option if the wrong printer is selected. To avoid this, always select the printer you want to use manually before printing.
- Just like the USB drivers, you should consider updating the drivers for your printer from the Device Manager, which can help sort out the 'Printer not activated' error.
- Windows Defender Firewall can sometimes interfere with printing jobs, so you can try disabling it before printing anything.