
Accidents and system errors can happen unexpectedly on your Windows 11 PC. To prevent data loss and avoid the hassle of reinstalling the operating system, it’s wise to create a Restore Point. This feature captures the current state of your system, allowing you to revert back if something goes awry.
Accessing System Restore Settings in Windows 11
Before creating a Restore Point, you’ll need to access the System Restore settings.
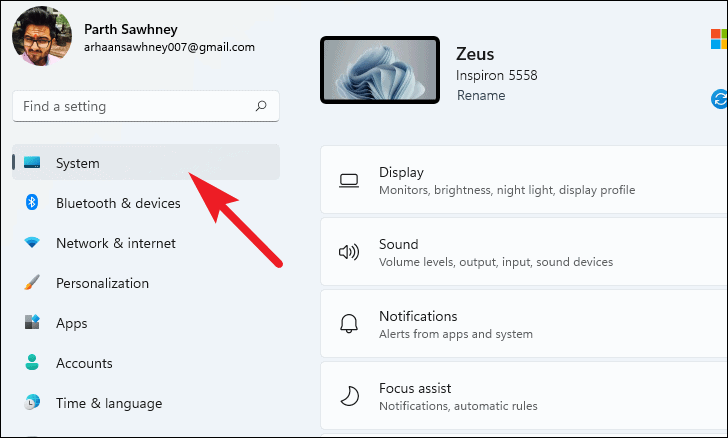
- Press Windows+I to open the Settings app.

- In the Settings window, select the System tab from the left sidebar.
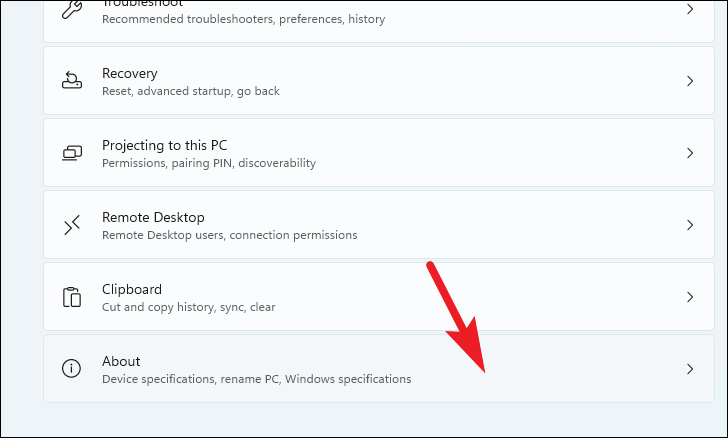
- Scroll down on the right and click on About.
- Under ‘Related links’, click on System protection.
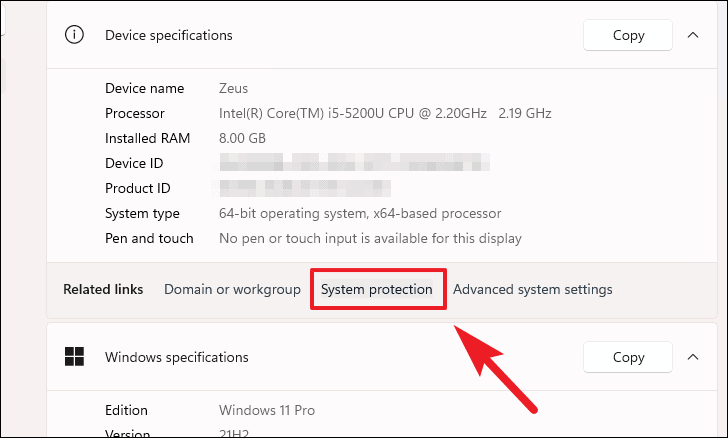
This action opens the ‘System Properties’ window, where you can manage system protection settings.
Enabling System Restore
System Restore may be disabled by default. You’ll need to enable it to create Restore Points.
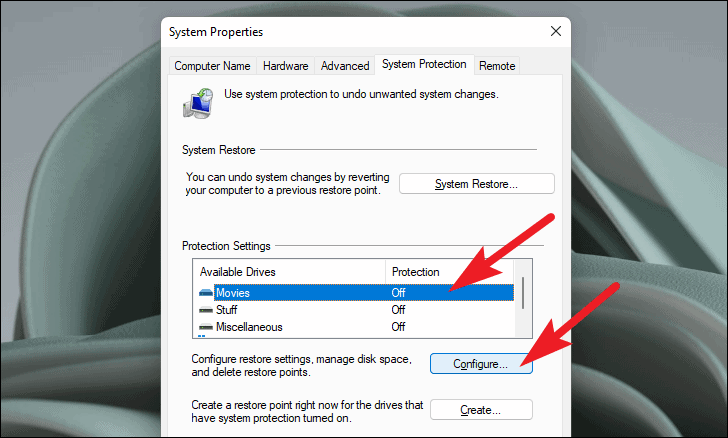
- In the ‘System Properties’ window, under the Protection Settings section, you’ll see a list of available drives and their protection status.
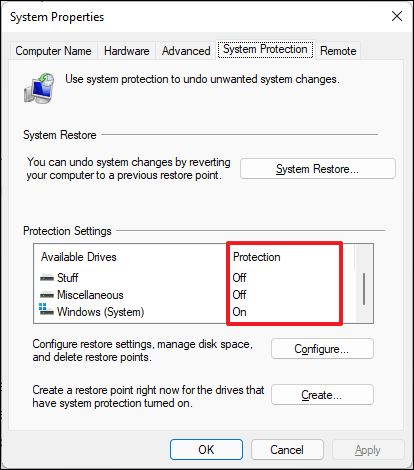
- Select the drive where Windows is installed (usually the C: drive) and click on Configure.
- In the ‘System Protection’ window, select the option Turn on system protection.
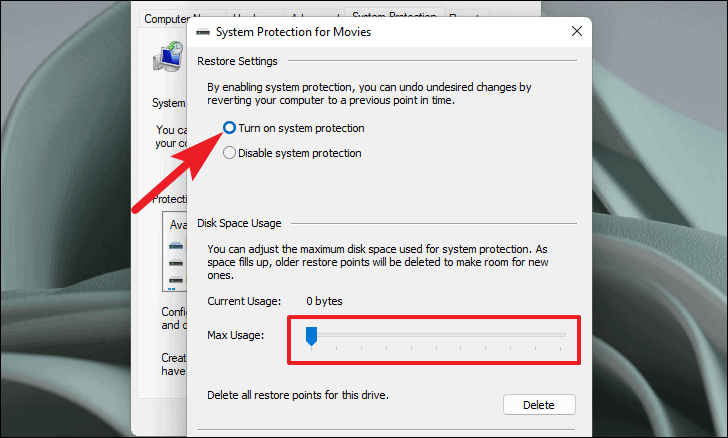
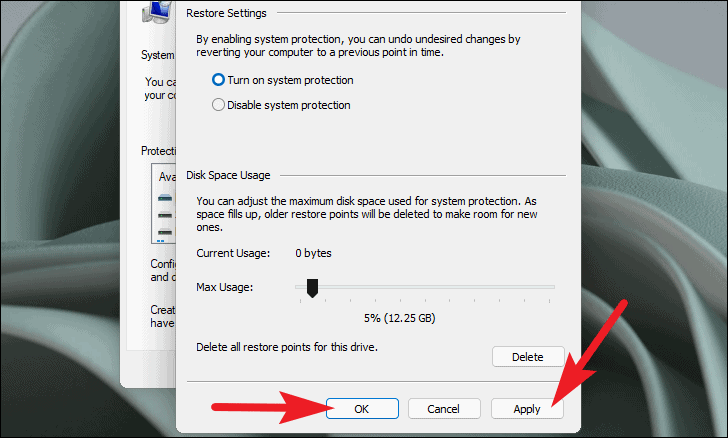
- Adjust the maximum disk space usage for system protection using the slider under ‘Disk Space Usage’.
- Click Apply, then click OK to save the changes.
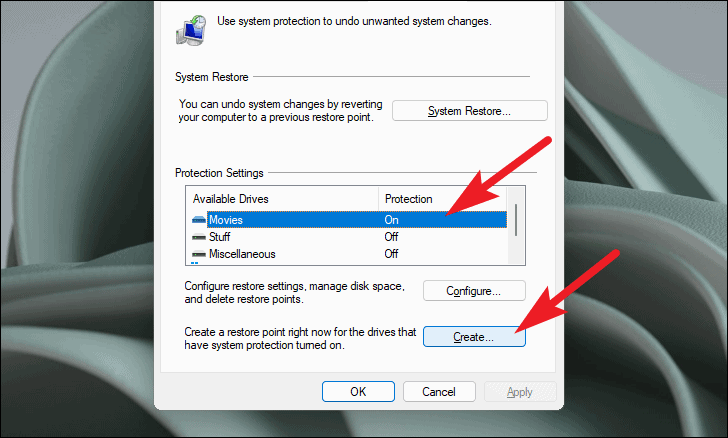
System protection is now enabled on the selected drive. Windows will automatically create Restore Points when significant system changes occur.
Note: Repeat these steps for any other drives you want to protect, as system protection must be enabled individually for each drive.
Creating a Restore Point Manually
Before making major changes to your system, it’s a good idea to create a Restore Point manually.
- In the ‘System Properties’ window, select the drive where you want to create a Restore Point and click on Create.
- Enter a descriptive name for the Restore Point, then click Create.
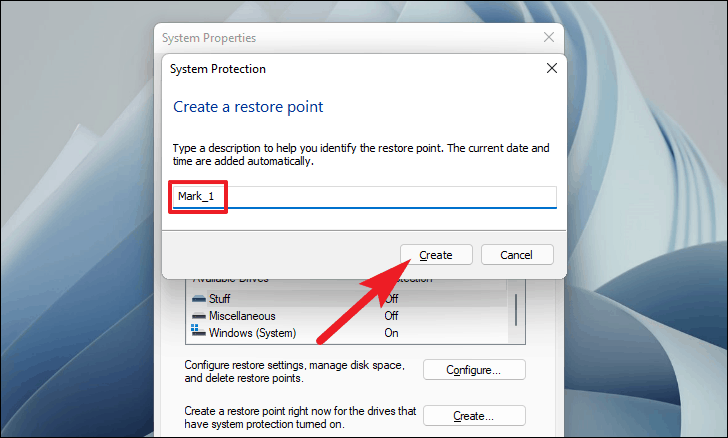
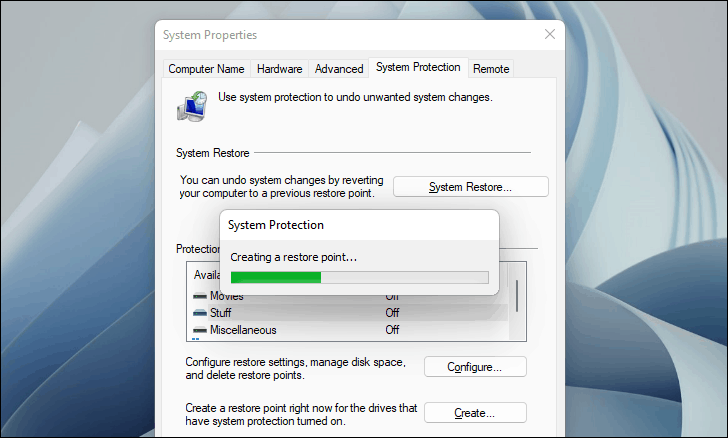
- Wait for the process to complete. This may take a few moments.
- Once completed, you’ll see a confirmation message. Click Close.

Your Restore Point has been created successfully. You can now revert to this point if needed.
Restoring Your System Using a Restore Point
If you encounter system issues, you can restore your PC to a previous state.
Method 1: Restore Using System Settings
If you can access Windows normally:
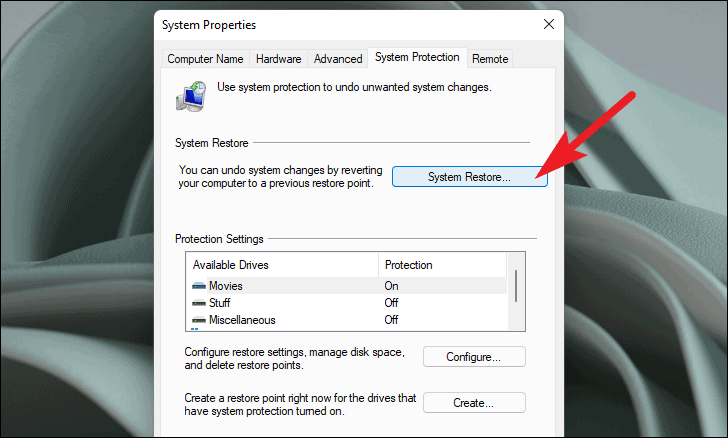
- Open the ‘System Properties’ window and click on System Restore.
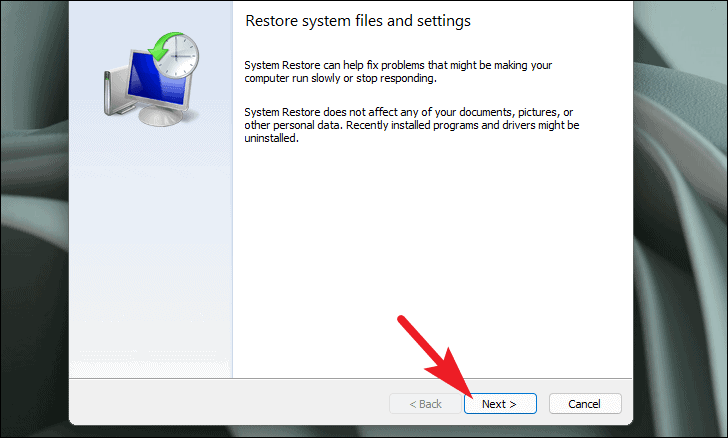
- In the System Restore window, click Next.
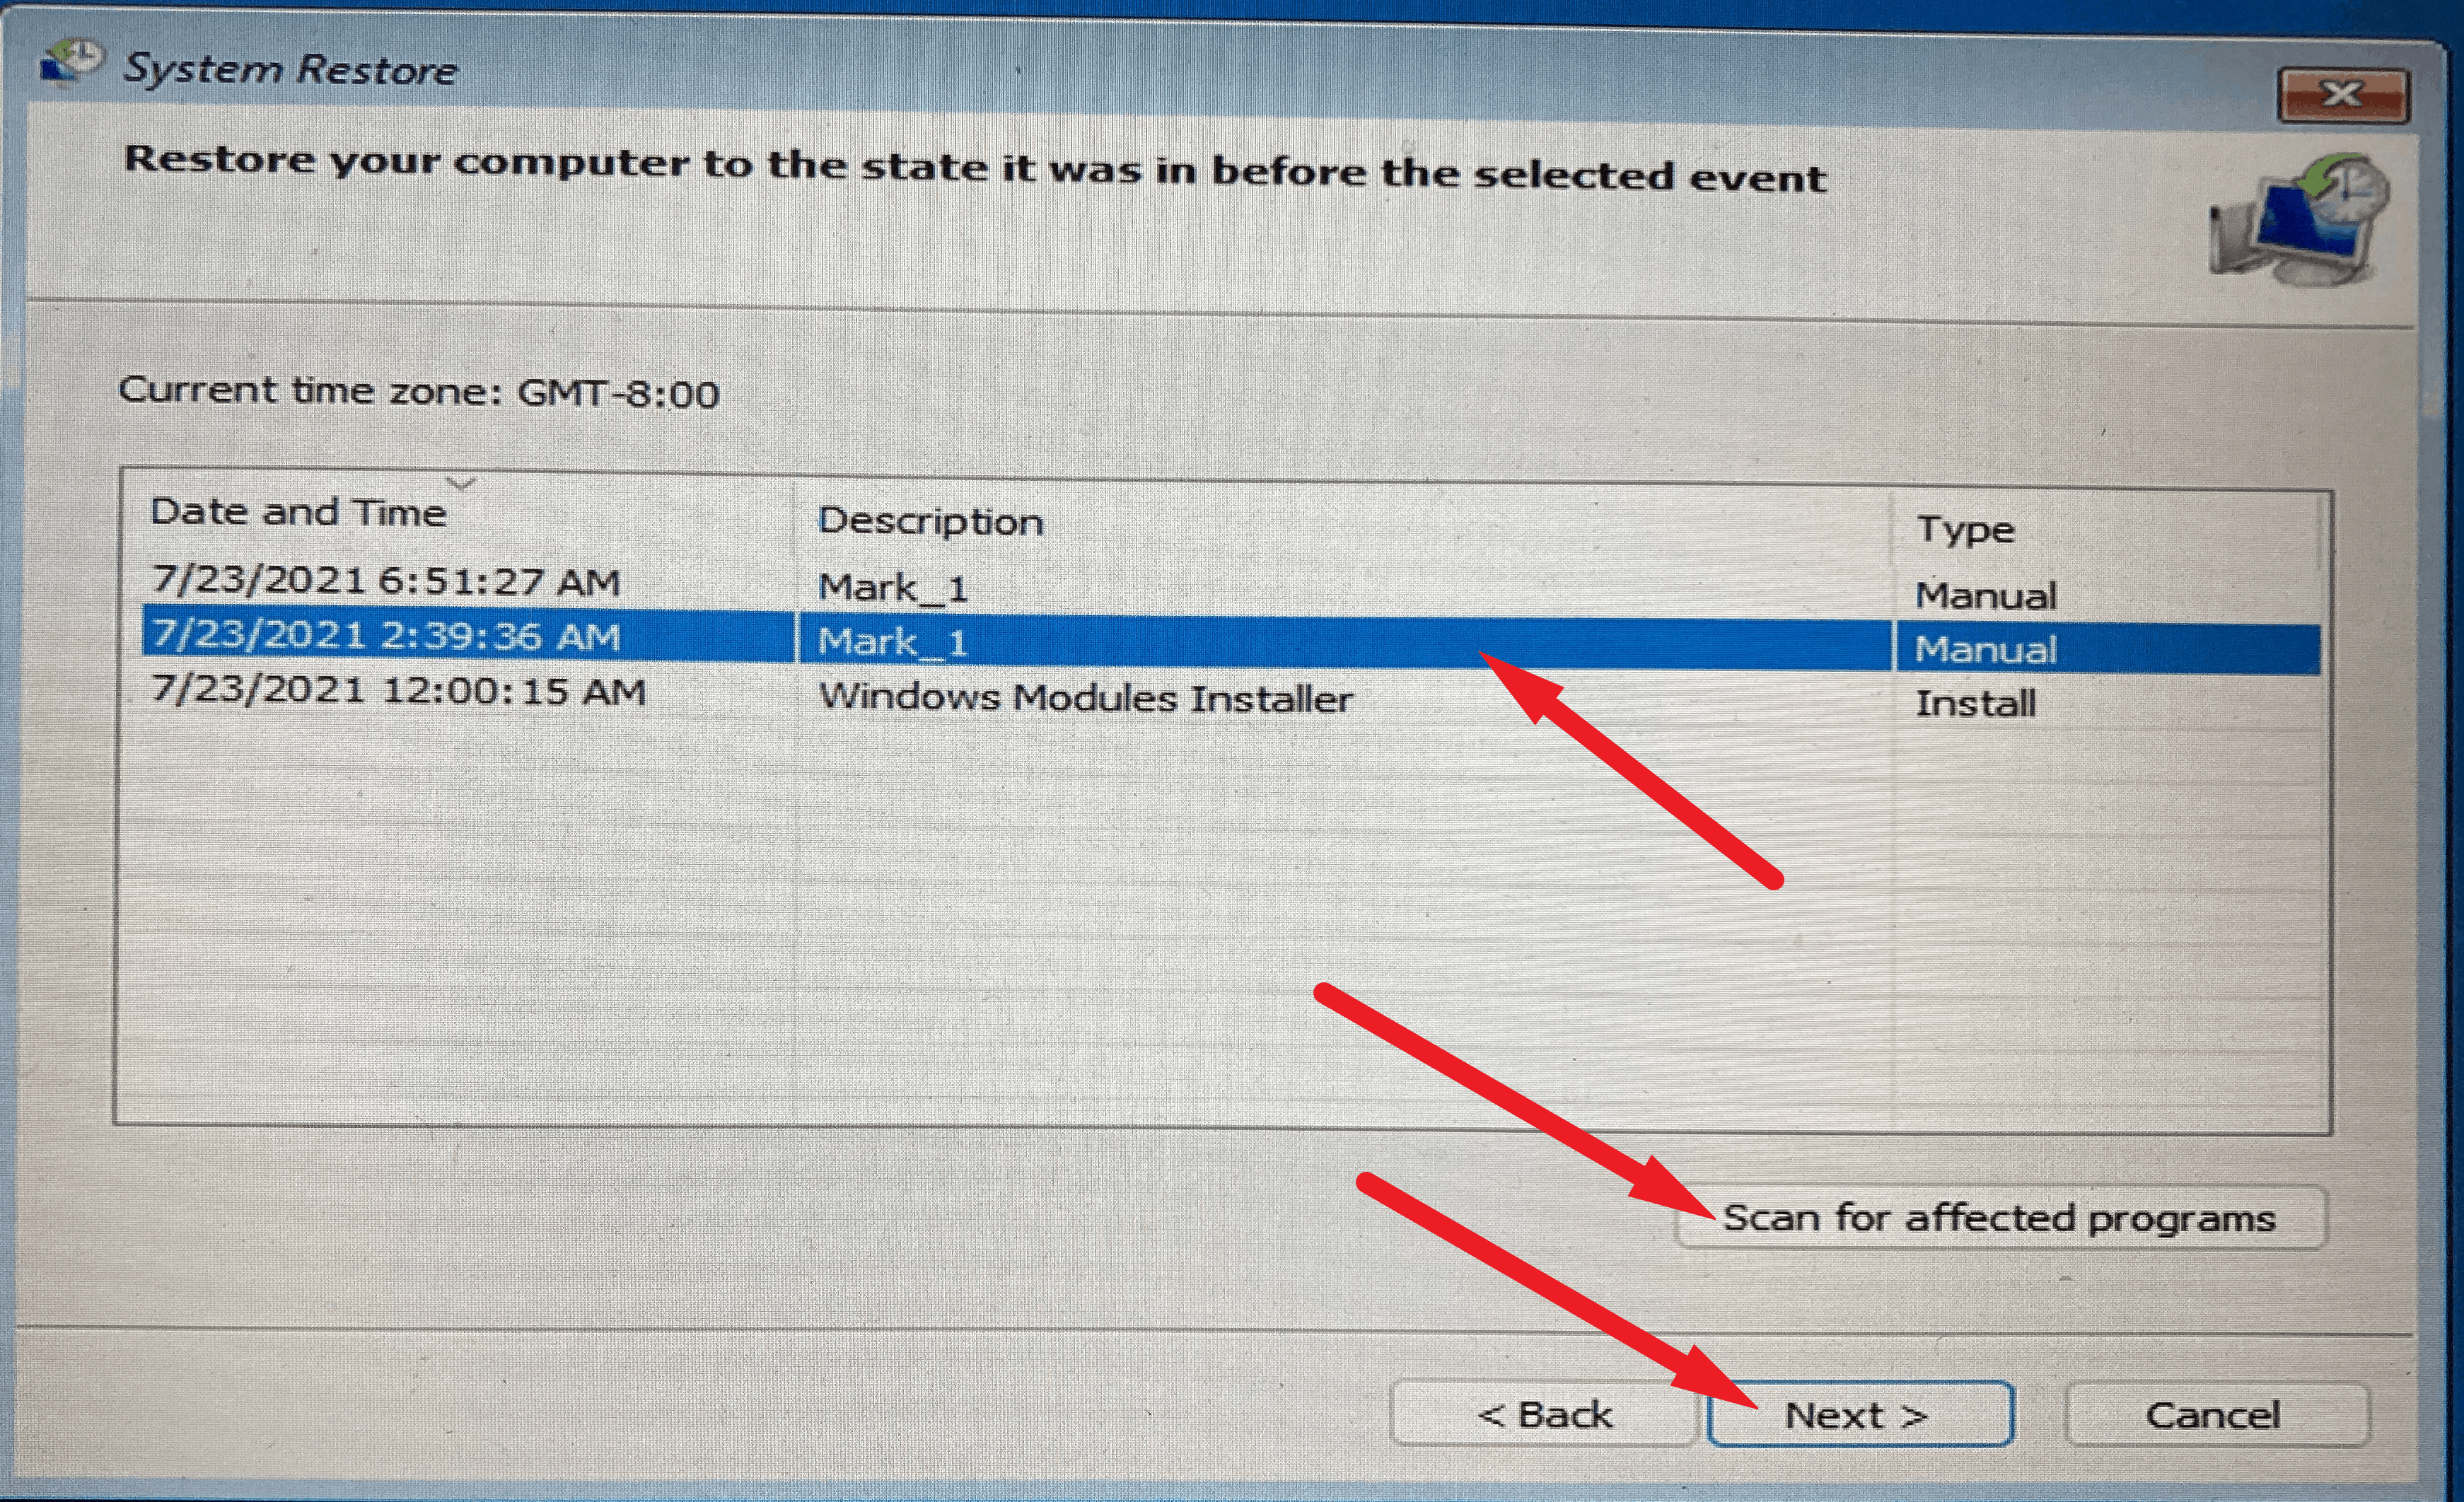
- Select the Restore Point you want to use and click Scan for affected programs to see which programs might be impacted.
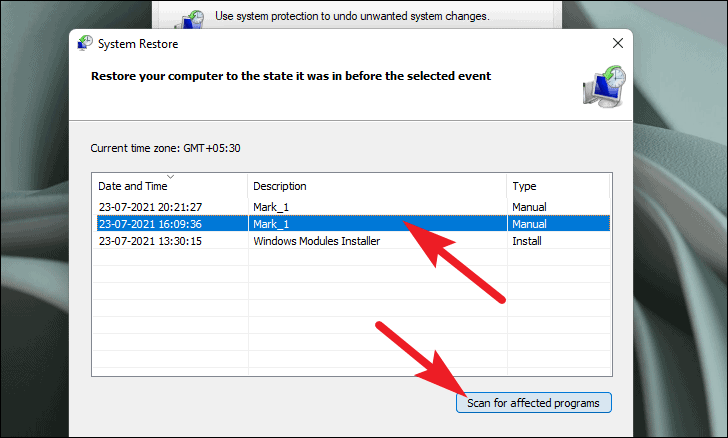
- Click Next to proceed.
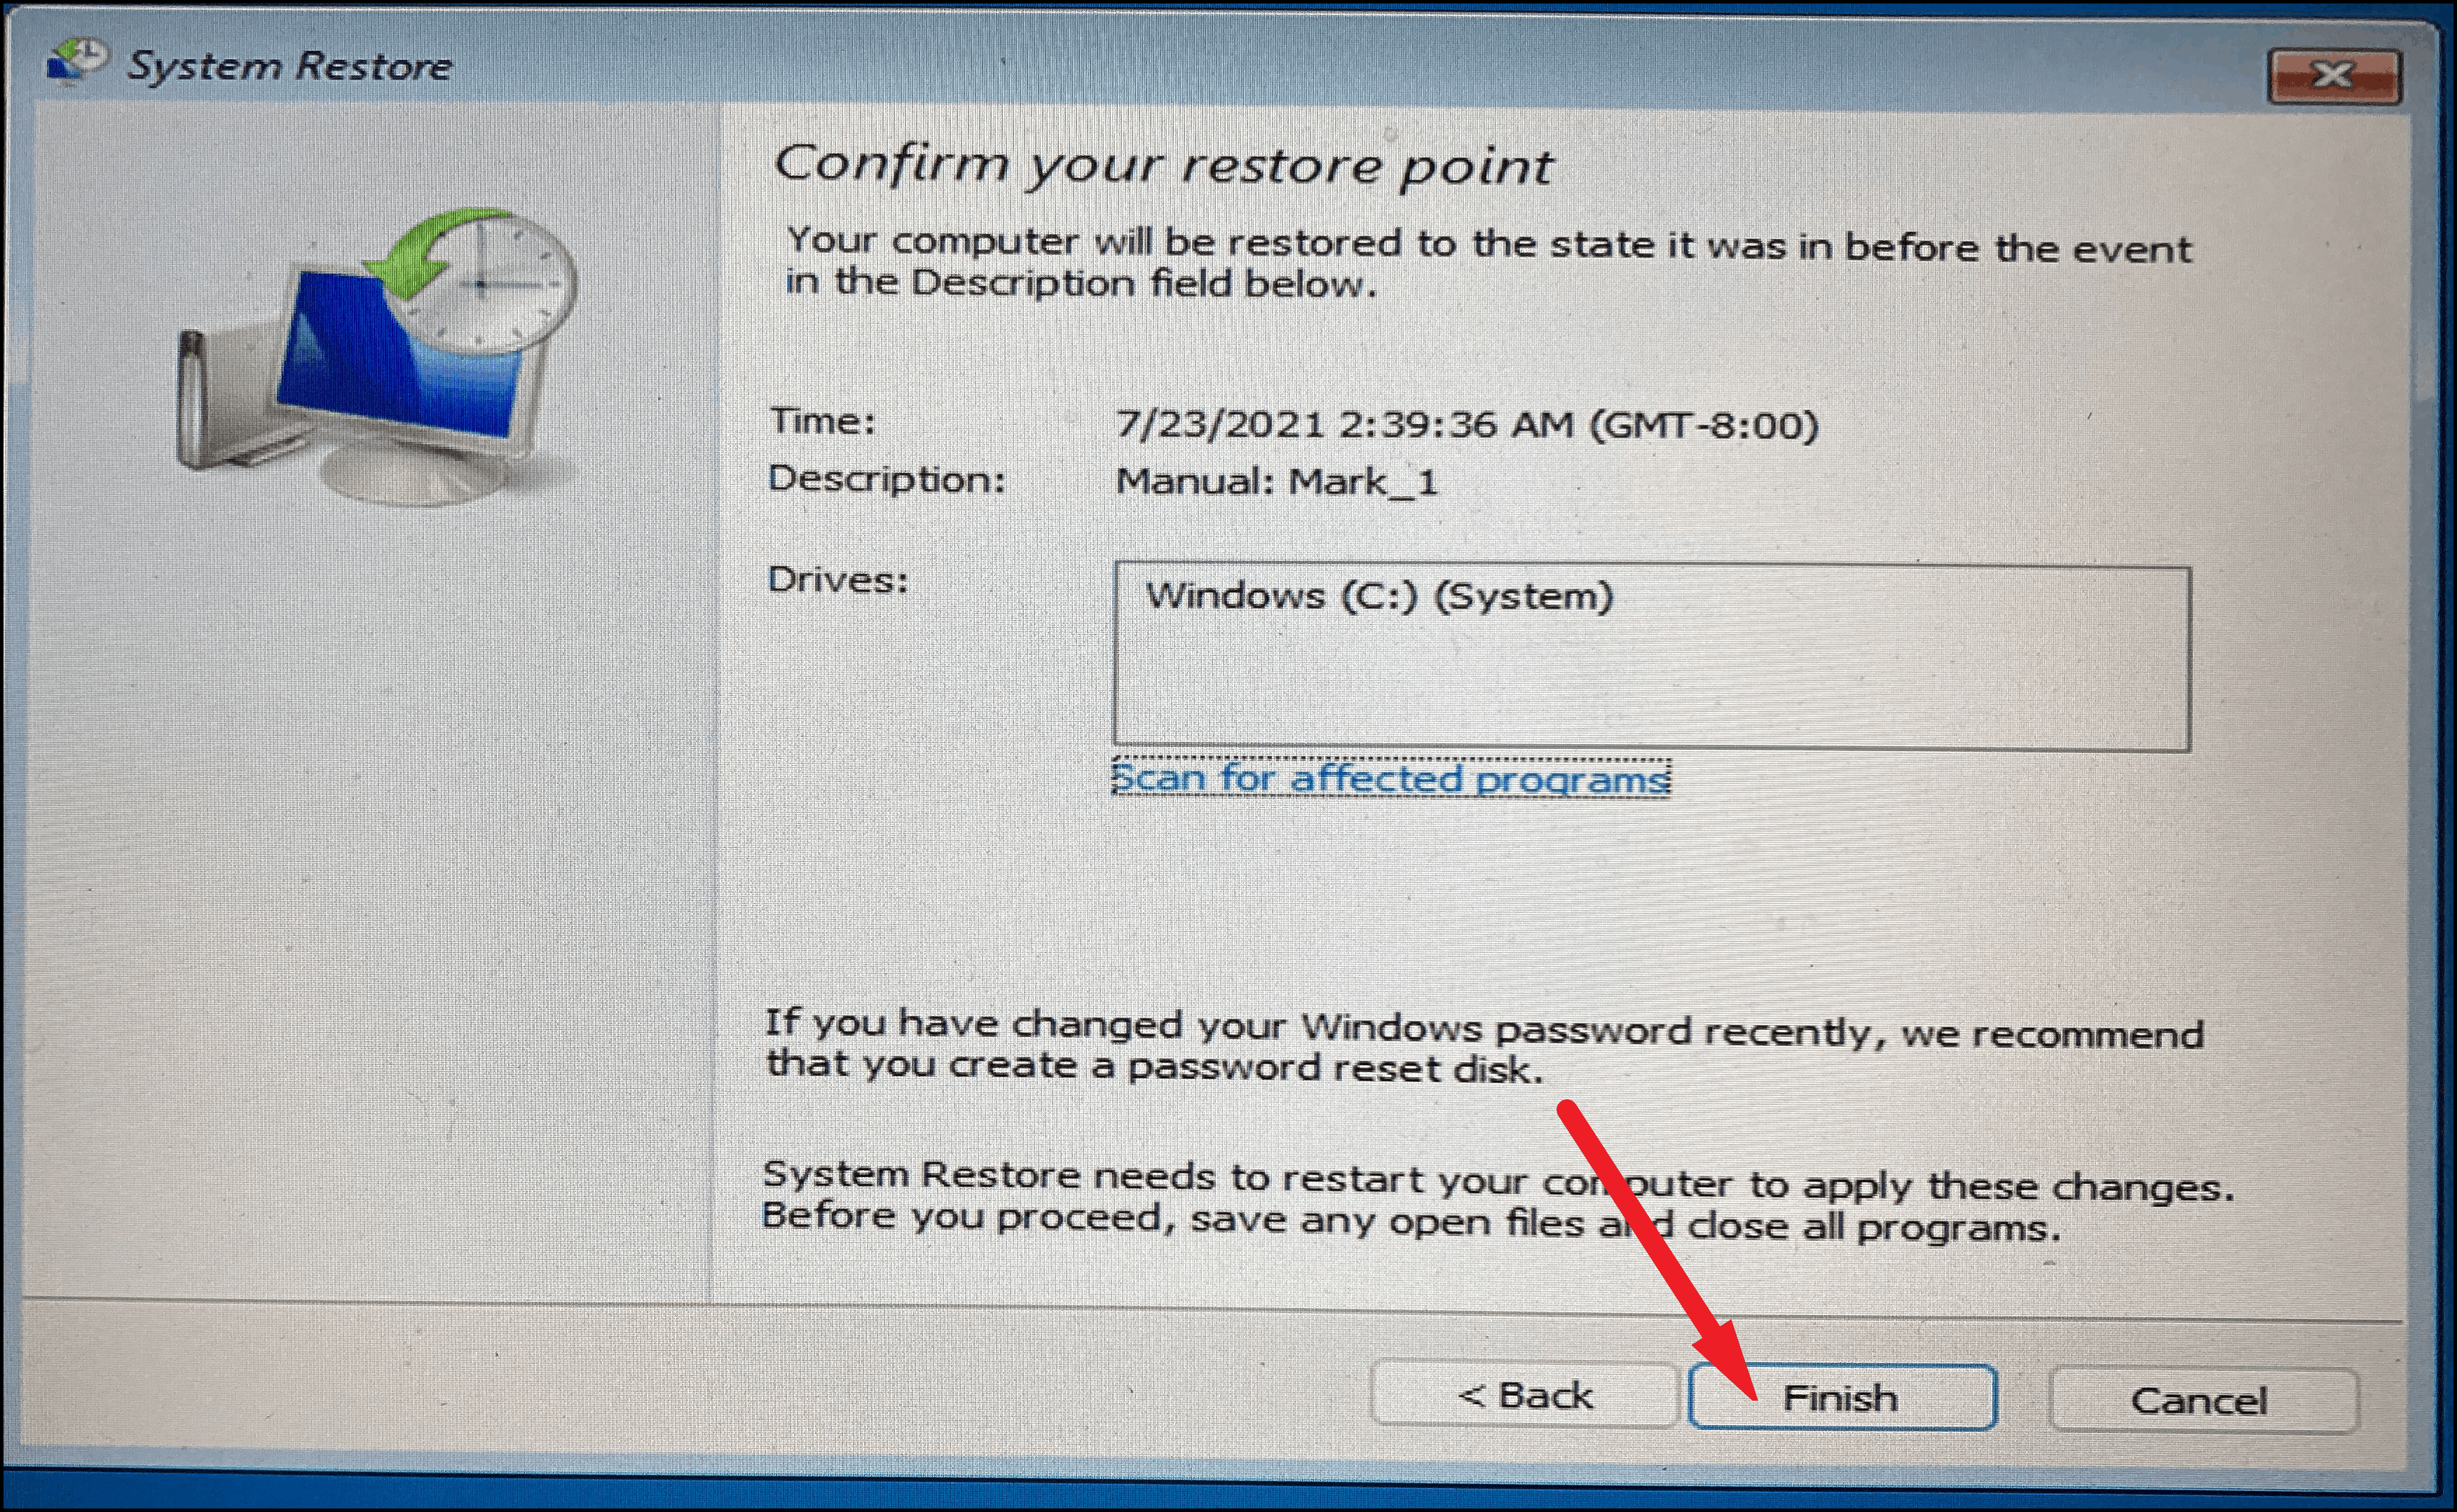
- Confirm the details of the Restore Point and click Finish.
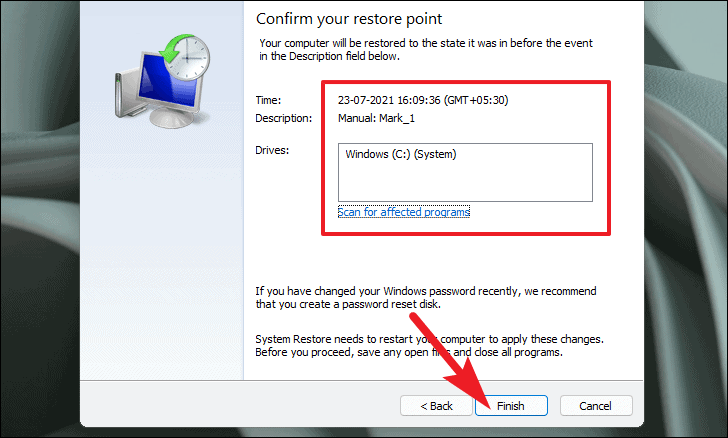
Your system will restart and begin the restoration process.
Method 2: Restore Using Windows Recovery Environment (WinRE)
If you’re unable to boot into Windows:
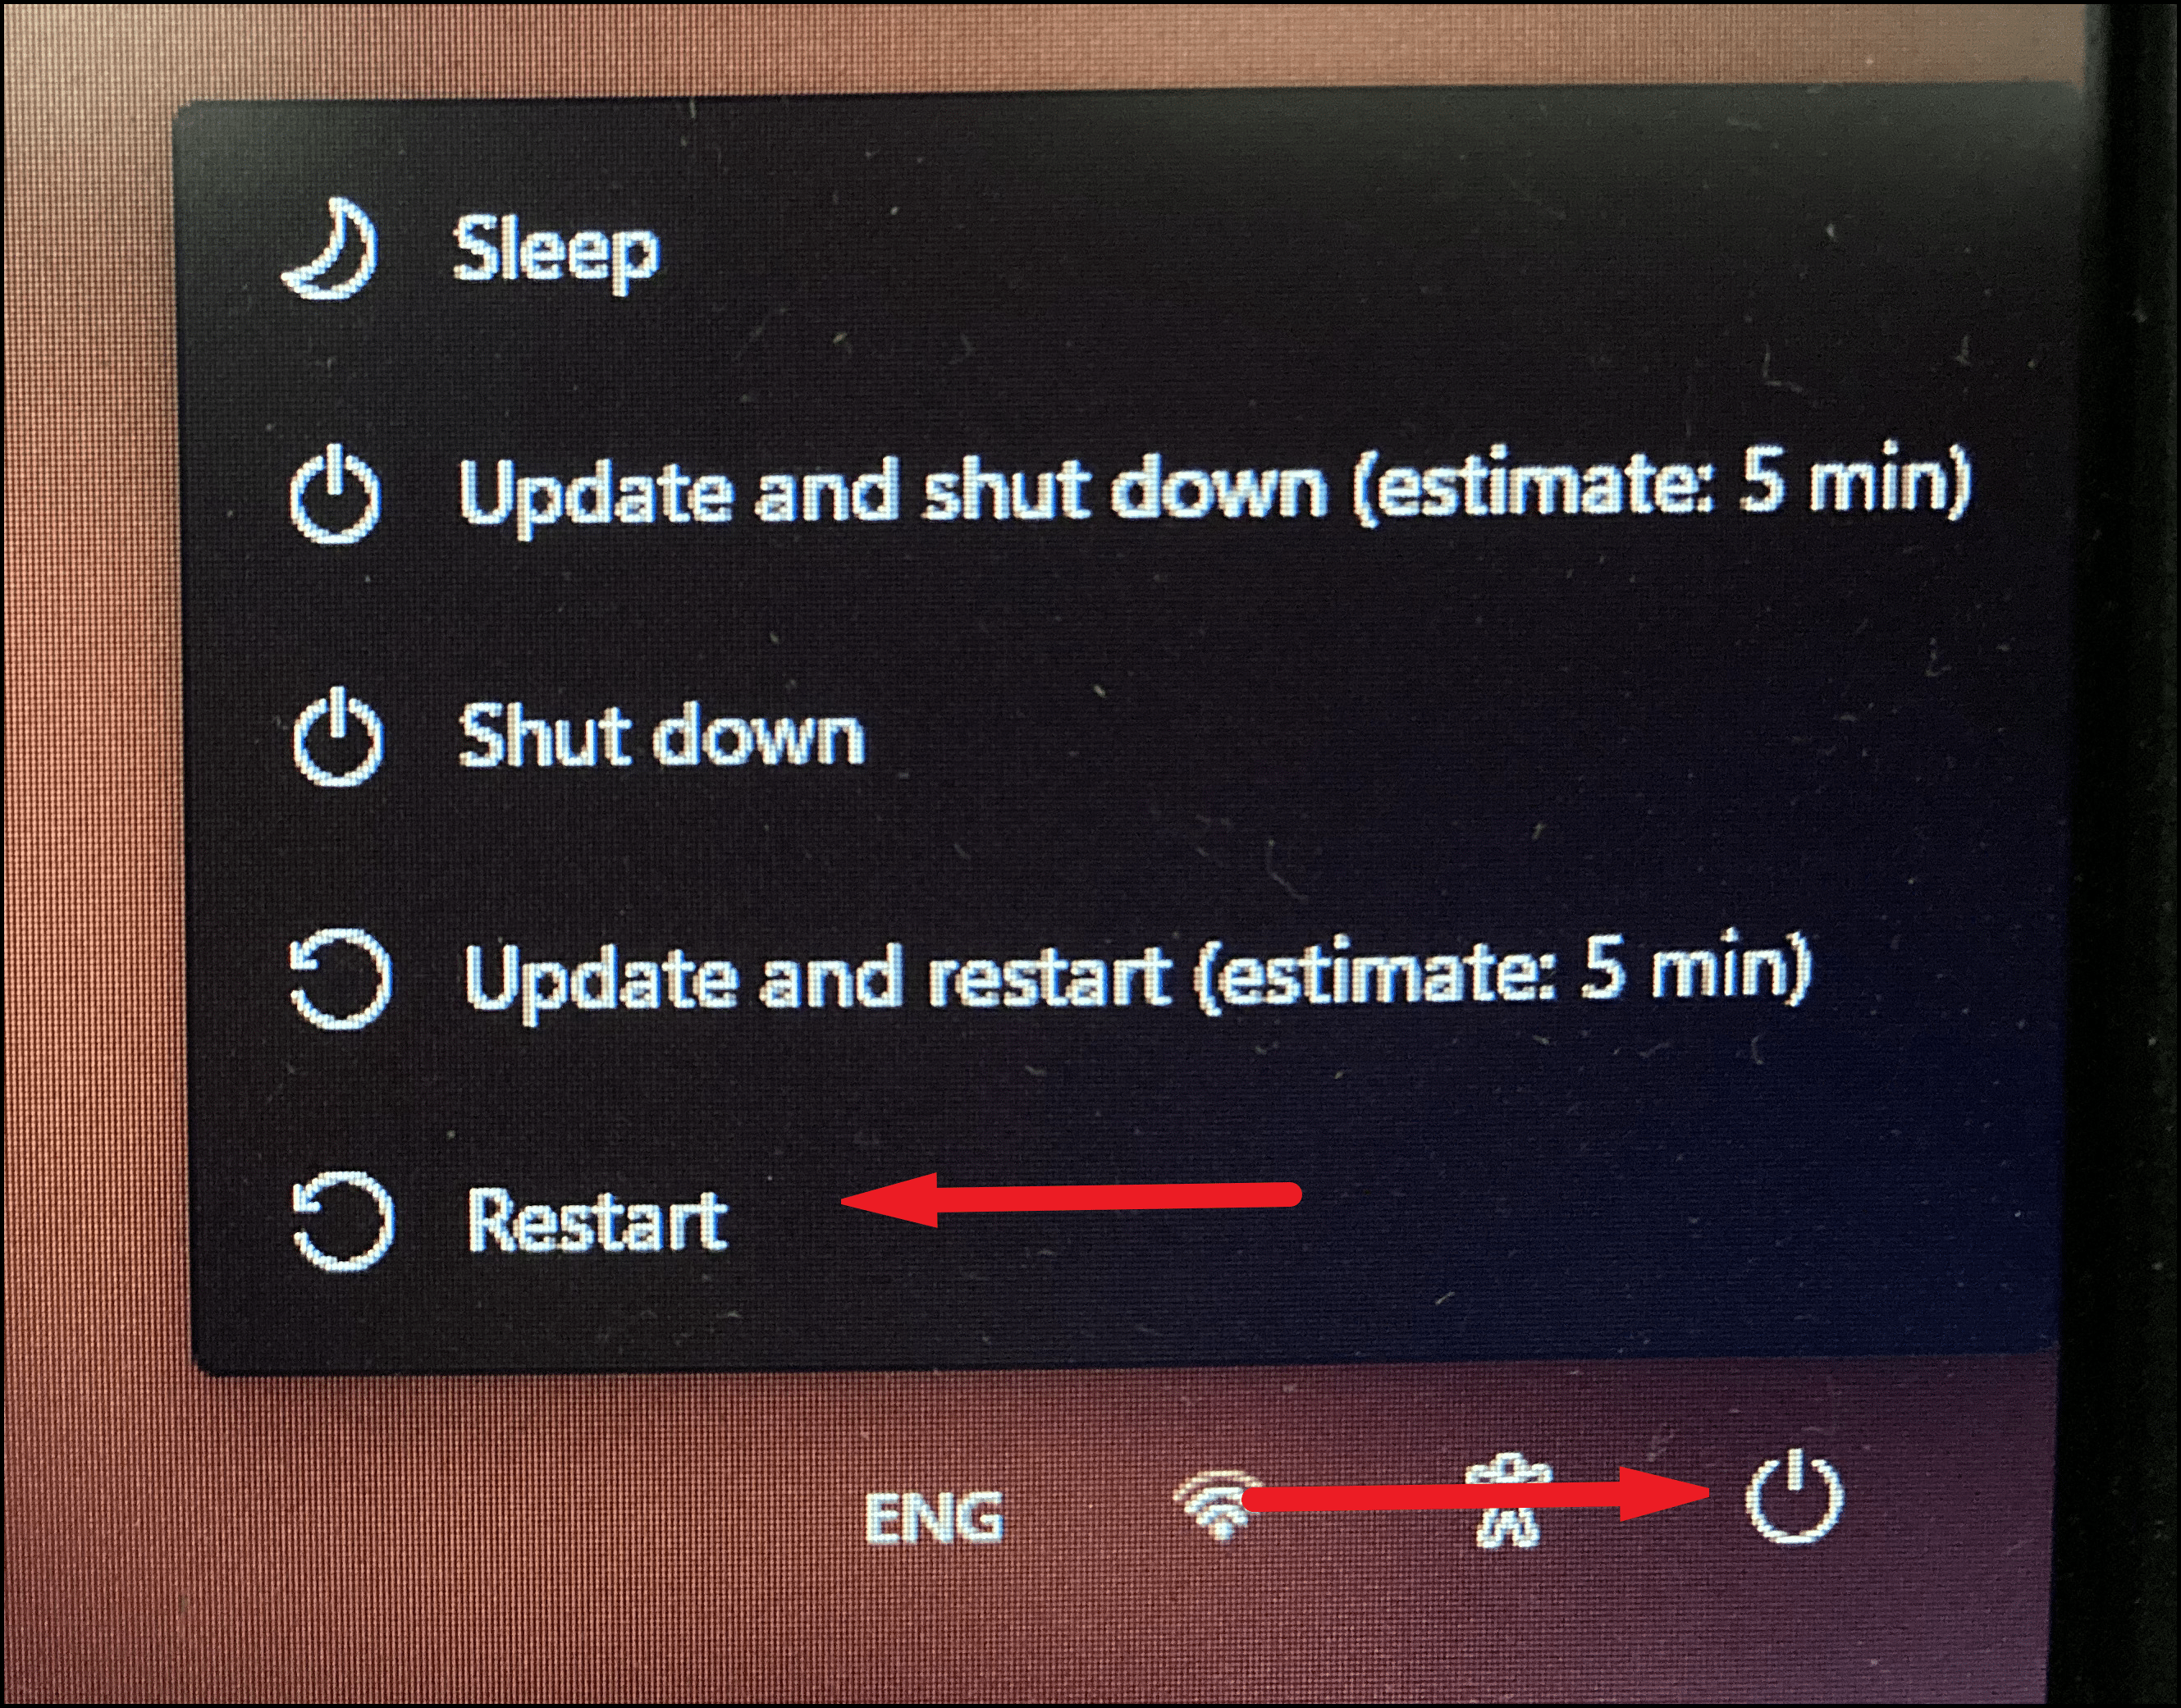
- At the sign-in screen, click the Power icon at the bottom-right corner. Hold the Shift key and select Restart.
- Once in the Windows Recovery Environment, select Troubleshoot.
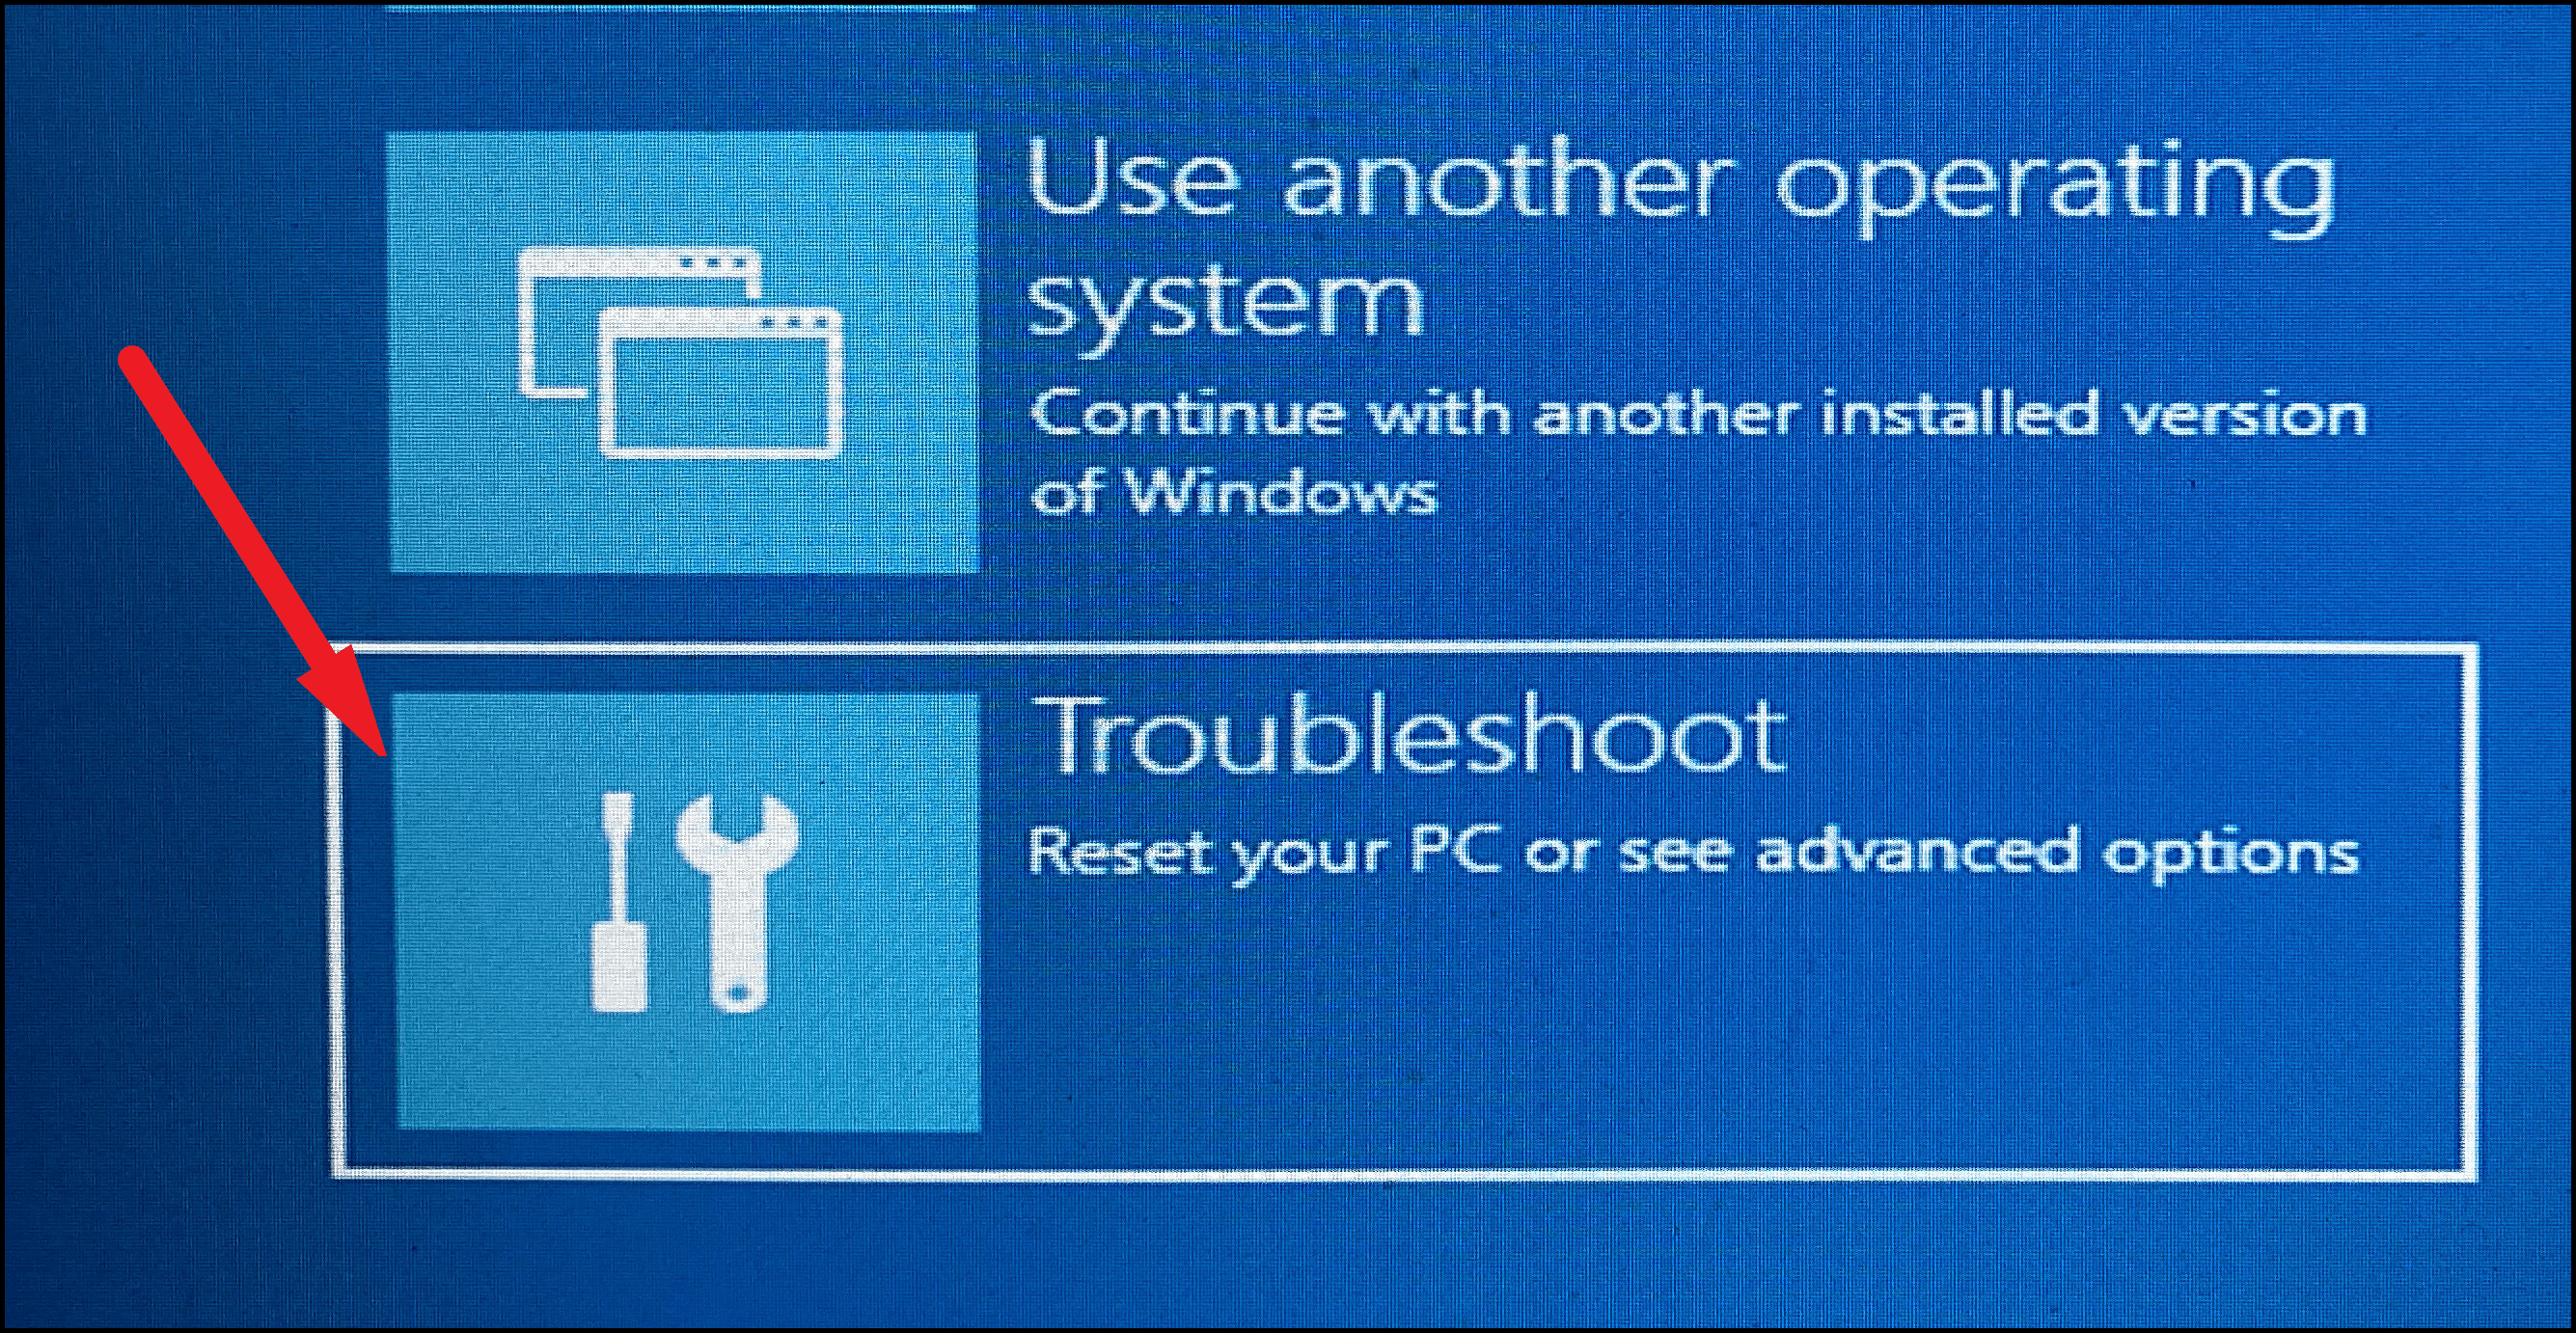
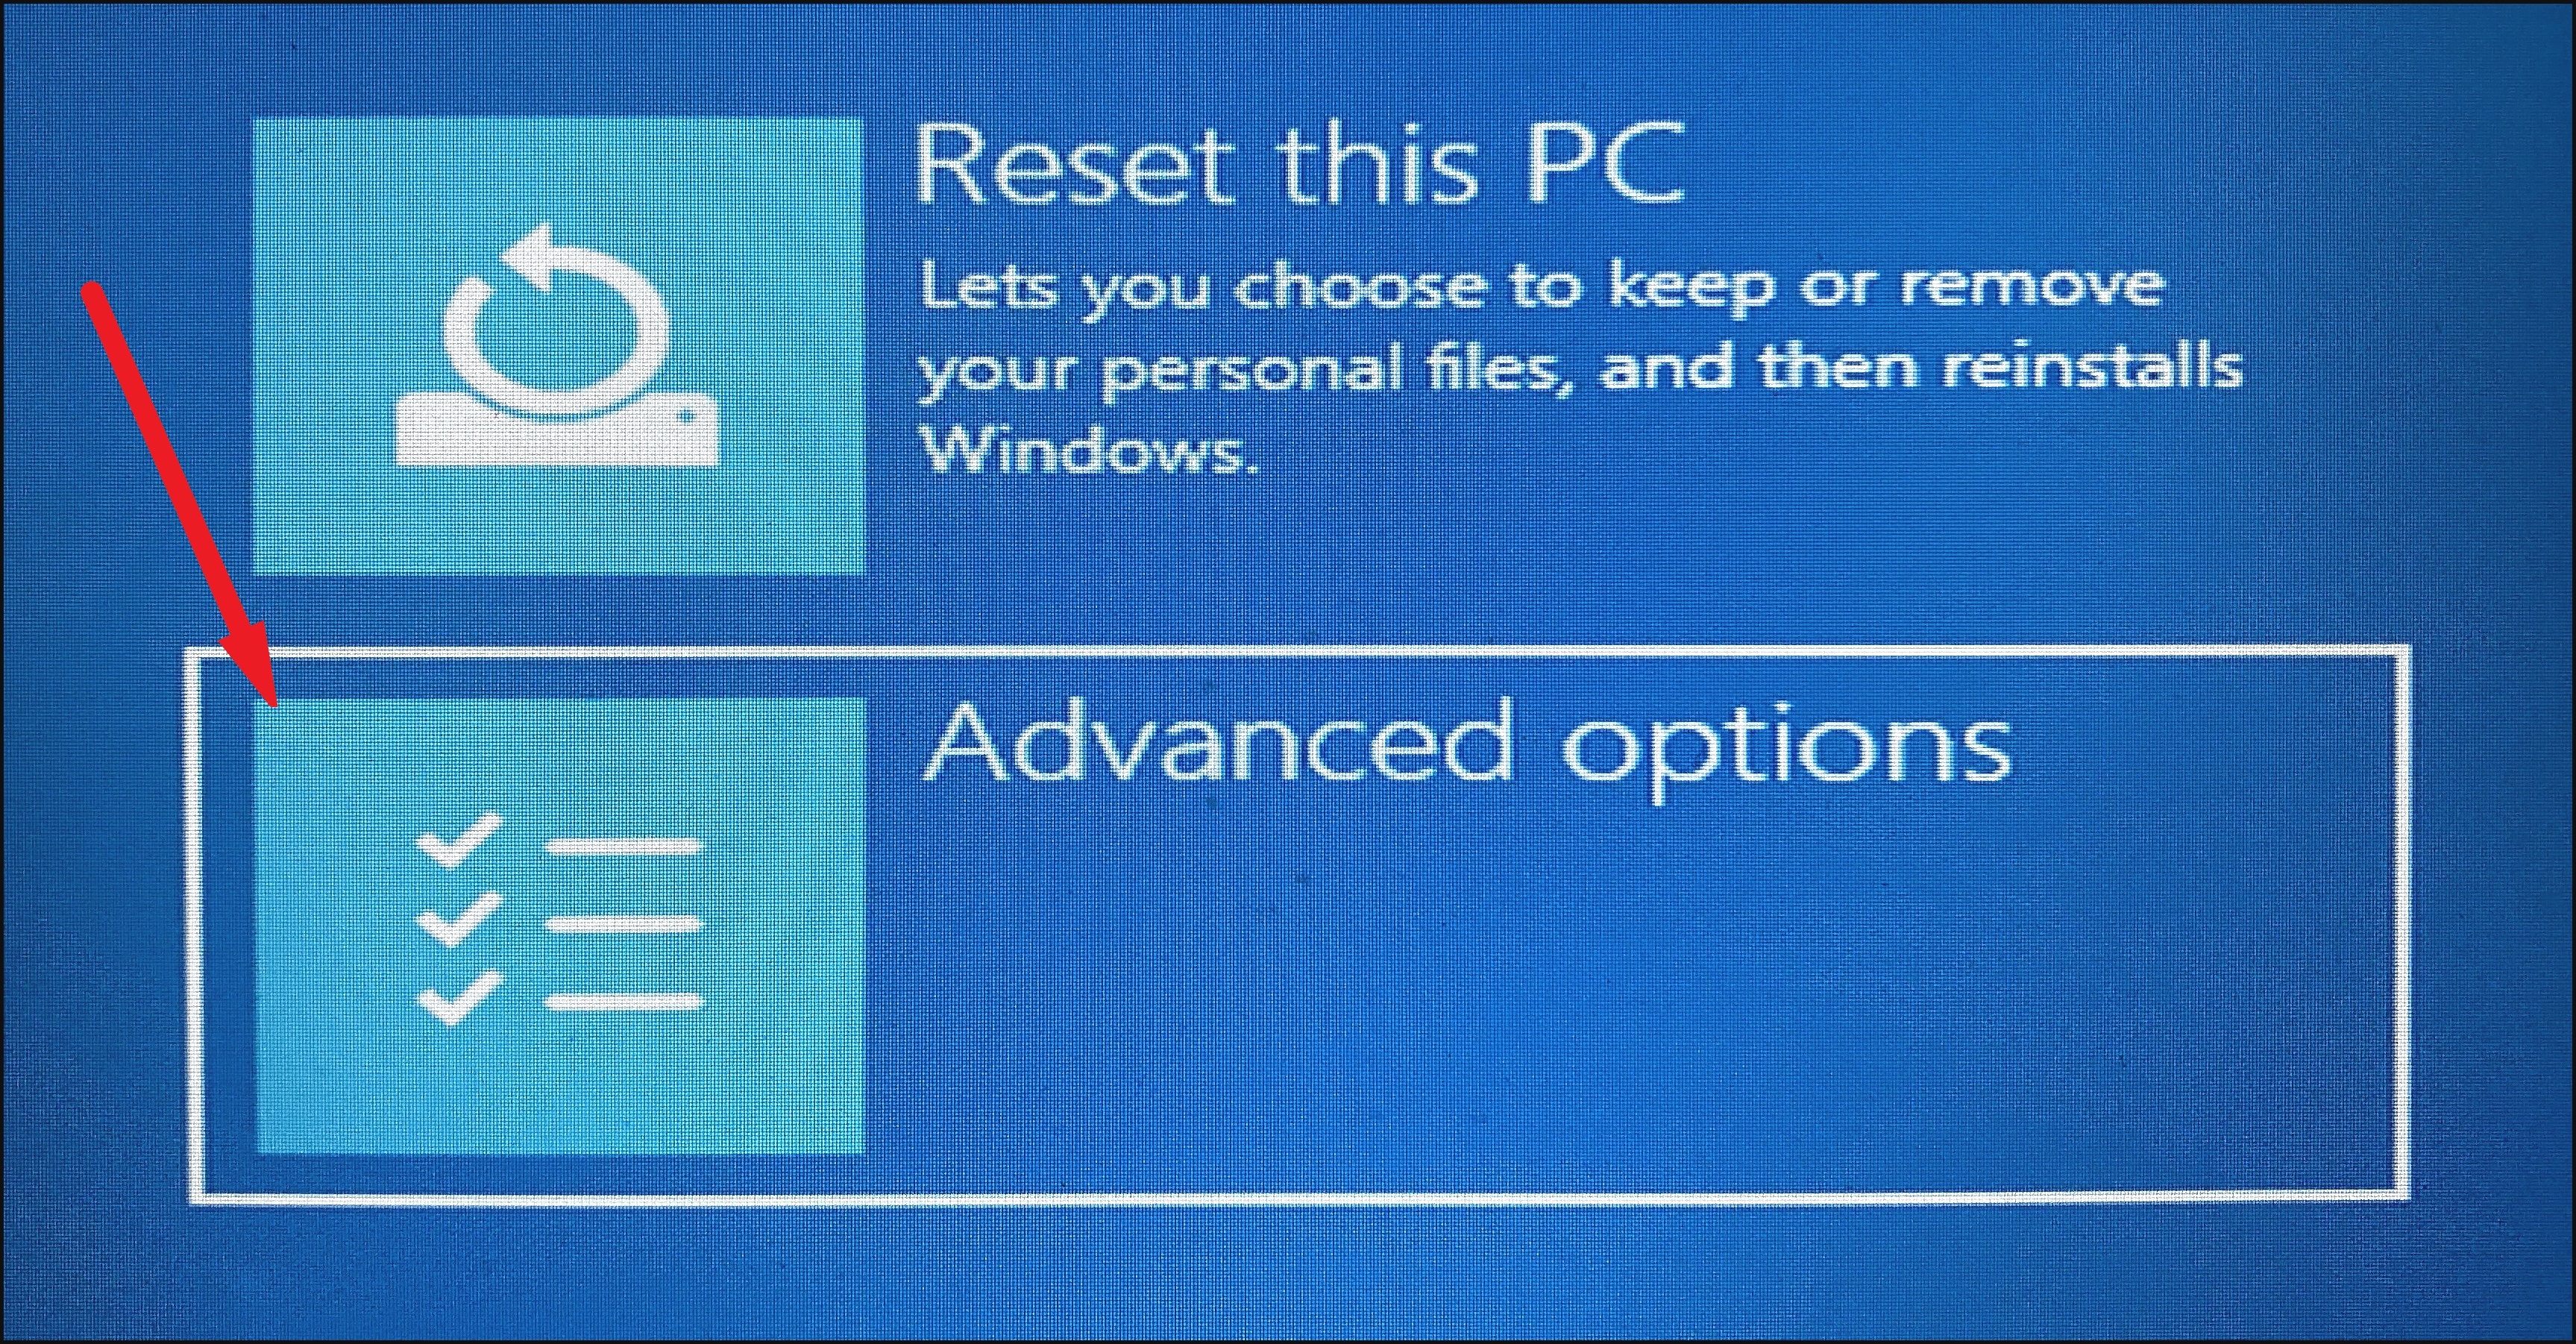
- Click on Advanced options.
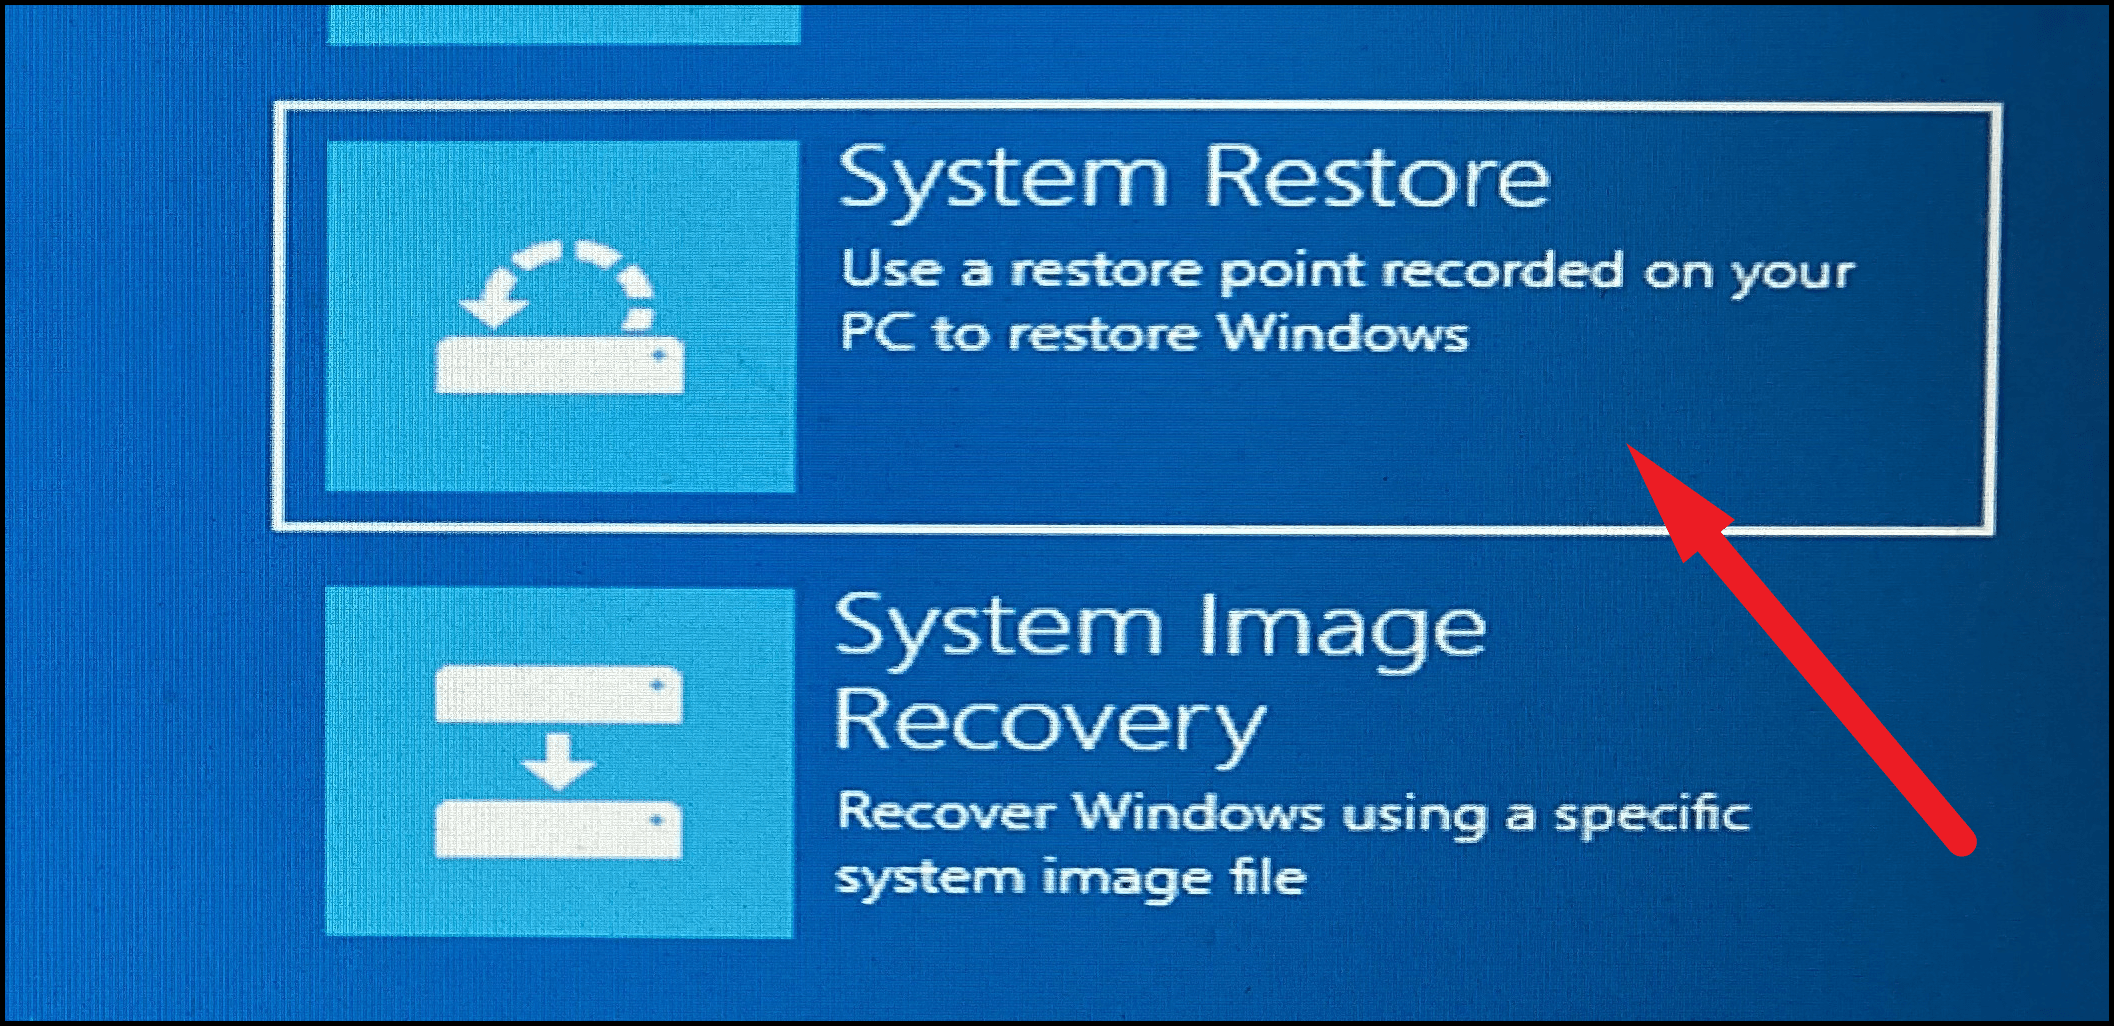
- Select System Restore from the list.
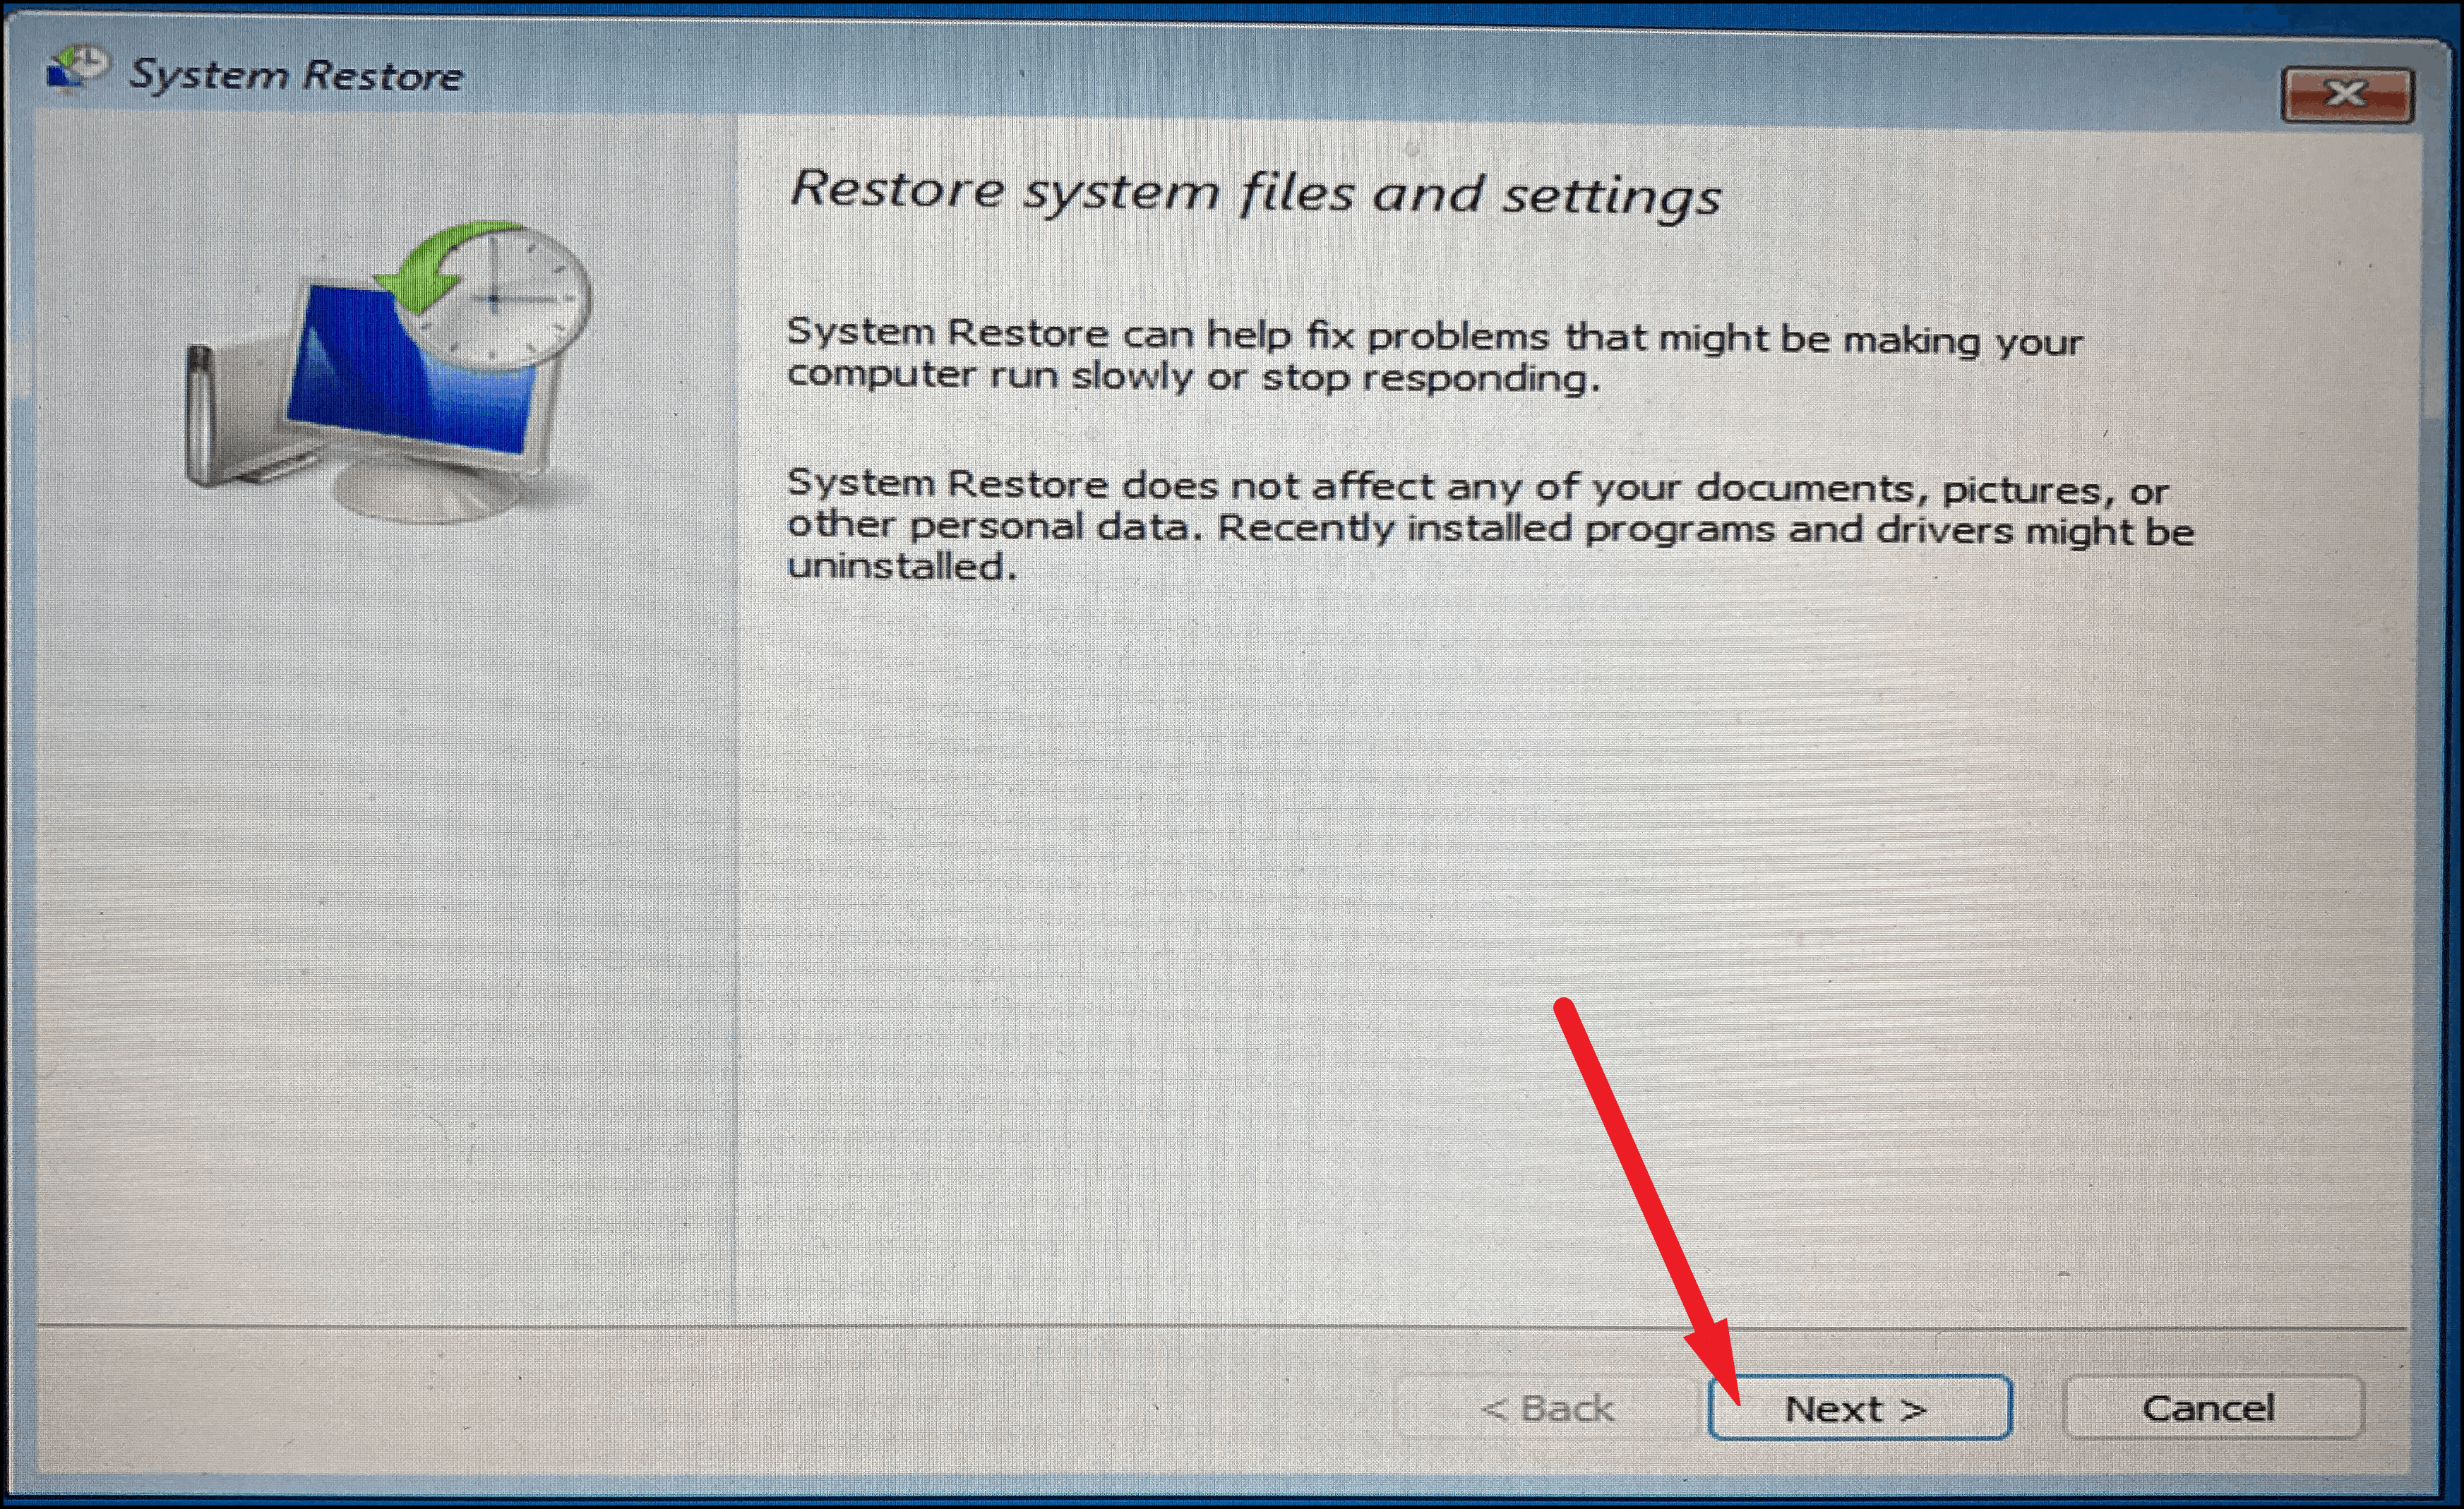
- In the System Restore window, click Next.
- Choose the desired Restore Point and click Next.
- Confirm the Restore Point details and click Finish to start the restoration.
Your system will now restore to the selected point.
By creating and using Restore Points, you can protect your Windows 11 PC from unexpected issues and ensure your system remains stable.


