
Screen sharing in Microsoft Teams may suddenly stop working, leaving participants with a gray or black screen instead of the shared content. This disrupts meetings, slows down workflows, and makes effective collaboration difficult. Several underlying causes—including permissions, outdated drivers, app bugs, or misconfigured settings—can prevent Teams from displaying shared screens correctly. Applying targeted fixes restores normal functionality and allows meetings to proceed without interruption.
Method 1: Adjust Teams Meeting Policies and Permissions
Step 1: Open the Microsoft Teams Admin Center by navigating to https://admin.teams.microsoft.com. This central location allows administrators to control organization-wide Teams settings.
Step 2: In the left-side menu, click Meetings to expand available options, then select Meeting Policies. Meeting policies determine what participants can do during meetings, including screen sharing.
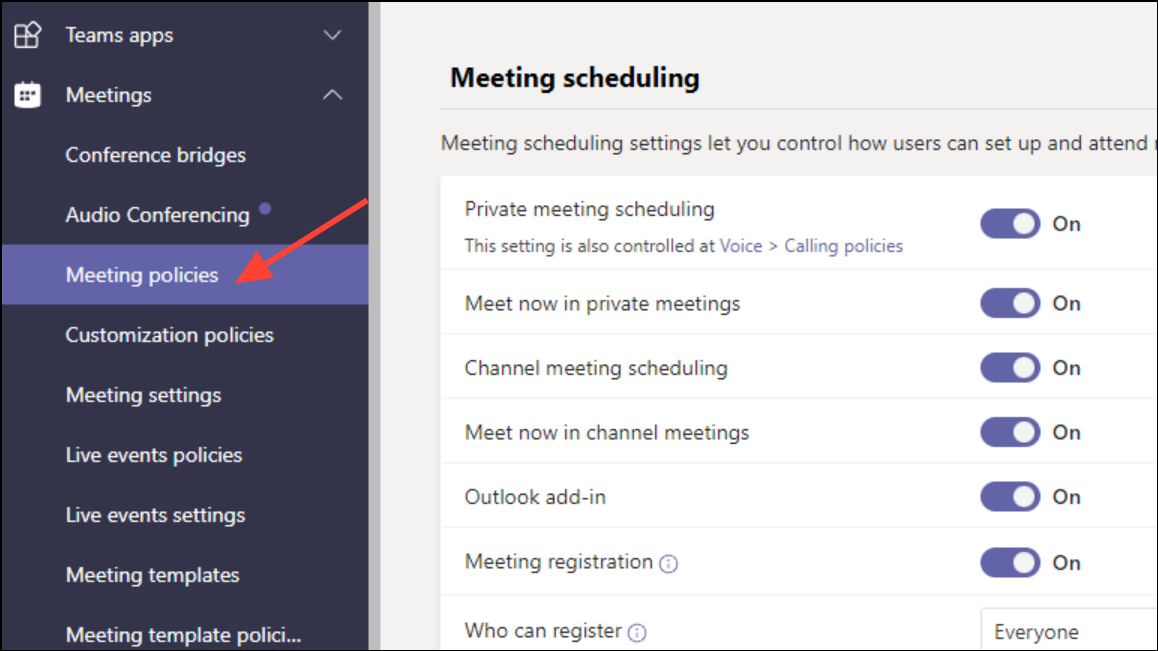
Step 3: Edit the Global (or relevant) policy. Under the Content sharing section, set Screen sharing mode to Entire screen. This ensures all users can share their screen without restriction.
Step 4: Click Save to apply changes. Ask affected users to restart Teams for the new policy to take effect.
For individual meetings, organizers can adjust who is allowed to present by opening Meeting Options and setting Who can present to Everyone. This step resolves cases where users are blocked from sharing due to restrictive meeting settings.
Method 2: Select the Correct Screen for Sharing
Step 1: When multiple displays are connected, Teams may default to sharing the wrong screen, resulting in participants seeing a blank or gray window. Before sharing, verify which screen is selected in the Teams sharing interface.
Step 2: If the shared content is not visible, stop sharing, select the correct screen or window, and start sharing again. This simple check can resolve confusion caused by multi-monitor setups.
Method 3: Lower Display Resolution
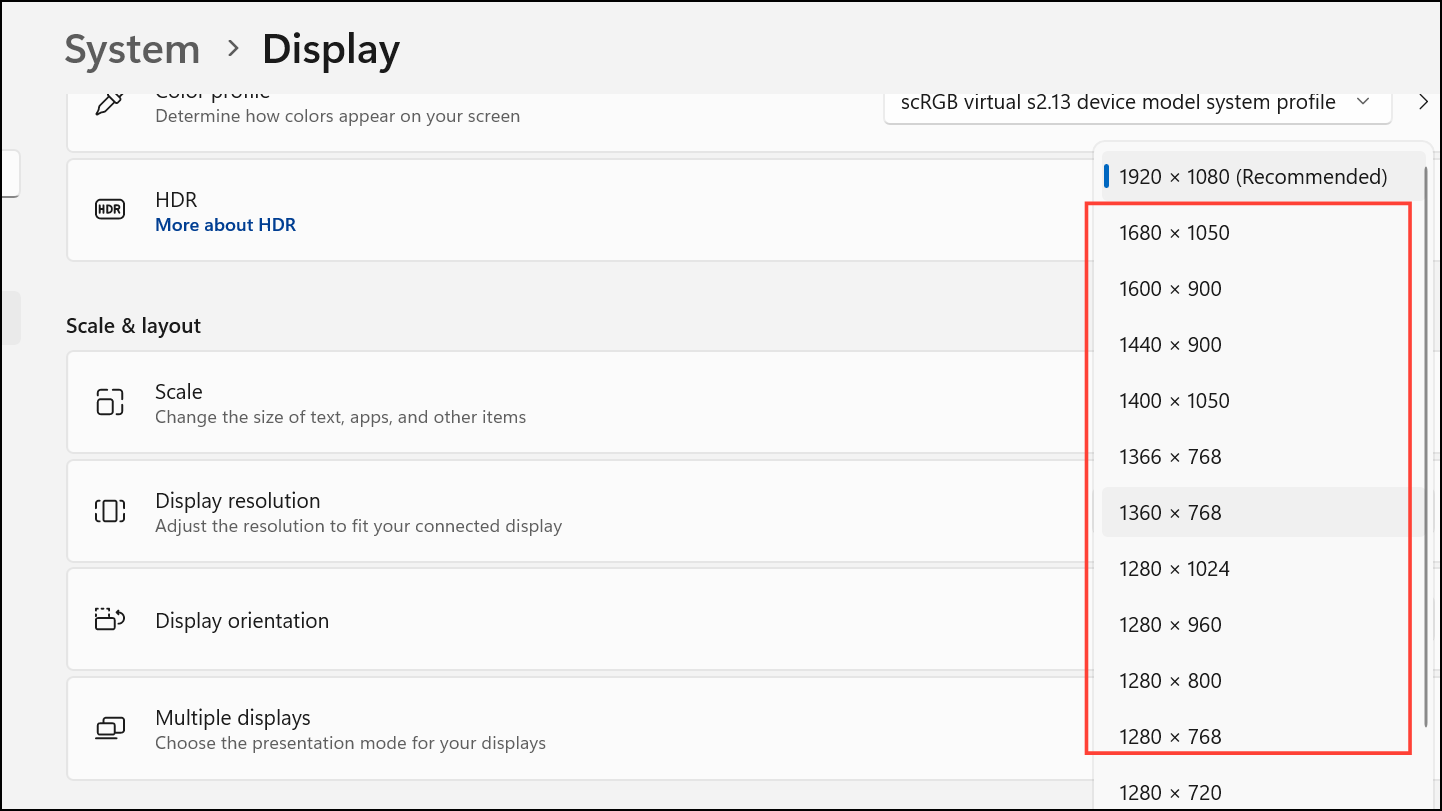
Step 1: High display resolutions can overwhelm Teams’ screen sharing feature, especially on slower networks or older devices. Lowering your resolution reduces bandwidth usage and improves compatibility.
Step 2 (Windows): Press Win + I to open Settings, go to System > Display, and choose a lower value from the Display resolution drop-down menu. Apply the changes and restart Teams.
Step 3 (Mac): Open System Preferences, select Displays, choose Scaled under Resolution, and pick a lower setting. Reopen Teams afterward.
Method 4: Update Display Drivers
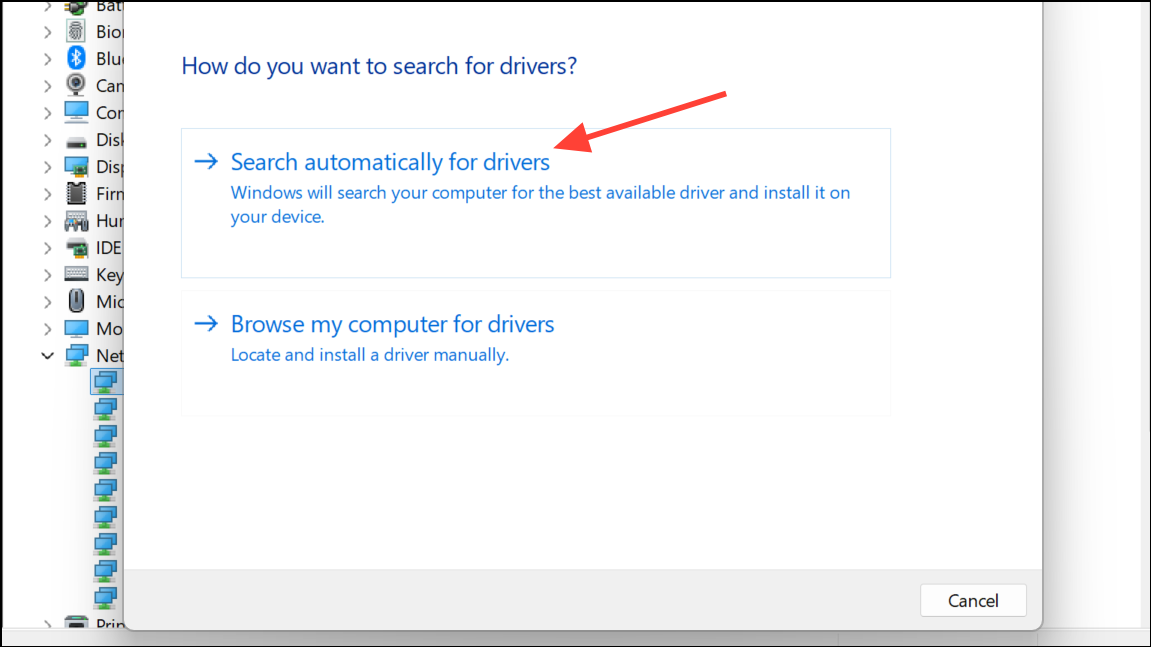
Step 1: Outdated or corrupt graphics drivers often cause display issues during screen sharing. Right-click the Start menu, open Device Manager, and expand Display adapters.

Step 2: Right-click your graphics adapter and select Update driver. Choose Search automatically for drivers to let Windows find and install updates. If no updates are found, use Windows Update to check for newer drivers from your hardware manufacturer.
After updating, restart your computer and test Teams screen sharing again.
Method 5: Clear Microsoft Teams Application Cache
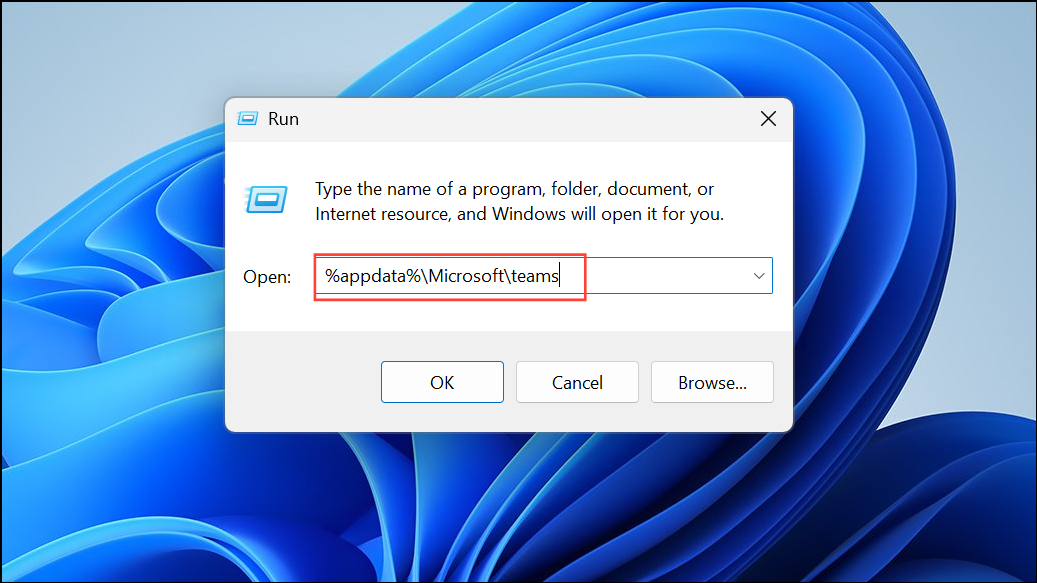
Step 1 (Windows): Press Win + R, type %appdata%\Microsoft\teams, and press Enter. Select all files in the folder and delete them. This removes temporary files that may interfere with proper app function.
Step 2 (Mac): Quit Teams, open Finder, press Command + Shift + G, enter ~/Library/Application Support/Microsoft, and delete the Teams folder. Relaunch Teams to rebuild the cache.
Clearing the cache often resolves persistent display and loading issues.
Method 6: Close Unnecessary Applications and Programs
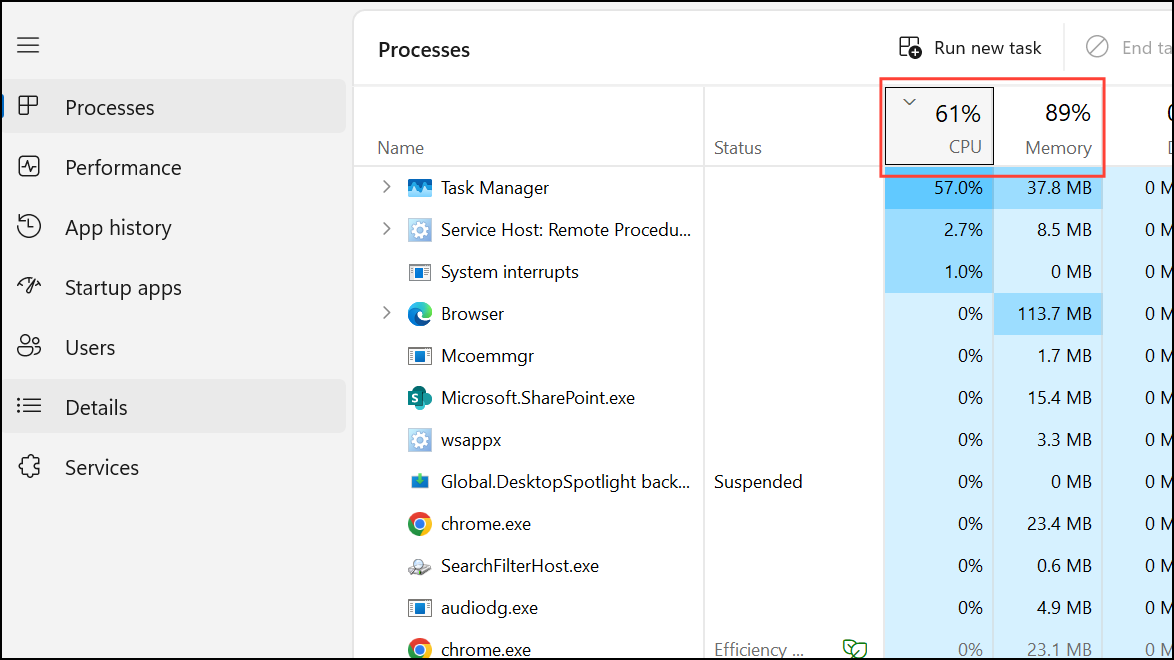
Step 1 (Windows): Open Task Manager with Ctrl + Shift + Esc. Review the Processes tab and end tasks for programs consuming high CPU, memory, or network resources.
Step 2 (Mac): Use Option + Command + Esc to open the Force Quit Applications window. Select and force quit unneeded apps.
Reducing background resource usage prevents Teams from lagging or failing to share screens due to system overload.
Method 7: Use Teams Web Version in Supported Browsers
Teams screen sharing works best in Microsoft Edge or Google Chrome. If issues persist in the desktop app, switch to the web version at https://teams.microsoft.com using one of these browsers. Avoid unsupported browsers like Firefox or Opera, which may not handle screen sharing reliably.
Method 8: Enable App Permissions on macOS
Step 1: For Mac users, Teams requires screen recording permission to share content. Open System Preferences, go to Security & Privacy, and select the Privacy tab.
Step 2: Click Screen Recording and check the box for Microsoft Teams and/or your browser. If prompted, restart the app or browser for changes to take effect.
Without these permissions, macOS will block Teams from capturing and sharing your screen.
Method 9: Update Microsoft Teams
Step 1: Outdated Teams versions may have unresolved bugs that affect screen sharing. Open Teams, click the three dots in the top-right corner, and select Check for updates. Follow on-screen prompts to install the latest version.
Using the most recent release ensures compatibility with new operating systems and hardware.
Method 10: Additional Troubleshooting Steps
- Clear browser cache if using the web version.
- Add Teams to your antivirus exclusion list to prevent interference.
- Optimize device performance by updating your operating system and removing unnecessary startup programs.
- Install the Windows Media Feature Pack if you’re on a version of Windows that requires it for media handling.
- Sign out of Teams on all devices and sign back in to refresh account sessions.
Applying these targeted methods restores Teams screen sharing, allowing meetings to run smoothly and efficiently. For persistent problems, consider reporting the issue to your IT admin or Microsoft support for further investigation.