
Graphics-related problems can lead to several types of problems in Windows. And when such problems occur, the OS usually gives you an error code. One of the most common such errors is the VIDEO_DXGKRNL_FATAL_ERROR, which results in a Blue Screen of Death. If you're getting this error when trying to use your Windows PC, you can try out the solutions mentioned here to resolve it.
Solution 1: Run the Hardware and Devices Troubleshooter
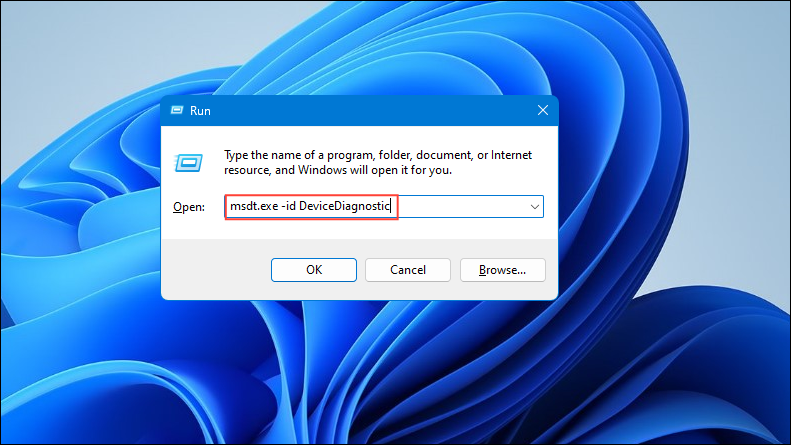
- Open the 'Run' dialog box with the
Win + Rshortcut and typemsdt.exe -id DeviceDiagnosticbefore pressing Enter.
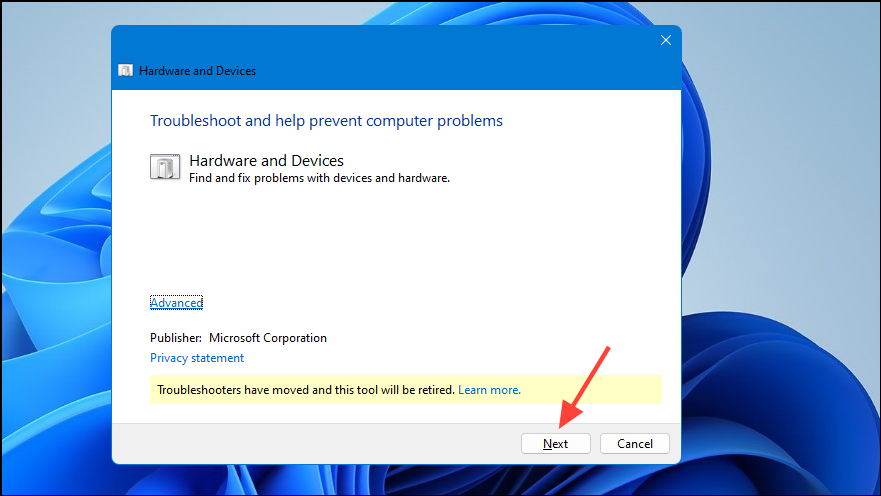
- When the Hardware and Device Troubleshooter opens, click on the 'Next' button.
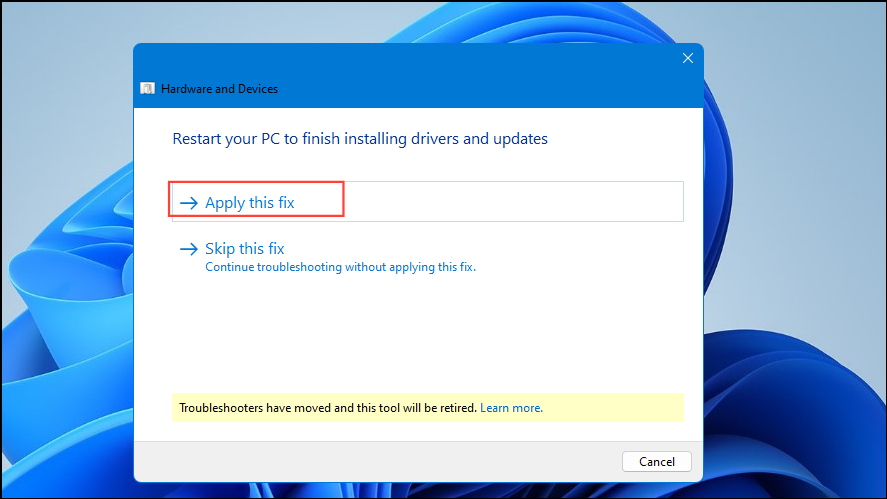
- Let the troubleshooter run and then click on 'Apply this fix'.
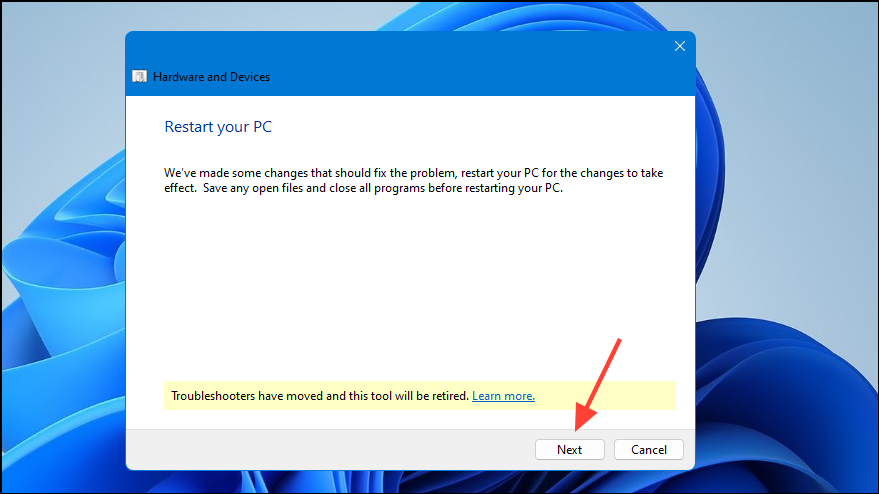
- Then click on the 'Next' button and restart your computer.
Solution 2: Perform DISM and SFC scans
The built-in System File Checker utility in Windows can help fix corrupted system files that are causing the error.
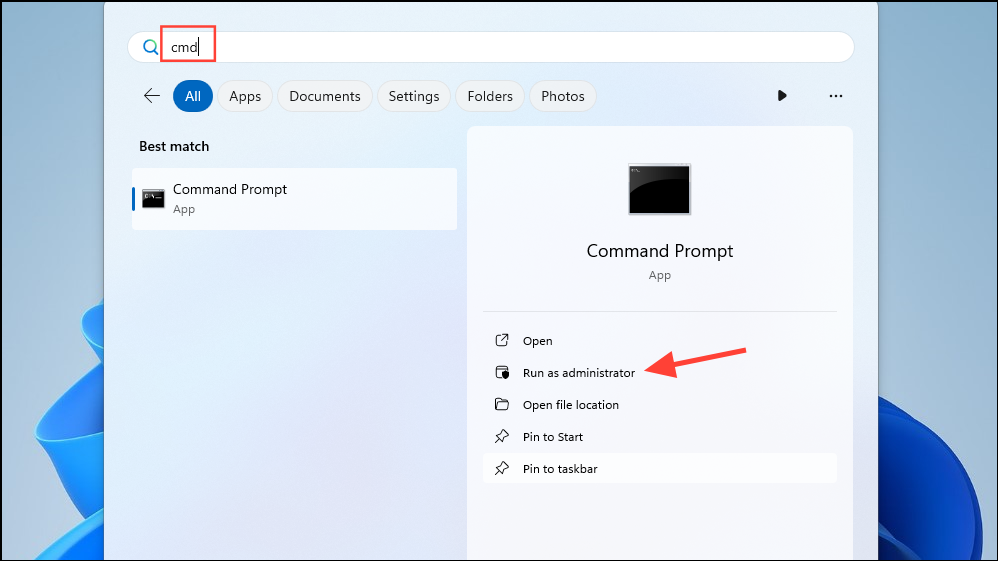
- Open the Start menu, type
cmdand click on 'Run as administrator'.
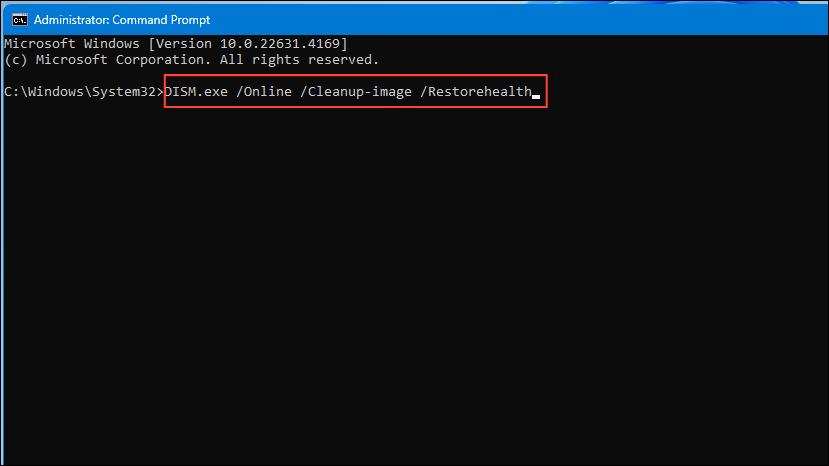
- In the command prompt window that appears, type
DISM.exe /Online /Cleanup-image /Restorehealthand press Enter.
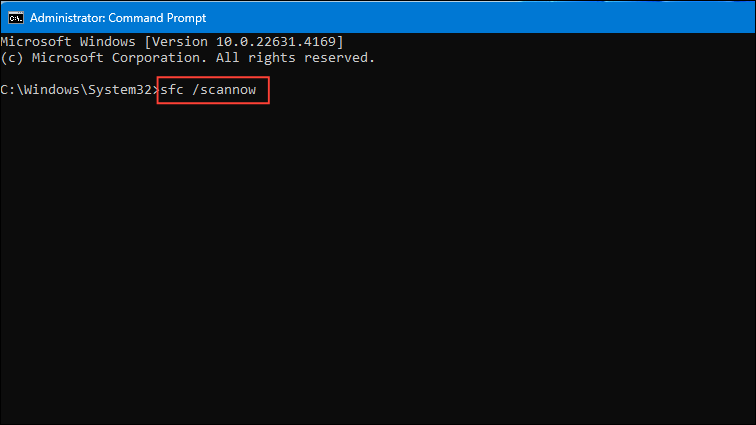
- Wait for the command to run and then type
sfc /scannowbefore pressing Enter.
- Let the command run and then restart your computer.
Solution 3: Reinstall graphics drivers
Corrupt graphics drivers can also result in VIDEO_DXGKRNL_FATAL_ERROR. To fix this, you will need to remove the corrupted drivers and install fresh ones.
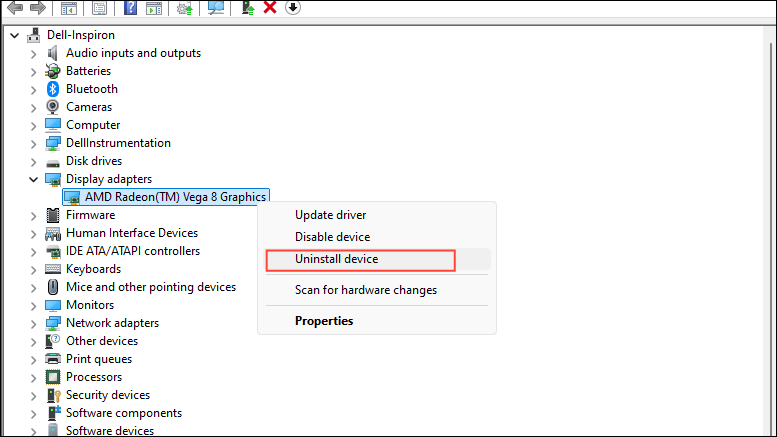
- Right-click on the Start button and click on 'Device Manager'.

- When the Device Manager opens, click on 'Display Adapters' to expand it.
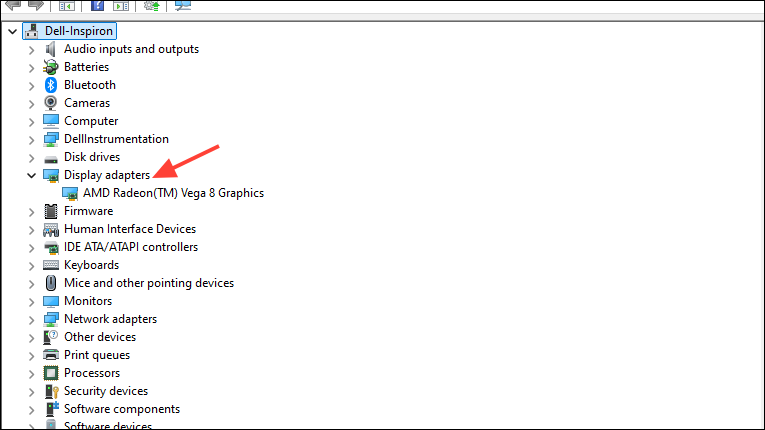
- Right-click on the graphics driver and click on 'Uninstall device'.
- In the pop-up that appears, click on the checkbox for 'Attempt to remove the driver for this device' and then click on the 'Uninstall' button.
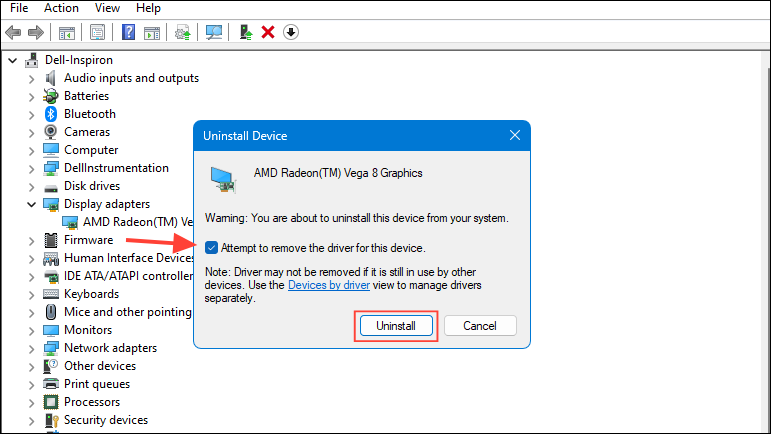
- After the driver is uninstalled, restart your computer. Windows should automatically reinstall suitable graphics drivers for your device, but you can also visit the website of your PC manufacturer and download them from there.
Solution 4: Update DirectX
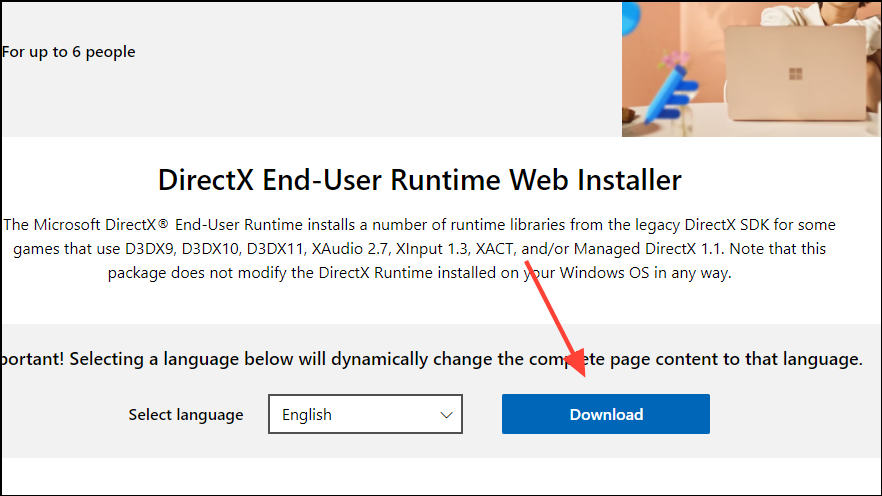
If the DirectX version installed on your PC is outdated, you may run into graphics-related errors. You can try installing the latest version of DirectX to get rid of them.
- Visit Microsoft's DirectX webpage and click on the 'Download' button to download the DirectX installer.
- When the installer is downloaded, open it and follow the steps on the screen to update your DirectX version. Restart your PC after the installation is complete.
Solution 5: Run Windows Update
Windows updates often contain bug fixes that can help sort out various errors you may be facing while using the OS. You should check whether any updates are available and install them if they are.
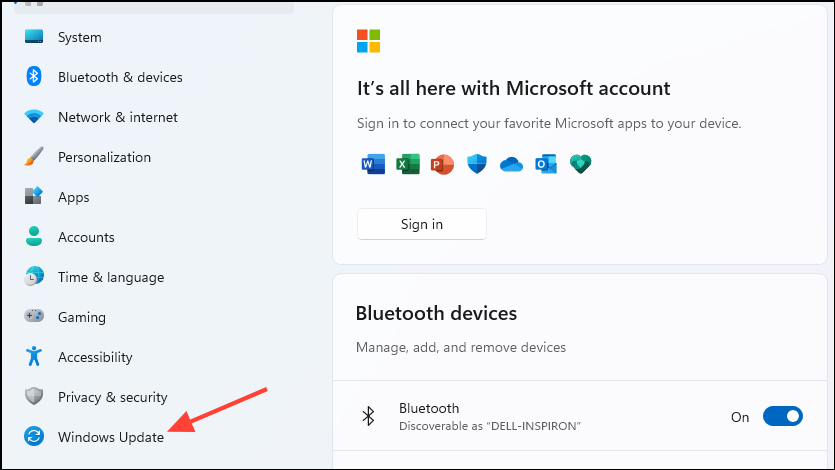
- Open the Settings app using the
Win + Ishortcut and click on 'Windows Update' on the left.
- Once the Windows Update page opens, click on the 'Check for updates' button.
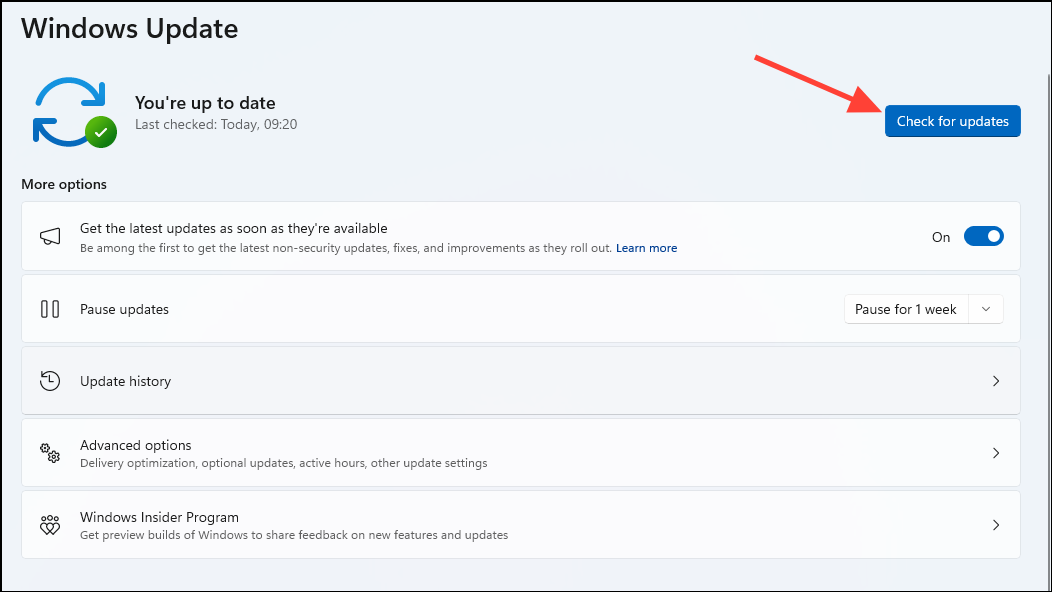
- If updates are available, Windows will install them and you may need to restart your computer.
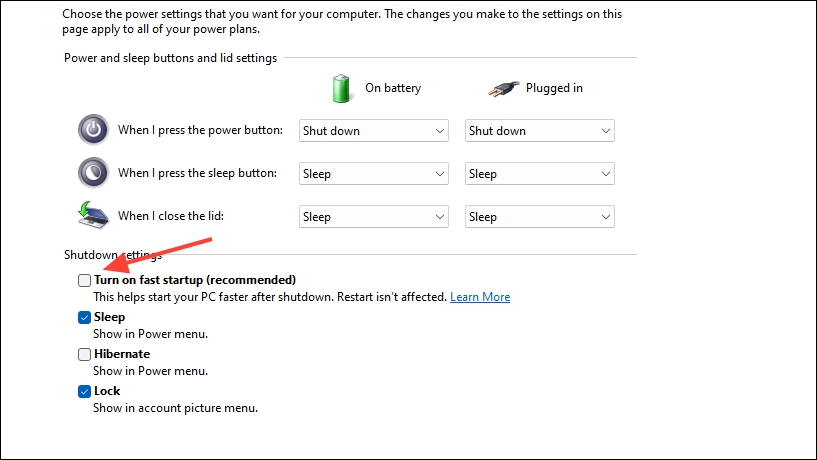
Solution 6: Turn off Fast Startup
While the Fast Startup feature in Windows can help your PC boot up quickly, it can also sometimes be responsible for errors that prevent your computer from booting at all. Disabling the feature might help you get rid of VIDEO_DXGKRNL_FATAL_ERROR.
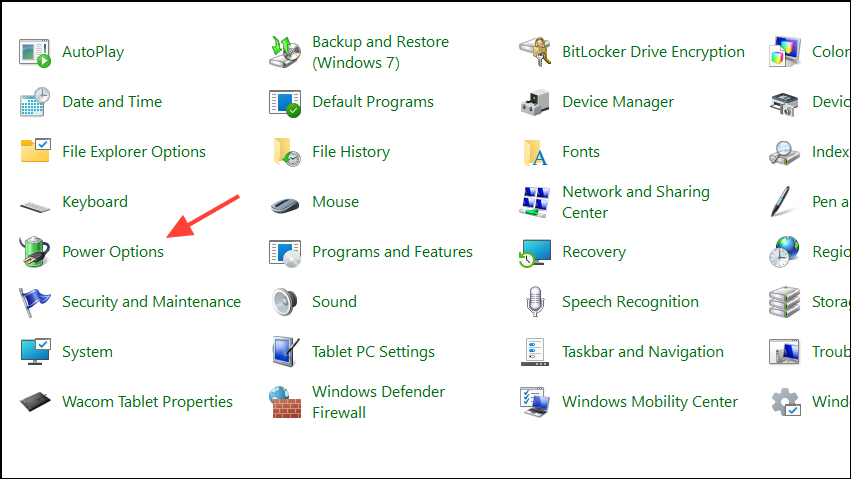
- Open the Control Panel and click on 'Power Options'.
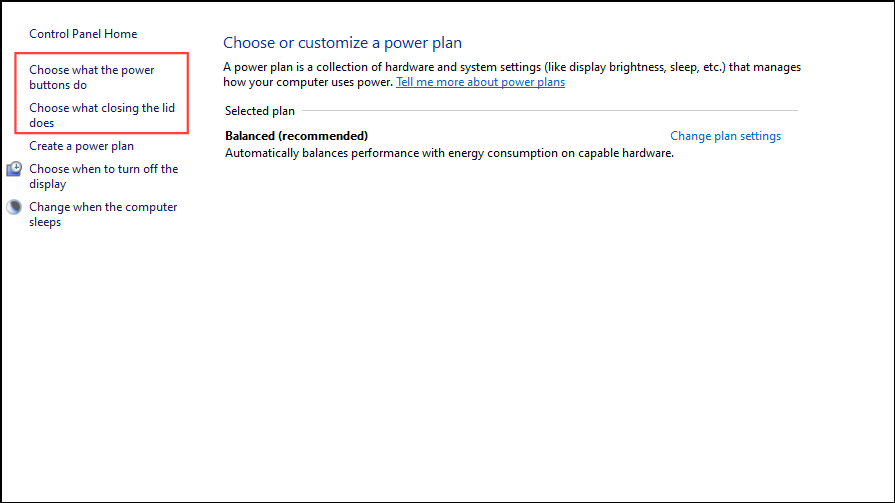
- Once on the Power Options page, click on 'Choose what the power buttons do' or 'Choose what closing the lid does'.
- Then click on 'Change settings that are currently unavailable'.
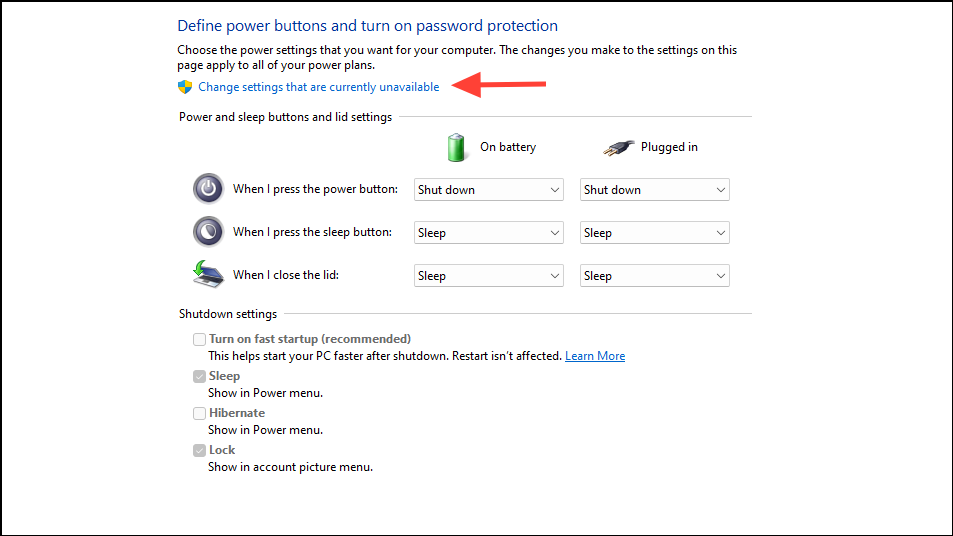
- Lastly, click on the 'Turn on fast startup' checkbox to disable it if it is enabled. Make sure the checkbox is unchecked and then click on 'Save Changes'.
Solution 7: Update BIOS
Sometimes BSOD errors can occur due to problems in the BIOS and can be fixed by updating it. However, you cannot get BIOS updates using Windows Update and will have to manually search for updates for your motherboard model on the website of your computer manufacturer.
Just keep in mind that installing a faulty update can lead to serious issues and may even brick your PC, so proceed with caution when updating your BIOS. Ordinarily, your BIOS does not need to be updated like other components even if updates are available. So, you should resort to this method only if you've determined that it is the ideal solution to the problem.
Solution 8: Temporarily uninstall your antivirus
Third-party antivirus programs can often cause BSOD errors, so you can try removing it temporarily and see if that fixes the problem.
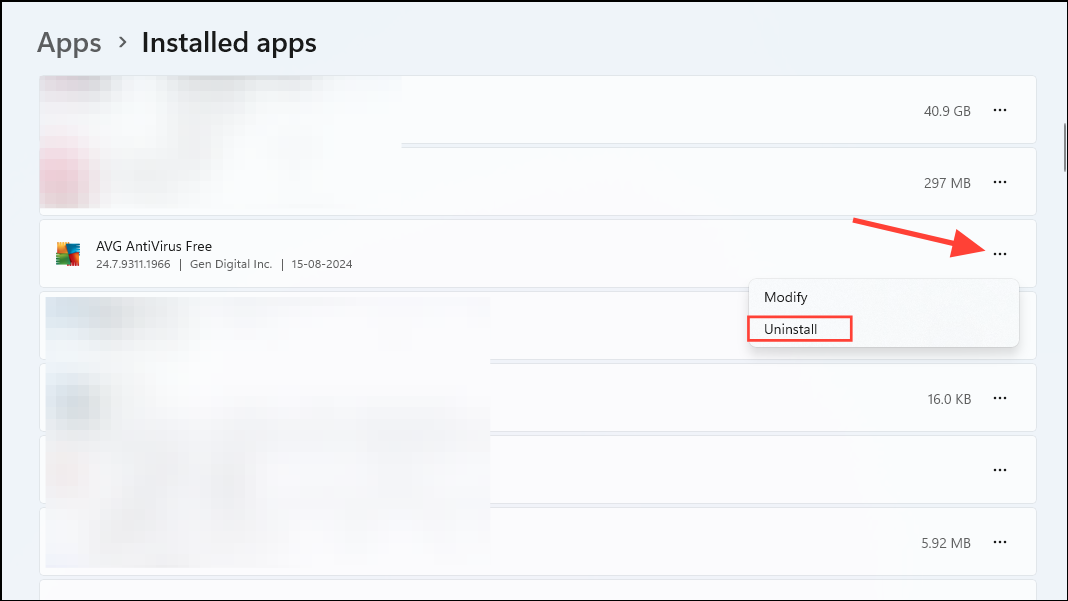
- Open the Settings app and click on 'Apps' on the left.

- Next, click on 'Installed apps' at the top.
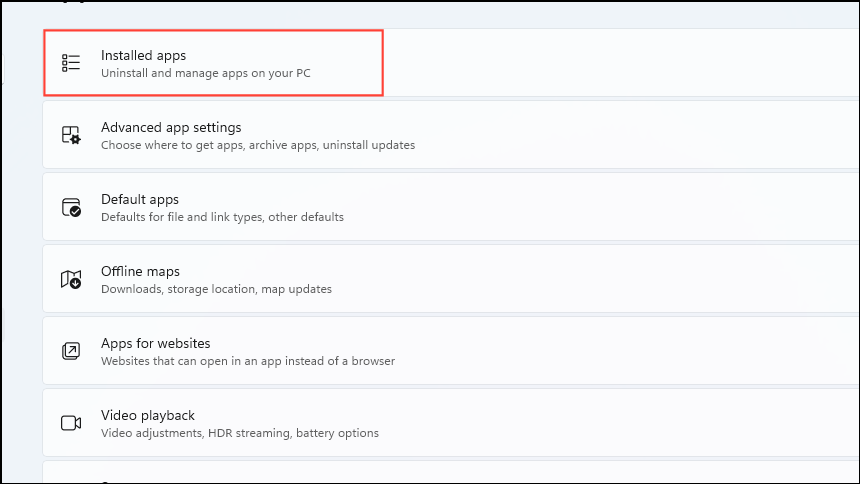
- When the list of installed apps appears, search for your antivirus program. Once you find it, click on the three dots on the right and then on 'Uninstall'.
Solution 9: Perform a clean boot
A clean boot disables all third-party services while keeping only the services required for the proper functioning of the PC active. It can help you determine whether any third-party application is causing the BSOD error.
- Open the Start menu, type
msconfigand click on 'Run as administrator'.
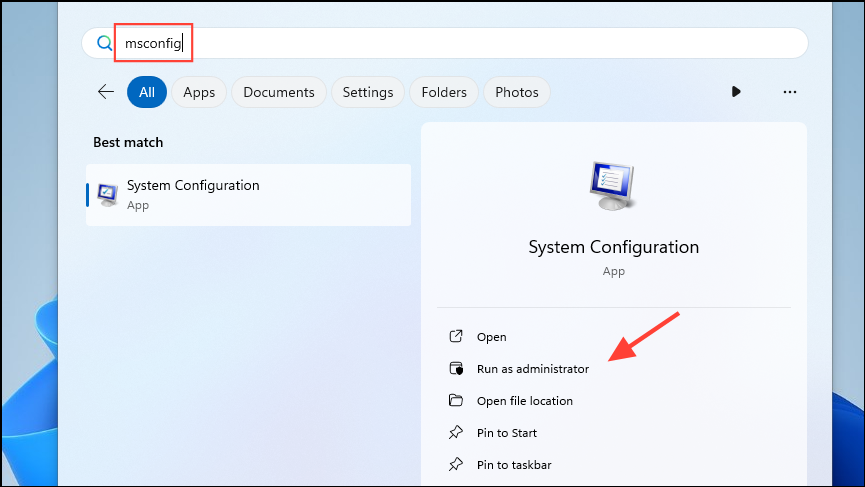
- When the System Configuration utility opens, click on the 'Services' tab at the top and then on the checkbox next to the 'Hide all Microsoft services'.
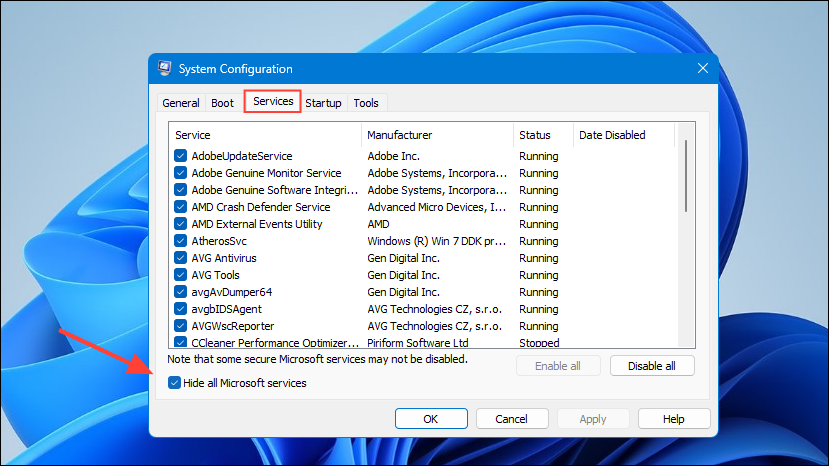
- Then click on the 'Disable all' button on the right to disable all third-party services.

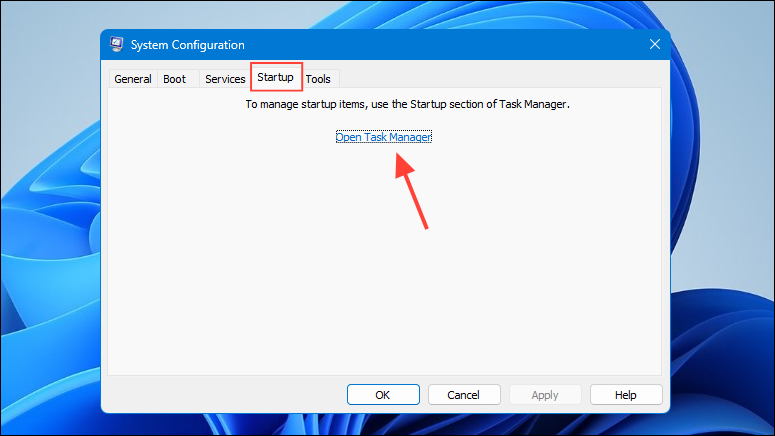
- Next, click on the 'Startup' tab at the top and then on 'Open Task Manager'.
- When the Task Manager opens, right-click on each app on the right side one at a time and then click on 'Disable'.
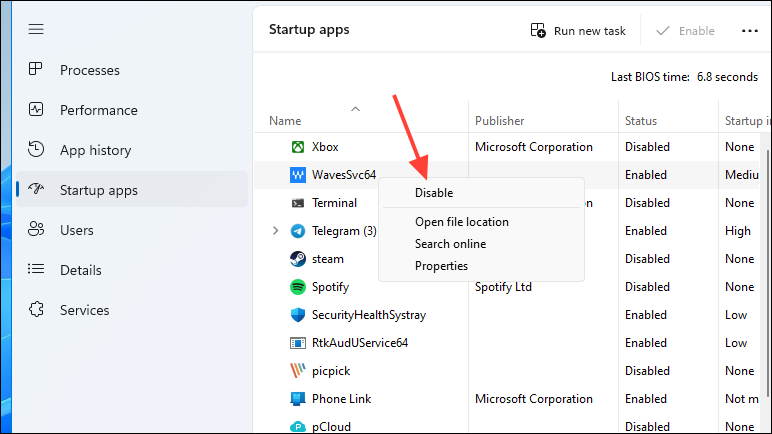
- Close the Task Manager and the System Configuration utility and restart your computer. It will perform a clean boot and now you can enable your applications from the Task Manager one by one to see which one is causing the problem.
Solution 10: Use System Restore
If you had set up a restore point earlier, you can use the System Restore feature to restore your PC to an earlier time when the error was not present.
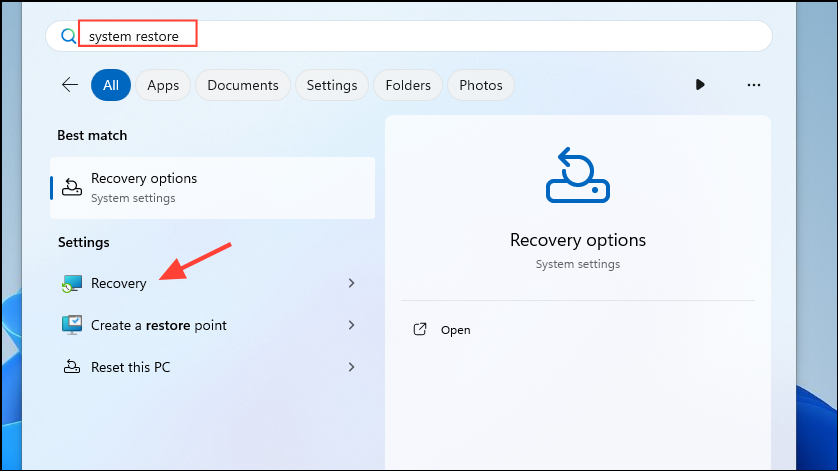
- Open the Start menu, type
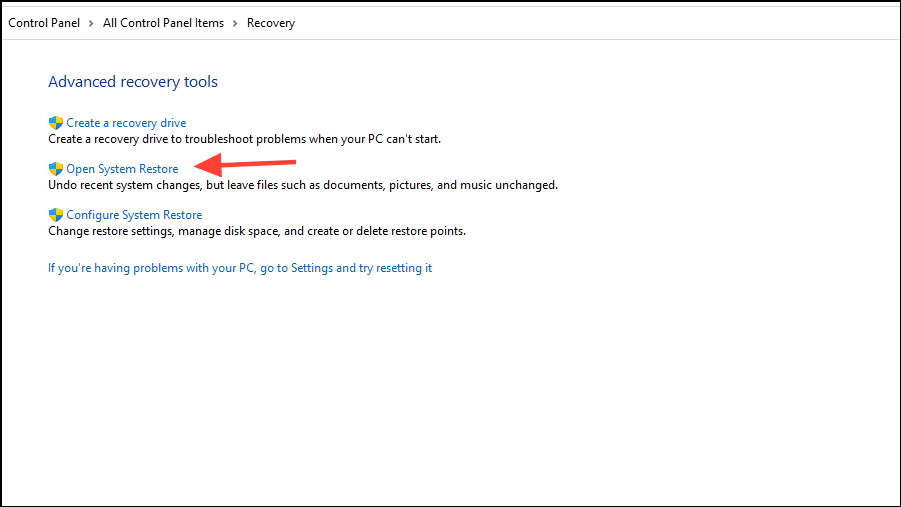
system restoreand click on 'Recovery'.
- Next, click on 'Open System Restore' in the window that appears.
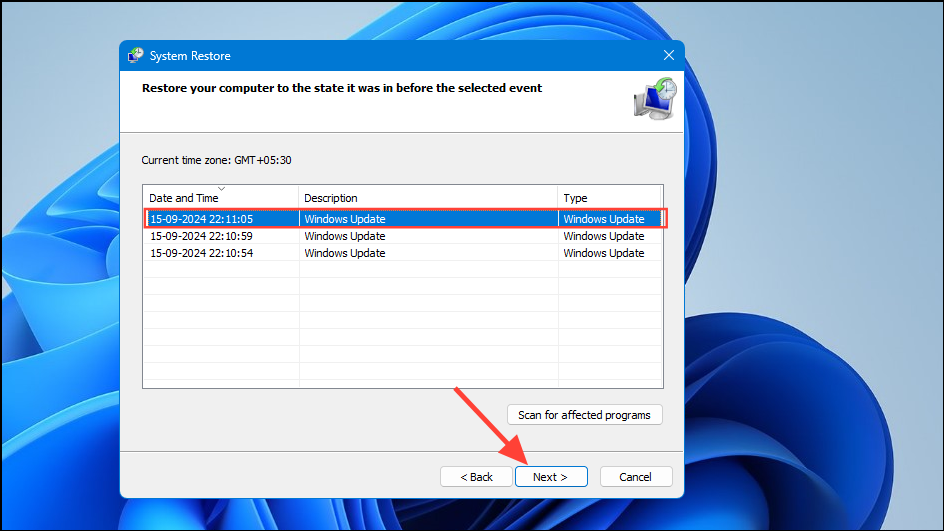
- Click on the 'Next' button when the System Restore dialog box opens.

- You will see all available restore points and click on any one to select it. Then click on the 'Next' button at the bottom.
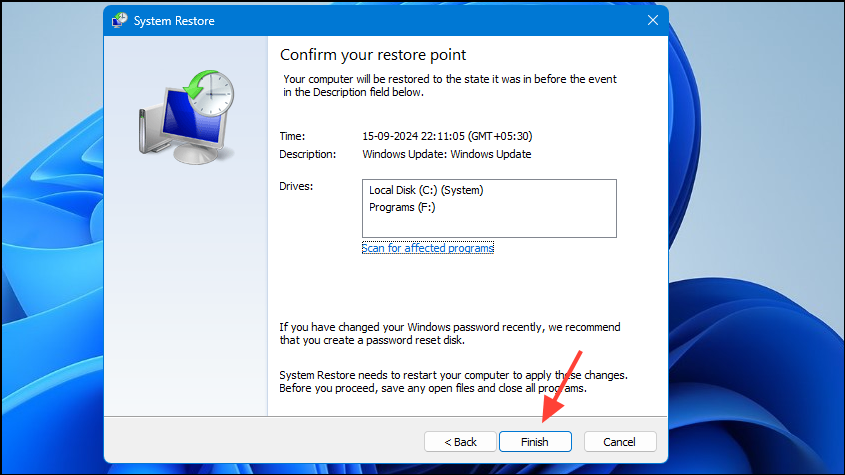
- Finally, click on the 'Finish' button and your computer will restart and go back to the selected restore point.
Solution 11: Reset your PC
Resetting your PC will put it into its default state just like it is when you first perform a fresh install of Windows. This means your customizations, settings, and programs will be removed but it can help you resolve the BSOD error.
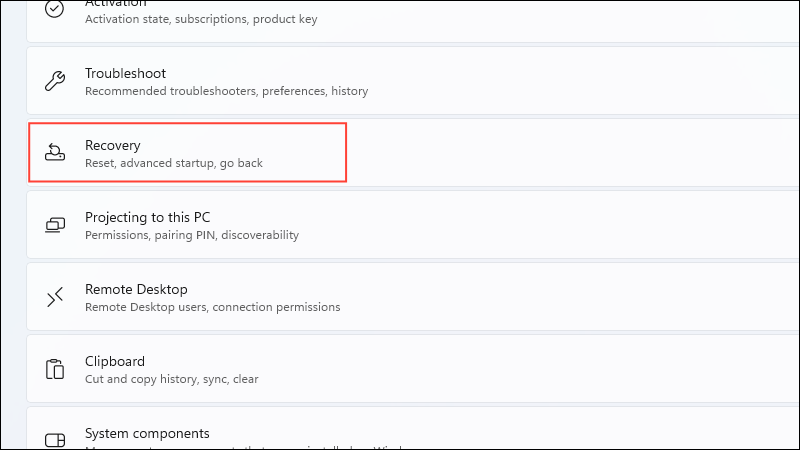
- Open the Settings app and click on 'System'.
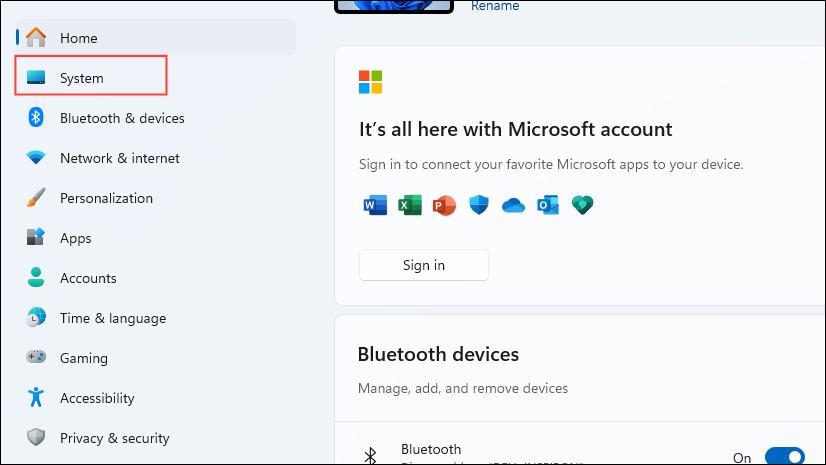
- Then click on 'Recovery' on the System page.
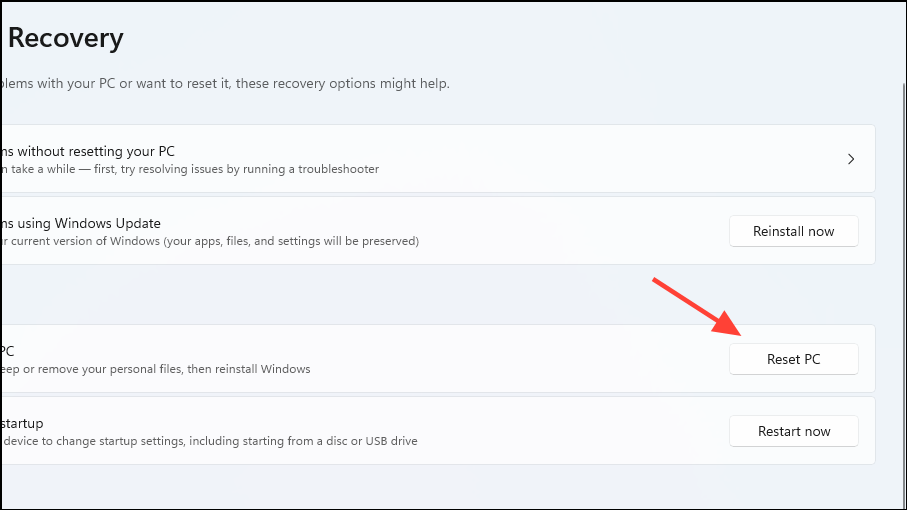
- On the next page, click on the 'Reset PC' button on the right.
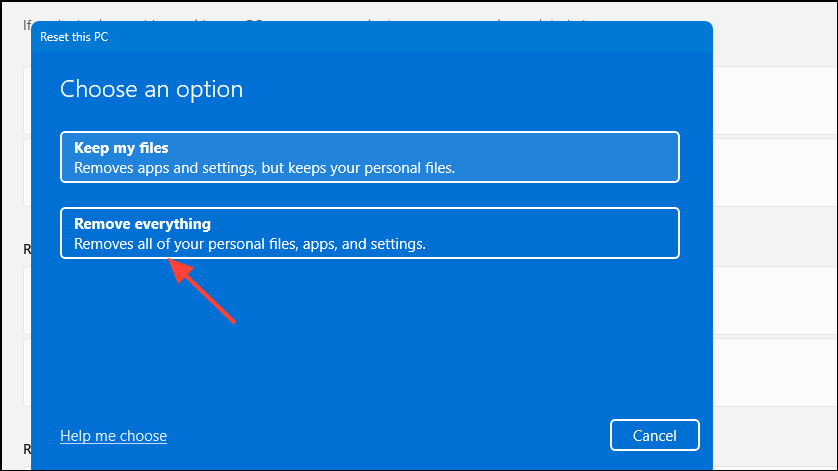
- In the pop-up that appears, click on 'Remove everything', which is recommended and can help you avoid problems during the reset process.
- Next, click on 'Local reinstall' to reinstall the OS using the files on your system. If you want to reinstall Windows with the latest updates, you can go with the 'Cloud download' option but it will require a fast and stable internet connection.

Things to know
- If you have a computer with both integrated and dedicated graphics adapters, you may have to set one as the default option in the BIOS to get rid of the BSOD error.
- While the error is related to graphics adapters, you should also check that there are no memory-related issues in your computer. You can run the 'Windows Memory Diagnostic' from the Start menu for this purpose.
- Hardware-related issues can also result in VIDEO_DXGKRNL_FATAL_ERROR. So, you should check your hardware components like the power supply and RAM to make sure everything is all right inside.
- If the error started appearing after you installed or updated a software application, try removing it and check whether that helps sort out the issue.
- Once you've made sure your antivirus program is not responsible for the problem, you can perform a scan for malware and viruses which might be the reason behind the error.