
Video files that previously played without issue in Windows 11 may suddenly display a “Video could not be decoded” error, often accompanied by audio playback without visuals or a message about unsupported formats or codecs. This problem disrupts not only casual viewing but also professional editing and multimedia tasks, especially when deadlines are tight or specific software is required. Addressing this error involves a combination of checking codec support, updating system components, and sometimes switching playback software to restore full video functionality.
Use a Different Media Player with Built-In Codecs
Switching to a media player that includes its own codec library is the fastest and most reliable way to play videos that Windows Media Player or the default Movies & TV app cannot decode. Applications like VLC Media Player, MPC-BE, MPC-HC, and PotPlayer are widely recommended for their ability to handle a vast array of video formats without requiring extra codec installations.
Step 1: Download and install a third-party media player such as VLC from the official website (https://www.videolan.org/).
Step 2: Launch the new player and open the problematic video file. Most users find that these players bypass codec errors and play both audio and video smoothly.
Step 3: If your workflow requires a specific player (such as Windows Media Player), continue with the methods below to address codec issues directly.
Install or Update Video Codecs
Missing or incompatible codecs are a primary cause of decoding errors. Windows 11 does not natively support every video codec, especially for less common formats like DVC or certain MOV/AVI variants. Installing codec packs or specific codec filters can restore playback capability in your preferred player.
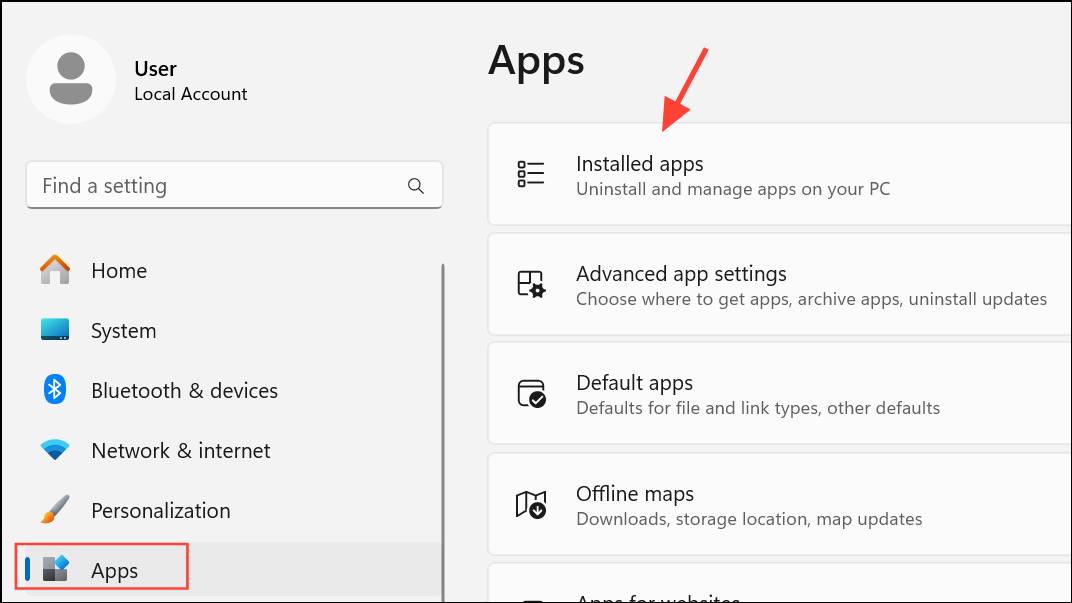
Step 1: Uninstall any previously installed codec packs to avoid conflicts. Go to Settings > Apps > Installed Apps, search for “codec,” and remove all related entries.
Step 2: Download and install a reputable codec pack such as K-Lite Codec Pack, LAVFilters, or ffdshow. For advanced compatibility, users have reported success with the combination of Haali Media Splitter and ffdshow, or Haali Media Splitter and LAVFilters, especially for software like Ableton Live.
Step 3: Restart your computer to ensure the new codecs are registered by the system.
Step 4: Open your video file again in the desired player. If the error persists, try a different codec combination or proceed to the next method.
Convert the Video File Format
Some video files use rare or outdated codecs that are not well supported in Windows 11. Converting the video to a widely supported format like MP4 or AVI can resolve decoding issues and simplify future playback.
Step 1: Download and install a video conversion tool such as HandBrake or use VLC’s built-in convert feature.
Step 2: Open the problematic video in the converter, select a standard output format (such as MP4 with H.264 video codec), and start the conversion process.
Step 3: Once conversion is complete, open the new file in your preferred media player to verify playback.
This approach is particularly useful for video editing software that has strict codec requirements.
Repair or Reinstall Windows Media Player
Windows Media Player is a built-in component of Windows 11 and may become misconfigured or corrupted, leading to decoding errors. Reinstalling or repairing the app can restore its ability to play video files.
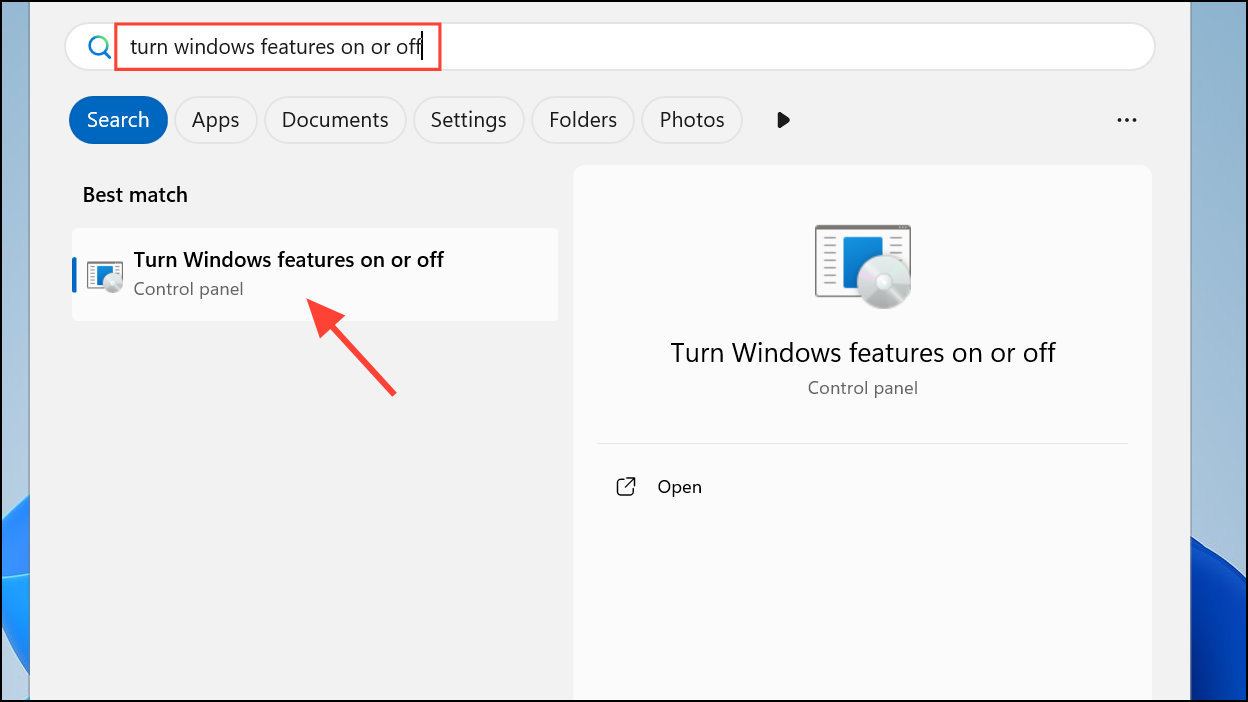
Step 1: Open the Windows Features dialog by typing turn windows features on or off in the Start menu search and pressing Enter.
Step 2: Scroll to “Media Features,” expand the section, and uncheck “Windows Media Player.” Click “OK” and restart your computer.
Step 3: Return to the Windows Features dialog, re-check “Windows Media Player,” and click “OK” to reinstall it.
Step 4: After another restart, test video playback to see if the error is resolved.
Update Your Display (Graphics) Drivers
Outdated or faulty graphics drivers can interfere with video decoding, producing playback errors or black screens. Updating to the latest driver version can restore proper video rendering.
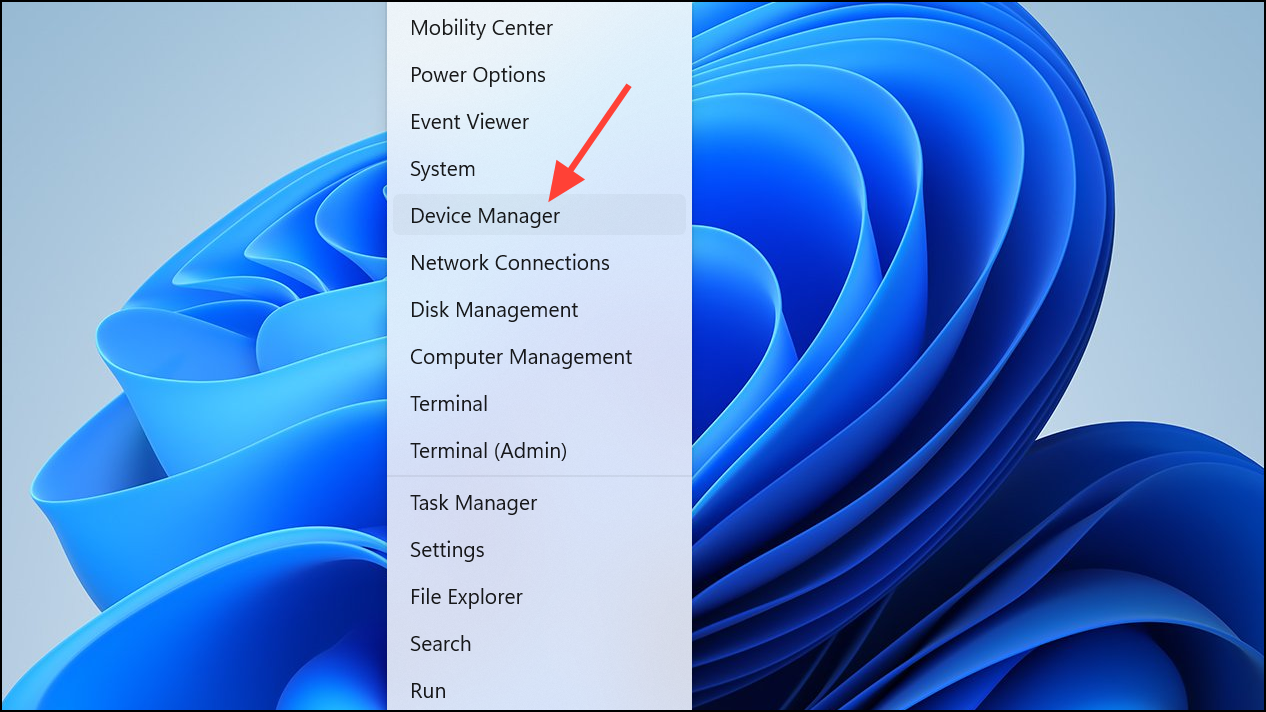
Step 1: Open Device Manager by right-clicking the Start button and selecting it from the list.
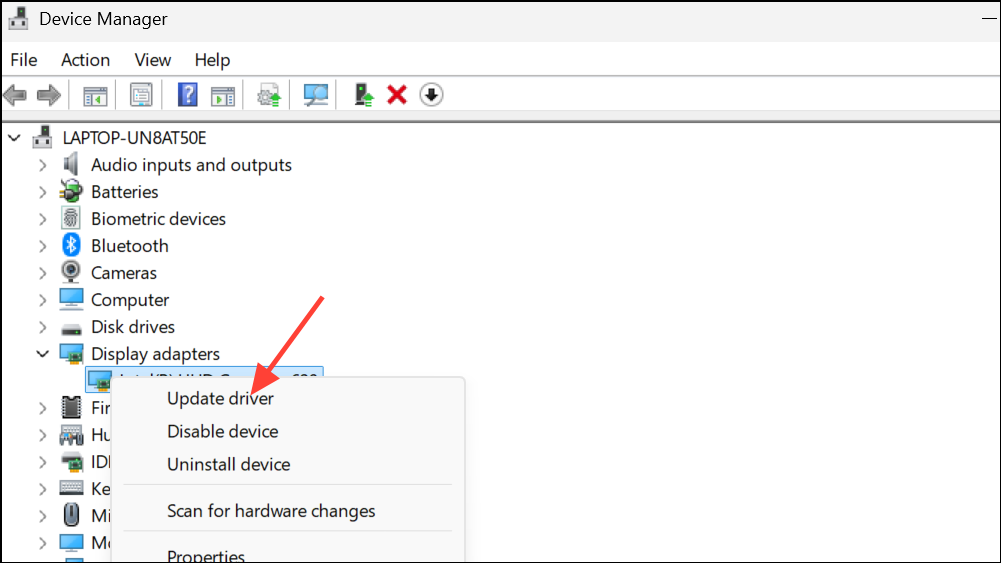
Step 2: Expand the “Display adapters” section, right-click your graphics card, and choose “Update driver.”
Step 3: Select “Search automatically for drivers” and follow the prompts to install updates. Alternatively, visit your GPU manufacturer’s website (NVIDIA, AMD, or Intel) for the latest drivers.

Step 4: Restart your system and check video playback again.
Check and Restore System Changes
System updates, software installations, or malware events can alter codec availability or system configuration, leading to sudden playback failures. Rolling back recent changes or using System Restore can revert the system to a working state.
Step 1: Identify any recent changes made in the week prior to the issue, such as Windows Updates (notably KB5030219), new software installs, or malware quarantines.
Step 2: If possible, uninstall recent updates or software that may have affected video playback. For Windows Updates, go to Settings > Windows Update > Update history and select “Uninstall updates.”

Step 3: If you cannot pinpoint the change, use System Restore to revert your PC to a date when video playback was working. Open Control Panel > Recovery > Open System Restore and follow the on-screen instructions.

Step 4: After restoring, re-test video playback. If the issue is resolved, update software one at a time and check playback to identify any problematic changes.
Check Audio Device and Output Settings
Incorrect audio device selection in Windows Media Player can sometimes trigger decoding errors or cause videos to play without sound. Ensuring the correct output device is set can resolve related issues.
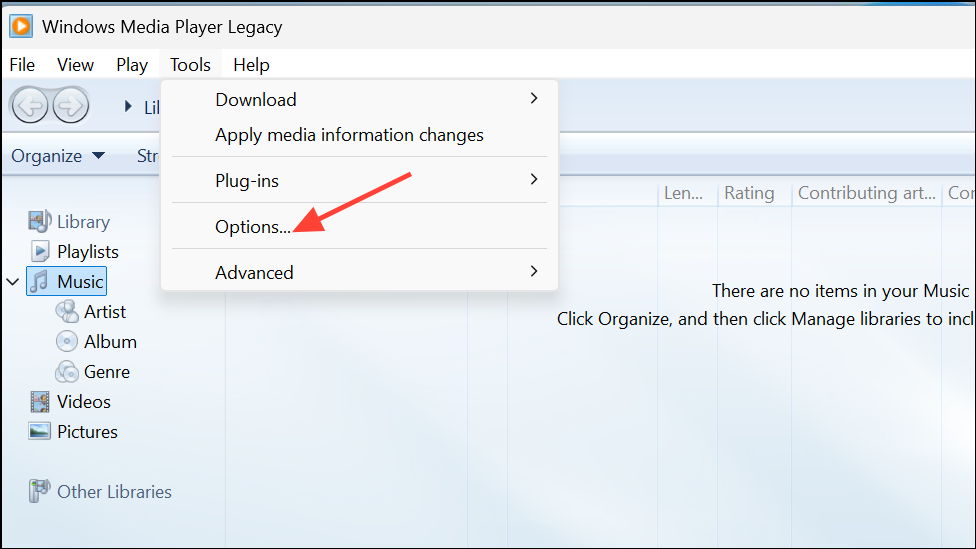
Step 1: Open Windows Media Player, press Ctrl+M to display the menu bar, and go to Tools > Options.
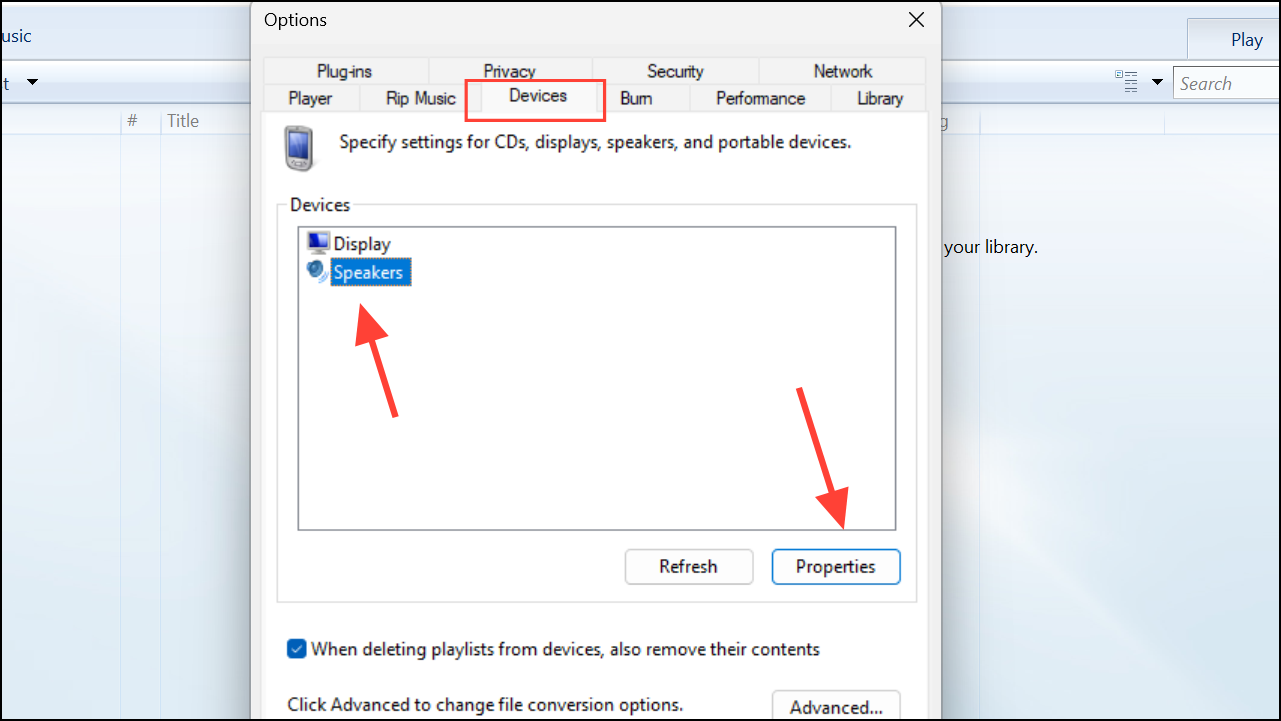
Step 2: Switch to the “Devices” tab, select “Speakers,” and click “Properties.”
Step 3: Choose the playback device that matches your system’s current audio output, as shown when clicking the speaker icon in the system tray.
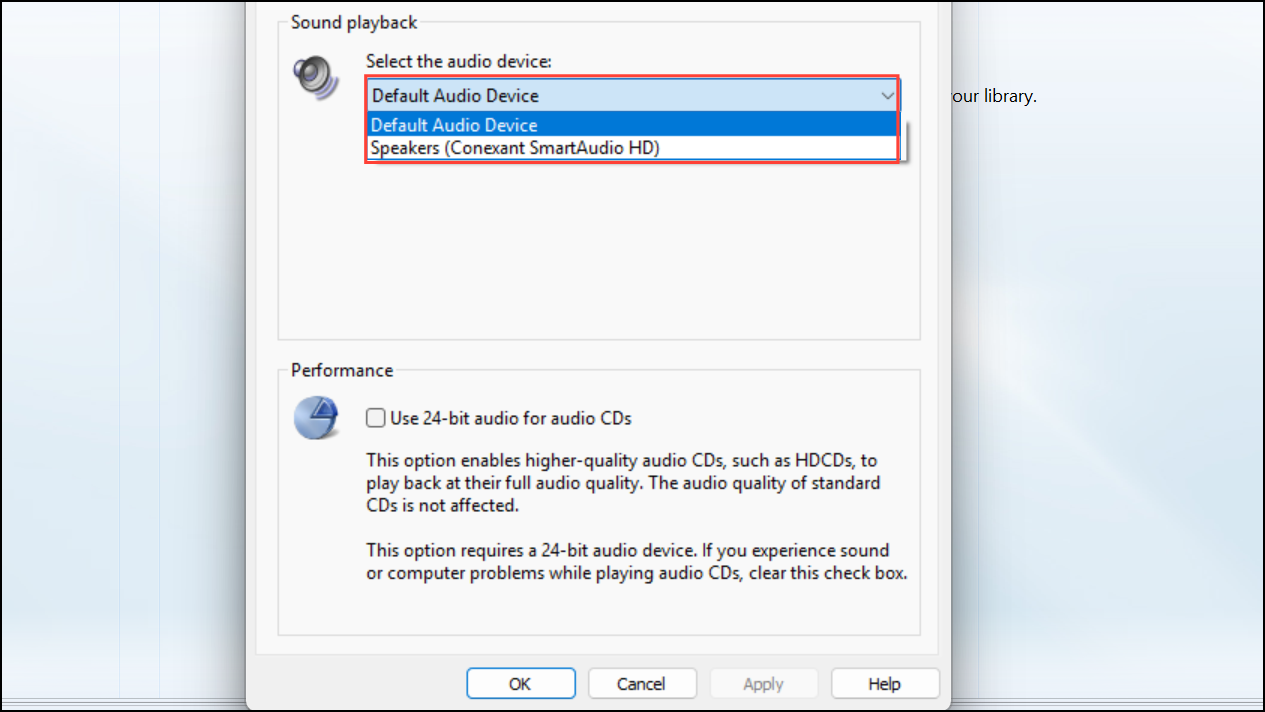
Step 4: Save changes and test video playback again.
Resolving the “Video could not be decoded” error in Windows 11 often comes down to codec compatibility, driver updates, or switching to a more capable media player. If one method doesn’t work, try the next—your videos should be back in action soon.