Although Windows updates are meant to keep your PC out of trouble, sometimes they end up being the source of trouble. Reportedly, many of the users have been facing a 0x80070002 error when trying to update their PC. The error either does not allow you to upgrade the PC or limits your internet connectivity after a recent update.
It generally occurs when either some files are missing in the update or the Windows Update database on the computer is inconsistent with the database instructions in the update. Fortunately, it can be easily tackled as the issue is software-based.
That being said, you might need to try more than one method showcased in this guide to find the one that does the trick for you.
Run the Network Troubleshooter
The foremost fix you can try is to run the network troubleshooter, especially if you are experiencing limited internet connectivity issues.
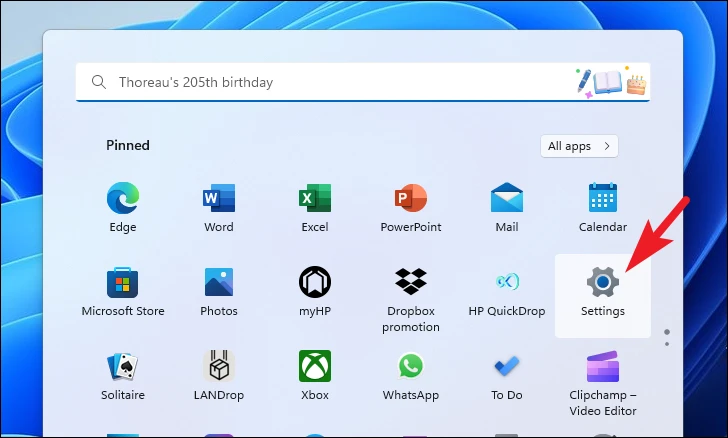
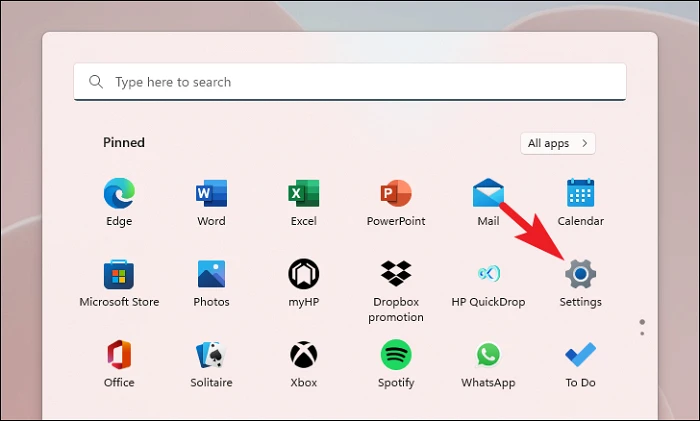
First, head to the Start Menu and click on the ‘Settings’ tile to proceed. Otherwise, type Settings in the menu to perform a search for it.
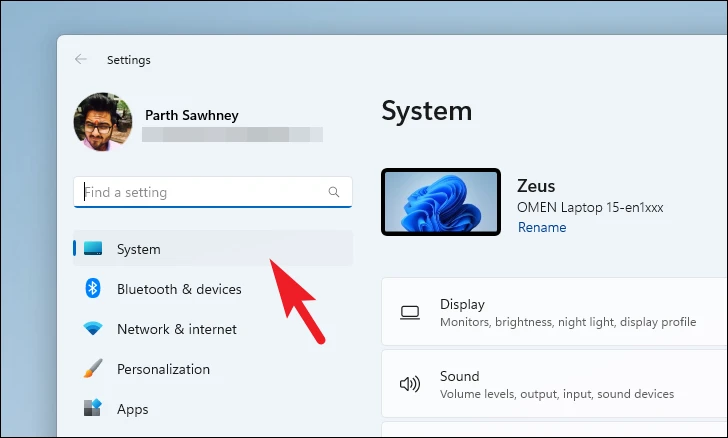
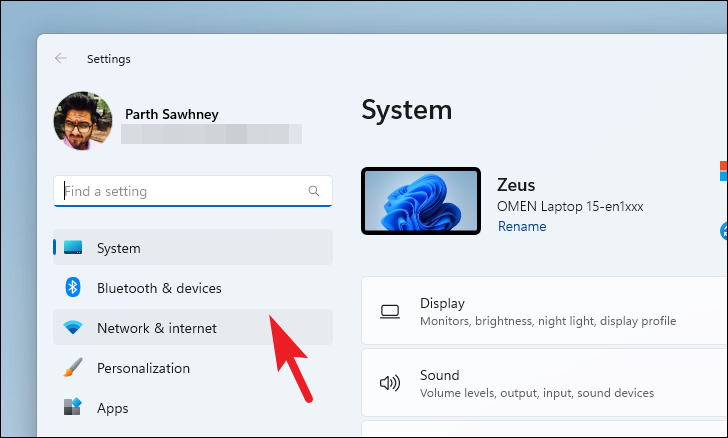
After that, make sure you have selected the ‘System’ tab from the left sidebar.
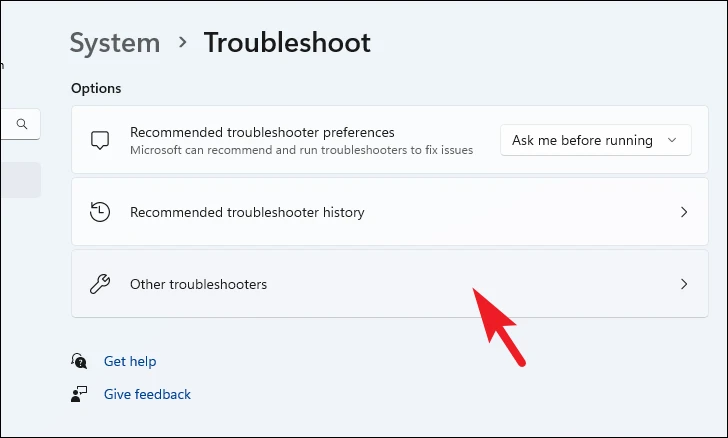
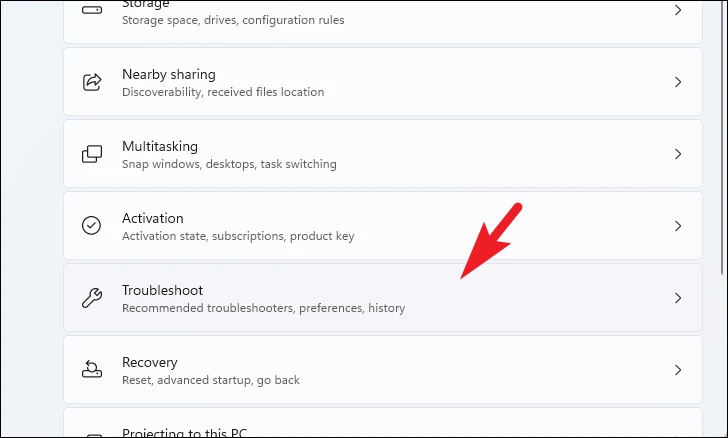
Next, click on the ‘Troubleshoot’ tile from the right section of the window to proceed.

Then, click on the ‘Other troubleshooters’ tile to continue.
Now, click on the ‘Run’ button present on the ‘Network Adapter’ tile to proceed.
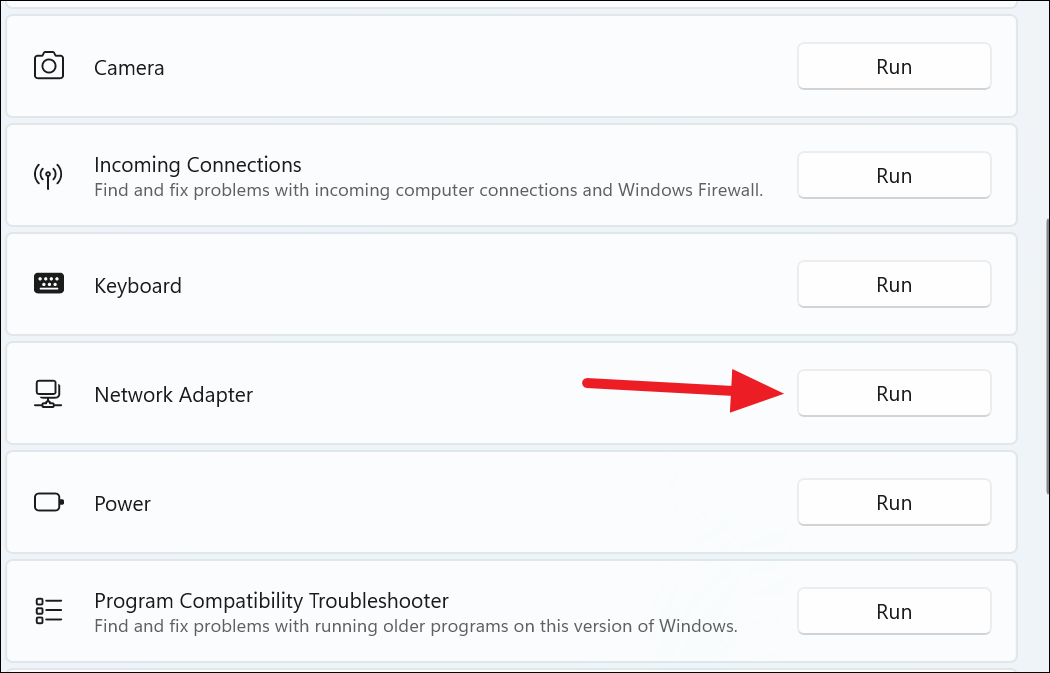
The troubleshooter will show you the steps to solve the issue if it detects something.
Run the Windows Update Troubleshooter
If your main concern is that you cannot update your PC and not the internet connectivity issues, then you need to run the Windows Update Troubleshooter instead.
Open the Settings app and make sure you’re on the ‘System’ tab from the sidebar on the left.

Then, click the ‘Troubleshoot’ tile from the right.
Click the option for ‘Other Troubleshooters’.

Finally, click the option for ‘Run’ on the right of the ‘Windows Update’ tile.
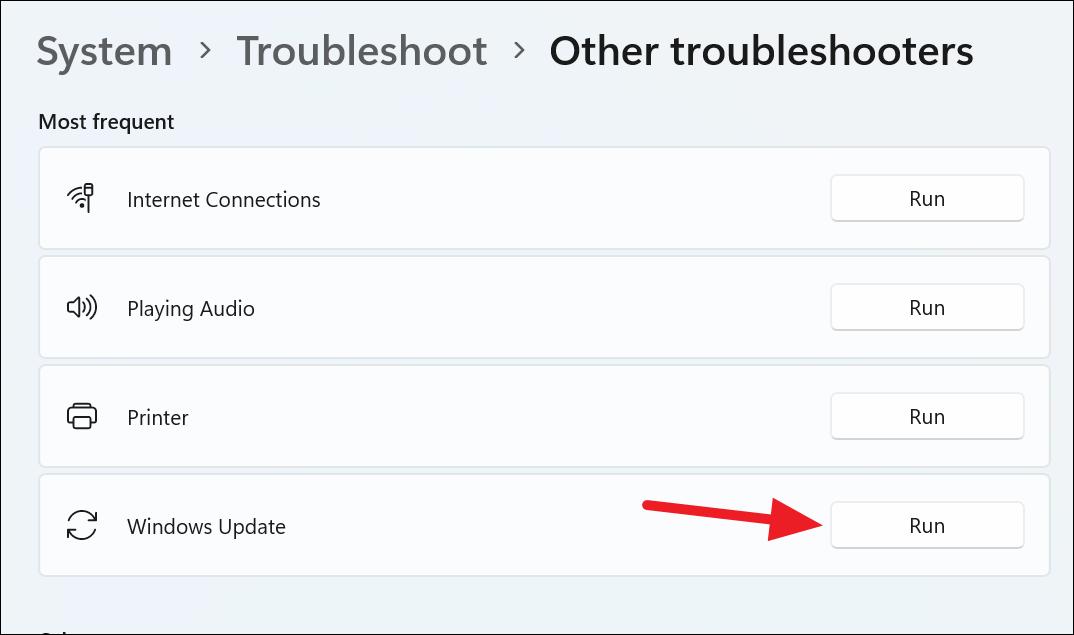
Let the troubleshooter run and if it finds an issue, it’ll guide you with the steps to fix it. After performing those steps, try updating your system again. If the troubleshooter couldn’t find anything, move on to other fixes in this list.
RUN DISM and SFC Scan
Deployment Image Servicing and Management scans will check and repair the existing operating system files installed on your device along with other system files.
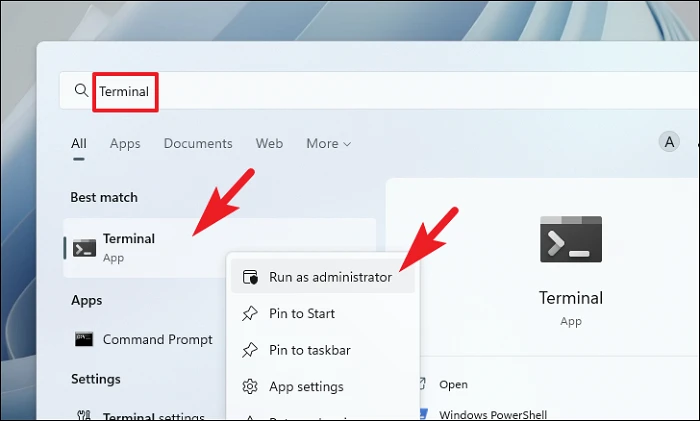
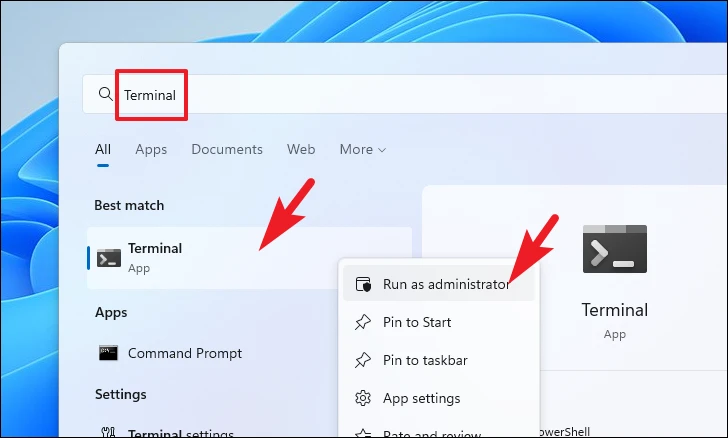
Head to the Start Menu and type Terminal to search for it. Then, right-click on the ‘Terminal’ tile and choose the ‘Run as administrator’ option to proceed.
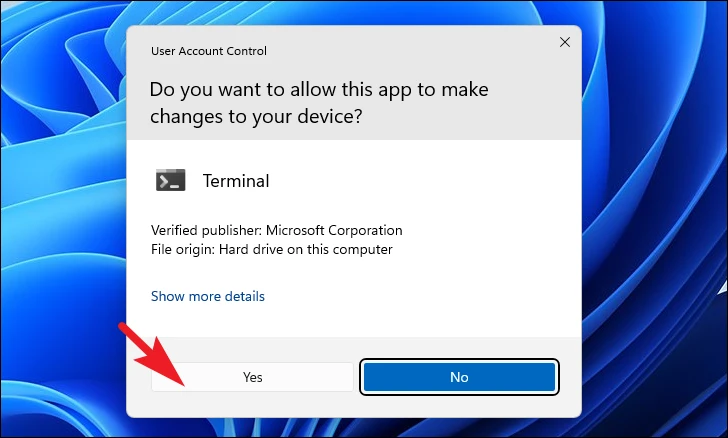
Next, if you are not logged in with an admin account, enter credentials for one. Otherwise, click on the ‘Yes’ button to proceed.
After that click on the ‘chevron’ (downward arrow) icon and click on the ‘Command Prompt’ option.

Then, type or copy+paste the below-mentioned command and hit Enter on your keyboard. This will restore the currently installed OS image on your device.
DISM/ Online/Cleanup-Image/RestoreHealth 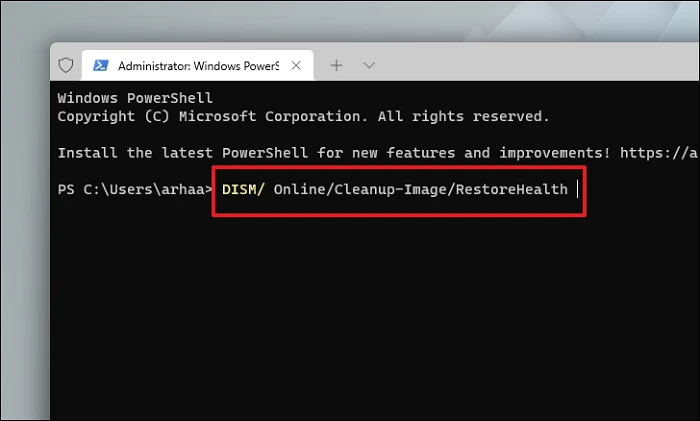
Once completed, type or copy+paste the following command to check and repair the System files on your PC.
SFC /scannow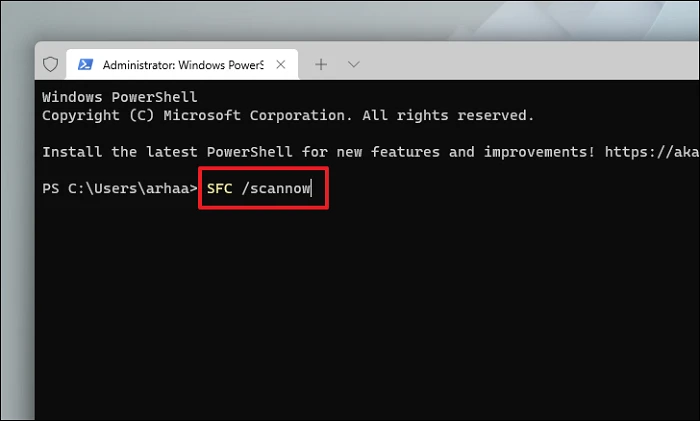
If after the scan, you get the message that the scan was successful, try updating your Windows again or move on to the next fix. If it finds corrupted files in the scan, remove those files and then update your PC. It should work this time around.
Empty the Software Distribution Folder
Many times, a damaged or corrupted Windows update copy can stall your device from getting updated. Thus, wiping clean the update folder might do the trick for you.
First, head to File Explorer by either double-clicking on the ‘This PC’ icon or by pressing the Windows+E keys together on your keyboard.

Then, type or copy+paste the below-mentioned address in the address bar of the window and press Enter to navigate to the directory.
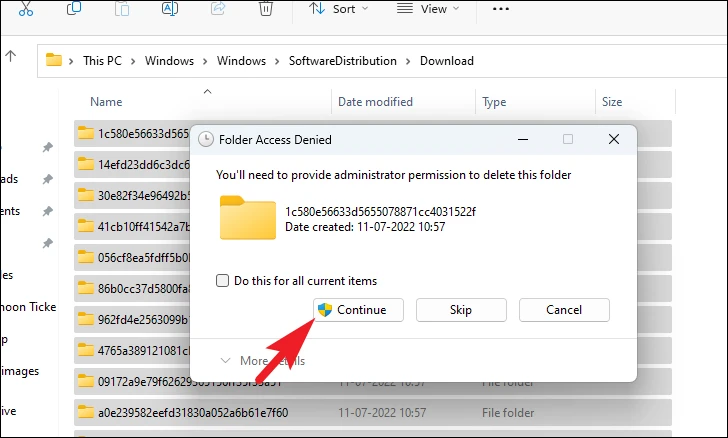
C:\Windows\SoftwareDistribution\Download
After that, press Ctrl+A to select all files and press the Shift+Delete keys to permanently delete all files from the directory. You will need admin privileges to delete the contents of this folder.
Once deleted, restart your PC and try to update your PC once more to see if it rectified the issue.
Restart Windows Update Services
In case just clearing the Windows update folder does not clear out the issue for you, you can go a step further and restart Windows Update services along with clearing out the logs.
First, head to the Start Menu and type Terminal in the menu to perform a search for it. Then, from the search results, right-click on the ‘Terminal’ tile and click on the ‘Run as administrator’ option to proceed.
A UAC window will appear on your screen; if you are not logged in with an admin account, enter the credentials for one. Otherwise, click on the ‘Yes’ button to proceed.
Next, click on the ‘chevron’ icon (downward arrow) and then select the ‘Command Prompt’ icon to proceed. This will open the Command Prompt in a separate tab.

Now, type or copy+paste the below-mentioned commands to stop the ongoing update services. Make sure you press Enter after each command to execute them individually.
net stop bits
net stop wuauserv
net stop cryptsvc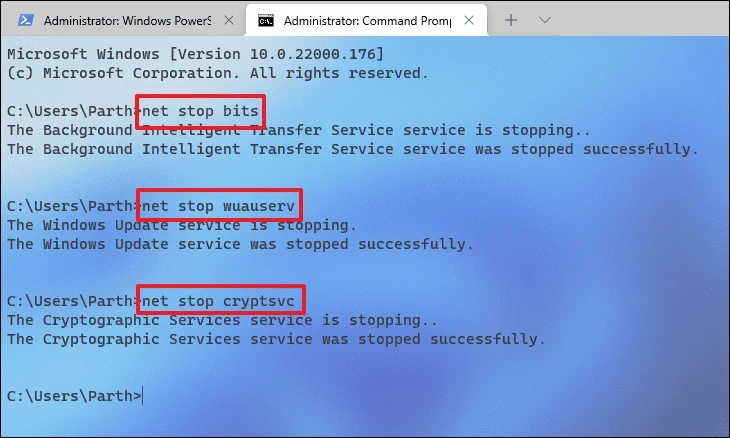
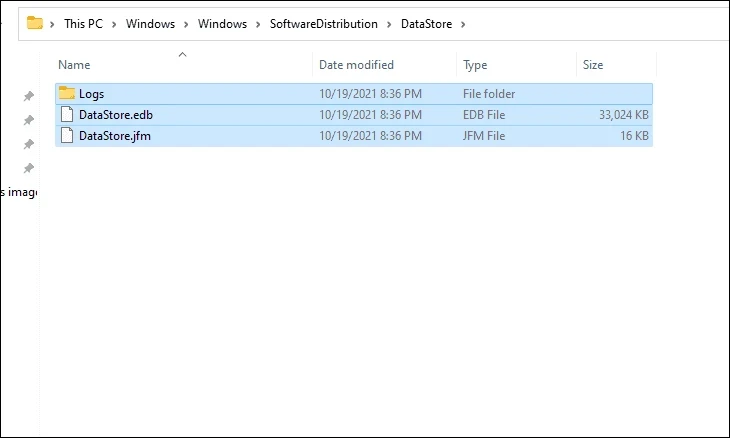
After that, press Windows+R keys together on your keyboard to open the Run command utility. Then, type or copy+paste the below-mentioned address path and click on the ‘OK’ button to proceed.
C:\Windows\SoftwareDistribution\DataStore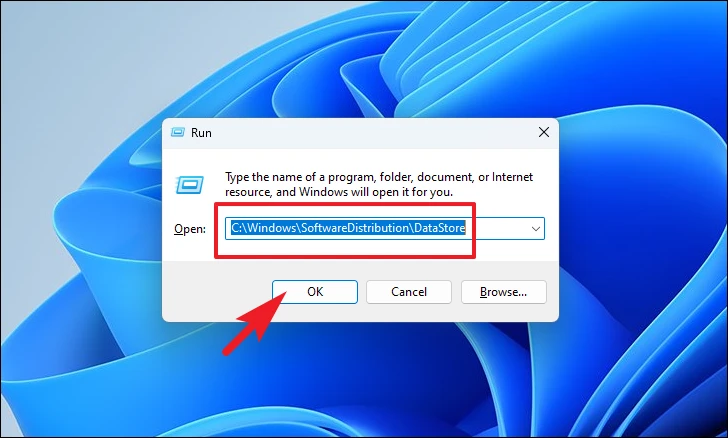
Then, press the Ctrl+A keys to select all the files and folders, and then press the Shift+Delete keys to permanently delete all the files.
Finally, head back to the elevated Command Prompt window, type or copy+paste the following commands one by one, and hit Enter to start the services you disabled earlier.
net start bits
net start wuaserv
net start cryptsvc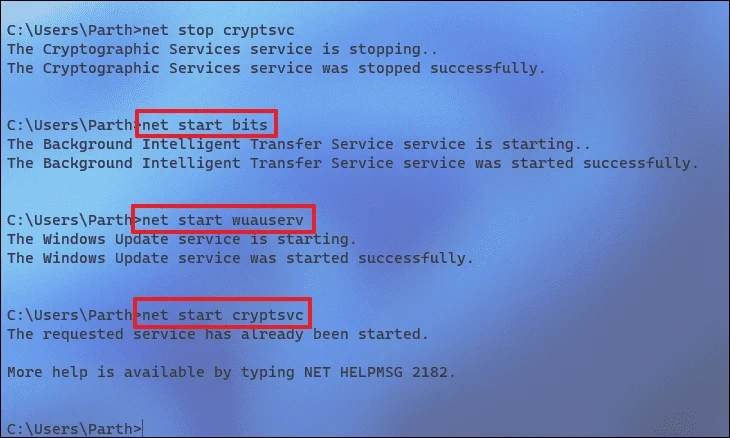
Once done, restart your PC and check if the issue persists.
Change Proxy Server Setting to Automatic
In case you have manually set up the proxy server on your device, it could also be one of the culprits behind limiting your Internet access.
First, head to the Start Menu and click on the ‘Settings’ icon from the Start Menu.
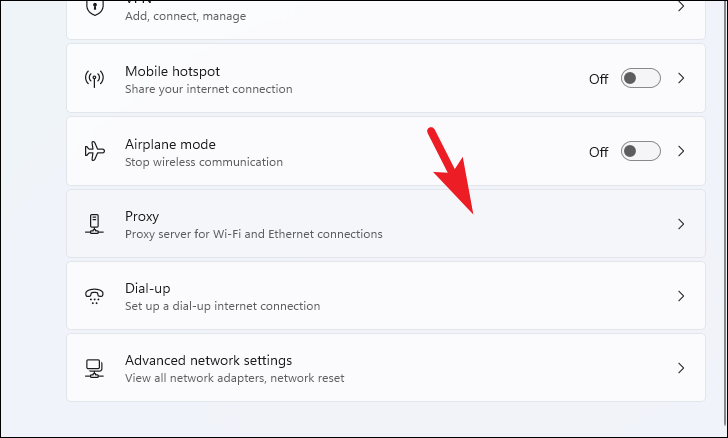
Then, click on the ‘Network & internet’ option from the navigation menu on the left.
After that, click on the ‘Proxy’ tile to continue.
Next, click on the toggle following the ‘Automatically detect settings’ option to turn it on.
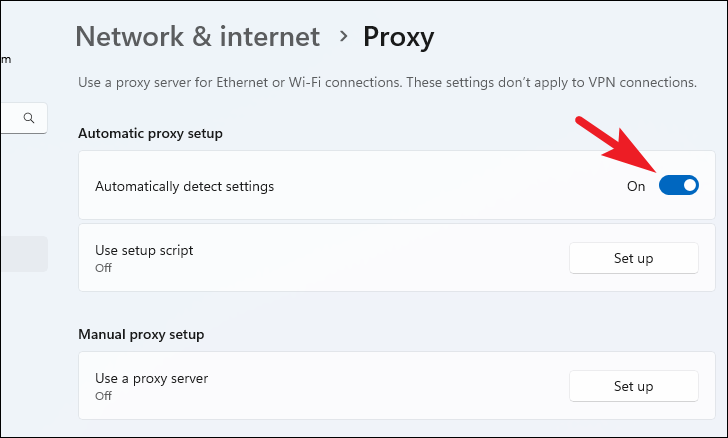
Now, try and update your system to see if it worked.
Disable Third-Party Antivirus
If you have third-party anti-virus software on your system, temporarily disable it. Third-party anti-virus software can often block Windows updates and they might be the one causing all the mayhem.
While you’re at it, temporarily disable other services like VPN and Firewall along with your anti-virus so nothing can interfere with the Windows Update service.
Try updating your system now. If the update is successful, you can enable all the services you previously disabled. Otherwise, enable those services and move on to the next method.
Perform a Clean Boot
Many a time a third-party software or service can also interfere with the system settings and generate an error on your system.
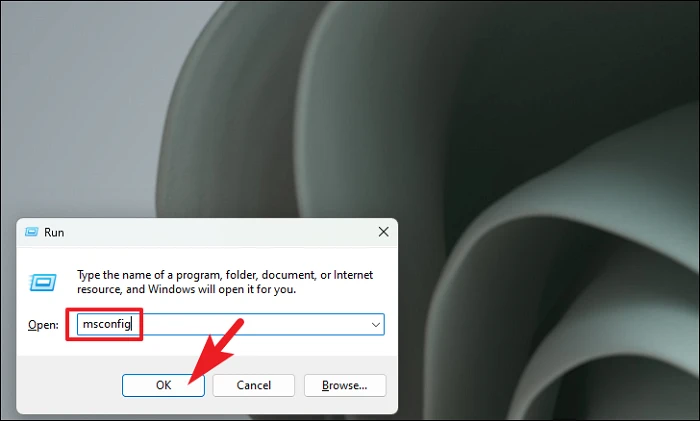
First, press the Windows+R keys together on your keyboard to bring up the Run command utility. After that, type msconfig and hit Enter to proceed.
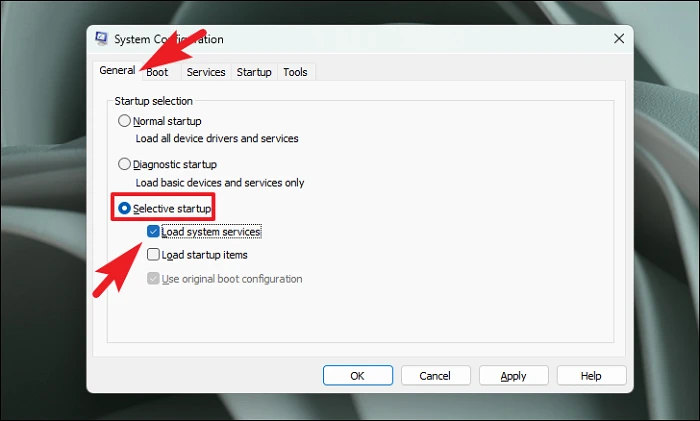
First, click on the ‘General’ button. Then, click on the radio button preceding the ‘Selective startup’ option and click on the ‘Load system services’ option.
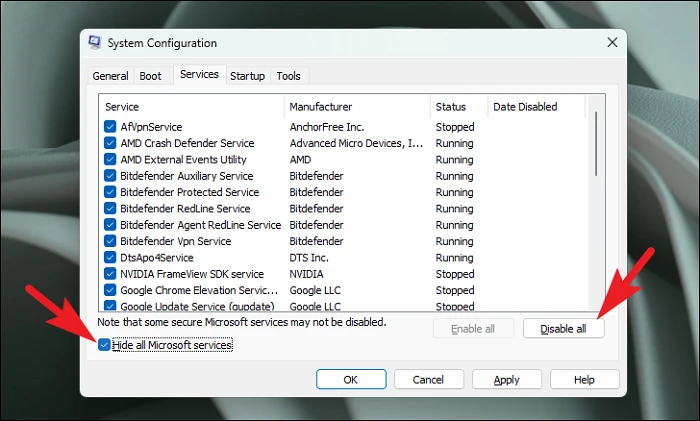
Next, click on the ‘Services’ tab and click on the checkbox preceding the ‘Hide all Microsoft services’ option. Then, click on the ‘Disable all’ option.
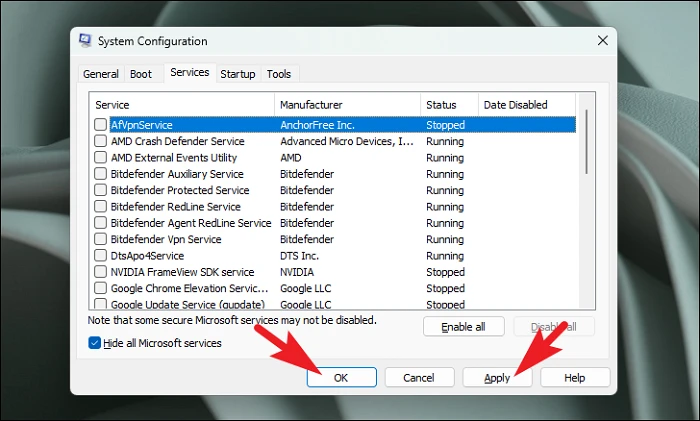
Finally, click on the ‘Apply’ button and click on the ‘OK’ button to proceed.
Finally, restart your PC from the Start Menu and the system will start in the clean boot environment. Check if the issue persists. If it doesn’t, you’ll need to turn on the services you disabled earlier one by one to find the one that’s causing the ruckus.
There you go, people. Next time your PC runs into the infamous 0x80070002 error, you know what to do. One of the above-mentioned methods is bound to resolve this problem and get your system running like clockwork again.