Customizing your terminal can greatly enhance your coding experience, and choosing the right font is a key part of that. Cascadia Code is a modern, monospaced font developed by Microsoft specifically for command-line applications and code editors. In this guide, we’ll show you how to download, install, and set up Cascadia Code as the font in your Ubuntu Terminal.
Download and install ‘Cascadia Code’ font
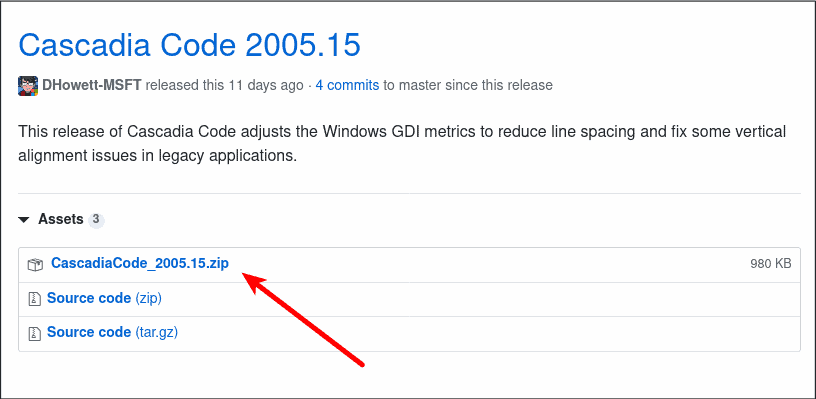
To get started, download the Cascadia Code font from its official source. Visit the Cascadia Code GitHub releases page. Find the latest release, and under the “Assets” section, click on the CascadiaCode_*.zip file to download the font package.
CascadiaCode_*.zip file and select “Extract Here” to unzip the contents.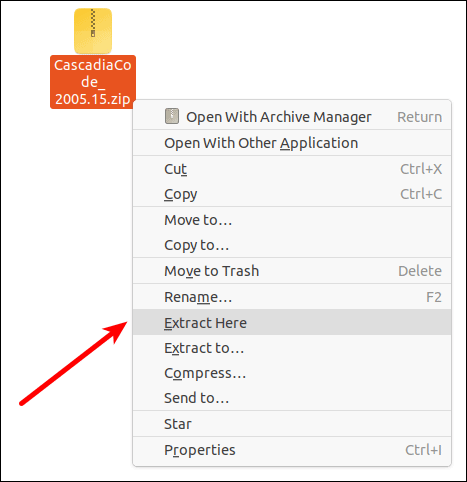
.otf (OpenType Font), .ttf (TrueType Font), and .woff2 (Web Open Font Format).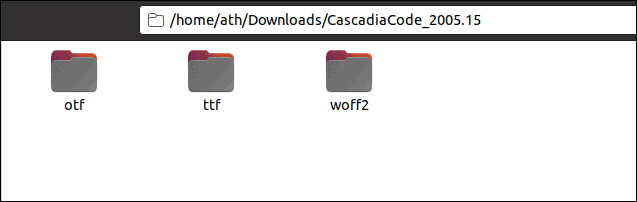
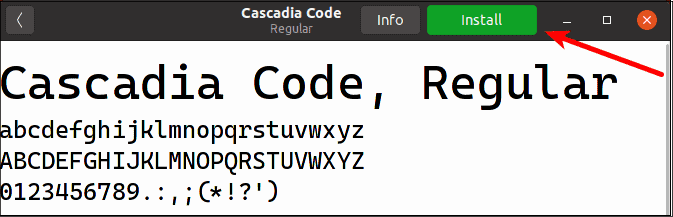
ttf folder to access the TrueType font files. Here, you’ll see four variations of the Cascadia Code font.CascadiaCode.ttf file. This will open a font viewer window displaying the Cascadia Code font.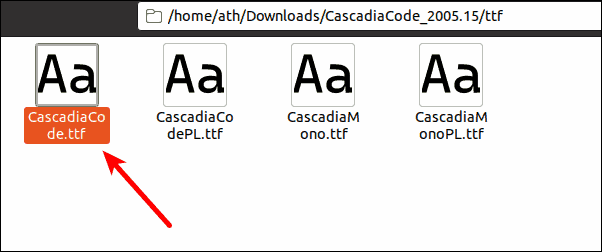
With Cascadia Code now installed, you’re ready to set it as the default font in your Ubuntu Terminal.
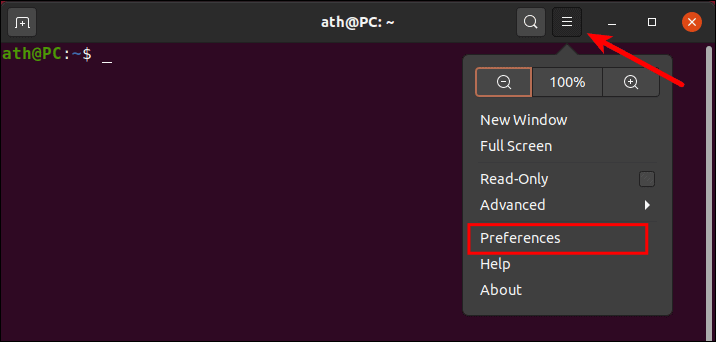
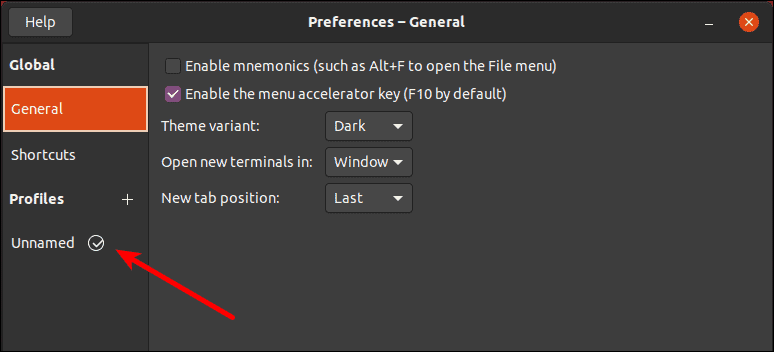
Set Cascadia Code as the Ubuntu Terminal font
terminal, or you can quickly open it using the keyboard shortcut Ctrl+Alt+T.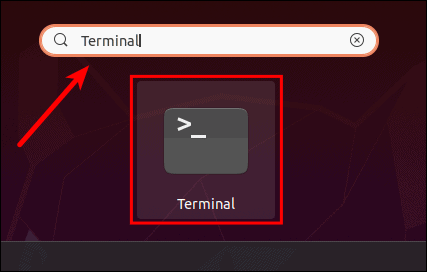
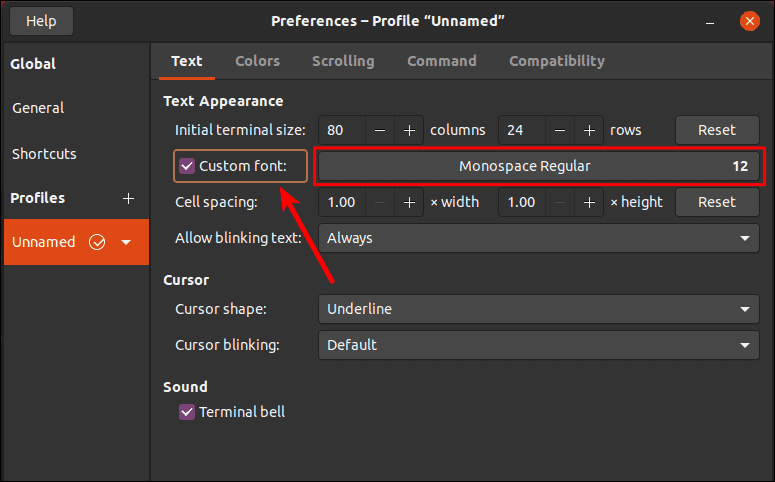
Cascadia Code. Select “Cascadia Code Regular” from the list of font options. Click the “Select” button at the top right corner to confirm your choice.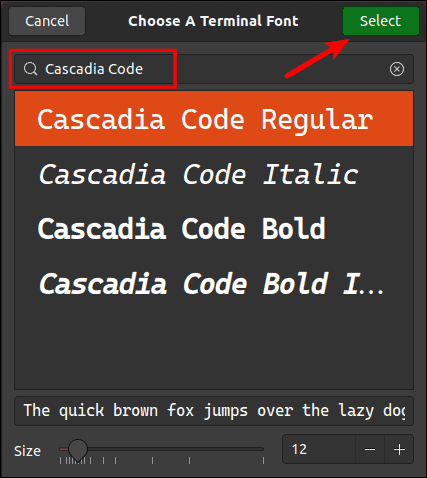
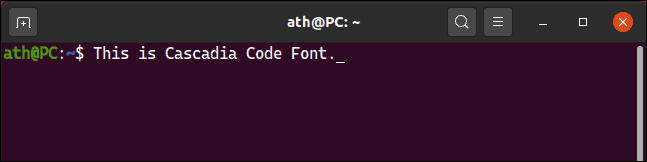
You’ve successfully customized your Ubuntu Terminal by installing and setting Cascadia Code as the default font. This modern font enhances readability and brings a sleek look to your command-line experience. You can use this same method to install and set other custom fonts in your Terminal.