
Snakes in Where Winds Meet are designed as environmental hazards as much as enemies. Poison damage stacks quickly, many snakes can one‑shot low‑to‑mid level characters, and some groups regenerate or reset if you try to drag them away. On top of that, several valuable chests and an entire world boss encounter are locked behind snake swarms.
There are three distinct problems players run into:
- Regular snake chests surrounded by respawning vipers.
- The snake camps and bones around Encircling Lake that gate a hidden quest.
- The nest of vipers leading into the Snake Doctor’s cave and the boss fight itself.
Each one has its own solution. The game expects you to use Mystic Skills, quest items, and movement tech more than raw damage.
Opening snake chests with Celestial Seize
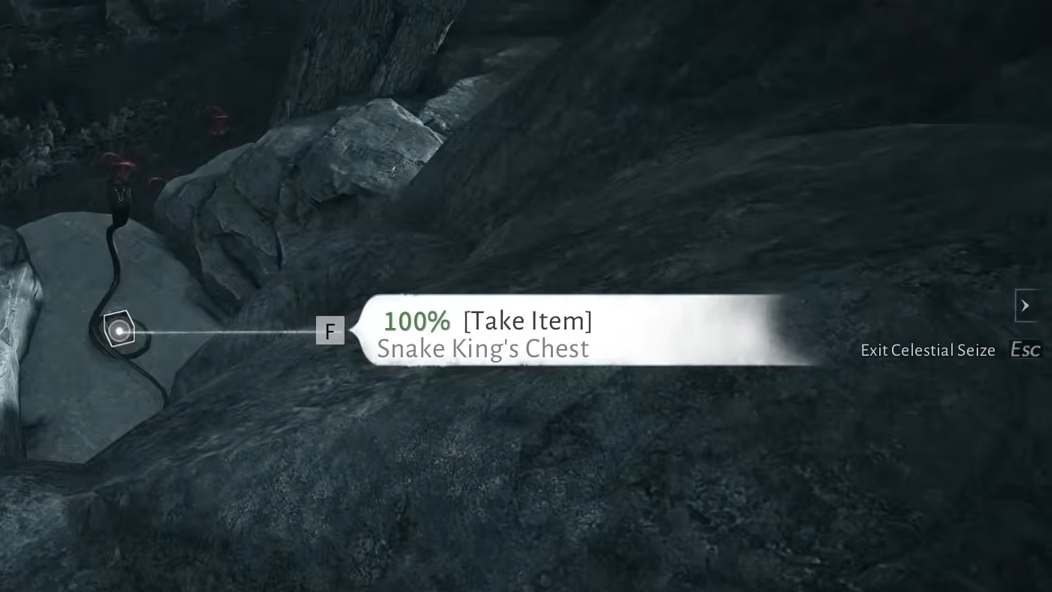
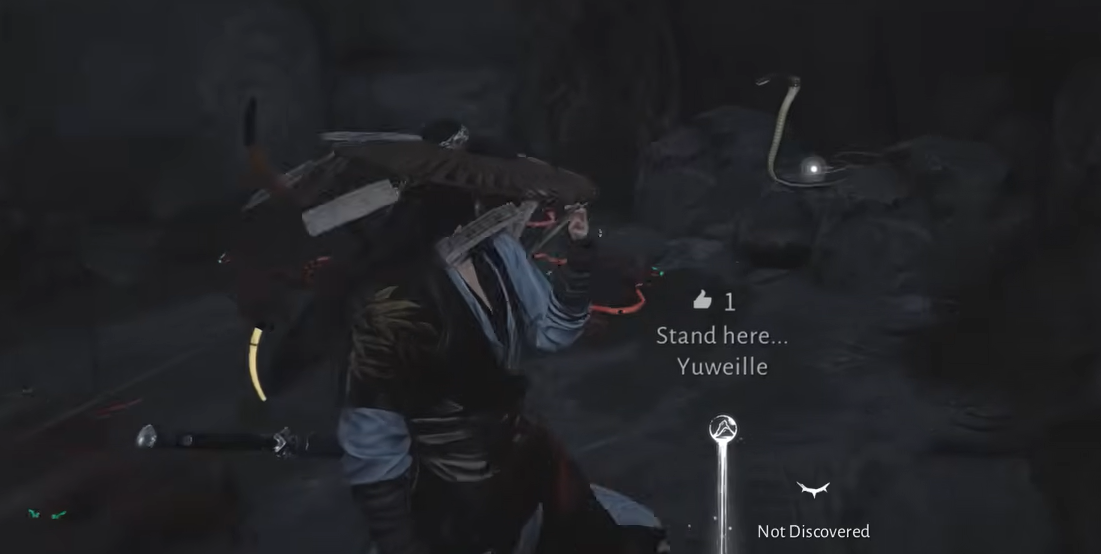
Most snake‑guarded chests are meant to be looted from a distance with the Mystic Skill Celestial Seize (sometimes called Celestial Seizure/Seize). The snakes around them often heal or reset if you pull them too far, which is a hint that the intended answer is a utility skill, not brute force.
Step 1: Make sure you actually have the Celestial Seize Mystic Skill equipped on your bar. It is the grab skill that lets you pull items or enemies from range.
Step 2: Move close enough that the chest becomes a valid target. With snake chests, you often need to be almost on top of the outer ring of snakes; if you are too far away, the game will just display “No target”.
Step 3: Aim Celestial Seize so the reticle highlights the chest itself, not the snakes. In some layouts, you need to stand to the side or slightly behind the main cobra, because its body can block targeting from the front.
Step 4: Trigger Celestial Seize to grab the chest’s contents instantly. You do not need to kill the snakes if the seize connects.
Typical safe positions for a few of the well‑known snake chests:
- The chest above the doctor NPC: stand on the rocks above and behind the cobra, then use Celestial Seize.
- The chest on a collapsed roof: stand on the cart in front of the cobra and seize from there.
- The underground chest: stand on the rock to the right, as close as you can without entering the snakes’ hit range.
Workarounds if Celestial Seize is unavailable or bugged
There are several ways to brute‑force snake chests if Celestial Seize is locked, bugged, or simply not unlocked yet.
Method 1: Jump in, open, and get out
Step 1: Approach the chest with full health and preferably some form of healing or mitigation ready (healing Mystic, Panacea‑style fan build, or high sustain).
Step 2: Sprint or lightness‑skill jump directly onto the chest or the tile right next to it, ignoring the snakes.
Step 3: Interact with the chest immediately. In many cases, you can finish the open animation before the poison stacks can kill you.
Players using fan builds often pop a water‑healing clone first, then tank the damage long enough to loot.
Method 2: Kill or control the snakes
Step 1: Isolate a few snakes at a time instead of aggroing the full pack. Snakes attack relatively slowly on their own, and small groups can be killed safely.
Step 2: Use high‑coverage Mystic Arts. AOE skills such as strong palm strikes chained out of lightness moves, flame‑type mounts or roars, or spear ultimate attacks can create a “no‑go” zone around you where snakes cannot get close.
Step 3: If snakes keep leashing back and healing once they cross an invisible boundary, stop trying to drag them away and fight them closer to the chest.
Method 3: Use environmental explosives
Step 1: Find a small explosive barrel in a nearby camp or fort. In at least one Encircling Lake area, there is a usable barrel behind a second gate in a military camp.
Step 2: Carry or kick the barrel close to the snake group, then aggro them so they cluster around it.
Step 3: Detonate the barrel with a ranged hit. A single explosion can clear or almost clear the pack, giving you time to loot the chest without interference.
Method 4: Abuse building placement
Step 1: Enter build mode near the snake cluster if the area allows structure placement.
Step 2: Place objects in a ring to physically box the snakes away from the chest.
Step 3: Once the snakes are trapped, walk up and open the chest normally.
This is more of a last‑resort workaround for particularly stubborn underground chests that refuse to respond to Celestial Seize.
Snake King bones, snake charm, and why your snakes suddenly stop attacking
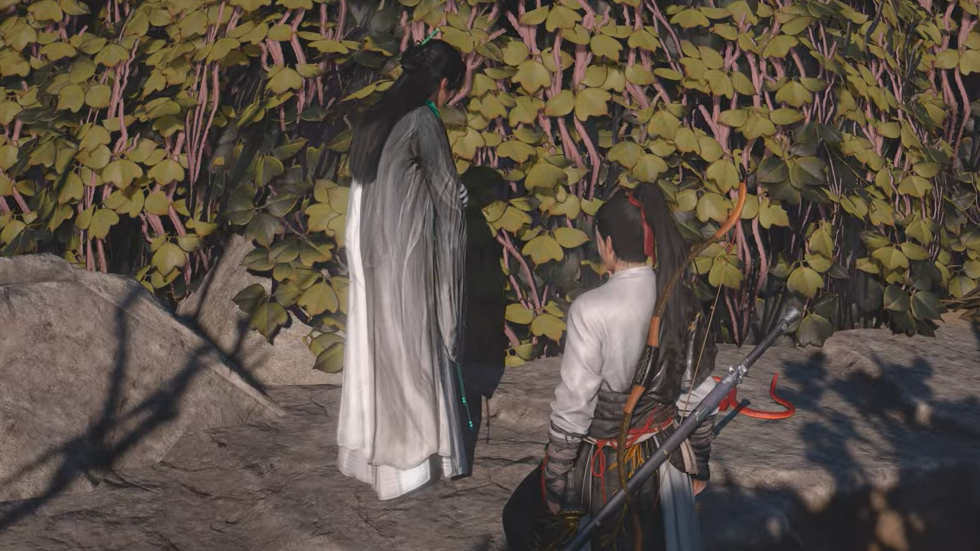
Near Encircling Lake in the Qinghe region, snakes are tied into a short side quest that ultimately points you at the Snake Doctor world boss. An NPC scholar at the entrance to a cave full of snakes talks about handling snakes and bones, then asks you to find three items. The reward is essentially a “snake charm” effect that lets you move safely through the worst of the viper swarms.
Step 1: Talk to the scholar standing by the cave mouth in the Encircling Lake area. He sends you to find three Snake King bone shards and gives you a treasure map item that marks three snake “camps” nearby.
Step 2: Check your inventory and quest menu for the map; it visually marks the three bone locations around the lake.
Step 3: Visit each camp and grab the bone shards:
- One bone is guarded by a large snake on a path up a hill. Reach the snake, then loot the nearby box or chest.
- Another sits by a big snake near a chest partway up the slope above Encircling Lake.
- The last shard is beneath a rock formation near the lake. You drop down, break the weak rock with a ground‑slam lightness skill, then stand on a nearby rock outcrop and use Celestial Seize to steal the item from the guarding snake.
Step 4: Return to the scholar and hand over all three bone shards. He gives you the item that applies the Snake King’s protective power.
Once that effect is active, the snakes tied to this questline no longer aggro you in the approach to the Snake Doctor arena, which turns a lethal gauntlet into a short, safe jog. It also unlocks proper interaction with certain green snake chests; without talking to the scholar and reading his note, Celestial Seize simply refuses to target those containers.
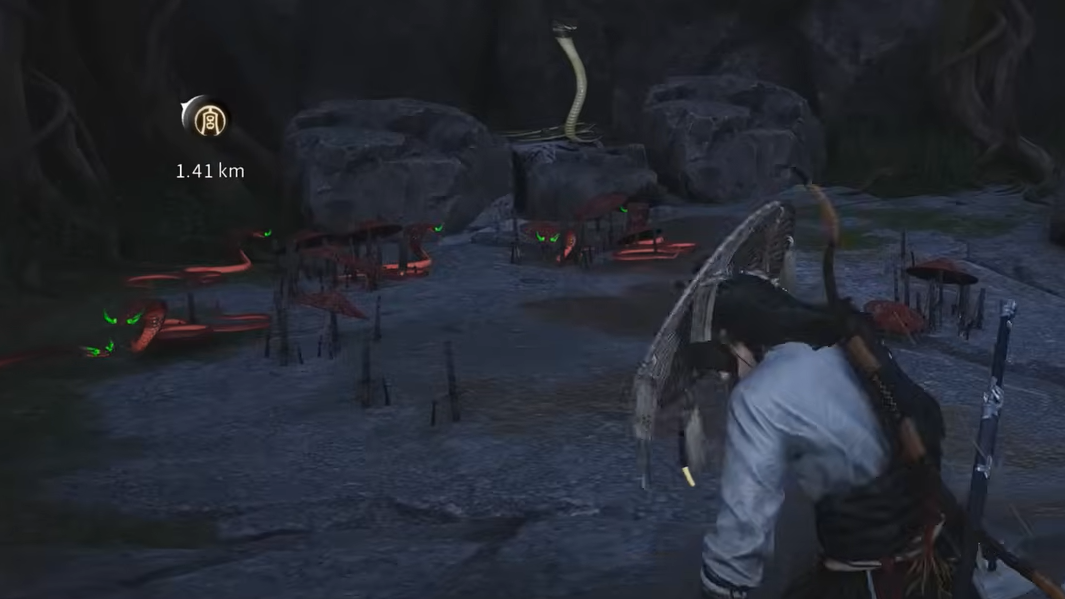
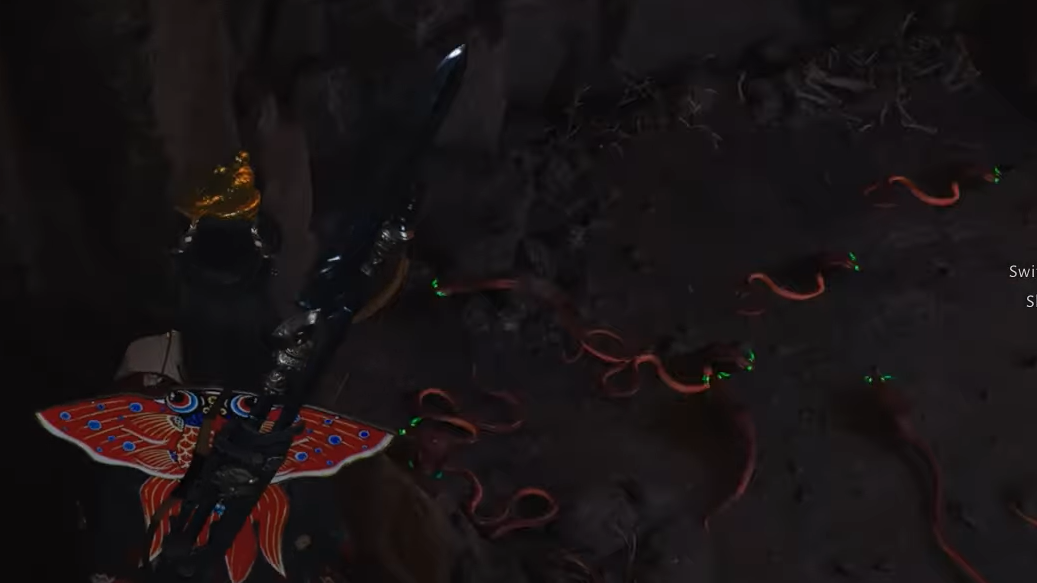
Getting through the nest of vipers to reach Snake Doctor
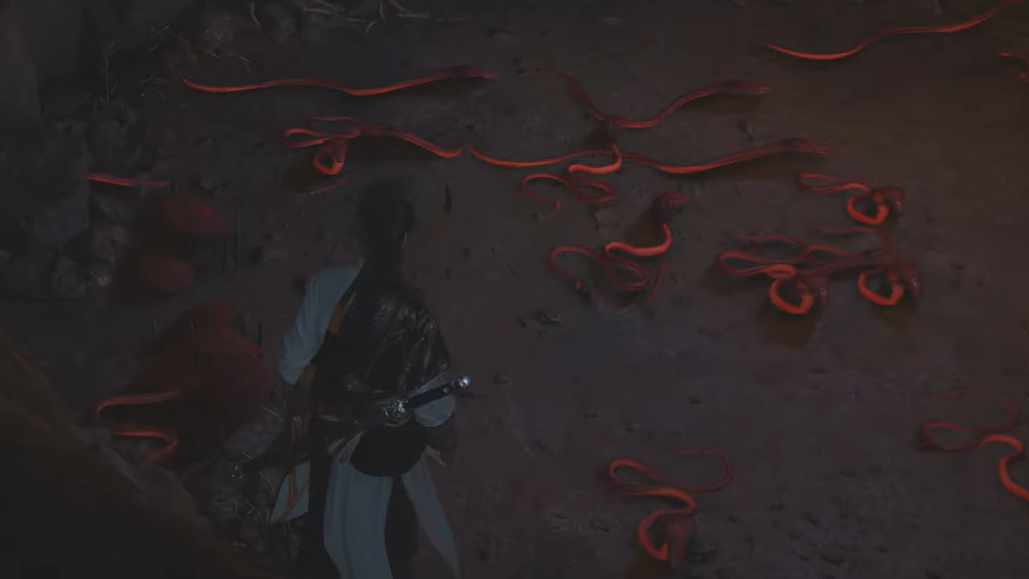
Even with the charm quest, many players go into the Snake Doctor cave early and get instantly deleted by a pit of vipers. You drop into a chamber packed with snakes, and standing still for more than a heartbeat is enough to shred your health bar.
There are two main ways to handle this section, depending on whether you have completed the bone quest.
Method 1: With Snake King protection active
Once you have turned in the three bones and received the Snake King’s protection, snakes in the entrance section stop attacking you. At that point, the route into the arena is straightforward movement.
Step 1: Re‑enter the cave at Encircling Lake after finishing the scholar’s quest.
Step 2: Drop down into the viper chamber and follow the wall on your left. The snakes should ignore you.
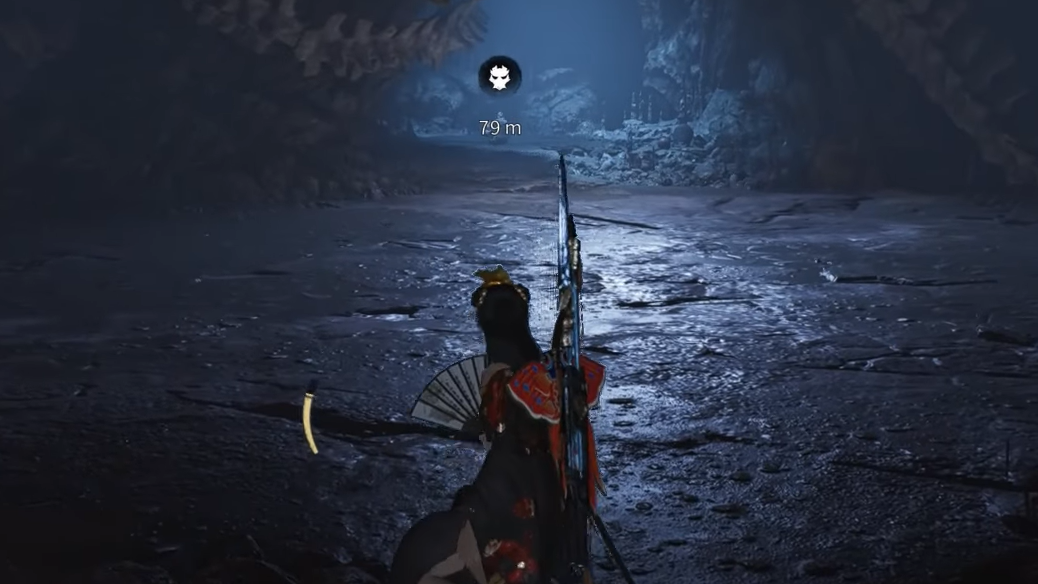
Step 3: Dash through the corridor leading out of the pit to reach the Hero’s Tomb and the circular boss arena beyond.
Method 2: Without protection, using movement skills
If you insist on entering before finishing the quest, or you skipped the dialogue, you can still cross the viper nest purely with movement. The margin for error is tight but workable.
Step 1: Stand at the drop and plan your path: your goal is the narrow tunnel exit slightly down and to the left from where you land.
Step 2: Drop in and immediately slide or run along the left wall, hugging it as closely as possible. Avoid running through the center of the snake pile.
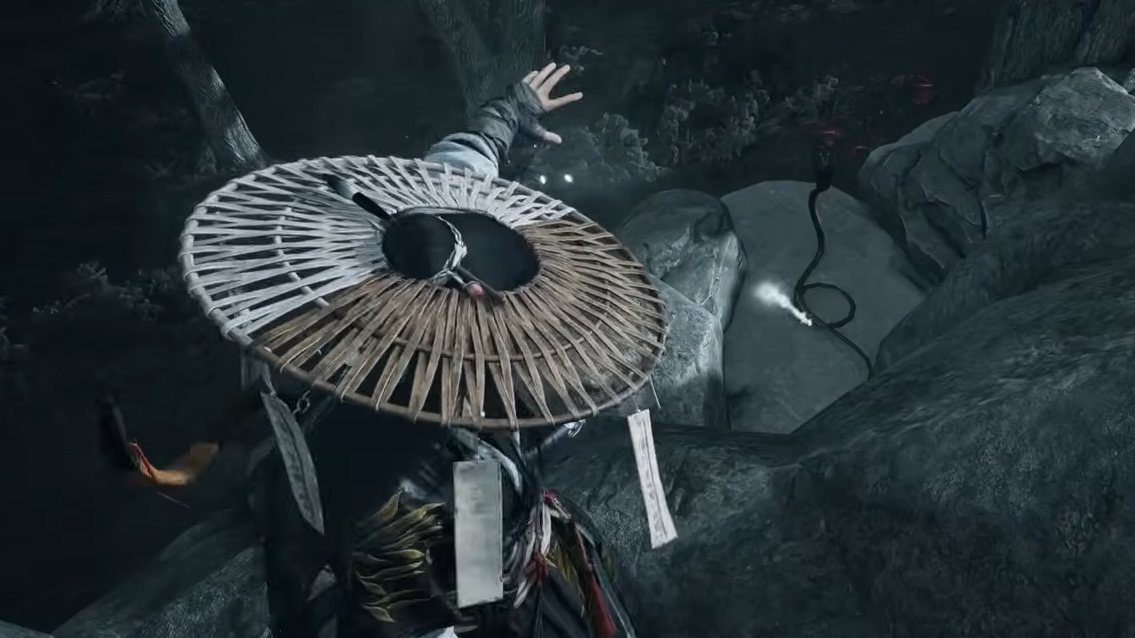
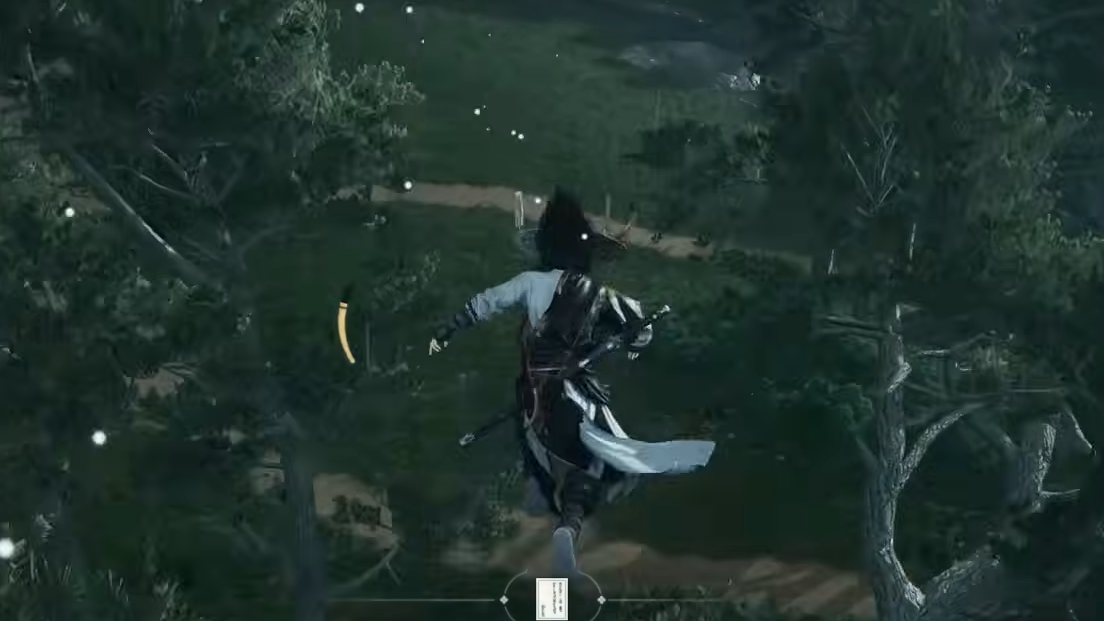
Step 3: The moment you land, dodge or sidestep left repeatedly, then sprint into the small crevice that leads deeper into the cave. Lightness skills like wall‑running, triple jumps, or umbrella gliding can help you jump along the side walls where snakes cannot reach.
Step 4: Once you reach the tunnel, keep moving until you are clear of combat. If you get overwhelmed, you can use the in‑menu reload option to teleport back to the last spawn point instead of trying to fight your way back out.
Some players use invisibility‑style Mystic Skills to trivialize this run; others “cheese” it with umbrellas or fans to hover and skip most of the ground contact.
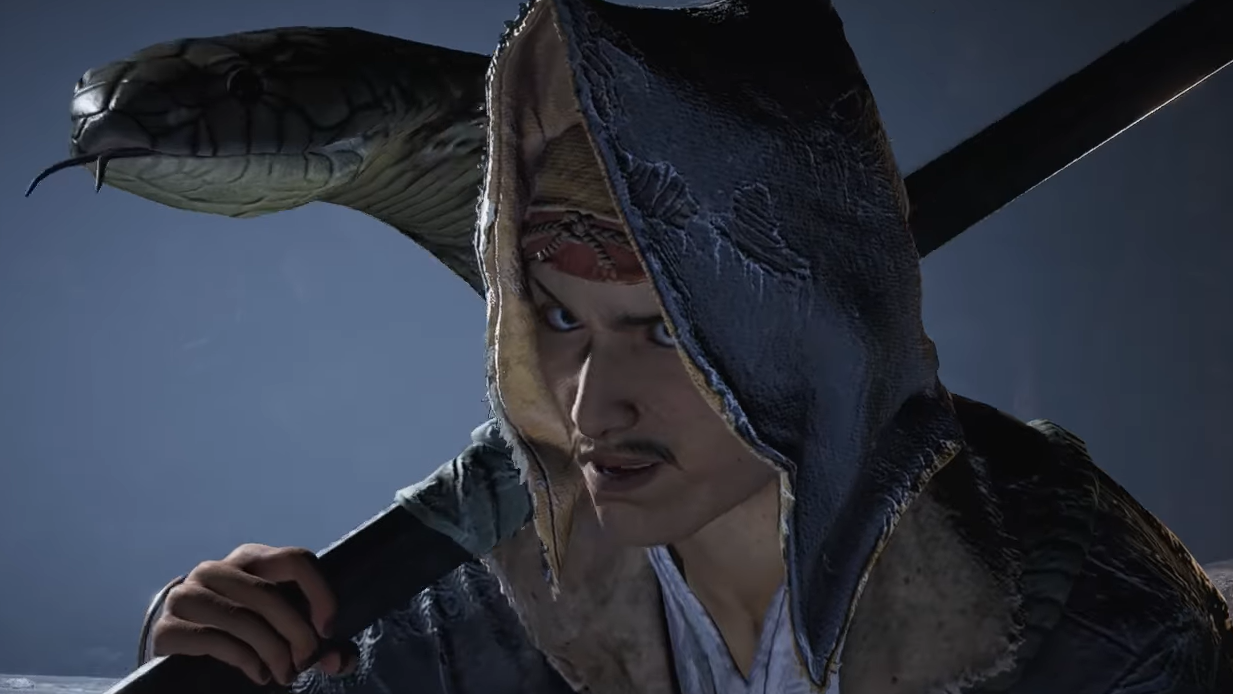
Fighting the Snake Doctor world boss
Snake Doctor is a world boss lurking in a chasm under Encircling Lake in Qinghe. He fights with a staff and snakes, stacking Poison very quickly if you give him space. Two core ideas make the fight much more manageable: stay close and keep exhausting him.
Recommended level, gear, and arts
Snake Doctor is tuned as a late‑game challenge. Solo players benefit from having gear and Martial Arts fully enhanced to the cap allowed by their current Solo Mode level. One effective setup uses fast melee weapons such as Strategic Sword or Infernal Twinblades alongside a healing Panacea Fan, plus strong Mystic Arts like Cloudsteps for mobility and Golden Body for survivability.
A ranged companion such as Yuan Jin’Gang is particularly useful. His steady Qi damage and staggers open up frequent Execute windows, shaving large chunks off Snake Doctor’s health bar.
| Aspect | Recommendation |
|---|---|
| Weapon 1 | Fast melee (Strategic Sword / Infernal Twinblades / Thundercry Blade‑style weapons) |
| Weapon 2 | Panacea‑type fan for strong healing and sustain |
| Mystic Arts | Cloudsteps for mobility, Golden Body or similar for defense |
| Companion | Yuan Jin’Gang for safe Qi damage and frequent staggers |
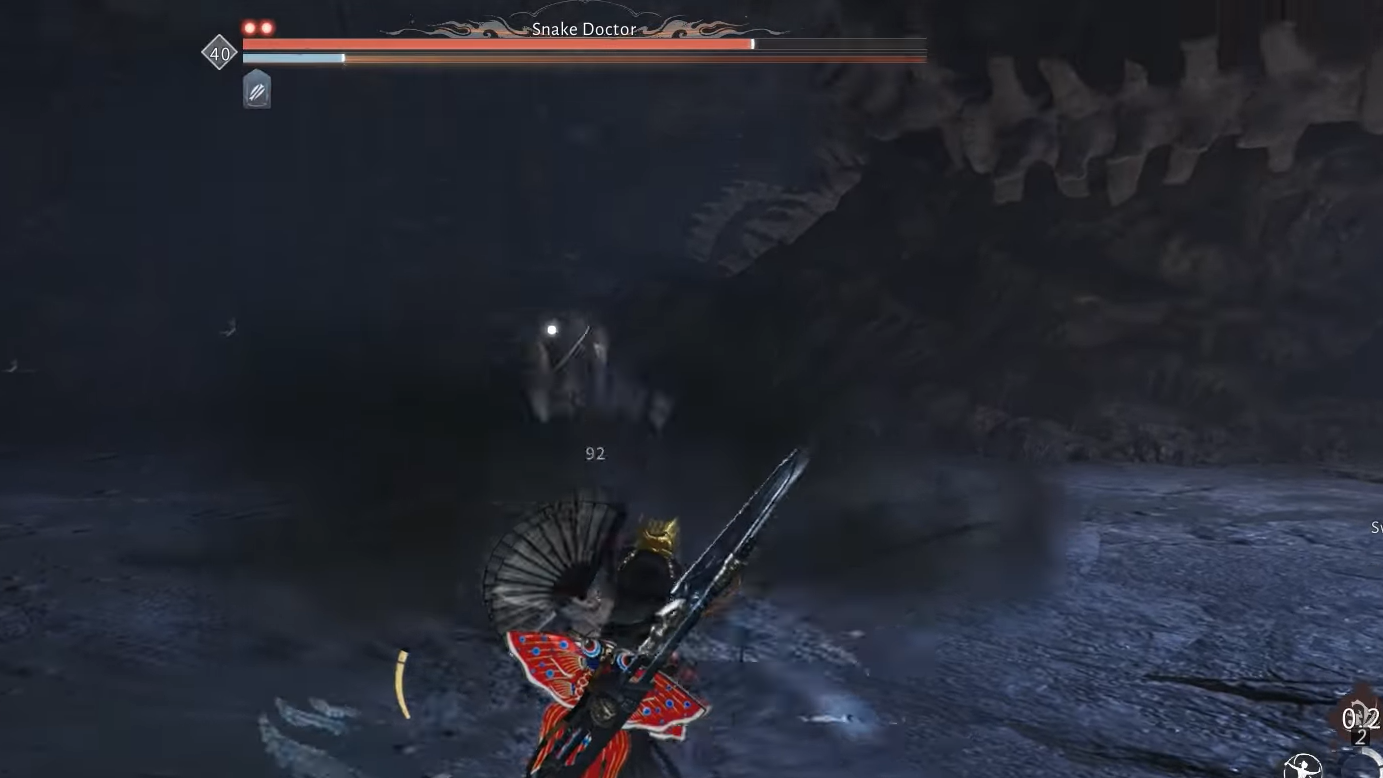
Snake Doctor strategy: stay in melee and parry reds
Snake Doctor becomes significantly deadlier at range. Many of his most dangerous attacks are projectiles or poison flasks that leave clouds on the ground. Close range is paradoxically safer, because it forces him into slow, clearly telegraphed melee strings.
Step 1: Open the fight by closing the gap quickly. Stay roughly inside the range of his staff swings instead of backing away.
Step 2: Focus on deflecting his normal melee strings and red attacks to build Qi damage. Each exhaust state opens an Execute window that removes a major chunk of health.
Step 3: Before you finish his first health bar, top off your HP with your fan or healing Mystic Art so you enter phase two with full health and low Poison stacks.
During phase one, most attacks are simple staff sweeps, lunges, and the occasional poison flask. Learn the timing of the red telegraphs and prioritize perfect parries on those; they are your fastest path to an exhaustion.
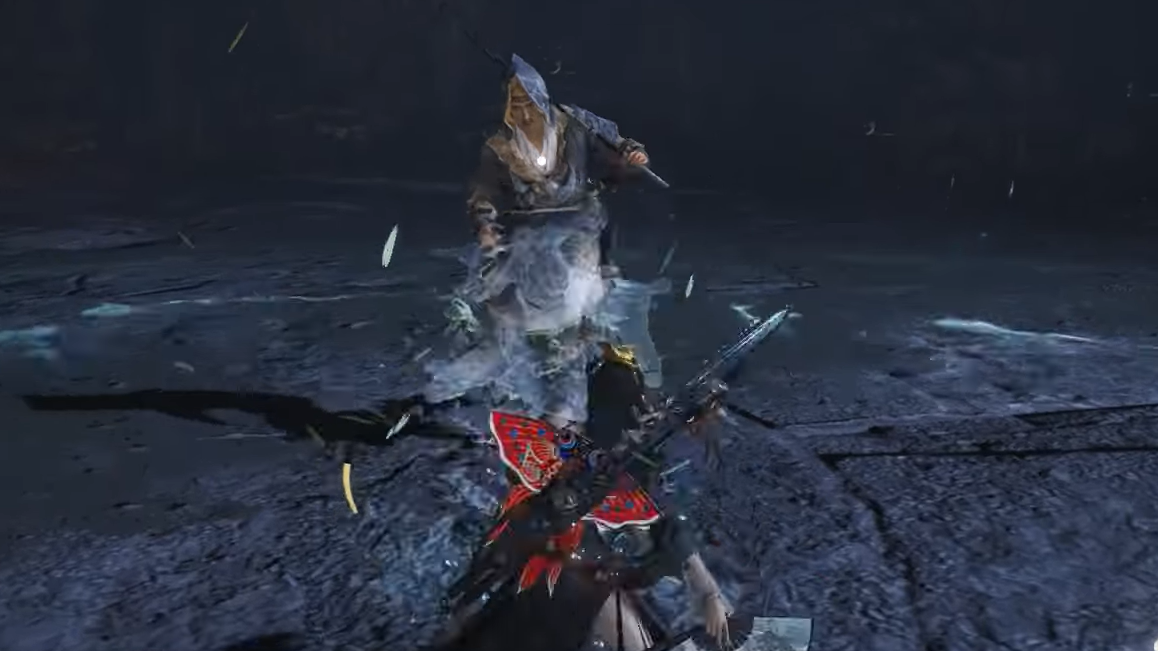
Phase two: dealing with snakes and poison
Once Snake Doctor transitions to his second phase, he leans harder into poison and snake‑summon attacks. He gains new red moves like a hidden strike out of poison smoke and a multi‑hit rush, plus golden snake tosses that cannot be blocked.
Step 1: Maintain melee distance so he favors close‑range combos instead of repeated poison flask throws or viper projectiles.
Step 2: Watch for the two prominent red attacks and parry them for heavy Qi damage. These are key to quickly exhausting him again.
Step 3: When he jumps back and summons snakes or throws flasks, move laterally rather than straight back. Many of these patterns leave a safe “lane” if you keep circling.
Step 4: If you accumulate several Poison stacks, step out of green or purple zones and use your healing fan’s big heals (for example, Cloudburst‑style skills) to out‑heal the damage while you wait for stacks to fall off.
Rewards for defeating Snake Doctor
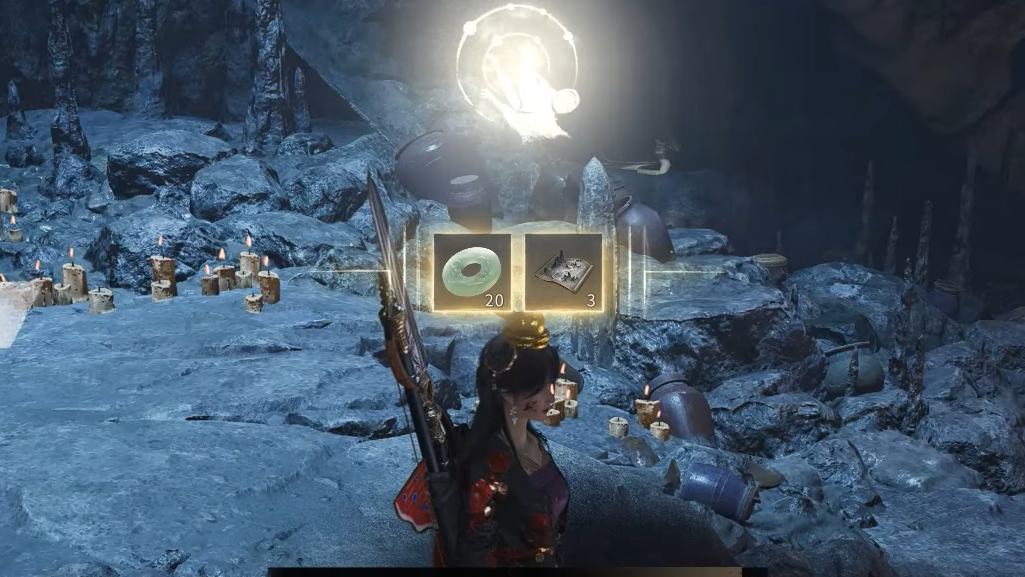
Beating Snake Doctor for the first time yields a set of useful rewards tied to Inner Ways and progression. These include:
- Star Reacher: Tome, an Inner Way that boosts physical attack after sending enemies airborne.
- Medicinal Tales x3, used in narrative and progression systems.
- Bone Shedding face ornament.
- Echo Jade x20 and a large amount of Coin.
- Character EXP and Qinghe exploration progress.
Star Reacher pairs especially well with weapons like Inkwell Fan that specialize in launching enemies skyward, and can be combined with rain‑themed weapons such as Vernal Umbrella for themed builds.
Handled correctly, snakes in Where Winds Meet are less of a hard wall and more of a puzzle. Celestial Seize, the Snake King bone quest, smart use of movement skills, and an aggressive melee plan against Snake Doctor turn a notoriously frustrating stretch into a manageable set of challenges with strong rewards on the other side.