KVM or Kernel-based Virtual Machine is a module in Linux Kernel which allows users to run Virtual Machines on their system. It boasts nearly bare-metal performance compared to other virtualization software as it is closely knit into Linux kernel.
KVM coupled with its API/Toolkit called libvirt is used to create VM in Ubuntu. The tools such as Virt-Manager (GUI front-end) and Virsh (CLI) are used to simplify the creation and management of VMs.
In this article, we will learn how to properly Install KVM on Ubuntu 20.04 LTS.
Prerequisites
Before we begin the installation, we need to make sure that we meet the requirements need to run KVM. We need a processor which supports hardware virtualization. If the processor does support hardware virtualization we need to make sure it’s enabled in BIOS.
To check if your processor supports hardware virtualization, press ctrl+alt+t to open terminal. We are going to use a neat command called egrep which uses Regexp to search a text pattern from a file. The file we are going to search for information on CPU is located at /proc/cpuinfo. Paste the following command in terminal to check hardware virtualization support.
egrep -c '(vmx|svm)' /proc/cpuinfo
If you get output as anything other than 0 then your processor supports hardware virtualization. The output number is no. of core or threads your processor has. Only step remaining now is making sure hardware virtualization is enabled in BIOS.
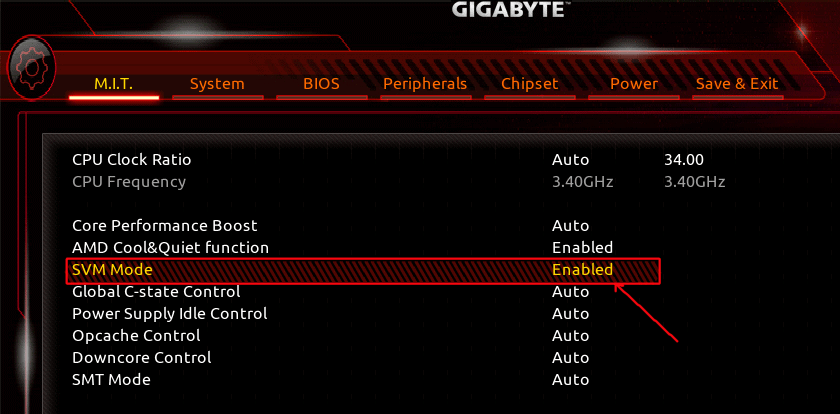
The process of enabling hardware virtualization now depends upon whether you have Intel or AMD processor. Refer to your motherboard manual to find out how to enable virtualization. For Intel Processors, you have to enable Virtualization in BIOS settings. For AMD Processors enable setting called as SVM Mode.
We now have verified that we have a processor that supports hardware virtualization and enabled it in BIOS. Now we can move onto Installation.
Installation
Open the terminal by pressing ctrl+alt+t keyboard shortcut. To install KVM paste the following command in terminal and press enter.
sudo apt-get install qemu-kvm libvirt-daemon-system libvirt-clients bridge-utils
The qemu-kvm is KVM package, while libvirt-daemon-system and libvirt-clients are libvirt toolkit packages. The bridge-utils package is used for configuring Ethernet bridge for VMs.
Verifying Installation
There are two methods to verify the successful installation of KVM. Either run
kvm --version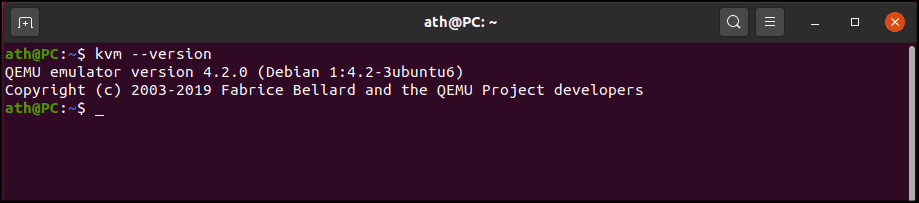
or
virsh list --all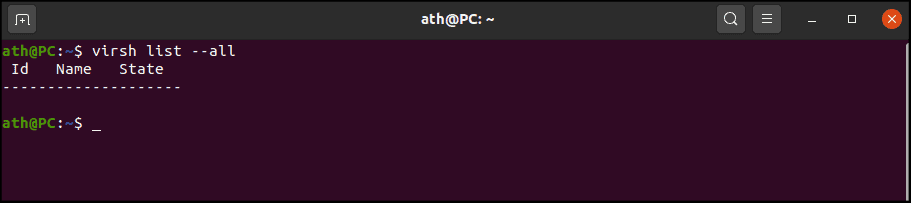
If you get the output as shown above, then KVM is properly installed on your system. You can now create VM using virsh command to create VMs or install virt-manager a GUI tool for creating and managing your VM as per your preference.
Creating a VM
In this section we will use virt-manager to create and run VM on Ubuntu 20.04. To install virt-manager on Ubuntu 20.04, run the following command:
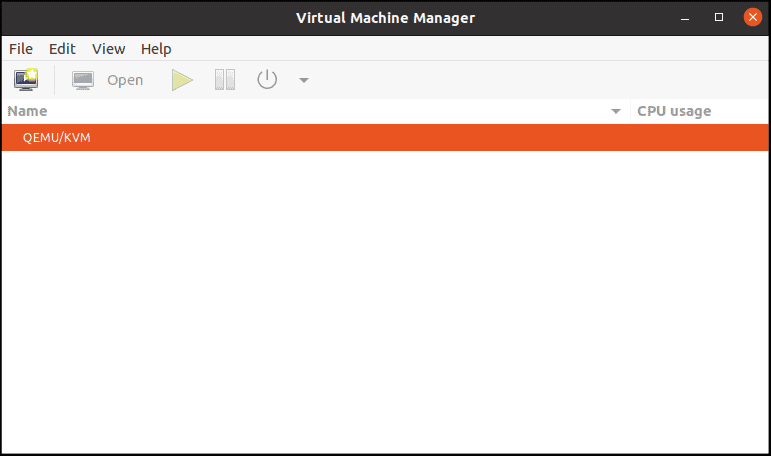
sudo apt install virt-managerAfter the installation is complete, run the virt-manager. You will be greeted with the following window.
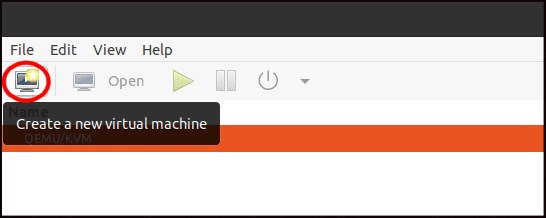
To create a new VM, you need to click on Create a new virtual machine button.
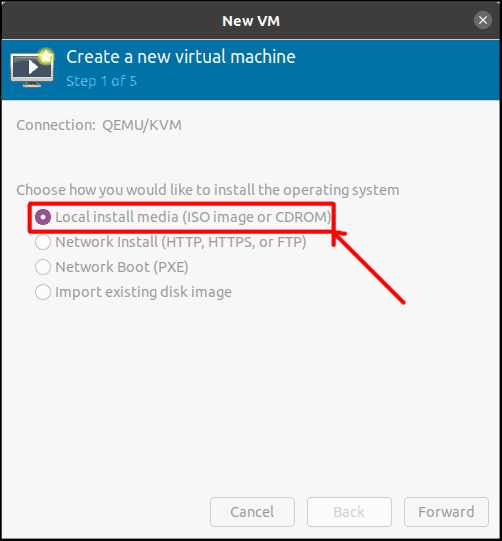
A pop-up window titled New VM will appear, select the Local install media (ISO image or CDROM) option and click Forward.
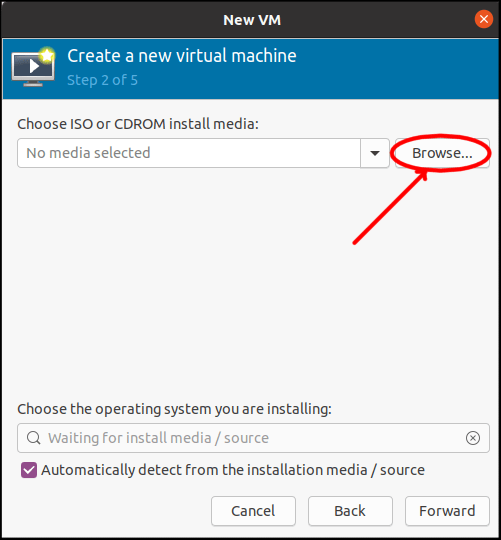
We need an ISO image of an Operating System whose Virtual Machine we wish to create. Click on browse to choose an OS to install.
You’ll be presented with Choose Storage Volume window, we will currently use the default storage pool, you can try playing around by creating new storage pools for virt-manager to use. For now, we will copy the ISO image of OS to the following directory by using cp command.
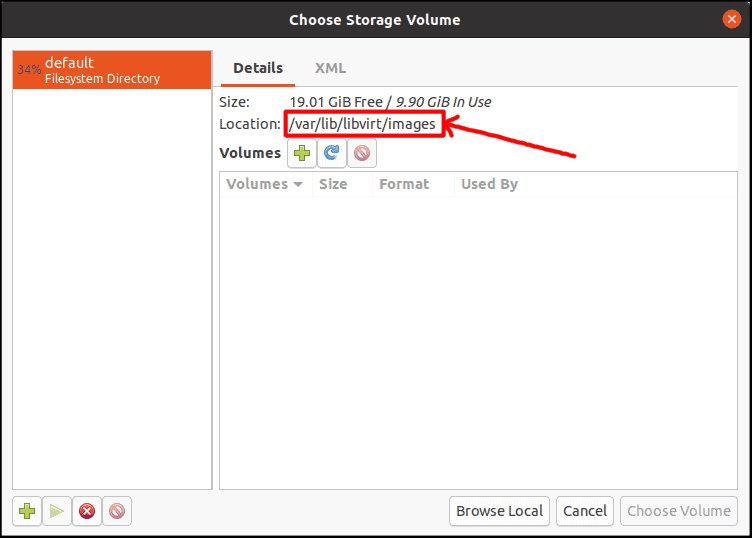
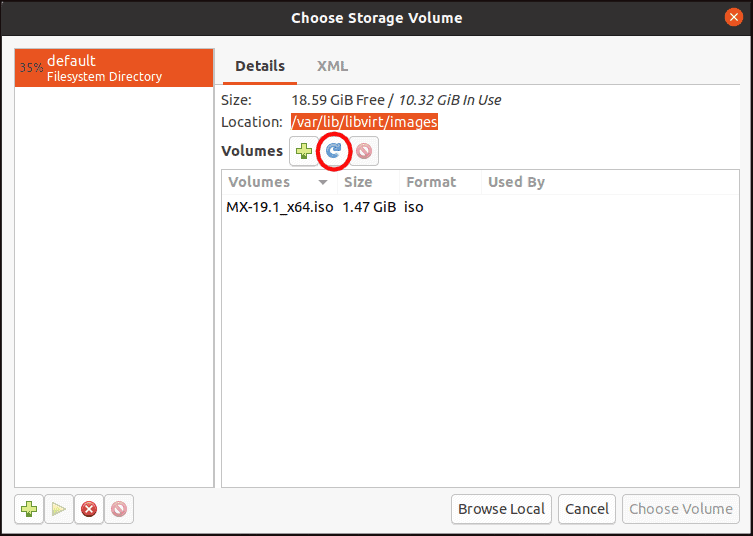
sudo cp source_of_iso_file /var/lib/libvirt/imagesWe need root privileges to copy ISO to default pool, thus we are using sudo command and source_of_iso_file is location of your chosen OS. After copying the ISO to libvirt images directory, hit Refresh volume list button. Your chosen OS ISO will show up in the list below, I choose MX-Linux to install.
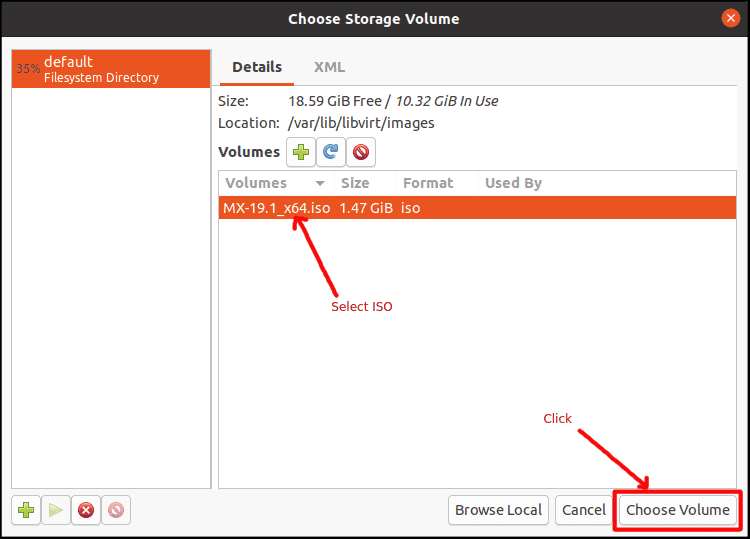
Select the OS you choose to install and hit Choose Volume button.
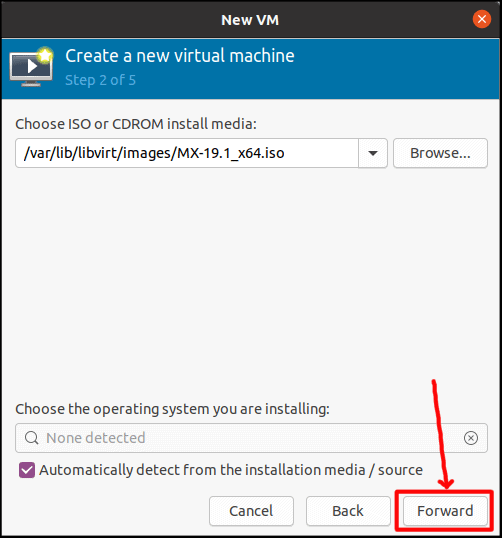
After choosing ISO, click Forward in previous window.
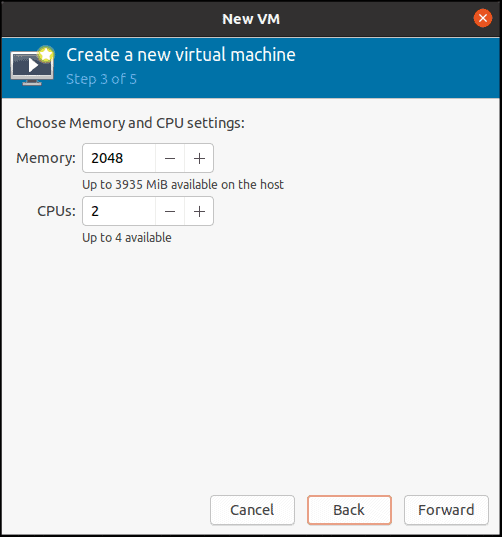
Select the amount of Memory/Ram to allocate to VM and Number of CPU cores in next window. I suggest allocating at least minimum recommended amount required by the OS.
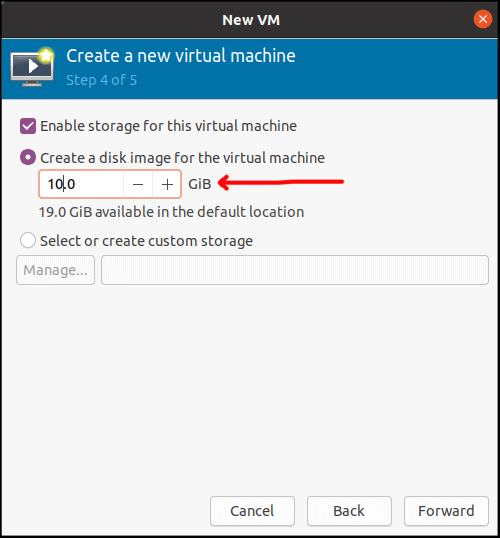
Next up allocate at least the minimum amount of disk space required by OS. I suggest 30 GB for windows at minimum and 20 GB for any Linux Distros. Virt-manager will create Virtual Disk for the OS automatically if the first option is selected.
Tip: You can create custom storage on your own with second option.
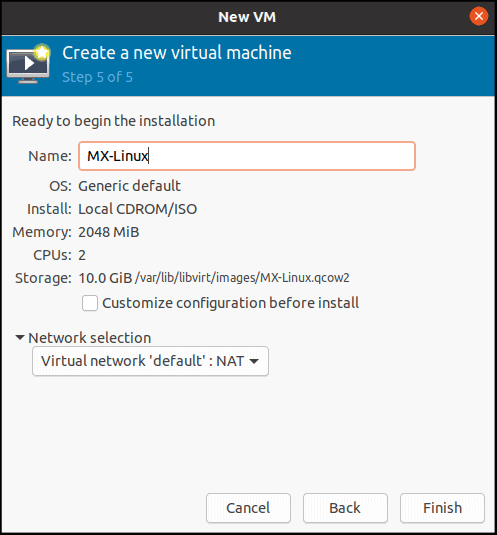
You can change the name of VM on this new screen and confirm the details. Click Finish to start the installation of your OS on the virtual disk.
Tip: You can also try to tweak your VM settings by ticking the customize configuration before install option for an additional feature.
Complete the installation of the OS by following the installation process for the chosen OS.
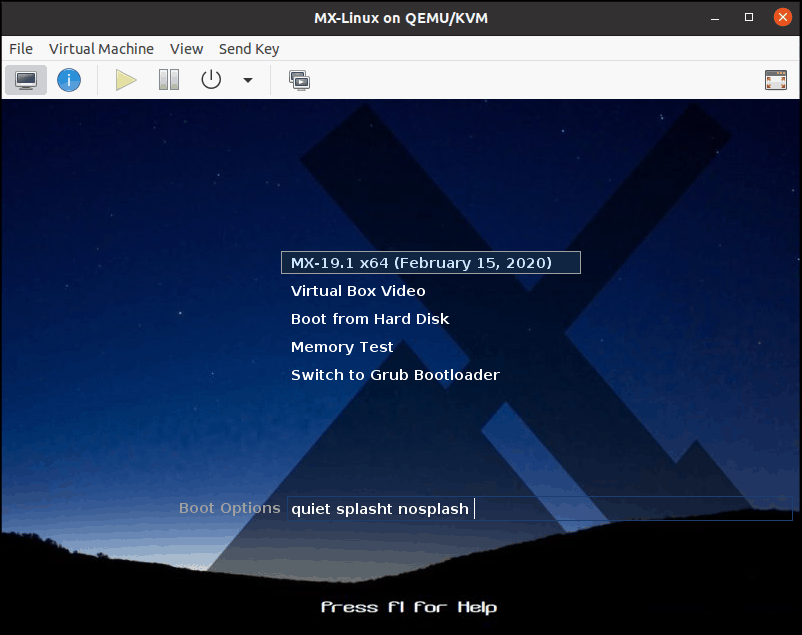
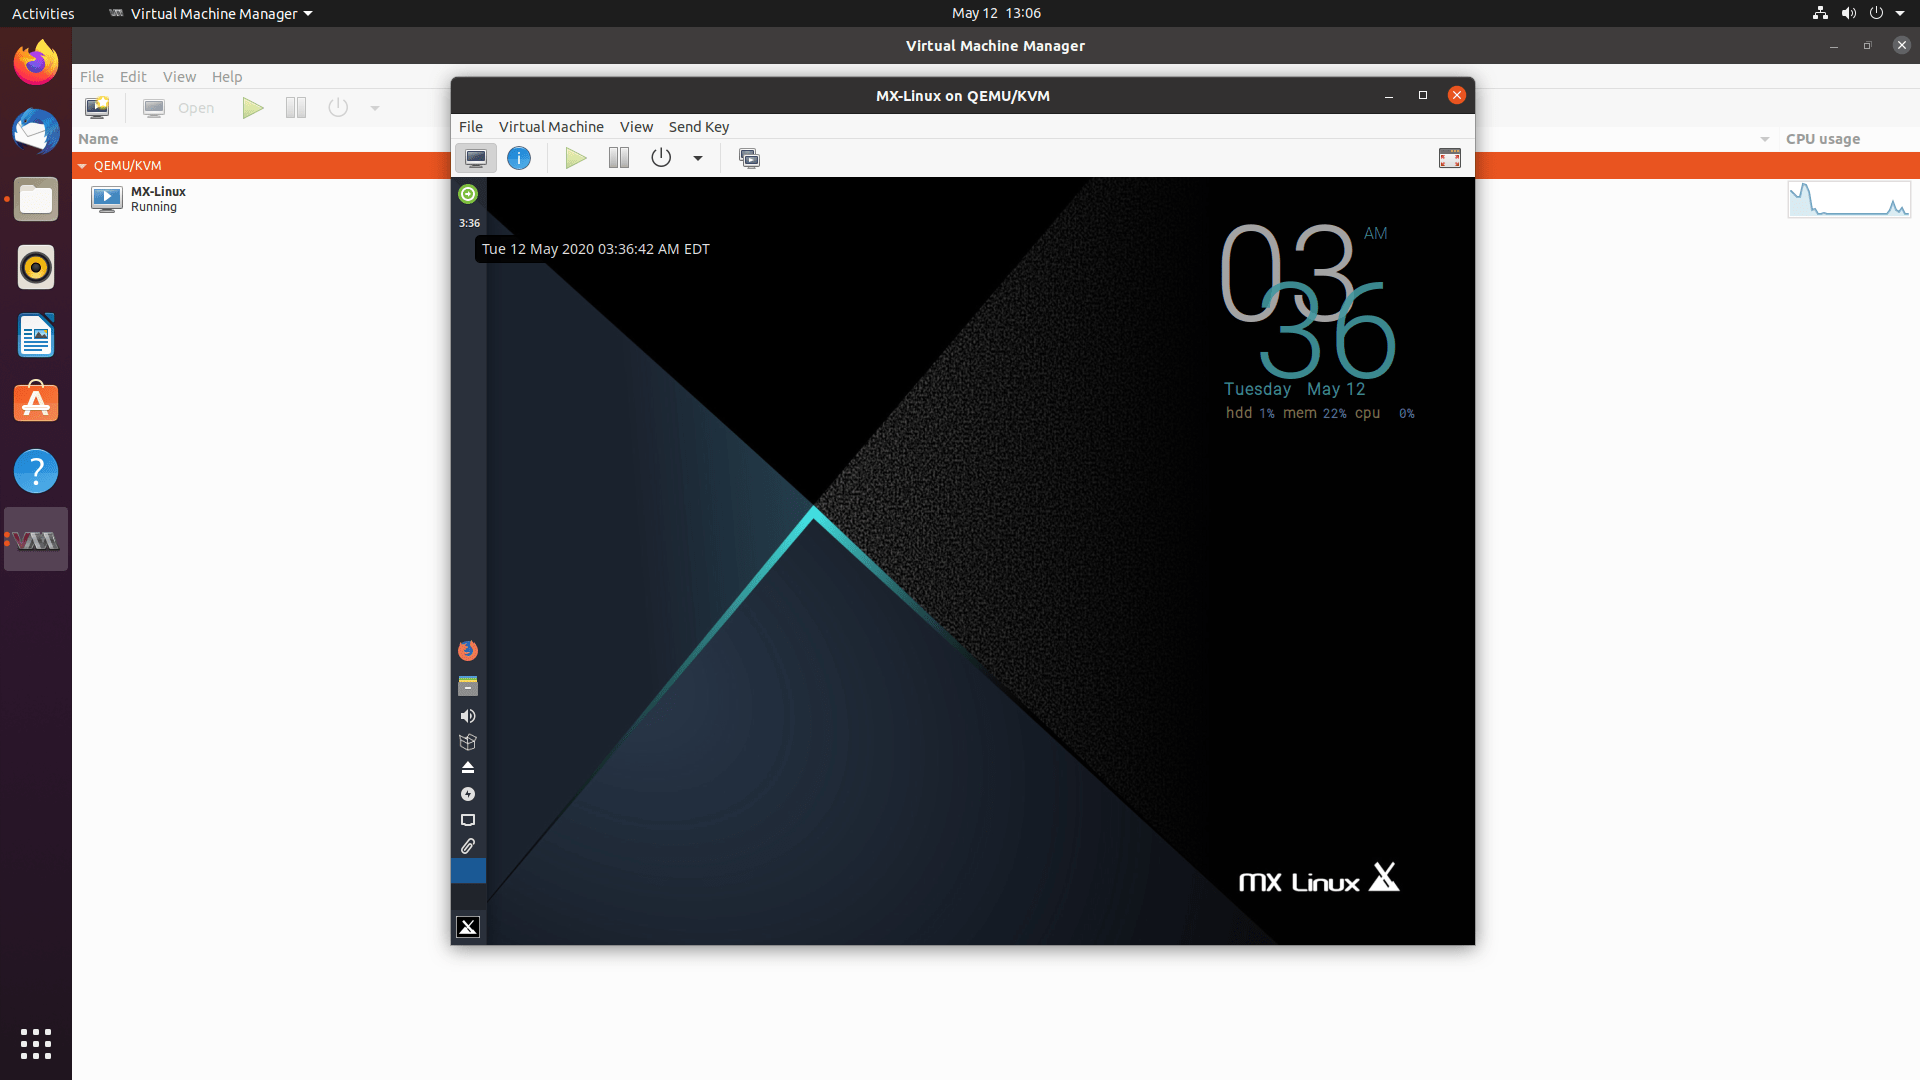
After completing the installation, you can start the VM by selecting it and clicking Power on the virtual machine button

Now we have a functional VM ready to use.