
Magento is a popular eCommerce platform build and written in PHP, it is used by many small scale businesses to sell products and create an online presence. It allows you to create a full-fledged online store with features such as inventory management, product catalogues, shipping, invoicing and much more.
If you are looking to build a sleek and enterprise-grade shopping platform for your business, Magento should be a great starting point. So in this guide, we will look at how to set up Magento community edition version 2.3 with LAMP stack on a Ubuntu 20.04 server.
Prerequisites
You will need a Ubuntu 20.04 LTS server and logged in as a sudo enabled user. You will also need a domain name pointing to your Ubuntu 20.04 server IP. We will use example.com wherever domain name is required, replace it with your domain. Before we begin, update the package list and then upgrade the packages on your Ubuntu 20.04 server.
sudo apt update && sudo apt upgradeInstall Apache Web Server
Magento requires a web server to function, in this guide we have chosen to use run the Magento application over the LAMP (Linux, Apache, MySQL, PHP) stack. So we are going to install all of the packages consisting of LAMP stack.
Apache web server is one of the most popular web server on the internet having almost 37.2% of total web server market share. You may also choose to install Magento over the LEMP stack which uses Nginx web server instead of apache. But in this guide we are going to deploy our Megento server with the help of Apache.
To install the Apache web server, run the command below:
sudo apt install apache2Enter your user password and press Y if prompted. When the installation is complete, we need to configure Ubuntu’s uncomplicated firewall (UFW) to allow the traffic on port 80 & 443.
The UFW comes with preconfigured profiles which can be toggled to allow the application to access the ports on your Ubuntu 20.04 server. So when you installed Apache web server, UFW profiles called ‘Apache’, ‘Apache Full’ and ‘Apache Secure’ were added to UFW apps list. Allow the Apache web server to serve on port 80 & 443 by running:
sudo ufw allow 'Apache Full'Now, all we need to do is enable the UFW but before we do so make sure that you have allowed the port 22 (SSH). If you don’t change SSH UFW rules, you may get locked out of your Ubuntu 20.04 server.
sudo ufw allow 'OpenSSH'Finally, enable the UFW firewall by running:
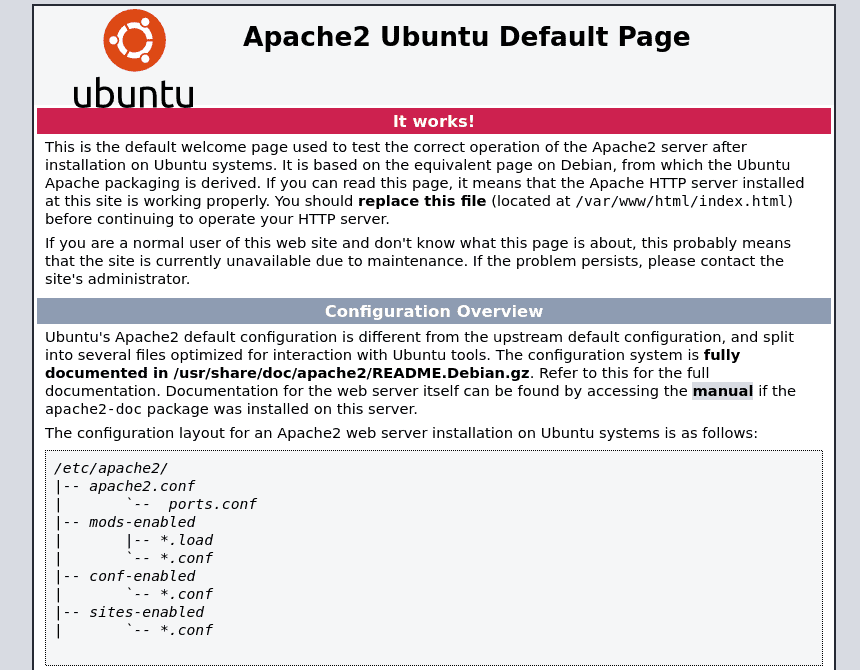
sudo ufw enablePress Y if you get a prompt saying that the command might disrupt the SSH connections, as we have already added a rule to allow SSH through it. You can now access the apache web server through your browser, type in the IP address of your Ubuntu 20.04 server in the URL bar and hit enter.
Install MySQL Server
You will also need a database server to run Magento as it is where all the Magento shop content gets stored. We are going to install the MySQL server and create a user called magentouser and a database called magento for the Magento.
The MySQL package is called as mysql-server in Ubuntu repositories, install it by running:
sudo apt install mysql-serverNext, we need to properly configure the MySQL security settings. Fortunately, the MySQL package comes with a security script that makes configuring MySQL server way easier. So, execute this script by running the following command:
sudo mysql_secure_installationYou will be prompted with multiple questions, these are the optimal settings for the MySQL server:
- Would you like to setup VALIDATE PASSWORD component?[y/n]: Enter
Y - There are three levels of password validation policy.
- Please enter 0 = LOW, 1 = MEDIUM and 2 = STRONG: Enter
2
- Please enter 0 = LOW, 1 = MEDIUM and 2 = STRONG: Enter
- Please set the password for root here.
- New Password: Enter a Password for MySQL root user.
- Re-enter new password: Repeat your chosen password.
- Remove anonymous users? [y/n]: Enter
Y - Disallow root login remotely? [y/n] : Enter
Y - Remove test database and access to it? [y/n] : Enter
Y - Reload privilege tables now? [y/n] : Enter
Y
Then to verify and validate that MySQL server is installed and working properly, login to MySQL server as root user by:
sudo mysqlEnter your sudo user password when you are prompted to do so and hit enter. The MySQL root user uses the unix_socket to authenticate the login. What this essentially means is you need to be a sudo user to login to MySQL server as its root user.
Create a New Database and User for Magento
We can now, create a MySQL user for Magento and if you have followed each step of this guide, you must have the MySQL console open. Create a database called magento by entering the following query in the MySQL console:
CREATE DATABASE magento;To create a new MySQL user called magentouser, run this query in the console:
CREATE USER 'magentouser'@'%' IDENTIFIED WITH mysql_native_password BY 'password';Note: Replace the password in the query with a strong password of your choosing.
Then grant the new magentouser full access to the magento database:
GRANT ALL ON magento.* TO 'magentouser'@'%' WITH GRANT OPTION;We need to set the log_bin_trust_function_creators parameter as 1 as it is disabled in the latest version of MySQL and without enabling it Magento throws a few errors while installing. To do so run the following query:
SET GLOBAL log_bin_trust_function_creators=1;Finally, reload the database privileges and settings we changed and exit the console by using these queries:
FLUSH PRIVILEGES;
EXIT;
Install PHP and Required Extensions
Magento requires PHP and few PHP extensions to function. At the time of writing this article, the Magento community edition version 2.3 doesn’t work with the latest PHP version 7.4 and therefore we need to install PHP version 7.3.
We need to add a third-party PHP PPA so we can install the PHP version 7.3 as the Ubuntu repositories only have the latest 7.4 packages. Add the PPA and update the package list by running these commands:
sudo add-apt-repository ppa:ondrej/php && sudo apt updateThen install PHP 7.3 and all the PHP modules that Magento requires by running the following command:
sudo apt install php7.3 php7.3-common php7.3-mysql php7.3-fpm php7.3-gmp php7.3-curl php7.3-intl php7.3-mbstring php7.3-xmlrpc php7.3-gd php7.3-xml php7.3-cli php7.3-zip php7.3-bcmath php7.3-soap libapache2-mod-php7.3After PHP 7.3 is installed, we need to configure some basic settings that are recommended by Magento to function properly. Run this command to open the FPM extension’s config file using nano
sudo nano /etc/php/7.3/fpm/php.iniHere are few of the settings recommended for most Magento websites.
file_uploads = On
allow_url_fopen = On
short_open_tag = On
memory_limit = 256M
cgi.fix_pathinfo = 0
upload_max_filesize = 100M
max_execution_time = 360
Save the changes by pressing Ctrl+O then exit the nano editor by pressing Ctrl+X. We now have PHP and all the necessary extensions and so we can move on to getting Magento.
Install Composer
Composer is a PHP dependency manager that makes installing PHP frameworks and libraries easier. We need Composer to download and install Magento on our Ubuntu 20.04 server.
Composer requires a package called unzip to extract the downloaded libraries and frameworks, install it by running:
sudo apt install unzipThen install composer on a system-wide level by running this command:
curl -sS https://getcomposer.org/installer | sudo php -- --install-dir=/usr/local/bin --filename=composerThe above command should install the Composer dependency manager on Ubuntu 20.04 server. Verify that Composer is installed properly by running:
composerOUTPUT:
______
/ ____/___ ____ ___ ____ ____ ________ _____
/ / / __ \/ __ `__ \/ __ \/ __ \/ ___/ _ \/ ___/
/ /___/ /_/ / / / / / / /_/ / /_/ (__ ) __/ /
\____/\____/_/ /_/ /_/ .___/\____/____/\___/_/
/_/
Composer version 1.10.8 2020-06-24 21:23:30
Usage:
command [options] [arguments]
Download & Install Magento
We can now move on to downloading and installing Magento as we have installed & configured all the necessary packages required by Magento.
Creating a Magento Account
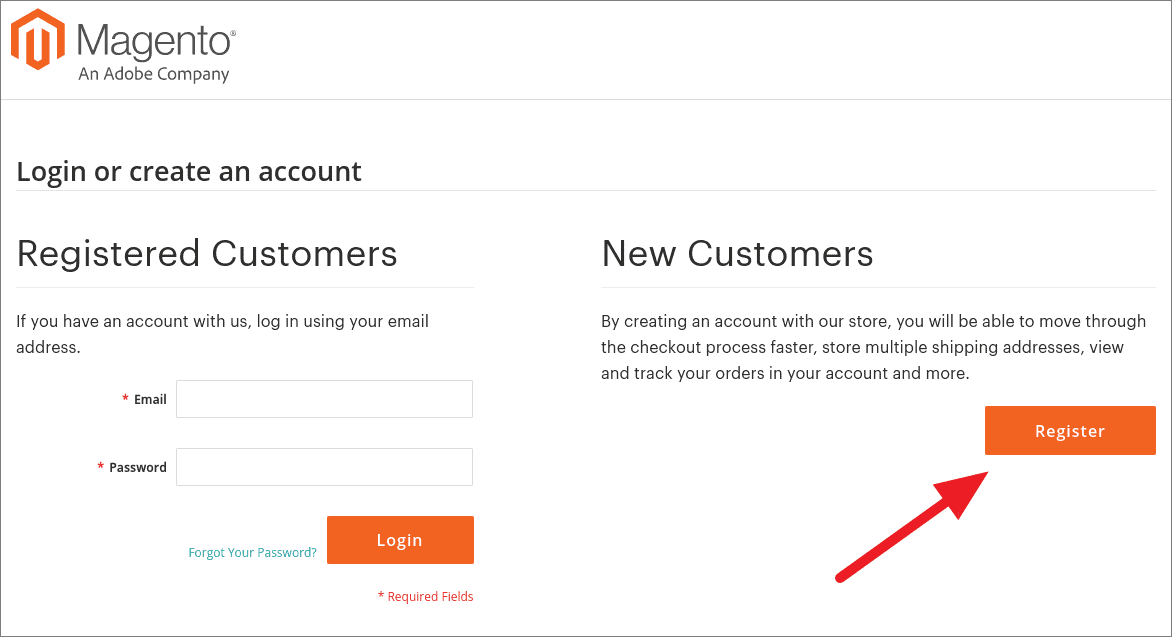
To download Magento on your Ubuntu 20.04 server, you will need a Magento 2 access key. To get this access key, you’ll need a Magento account. If you are not registered and don’t have a Magento account, head on over to this page and click on ‘Register’.
After you are done creating a Magento account, you will be able to create a new access key so you can download Magento 2 on your machine using composer. You can view all your Magento access keys on this page. If there is no access key under the Magento 2 tab click on ‘Create A New Access key’ button and give it a name then press ‘OK’.
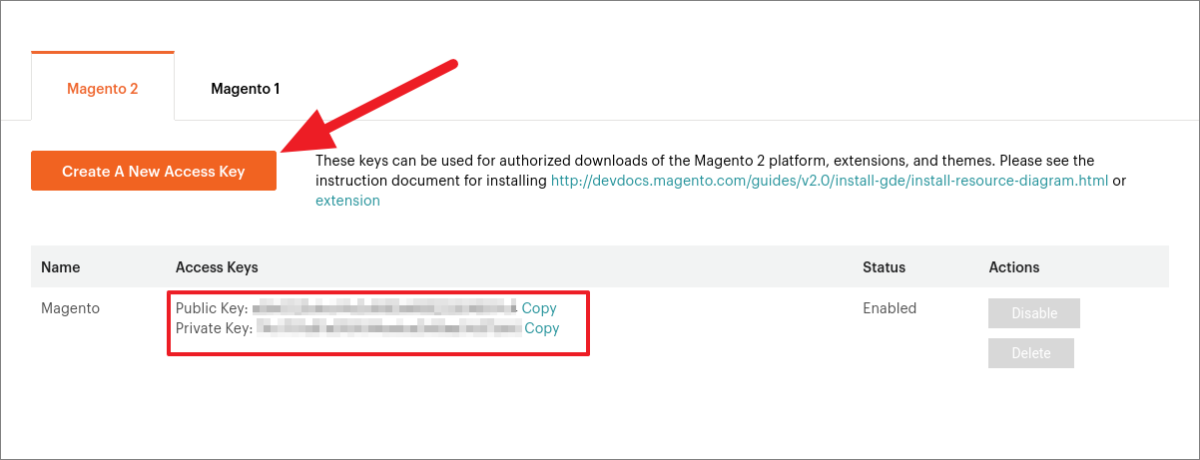
These keys are your credentials used to download Magento 2 from Magento repository via Composer. We will use these keys when we download Magento, but before doing that we are going to set up directory ownership and permissions.
Pre-installation Ownership and Permission Configuration
The file permissions can make or break the security of any website, so it is necessary to properly set the ownership and permission of the document root of Apache server.
The default owner of the /var/www/ directory is the root user, but we need to access and modify the files under this directory. Additionally, the webserver also needs access to the document root to write back and modify the contents of the Magento site.
So to solve this issue, we are going to add the current user to the www-data group, to do so run:
sudo usermod -a -G www-data $USERThe -a -G options are important as they add www-data as a secondary group to the user account, which preserves the user’s primary group. After adding the user to the webserver group, change the owner of /var/www/ and its subdirectories using this command:
sudo chown -R $USER:www-data /var/www/Now that we have set up pre-installation permissions for Magento, we can move on to downloading it in the webserver Document root.
Downloading Magento
Now at this point, you should have a Magento account with access keys and pre-installation permissions set up correctly. So we will use Composer to download Magento into the Apache document root and then install it.
Change the current directory to /var/www/ so the terminal points towards it by running:
cd /var/www/Run the command below to create a new project using Composer known as magento.
composer create-project --repository=https://repo.magento.com/ magento/project-community-edition magentoYou will be prompted for username and password after you use the above command. The access keys we created are to be used here. Copy the public key and paste it in as username then similarly copy your private key and paste it into the terminal as password. Then press Y to save the credentials for future use.
Output:
Creating a "magento/project-community-edition" project at "./magento"
Warning from repo.magento.com: You haven't provided your Magento authentication keys. For instructions, visit https://devdocs.magento.com/guides/v2.3/install-gde/prereq/connect-auth.html
Authentication required (repo.magento.com):
Username: e8b6120dce14c3d982a85525264897c4
Password:
Do you want to store credentials for repo.magento.com in /home/ath/.config/composer/auth.json ? [Yn] Y
After Magento and all its dependencies are downloaded through Composer, we need to set the ownership and permission for the new magento project directory and its files too. Change the directory to the Magento project root by:
cd /var/www/magento/Then change the group owner of the Magento project directory and its sub-directories by running:
find var generated vendor pub/static pub/media app/etc -type f -exec chmod g+w {} + && find var generated vendor pub/static pub/media app/etc -type d -exec chmod g+ws {} + && chmod u+x bin/magento && sudo chown -R :www-data . This command will give the webserver group (www-data) permissions to write to the vendor, pub/static, pub/media & app/etc directories and files inside them. Additionally, it will make the bin/magento file executable, so we can run it and install Magento on our system.
Configuring Apache for Magento
We are going to install Magento through GUI, as it is more intuitive than CLI installation in this case. Thus, we need to create a virtual host for the Apache webserver before we can proceed with the Magento installation.
Open the Apache’s default virtual host file with nano using the following command:
sudo nano /etc/apache2/sites-available/000-default.confChange the Document Root to /var/www/magento and add the following code snippet below it.
<Directory "/var/www/magento">
        AllowOverride All
</Directory>
ServerName example.com
ServerAlias www.example.com
Replace the example.com in ServerName and ServerAlias with your domain name. The changes in your 000-default.conf file should look something like the highlighted text shown below. Save the changes by pressing Ctrl+O and exit the editor by using Ctrl+X keys.
<VirtualHost *:80>

        ServerAdmin webmaster@localhost
        DocumentRoot /var/www/magento
        <Directory "/var/www/magento">
                AllowOverride All
        </Directory>
        ServerName example.com
        ServerAlias www.example.com


        ErrorLog ${APACHE_LOG_DIR}/error.log
        CustomLog ${APACHE_LOG_DIR}/access.log combined

</VirtualHost>
Next, we need to enable an Apache mod called as mod_rewrite required by Magento. It provides a flexible and powerful way to manipulate URLs, so enable the mod by running:
sudo a2enmod rewriteRestart the Apache server so that any changes we made are applied to the server:
sudo systemctl restart apache2Installing Magento
We can finally proceed with the Magento installation, as we have everything that is required by Magento to function. Type in the IP address of your Ubuntu 20.04 server in URL bar of your preferred browser.
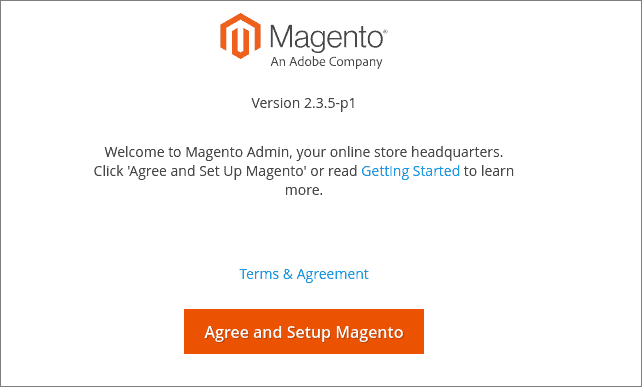
Click on ‘Agree and Setup Magento’ to continue with the Magento installation. The Magento Web installer’s first step is readiness check, it will verify that all the Magento requirements are fulfilled. Click on ‘Start Readiness Check’ and after the process is completed, press on ‘Next’.
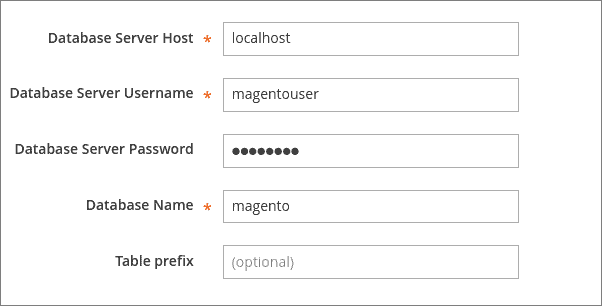
Next step is setting up the details and adding a database for Magento. We have already created a MySQL user for Magento called magentouser and a database called magento in the above section. Fill up the appropriate details in this section, namely the database server username, its password and database name and then press ‘Next’ to proceed.
The third step in the Magento setup is web configuration. Replace the IP address from the ‘Store Address’ input to your domain name if you have one. Don’t forget to put a forward slash (/) after your domain name as otherwise, the Admin address URL becomes inaccessible.
Then click on Advanced Options and tick both the HTTPS options if you want to use a secure connection for your Magento site. Keep the rest of the settings as they are and press on next.
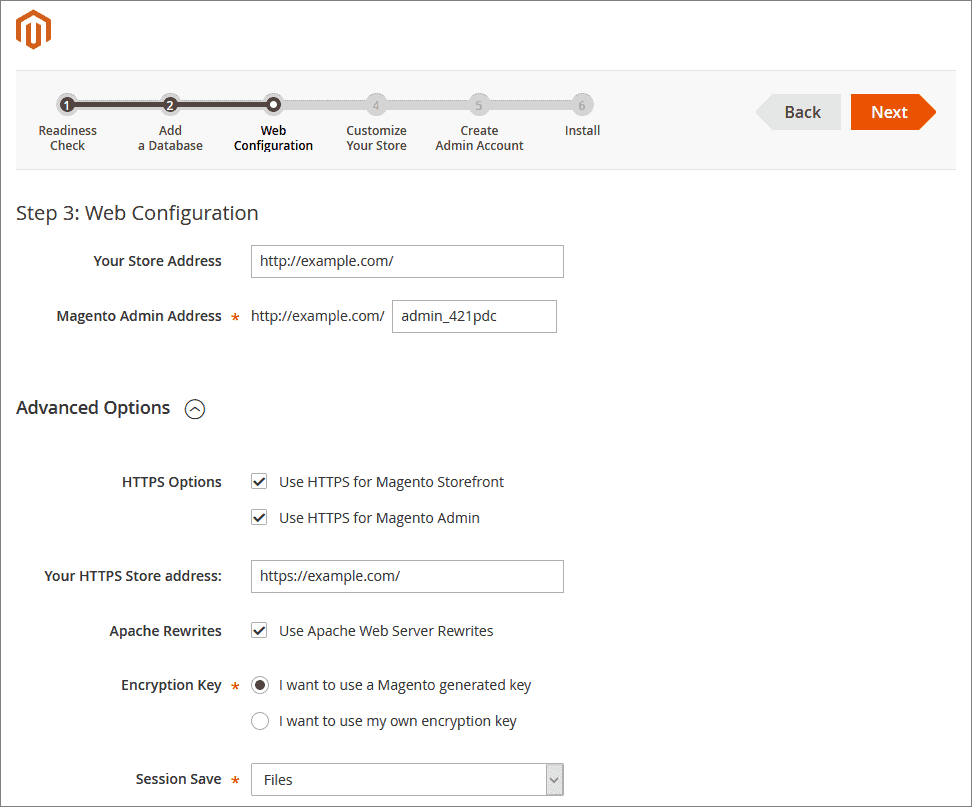
Note: If you tick the HTTPS options you’ll need to get SSL certificates for it. We will look at how to get SSL certificates in the next section of this tutorial.
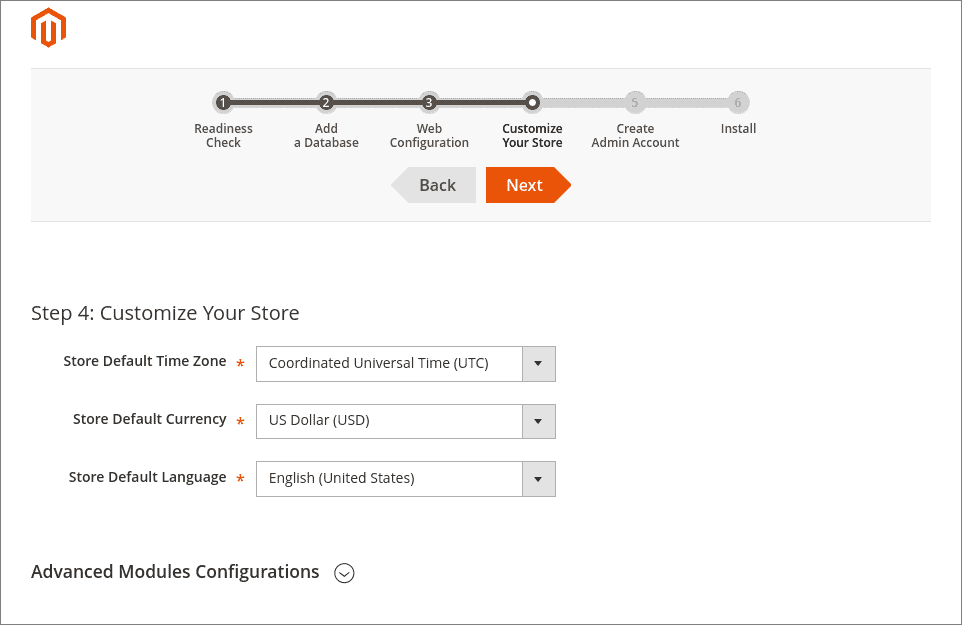
Under ‘Customize Your Store’ settings, you will just need to change the time zone, the default currency used in the store and the default language of the store according to your needs. Look around these settings are configure them if needed otherwise click on next to continue.
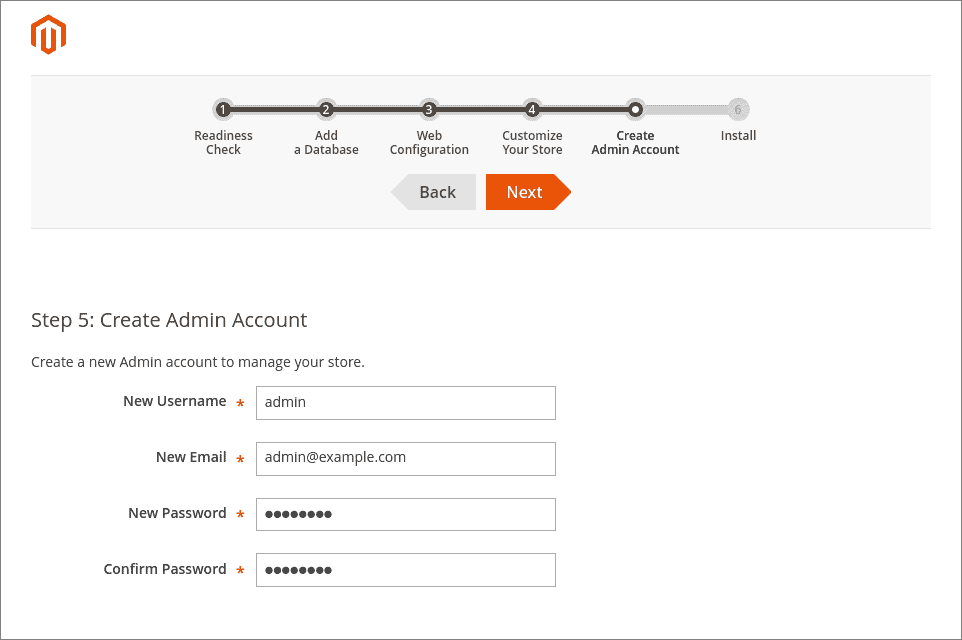
In the fifth step, you will need to create Admin account for your Magento Admin dashboard. Enter a new username for you admin and enter a email address provided by your domain name provider. Create a strong password for the admin account and then hit next when you are done.
The last and final step is to just click on the ‘Install’ button to confirm the settings and begin the installation process. When the installation is complete, Magento setup will show you the summary and some important details about your Magento site.
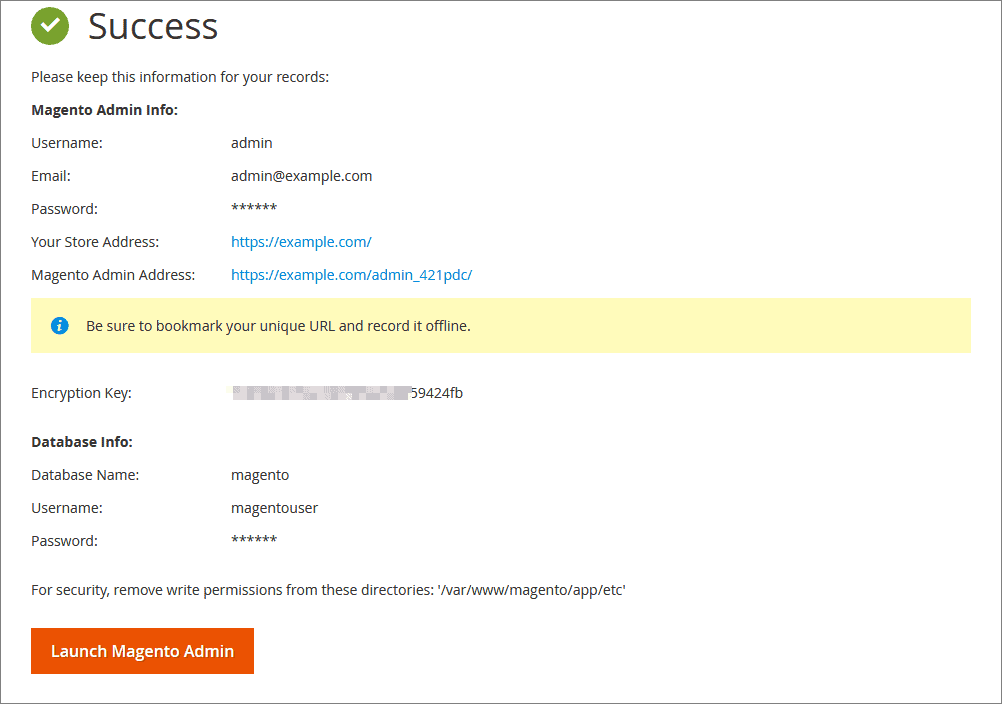
Note down these details somewhere safe such as an offline paper record or in a secure database. The Magento admin address and encryption key should never be publicly shared. The encryption key is used to encrypt the Magento database so that the user data would be safe, even if there is a data leak.
Create SSL Certificate for your Magento Site
The Magento site is deployed, and it can be accessed right after installation is complete. But if you want to serve web traffic over HTTPS, then you’ll need to set up SSL certificate for your domain.
Letsencrypt is a nonprofit certificate authority which provides TLS certificates for free. We are going to use a package called certbot which helps in getting the certificate and configuring the Apache virtual host automatically. Run this command in the terminal to install certbot:
sudo apt install certbot python3-certbot-apacheTo get your certificate from Letsencrypt and configure the Apache virtual host, run the following command:
sudo certbot --apacheCertbot will begin the process of getting certificates from Letsencrypt, provide your email address when prompted and then hit the enter key. Next, type A to agree to the Letsencrypt terms of service. You will be asked if you want to share your email address with the EFF, type in Y or N depending upon your choice.
Next, you will be given a list of domain names you wish to activate HTTPS for. Type in the appropriate number corresponding to your domain name and hit Enter.
After selecting your domain name, you’ll be asked if you want to redirect HTTP traffic to HTTPS, type 2 and hit enter. Certbot will now automatically configure the Apache virtual host for the domain example.com.
The Certbot package comes with cronjob that renews your server certificates automatically before they expire. Test if the automatic renewal is working by running:
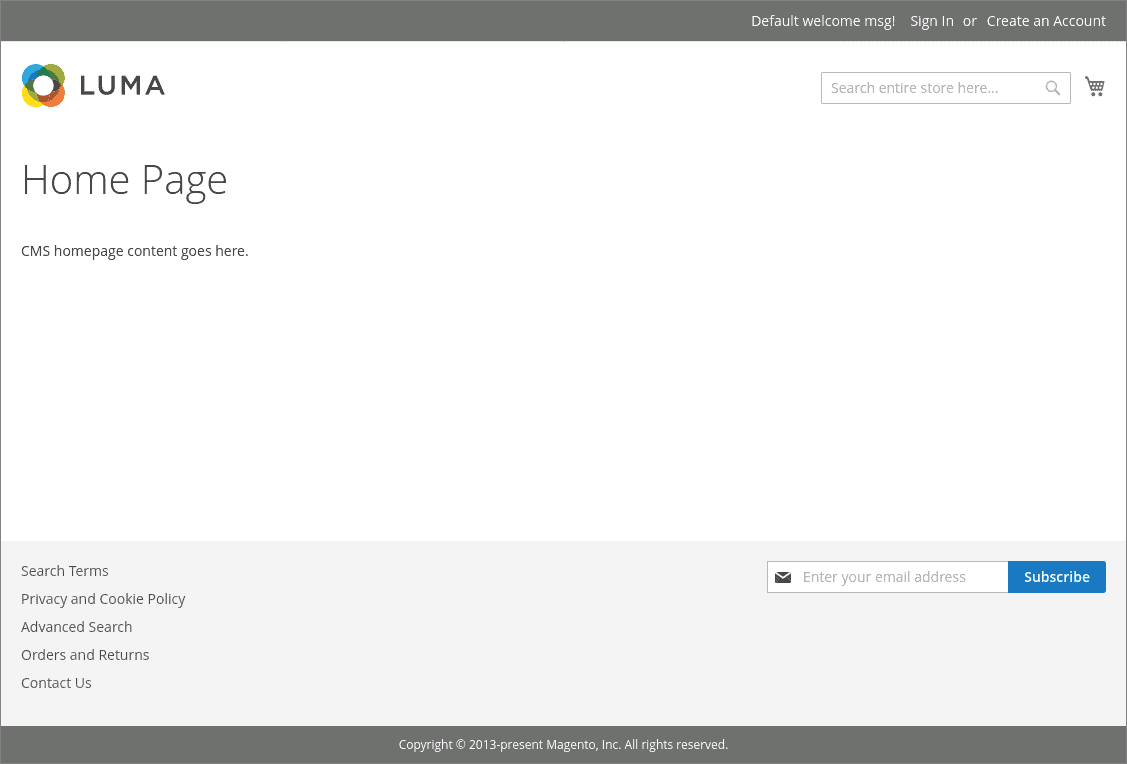
sudo certbot renew --dry-runThe above output means that the auto-renewal cronjob is working properly. To confirm that Certbot worked, open your browser and visit your domain https://example.com.
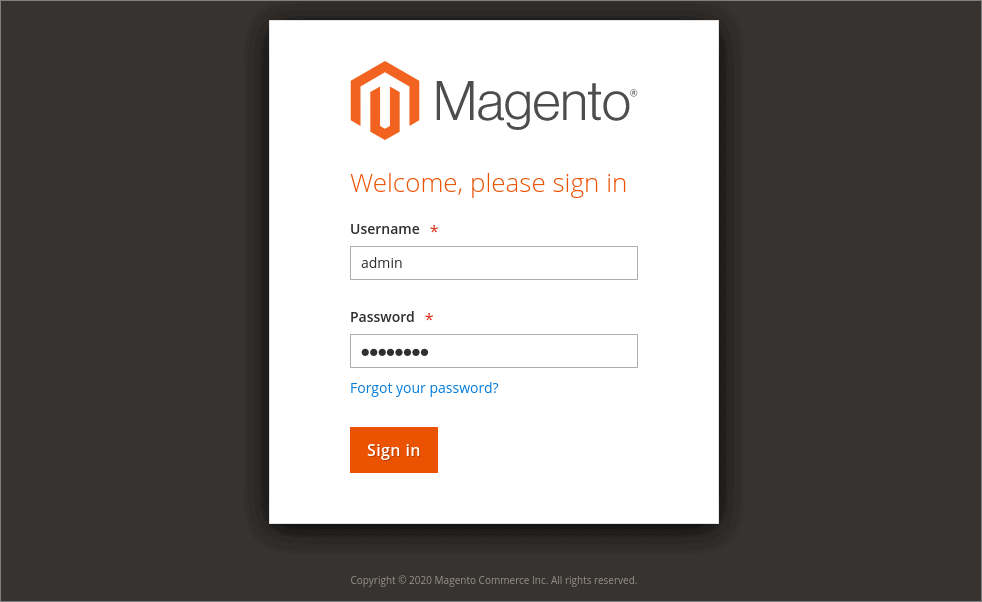
Similarly, you can access the admin login page using the https://example.com/admin_SecretString, this URL was at the end of the Magento installation.
You have now successfully installed Magento on the Ubuntu 20.04 LTS server and now you can begin to customise your store according to your needs. To know more about Magento and learn about store development, head on over to the Magento Docs page.