
If you have ever felt the pain of high Database load causing the slowdowns in your web-apps and wondered “Is there a way to decrease the latency caused by DB queries?”, then the answer to that question is a big yes. Memcached a friendly neighbourhood memory cache daemon is here to solve all your woes! Caching the DB is one of the simplest methods to alleviate DB load and speed up the dynamic web applications.
Memcached defines itself as high-performance, distributed memory object caching system, generic in nature, but originally intended for use in speeding up dynamic web applications by alleviating database load. Developed by Brad Fitzpatrick for his website LiveJournal in 2003.
In this article, we will look at how to install and configure Memcached in Ubuntu 20.04 and look at its language-specific clients.
Prerequisites
A system installed with Ubuntu 20.04 with a user with administrative rights, that is a sudo user.
Installation
Memcached is available on official Ubuntu 20.04 repository, in addition to Memcached we are also going to install a CLI tool known as libmemcached-tools to manage Memcached. Just run the following command to install both
sudo apt install memcached libmemcached-tools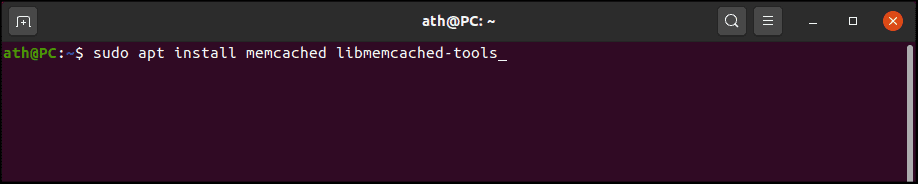
Verify Installation
After installation is complete, Memcached daemon starts in the background by itself. To verify installation, we can use a command from libmemcached-tools package to get Memcached server stats. Either run
memcstat --servers localhostor
memcstat --servers 127.0.0.1The memcstat command shows the stats of running server. The above command will result in output displayed below.
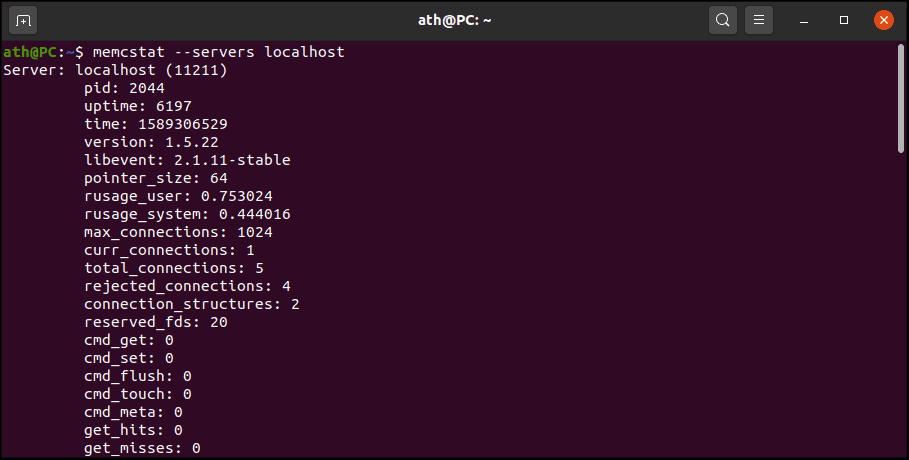
Various stats such as uptime in seconds, version and pid will be displayed as output. However, if no output is displayed it is possible that Memcached isn’t running. Therefore, you must run the following command to start the Memcached server.
sudo systemctl start memcachedTo run Memcached server on system startup use the following command.
sudo systemctl enable memcachedConfiguring Memcached
If you have your memcached installed on the website server itself, there is no need to change configuration file as memcached is preconfigured to work with localhost.
On the other hand, if you have installed Memcached on a separate system you will need to change the configuration to allow the remote server access to Memcached server.
Setting up Remote Access for Memcached Server
Memcached is vulnerable to DDoS (Distributed Denial of Service) attacks. Incorrect firewall rule and open UDP ports will leave your server open and vulnerable to DDoS attacks.
To mitigate the risk, we can either disable UDP protocol for Memcached in configuration or set up firewall only to allow trusted servers.
Out of the box, Ubuntu ships with no TCP or UDP ports open. Furthermore, the firewall daemon ufw (uncomplicated Firewall) is not enabled by default.
We are going to enable the firewall and set up the Memcached configuration so that we can mitigate the DDoS vulnerability.
First, enable the ufw by running the following command:
sudo systemctl enable ufw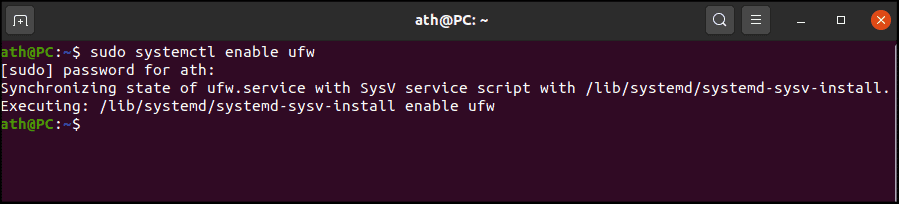
Then start the ufw service by running the below command:
sudo systemctl start ufwWith the Firewall running, we can finally set up the firewall rules. Firstly, enable port 22 to allow SSH connections. SSH is needed to remotely access the desired server.
sudo ufw allow 22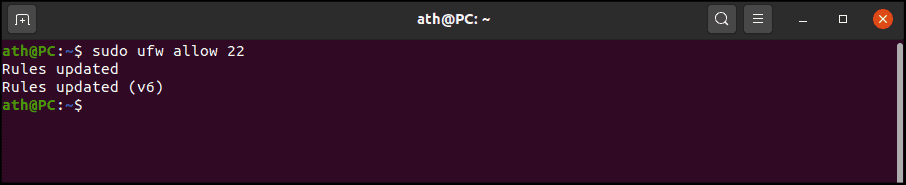
Secondly, you need to know the IP address of the client, that is web-application host and IP address of the server, that is the Memcached server.
To this instance, let us assume the Client IP to be 192.168.0.4 and Memcached server IP to be 192.168.0.5 on a local network.
So to allow remote access of memcached server to client server, run:
sudo ufw allow from 192.168.0.4 to any port 11211Replace the 192.168.0.4 with your desired Client IP address.
Next, edit the Memcached configuration file located at /etc/memcached.conf by running nano command.
sudo nano /etc/memcached.confThe memcached.conf configuration file will open with the nano editor, look for the -l 127.0.0.1 line in the configuration and replace 127.0.0.1 with your Memcached Server IP or in this instance 192.168.0.5.
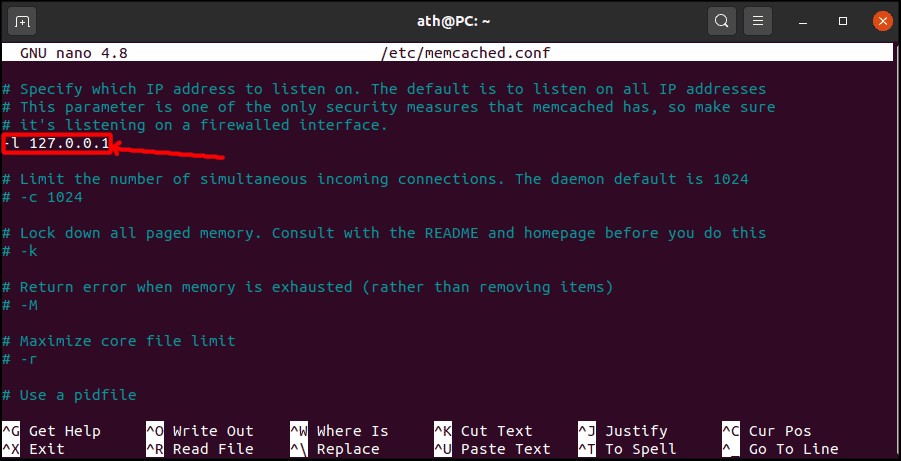
After replacing press ctrl+o to write to the configuration file and hit enter, press ctrl+x to exit nano.
Restart the Memcached server and ufw firewall by running the below command.
sudo systemctl restart memcached ufwNow we are done with installation and configuration of Memcached server on Ubuntu 20.04.
Connecting to Memcached Server
To use Memcached server, you will need to install a language-specific client. Fortunately, Memcached has support for many popular languages.
Thus let us see how to install php and python client for Memcached.
PHP is the most popular server-side scripting language and Memcached is mostly used by web developers to improve server performance of web apps powered by PHP.
To install memcached support in php, run:
sudo apt install php-memcachedPython too has several libraries that can work and interact with Memcached server such as pymemcached or python-memcached.
You can install memcached for python by running the following pip commands:
pip install pymemcachepip install python-memcachedIn conclusion, we have looked at installation, configuration and few language-specific clients of Memcached in Ubuntu 20.04.
To know more nitty-gritty and advanced usage of Memcached, take a look at Memcached Wiki.