
Wireshark is a powerful open-source network protocol analyzer that allows you to monitor and troubleshoot network traffic in real time. Whether you're a network administrator, developer, or simply curious about network protocols, installing Wireshark on your Ubuntu system can greatly aid in analyzing packet data and diagnosing network issues. This guide will walk you through the process of installing Wireshark on Ubuntu, configuring it for non-root users, and launching the application.
Prerequisites
Before installing Wireshark, ensure that you have the following:
- Access to a user account with
sudoprivileges. - An active internet connection.
- Ubuntu system updated to the latest packages.
Update System Packages
It's important to update your system's package list to ensure you have access to the latest software versions. Open a terminal and run:
sudo apt update && sudo apt upgradeInstall Wireshark
There are two primary methods to install Wireshark on Ubuntu:
Method 1: Install from Official Ubuntu Repositories
This is the simplest way to install Wireshark using the default Ubuntu repositories.
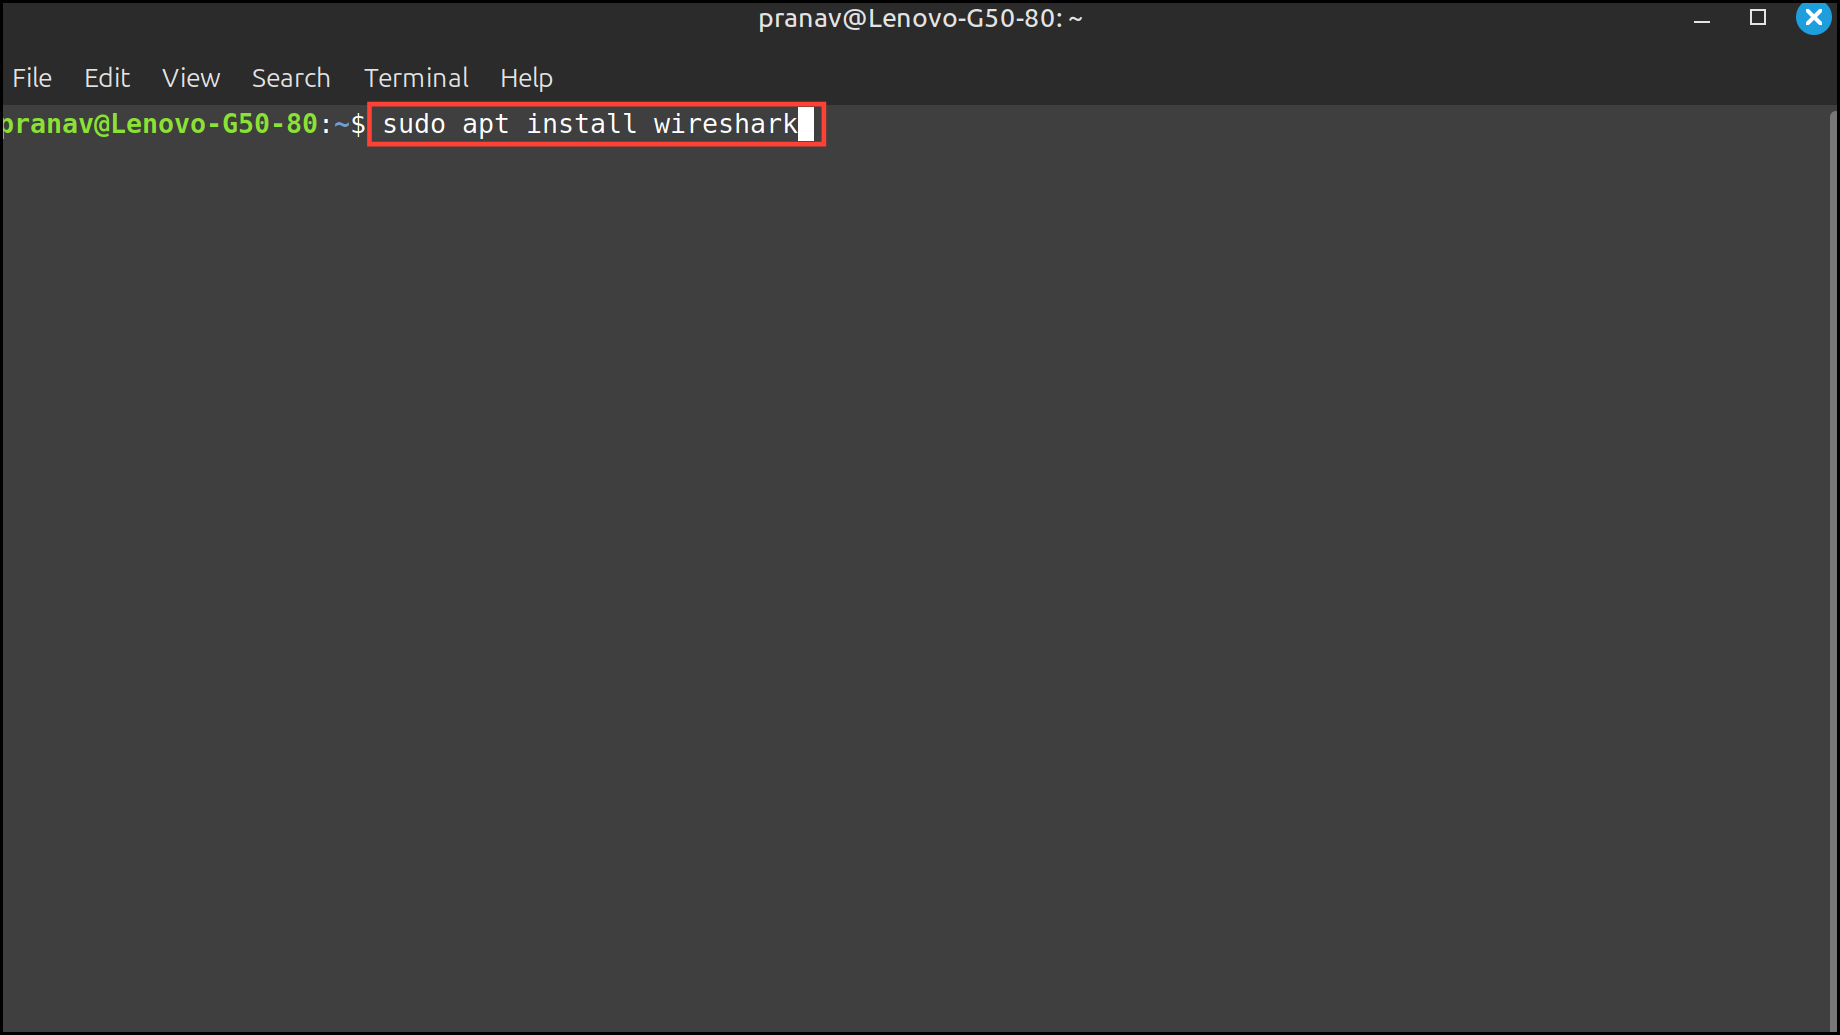
- Install Wireshark by running:
sudo apt install wireshark- During installation, you'll be prompted with a configuration message asking "Should non-superusers be able to capture packets?" Select Yes using the
TabandEnterkeys.
- Add your user to the
wiresharkgroup to allow packet capturing without root privileges:
sudo usermod -aG wireshark $(whoami)- Update group memberships by logging out and logging back in, or by running:
newgrp wiresharkMethod 2: Install Latest Version from Wireshark PPA
If you need the most recent version of Wireshark, you can install it from the official Wireshark Personal Package Archive (PPA).
- Add the Wireshark PPA to your system:
sudo add-apt-repository ppa:wireshark-dev/stable- Update the package list:
sudo apt update- Install Wireshark:
sudo apt install wireshark- When prompted with the configuration message "Should non-superusers be able to capture packets?", select Yes.
- Add your user to the
wiresharkgroup:
sudo usermod -aG wireshark $(whoami)- Refresh group memberships:
newgrp wiresharkVerify Wireshark Installation
To confirm that Wireshark is installed correctly, check its version:
wireshark --versionYou should see output similar to:
Wireshark 3.6.2 (Git commit 1234567)Launch Wireshark
You can start Wireshark in several ways:
- From the terminal by running:
wireshark- Using the desktop environment:
- Press the
Superkey (usually the Windows key) and type Wireshark. - Click on the Wireshark icon to launch the application.
Capture Packets with Wireshark
Once Wireshark is open, you can begin capturing network traffic:
- Select the network interface you wish to monitor from the list of available interfaces.
- Click on the blue shark fin icon at the top to start capturing packets.
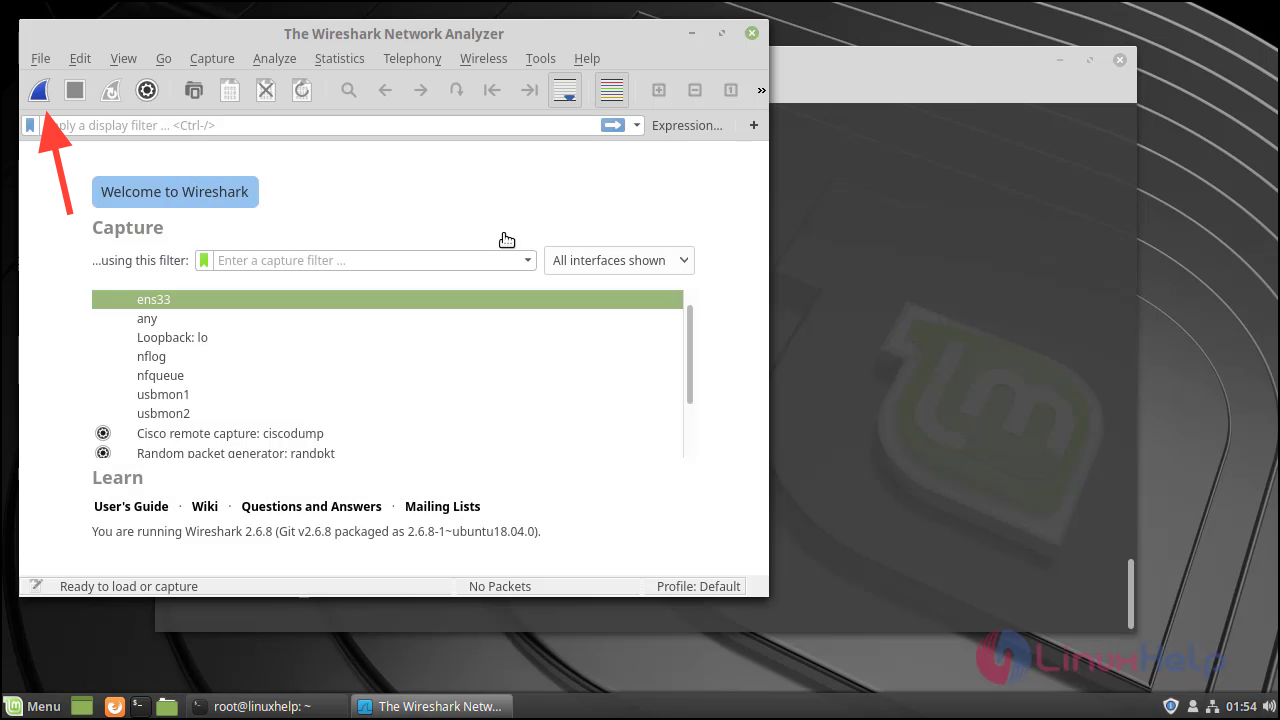
- To stop capturing, click on the red square stop button.
Troubleshooting Common Issues
If you encounter the error "Couldn't run /usr/bin/dumpcap in child process: Permission Denied", it indicates a permissions issue.
- Reconfigure Wireshark to allow non-root users to capture packets:
sudo dpkg-reconfigure wireshark-common- Select Yes when prompted.
- Add your user to the
wiresharkgroup if you haven't already:
sudo usermod -aG wireshark $(whoami)- Update group memberships:
newgrp wiresharkUninstall Wireshark
If you need to remove Wireshark from your system, you can do so with the following command:
sudo apt remove --purge wiresharkThis command will uninstall Wireshark and remove any associated configuration files.
By following these steps, you have successfully installed Wireshark on your Ubuntu system. You're now ready to analyze network traffic and troubleshoot network issues with this versatile tool.