Zoom has become an essential tool for video conferencing, offering features like video calls, chat, and screen sharing. Although it’s widely used, installing Zoom on Ubuntu 20.04 can be done through several methods. This guide will walk you through the most effective ways to install Zoom on your Ubuntu system.
Installing Zoom via Snap Package
The easiest and most efficient way to install Zoom on Ubuntu 20.04 is by using the Snap package. Snaps are self-contained software packages that include all the dependencies needed to run an application. Zoom is available as a Snap package, making the installation process straightforward.
sudo snap install zoom-clientAn authentication prompt may appear. Enter your password and click the ‘Authenticate’ button to proceed.

Alternatively, you can install Zoom using the Ubuntu Software Center. Open the Software Center, search for “Zoom,” and install the Zoom client from there.
Installing Zoom Using the Official .deb Package
If you prefer to install Zoom using the official .deb package, you can download it directly from the Zoom website and install it via the command line.
wget https://zoom.us/client/latest/zoom_amd64.deb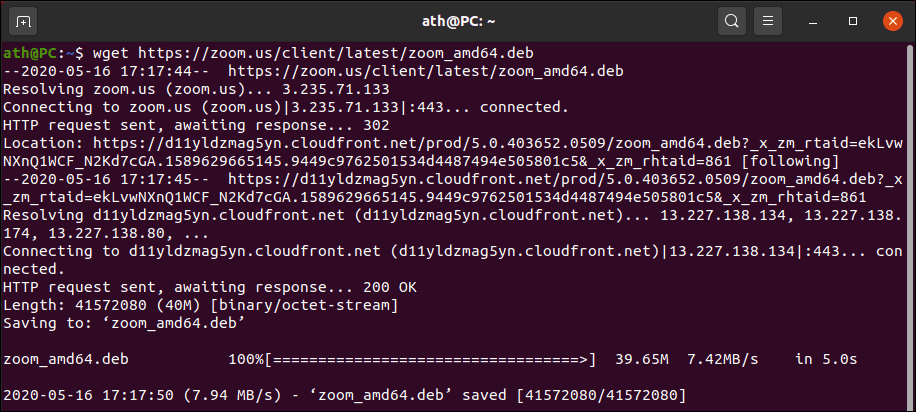
sudo dpkg -i zoom_amd64.deb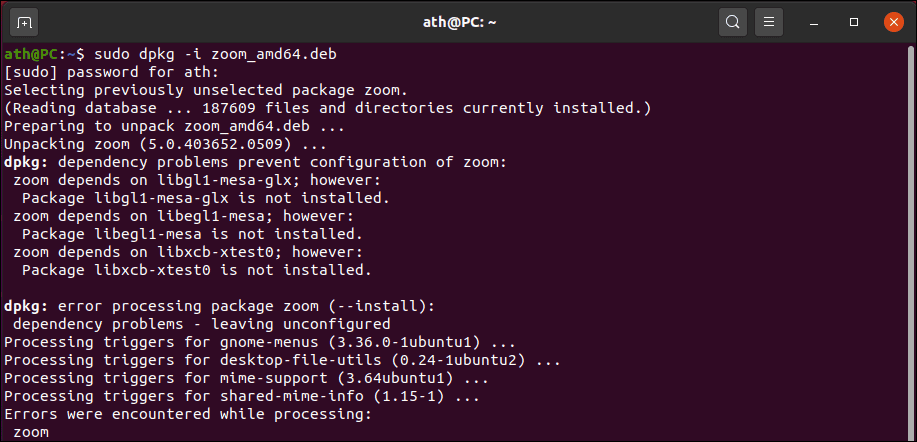
During the installation, you might encounter dependency errors as shown above. To resolve these, run the following command to fix the dependencies:
sudo apt install -fOnce the dependencies are installed, Zoom should be successfully installed on your system. You can launch it from the App Launcher or Activities search menu.
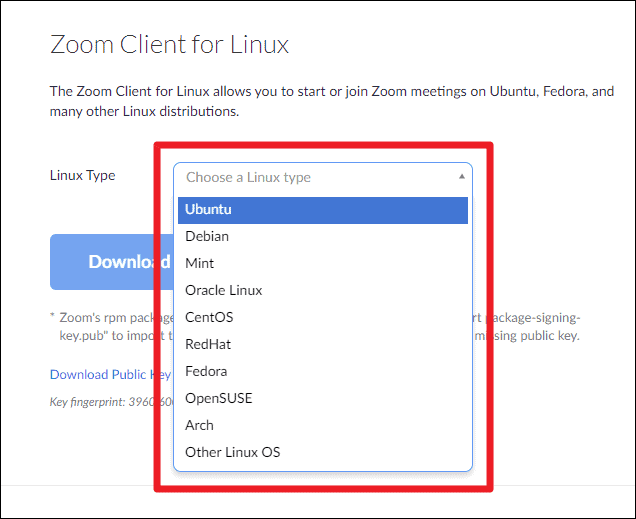
Installing Zoom from the Zoom Download Center
You can also install Zoom by downloading the installer from the Zoom Download Center.
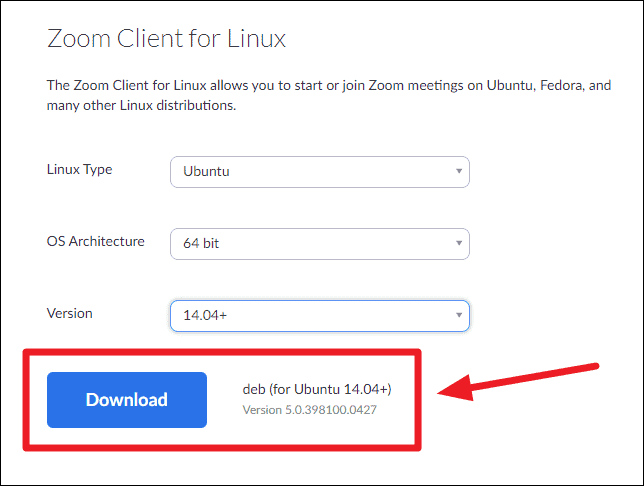
Downloads folder and double-click the zoom_amd64.deb file to start the installation process.By following any of these methods, you can easily install Zoom on your Ubuntu 20.04 system. Whether you choose the Snap package for a quick installation or the official .deb package for a more traditional approach, Zoom provides a reliable platform for your video conferencing needs.