Google Slide is one of the best web-based presentation programs available in the market. You can access it from any system across the globe with your sign-in details. Moreover, the features offered by the platform are at par or even better than most of the others.
When you loop a Google Slide, the slide(s) will continue to spiral. In simple words, once the slideshow ends, it will restart, and this continues until you stop it. If you plan to loop a Google Slide, adding the feature will help save time by avoiding replaying it continuously. Looping a slide can be beneficial on occasions where you want to play the same set of slides again and again.
There are two ways of looping a slide, without publishing it to the web or after publishing it. We will be discussing both methods in this article.
Looping a Google Slide Without Publishing to the Web
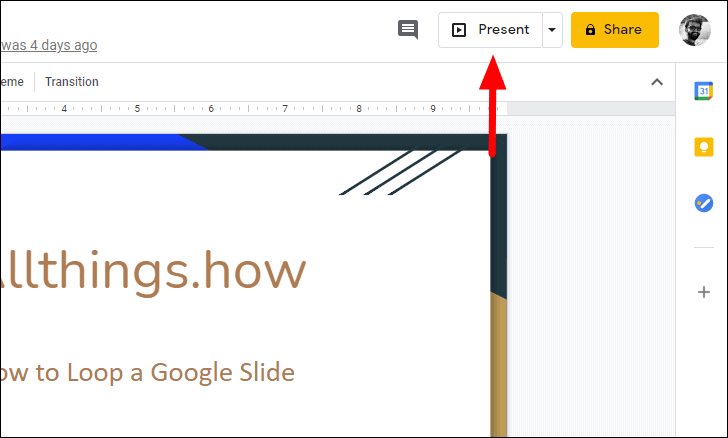
Once you are done with the presentation, click on the ‘Present’ icon at the top-right corner to play the slideshow.
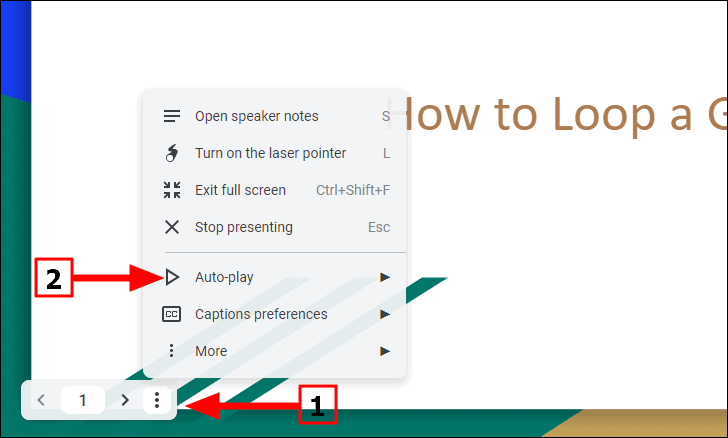
Move the cursor to the bottom left corner, click on the ellipsis and then select ‘Auto-play’ from the list of options
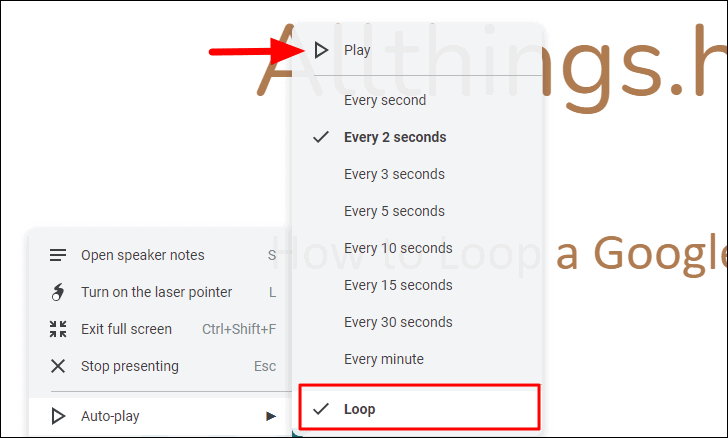
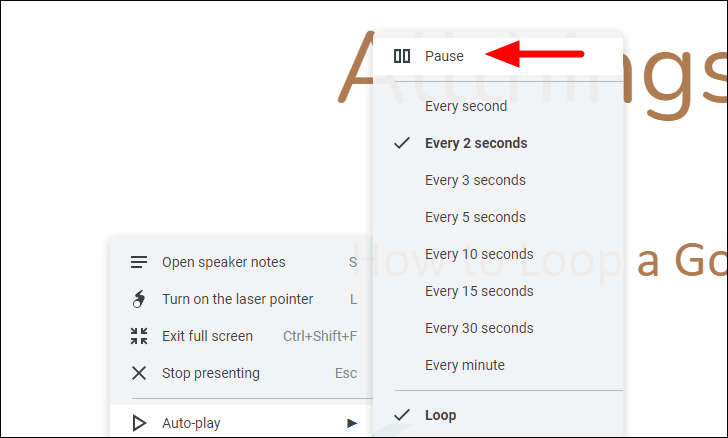
Next, click on ‘Loop’ in the context menu. A tick appears before the option after it’s selected. Google Docs also offers the option to change the time period the slides advance at ranging between 1 second to 60 seconds. After you have made the necessary selections, click on ‘Play’ at the top to start the presentation in a loop.
Once the presentation starts, you can pause it anytime by clicking on the ‘Pause’ icon, in place of the ‘Play’ icon which we selected earlier.
Looping after Publishing to the web
This method works great when you have to share the slides with someone. After you publish it to the web, Google Slides provides you a link to it that you can share with others.
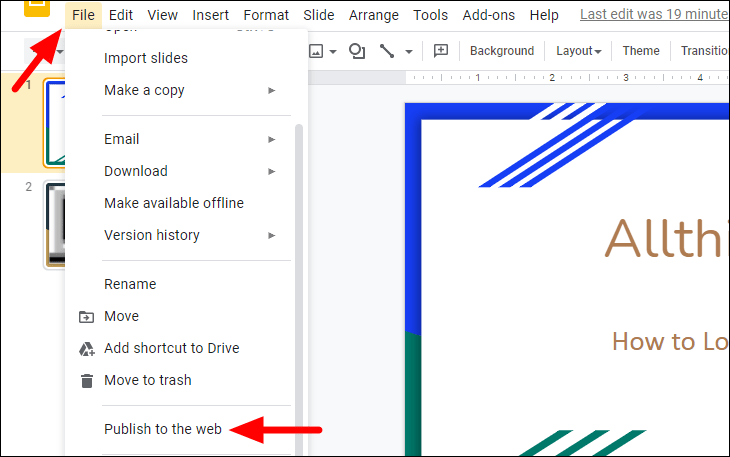
Click on the ‘File’ menu at the top and then select ‘Publish to web’ from the drop-down menu.
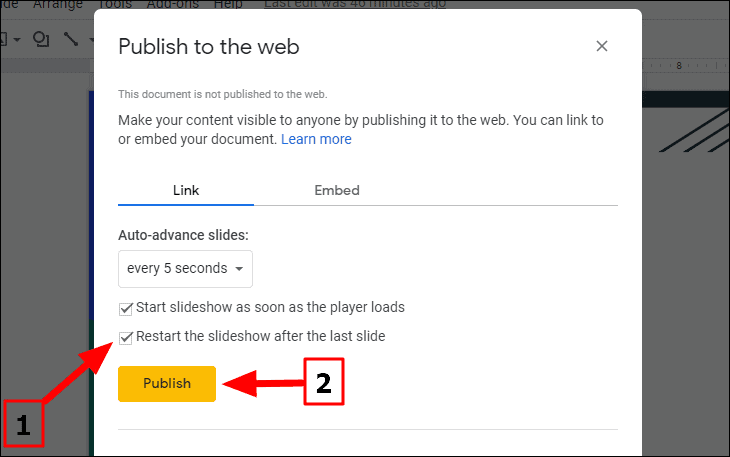
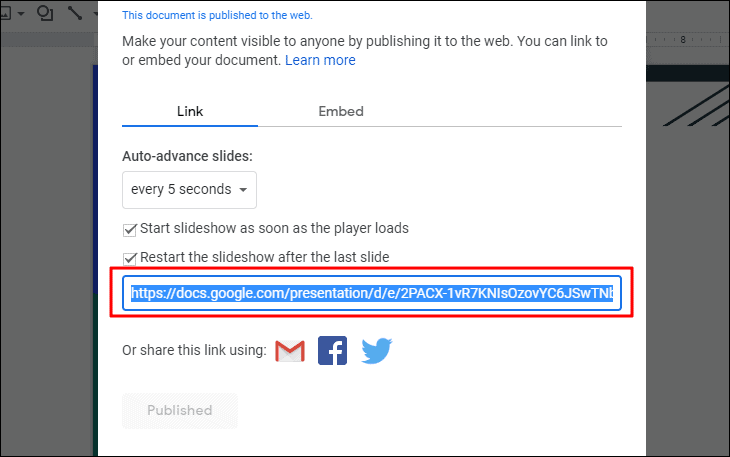
Next, select the time period for a slide to display and then tick the checkbox for ‘Restart the slideshow after the last slide. This basically means to run the slideshow in a loop. The other checkbox is optional and does not affect the loop feature. Once you are done with the selections, click on ‘Publish’ at the bottom.
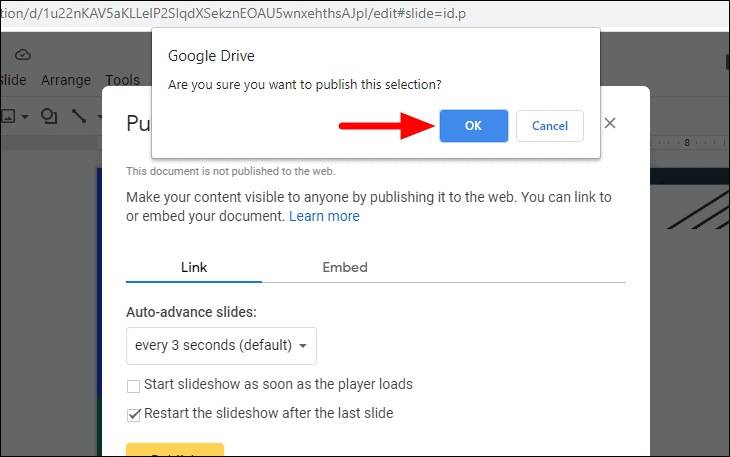
Next, click on ‘OK’ in the confirmation box that pops up at the top of the window.
You will now see a link where the ‘Publish’ icon was initially located. Copy the link and paste it in a new tab/window to open the presentation.
The presentation will now play on loop and the first slide will reappear after the last slide. It will not end unless you close the window.
Looping a presentation helps you save time and unnecessary effort to manually replay a presentation at an event or public gathering where a slideshow must continue to run until the event is more.


