
Formatting text in columns in Microsoft Word can enhance the layout and readability of your documents. Here’s how you can create and customize columns to suit your needs.
Making columns in Word
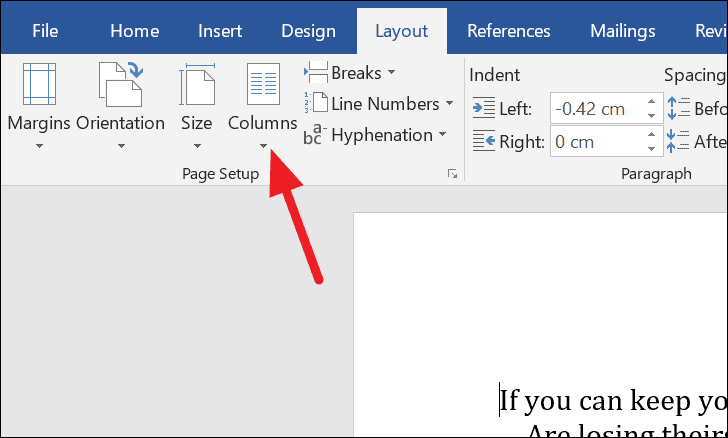
Layout tab.
Left and Right options create columns of unequal width; selecting Left makes the right column wider, while Right makes the left column wider. To create more than three columns, select More Columns...
Columns dialog box, enter the number of columns you want in the Number of columns field, then click OK.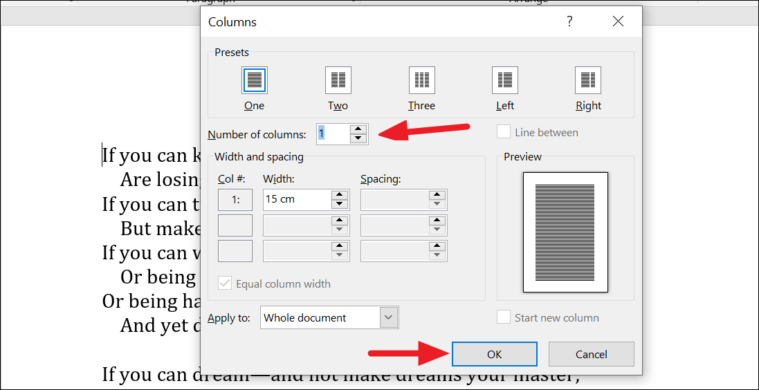
The text in your document will automatically adjust to fit the number of columns specified. If you’re working with a new document, any text you type will flow into the columns as you write.
Setting custom width and spacing
You can customize the width and spacing of your columns for a more tailored layout. Click the Layout tab, select Columns, and then choose More Columns...
In the Columns dialog box, specify the number of columns. Adjust the Width and Spacing settings to your preference, then click OK.
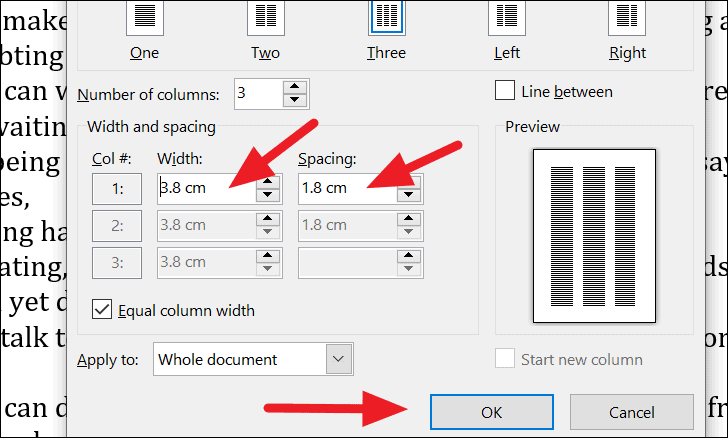
By default, the columns will have equal widths based on the values you enter. For instance, setting three columns each with a width of 3.8 cm will create uniformly sized columns throughout your document.
If you prefer columns of varying widths, uncheck the Equal column width option in the Columns dialog box. You can then enter individual widths for each column before clicking OK.

Making columns from specific point or section
Sometimes you might want to apply columns to only a part of your document, such as starting from a specific point or within a particular section. This is useful when you don’t want the entire document formatted in columns.
Layout tab, click on Columns in the Page Setup group, and choose More Columns...Apply to: option, click the drop-down menu and select This point forward to apply columns from the cursor’s position onward, or choose This section to apply columns to a specific section. Click OK to apply the changes.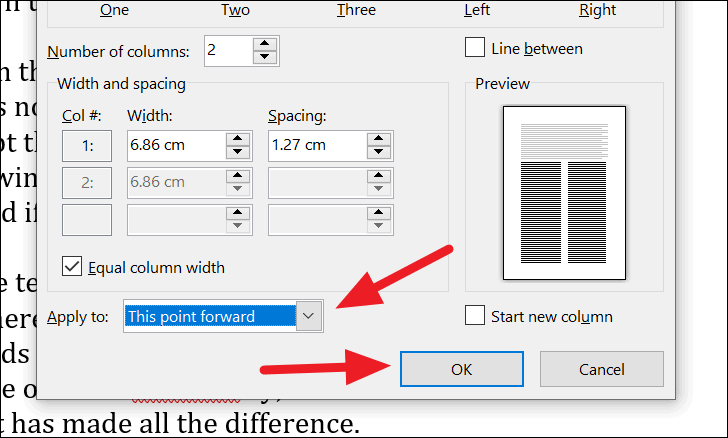
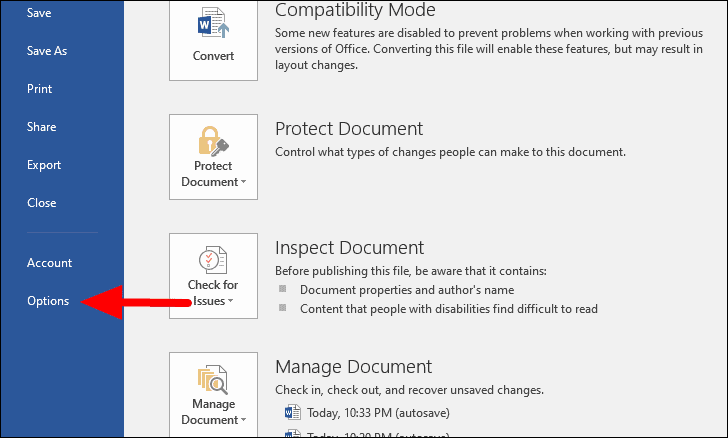
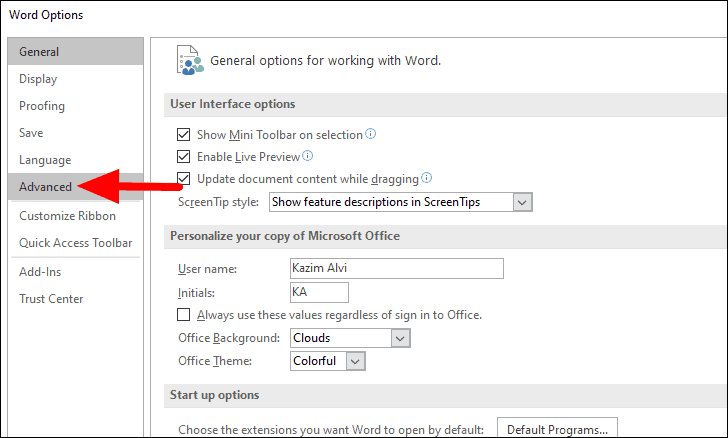
Enabling ‘Show text boundaries’
Enabling text boundaries can help you visualize the layout of your columns and sections, making it easier to distinguish between them. By default, this feature is disabled in Word, but you can enable it at any time through the options menu.
Show document content section. Check the box next to Show text boundaries, then click OK to save your changes.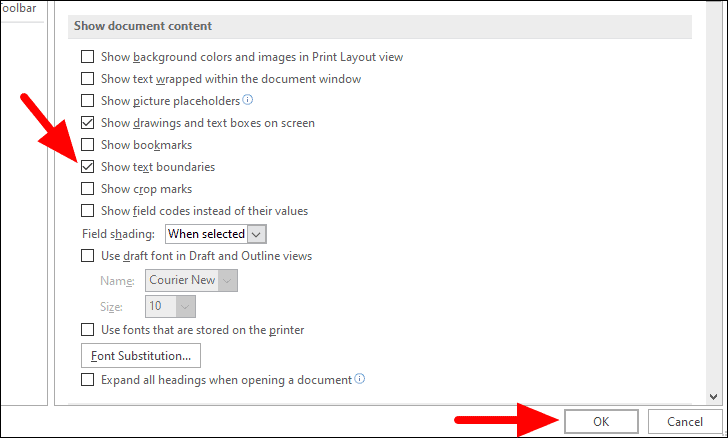
After enabling text boundaries, you’ll see dotted lines outlining the text areas in your document, helping you identify different columns and paragraphs more easily.
This guide should help you create and customize columns in Microsoft Word to enhance your document’s layout and readability.