Google Docs, a feature-rich online word processor introduced in 2006, has become a popular tool for creating diverse documents. Among its functionalities is the ability to craft brochures, either by utilizing available templates or by customizing layouts using various tools and functions. While using templates simplifies the process, designing a brochure from scratch allows for greater personalization but may require more time and effort.
There are primarily two types of brochures you can create on Google Docs: a two-page brochure using a built-in template, and a three-fold brochure crafted by inserting a table. Below, we’ll explore both methods in detail.
Creating a Two-Page Brochure Using a Template
The easiest way to make a brochure in Google Docs is by using one of its built-in templates. This method saves time and ensures a professional layout without the need to design from the ground up.
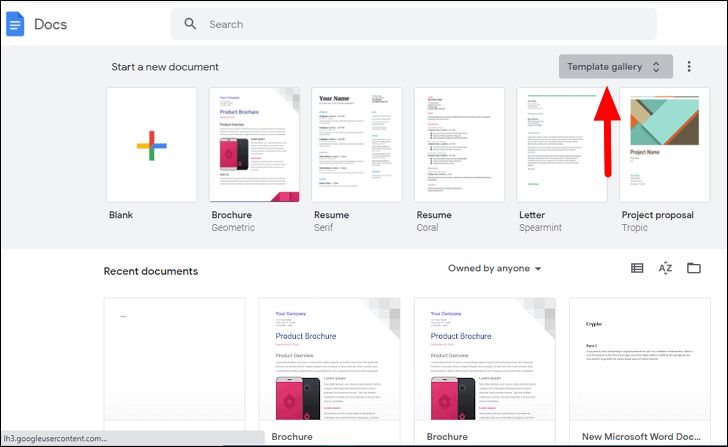
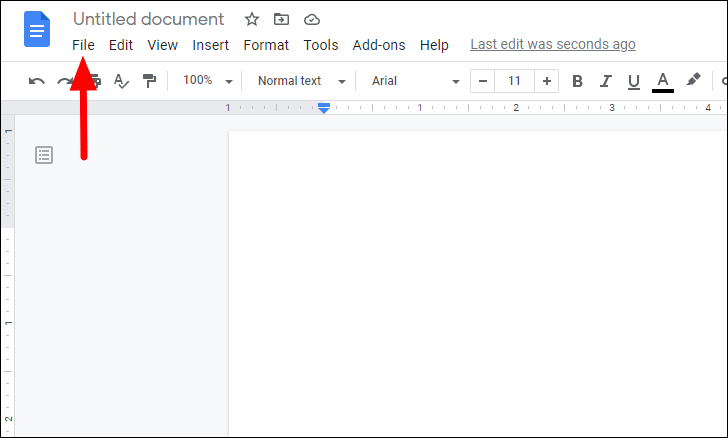
To get started, open docs.google.com. In the upper-left corner, click on the Template Gallery to view all available templates.
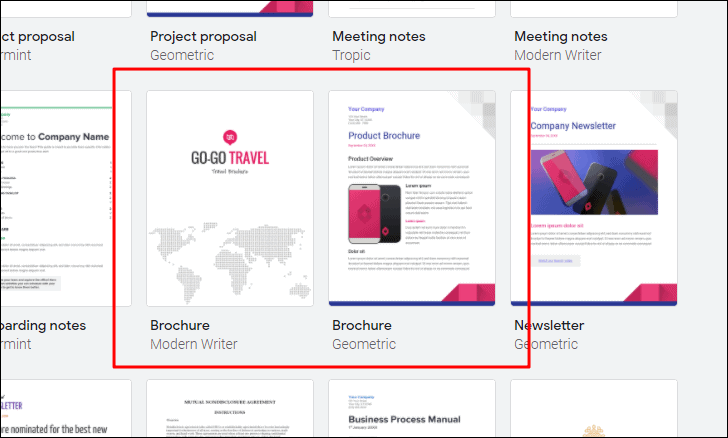
Scroll down to the Work section, where you’ll find brochure templates. Google Docs currently offers two options: Modern Writer and Geometric. For this guide, we’ll select the Geometric brochure template.
The template provides a structured layout that you can customize with your own content. Begin by replacing the placeholder text with your company name and address in the top section. Next, update the brochure title and date to reflect your specific purpose.
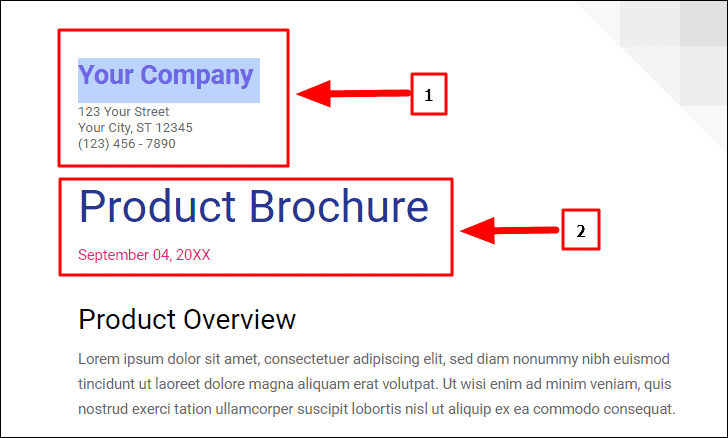
You can modify headings and body text using the toolbar options to change font styles, sizes, and colors. The initial section typically contains a product or service overview. Ensure this section is engaging and concise to capture the reader’s interest from the outset.
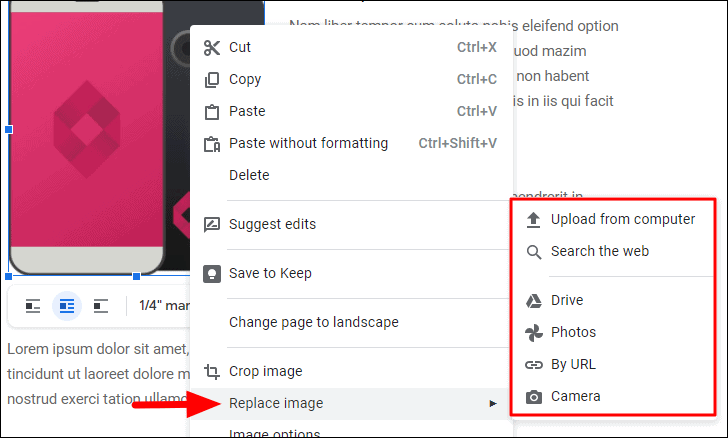
To personalize the imagery, you can replace the existing image with one that aligns with your content. Right-click on the image, select Replace image, and choose an image from your computer or another source.
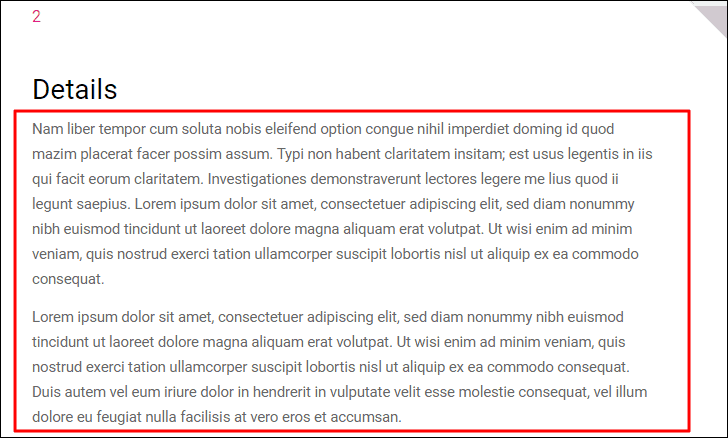
The second page is designed for detailed information. Replace the placeholder text with relevant content that provides value to your audience. Remember to maintain visual appeal by organizing information clearly and incorporating images or graphics where appropriate.
Using a template for your brochure ensures consistency and professionalism while minimizing the time required to produce a polished document.
Designing a Three-Fold Brochure from Scratch
For a more customized brochure, you can create a three-fold design by manually setting up the layout. This type of brochure is folded into three sections and often printed on both sides, allowing for more content in a compact format.
Select Page setup from the dropdown menu.
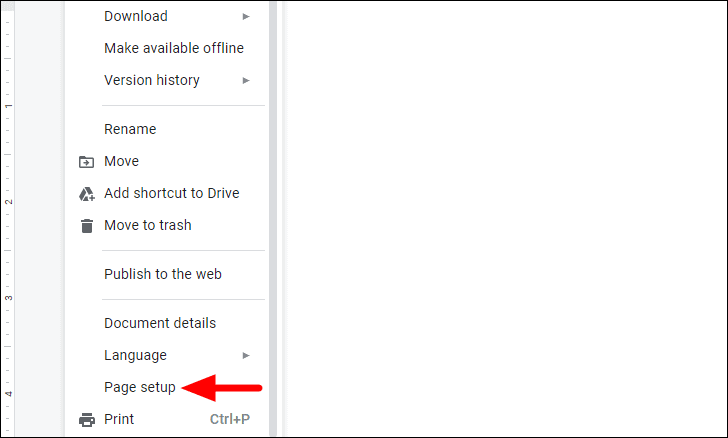
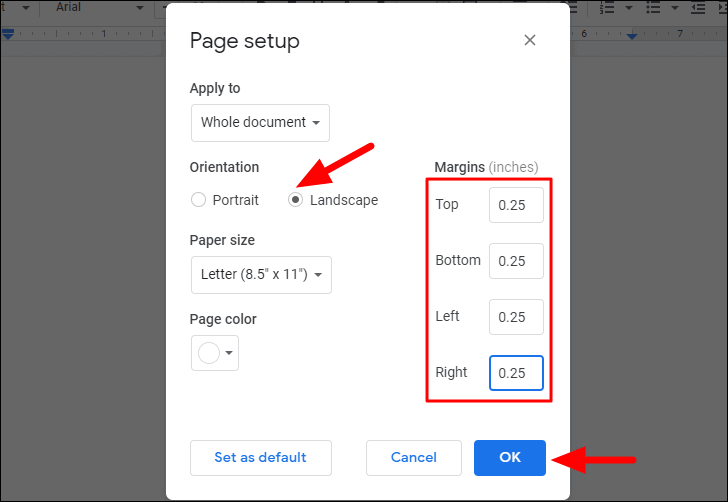
In the Page setup dialog, choose Landscape orientation. Set all margins to 0.25 inches for a minimal border. Click OK to apply the changes.
3x1 dimensions.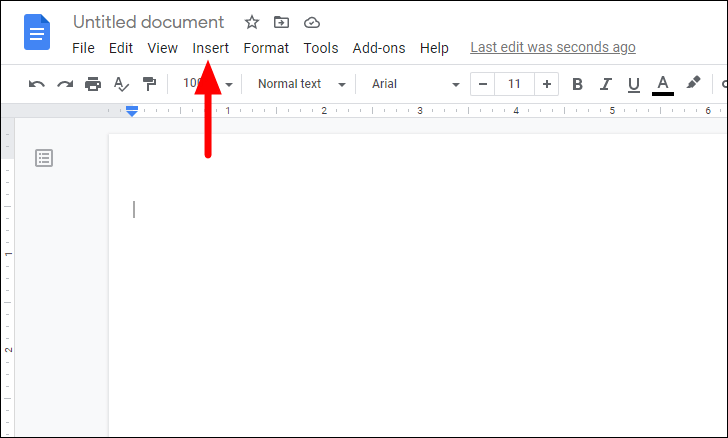
The table will appear as a single row with three columns.
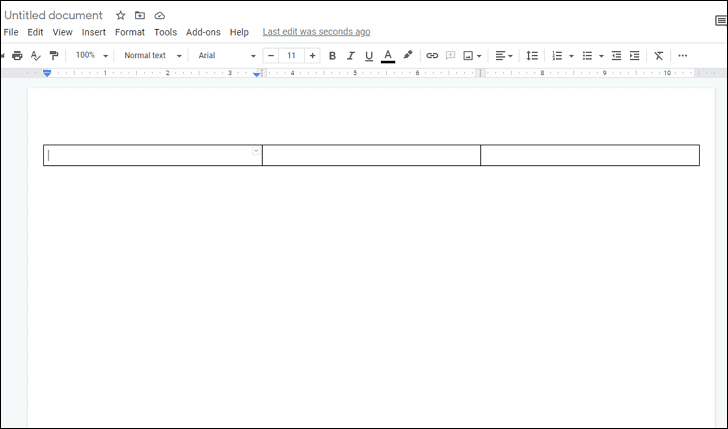
Enter repeatedly until the table extends to the bottom of the second page.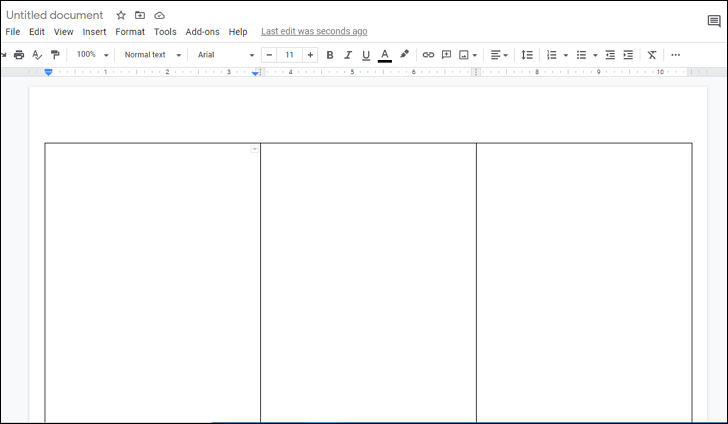
This setup mirrors the physical folding of a three-fold brochure. To visualize the layout, you might fold a piece of paper into thirds to determine where each section’s content will appear.
Inserting Images into Your Brochure
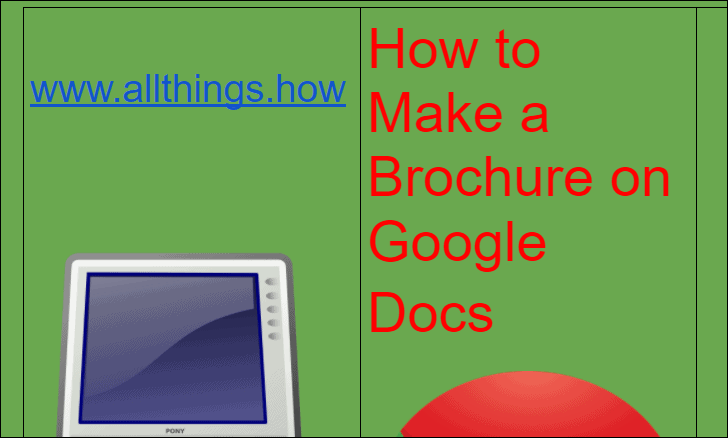
Enhance your brochure by adding images relevant to your content.

Incorporate images that complement your text to keep readers engaged and to visually convey important information.
Finalizing Your Brochure
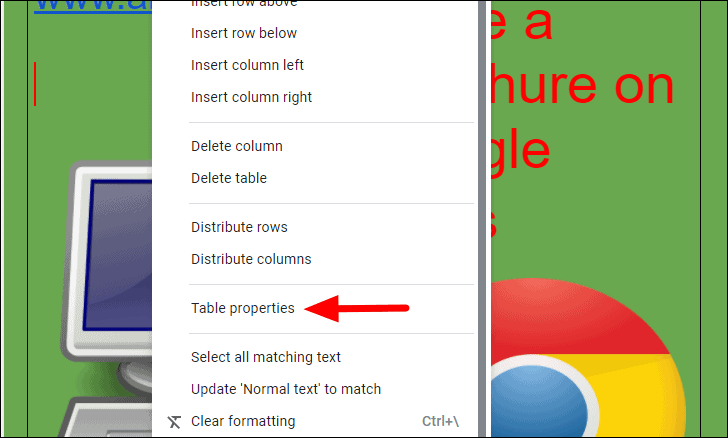
After adding all your content, it’s important to remove the table borders for a clean look.
0 pt.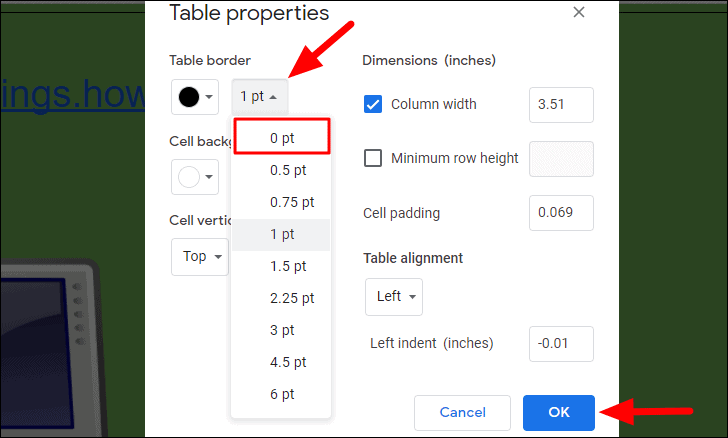
This will remove the visible borders when you print or share the brochure.
Creating a brochure in Google Docs, whether using a template or designing one from scratch, allows you to produce professional and eye-catching materials. By following these steps and customizing the content to suit your needs, you can effectively communicate your message to your intended audience.