
Stop motion videos are pretty popular in today’s time. You will often find influencers and brands posting ‘Stop Motion’ videos on different social networking platforms to promote their products. They are appealing and have that creative element that draws people, thereby making them the current favorite. If you too want to create one, the process is fairly simple and all you need is a phone, ambient lighting, and a lot of patience.
What is a Stop Motion Video?
A ‘Stop Motion’ video is made by compiling multiple pictures that captured the movement of an object at different points. In simple words, you don’t capture the movement on video, rather you click pictures of it at different instances while it is in motion, combine them together, and create a video.
These videos are catchy and appealing and have been in trend for a long time. However, you will require a third-party app on your iPhone to create one. There are many available on the ‘App Store’ and you can get one that suits your requirement. Although, we recommend using the ‘Life Lapse’ app as it offers various free features, has a straightforward interface, and is pretty quick.
Some of the features are restricted in the free version but you can easily create an amazing stop motion video just with the free ones. Also, you always have the option to go for the paid version of the app to access every feature out there and customize the video.
Basic Tips to Create Stop Motion Videos
As already discussed, a stop motion video is a systematic compilation of pictures played at a high speed. To make a video that’s worth the effort and time you put in, it’s important to focus on the picture, since they form the foundation of the video. We will discuss the basic tools and techniques that will help you create a captivating video.
- It is necessary that the phone is held still throughout the process. Any movement or deflection will result in choppy stop motion videos. You can use a tripod to hold your phone still or even use everyday objects like a mug or box to support it.
- It is necessary that there is ambient light present for higher clarity. Also ensure, that there is no flickering or intermittent source of light around you as it will hamper the quality. You can use a high wattage lamp for this purpose.
- To make the video realistic, ensure that you click an adequate number of pictures. Any additional pictures can be removed afterward but capturing a particular frame all over again while editing will be a tedious task.
- You can add background music or other sound effects to the stop motion video to make it captivating.
Once you are thorough with the basic tips, you can start creating amazing stop motion videos.
Download the Life Lapse App
The first step is to download the ‘Life Lapse’ app to create a stop motion video.
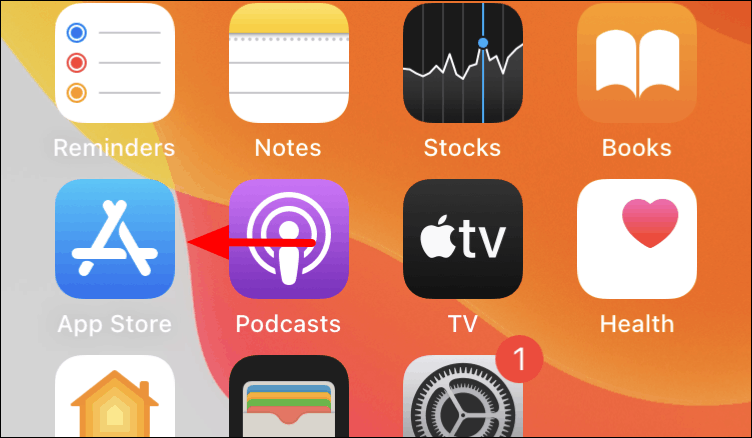
To download the app, tap on the ‘App Store’ icon on the iPhone homescreen.
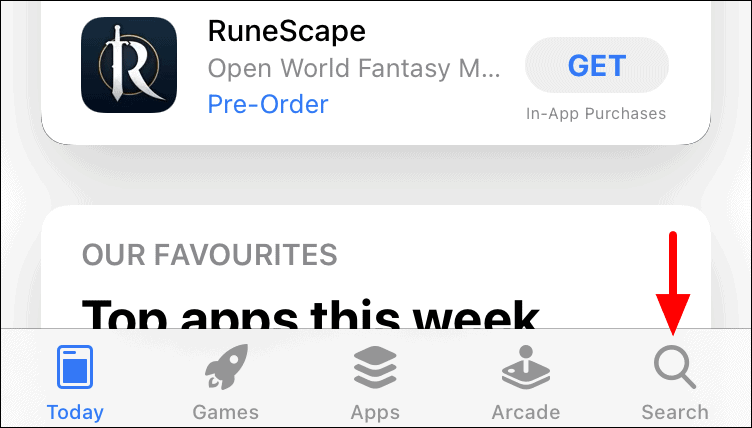
In the ‘App Store’, tap on the ‘Search’ option at the bottom right corner.
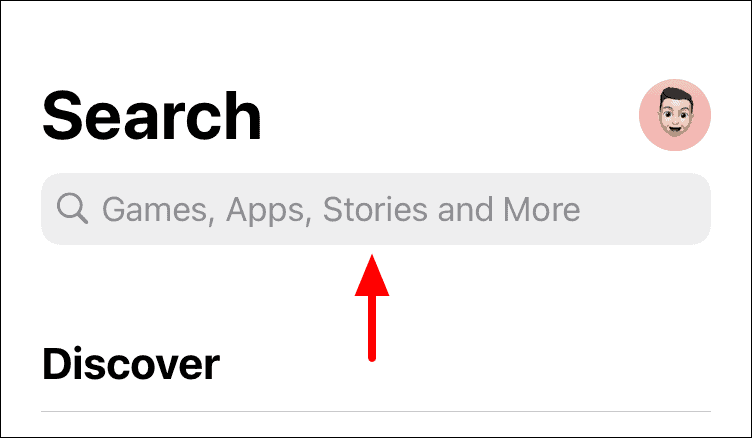
The ‘Search’ screen will launch. Next, tap on the ‘Search box’ at the top to search for the ‘Life Lapse’ app.
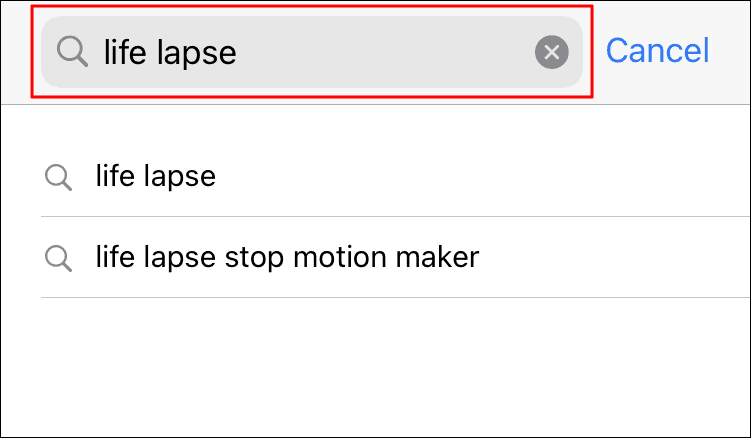
Next, enter ‘Life Lapse’ in the text box at the top and then either tap on a specific search result or the ‘Search’ key on the keyboard to view all the search results.
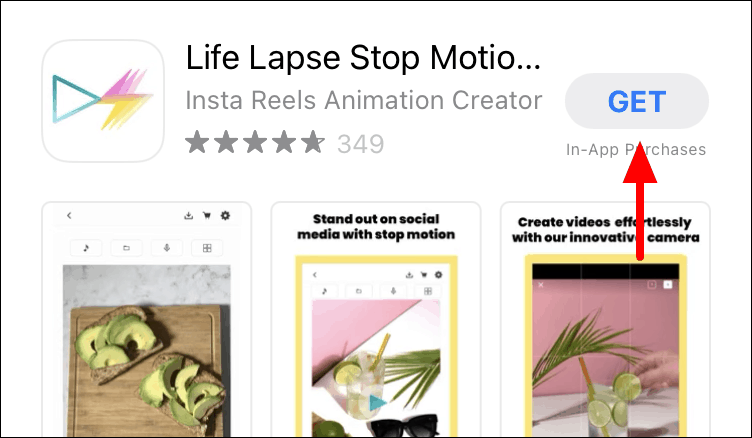
Locate the ‘Life Lapse’ app and then click on the ‘Get’ option to start the download and installation process.
Once the installation process is complete, you can proceed to create a stop motion video.
Creating Stop Motion Videos on Life Lapse
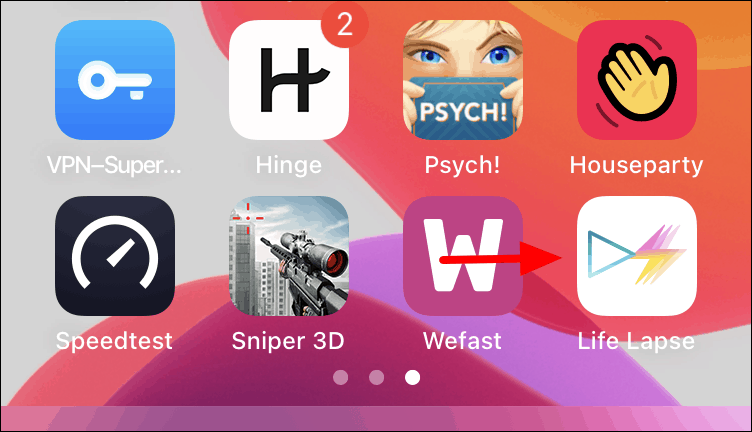
To create a stop motion video, launch the ‘Life Lapse’ app from the home screen after it’s downloaded.
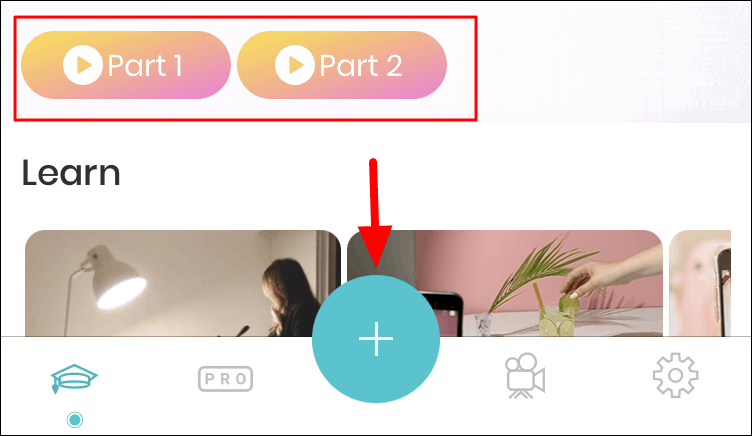
After you have launched the app, you will find two tutorial videos labelled ‘Part 1’ and ‘Part 2’. These videos will help you get a hang of the various features and the process of creating a ‘Stop Motion’ video. To create a new project, tap on the ‘+’ icon at the bottom.
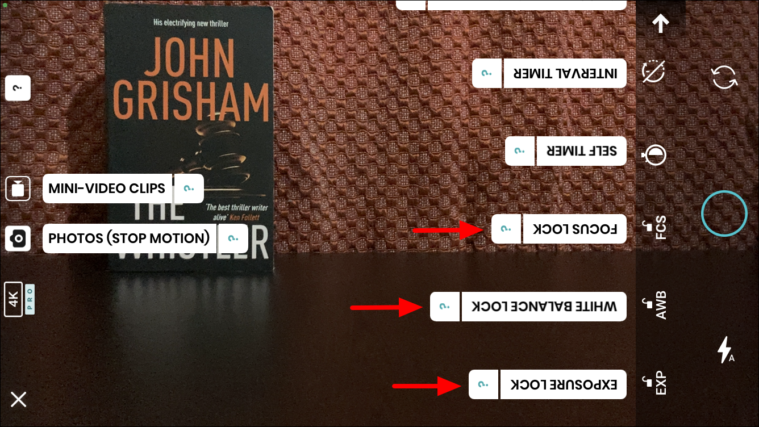
You will now find multiple features on both sides of the screen. To identify each of them, tap on the ‘?’ option on the top.
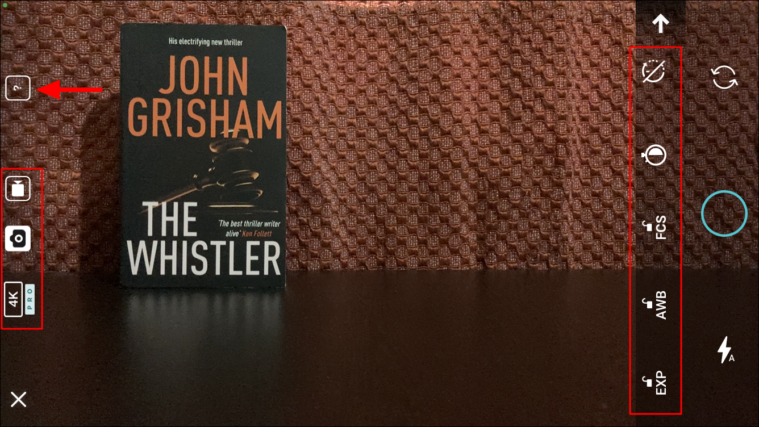
All the features will now be labeled. To know more about a particular feature, tap on the ‘?’ option next to any of the options. The three main features you should focus on are ‘Exposure Lock, ‘White Balance Lock’, and ‘Focus Lock’ to ensure consistency in the different pictures. Keep these three enabled when making a stop motion video.
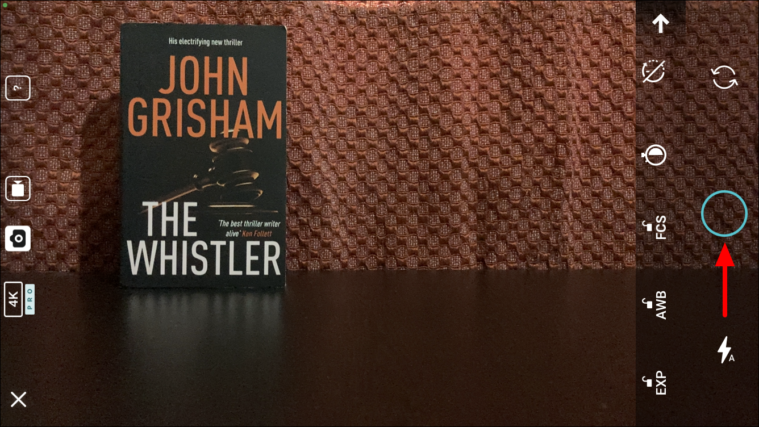
Once you get a hang of the various features, set your phone still using a tripod or another object. Next, place the object in the frame at the initial position and click the first picture by tapping on the circular icon.
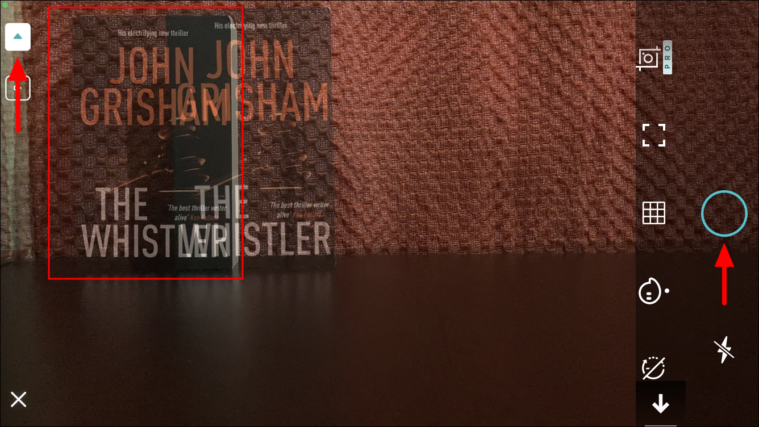
After you have clicked the first picture, move the object a little farther along the path or direction and click the next one. Also, you will find a shadow of the object from the previous picture which helps you decide the location of it for the present one. This is of great help considering the fact that the placement of the object is of paramount importance. Similarly, click the required number of pictures until the object is out of the frame and then click on the ‘Play’ at the corner.
After you are done clicking the pictures, it’s time to add a few customizations and filters to enhance the appeal. Some of the features here are for the premium account, in case you have a free account, you can only work with the free ones.
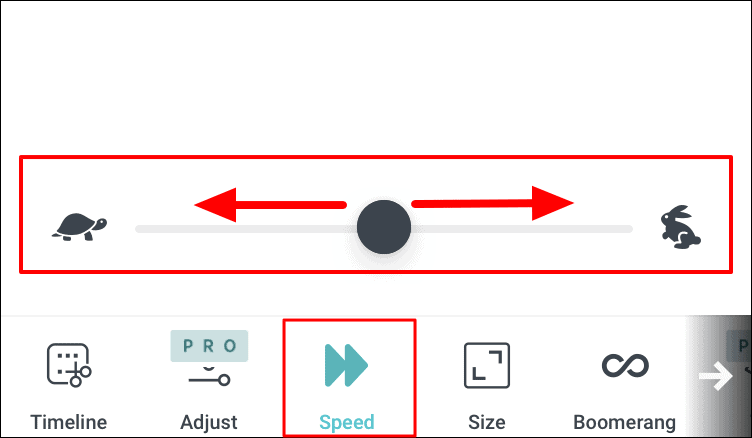
The first option here is to change the speed of the video. By default, the timeline tab will be open, so tap on the ‘Speed’ option at the bottom to access the tab.

After you click on the ‘Speed’ option, a slider will appear on the screen. To change the speed of the video, drag the slider either way. Dragging the slider to the right will increase the speed of playback while moving it to the left will decrease the speed as is evident from the graphics at both ends.
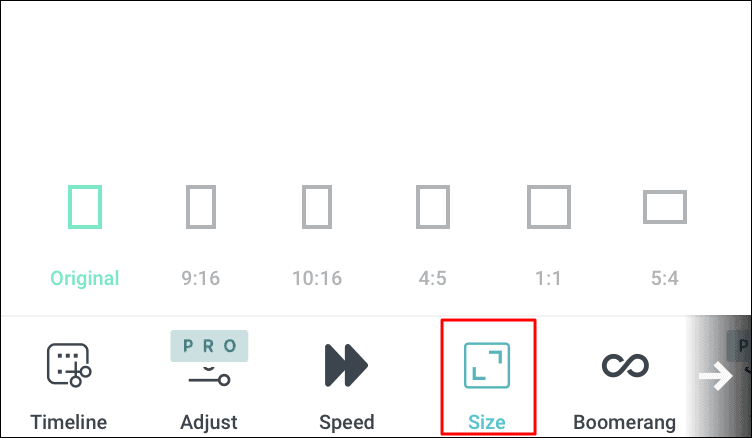
The next option is to change the size of the video. To change the size of the video, select a different aspect ratio from the ones listed on the screen just above the menu with all the tabs.
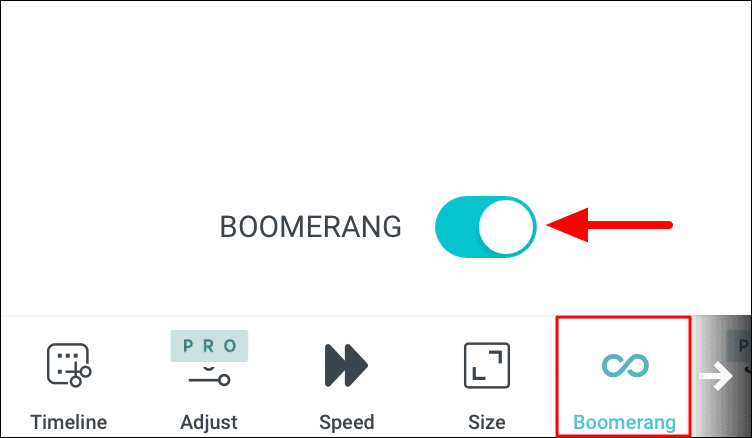
The next option is to add the boomerang effect. In the boomerang effect, the video is played first forward and then backward, thus it gets the name, ‘Boomerang Effect’. To add it, just tap on the toggle next to ‘Boomerang’ and it will be applied to the video.
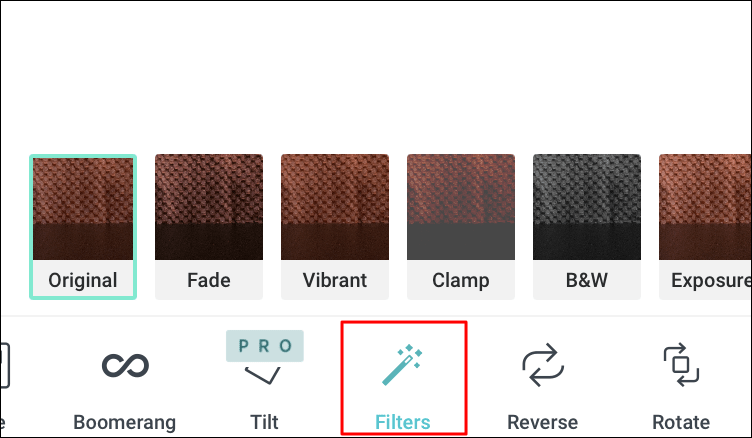
Since you wouldn’t be able to view the other option, swipe left at the bottom of the screen where the tabs are located. You will now find three more free options.
The ‘Filters’ tab helps add a filter to the video. You have a comprehensive set of filters to choose from, tap on the one that you want to apply to the ‘Stop Motion’ video.
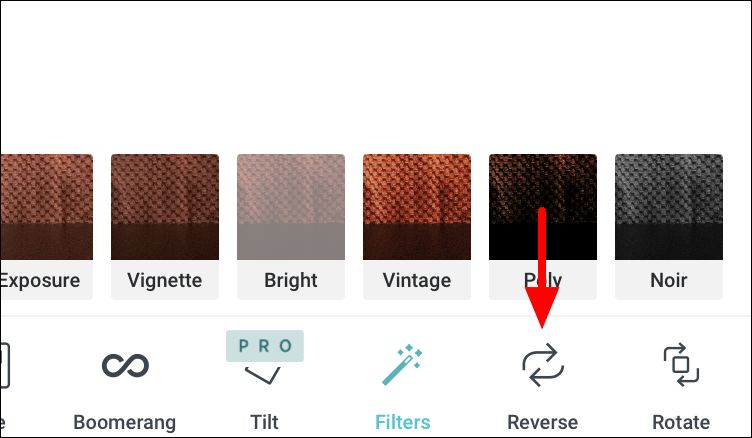
The next option is to reverse the video. When you reverse it, the stop motion video is played backward. A simple tap on the option will reverse the video while tapping again will revert the changes.
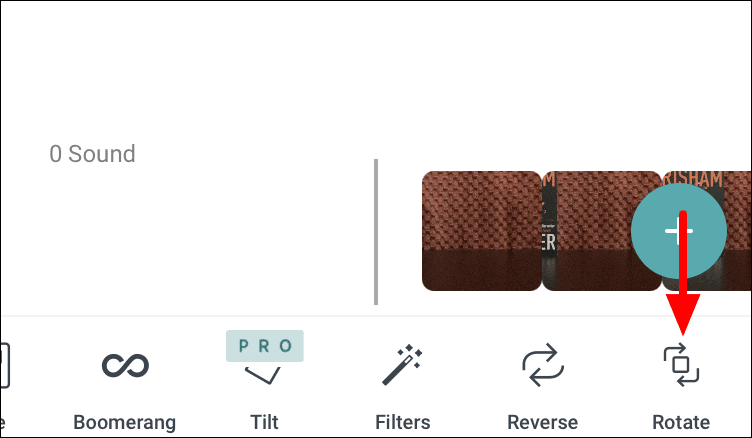
The last free feature that you have on ‘Life Lapse’ is ‘Rotate’. As the name suggests, tapping on this option will rotate the video. A single tap will rotate the video by 90° in the clockwise direction.
Saving a Stop Motion Video on Life Lapse
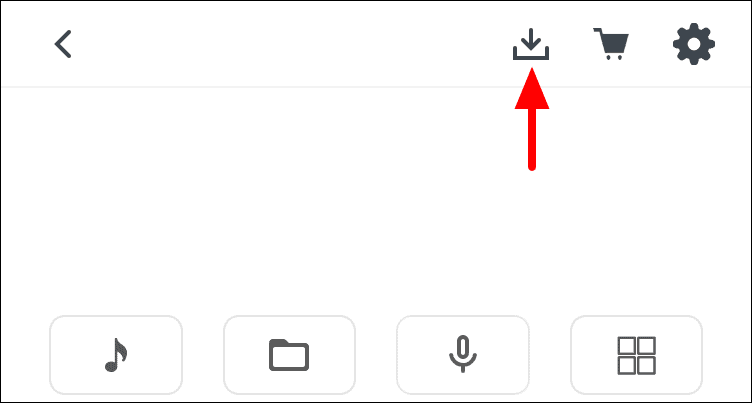
After you are done editing the video, it’s time to save it on your phone. Tap on the ‘Export’ option at the top to save the video.
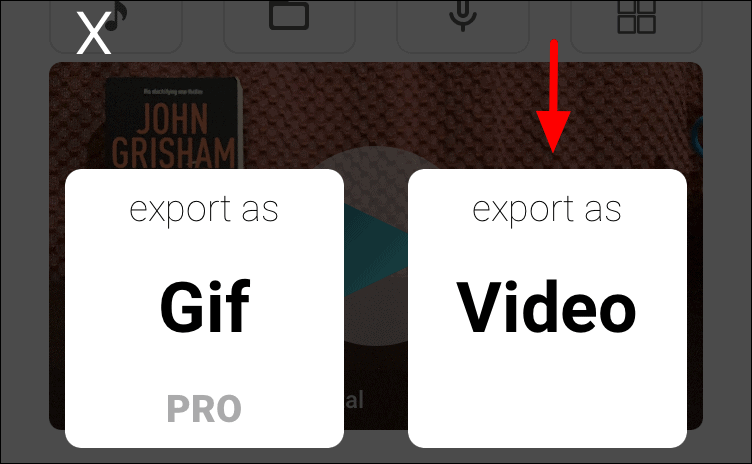
You now have two options, either to export it as a ‘GIF’ or ‘Video’. The option for ‘GIF’ is only available to the paid members while the one for ‘Video’ is available to all. If you are a free member, tap on the ‘Video’ option.
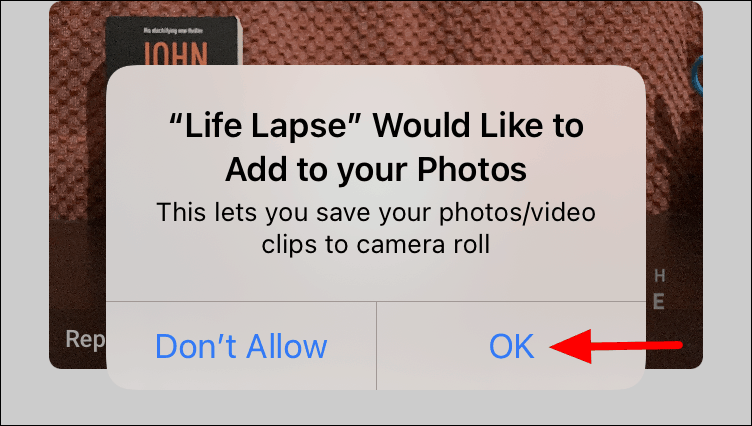
If you are saving a stop motion video for the first time, a permission box will appear on the screen. Tap on ‘OK’ to proceed.
Once the video is saved to your camera roll, you will receive a prompt for the same. Tap on ‘OK’ to confirm the same.
Once you get hang of the app, you can start exploring the various customizations and find the perfect blend to create even better videos. Also, you may come up with tricks of your own to save both time and effort while creating ‘Stop Motion’ videos.


