It is a truth universally acknowledged that tables are boring, whichever way you look at them. Creating and working with them is boring. And most apps that you generally use to create tables churn up bland-looking tables.
Now, when you’re creating a presentation or maybe a design for your website or online business in Canva, you’re bound to end up with some pretty attractive graphics. Now, enter into the mix: a table. A mundane-looking table will completely ruin the vibe of your designs. So, you need a table that’ll go with your theme in Canva. Naturally, the logical course of action would be to create one in Canva itself.
But, there’s a problem. Canva does not have a direct functionality to create a table. There’s no template or element to solve your problem. But it isn’t the end of the road. There is an indirect way to create a table. And if you’re willing to put in some time in your table creation, you can have a snazzy table in Canva.
Note: If you want to use tables some other app in Canva, you’d have to use screenshots of the table as there is no option to import a table like that in Canva.
Use the Calendar Template to Create a Table
This workaround provides you with a basic structure for your table rather quickly. Go to canva.com and then go to the ‘Search’ option.
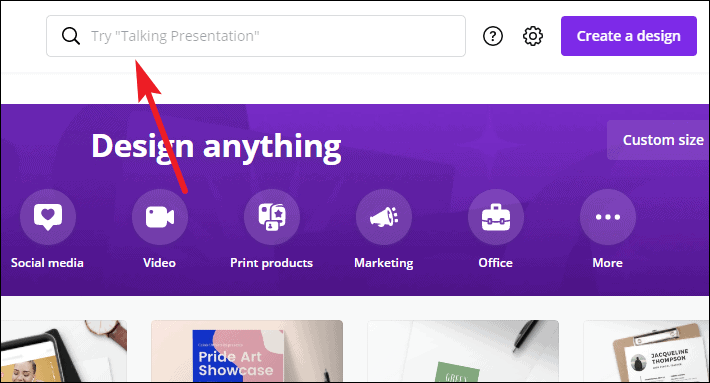
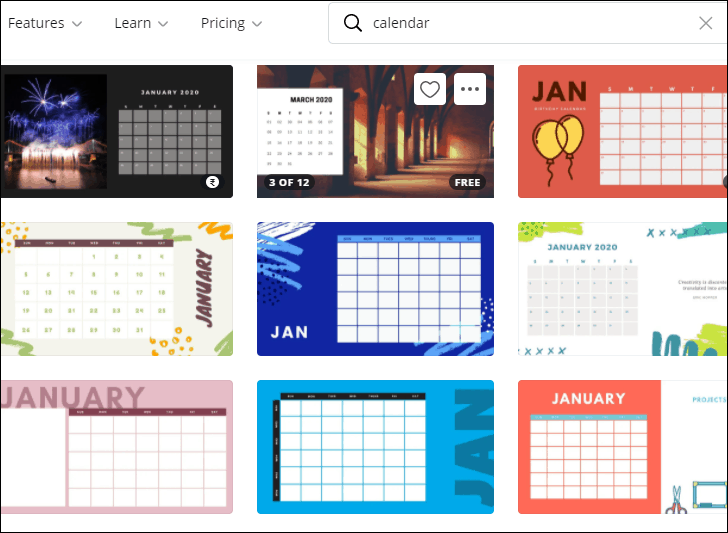
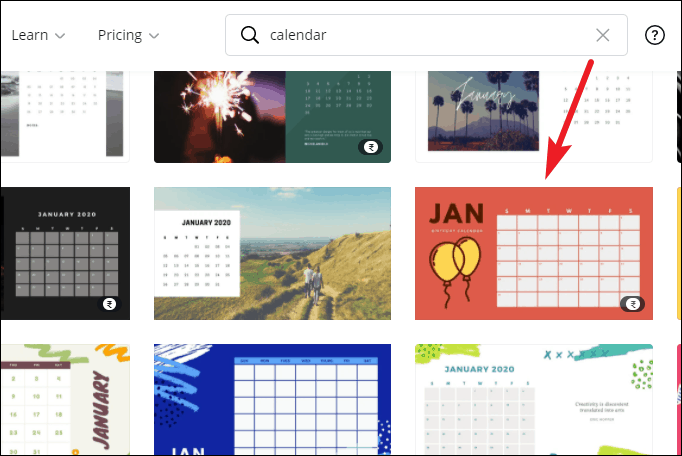
Type ‘Calendar’ and press the enter key. The templates for ‘Calendar’ will open.
If you try to search for the Calendar template from the template toolbar in some other design type, say a Presentation or Instagram Post, the results won’t appear the same. It’s because the Calendar template will only appear with only specific sizes. So, it’s better to search for Calendar separately and later incorporate the table in your design.
Now, from the Calendar templates, there are two types of templates when it comes to using them for tables. And depending on your need, you need to choose a specific one.
First is the template type where the tabular structure that the Calendar uses is a fixed element and not a group. The other is a group of square/ rectangle-like elements that you can ungroup and modify.
The first template type is useful when you don’t want a table with various cell widths, as all cells in this format will be of the same size. You can also not increase or decrease the number of cells. As it’s a calendar, the tables you’ll get with this method will either be 7 columns x 6 rows or 7 columns x 5 rows.
The second template type is useful when you want to create a table with columns of varying sizes. You can also add and delete columns and rows from this type of table.
Creating a Table with Same Cell Size
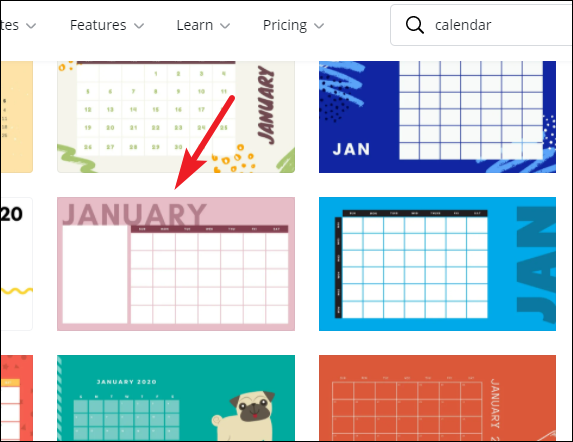
Most calendars that belong to the first type will have a bar on top of the cells. Select one of the templates from this category to open it. For this guide, we’re selecting the ‘Violet and Pink General Calendar’. You can search for these keywords to use this template.
To check whether it’s the right type, select the calendar. It’ll be highlighted in blue when you select it. No option for ‘Ungroup’ should appear when you do this.
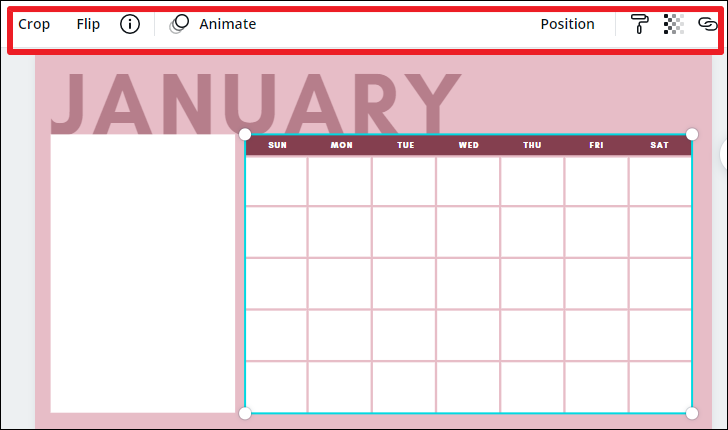
Then select the extra elements from the page and click the ‘Delete’ button, so only the basic table structure remains on the page.
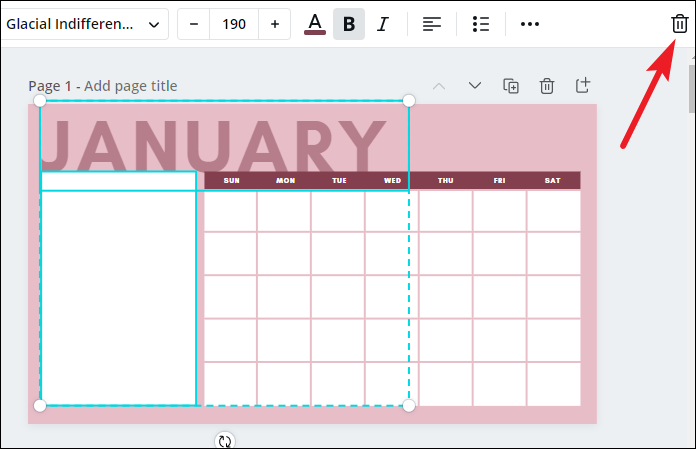
Now, the text in the cells isn’t part of the table in this template, which will also be the case most of the time in other templates too. You can confirm it by moving the table. When you move the table, you’ll find the table will move separately from the text.
You can delete this text entirely. Or you can keep it, group it with the table. That way, when you want to enter the text, text boxes will already be there. Grouping the text with the table is important before resizing. Or you’ll have to tackle the text elements separately, and it’ll just complicate things.
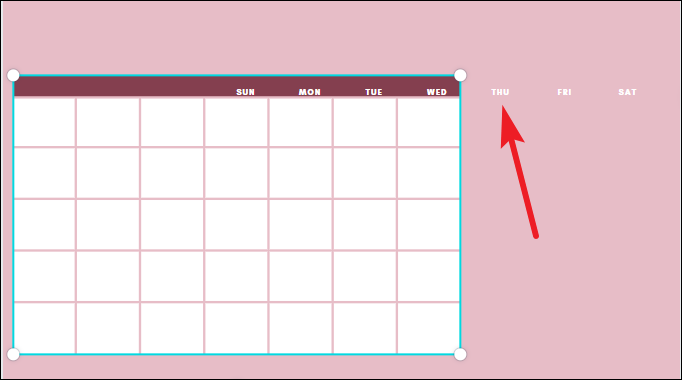
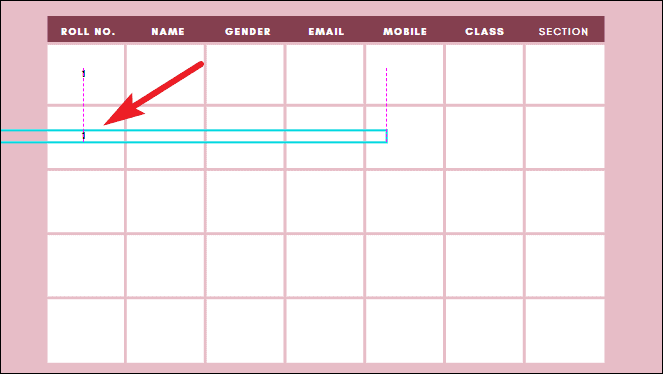
Resize the table after grouping the text with the table or deleting it. Click the circles at the corner and drag them to resize the table.

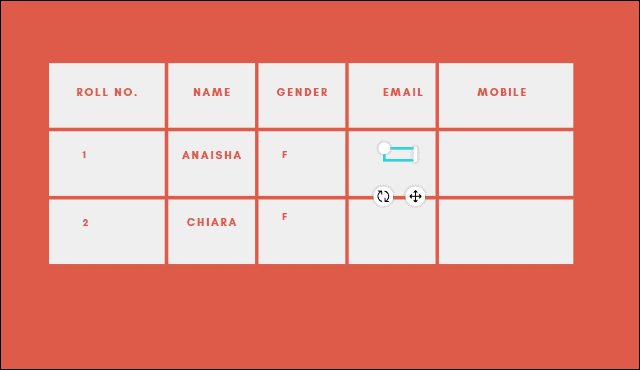
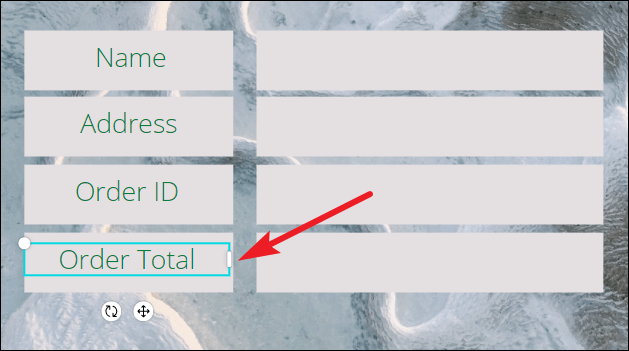
Use the ‘T’ keyboard key to create new textboxes and place each textbox in the cell. While placing the textboxes, use Canva’s alignment lines as your guide.
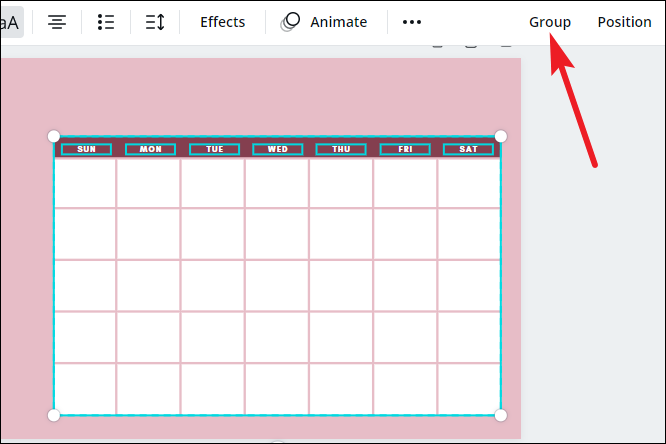
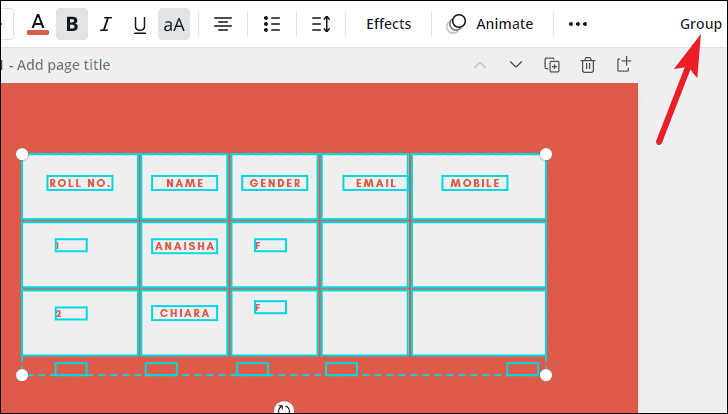
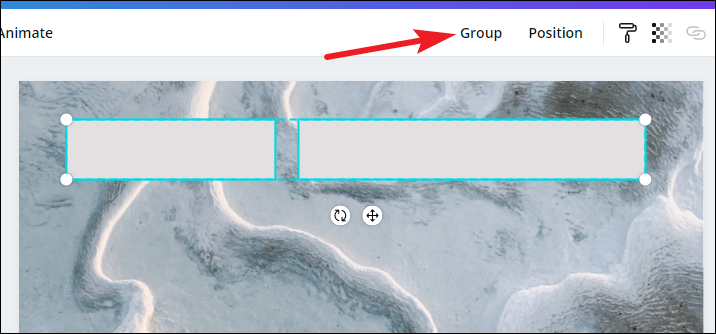
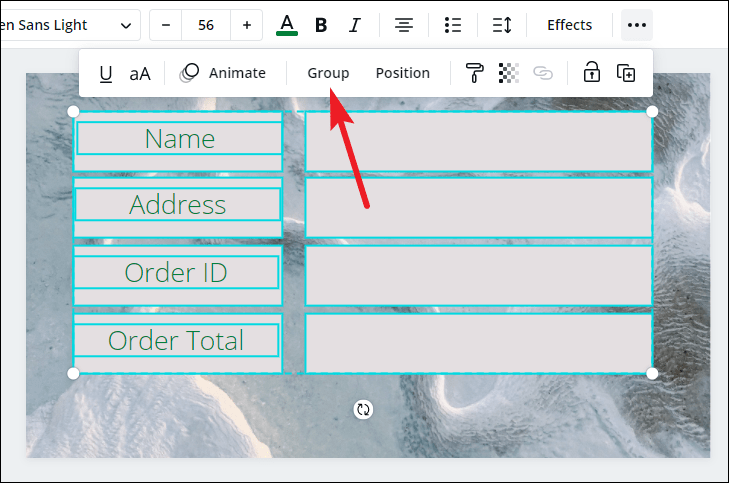
Once you’ve entered the data in each cell, select the entire table with text. All the elements will be highlighted. Click the ‘Group’ button.
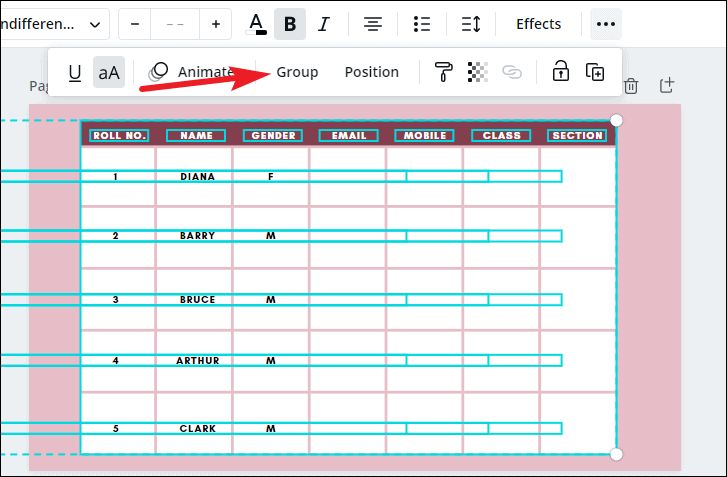
This way, when you move your table, the text will not be a separate part of it. You can also customize this table completely: the background colors, the font color, and font face, font size. Once you’re happy with it, select the table and copy it. Then, open your design or presentation and paste the table on the desired page.
Creating a Table with Varying Cell Size
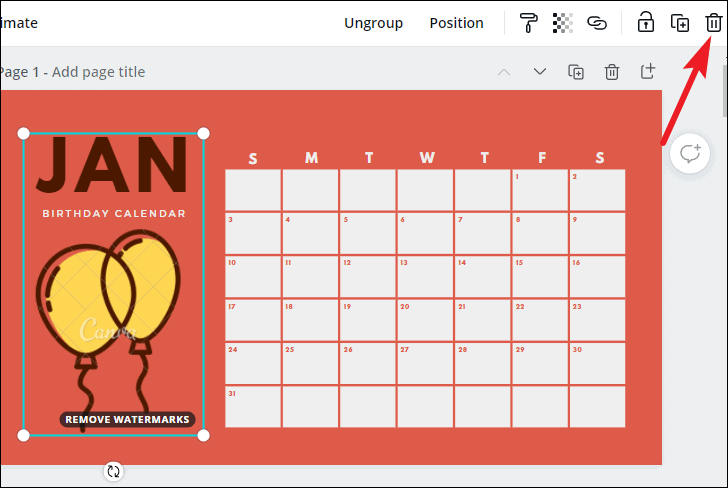
For this table type, the calendar that’ll match the criteria will have just a set of squares as a calendar without a bar on top. Select a template that matches the description, or you can use the template we’re using for this guide. Go to the search bar and type ‘Red Balloons Illustrations Birthday Calendar’.
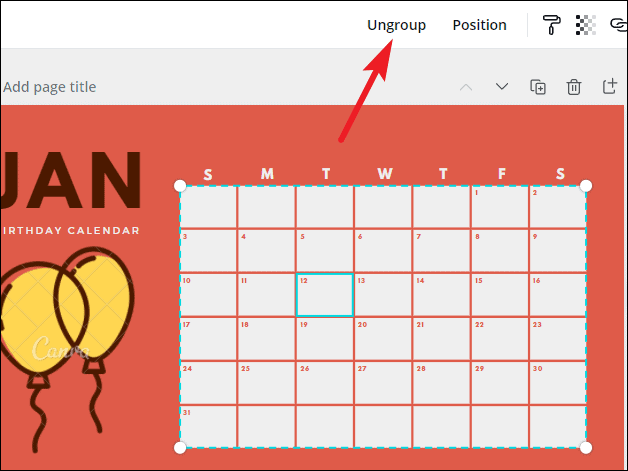
For any other template, to check that it’s the right template, select the calendar. The ‘Ungroup’ button should appear on the toolbar.
Now, start with deleting the rest of the elements from the page so they don’t interfere with the process. Select the elements by dragging your cursor along them, then click the ‘Delete’ button.
If you want to resize the table, first group the text with the table. First, ungroup the table as you cannot group an element with a group. Select the entire table and text, and click the ‘Group’ button. Then, resize the table.
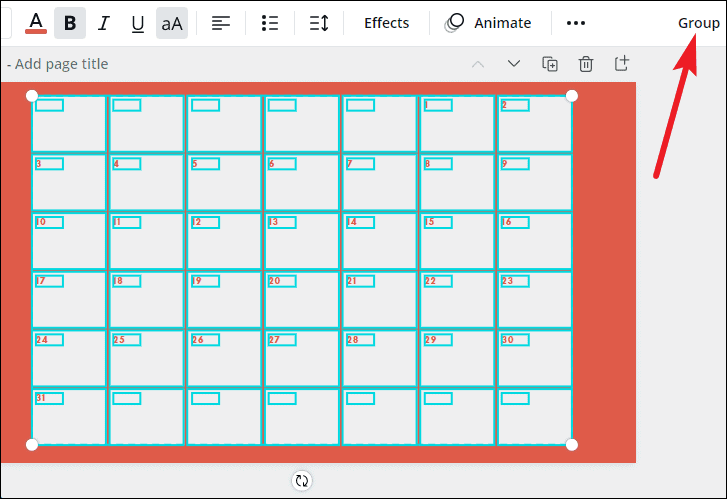
Now, select it again and click the ‘Ungroup’ button. You’ll see that each cell is a separate element you can modify. Resize any elements you want to. To add more cells, copy any elements and paste them. Enter the text in the existing text boxes (if you didn’t delete them), or use the ‘T’ key to enter text elements and place them in the cells.
Group the entire table with the text once the table is complete. You can also change the color and font of the table. Then, copy it and paste it into your designs.
Create a Table from Scratch
This method lets you quickly create a table from scratch. Where the calendar workaround is a good option to create tables of a basic structure, it can also feel complicated. You can create a table on your own without using a calendar too.
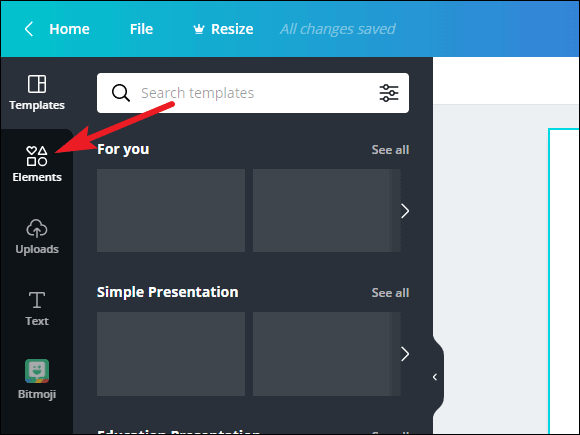
Start with a blank page of any size. You can start with a new page in your ongoing design too. This method doesn’t require you to work with a specific size. Then, go to the ‘Elements’ option on the toolbar on the left.
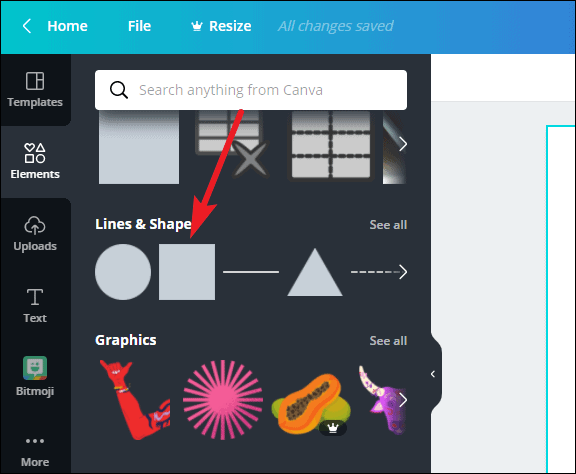
Go to ‘Lines and Shapes’ and select the ‘Square’ shape from it.
Resize the square to the size you’d like. Then, copy the element to create more cells in a row. Each cell in a row can also be of different sizes. Once you have the number of columns you’d like, select all the cells and group them.
Now, copy the group and paste it. Position the second row beneath the first and repeat the process until you have the number of rows you want.

Ungroup all the rows so you can easily customize them or enter text in them. Use the ‘Text’ element to place text in each cell. Enter the data in the cells.
Once the table is complete, select it and click the ‘Group’ button. You can use the table any design you like by copying it.
It might take a little bit more time than your usual designs in Canva, but until Canva introduces a Table template or element, there’s no other way but to input your time.