
We all love to surf the Internet and visit various websites. Every time you visit a website, it asks for various permissions from you to improve the user experience on their website. However, not many of us pay heed to what permissions a website is asking for.
In order to be safe from cross-website tracking and to protect your privacy online, you need to take care you are only giving a website permissions that are necessary for it to work.
Fortunately, doing so does not require any humungous amount of time or energy from your side and can be easily tweaked from the Chrome settings. In this article, we will showcase how to manage each of the permission for every website in Chrome, as you can also set global defaults that apply to all the websites you visit or you could also change the privacy settings for a single website on the fly.
Control Website Permission in Chrome on Desktop
You can very easily configure the global default permissions for websites from the Settings section in Chrome. The process is rather simple.
From the Chrome window, click on the ‘kebab menu’ present in the top right corner of the window to reveal the overflow menu. Then, click on the ‘Settings’ option from the list to continue. This will open the Chrome settings in a separate tab on your browser.

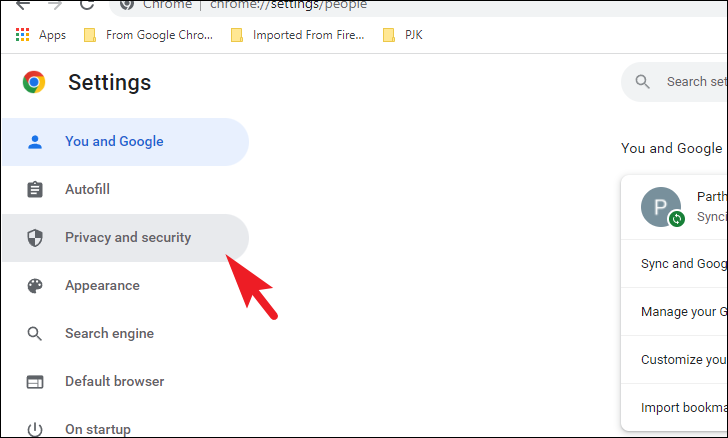
Now, from the ‘Settings’ tab, click on the ‘Privacy & security’ tab present on the left side of the window to continue.
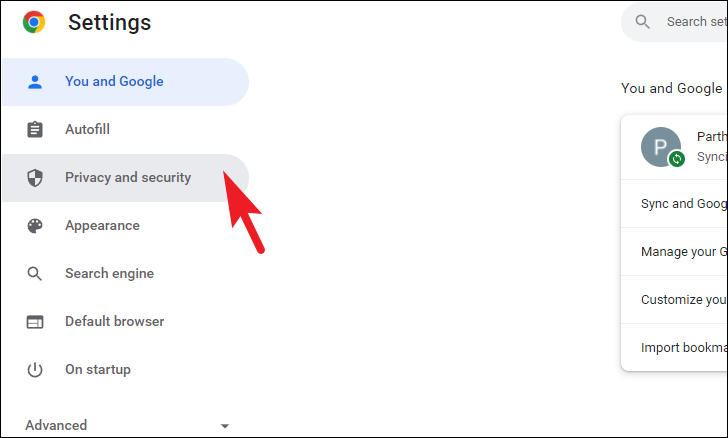
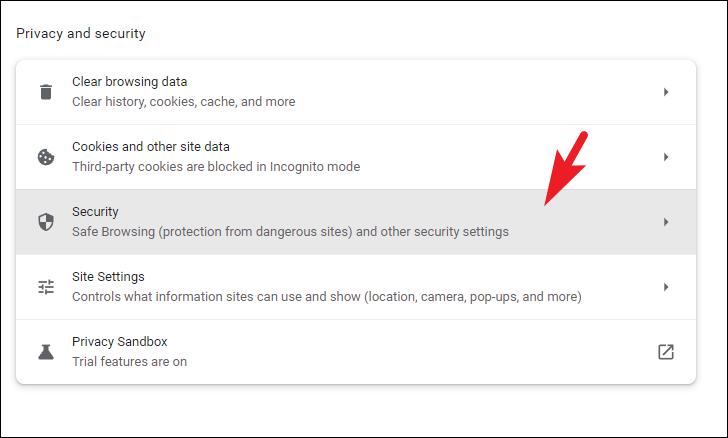
Then, from the right section of the window, locate and click on the ‘Site settings’ tile to proceed.

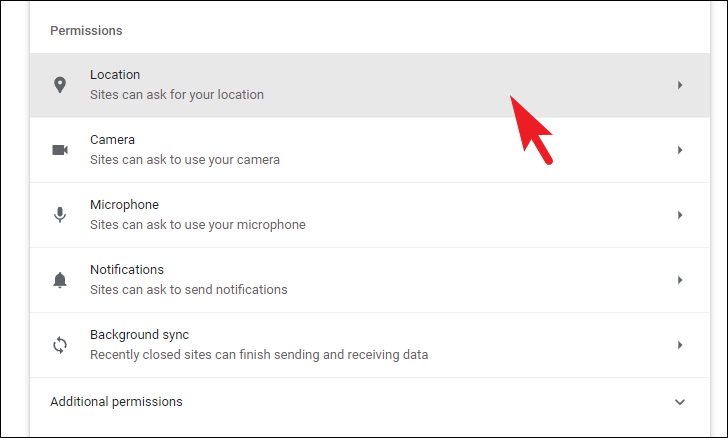
On the next screen, scroll down to the ‘Permissions’ section. Then, click on any one of the categories to configure its permissions. The main permissions include Location, Camera, Microphone, Notifications, and Background sync. Apart from these, there are more than a dozen other permissions you can access from ‘Additional Permissions’. The process for all remains the same. To showcase it, we will head to the ‘Location’ permissions for this guide.
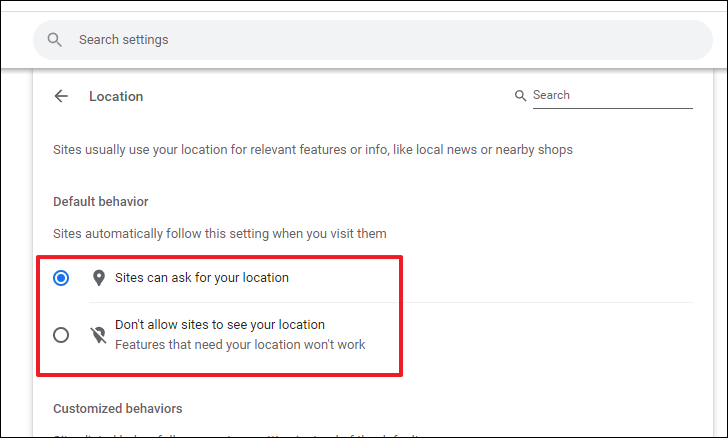
On the ‘Location’ permissions screen, you can select the default behavior for the permission by clicking on one of the radio buttons preceding each option present under the ‘Default behavior’ section. If you select ‘Sites can ask for your location’, the websites that wish to access your location will send a notification asking for the same. Otherwise, if you choose ‘Don’t allow websites to see your location’, no websites will be able to ask you for your location.
You can also set exceptions for websites once you have set the default behavior for the location permission. There are two types of lists, one where you can add websites that are always allowed to see your location and the other where the websites aren’t allowed to see your location.
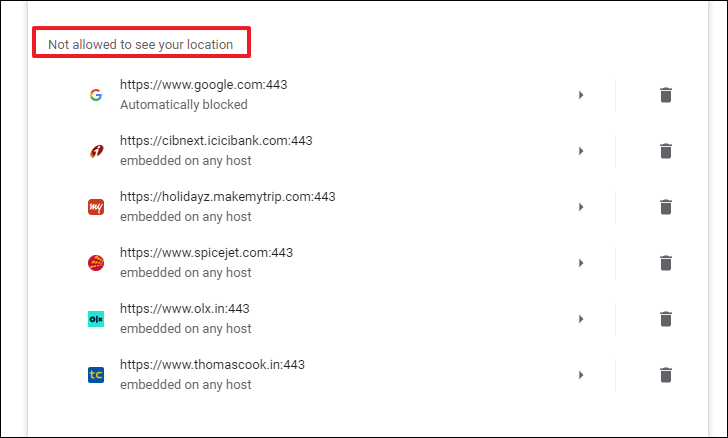
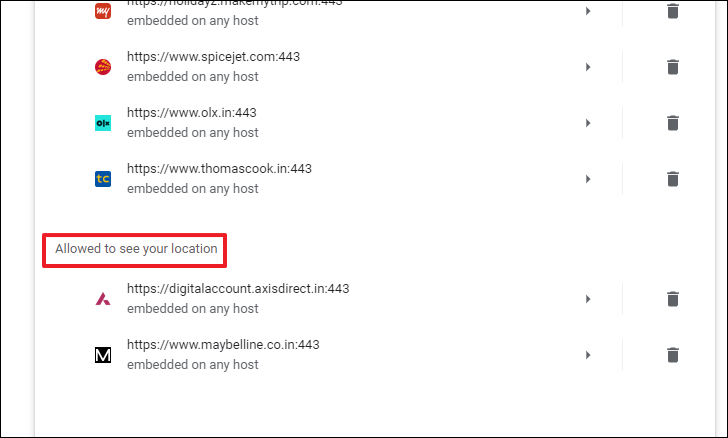
If you have denied websites permission to access your location, they will be listed under the ‘Not allowed to see your location’ section. You can also delete a particular website by clicking on the ‘Trash’ icon following each of the listings.
To check the list of websites that can access your location, head to the ‘Allowed to see your location’ section.
You can similarly set the default behavior for all the websites by heading to the individual categories of permissions.
Tweak Permissions for a Single Website in Chrome on Desktop
Chrome also allows you to quickly change the permission configuration for a single website instead of changing the global defaults.
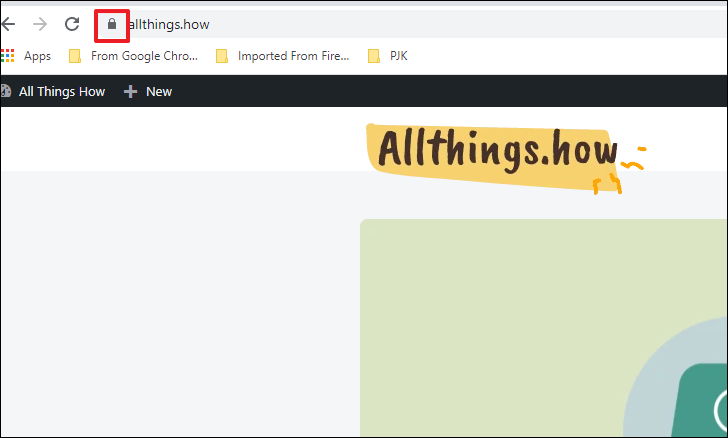
To do so, first, head to the website where you wish to change the permission configuration for. Then, click on the ‘lock’ icon present left to the address bar to reveal an overlay window.
After that, locate and click on the ‘Site settings’ option to proceed. This will open a separate settings tab in the Chrome browser.

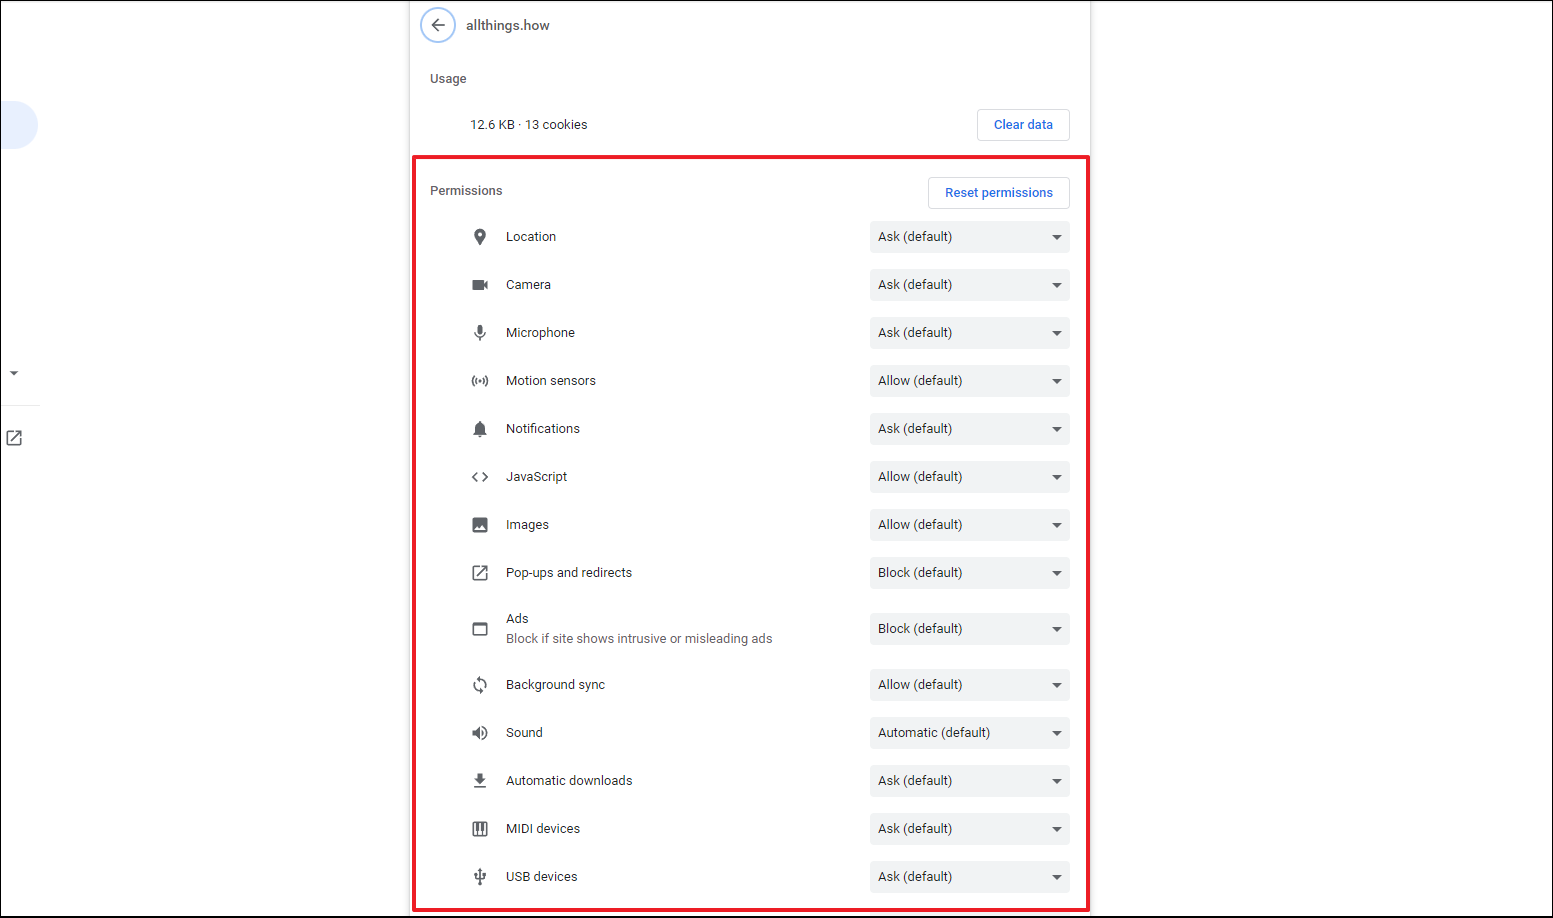
Now, you will be able to view the list of all permissions and their current status for the particular website. To change any permission, click on the drop-down menu following each category and select your required option.
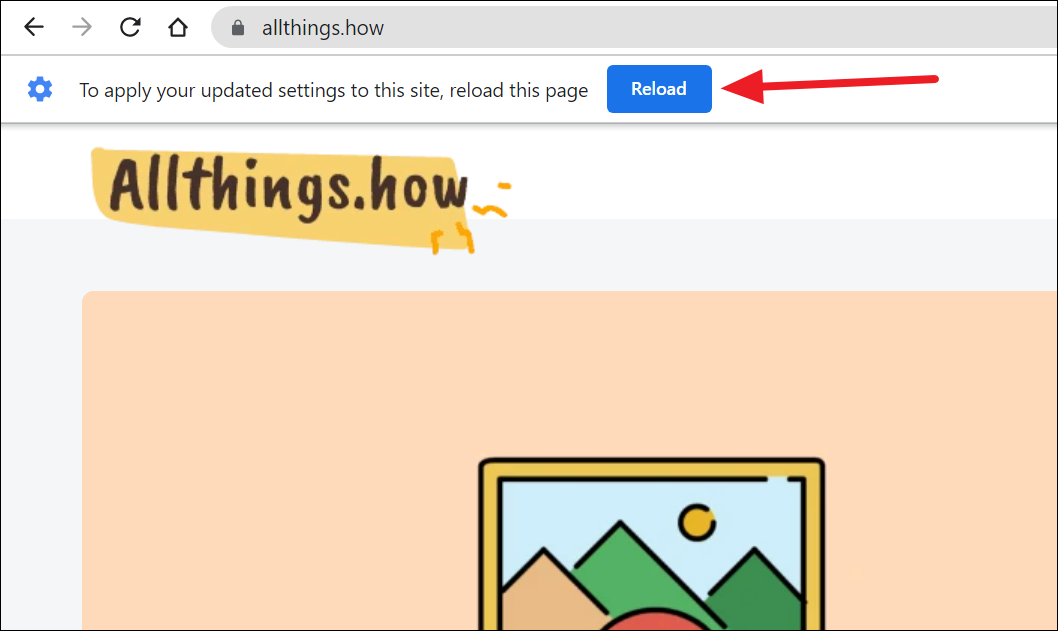
The selected permission preference will be in effect after you reload the website.
If you block every permission listed in the browser, be aware that it may break some of the features on websites, as features like ‘Javascript’ are essential for websites to work properly.
Control Website Permission in Chrome on Mobile
Similar to your computer, you can control what permissions you are allowing websites to access on your mobile. The process largely stays similar to that of a computer and is very easy to tweak once you get a hang of it.
To set the global defaults, first, head to the Chrome app from the home screen or app library of your device.

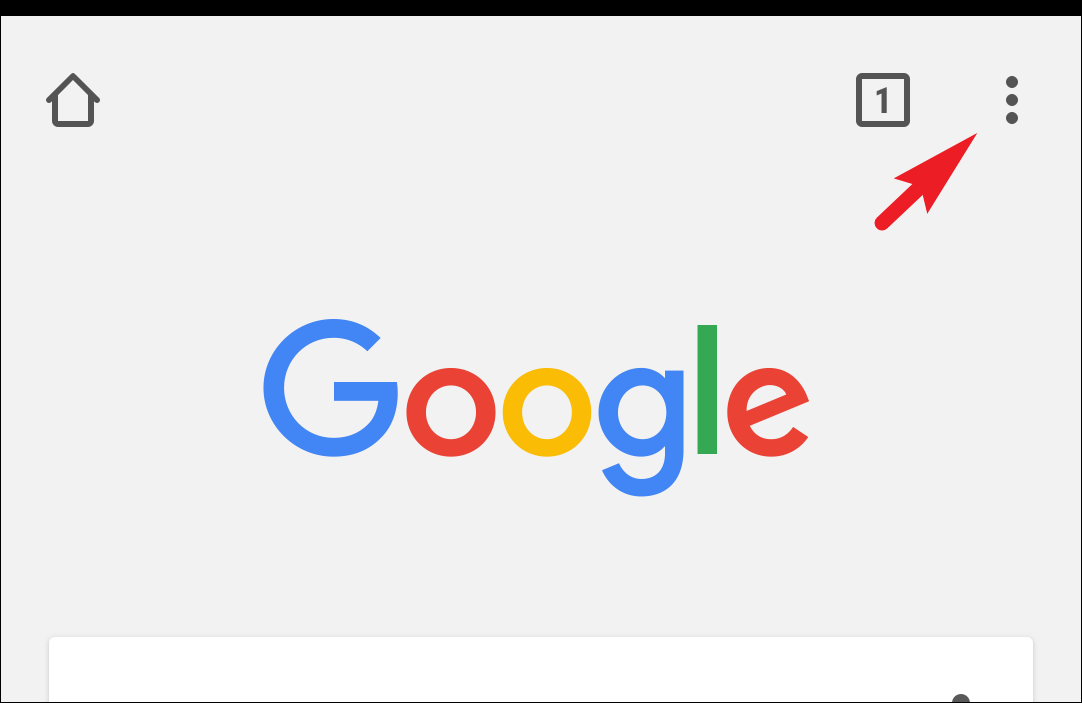
After that, from the Chrome window, tap on the ‘kebab’ icon (three vertical dots) present in the top right corner of the window to reveal the overflow menu.
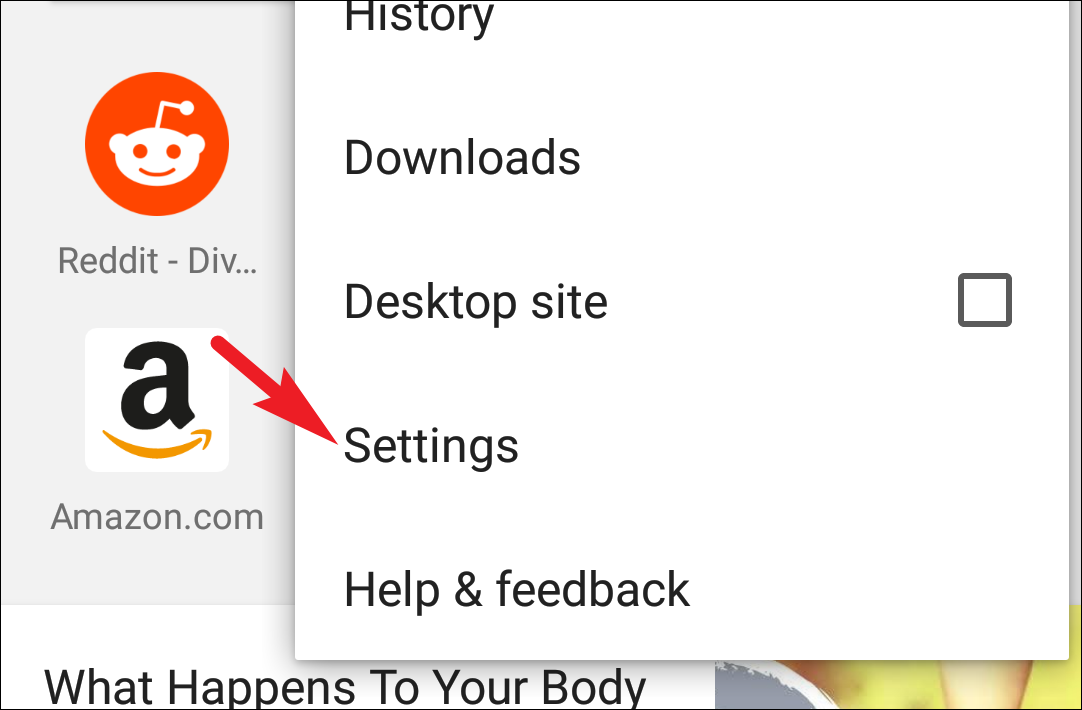
Next, locate and tap on the ‘Settings’ option present in the menu to proceed.
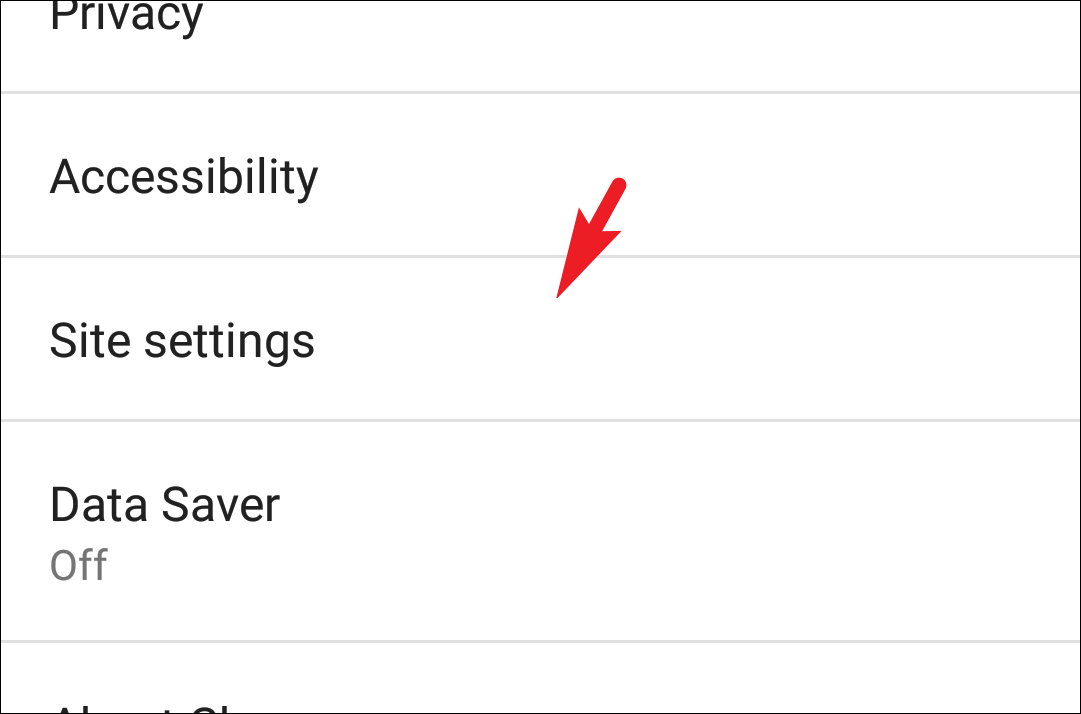
Now, on the next screen, locate and tap on the ‘Site Settings’ tile to continue.
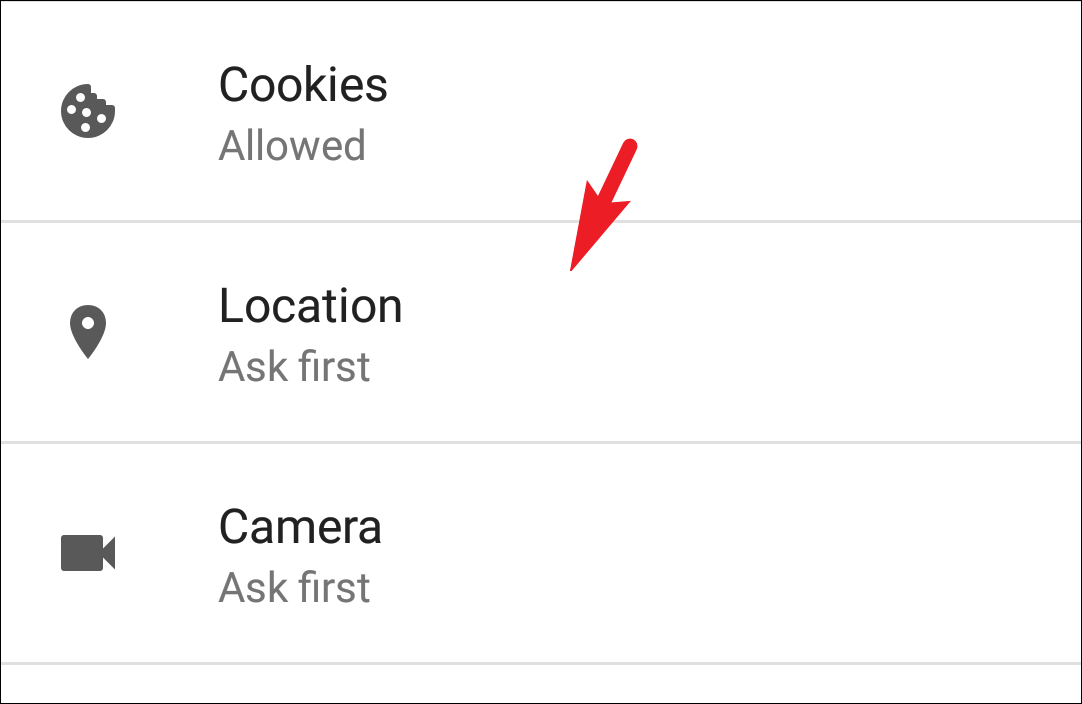
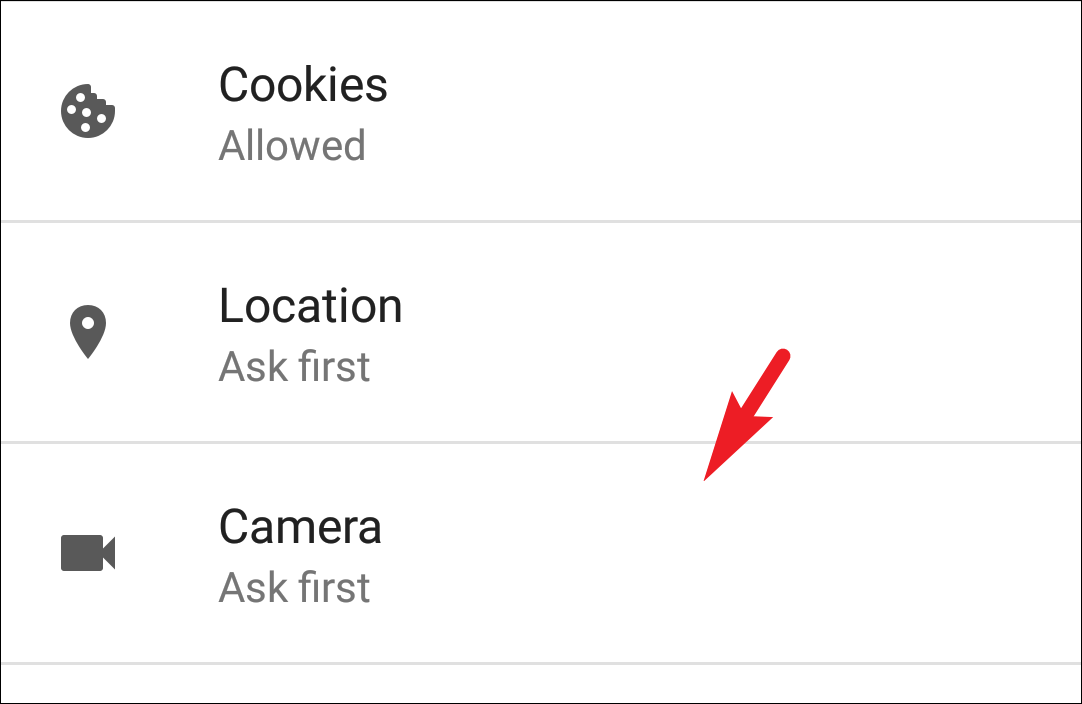
On the next screen, you will be able to view all the permission categories that you can configure on Chrome. To tweak the current setting, tap on any of the categories. To showcase, we will be heading to the ‘Locations’ tile.
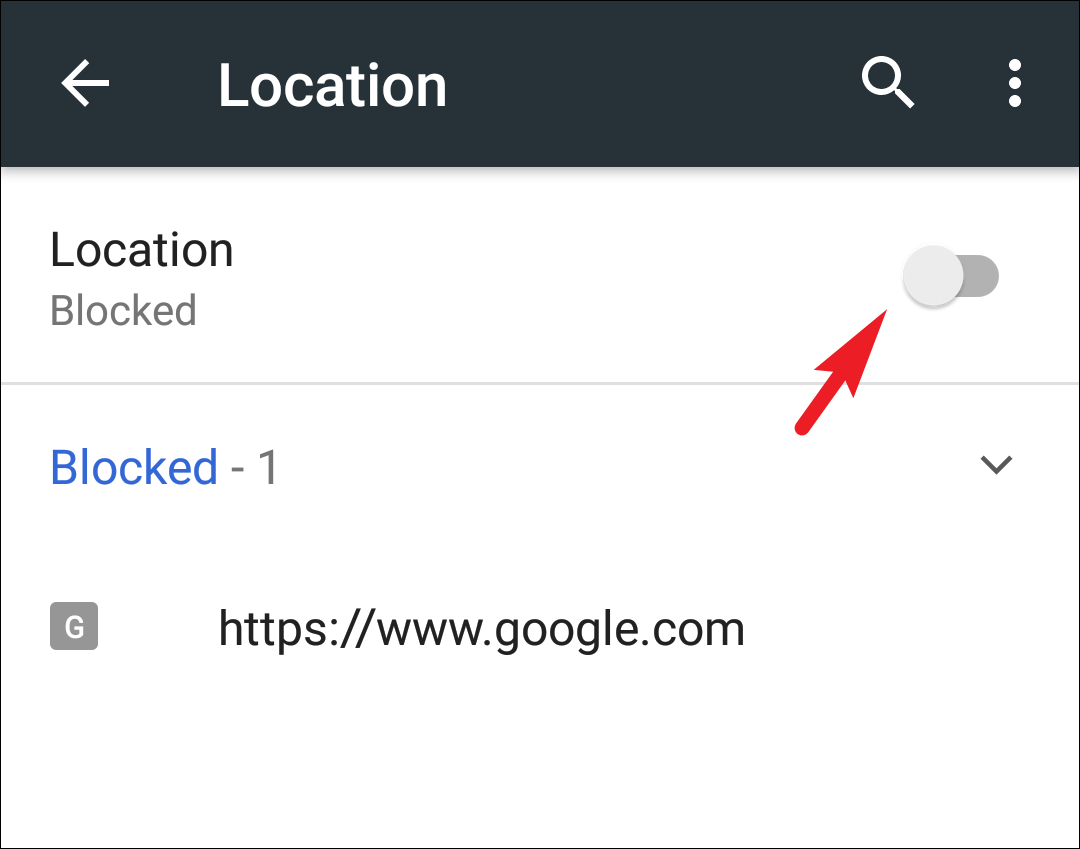
On the selected category screen, if you wish to turn off access to location permission, tap on the toggle switch present on the screen to bring it to the ‘Off’ position. In case some websites have been either always allowed access to the location or denied the permission irrespective of the global defaults, will be listed right on this screen.
Now, similarly, head to each category to set global defaults for all the websites that you visit on the Chrome browser on your mobile device.
Set Permissions for a Single Website in Chrome on Mobile
You can also set permissions for a single website on the fly without disturbing the global settings for permissions on your mobile device. The process is simple and easy to learn.
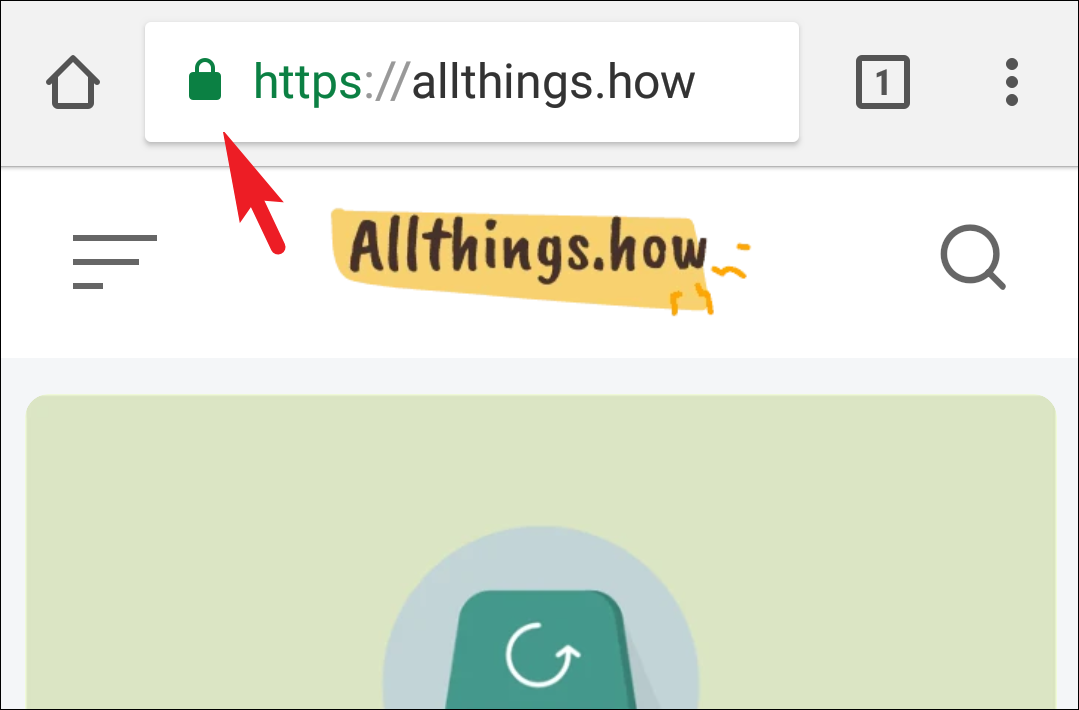
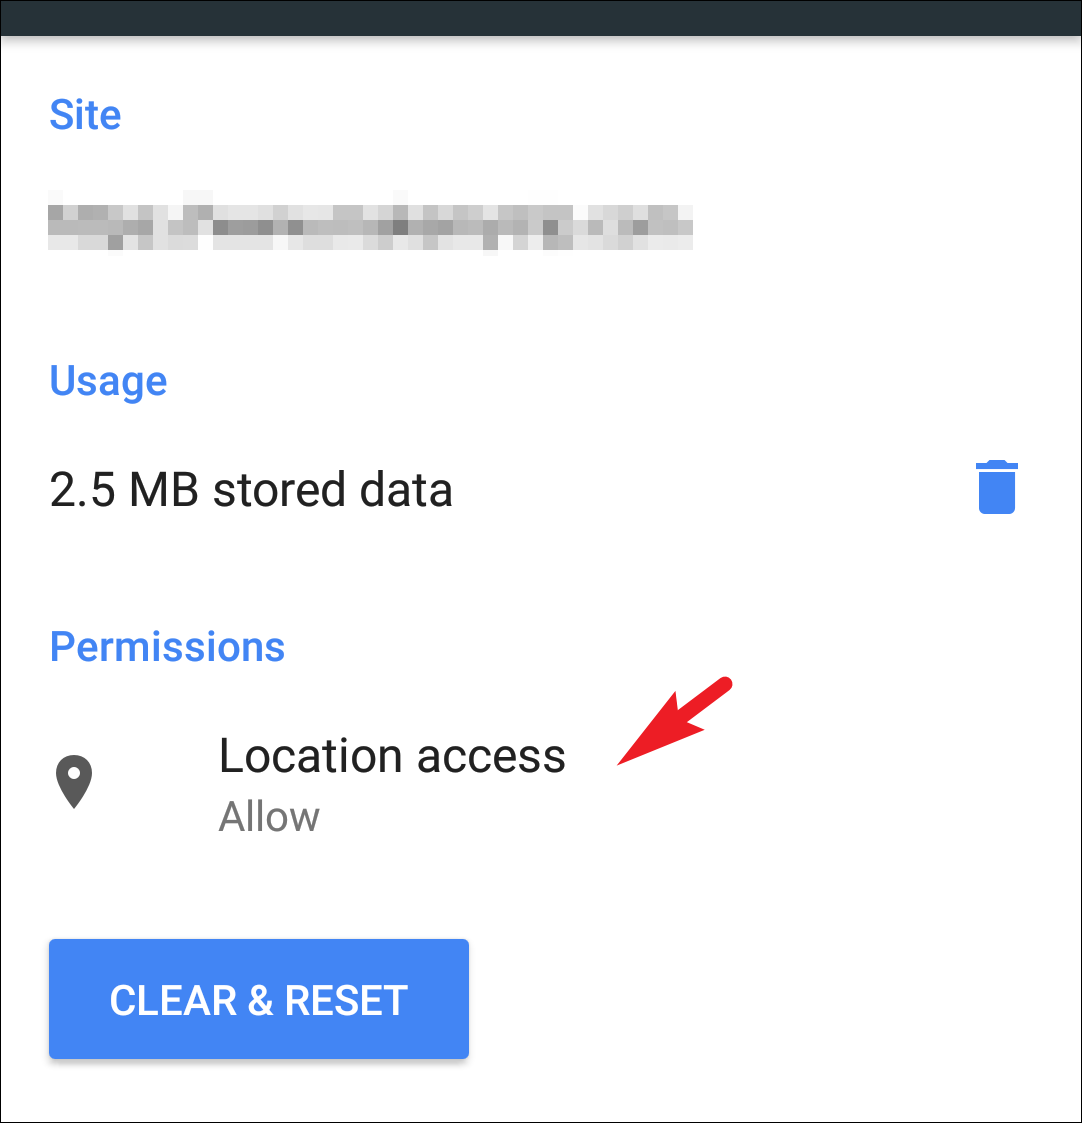
First, head to the website for which you wish to set the permissions. Once the website has been loaded, tap on the ‘padlock’ icon situated on the left of the website address. This will bring an overlay window to your screen.
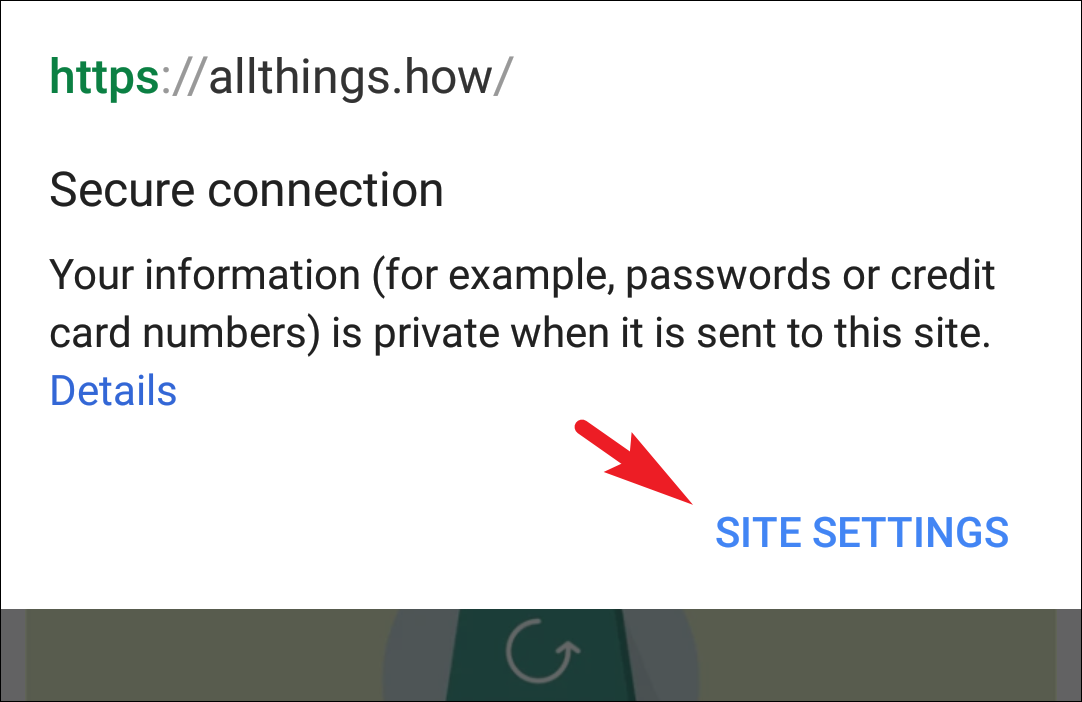
Now, from the overlay window, click on the ‘site settings’ button to proceed.
On the next screen, all the permissions requested by the website will be displayed. If you wish to enable a previously denied permission, tap on the toggle switch following the listing to bring it to the ‘On’ position to do so. Otherwise, if you wish to block a currently enabled permission, tap on the toggle switch following each listing to bring it to the ‘Off’ position. If there’s a tile, click on the tile to reveal the options, and select your required option from the overlay window to continue. The change will apply effective immediately.
The Lock Icon Not Present on the Address Bar to Change the Permissions?
In case the Chrome browser is not displaying the padlock icon right beside the web address and you are not able to change the permissions for a specific website on the fly, it could either be due to the functionality not being enabled or you running an old version of Chrome on your mobile or desktop device.
Update the App to the Latest Version of Chrome
To make sure you are running the latest version of the browser on your desktop, on the Chrome window, click on the kebab icon (three vertical dots) present in the top right corner of the window. Then, from the overflow menu, locate and click on the ‘Settings’ option from the list to continue. This will open Settings in a separate tab in the Chrome window.
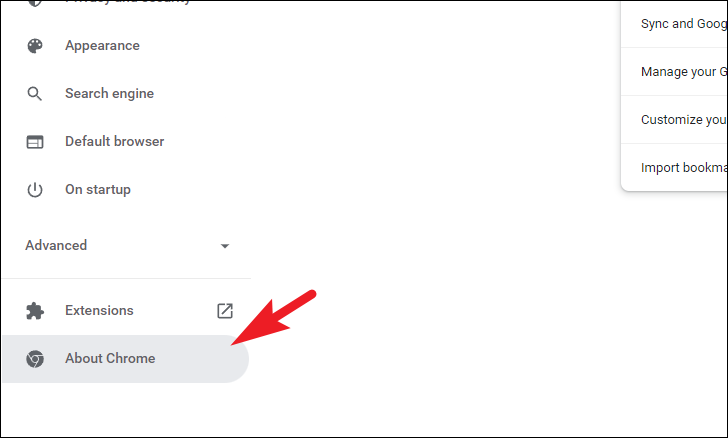
Then, on the Settings tab, click on the ‘About Chrome’ tab present on the left sidebar to proceed.
Now, on the right section of the page, Chrome will check for updates if available and automatically download them. In case your Chrome is already up-to-date, Chrome will state the same on the window.
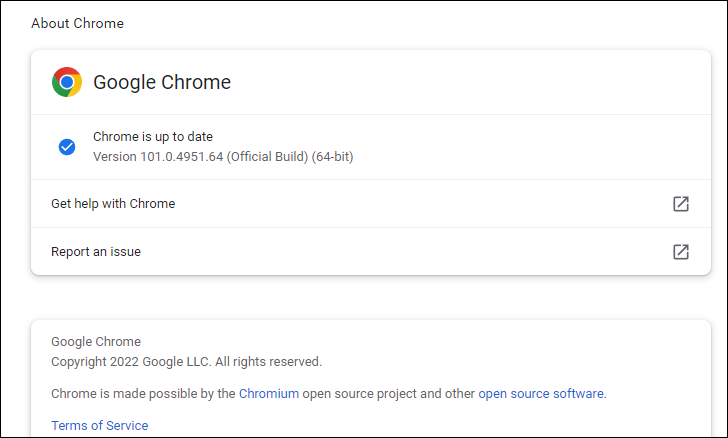
If your browser was not updated and Chrome has just downloaded an update, it is recommended that you exit the browser and relaunch Chrome to let the changes take effect.
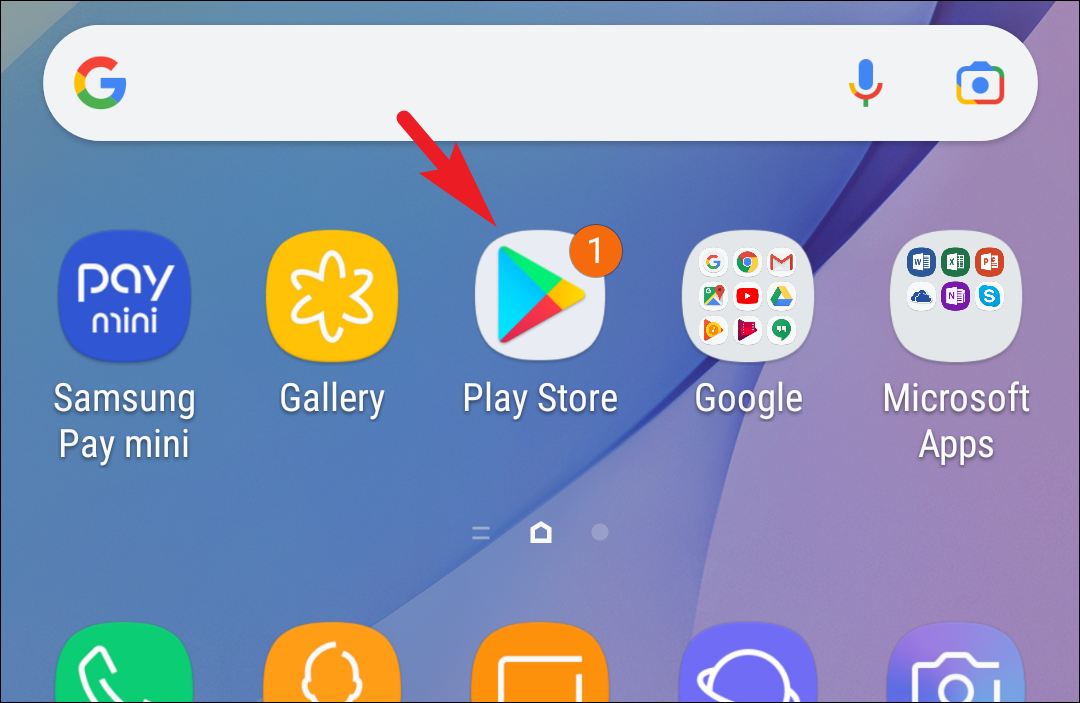
To check for an update of Chrome on your mobile device, first head to the ‘Play Store’ app either from the home screen or the app library of your device.
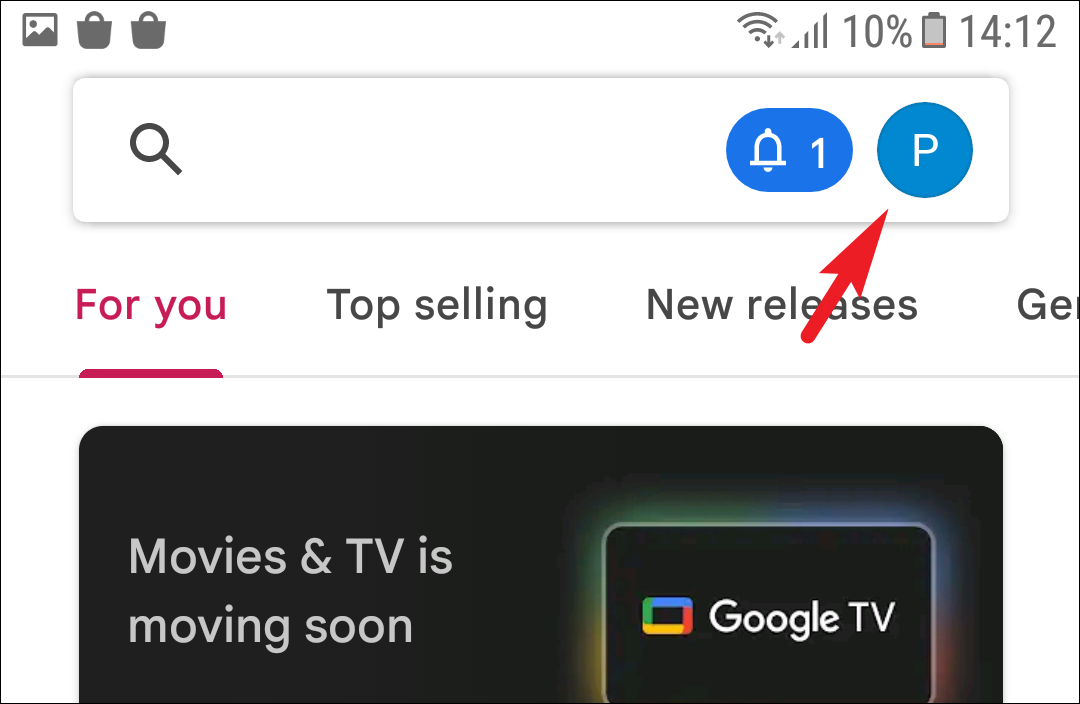
Next, tap on the ‘Account picture/initials’ present in the top right corner of the screen to continue. This will bring an overlay window to your screen.
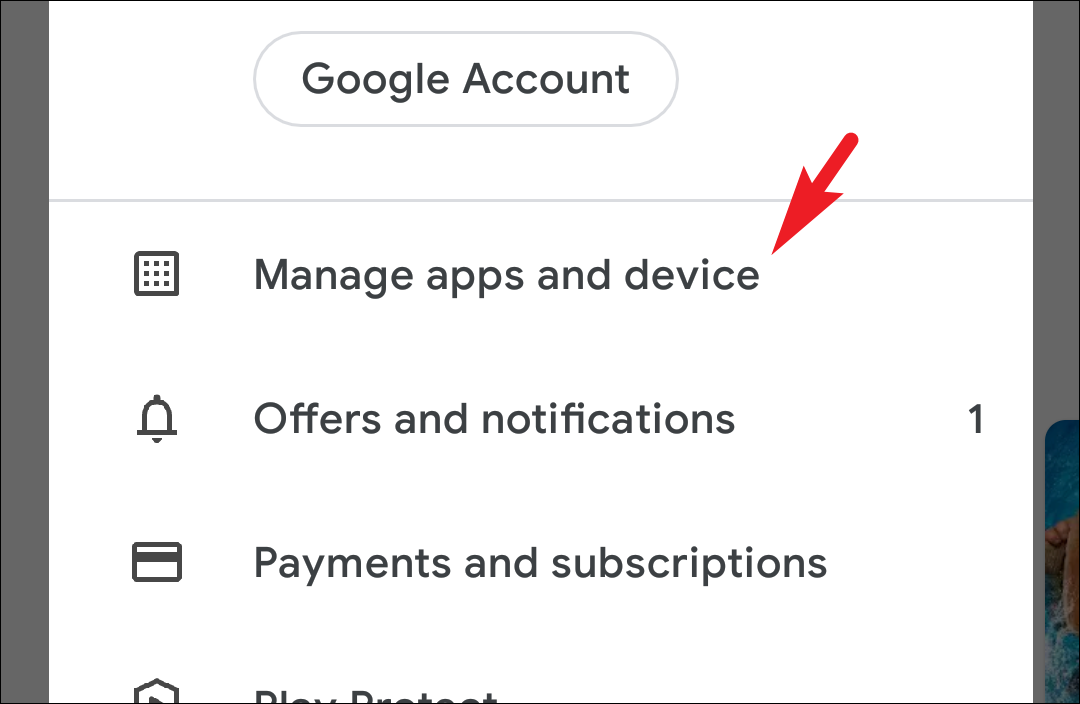
After that, from the overlay window, tap on the ‘Manage apps and devices’ option to continue.
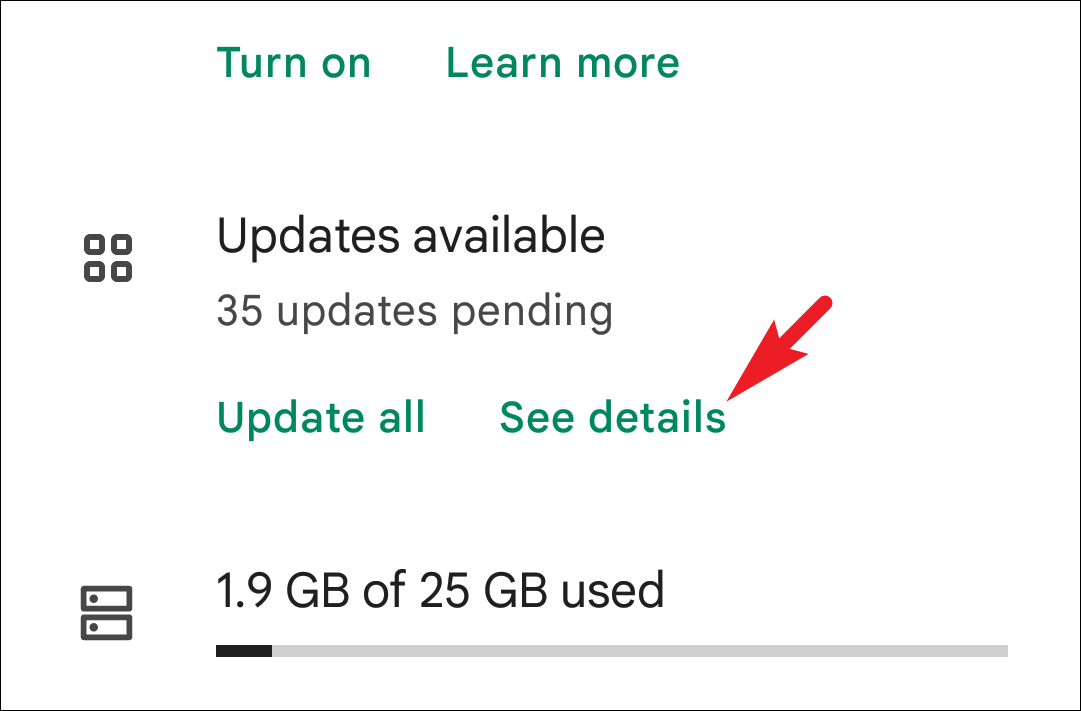
Now, locate the ‘Updates available’ section and click on the ‘See details’ button to view all the apps that require an update.
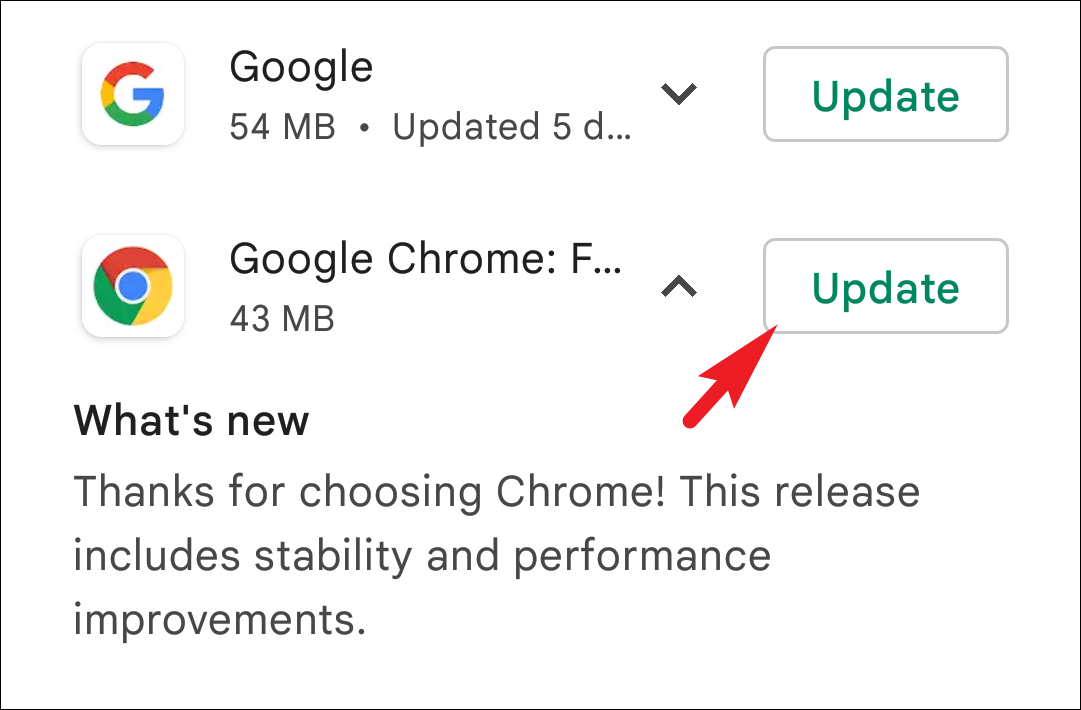
On the next page, try to locate the Chrome app in the list. If present, tap on the ‘Update’ button following the Chrome listing to update it. In case the app is not listed in there, it simply means your app is already up-to-date.
Enable the ‘Page Info’ Flag on Chrome
If the Chrome browser on your device is already up-to-date but you are still not able to see the padlock icon, the feature is most probably disabled from the flag register. Though the chances of it happening are pretty slim, it could be disabled due to the interference of a third-party extension. You can follow the process mentioned below on either of the devices (Desktop or Mobile) as it is exactly the same.
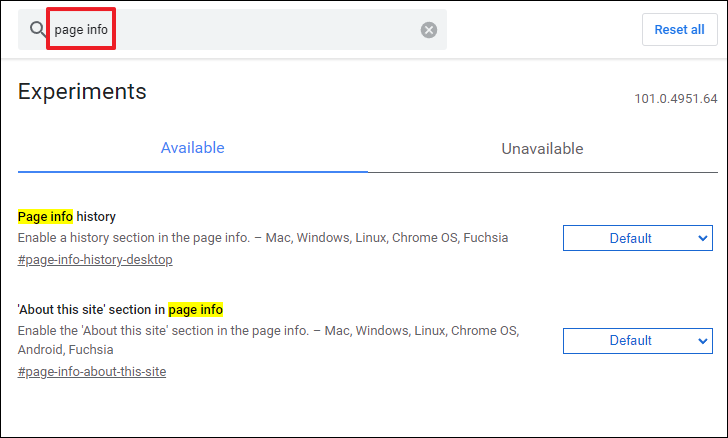
To configure a flag register, head to the chrome://flags web address in Chrome. Once the website has been loaded, click on the search box and type page info to perform a search for it. Otherwise, you can manually scroll down the list and search for the option.
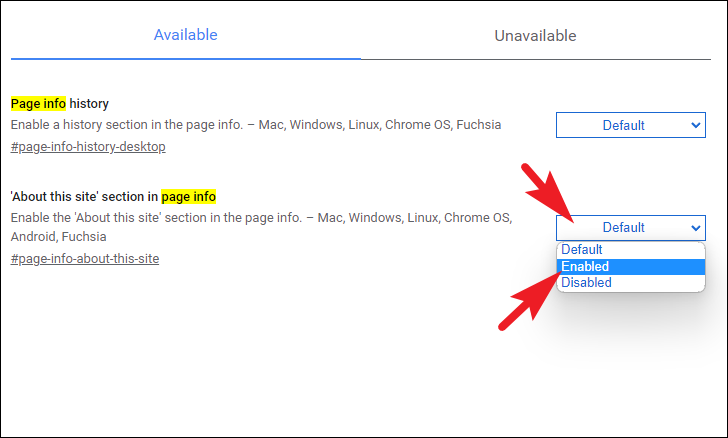
Then, from the search results, tap/click on the dropdown menu present under the option and choose the ‘Enabled’ option from the list. Once enabled, the padlock icon should immediately appear on the browser. If that’s not the case, try exiting the browser and relaunching it to let the changes take effect.
Tips & Tricks to Ensure Better Privacy in Chrome
Almost everyone knows about cross-website tracking, user data collection, and targeted ads. If having your information floating around on the Internet makes you feel uncomfortable, you can definitely take some measures to limit the information circulation.
Enable ‘Do Not Track’ on Chrome
Chrome also allows you to send a ‘Do Not Track’ request to all the websites. This feature is mainly to stop websites from tracking you across other websites and serve you targeted adverts. However, as mentioned earlier, Chrome can only send a request and it completely relies on the website to accept it or not.
To send a ‘Do Not Track’ request to the website, from the Chrome window, click on the ‘kebab menu’ (three vertical dots) icon present in the top right corner of the window to reveal the overflow menu. Then, locate and click on the ‘Settings’ option from the list to continue.

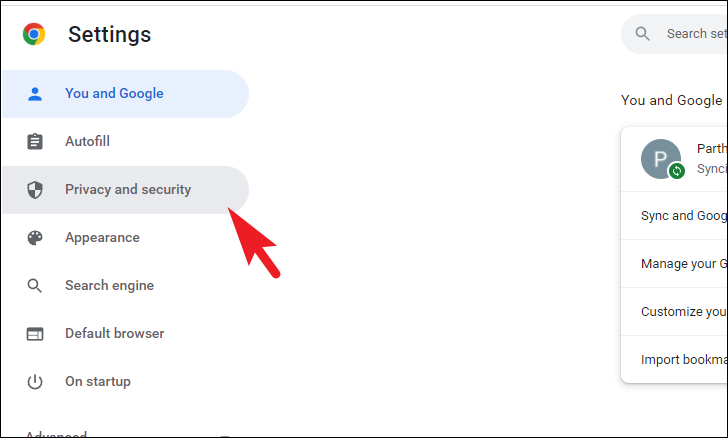
After that, click on the ‘Privacy & security’ tab present in the left sidebar to continue.
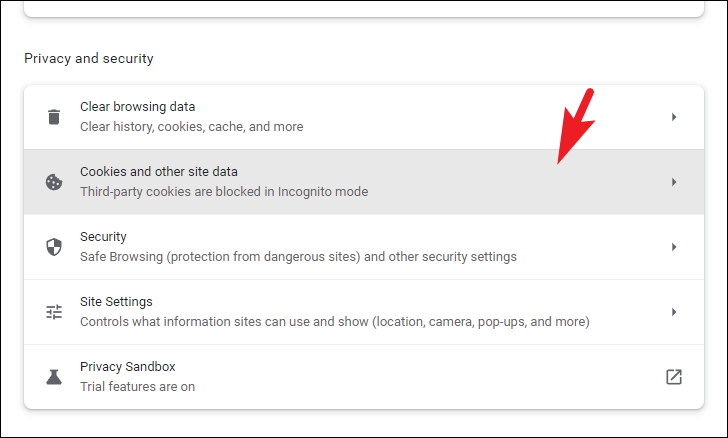
Then, locate and click on the ‘Cookies and other site data’ tile to proceed.
On the next screen, locate the ‘Send a Do Not Track request with your browsing traffic’ option and click on the toggle switch next to it to bring it to the ‘On’ position.
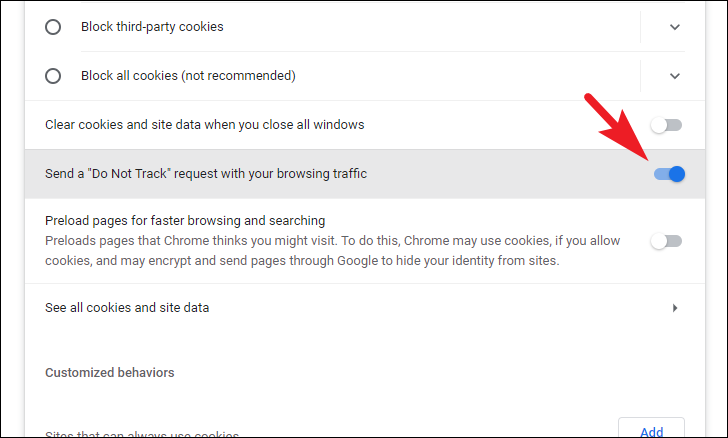
And that’s it. Chrome will now send a ‘Do Not Track’ request to all the websites that you visit.
Turn Off Non-Essential Google Services
Chrome is one of the best browsers available out there that also offers features such as text prediction, auto-page loading, and auto-filling of forms. However, most of these features require you to send partial or complete personal data to Google servers and it may be problematic in the long run. Since some of these are non-essential services, they can be turned off without trading much of your convenience.
To turn these non-essential services off, from the Chrome window, click on the ‘kebab menu’ (three vertical dots) icon present in the top right corner of the window. Then, locate and click on the ‘Settings’ option from the list to proceed. This will open the Settings tab in a separate tab on your browser.

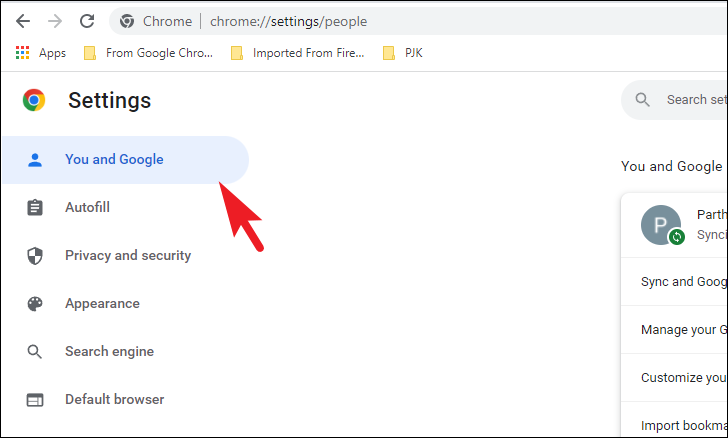
Now, on the next screen, make sure you are on the ‘You and google’ tab to proceed.
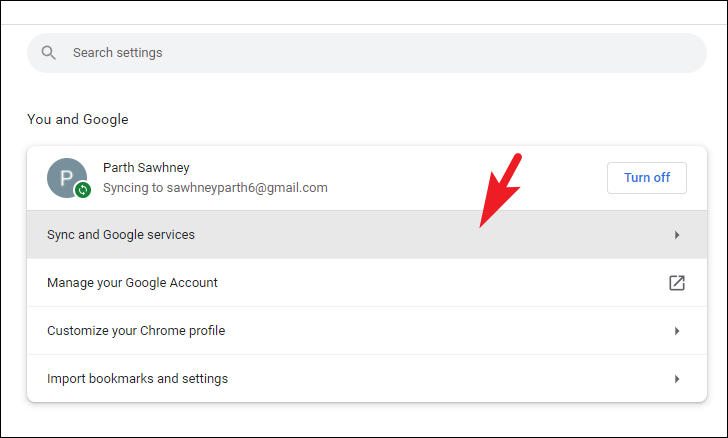
Then, from the right section of the window, locate and click on the ‘Sync and Google services’ option from the list to continue.
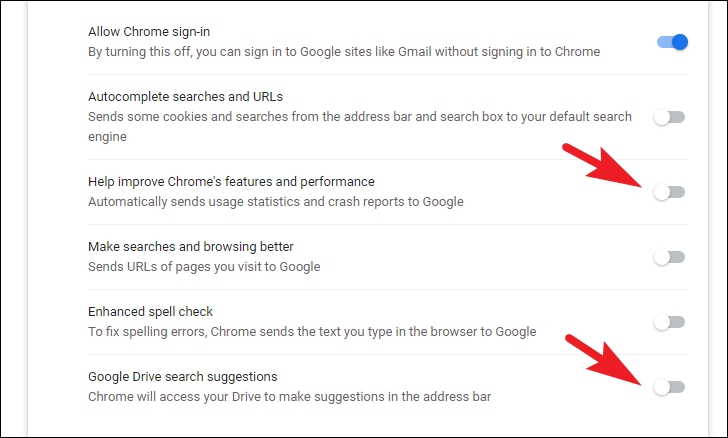
On the next screen, if you do not wish to send your search data to Google servers, locate the ‘Auto-complete searches and URLs’ option and click on the toggle switch following the option to bring it to the ‘Off’ position. Similarly, locate the ‘Make searches and browsing better’ option and click on the following toggle switch to bring it to the ‘Off’ position.
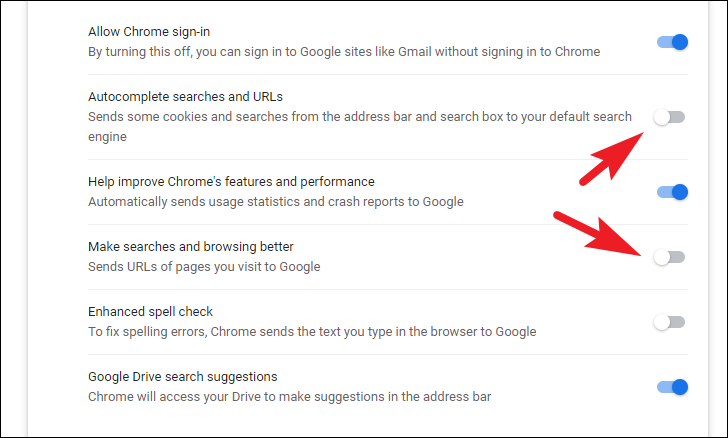
Now, if you do not wish to let Google access your drive data every time you type something in the address bar of Chrome, head to the ‘Google Drive search suggestions’ option and click on the following toggle switch to bring it to the ‘Off’ position. Moreover, if you also wish to opt out of sending crash reports and your browser usage statistics to Google servers, locate the ‘Help improve Chrome’s features and performance’ option and click on the following toggle switch to bring it to the ‘Off’ position.
Use Secure DNS
DNS stands for Domain Name System. It helps convert the website name that you enter in the address bar to their IP address. Typically the DNS server is handled by your local ISP. However, by using a different DNS you can make your browsing more secure along with making this conversion process faster. To add to that, Chrome offers you this option natively, and turning it on hardly requires any effort from you.
To use a different DNS server, from the Chrome settings page, click on the ‘Privacy & security’ tab present in the left sidebar to continue.
Then, from the right section of the page, locate and click on the ‘Security’ tile from the list to proceed.
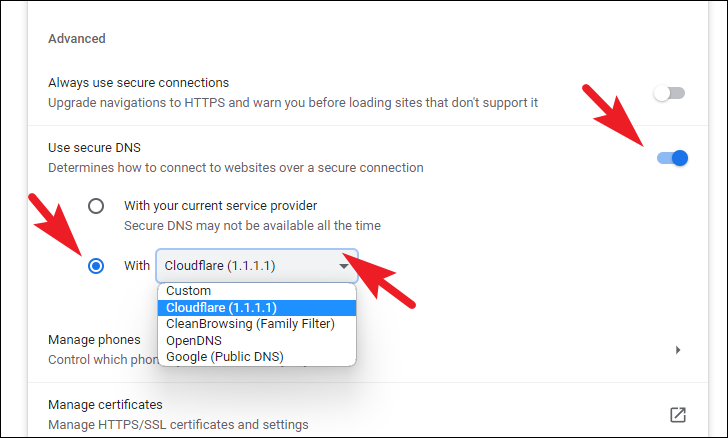
Then, on the next screen, scroll down and locate the ‘Use Secure DNS’ option situated under the ‘Advanced section’ and click on the following toggle switch to bring it to the ‘On’ position. Then, click on the radio button preceding the ‘With’ option and then click on the dropdown menu following the option and select any of the DNS servers present in the list.
And that’s it, you have now made sure that you are taking a few extra steps to protect your digital information from floating on servers across the world.
There you go, people. This is how you can manage permissions on Chrome and tweak them according to your personal preference. In case you wish to make Chrome a privacy-first browser by configuring the permissions, do check out our separate article on it.