Chrome is one of the most preferred browsers on the planet due to its seamless features, ease of use, and great fluid performance. However, some of this comes at a cost of your privacy.
While many users are not majorly concerned about what data they share, there is an almost equal number of people who are extremely careful when it comes to sharing their data with the software vendors.
There is also a set of people who are not bothered by the data they share but just simply do not want to keep their browsing history. Whatever be your preference, this article will serve you well.
Get a Chrome Incognito Icon on your Desktop
If you simply don’t want to keep your browser history, this option will solve all your problems and free you from the hassle of deleting history on Chrome.
Here we are going to create a new shortcut exclusively to launch Chrome in incognito mode whilst still retaining your current normal option. However, if you do not want a separate option and ALWAYS want to browse incognito, you can skip the step to create a new shortcut and follow the rest of the steps to apply this on your regular shortcut.
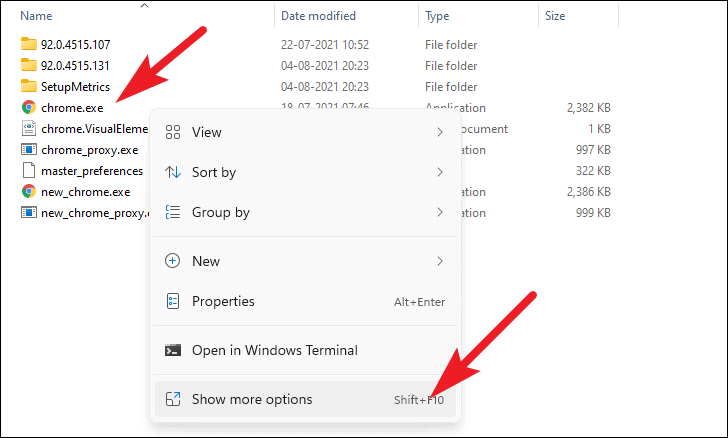
First, head to your Chrome installation directory on your Windows PC. Then right-click on the chrome.exe file and click on the ‘Show more options’ option from the overlay menu. Alternatively, you can also press the Shift+F10 key on your keyboard to access the ‘Show more options’ menu.
Note: If you have not set a custom directory for program installation, C:\Program Files\Google\Chrome\Application is your default directory.
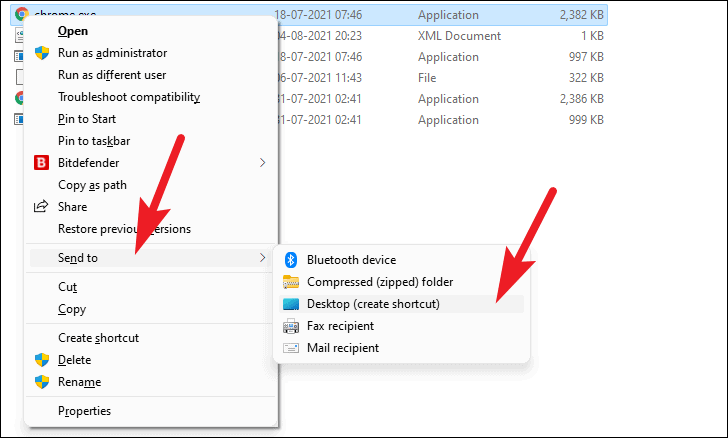
Then, hover over the ‘Send to’ option and select the ‘Desktop (create shortcut)’ option present on the overlay menu.
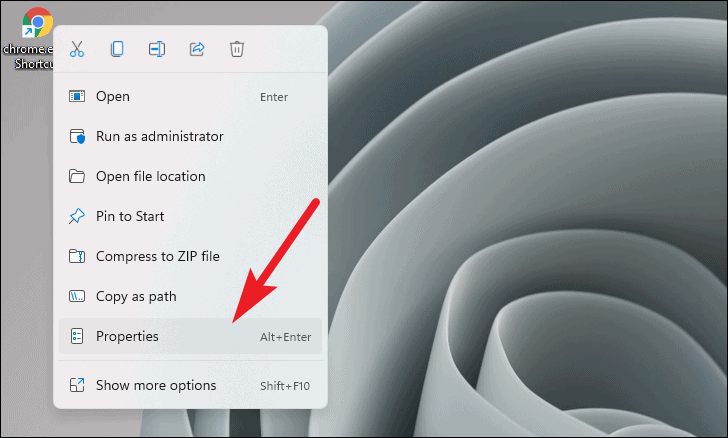
Now head to the desktop on your Windows machine by closing the explorer window or by simply pressing the Windows+D shortcut on your keyboard.
Then, right-click on the new Google Chrome shortcut on your desktop. Then, click to choose the ‘Properties’ option from the overlay window. This will open a separate ‘Google Chrome Properties’ window.
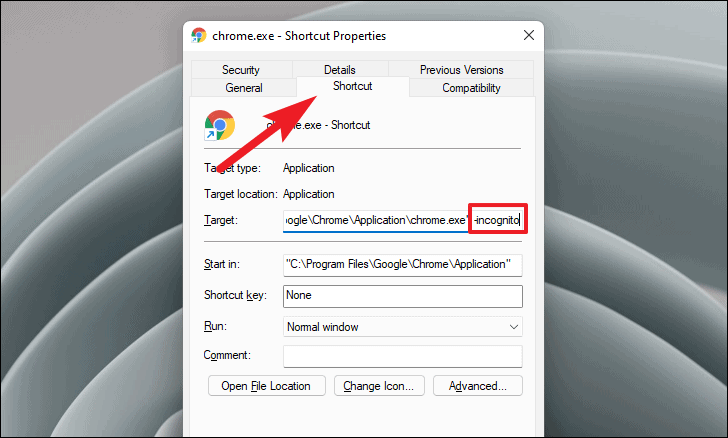
Next, click on the ‘Shortcut’ tab present in the window and then move to the end of the string in the text box present following the ‘Target:’ field. After that, type <space>-incognito.
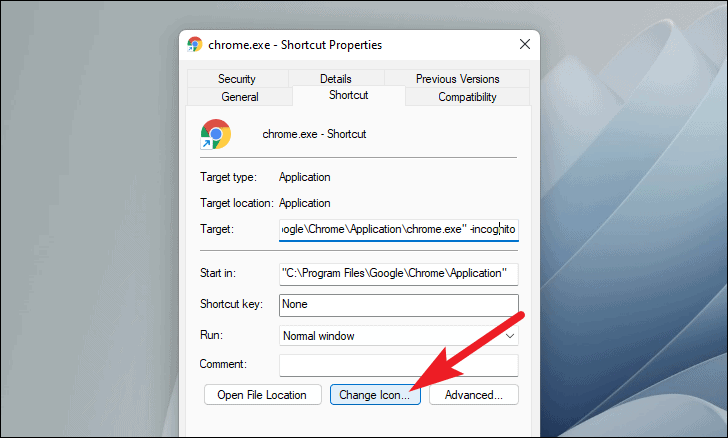
Now, click on the ‘Change icon’ button to differentiate the incognito version from the regular one. This will open a separate window on your screen.
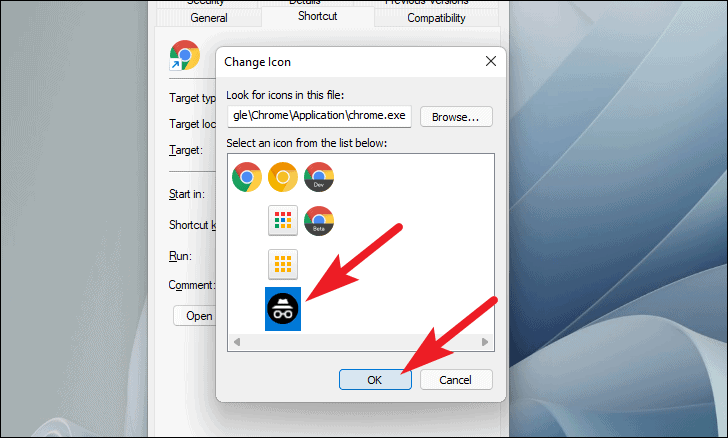
Then, select the ‘incognito icon present in the list. Next, click ‘OK’ to confirm and close the window.
After that, click on the ‘Apply’ button to apply the changes and click on ‘OK’ to close the window.
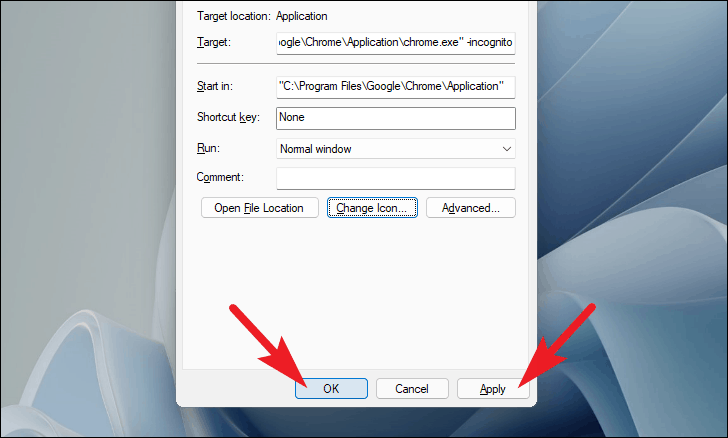
Your new incognito Chrome shortcut is now created. You can access the normal chrome using the regular icon or access the incognito Chrome mode using the newly created shortcut.

Always Launch Chrome in Incognito Mode
If you do not like the idea of having to create a separate Chrome shortcut to launch it in incognito mode as you might not want to use Chrome in regular mode. Well, you can force disable the normal window of Chrome and always let it open in the incognito mode.
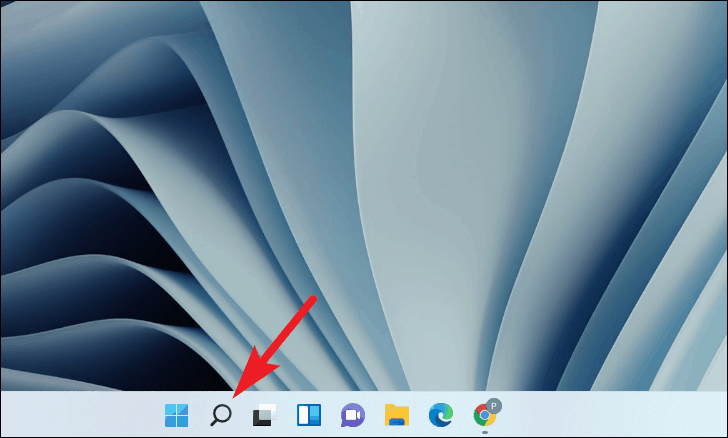
To do so, click on the ‘Search’ icon present on the taskbar of your Windows PC.
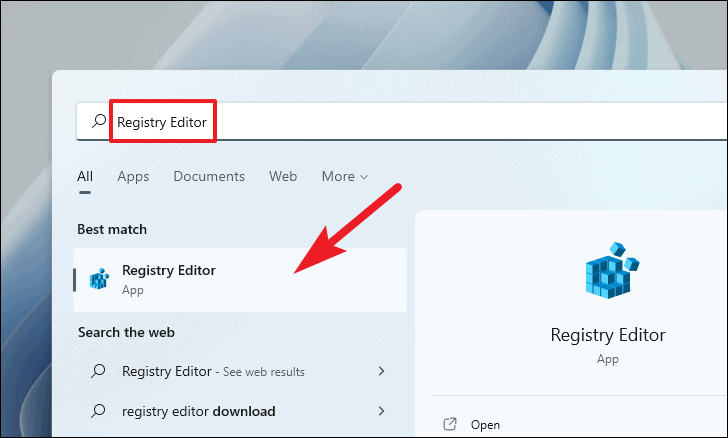
Next, type Registry editor in the search box and click on the ‘Registry Editor’ app from the search results.
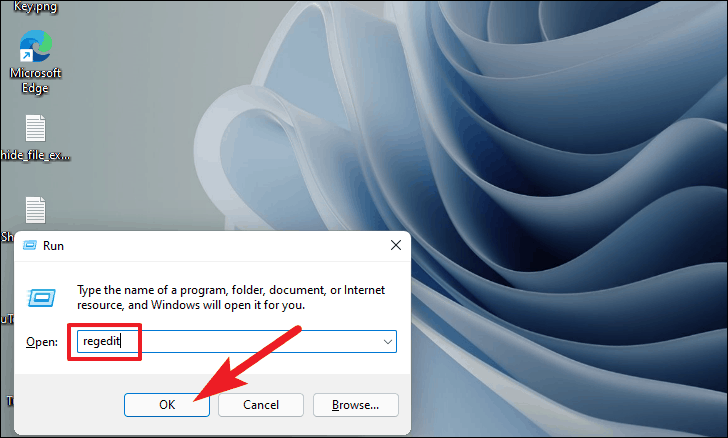
Alternatively, press the Windows+R shortcut on your keyboard to bring up the ‘Run’ command utility. Next, type regedit and click ‘OK’ to open the Registry Editor app on your Windows machine.
Next, from the Registry Editor window navigate, type, or copy the following address in the Registry Editor address bar:
Computer\HKEY_LOCAL_MACHINE\SOFTWARE\Policies\Google\Chrome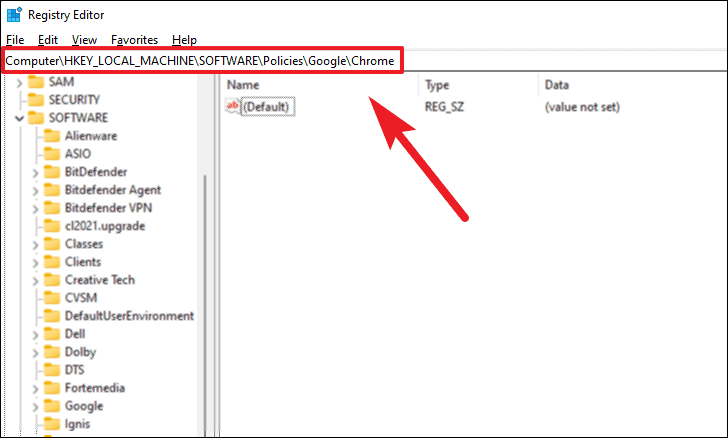
Note: Please ensure that you close all running Chrome sessions on your Windows PC before proceeding.
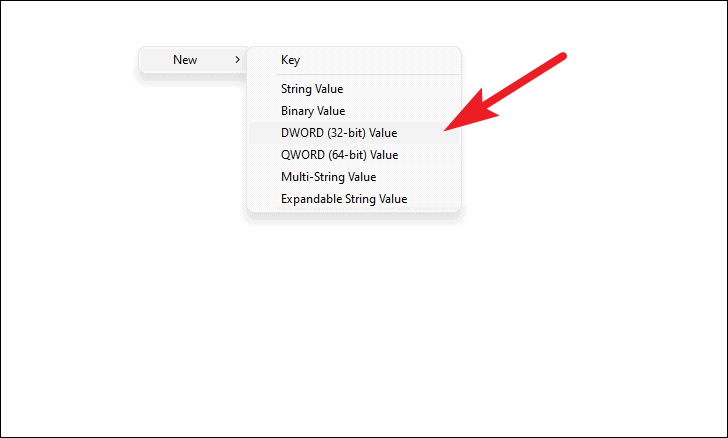
After that, right-click on the left section of the Registry Editor window and hover over the ‘New’ option. Then, click on the ‘DWORD (32-bit) Value’ option. This will create a new DWORD file in the directory.
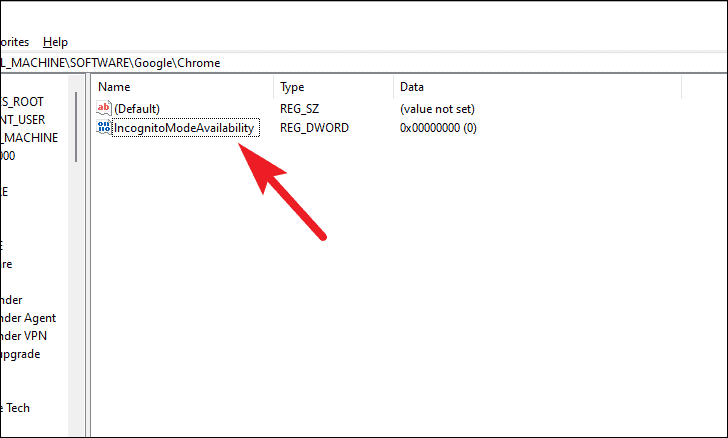
Now, type IncognitoModeAvailability as file name and double-click on the file to edit it. This will open a new ‘Edit DWORD’ window on your screen.
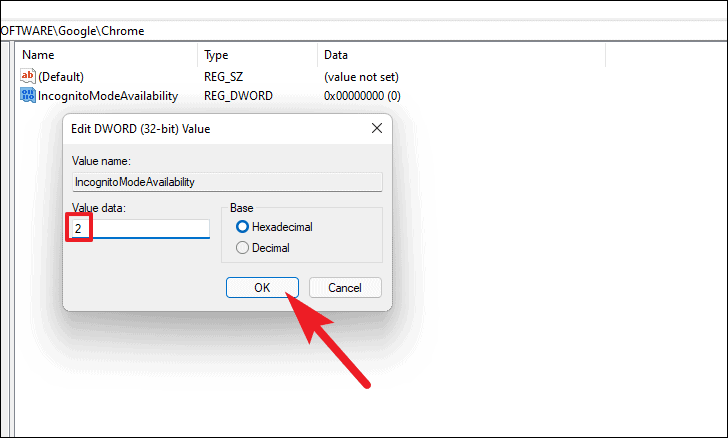
Then, enter 2 in the text box present under the ‘Value data’ field on the window. Next, click ‘OK’ to confirm and apply.
Finally, launch the Chrome browser from your Desktop, Start Menu, or taskbar.

You will notice the Chrome will open in incognito mode. Moreover, click on the kebab menu present on the top right corner of your window, the ‘New Window’ option will be greyed out.
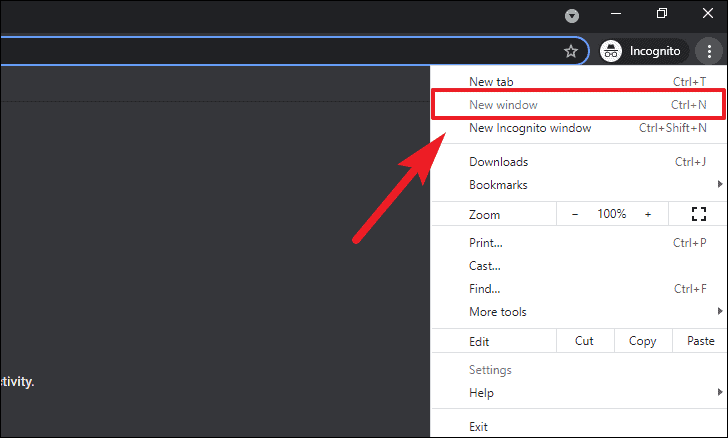
Now the Chrome will always launch in incognito mode with no possibility of opening a regular window.
Make Chrome a Privacy First Browser by Default
Well, if you are concerned with the security of your precious data or being tracked on the internet; there are a few options in Chrome that you can turn off and sweep away your privacy worries without hampering the Chrome experience.
Note: This method aims to make Chrome incognito by default without switching to incognito mode.
Set up a Chrome Profile without Signing in to your Google Account
Since Chrome binds your profile with an email address provided by you to sync your data and settings across all your devices you sign in using the same email address.
However, you can choose not to provide your email address and with Chrome you have two ways to do that, you can either clean the current profile you are using or create a new one without an email address.
Sign out of Chrome and Delete all Cookies, Browsing Data, and Site Data
If you are already using Chrome signed-in with your email address and wish to opt for a more privacy-heavy approach, Chrome does allow you to do that.
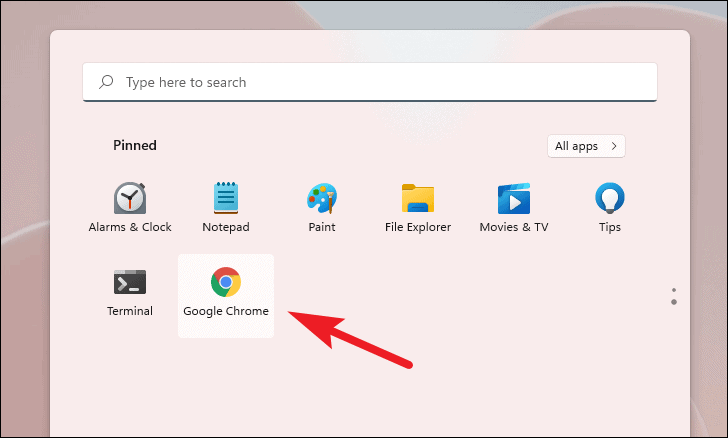
First, launch Chrome from the Desktop, Start Menu, or from the taskbar of your PC.
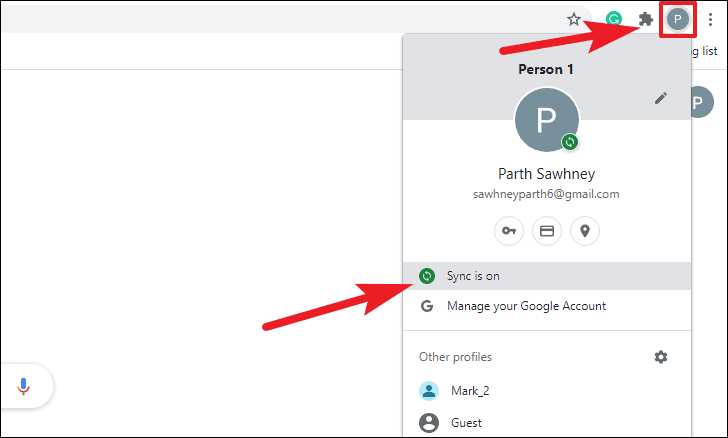
Then, click on the account profile picture or initials present on the top right corner of the Chrome window. Next, click on the ‘Sync is on’ option present on the overlay window. This will take you to a separate ‘Settings’ tab on the Chrome browser.
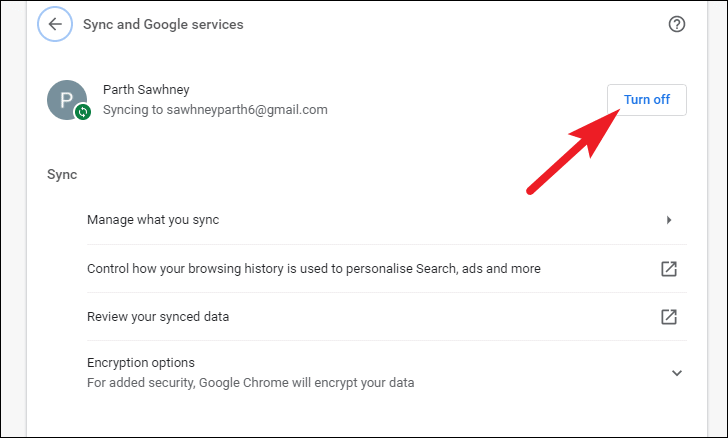
Now, click on the ‘Turn off’ button followed by your synced account details on the screen.
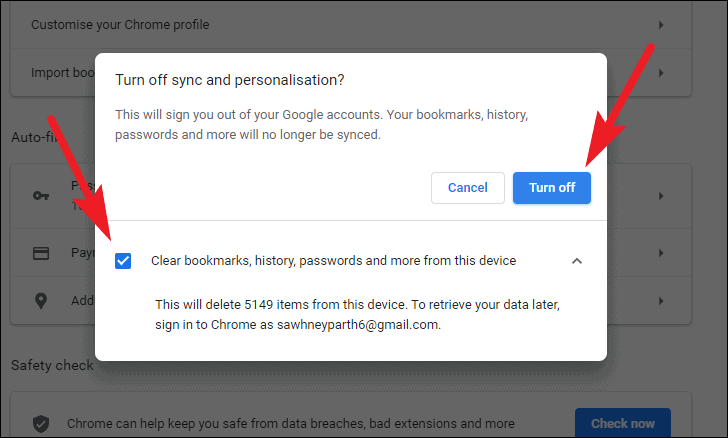
Now, from the overlay alert on your screen, click on the check box preceding the ‘Clear bookmarks, history, passwords, and more from this device’ option to also delete all the synced data. Then, click on the ‘Turn off’ button present on the alert window.
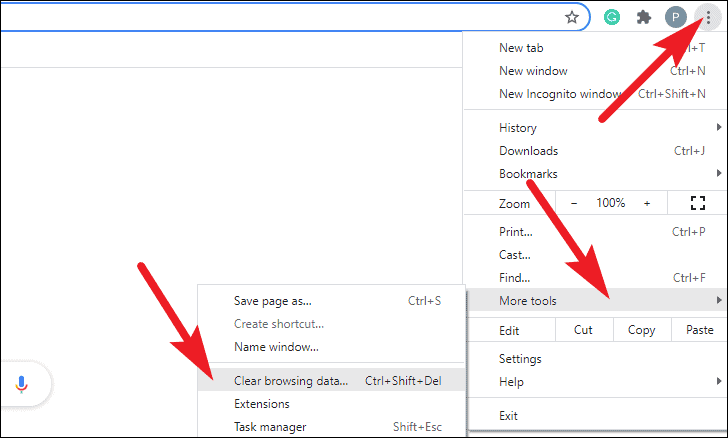
Alternatively, after launching Chrome on your PC, click on the kebab menu (three vertical dots) situated on the top right corner of the window. Then, hover over the ‘More Tools’ option and click on the ‘Clear Browsing Data’ option present on the overlay menu. this will open a separate ‘Settings’ tab on your Chrome browser.
After that, click on the ‘Advanced’ tile from the overlay window.
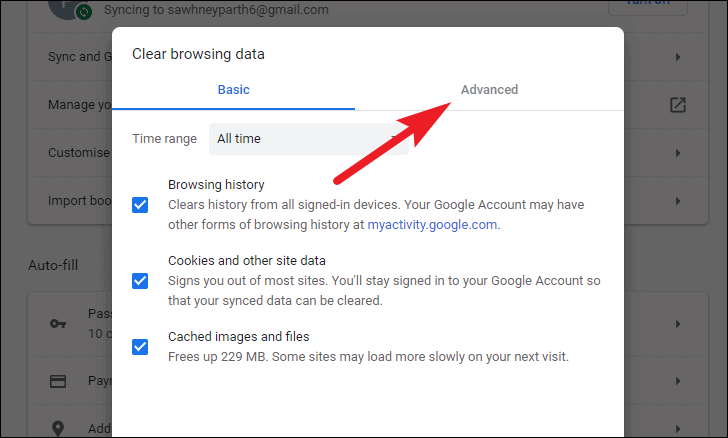
Next, click on each individual checkbox preceding each option and then click on the ‘Clear Data’ button to clear all the data. Then, click on the ‘sign out’ option from the bottom of the overlay window to sign out.

You will be now logged out of your account and all your synced data will be deleted from your device.
Set up a New Chrome Profile
In case you do not like the idea to clean slate Chrome, you can also set up a new profile that will be available alongside your main profile. Otherwise, you can also set up a new profile after signing out of Chrome and deleting all your data to let it stay that way.
To set up a new profile, launch Chrome from the Desktop, Start Menu, or your Windows 11 PC taskbar.
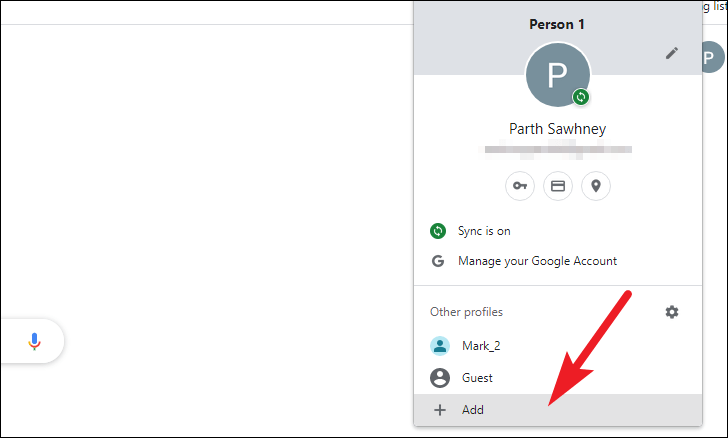
Now, click on your account picture or account initials adjacent to the kebab menu present around the top right corner of the window.
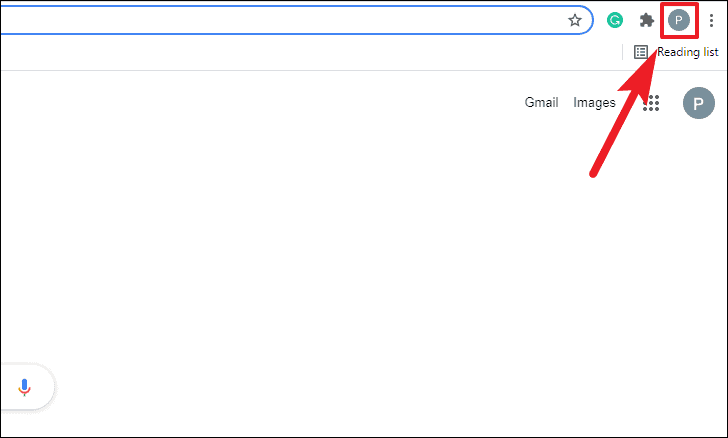
Next, click on the ‘+ Add’ button present at the bottom of the overlay menu. This will open a new ‘Google Chrome’ window on your screen.
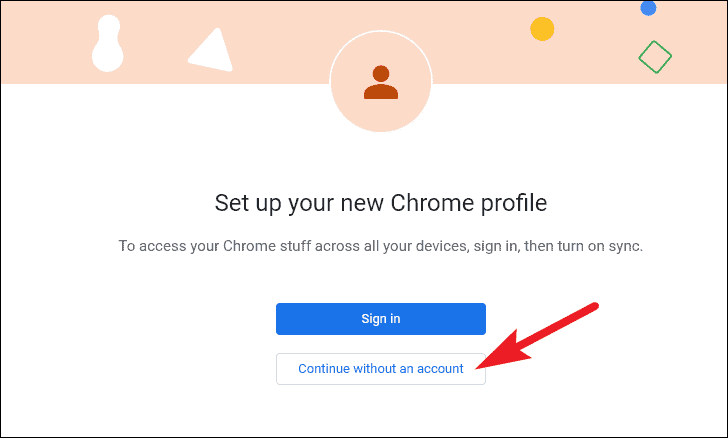
After that, click on the ‘Continue without an account’ option present on the window to create a profile without providing an email address.
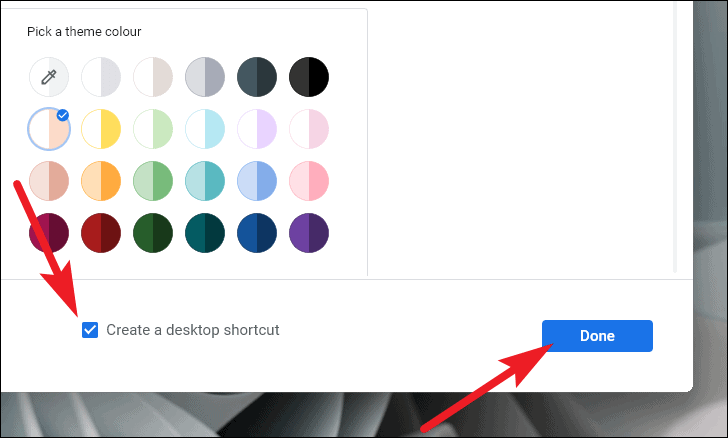
Then, enter a suitable name for the profile you are creating in the text box present. Next, click on the presets present in the color palette to choose one. Alternatively, you can also click on the ‘Custom color’ option (the option with a picker icon) to set a custom color for your profile.

After that, click on the checkbox preceding the ‘Create a desktop shortcut’ if you want to create a shortcut to launch the specific Chrome profile right from your Desktop. Next, click on the ‘Done’ button to complete the profile setup.
After that Chrome will open a new browser window with your new profile.
Disable All Built-in Google Services on Chrome
Apart from your data, there’s also a ton of other things Chrome records to make your experience much better, however, your privacy does take a hit if you keep them enabled.
Access Google Services on Chrome
To access Google services, first, launch the Chrome browser from your Desktop, Start Menu, or taskbar of your PC.

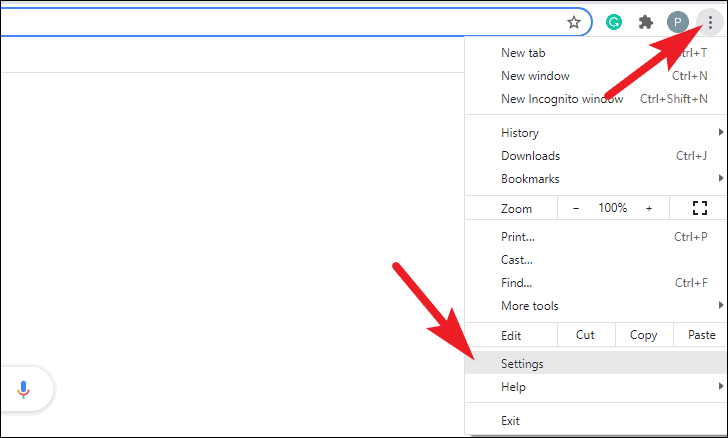
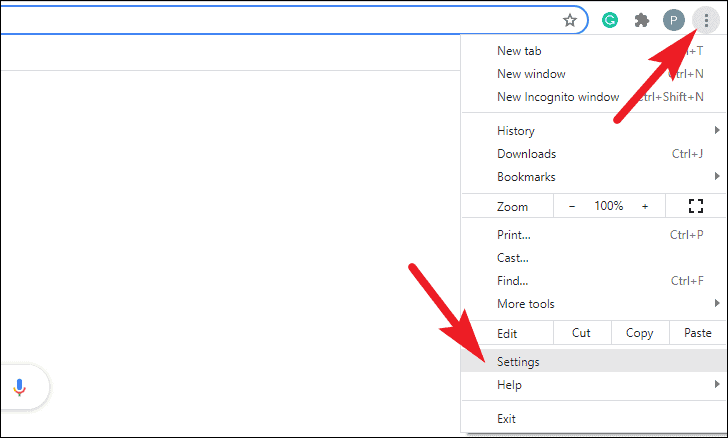
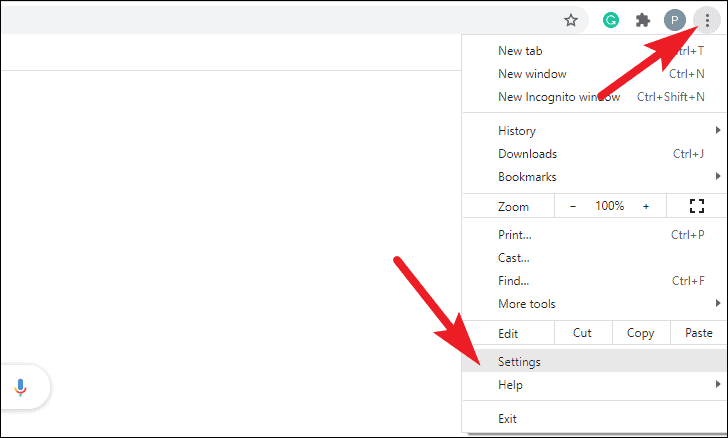
Next, click on the kebab menu (three-vertical-dots) present on the top right section of the Chrome window. Then, click on the ‘Settings’ option present on the overlay menu.
After that, click on the ‘Sync and Google services’ option present on the right section of the window.
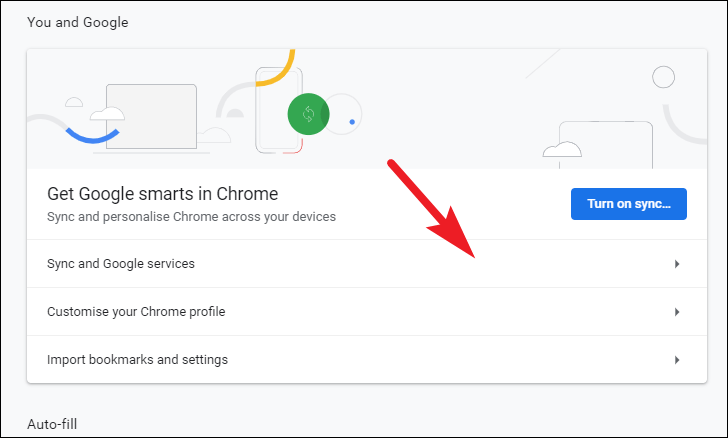
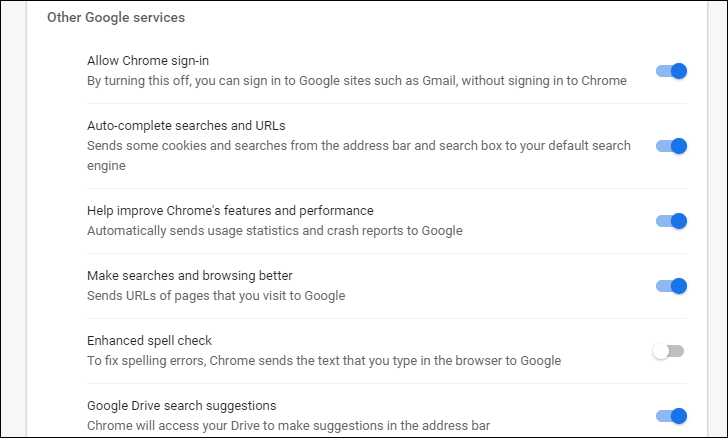
You will now be able to see all the Google services enabled for your profile under the ‘Other Google services’ section.
Disable Chrome Sign-in
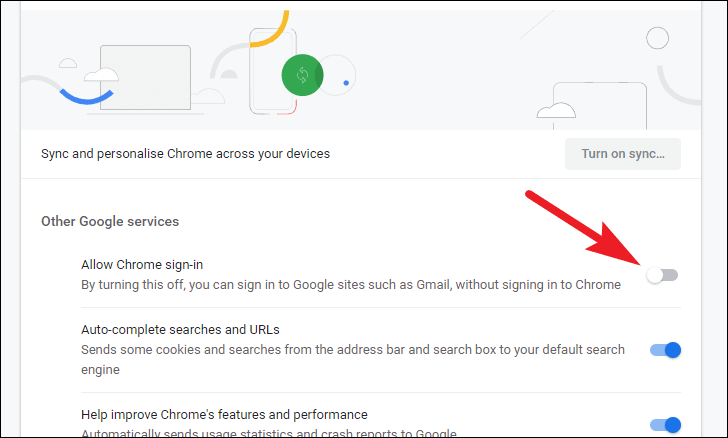
If you have set up your profile without an email address, it is necessary that disable the Chrome sign-in feature to not sync your Chrome profile with your email address.
To do so, head to the ‘Sync and Google services’ screen as shown in the previous section. Then, locate the ‘Allow Chrome sign-in’ option present under the ‘Other Google services’ section and toggle the switch to the ‘Off’ position.
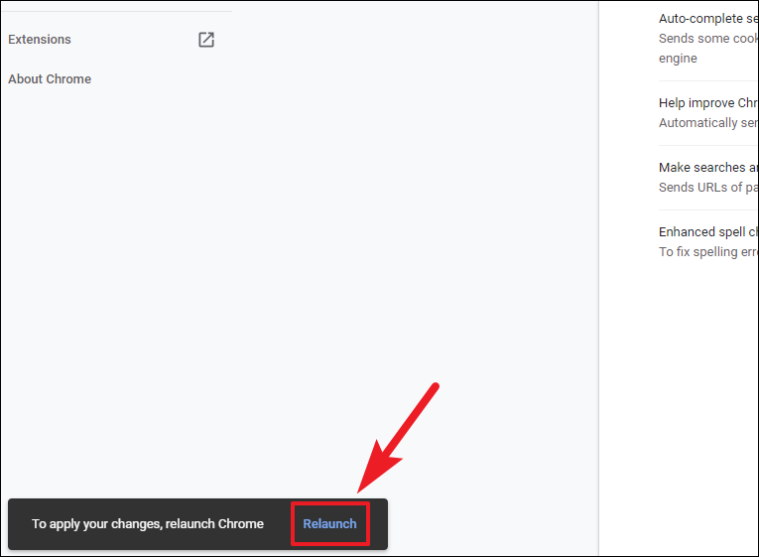
After that, relaunch Chrome from the toast notification present on the bottom-left section of the window to apply the changes.
Now, even if you log in to Google services like Gmail, Google Drive, YouTube you won’t be logging into your Chrome profile.
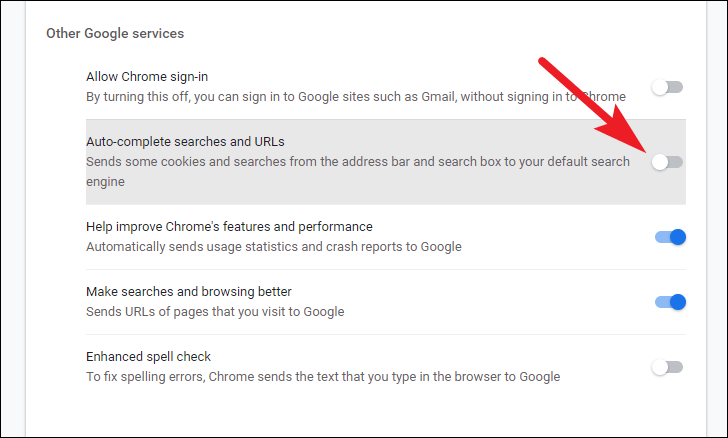
Disable Autocomplete Searches and URLs
In order to help you search better and faster, Chrome sends out cookies and your search data to your preferred search engine and this might not come across as a major deal to everybody. However, when this option is enabled, whatever you search for in the address bar is recorded and creates a nook for itself on the Google servers.
To turn the feature off, head to the ‘Sync and Google services’ screen. Then, find the ‘Autocomplete searches and URLs’ option and toggle the switch following the option to the ‘Off’ position.
After that, to completely stop sending URLs to Google’s server; scroll down and locate the ‘Make searches and browsing better’ option and toggle the following switch to the ‘Off’ position.
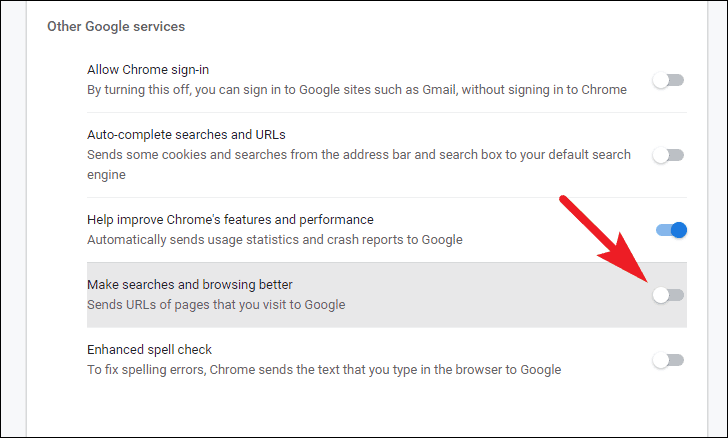
No suggestions will be offered by Chrome when you type a search query or URL in the address bar after you have turned off these options.
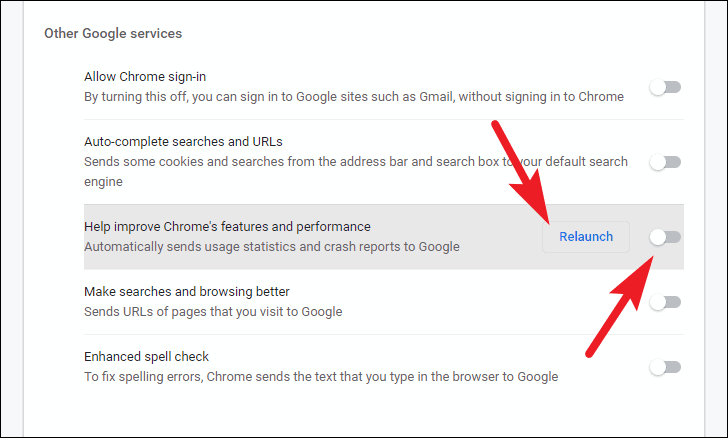
Disable Statistics and Crash Reports Sent to Google
Though the majority of the data collected under these heads is usually processed for surveys or to help make the product better You can also choose to disable sending the statistics and crash reports of your browser to Google. However, in case you are not comfortable sharing this data, you can turn it off.
To do so, from the ‘Sync and Google services’ screen; find the ‘Help improve Chrome’s features and performance’ option and toggle the switch to the ‘Off’ position. Then, click on the ‘relaunch’ adjacent to the toggle switch to relaunch and let the changes take effect.
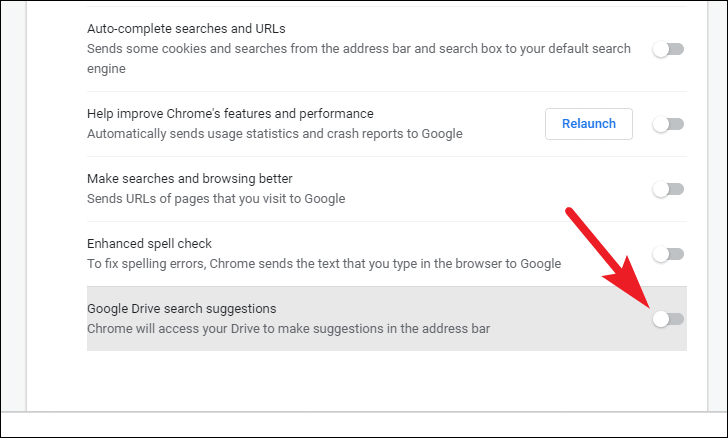
Separate Google Drive and Google Search
Note: This option would be visible only if your Chrome profile is synced with an email address; if you have the Chrome sync turned off, kindly skip this specific section.
Google’s Chrome will also go through your data present in your personal Google Drive in order to make your search experience better and quickly find your Drive items right from the search bar.
While it definitely provides major convenience if you need to find files or folders present on your Drive very frequently, but at the same time might make a certain section of internet users a bit uncomfortable.
Thus, to turn off this feature, head to the ‘Sync and Google services’ screen on Chrome. Then, locate the ‘Google drive search suggestions’ option present under the ‘Other Google services’ section and toggle the switch to the ‘Off’ position.
Disable All Autofill Features in Chrome
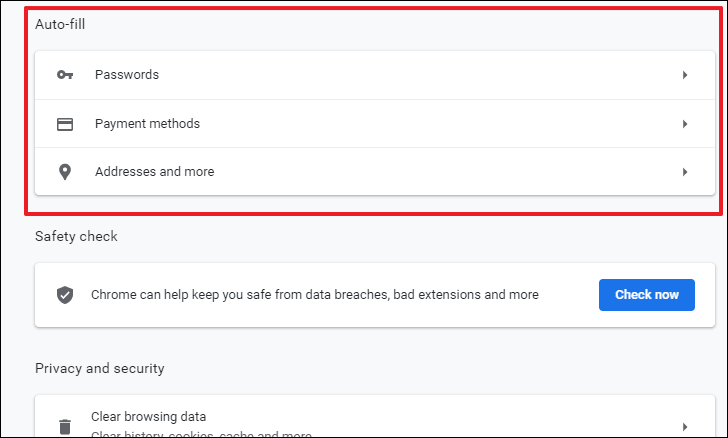
Chrome also supports autofill features, where it saves information such as addresses, payment methods, and passwords that you might have entered on a website and if the same fields are found on any other website, it will auto-populate the data.
While basic information such as your name and age is definitely not going to pose a problem. However, sensitive information such as payment methods, addresses, passwords, and phone numbers is something that should be carefully shared.
Access Autofill Settings in Chrome
First, launch the Chrome browser from your Desktop, Start Menu, or taskbar of your PC. Then, click on the kebab menu (three-vertical-dots) present on the top right section of the browser window. Next, select the ‘Settings’ option from the overlay menu.
After that, click on the ‘Auto-fill’ tab present on the left sidebar of the browser window.
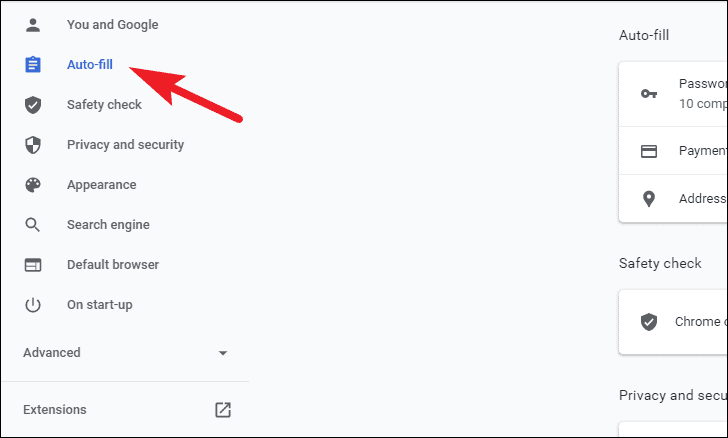
You will now see the settings for all autofill options provided by Chrome.
Disable Password Saving and Auto Sign-in
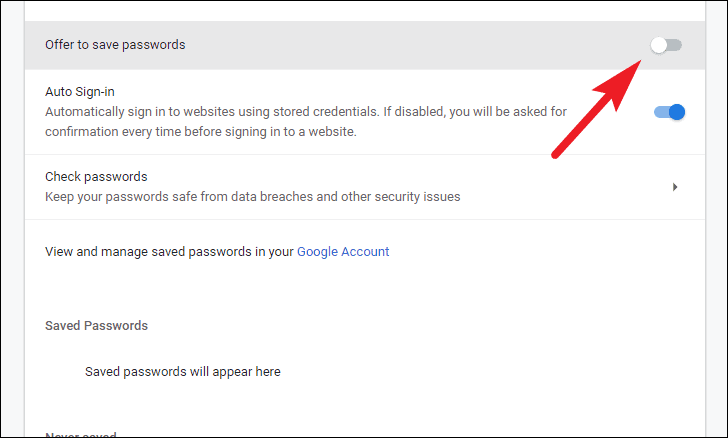
Along with offering to save passwords for you, Chrome also automatically sign-ins to the websites using the stored credentials. Just like every other feature, this can too be turned off, if you wish to.
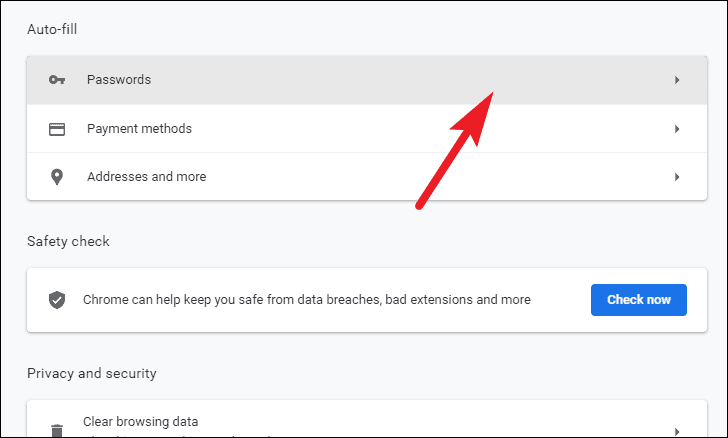
To do so, head to the autofill settings screen as shown in the previous section, and click on the ‘Passwords’ tile.
Next, on the Passwords screen, locate the ‘Offer to save passwords’ field and toggle the switch following the option to the ‘Off’ position to stop Chrome from asking you to save passwords on any website you log on to.
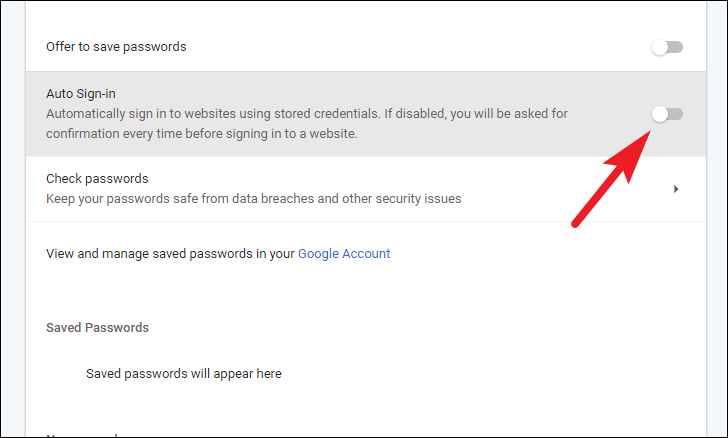
After that, navigate to the ‘Auto Sign-in’ option on the screen and toggle switch to the ‘Off’ position that is following the option.
Disable Payment Method Features
Though Chrome saves all payment-related information on the device’s local storage, it is still advisable to refrain from saving this kind of critical information on any software.
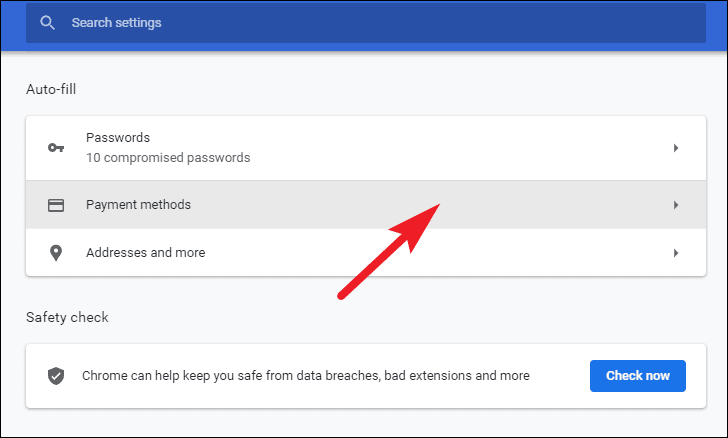
To disable the payment method features, click on the ‘Payment methods’ option from the autofill settings screen on Chrome.
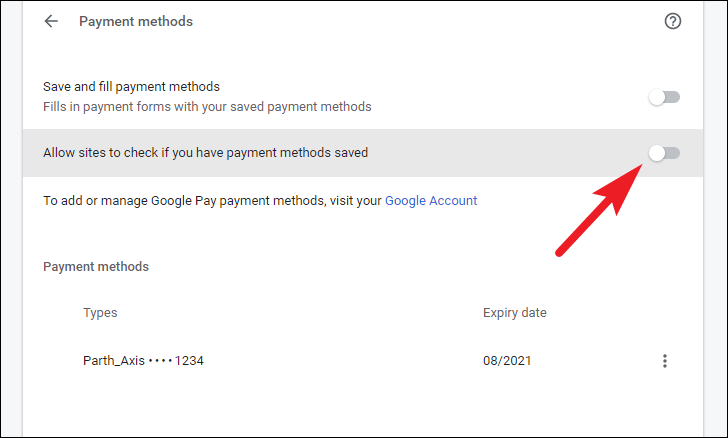
Then, navigate to the ‘Save and fill payment methods’ option and toggle the switch to the ‘Off’ position to stop Chrome from asking you to save new payment methods as well as fill already saved payment information (if any).
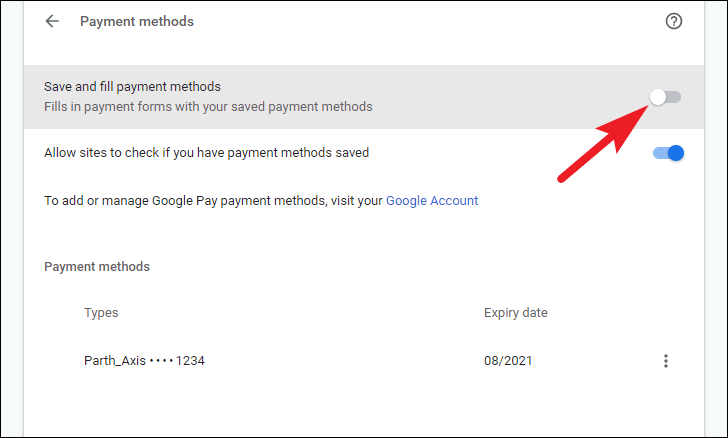
After that, toggle the switch to the ‘Off’ position following the ‘Allow sites to check if you have payments method saved’ option situated right under the ‘Save and fill payment methods’ option on the screen to disable all the websites to check for a saved payment method.
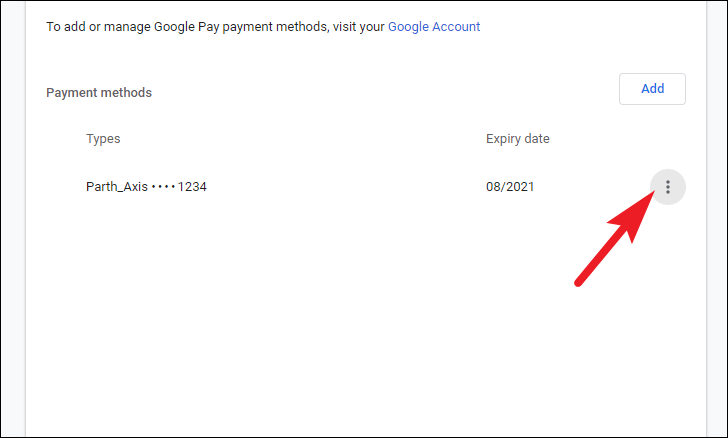
Now if you have payment methods already saved on Chrome, you might want to delete them. Since there is no global way to delete all the saved payment methods (if you haven’t signed out of chrome and delete all site data), you will have to delete them individually.
To do so, from the payment methods settings screen, scroll down and navigate to the ‘Payment methods’ section on the screen. Then click on the kebab menu (three-vertical-dots) present on the far right edge of every payment method.
After that, click on the ‘remove’ option present on the overlay menu to delete the particular payment method.
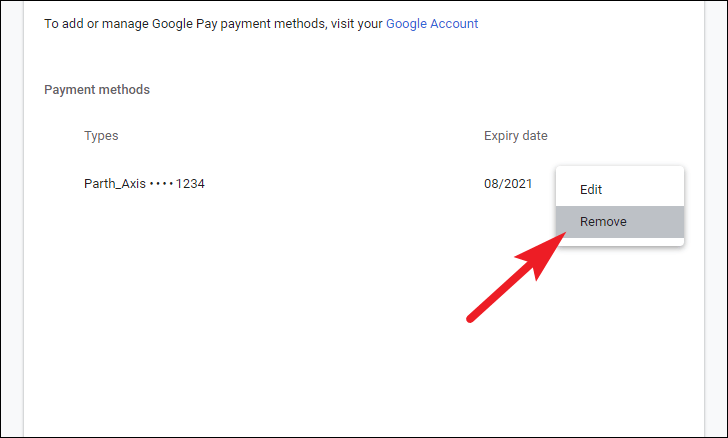
If you have more than one payment method saved, you will need to repeat the last step for each payment method.
Disable Address, Email, Phone number Filling Features
The only thing that might be more confidential than the payment method is your address or your phone number, and many of us are definitely coy about giving out such information.
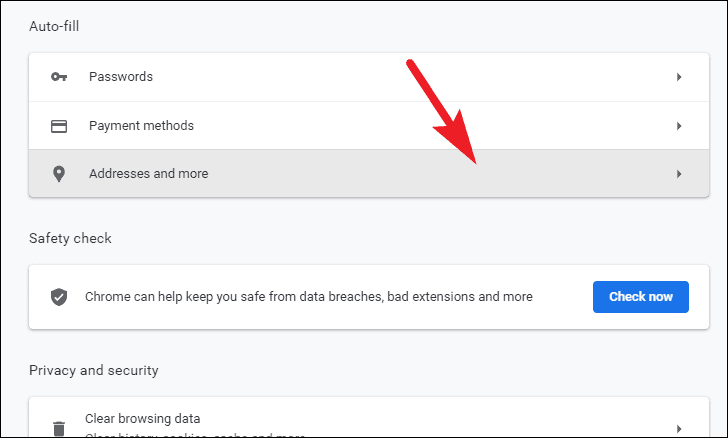
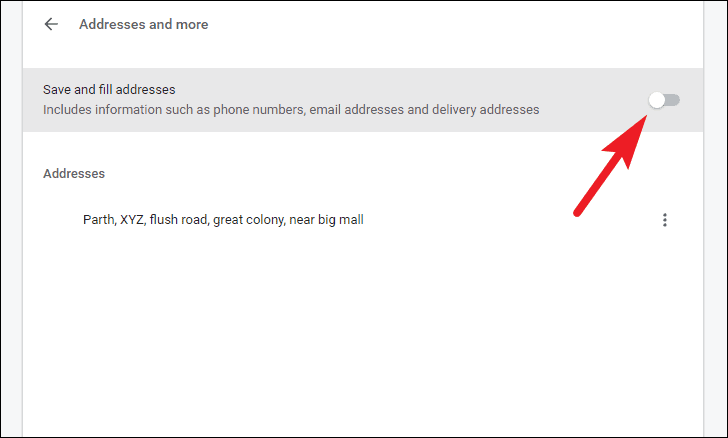
To disable all the personal information storing options on Chrome, click on the ‘Addresses and more’ option from the autofill settings screen.
Then, toggle the switch to the ‘Off’ position that is following the ‘Save and fill addresses’ option on the screen.
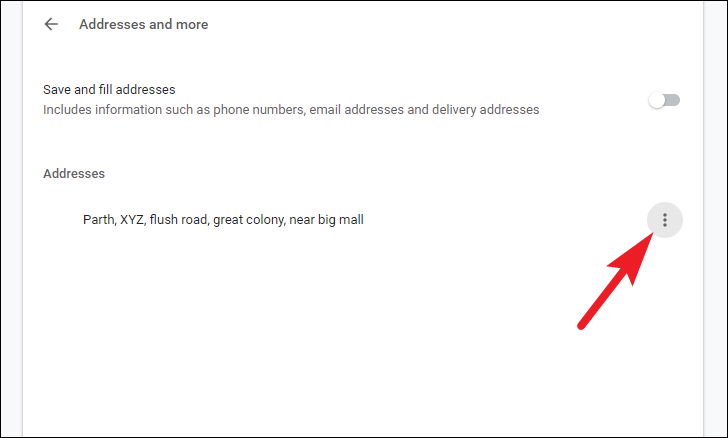
Now in case, you have addresses, email, or phone numbers already saved on Chrome; you will need to delete them individually just like payment methods.
To do that, navigate to the ‘Addresses’ section from the ‘Addresses and more’ settings screen and click on the kebab menu (three-vertical-dots) present adjacent to every individual option.
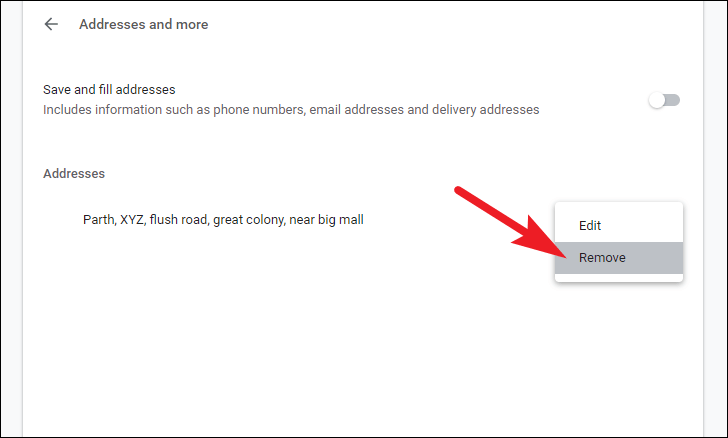
After that, choose the ‘Remove’ option from the overlay menu to delete the particular address.
Disable Cookies and Site Data Entirely in Chrome
In case you are not aware of cookies, they are small blocks of information used to recognize computers over the internet by the websites to provide them a better user experience such as remembering your preference of dark/light mode on a website or to keep you signed in.
Although cookies are mostly used to gather non-sensitive data, at times malicious activities like cookie poisoning can leave you vulnerable to session hijacking attacks. Though there are layers of protection to keep that from happening, you can also completely block cookies altogether to reduce the chances of such incidents to zero.
Accessing Privacy and Security Settings on Chrome
To access the ‘Privacy and Security’ settings, after launching Chrome, click on the kebab menu (three-vertical-dots) present on the top right section of the window and click on the ‘Settings’ option present on the overlay menu.

Next, click on the ‘Privacy and security’ option situated on the left sidebar of the Chrome window.
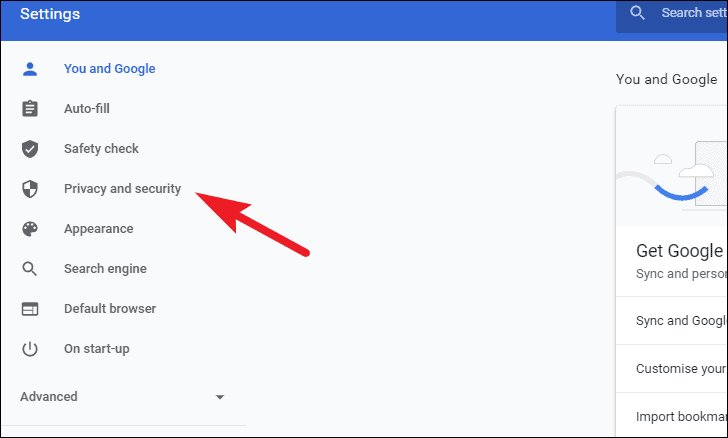
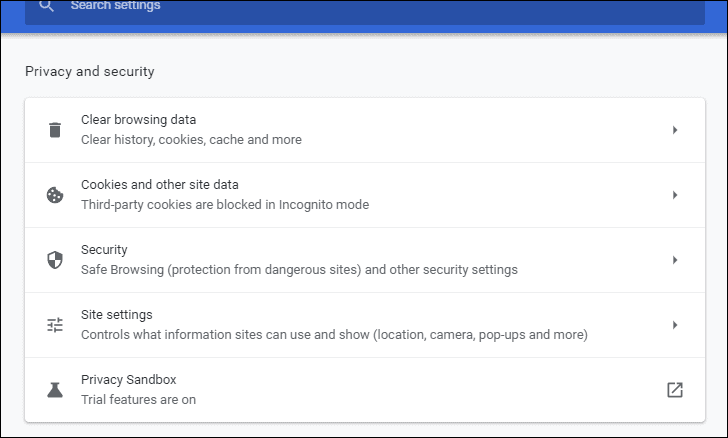
You will now be able to see the Privacy and security settings screen.
Block Cookies for all Websites
Blocking Cookies is as plain sailing as it gets, however, blocking them can seriously hamper your user experience since websites won’t be able to save your preferences at all.
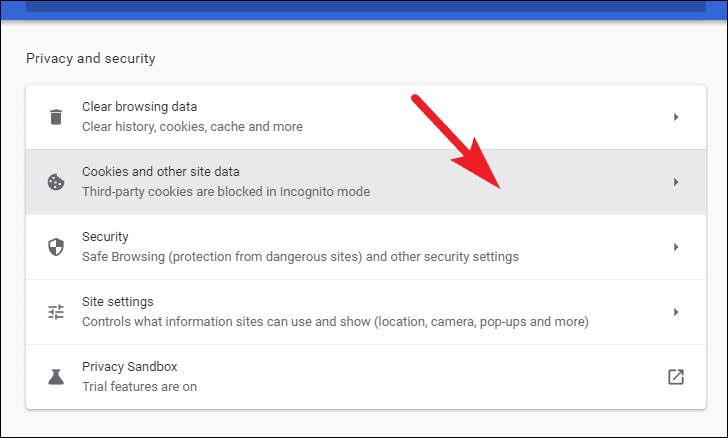
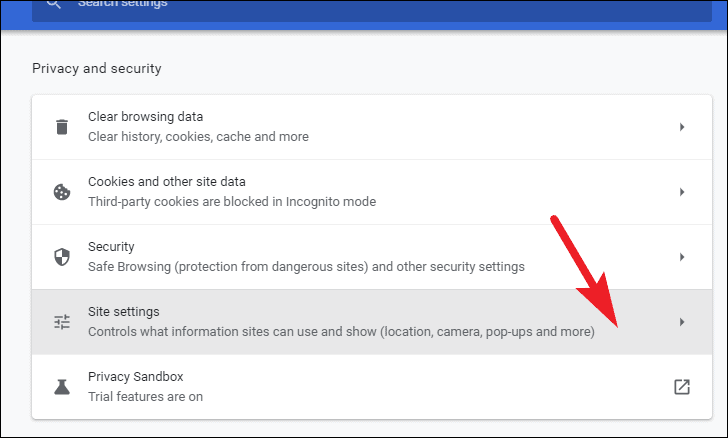
To block cookies for all websites, click on the ‘Cookies and other site data’ option present on the ‘Privacy and security’ settings screen.
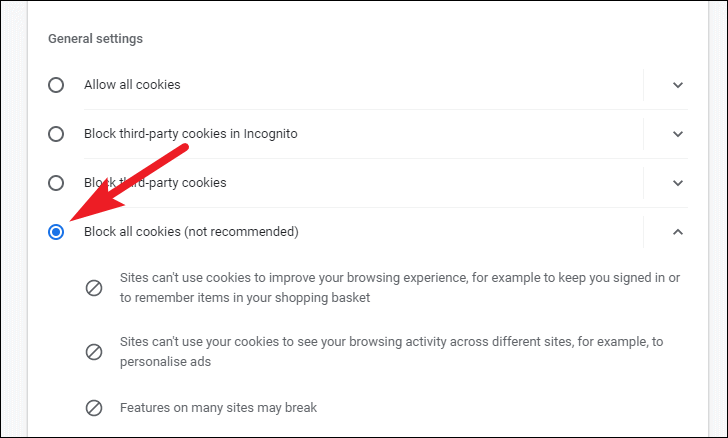
Next, navigate to the ‘Block all cookies’ option situated under the ‘General settings’ section and click on the radio button preceding the option to block all cookies for all websites.
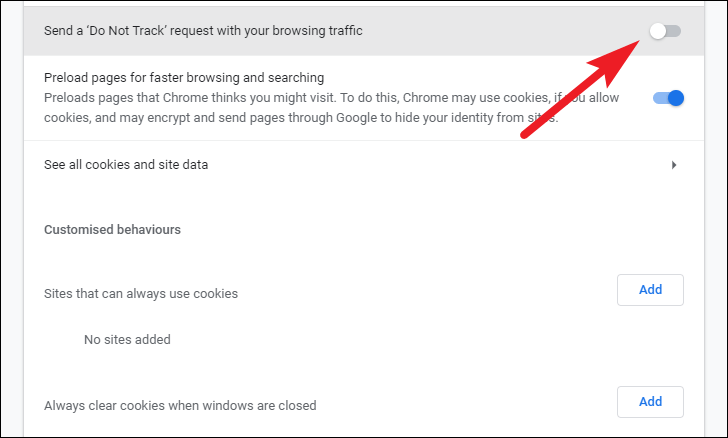
Send a ‘Do Not Track’ request to Websites
You can also choose to send a ‘Do Not Track’ request to all websites you visit. However, the websites may or may not entertain the request and still collect your browsing data to provide you better security, collect statistics, or show personalized advertisements.
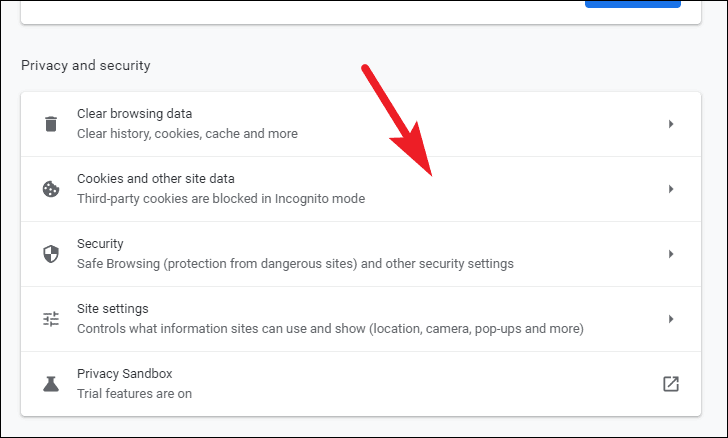
To do so, click on the ‘Cookies and other site data’ tile present on the Chrome settings page.
Then, scroll down and locate the ‘Send a ‘Do Not Track’ request with your browsing traffic’ option and toggle the preceding switch to the ‘On’ position.
After that, you will receive an overlay alert on your screen. Read the information and then click on the ‘Confirm’ button.
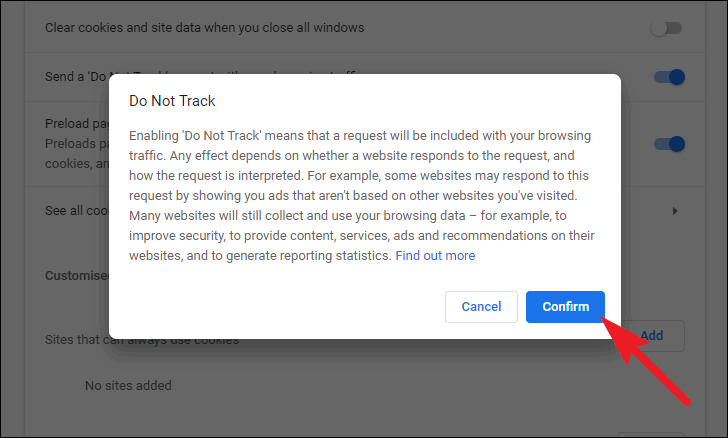
After confirming, Chrome will send a ‘Do Not Track’ request to all the websites you visit.
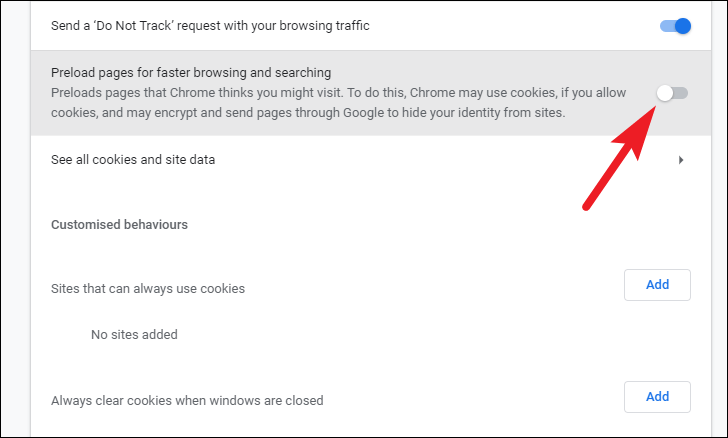
Disable Preload Pages Feature
Chrome at times preloads some pages that it might think you will visit. In order to do so, it collects your cookies and sends your encrypted data to other websites. Though it does help in loading sites faster but is a bummer when it comes to sealing your privacy while being on the net.
To do so, head to the ‘Cookies and other site data’ settings on Chrome as shown in the previous section. Then, scroll down and locate the ‘Preload pages for faster browsing and searching’ option. Next, toggle the preceding switch to the ‘Off’ position.
Now Chrome will not preload any websites on your device or for your account if your profile has been synced with an email account.
Disable Location, Camera, and Microphone Access for All Websites in Chrome
Many websites require to access your location, camera, or microphone in order to provide you a better user experience; like getting your location automatically to check if an item can be shipped to you or not, or accessing your camera or microphone to enable your attend an online meeting.
However, if you do not wish to use these features, you can completely disable them and have peace of mind knowing none of the websites, even malicious ones can access these peripherals.
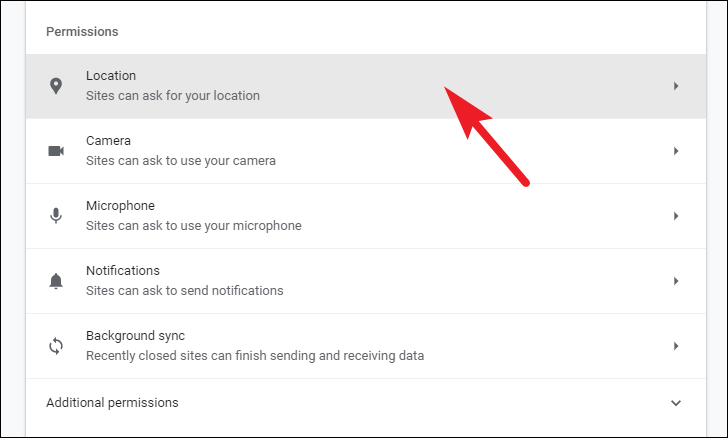
To do so, head to the ‘Privacy and security’ settings screen as shown in the previous section. Then, click on the ‘Site settings’ tile present on the Chrome window.

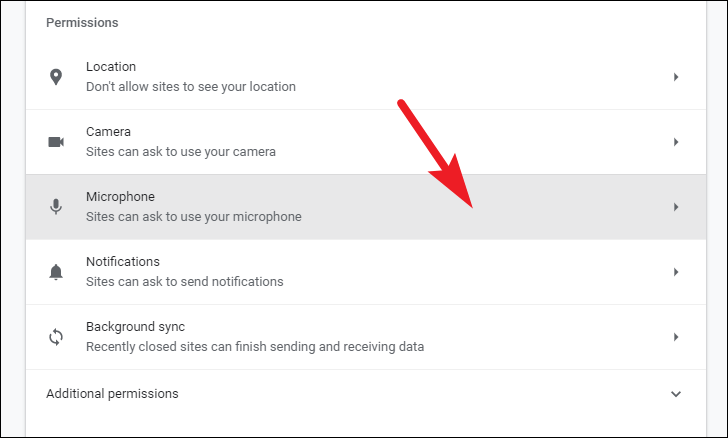
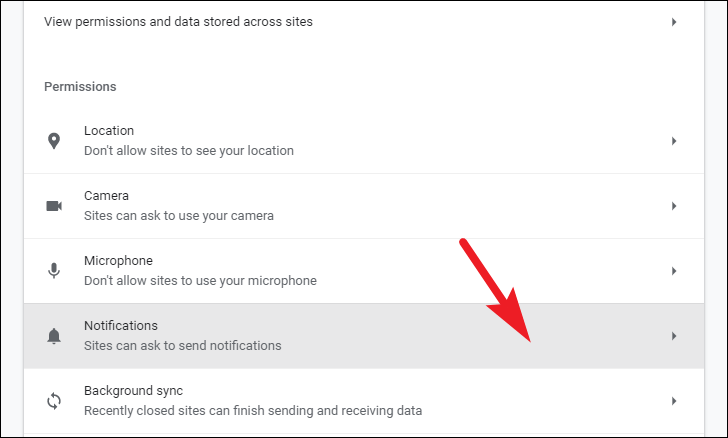
Next, scroll down and locate the ‘Permissions’ section. After that, click on the ‘Location’ tile present under the section.
Then, click on the radio button preceding the ‘Don’t allow sites to see your location’ option.
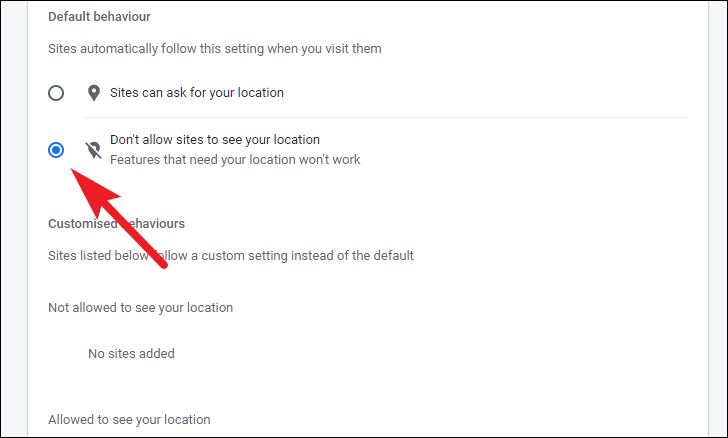
Now, if there are any websites already allowed to use your location, you will be able to see them listed under the ‘Allowed to see your location’ section.
To delete a website listed under the allowed section, click on the ‘Trash bin’ icon situated on the far right edge of each option.
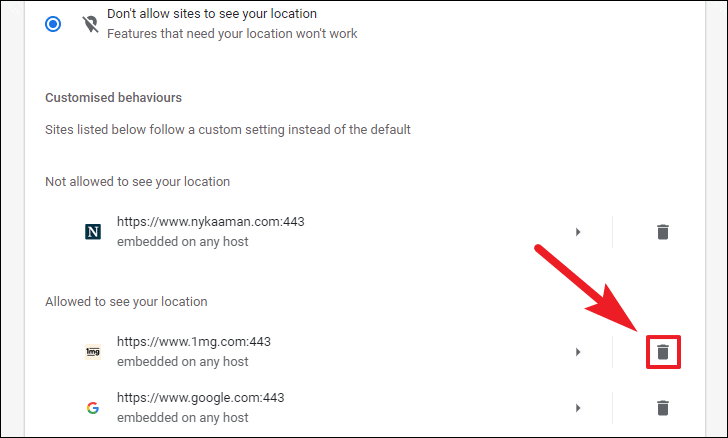
Since Chrome does not provide a global way to delete all the allowed websites. You will have to delete each of the websites individually.
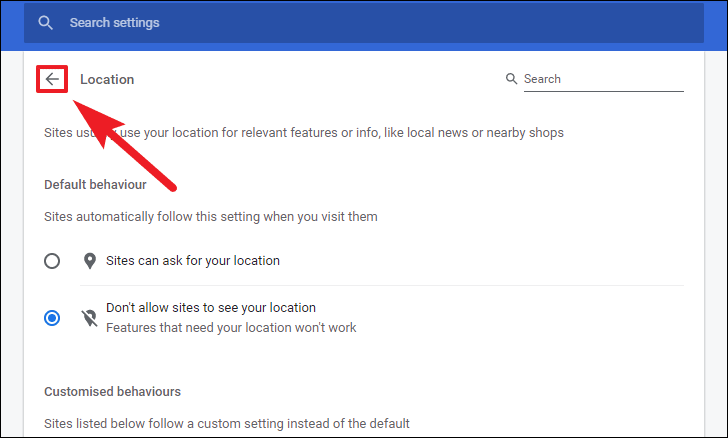
After that, scroll up and click on the ‘Back arrow’ icon from the top of the page.
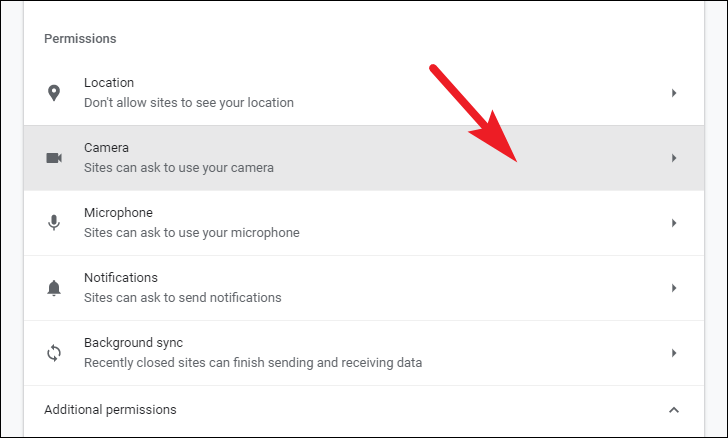
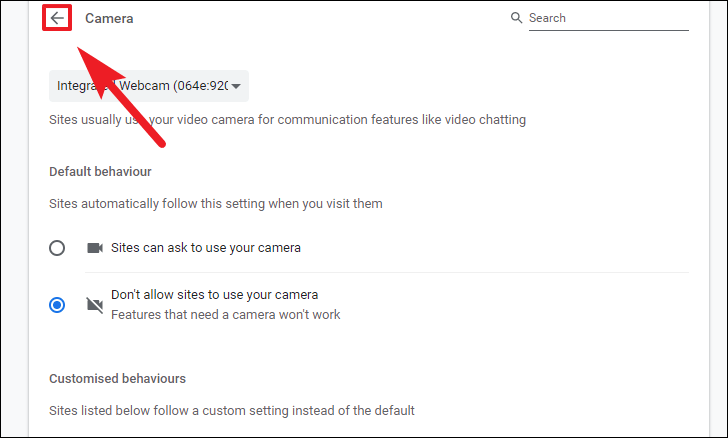
Now to disable camera access for every website, click on the ‘Camera’ tile situated under the ‘Permissions’ section.
Next, click on the radio button preceding the ‘Don’t allow sites to use your camera’ option present under the ‘Default behavior’ section.

Now, scroll down and locate the ‘Allowed to use your camera’ section where all the current websites allowed to access your camera will be listed. To delete a website, click on the ‘Trash bin’ icon present on the far right edge of the pane on each website tile.

After that, scroll up and click on the ‘back arrow’ icon present on top of the page.
Then, click on the ‘Microphone’ tile present on the screen.
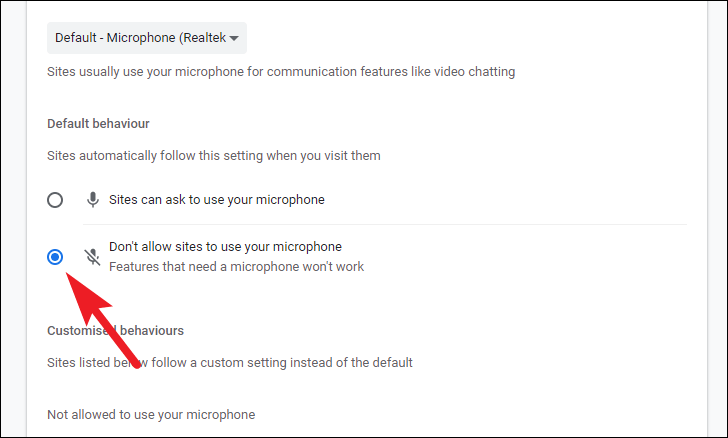
Next, click on the radio button preceding the ‘Don’t allow sites to use your microphone’ present under the ‘Default behavior’ section.
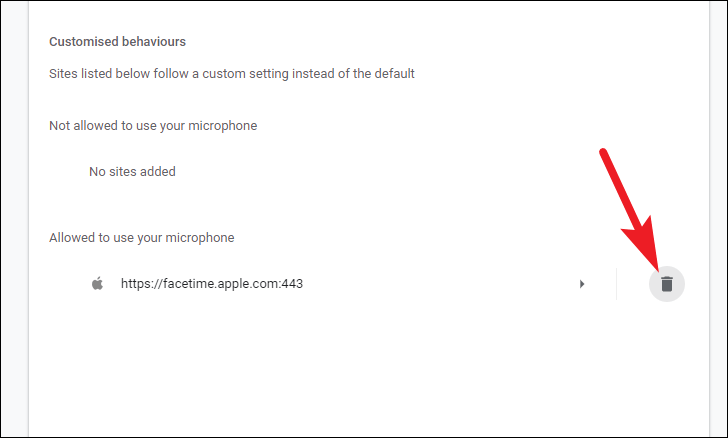
Now, scroll down and locate the ‘Allowed to use your microphone’ section to see the list of websites already having access to your microphone. Then, to delete a website, click on the ‘Trash bin’ icon present on the right edge of the pane.
Now, your microphone, camera, and location access have been disabled for every website.
Disable Websites from Sending You Notifications
At times, notifications can become hindrances real fast especially when they are from websites you d not want to get notified from. And Google’s Chrome does provide you with a way to disable them.
To do so, head to the ‘Privacy and security’ tab as shown in the previous section. Then, click on the ‘Site settings’ tile present on the screen.
Then, scroll down and click on the ‘Notifications’ tab situated under the ‘Permissions’ section on the page.
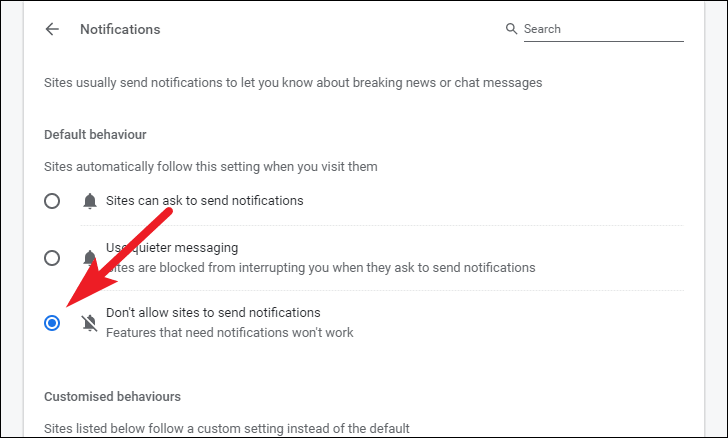
Now, scroll down and click on the radio button preceding the ‘Don’t allow sites to send notification’ option to stop receiving notifications from websites.
Now, none of the websites will be able to send you notifications via your Chrome browser.
Disable Background Sync for Closed Tabs
Chrome by default allows a website to sync even after closing the tab to finish tasks such as sending a mail or finish uploading a photo. Although this is a very useful feature, however, in case any malicious website has initiated a task it can complete it even after you have closed the tab.
Hence, to not let that happen, head to the ‘Privacy and security’ settings screen as shown earlier in this guide. Then, click on the ‘Site settings’ tile present on your screen.

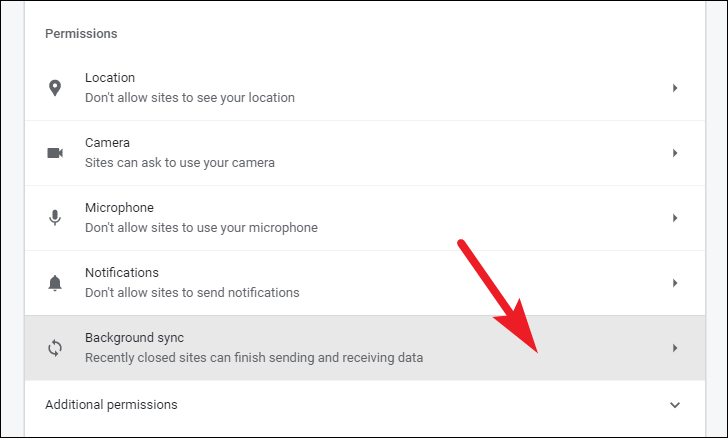
Then, click on the ‘Background sync’ tile present under the ‘Permissions’ section on the screen.
After that, click on the ‘Don’t allow closed sites to finish sending or receiving data’ option present under the ‘Default behavior’ section.
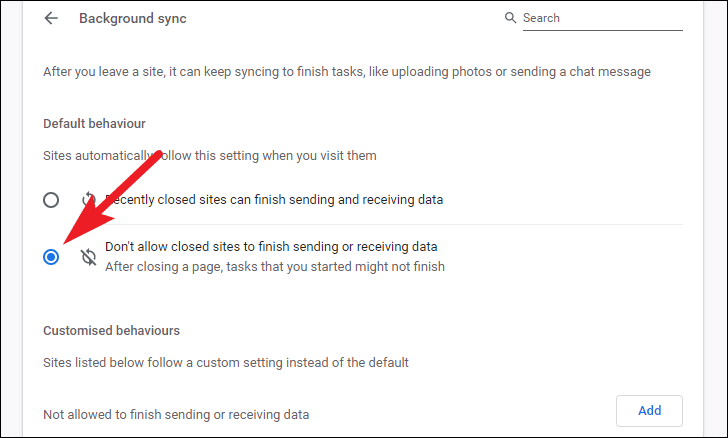
The background sync for websites has now been disabled on your Chrome profile.
Disable Background Apps in Chrome
Yes, even Chrome has background apps. Well, not apps per se but extensions that keep on running in the background and also force Chrome to be awake in the background as a result. Fortunately, this can be turned off in a switch only if you know where to look.
To do so, launch Chrome on your PC. Then, click on the kebab menu (three-vertical-dots) present on the top right corner of the window. Then, click on the ‘Settings’ option from the overlay menu.
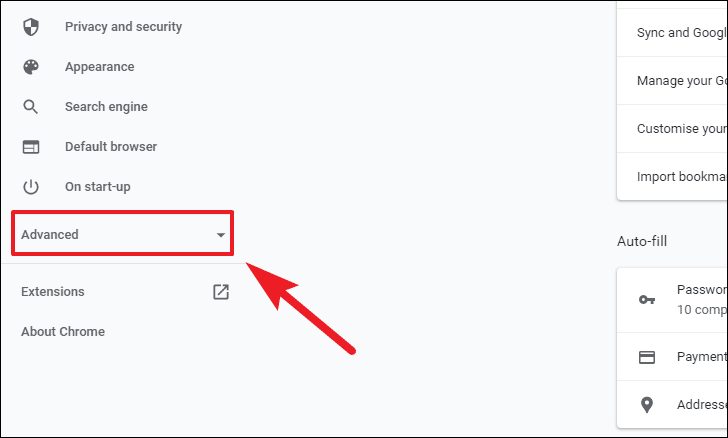
Next, click on the ‘Advanced’ tab present on the left sidebar of the Chrome window.
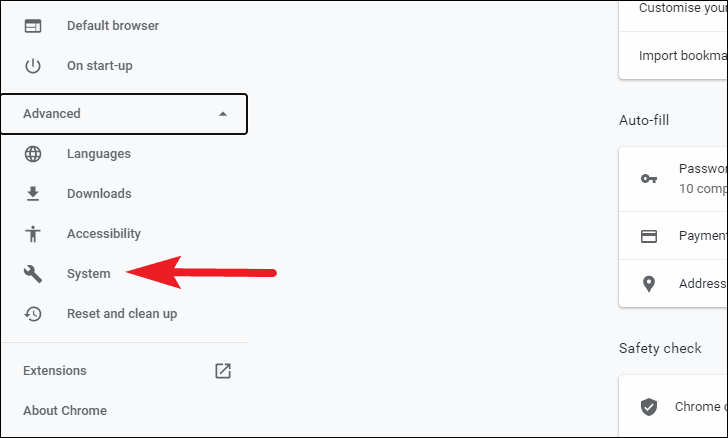
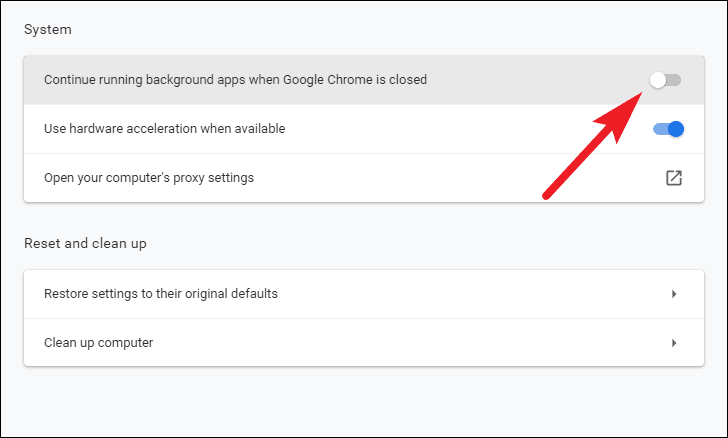
Then, click on the ‘System’ tab from the list of options.
After that, from the left section of the window, locate the ‘Continue running background apps when Google Chrome is closed’ option and toggle the preceding switch to the ‘Off’ position.
And that’s it, background apps and Chrome will not be running in the background on your computer now.
That’s all. You’ve now successfully made Chrome a privacy-focused browser where none of your private data is ever saved or made accessible to any website unless you explicitly do it.