
Windows Terminal allows you to access various command-line tools in different tabs, all in a single window. You have two of the most common command-line tools, PowerShell and Command Prompt along with others at easy reach, thus making Windows Terminal a popular terminal application amongst command-line users.
While you can run a plethora of commands in user mode, some will require administrative privileges. And, that’s what we will be looking at in the following sections, the various ways you can launch Windows Terminal as admin or an elevated Windows Terminal on Windows 11.
1. Launch Windows Terminal as Admin via the Quick Access/Power User Menu
This is probably the simplest and quickest of all the methods, and one that most users rely on. The Quick Access menu offers a direct option to launch an elevated Window Terminal. Here’s how you can access it.
Right-click on the ‘Start’ icon in the Taskbar or press WINDOWS + X to launch the Quick Access/Power User menu, and select ‘Windows Terminal (Admin)’ from the list of options.
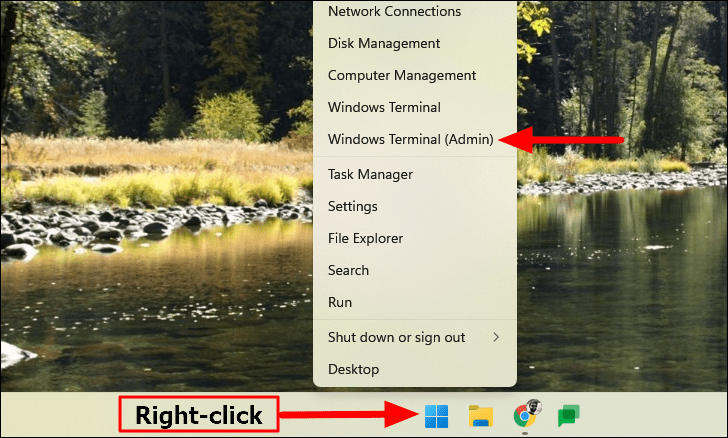
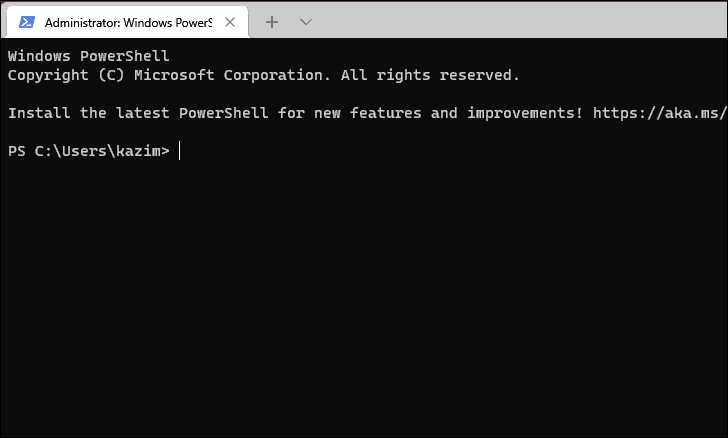
Click ‘Yes’ on the UAC (User Account Control) prompt that appears. The Windows Terminal application will launch right away with the PowerShell tab open by default.
2. Launch Windows Terminal as Admin via the Search Menu
The Search menu is another quick way to search, locate and launch applications and files. Here’s how you can launch Windows Terminal as administrator from the Search menu.
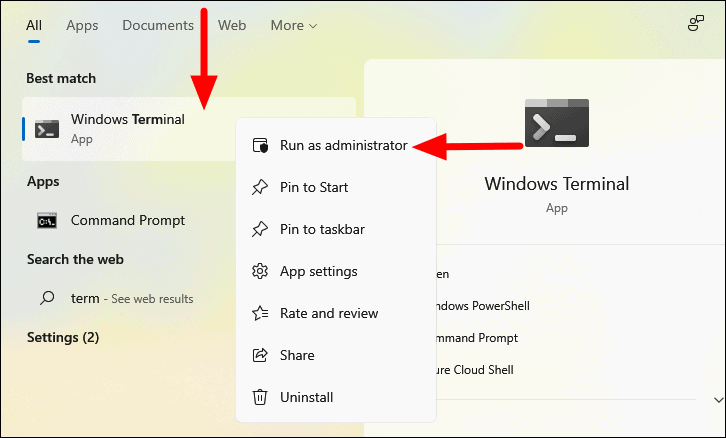
Press WINDOWS + S to launch the ‘Search’ menu, enter ‘Windows Terminal’ in the search box at the top, right-click on the relevant search result, and select ‘Run as administrator’ from the context menu. Click ‘Yes’ on the UAC prompt that appears.
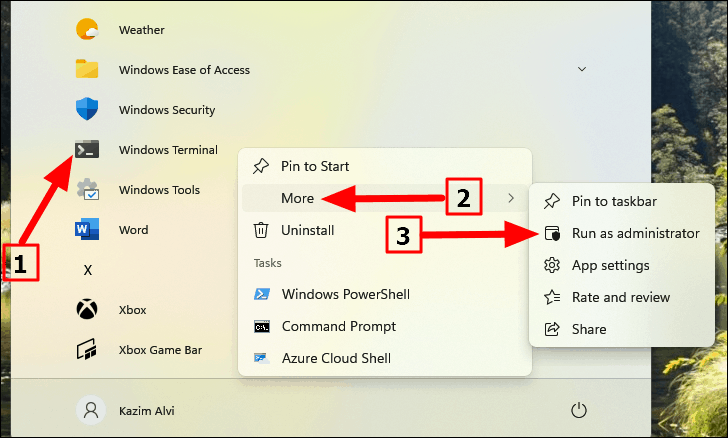
3. Launch Windows Terminal as Admin from Start Menu
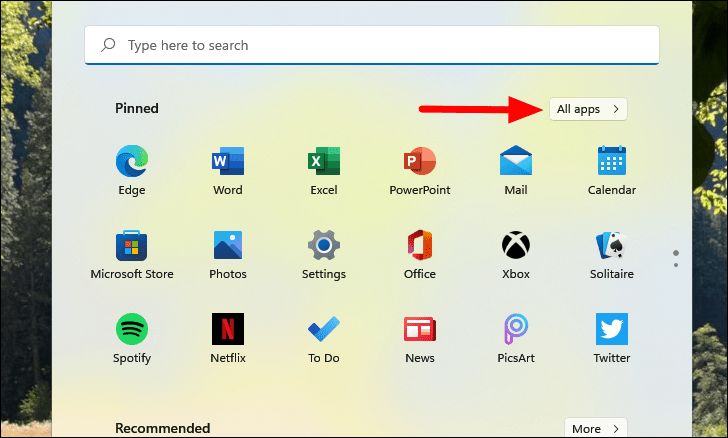
Click on the ‘Start’ icon in the Taskbar or press the WINDOWS key to launch the Start Menu.

In the Start menu, click on ‘All apps’ near the top-right.
Next, locate and right-click on ‘Windows Terminal’, hover the cursor over ‘More’, and select ‘Run as administrator’ from the menu that appears. Click ‘Yes’ on the UAC prompt that appears.
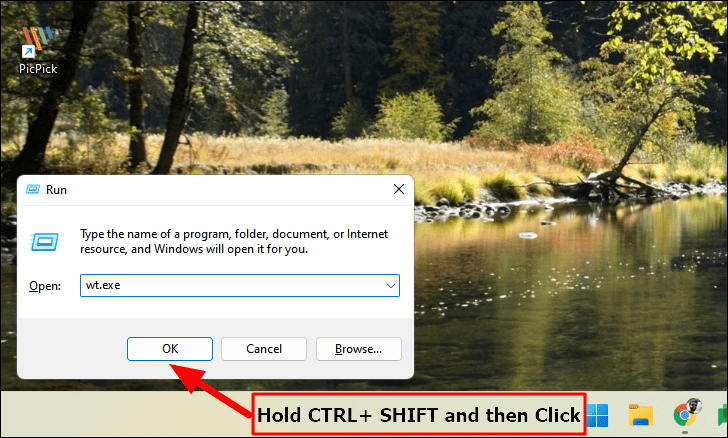
4. Launch Windows Terminal as Admin using Run Command
Many users prefer the ‘Run’ command to launch and access applications amongst other tasks. The same can be used to launch Windows Terminal as admin. Here’s how you can do that.
Press WINDOWS + R to launch the ‘Run’ command, type ‘wt.exe’ in the text field, and either hold the CTRL + SHIFT key and click on ‘OK’ or press CTRL + SHIFT + ENTER to launch an elevated Windows Terminal. Click ‘Yes’ on the UAC prompt that appears.
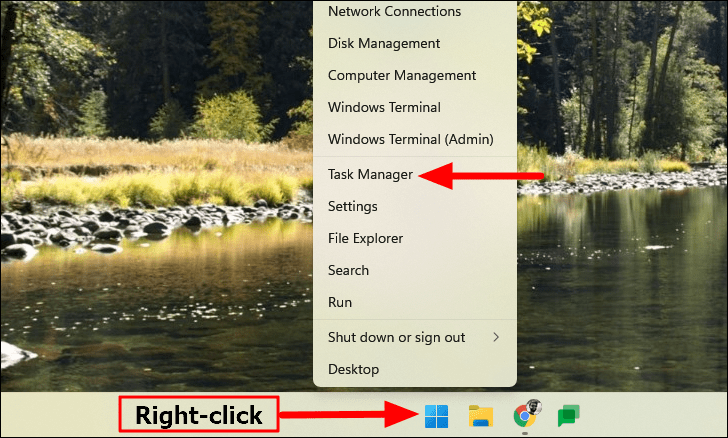
5. Launch Windows Terminal as Admin from Task Manager
Task Manager can be used to view all the programs, background tasks, and services running on the system, terminate them, or create new ones, along with a bunch of other options.
To launch a Windows Terminal as admin, right-click on the ‘Start’ icon in the Taskbar or press WINDOWS + X to launch the Quick Access menu, and select ‘Task Manager’ from the list of options. Alternatively, you can press CTRL + SHIFT + ESC to launch the Task Manager.
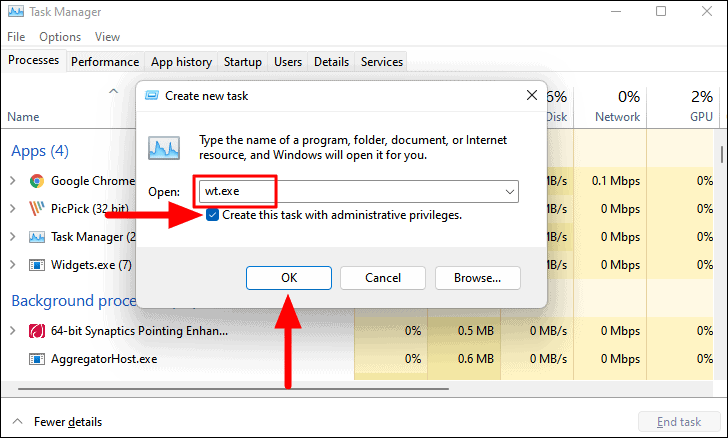
In the Task Manager, click on the ‘File’ menu at the top-left corner and select ‘Run new task’ from the menu that appears.
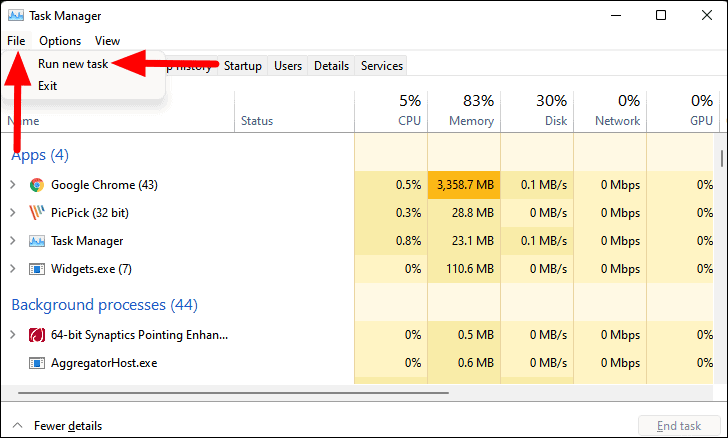
Next, enter ‘wt.exe’ in the text field next, select the checkbox for ‘Create this task with administrative privileges, and click on ‘OK’ at the bottom.
6. Create a Desktop Shorcut to Launch Windows Terminal as Admin
While most of the methods mentioned here are quite simple, you can also create a Windows Terminal desktop shortcut and set it to launch with administrative privileges. This method does wonder by saving both time and effort if you use Terminal pretty often.
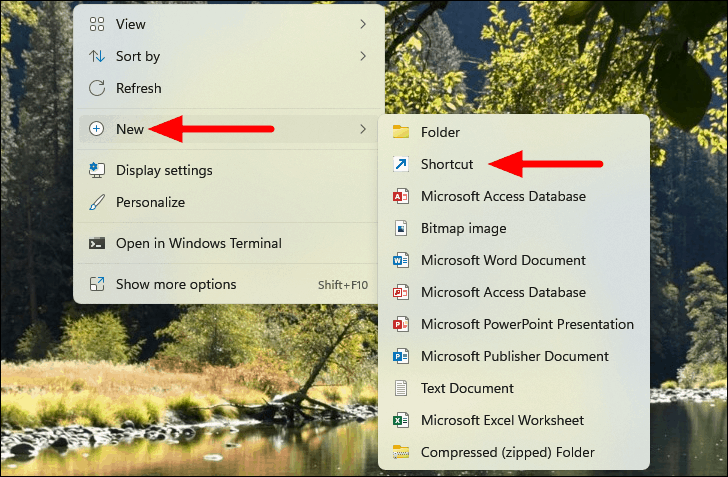
First, right-click on the ‘Desktop’, hover the cursor over ‘New’, and select ‘Shortcut’ from the list of options that appear.
Next, enter the following path in the text field under ‘Type the location of the item’, and click on ‘Next’ at the bottom.
%LocalAppData%\Microsoft\WindowsApps\wt.exe

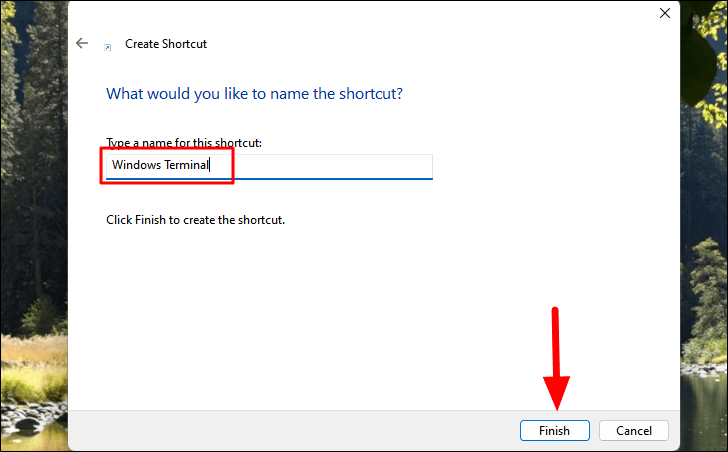
Now, enter a name for the shortcut. We choose ‘Windows Terminal’ for clarity however you can go with the default name as well. Finally, click on ‘Finish’ at the bottom to create the shortcut.
The task is now half-done, we still have to change the shortcut properties for it to launch with administrative privileges each time.
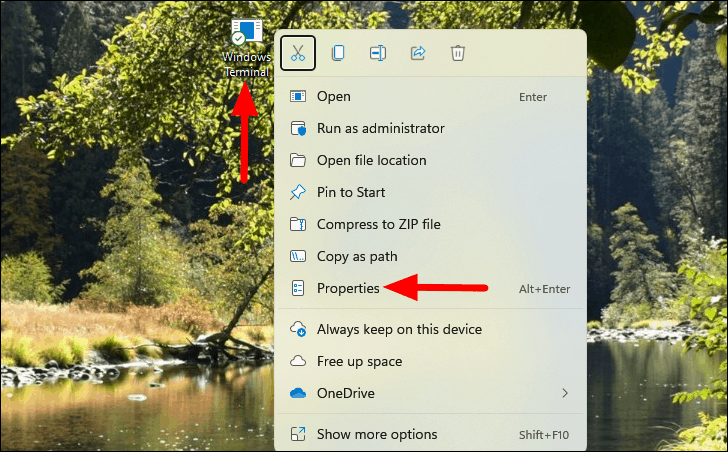
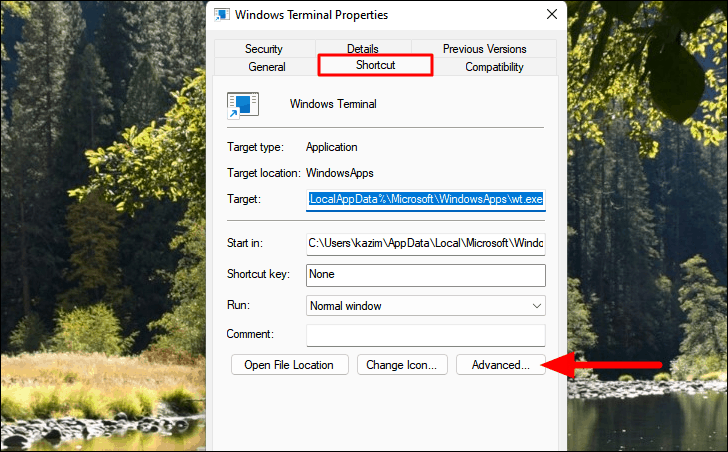
To do that, right-click on the shortcut you just created, and select ‘Properties’ from the context menu. Alternatively, you can select the shortcut and press ALT + ENTER to launch the ‘Properties’ window.
In the ‘Shortcut’ tab of Properties, click on the ‘Advanced’ option.
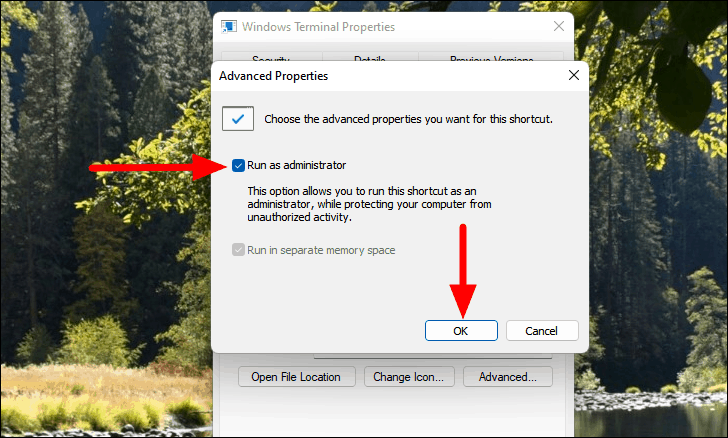
Next, tick the checkbox for ‘Run as administrator’ and click on ‘OK’ at the bottom.
Finally, click on ‘OK’ in the Properties to save the changes and close the window.
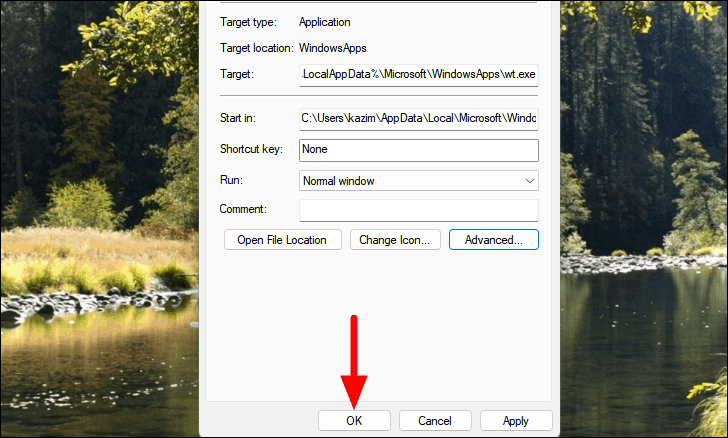
From now on, every time you launch Windows Terminal from the shortcut, it will open with administrative privileges.
7. Launch Windows Terminal as Admin from File Explorer
If you want to launch an elevated Windows Terminal from File Explorer, here’s how you can do that.
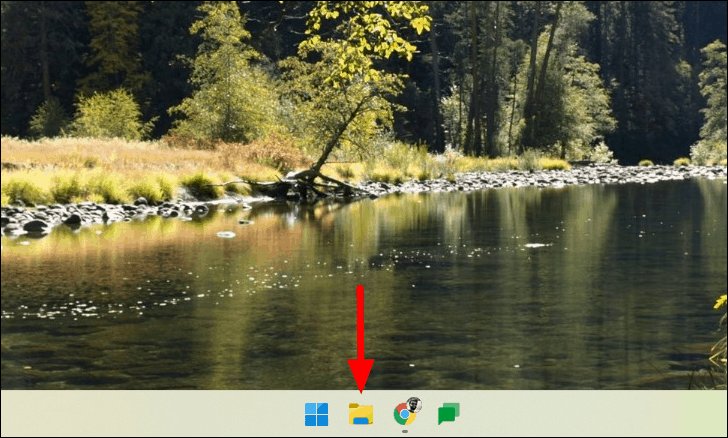
Click on the ‘File Explorer’ icon in the Taskbar or press WINDOWS + E to launch the File Explorer.
Next, enter the following path in the address bar at the top and press ENTER.
%LocalAppData%\Microsoft\WindowsApps\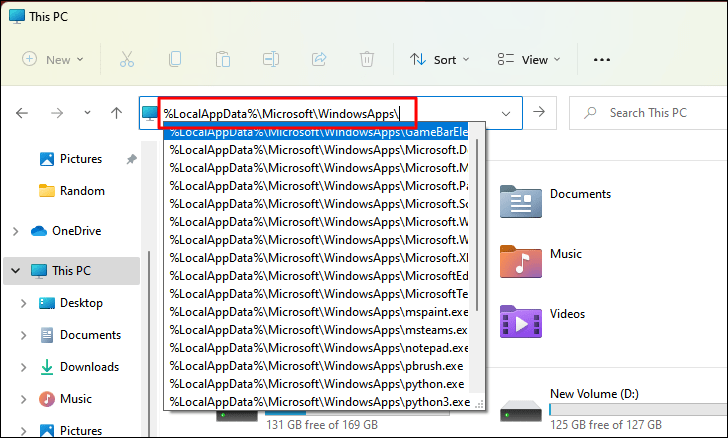
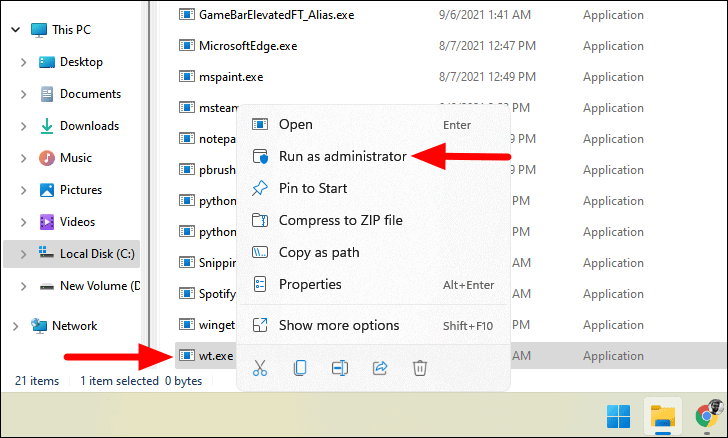
In the Windows Apps folder, locate the ‘wt.exe’ file, right-click on it, and select ‘Run as administrator’ from the context menu. Click on ‘Yes’ in the UAC prompt that appears.
These are all the ways you can launch Windows Terminal as an admin on a Windows 11 PC. Although you don’t necessarily need to know all the ways, an understanding of each will help quickly launch an elevated Windows Terminal from anywhere on the computer.