Knowing the details of your graphics card is essential for troubleshooting display issues, checking compatibility with software, or planning an upgrade. Windows 11 offers several ways to find out which graphics card is installed on your computer. This guide will show you the most effective methods to check your graphics card information.
Check Your Graphics Card Using Device Manager
The Device Manager provides detailed information about all hardware installed on your system, including graphics cards. Here's how to access it:
- Right-click on the Start button in the taskbar and select Device Manager from the context menu.
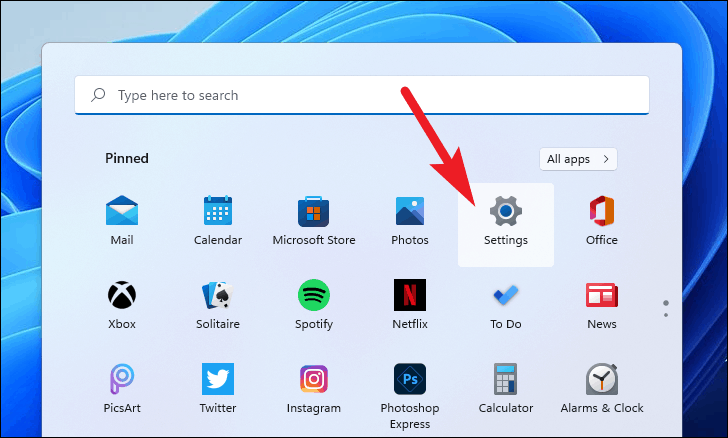
- In the Device Manager window, locate and expand the Display adapters category by clicking the arrow next to it.
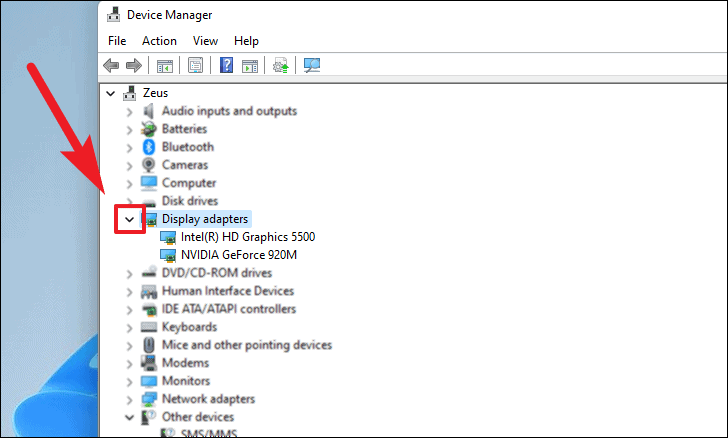
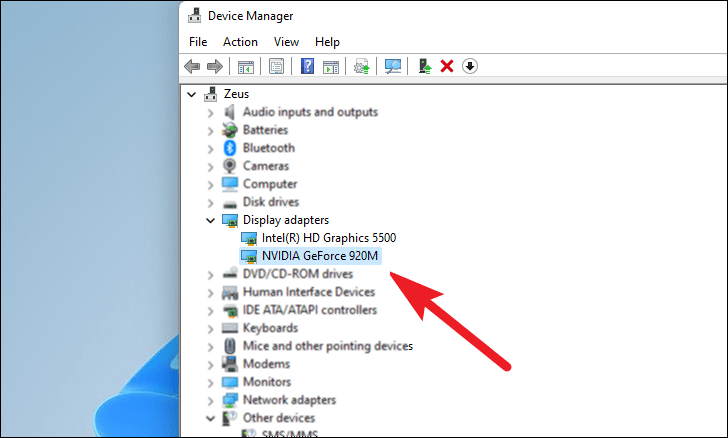
- You will see the list of graphics cards installed on your computer. To view more details, double-click on the graphics card name to open its properties window.
Check Your Graphics Card from Windows Settings
You can also find basic information about your primary graphics card through the Settings app:
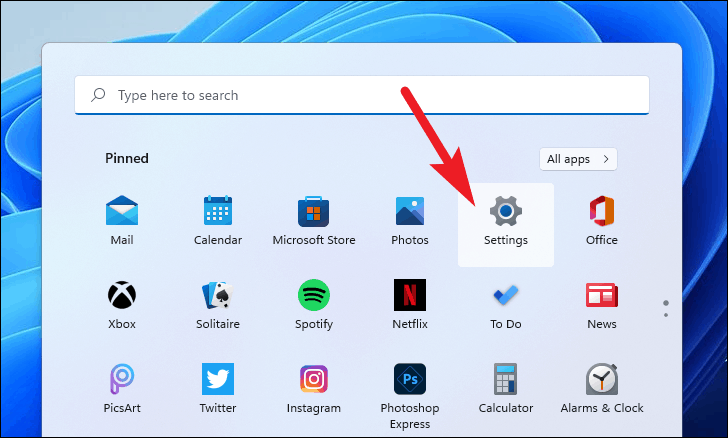
- Press
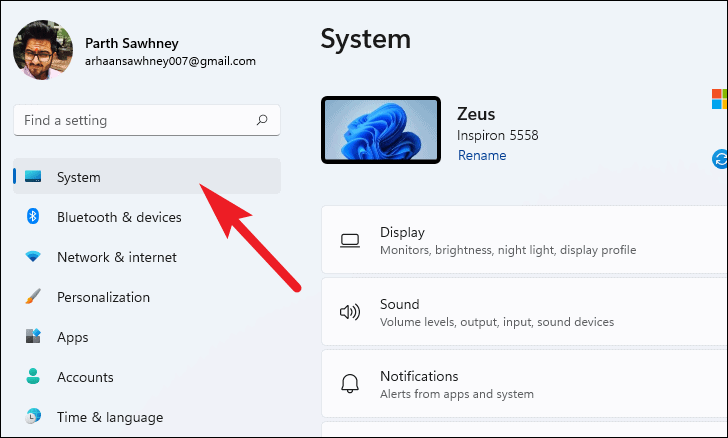
Windows + Ito open the Settings app. - Click on the System tab in the left sidebar.
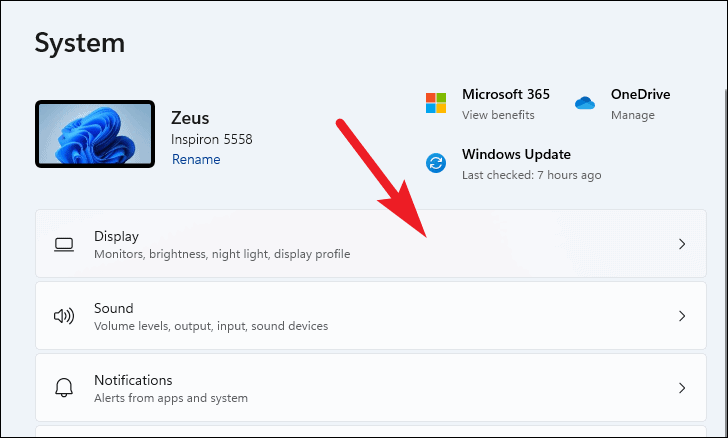
- Select Display from the right pane.
- Scroll down and click on Advanced display.
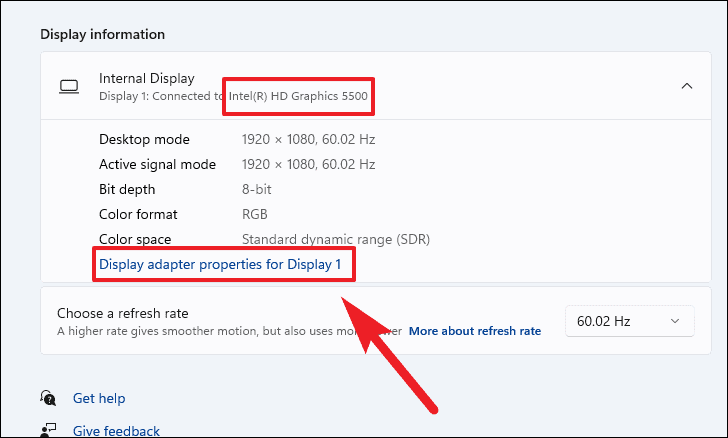
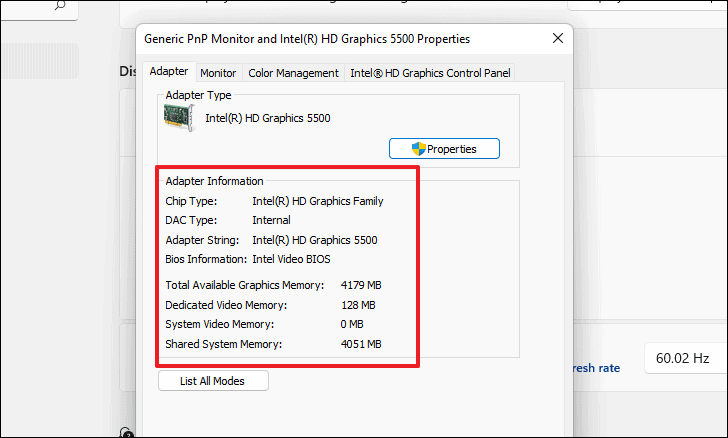
- Under Display information, you can see the name of your graphics card next to your display. Click on Display adapter properties for Display 1 for more detailed information.
Check Your Graphics Card Using the System Information Tool
The System Information tool provides comprehensive details about your system's hardware and software components:
- Press
Windows + Rto open the Run dialog box. - Type
msinfo32and press Enter to launch the System Information window.
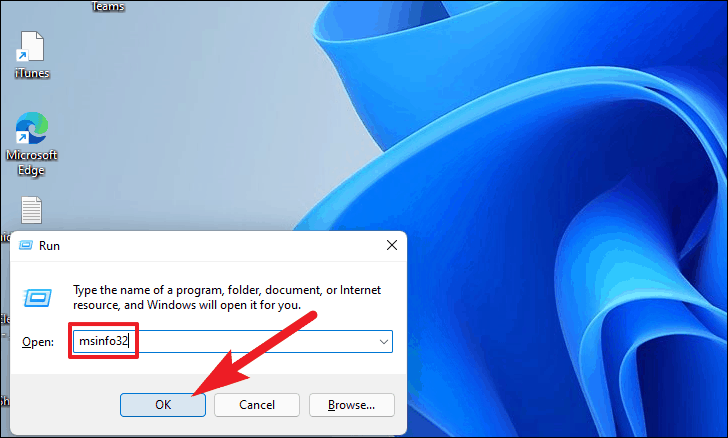
- In the left pane, expand the Components section by clicking the plus sign next to it.
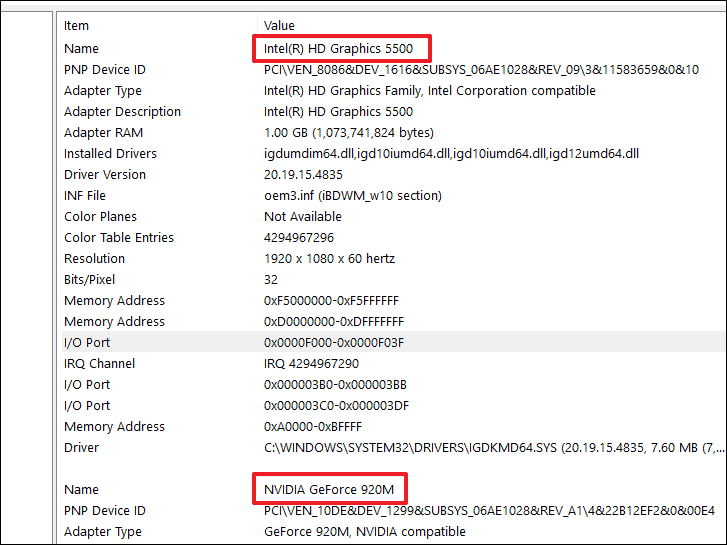
- Click on Display to view detailed information about your graphics card(s), including name, manufacturer, and driver details.
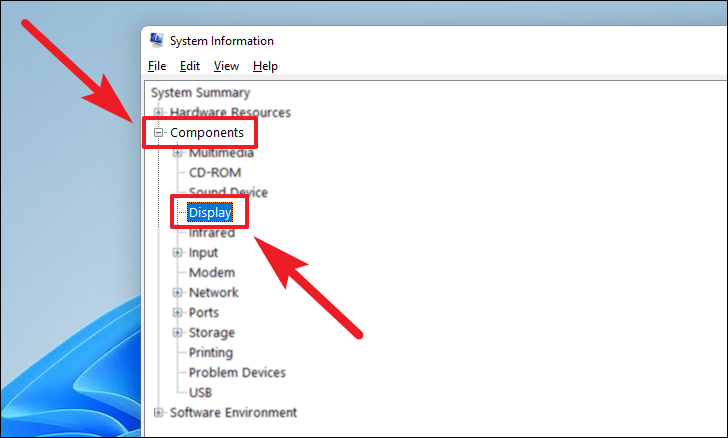
The right pane will display comprehensive information about your graphics hardware.
Check Your Graphics Card Using the DirectX Diagnostic Tool
The DirectX Diagnostic Tool is useful for troubleshooting DirectX-related issues and provides detailed information about your graphics and sound hardware:
- Press
Windows + Rto open the Run dialog. - Type
dxdiagand press Enter to open the DirectX Diagnostic Tool.
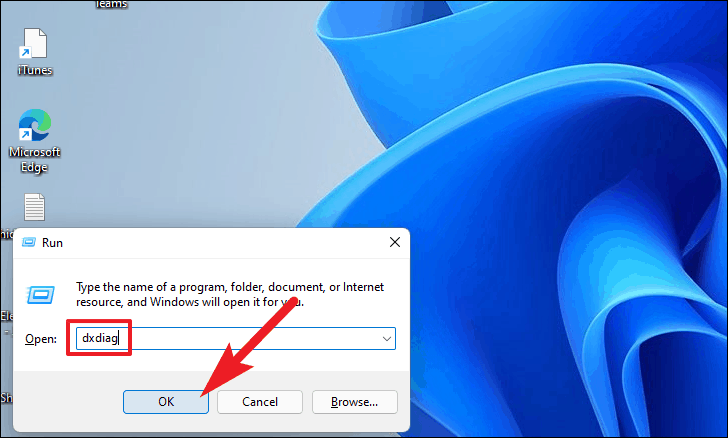
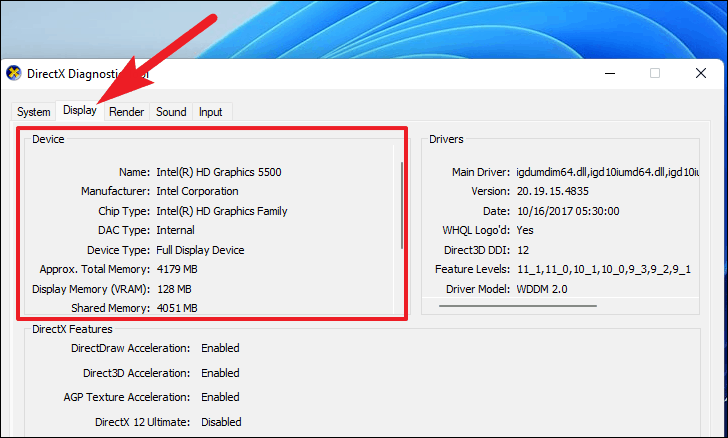
- Navigate to the Display tab to view details about your primary graphics card, including name, manufacturer, and graphics features.
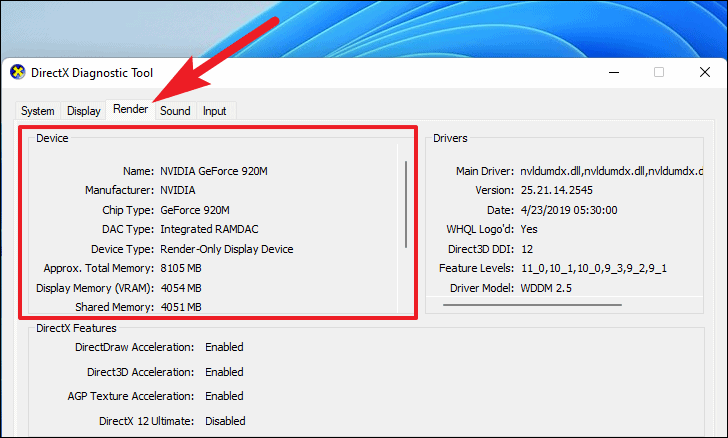
- If your system has multiple graphics cards, click on the Render tab to see information about the secondary GPU.
By following these methods, you can easily find detailed information about the graphics card(s) installed on your Windows 11 system.




Member discussion