
Zip files come in handy when trying to save space by reducing the size of the file. For instance, you want to share a document with someone but the size is too large to be sent by mail. This is where ‘Zip’ files come to your aid. Also, sharing smaller sized ‘Zip’ file takes considerably lesser time and are helpful when the internet speed isn’t very good.
When you compress a file, a ‘.zip’ extension is added to it. But with data thefts become common in recent years, it’s sort of becoming imperative to add password protection to files if the contents are important and confidential. Windows 10 does not have an inbuilt tool or feature for the same, however, there are some tried and tested apps that could do the job for you.
We recommend using ‘7-Zip’ for Zipping files
The ‘7-Zip’ app is the best available option on the web to password protect a zip file. It’s free to use and offers a simple and straightforward interface. The only drawback with ‘7-Zip’ is that it cannot password protect an already zipped file, so, you have to first unzip it and then add a password to it.
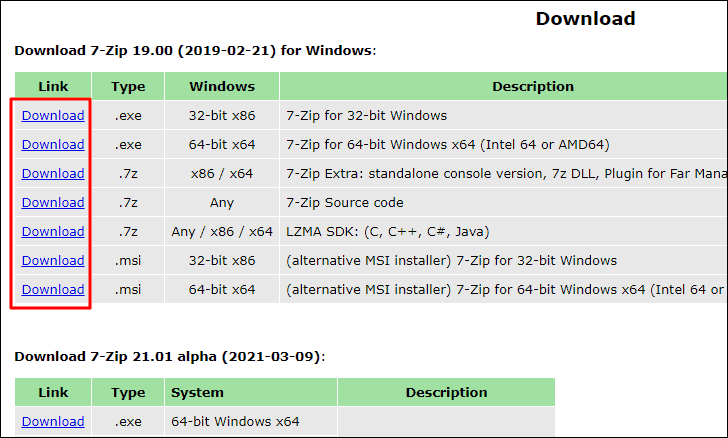
The program is available on the official website and can be downloaded from there. Visit 7-zip.org/download and get the version that’s compatible with your system. There are various download options available on the website to cater to every user. After you have found the one compatible with your system, click on the ‘Download’ icon in the ‘Link’ column. Once the file is downloaded, you can easily install it by following the instructions.
How to Password Protect a Zip File using 7-Zip
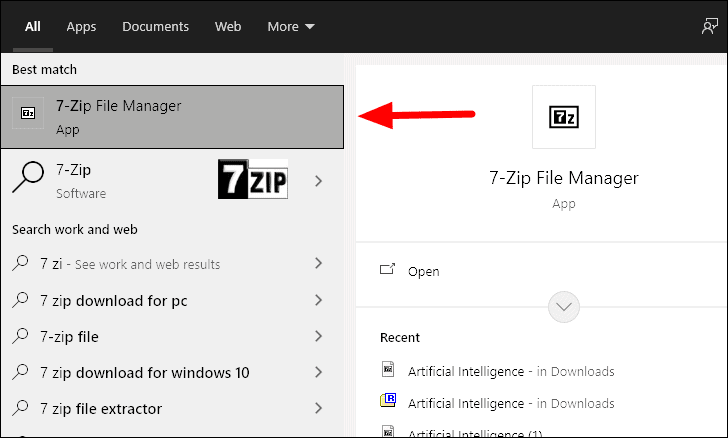
After you have installed 7-Zip on your computer, search for it in the ‘Start Menu’ and launch it.
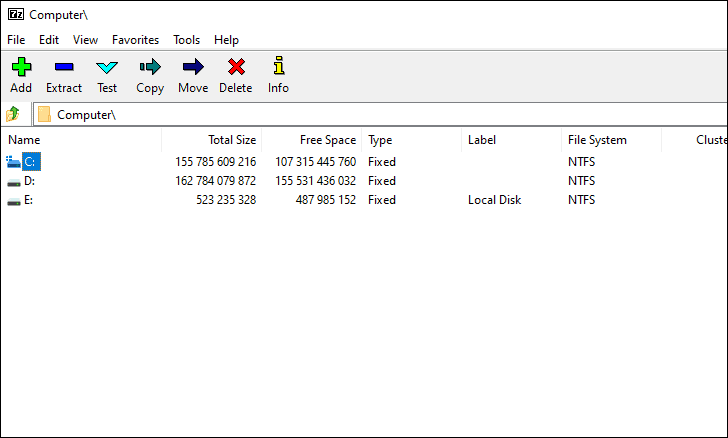
In the ‘7-Zip’ app, browse the system and locate the file that you want to convert to ‘.zip’ format, and add a password.
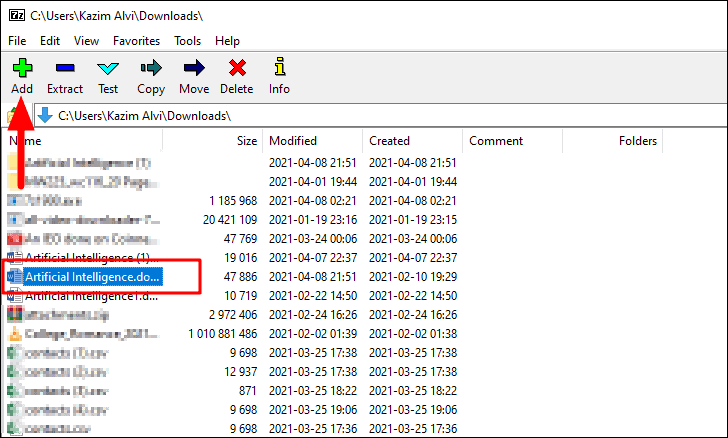
After you have located the file, select it and then click on the ‘Add’ icon near the top-left corner.
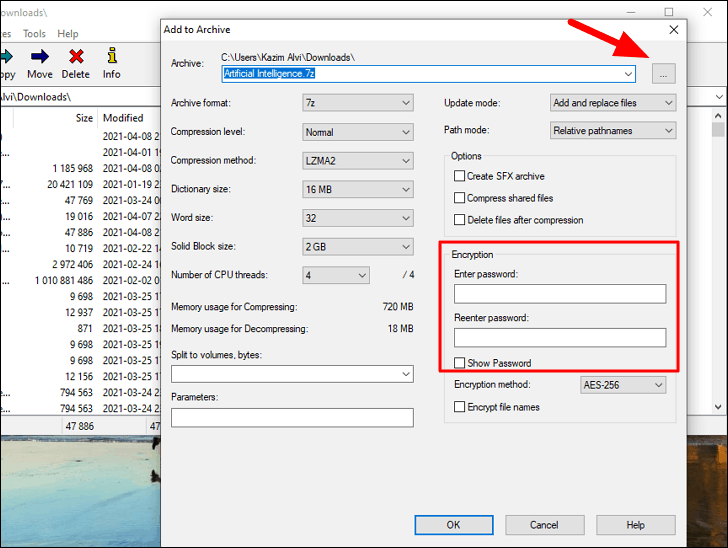
The ‘Add to Archive’ window will now open where you can change the various settings for the zip file. The zip file that is created is by default added to the same folder as the original file. However, you can change it by clicking on the icon with three dots, next to the file name.
In ‘Encryption’ section on the ‘Add to Archive’ screen, you can add a password for the zip file. Enter the same password in both the text boxes and try to create a strong password, since security should be your primary approach.
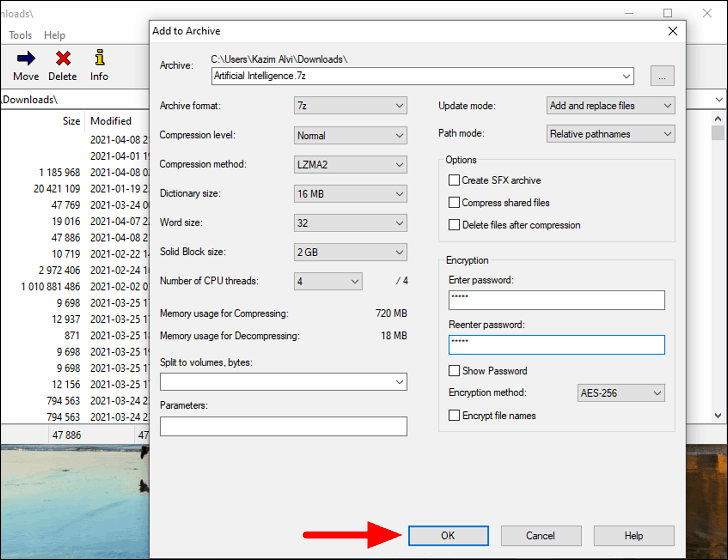
After you have entered the password in both the boxes, click on ‘OK’ at the bottom to create a password-protected zip file.
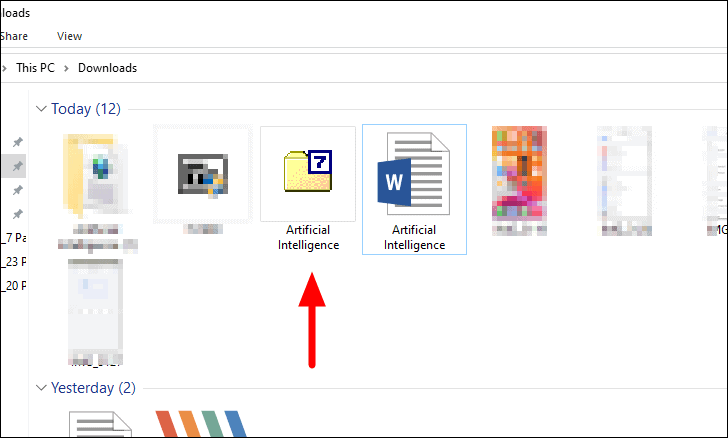
With the settings chosen in the above example, we have created a password-protected zip file in the same folder as the original file.
How do I open a Password Protected Zip File?
Browse to the location where you added the password-protected zip file and then double-click on it to open in the ‘7-Zip’ app.
The file that you compressed earlier will now be displayed on the screen, simply double-click on it to open.
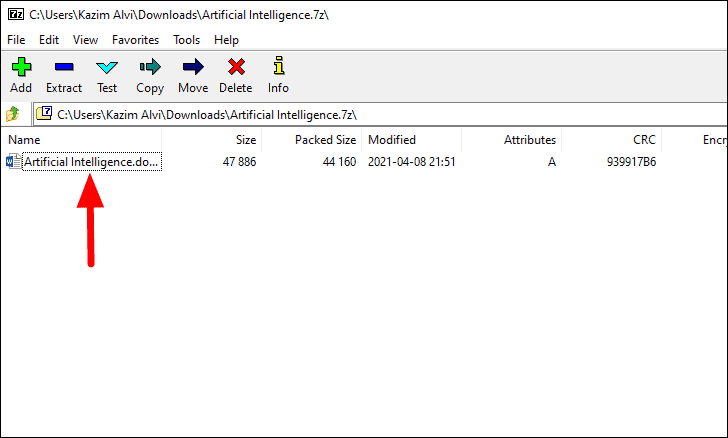
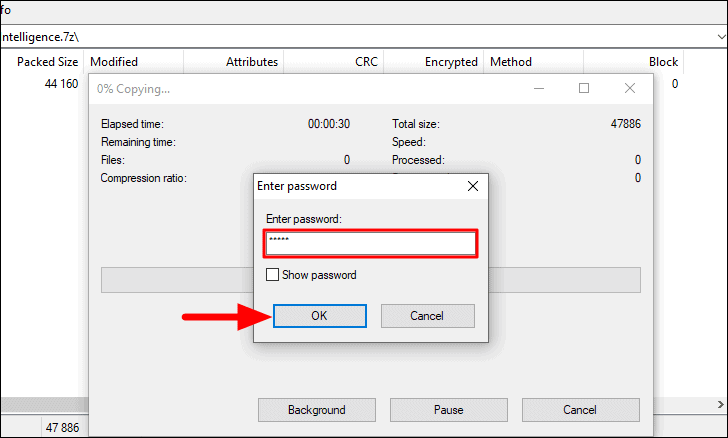
You will now be asked to enter the password that you earlier added to the file. Enter the password in the text box and then click on ‘OK’ to open the actual file.
Voila! You now know how to create a password-protected zip file and open it. Similarly, you will be required to enter the password to extract an encrypted zip file.
The thought of sharing important files wouldn’t be as dreadful as it used to because of the enhanced security.


