Quick Info
- With Apple Maps, you can now get topographic maps and trail networks for many hikes in the United States and Japan where you can get turn-by-turn voice guidance. Trails are also available for all 63 national parks in the U.S.
- You can also create custom walking and hiking routes for places where no routes are available.
- You can also save hikes and routes for offline access in the United States.
Planning a hike for popular trails
- Open Apple Maps on your iPhone running iOS 18.
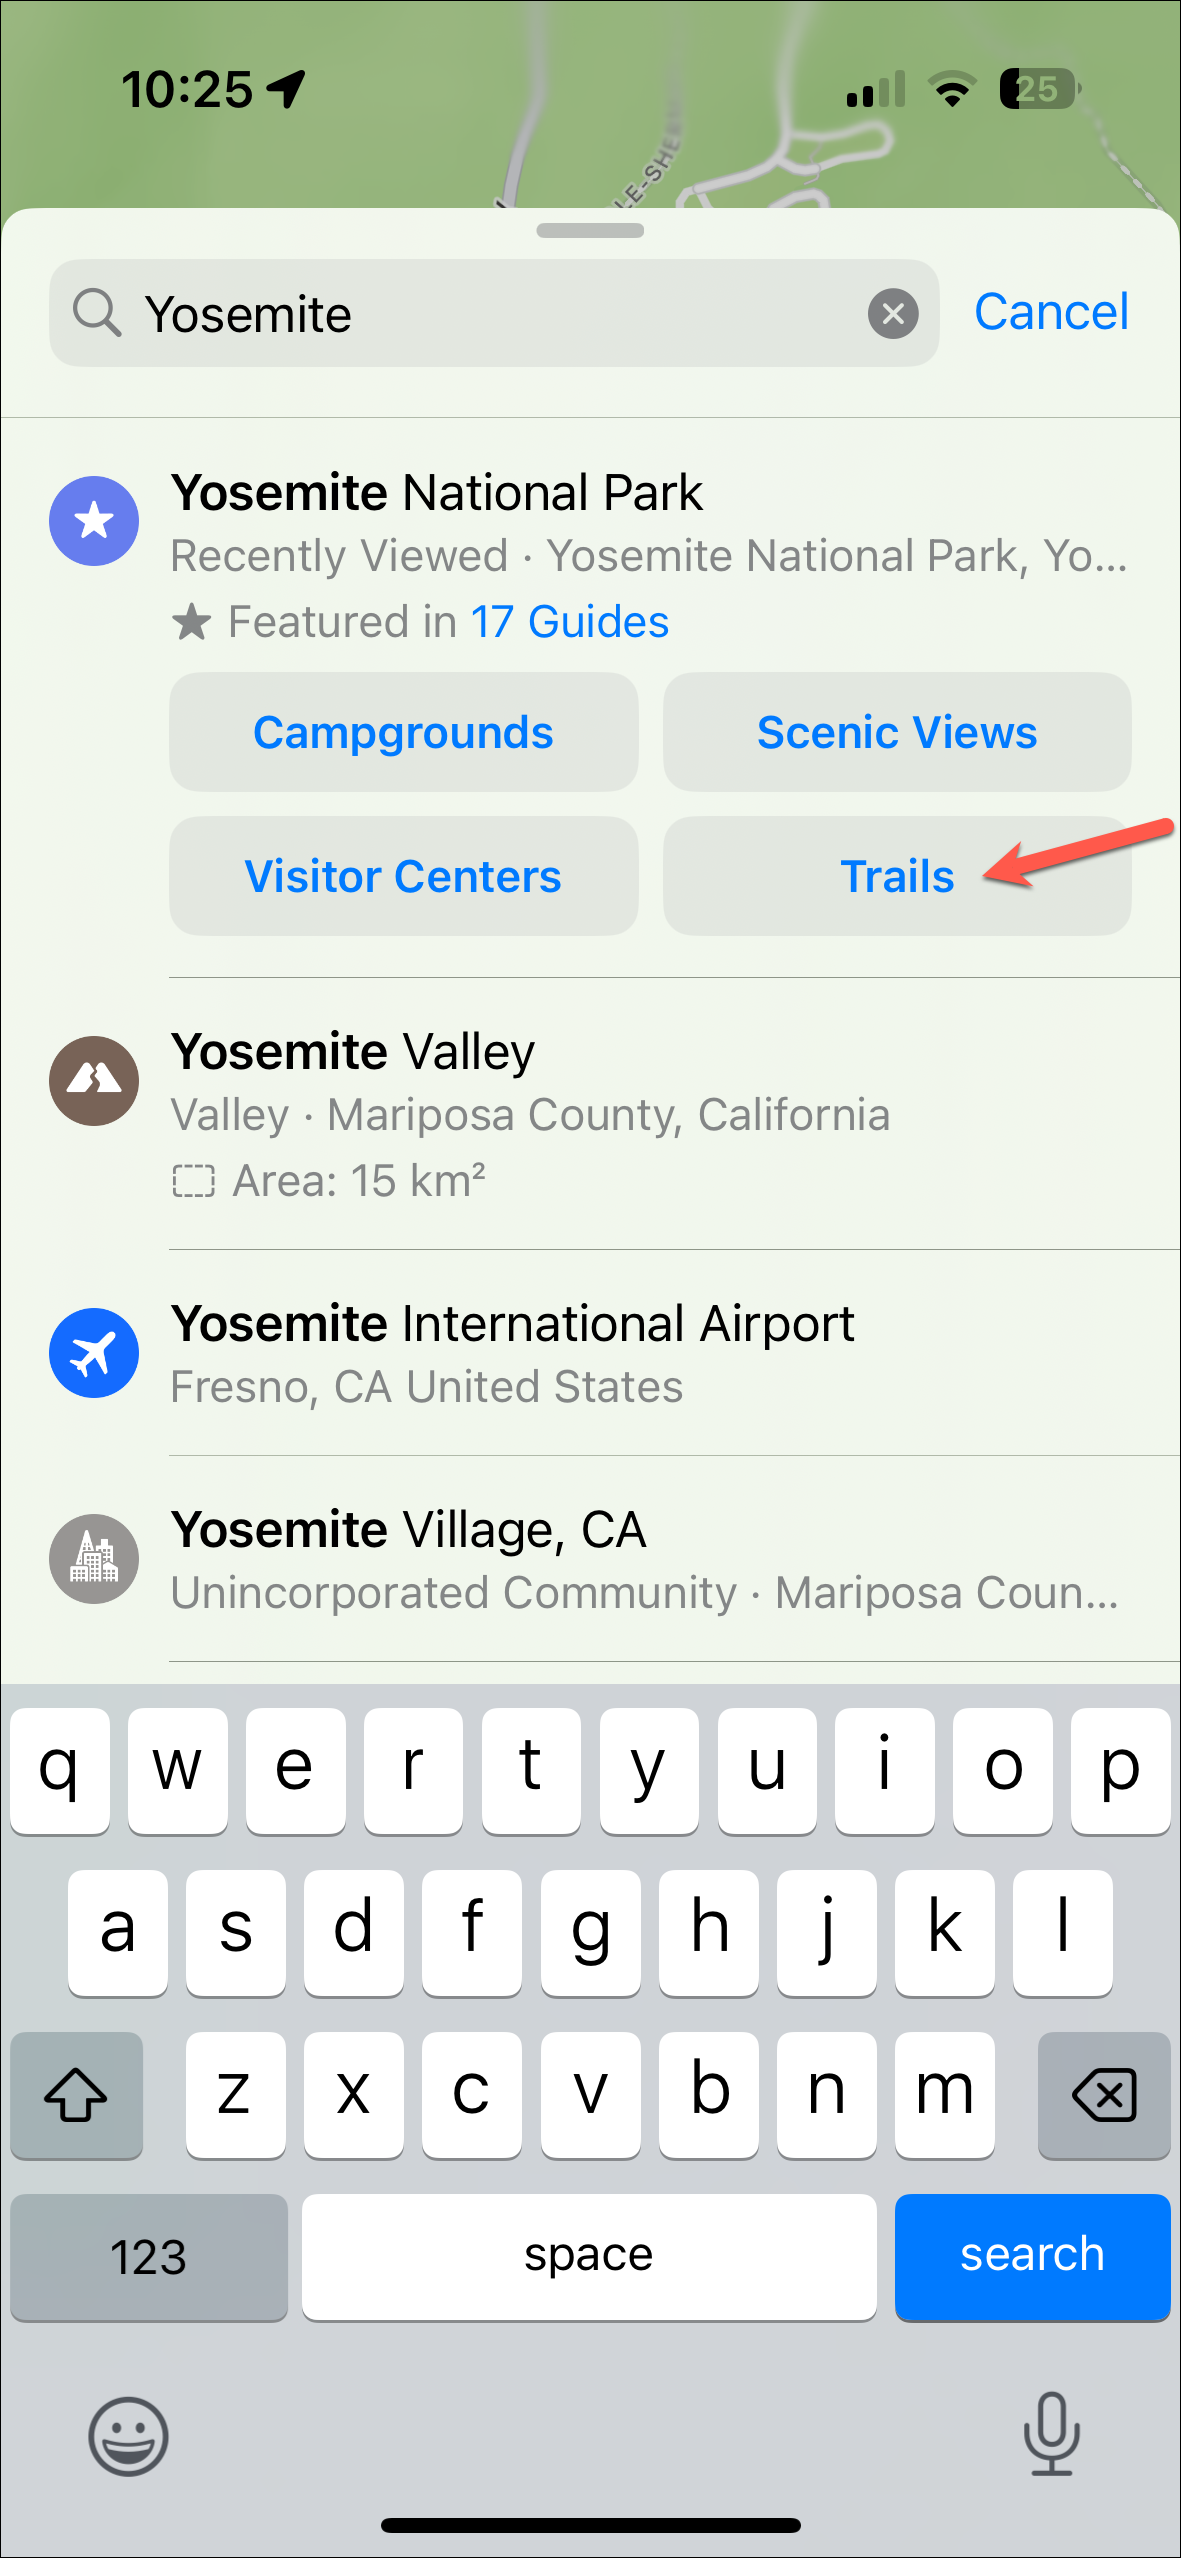
- Tap on the search bar and search for the national park, trail or trailhead you're looking for. The options that appear on your screen will vary depending on what you search for.
- For Yosemite, we have 4 options, including one for 'Trails'. For others, there can be another option 'Trailheads' as well. Tap on 'Trails'.
- Different trails for the national park will appear. Choose a trail or trailhead from the options.
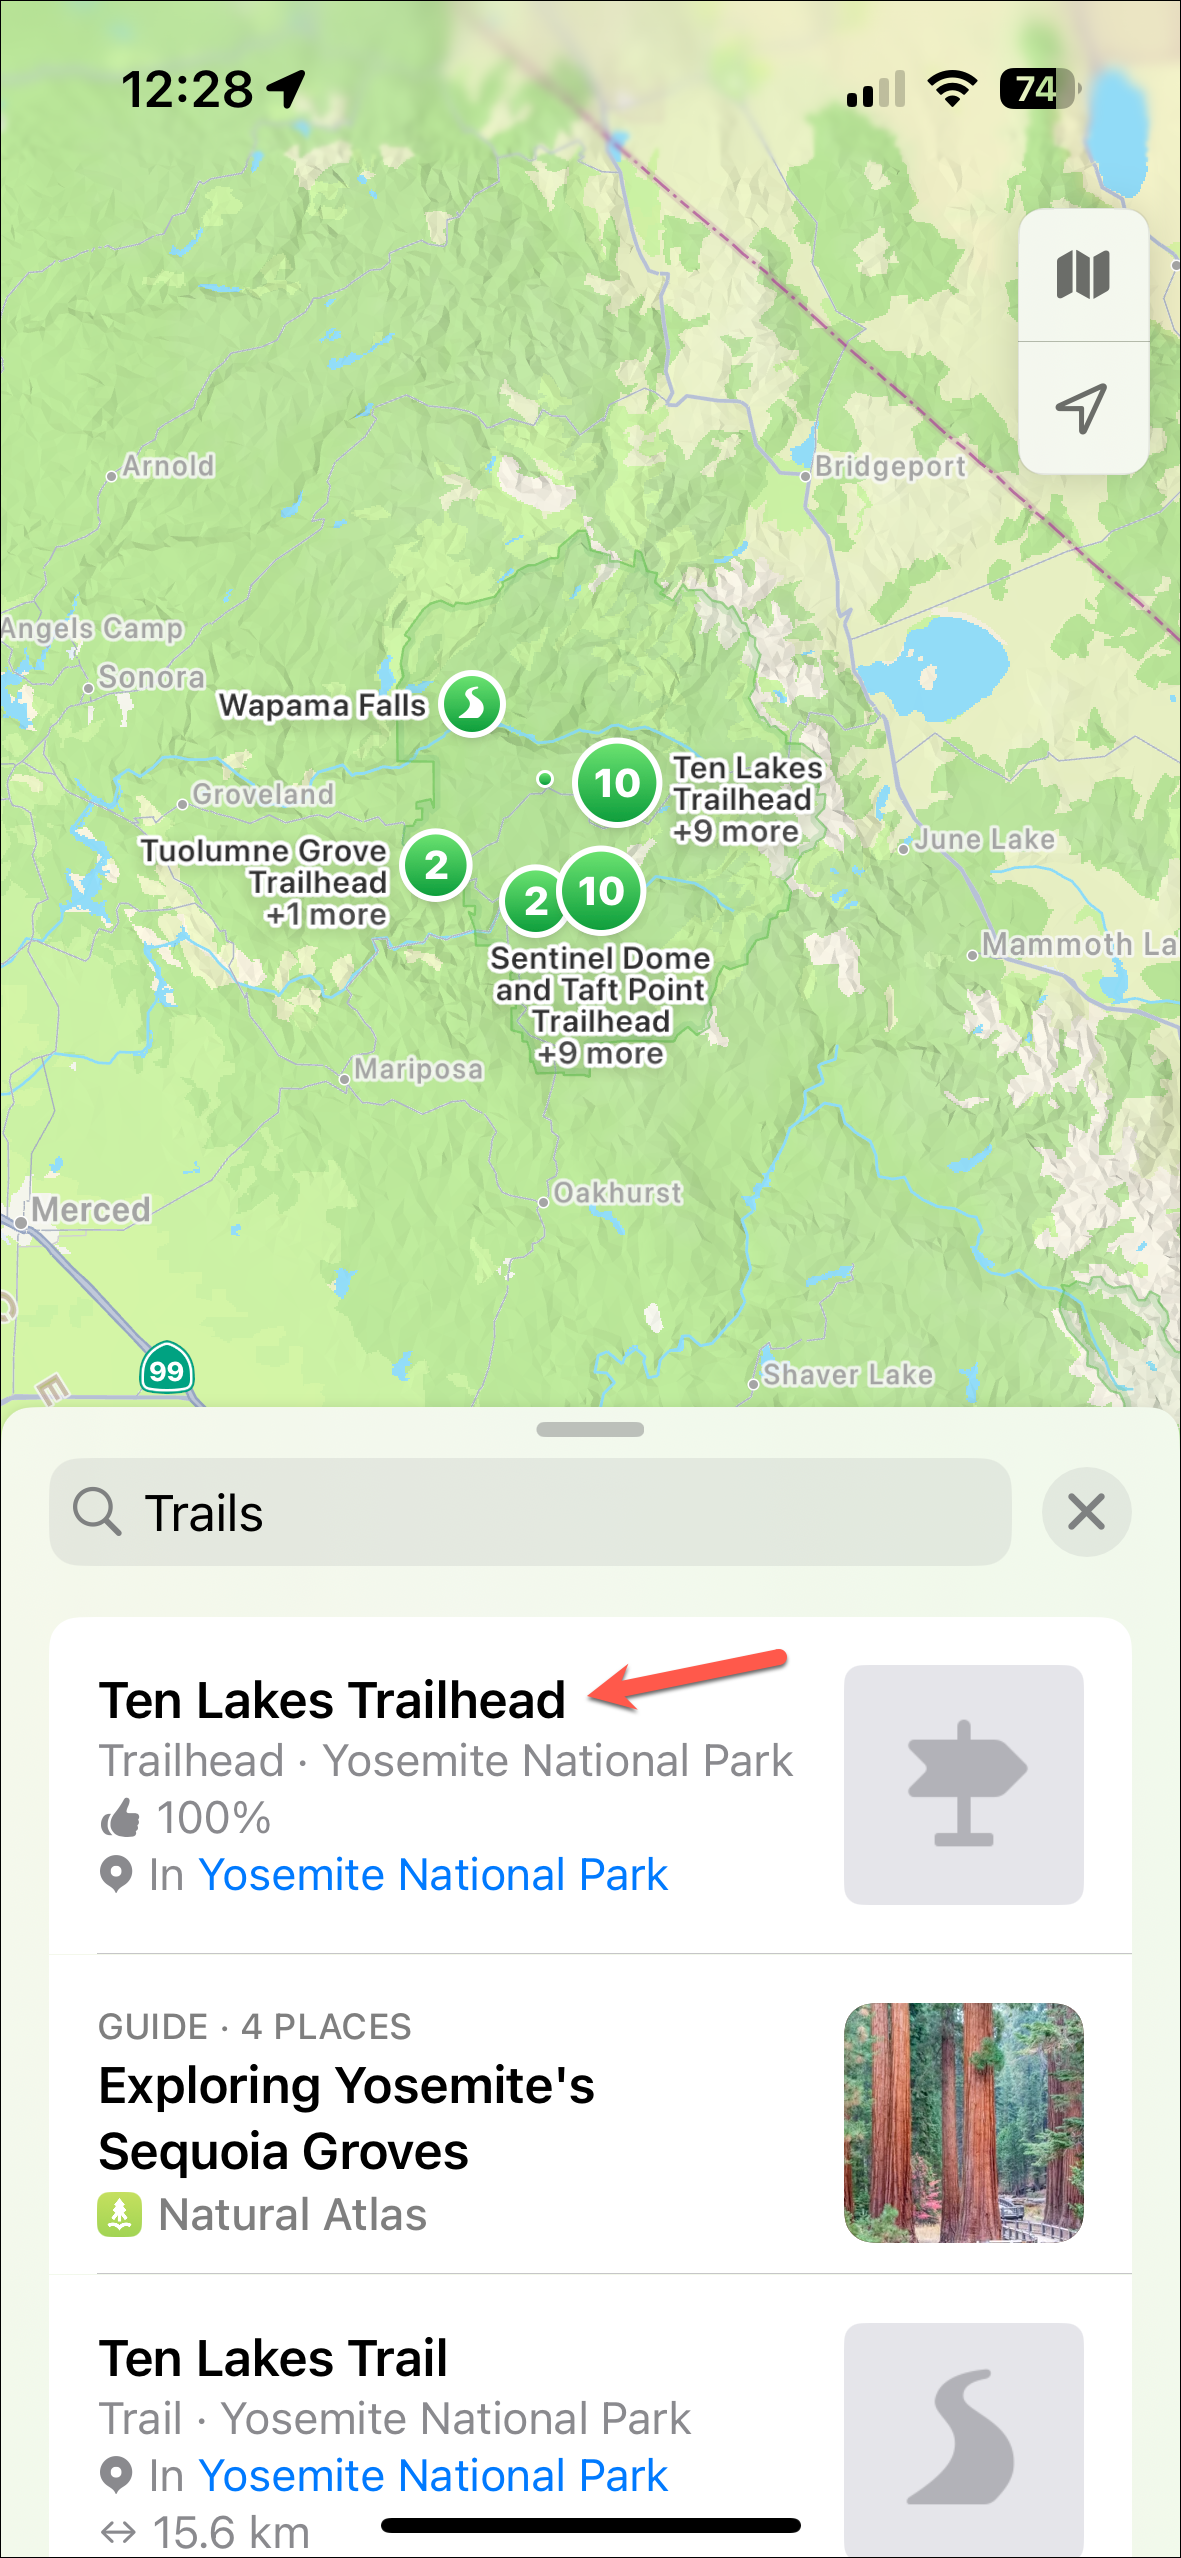
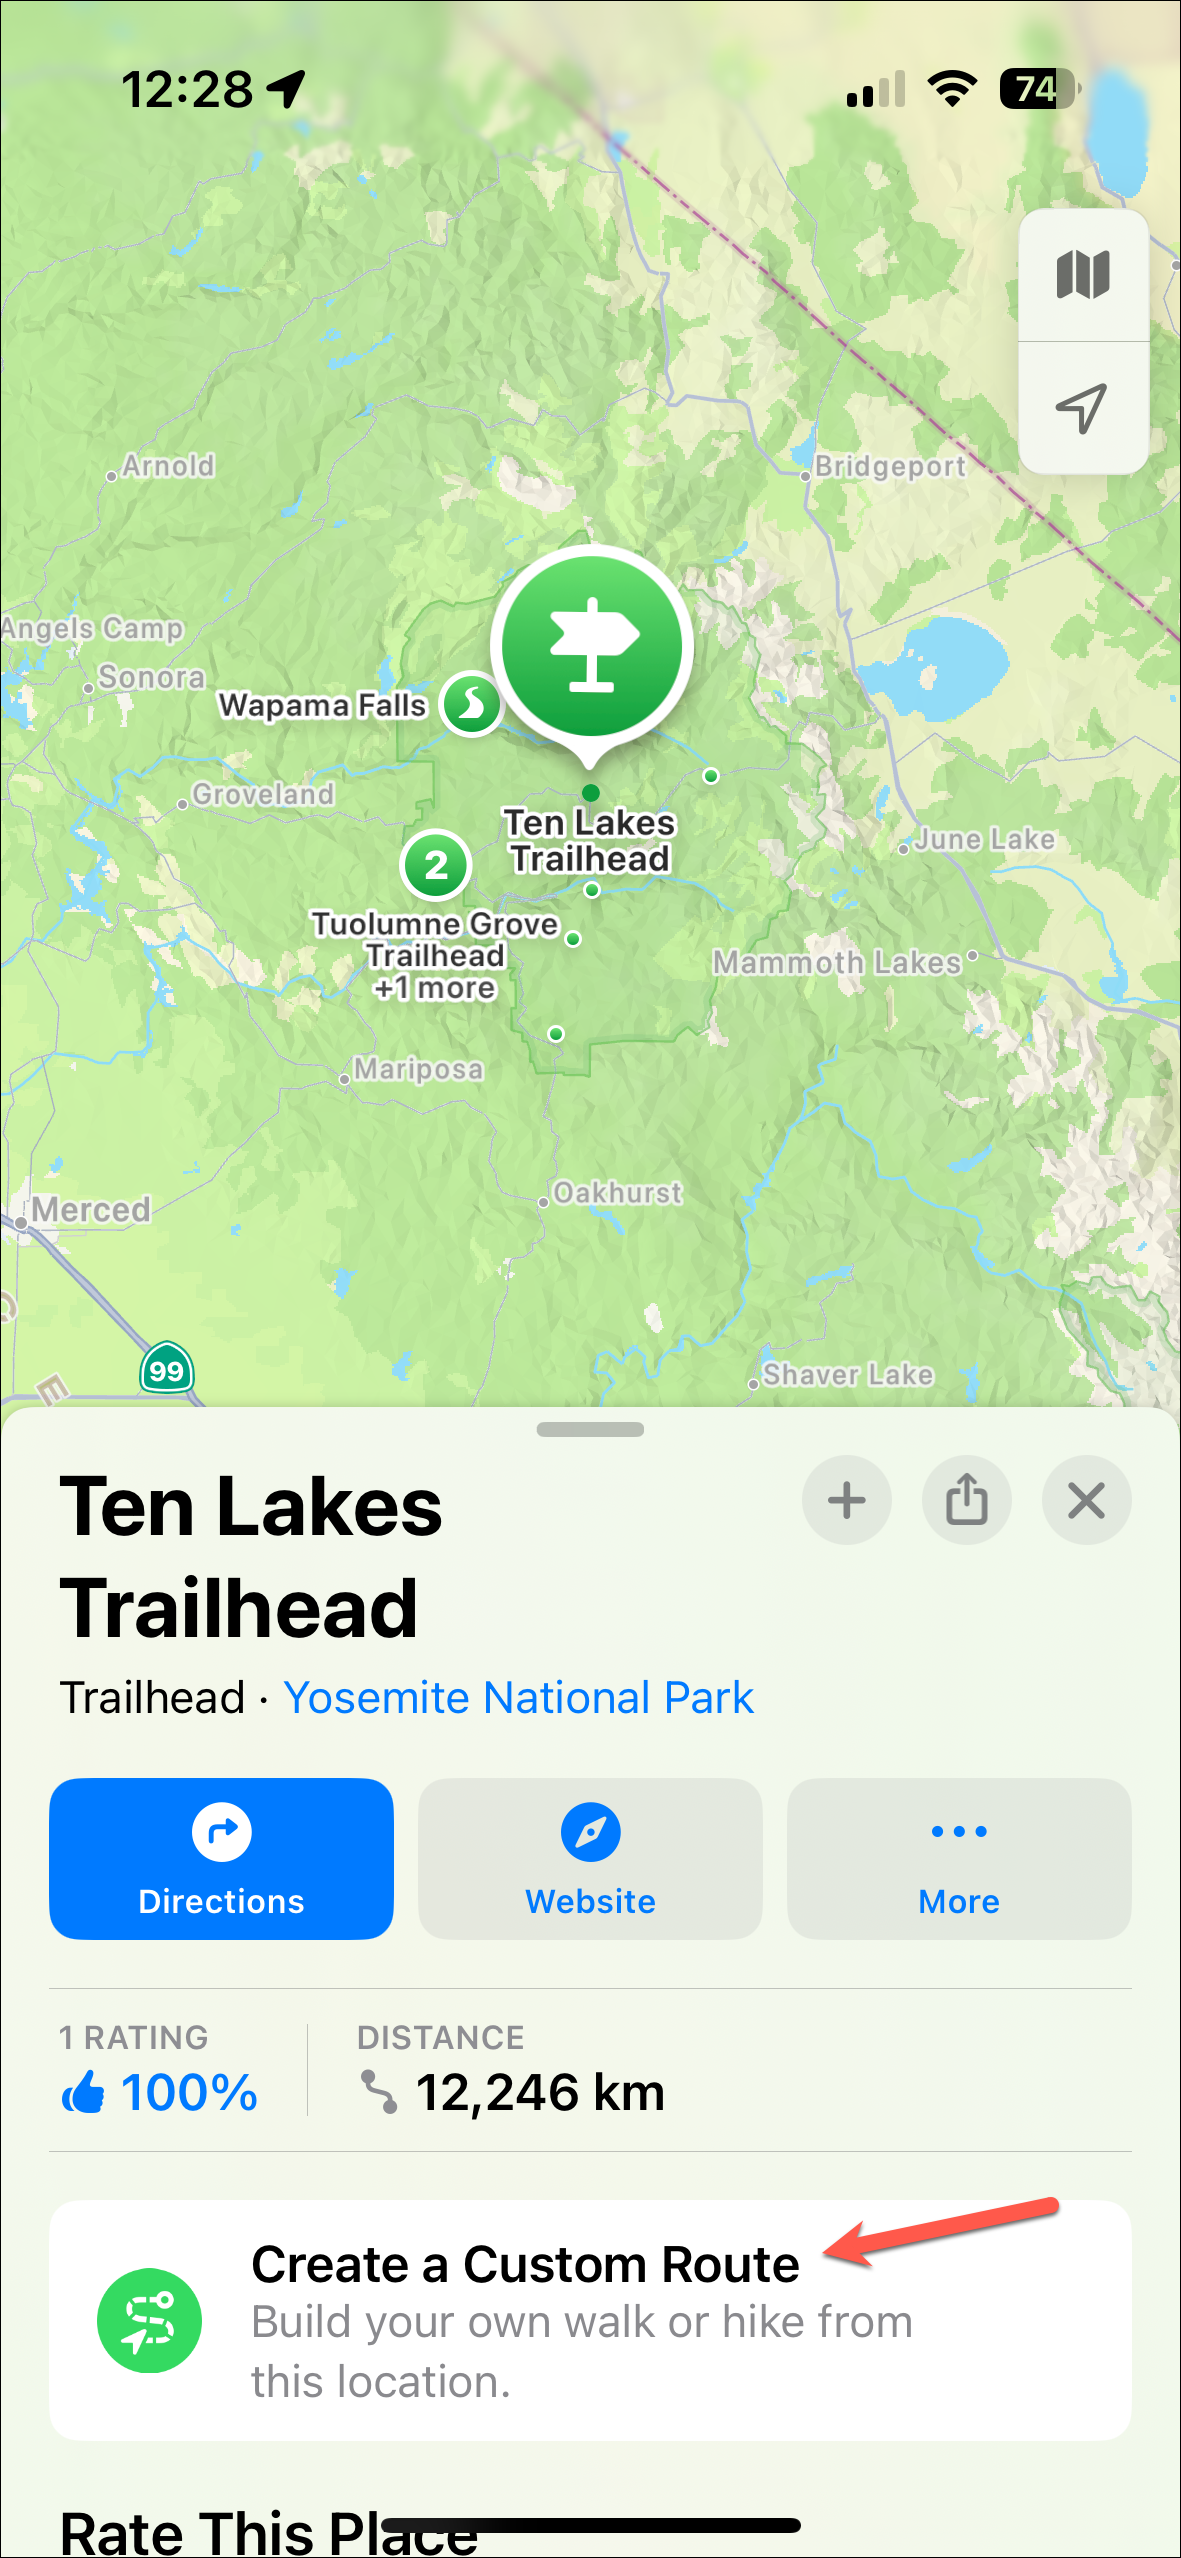
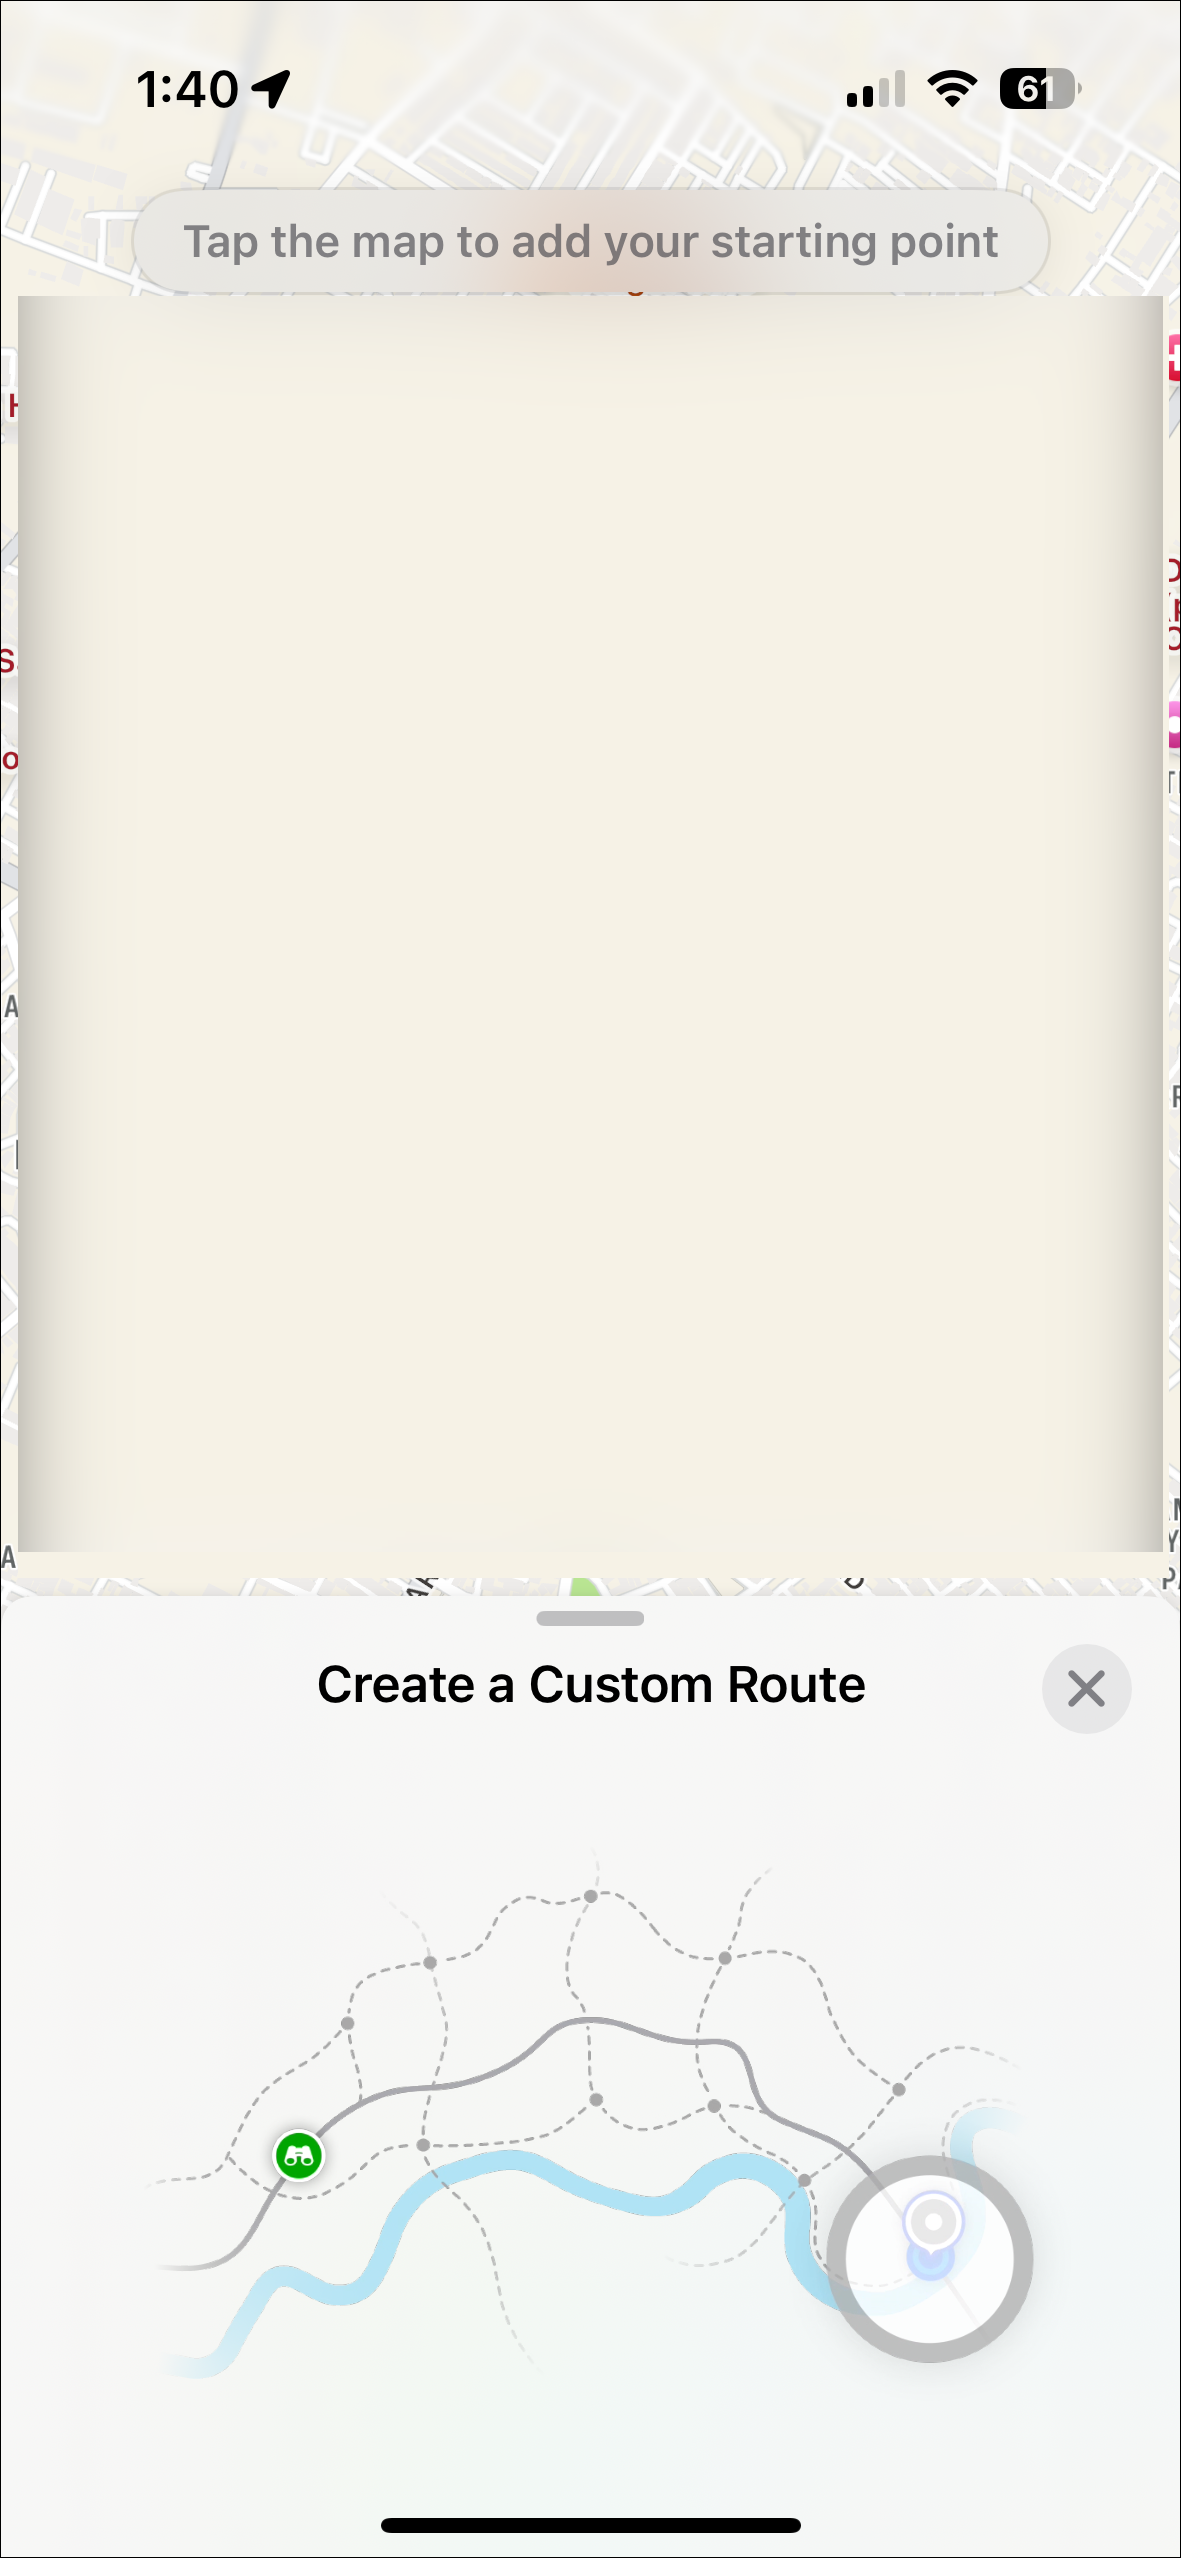
- Depending on what you chose, you might either see 'Plan a Hike' or 'Create a Custom Route' button.
- If you chose plan a hike, you'll see a walking route customized from your location for the hike.
- If no route is available, you can create a custom route from your location yourself by choosing the points on the map that you want to add to your route.
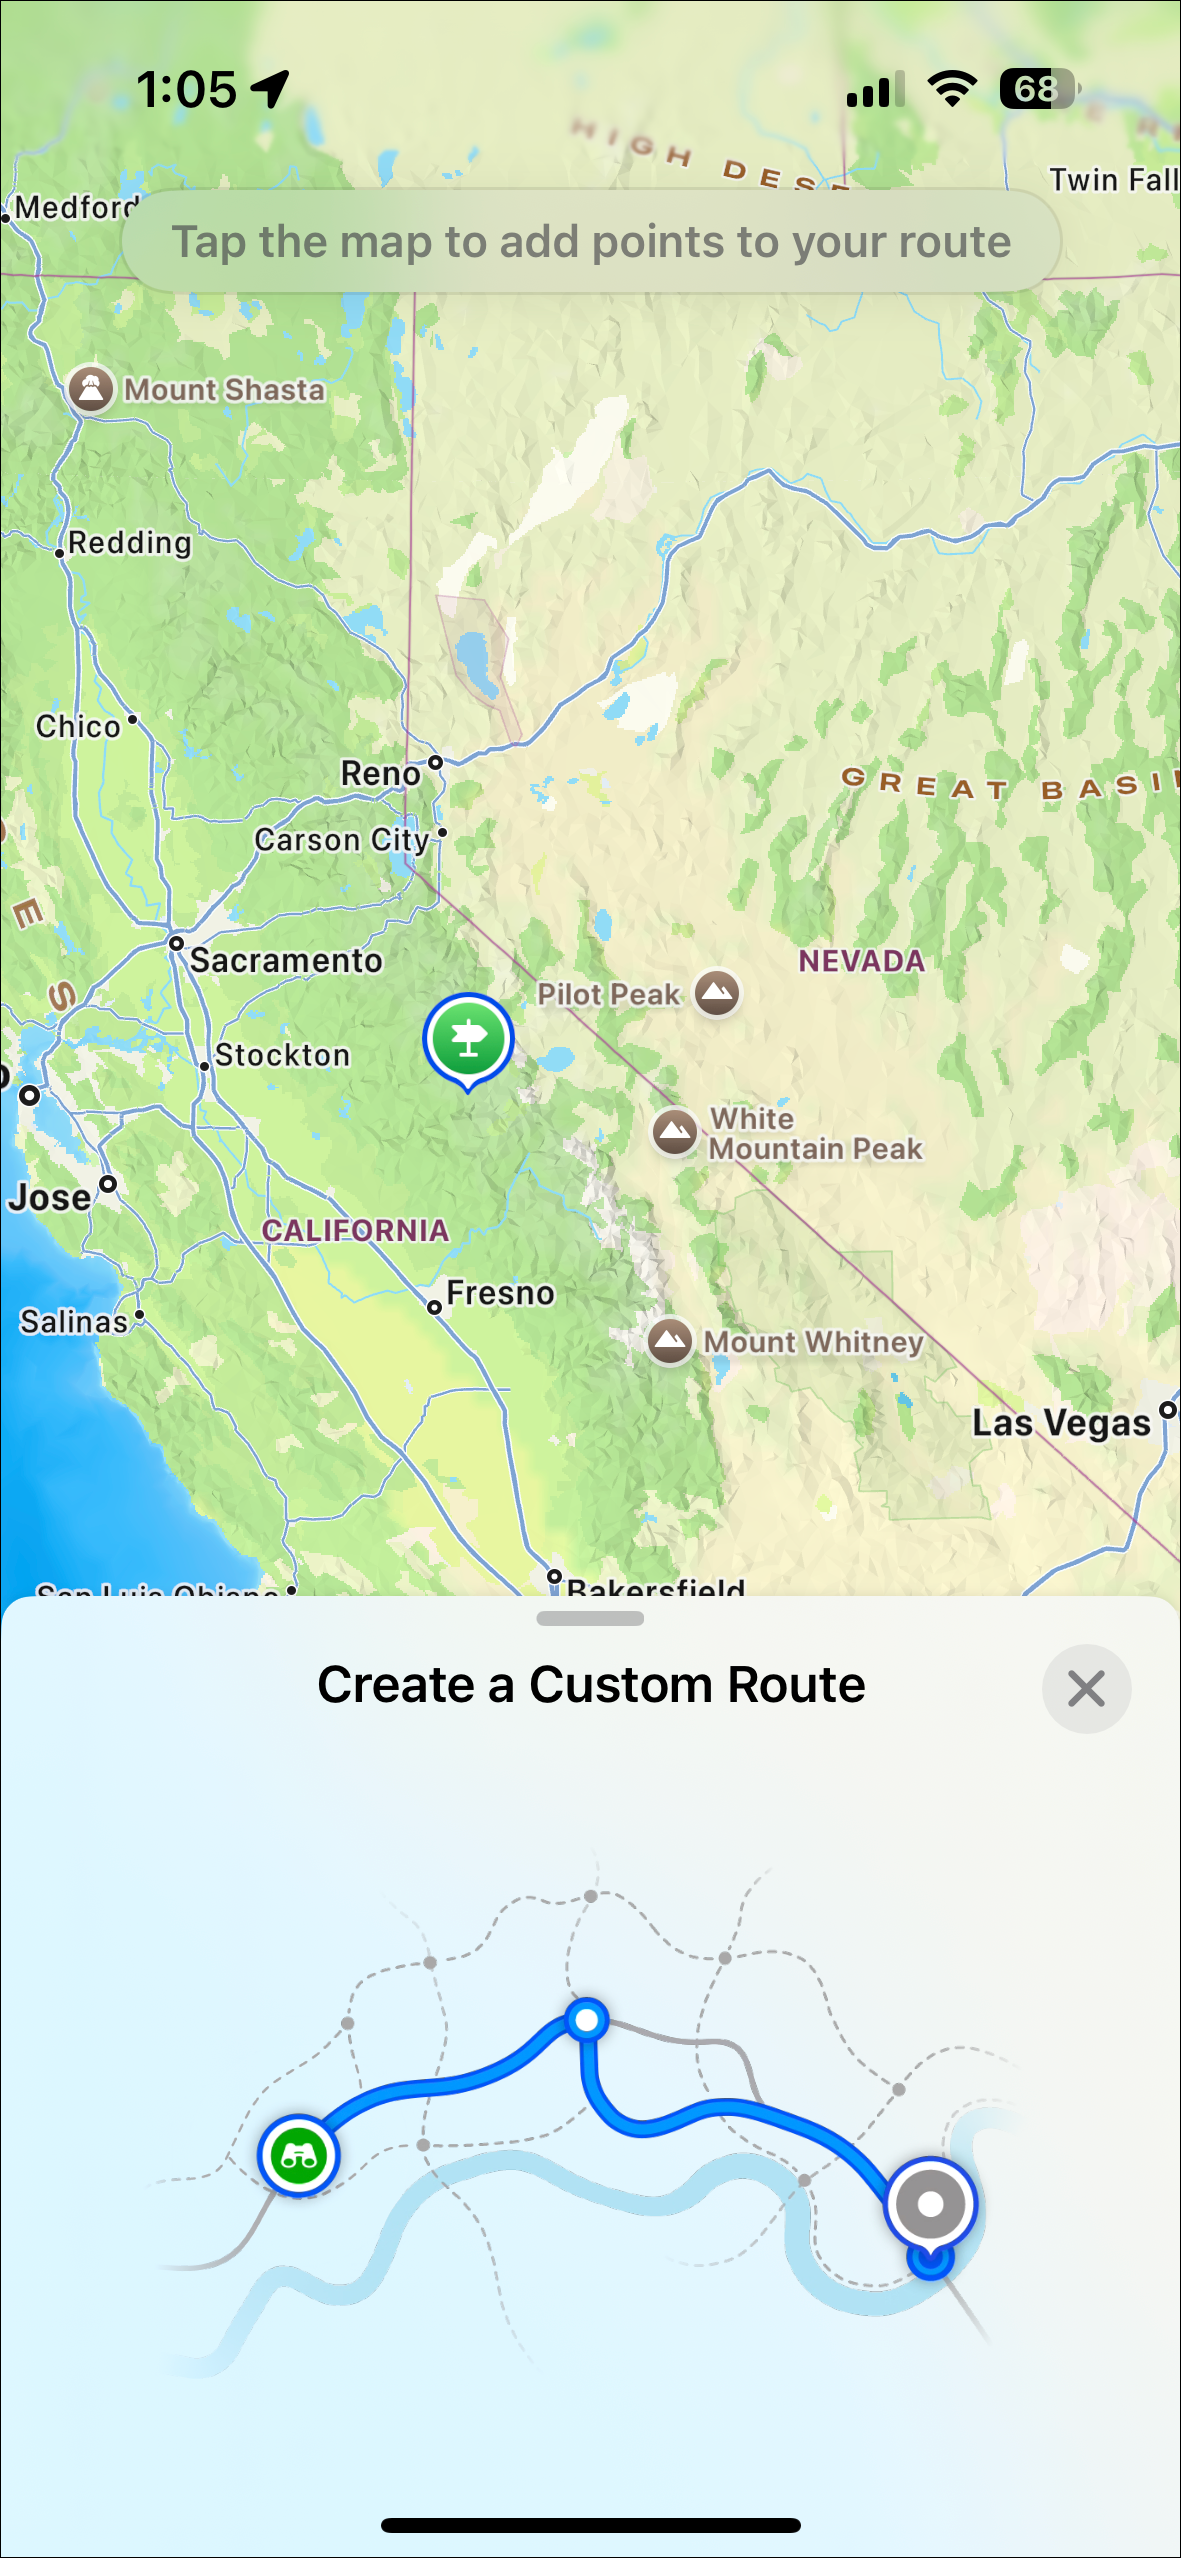
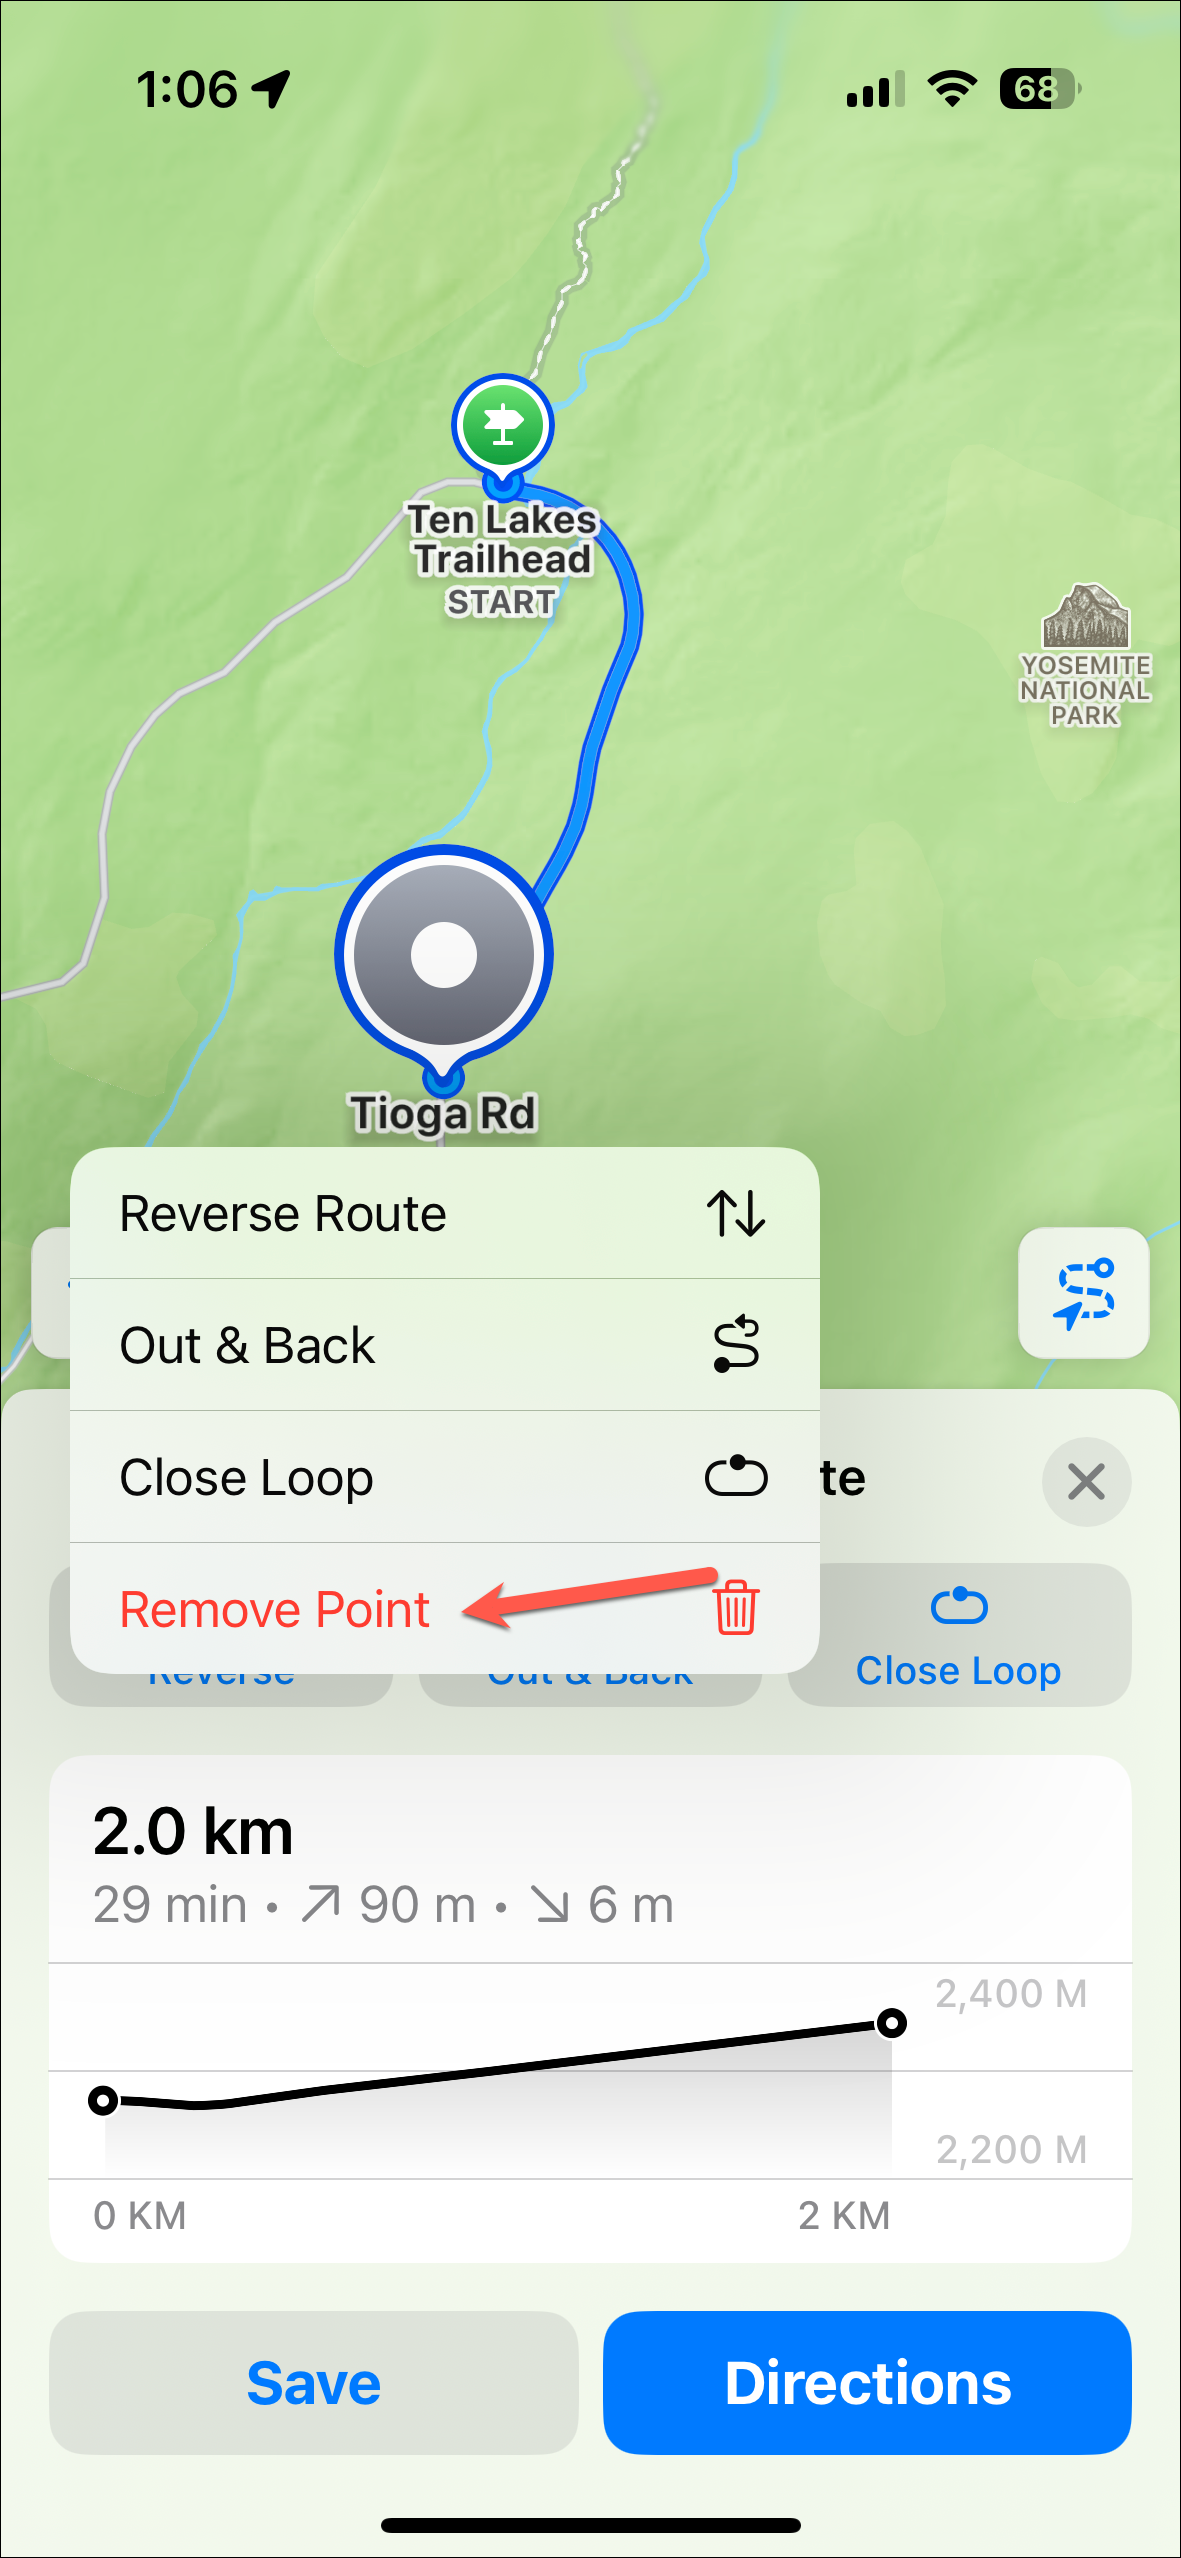
- While creating a custom route, tap on a point if you want to remove it. Then, select 'Remove Point' from the pop-up menu.
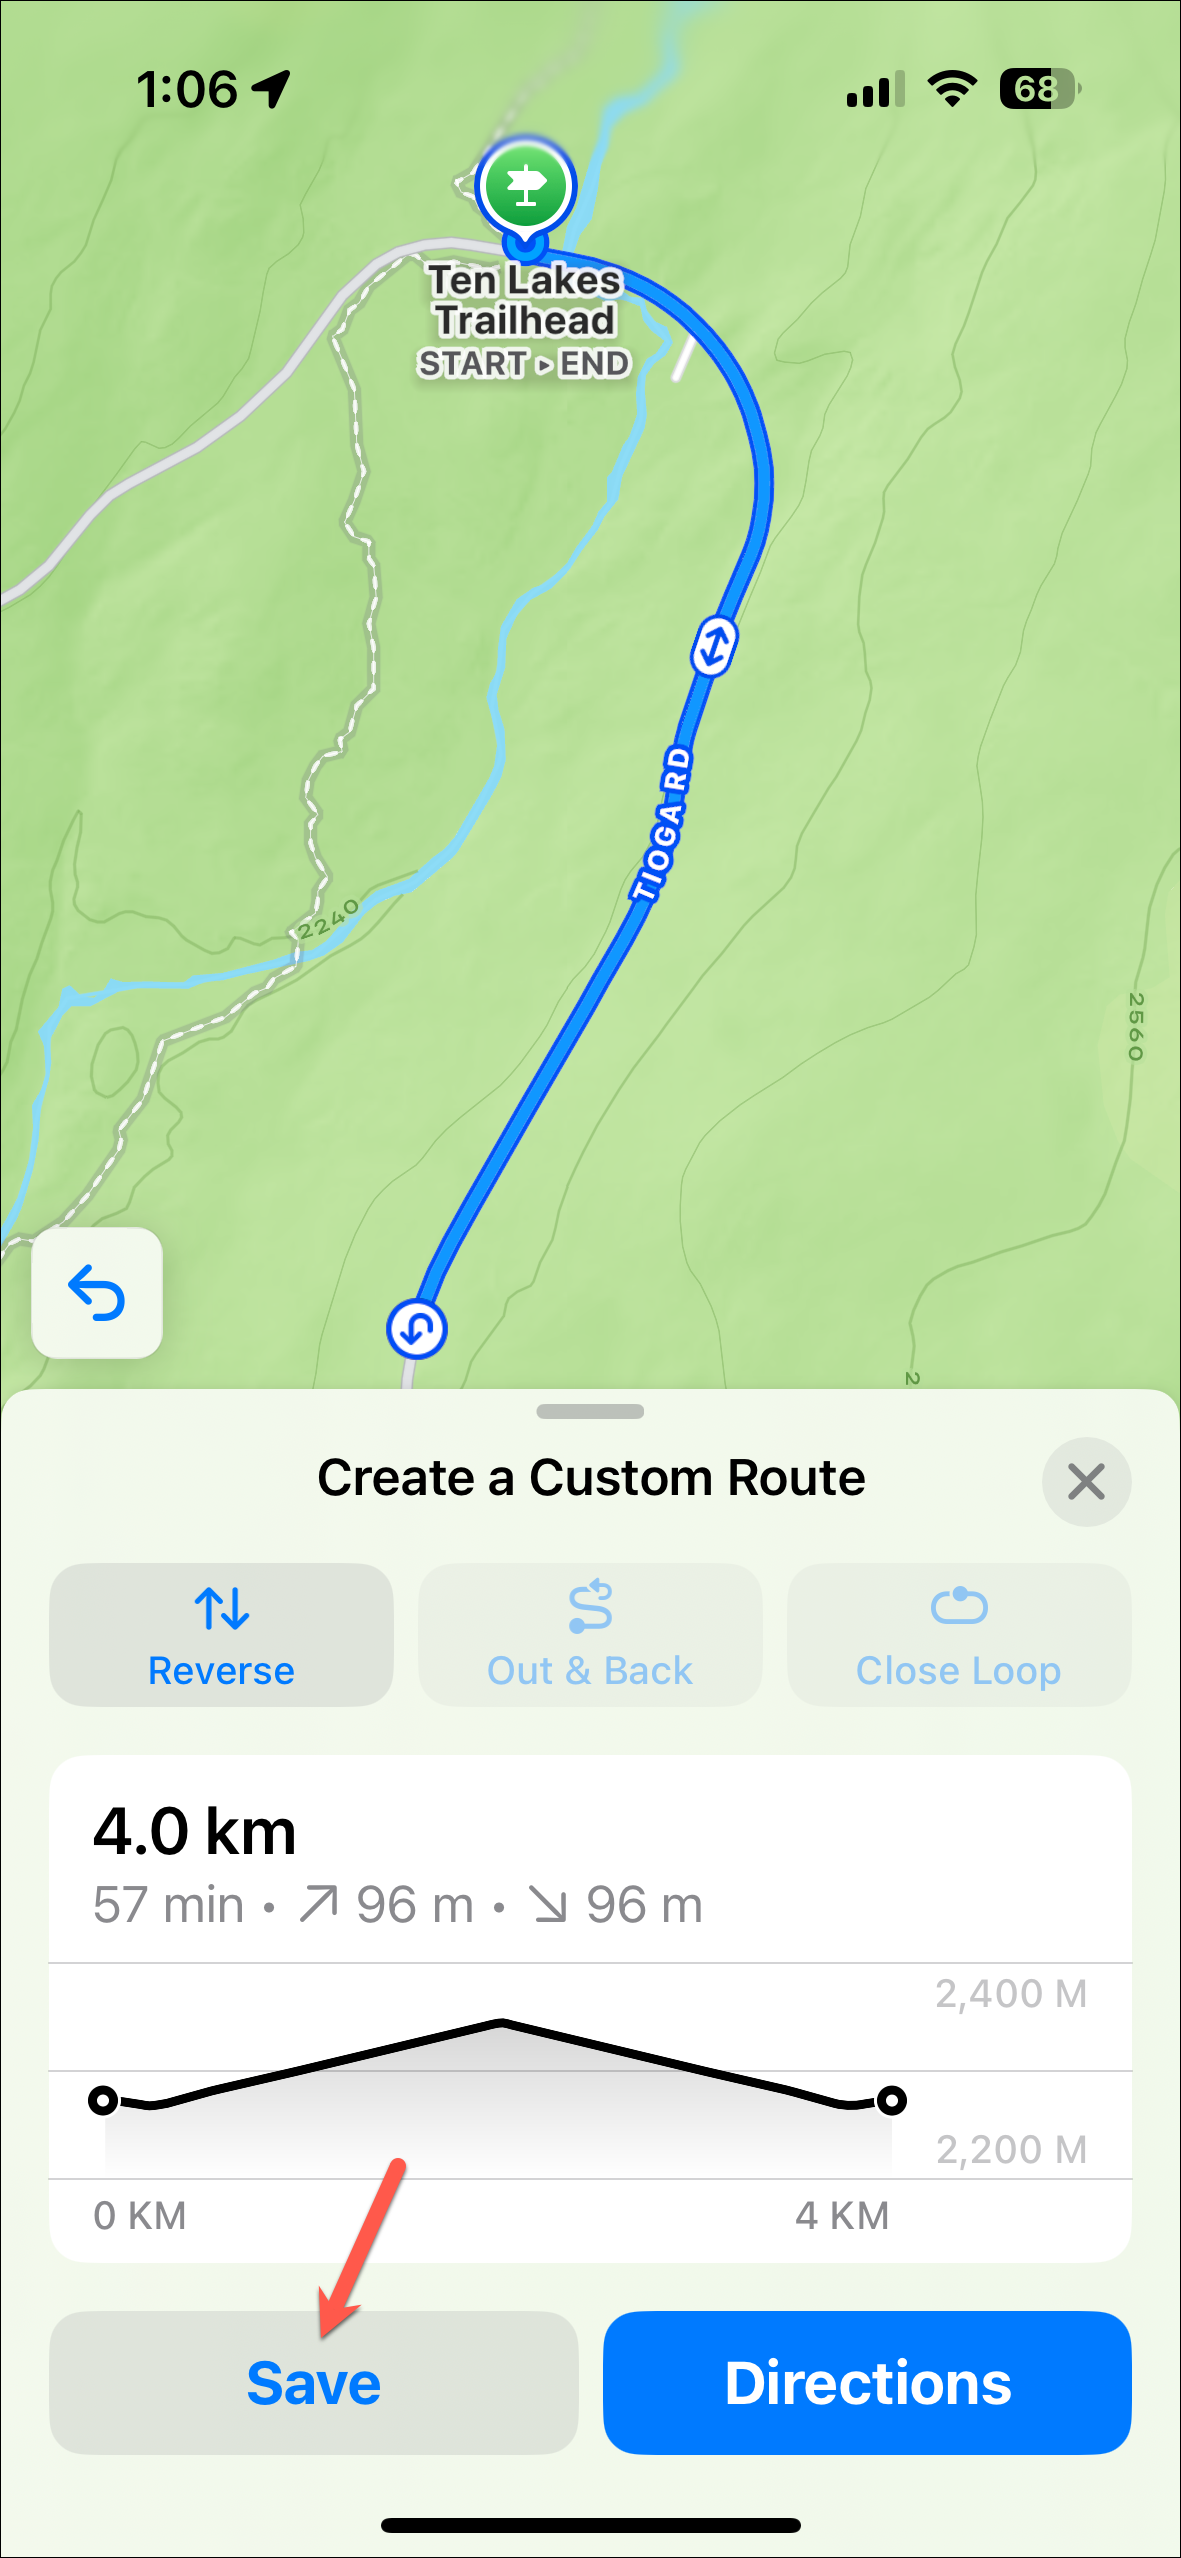
- In both cases, you'll see different options like 'Reverse', 'Out & Back' & 'Close Loop' while saving the route. Tap on an option to choose it. You can also choose multiple options like Reverse and Out & Back or Reverse & Close Loop.
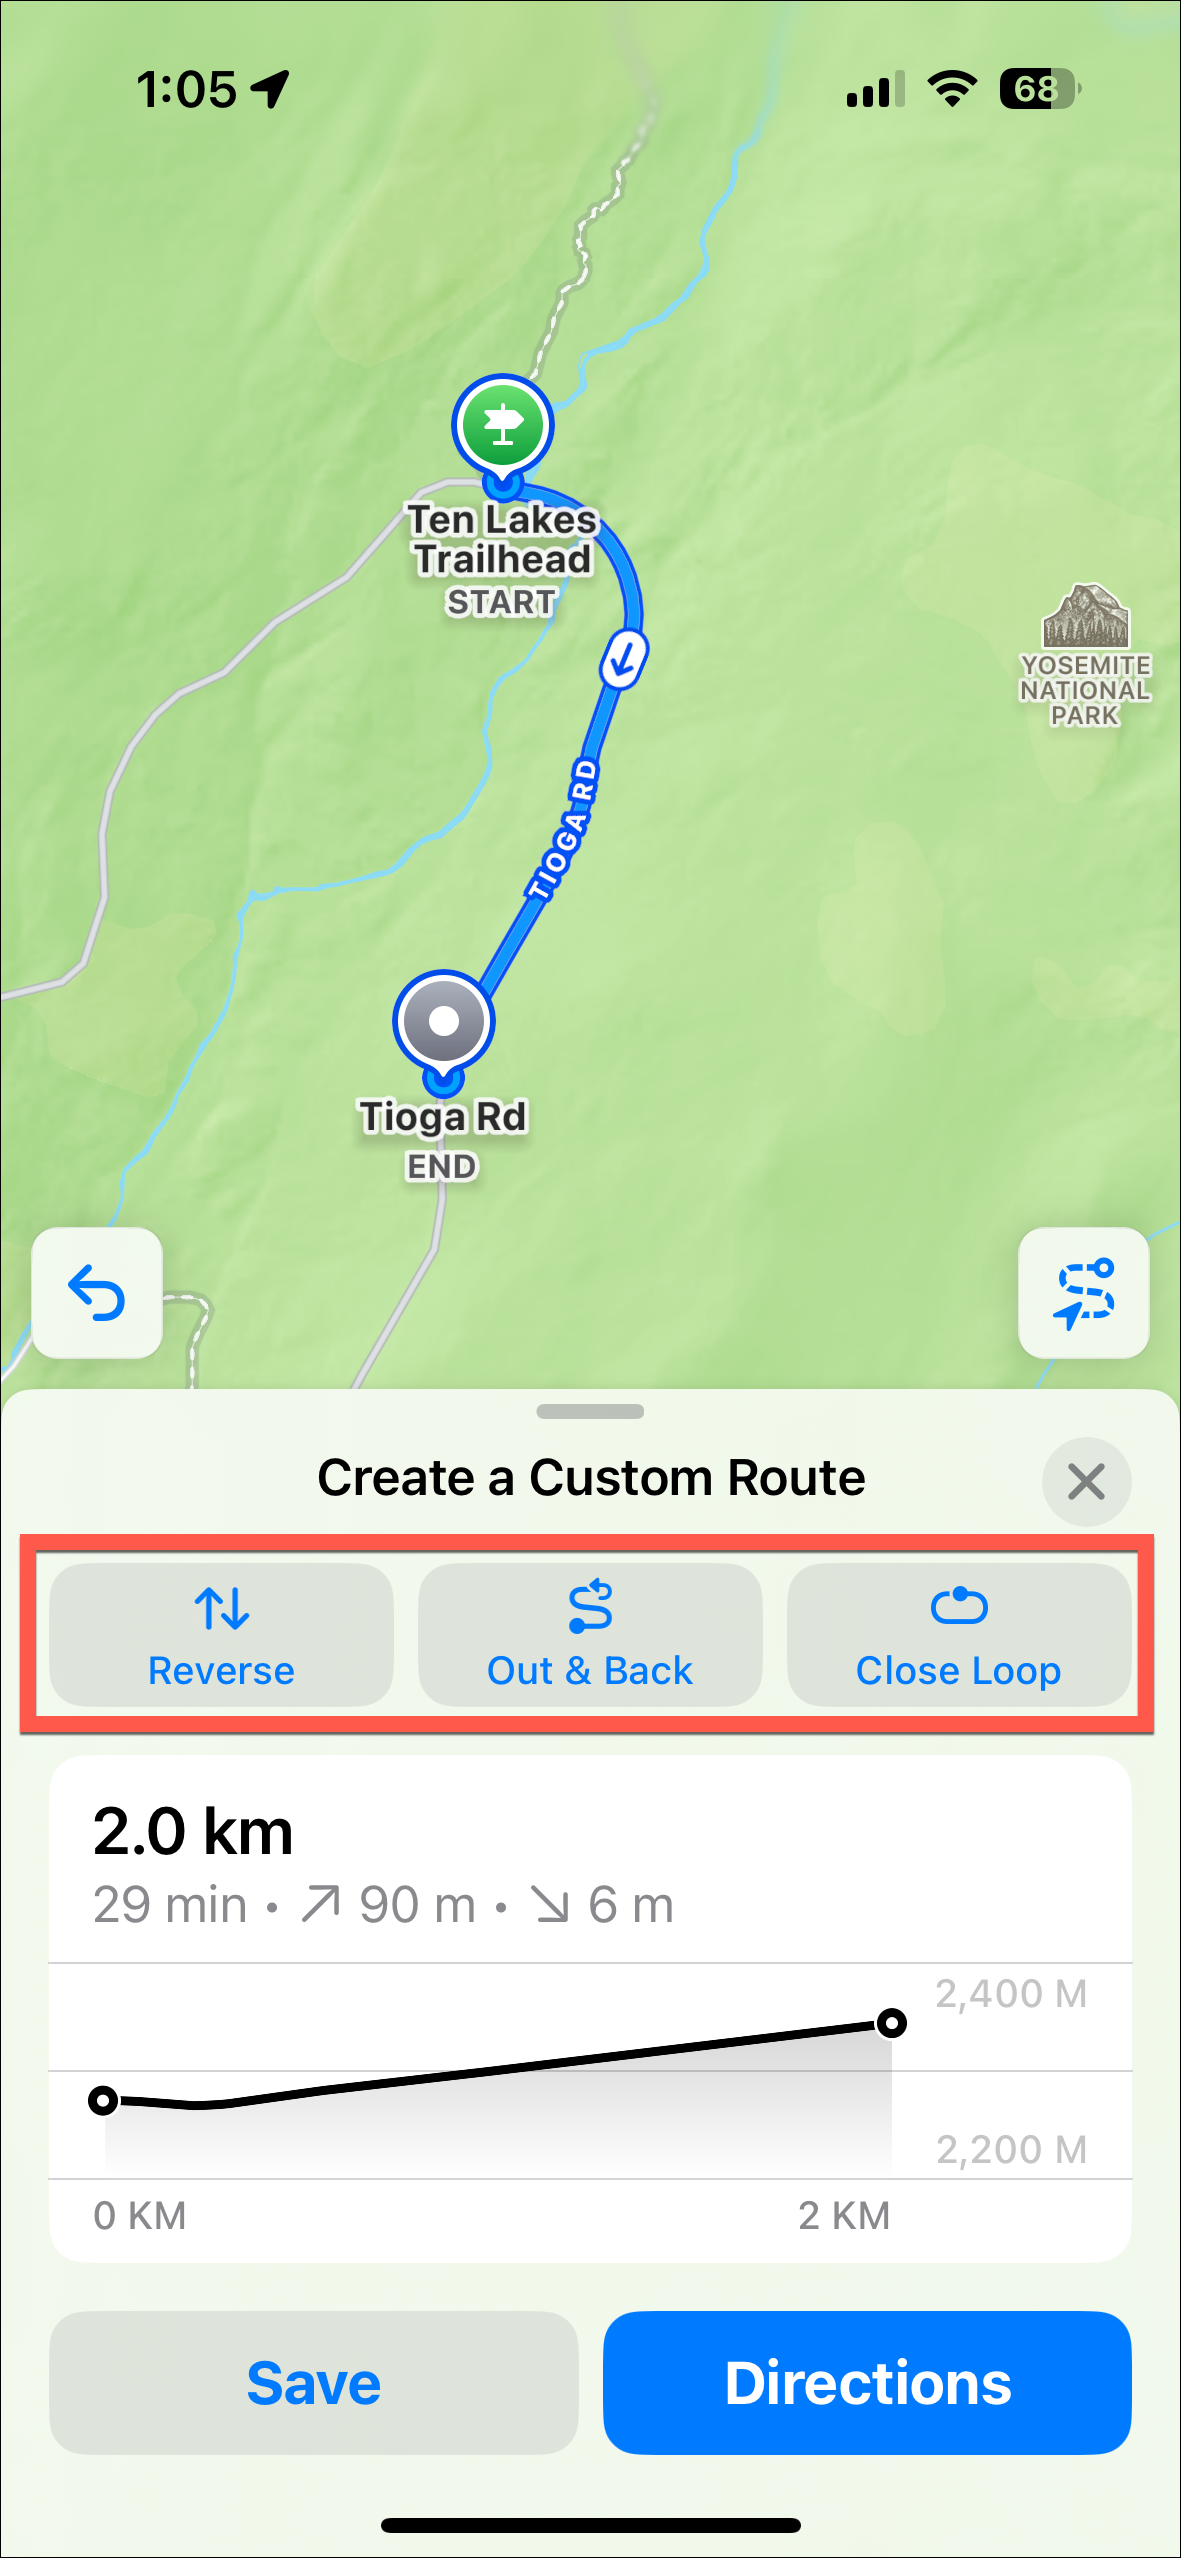
- Then, tap on the 'Save' button.
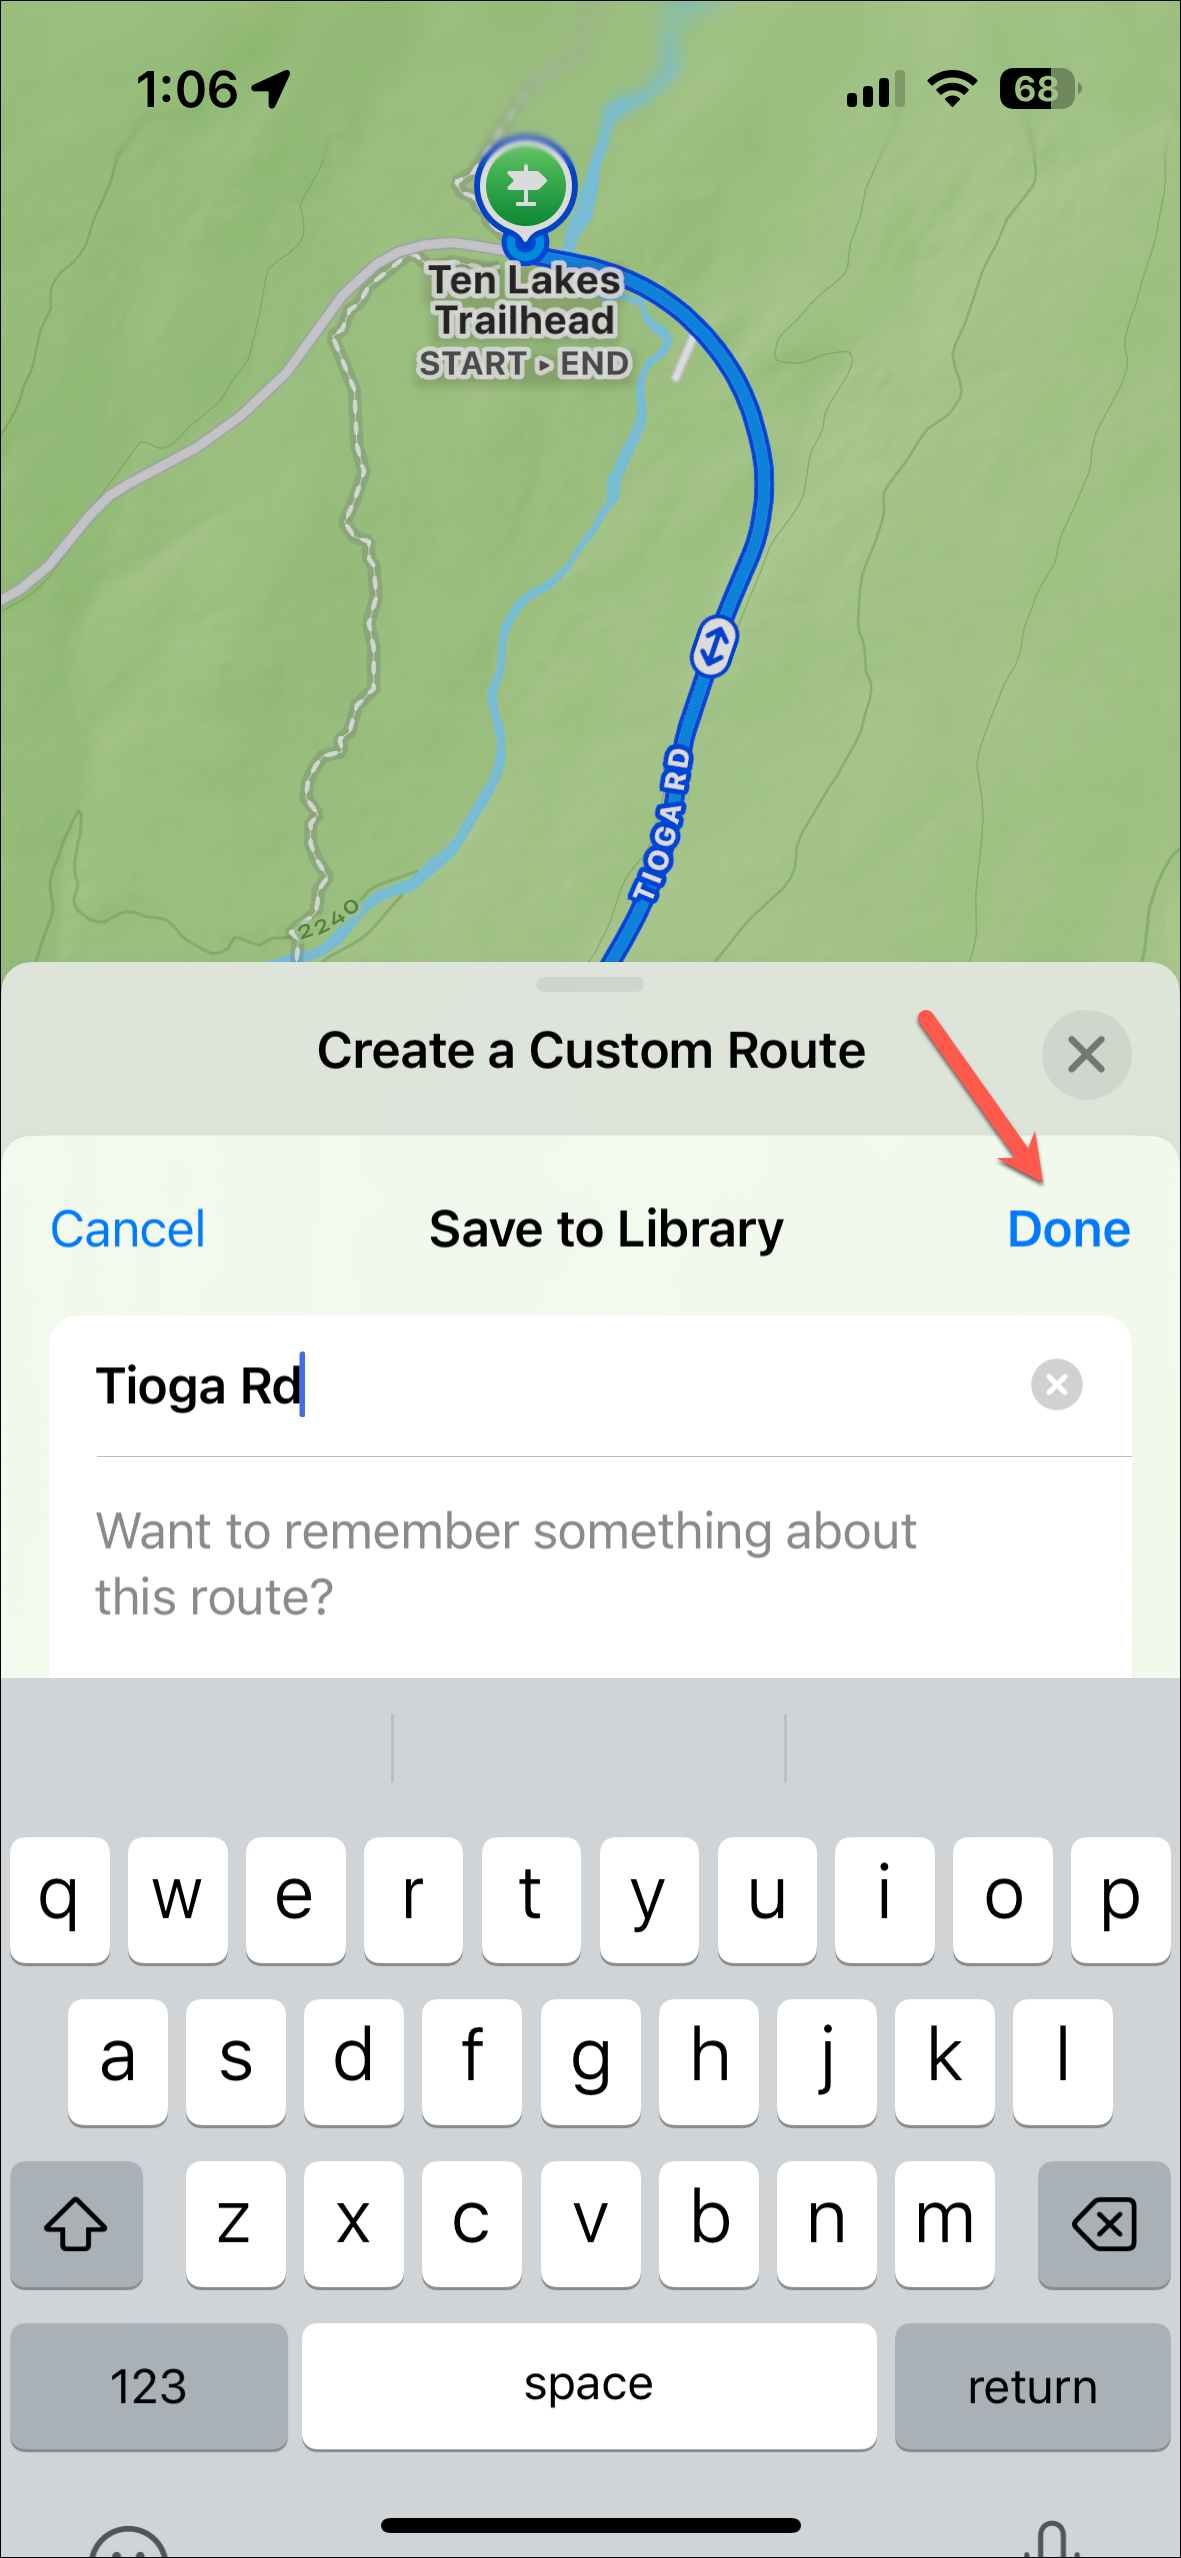
- Enter a name for the route (or use the pre-determined one) and add any notes if you want (visible only to you). In the US, you'll also have the option to save the route offline (we recommend keeping the toggle enabled). Then, tap on 'Done'.
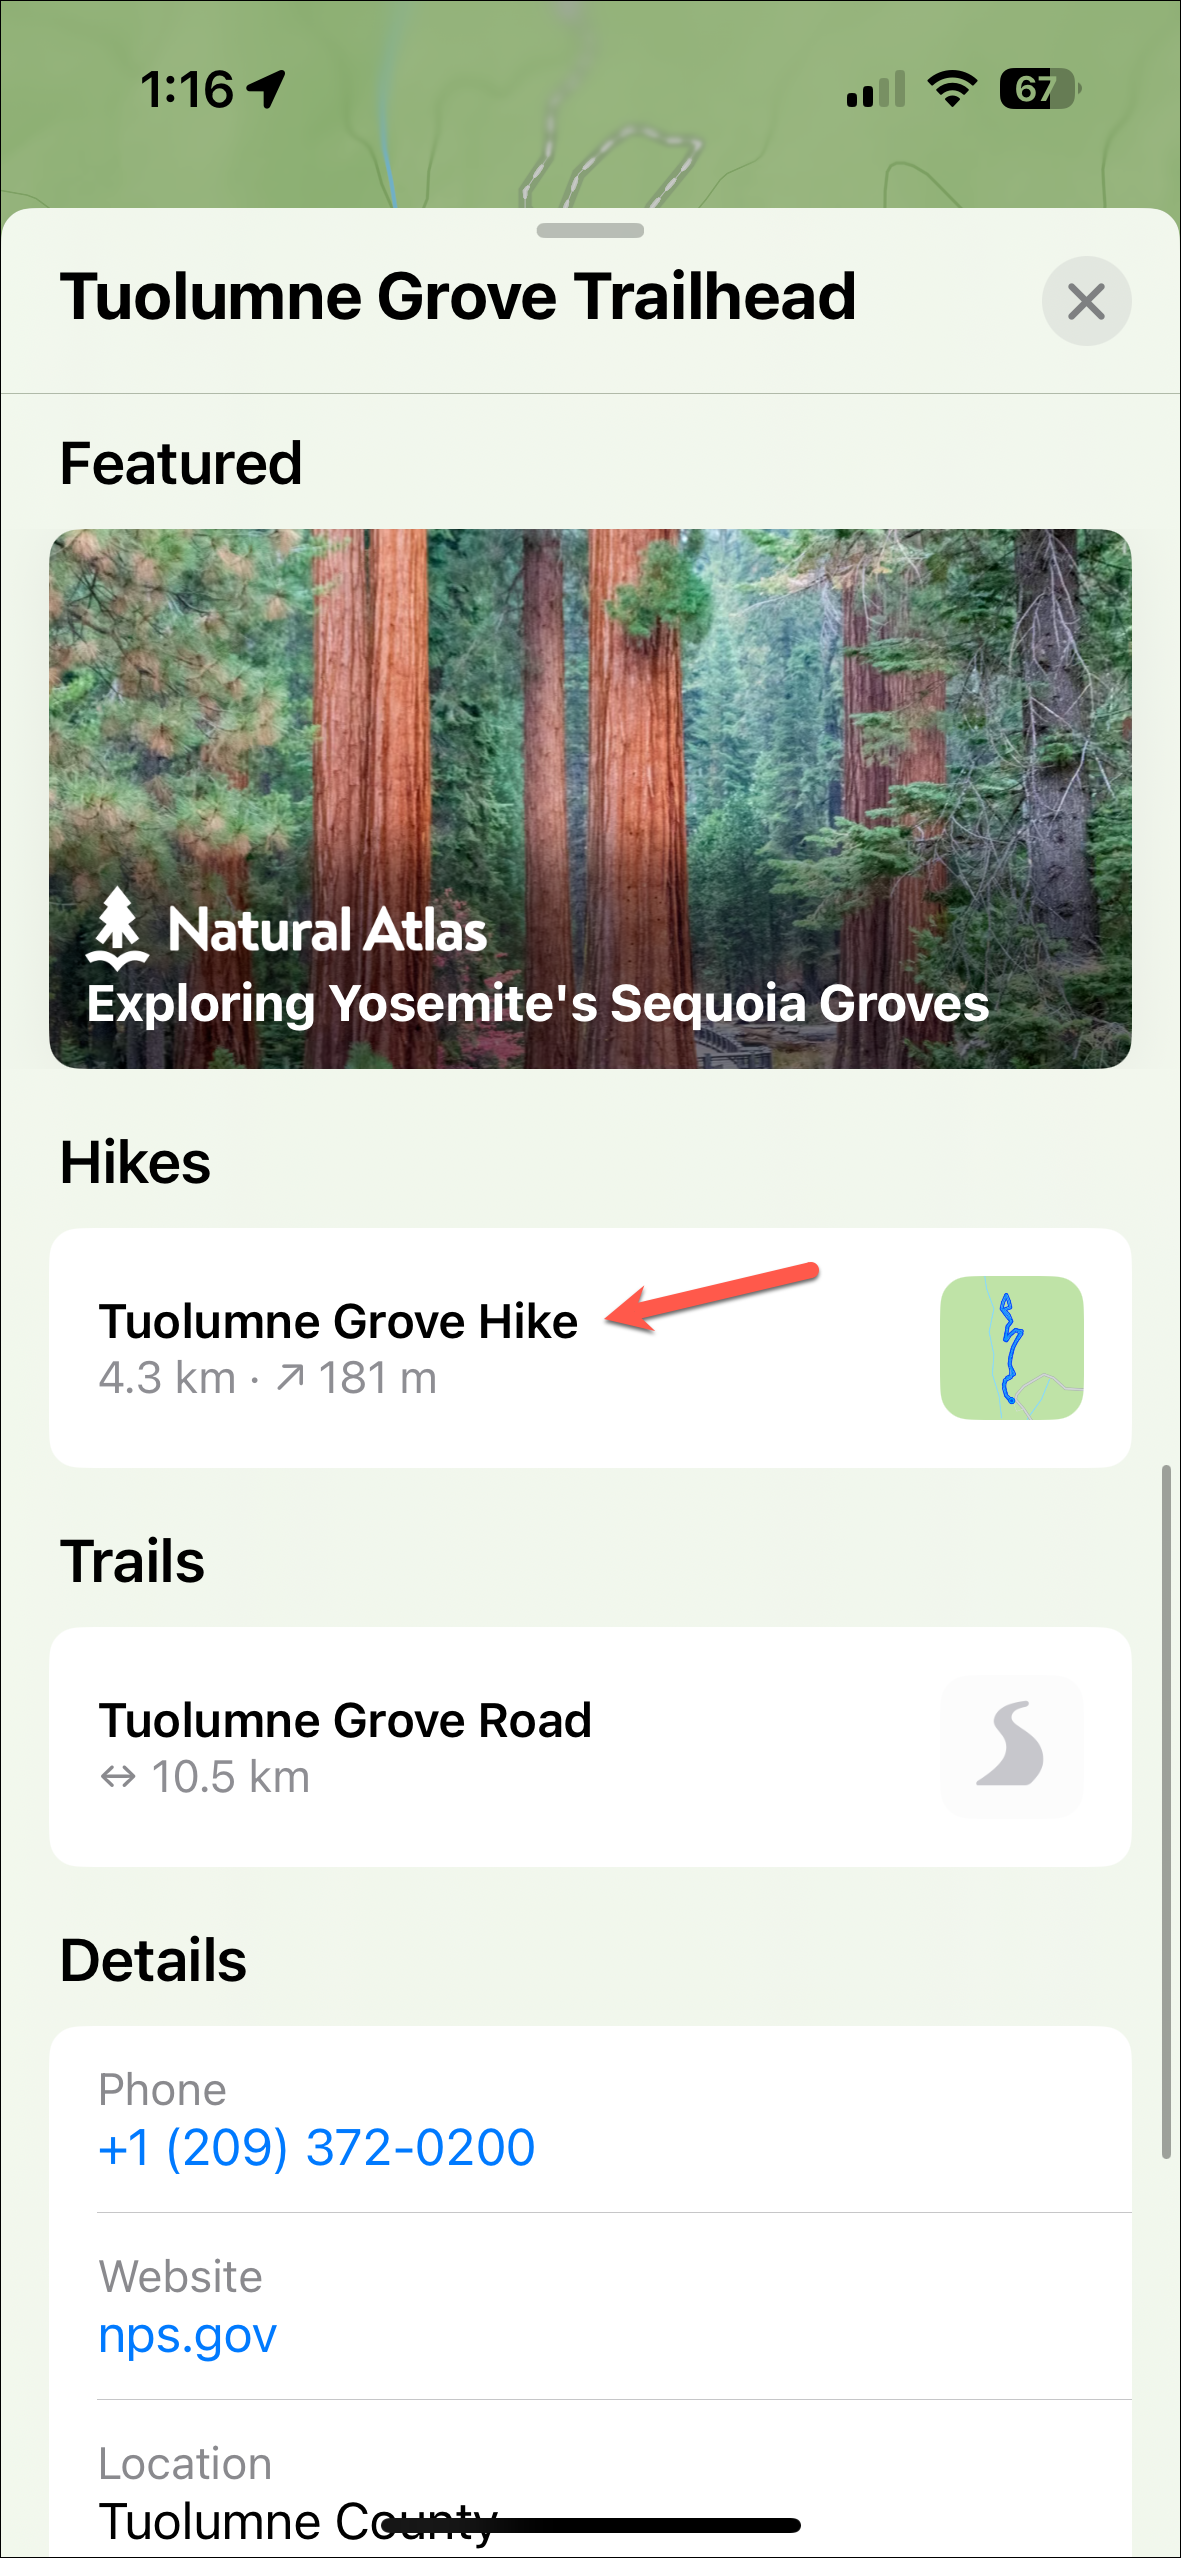
- Instead of creating a hike, you can also scroll down on a trailhead page and see different trails or hikes.
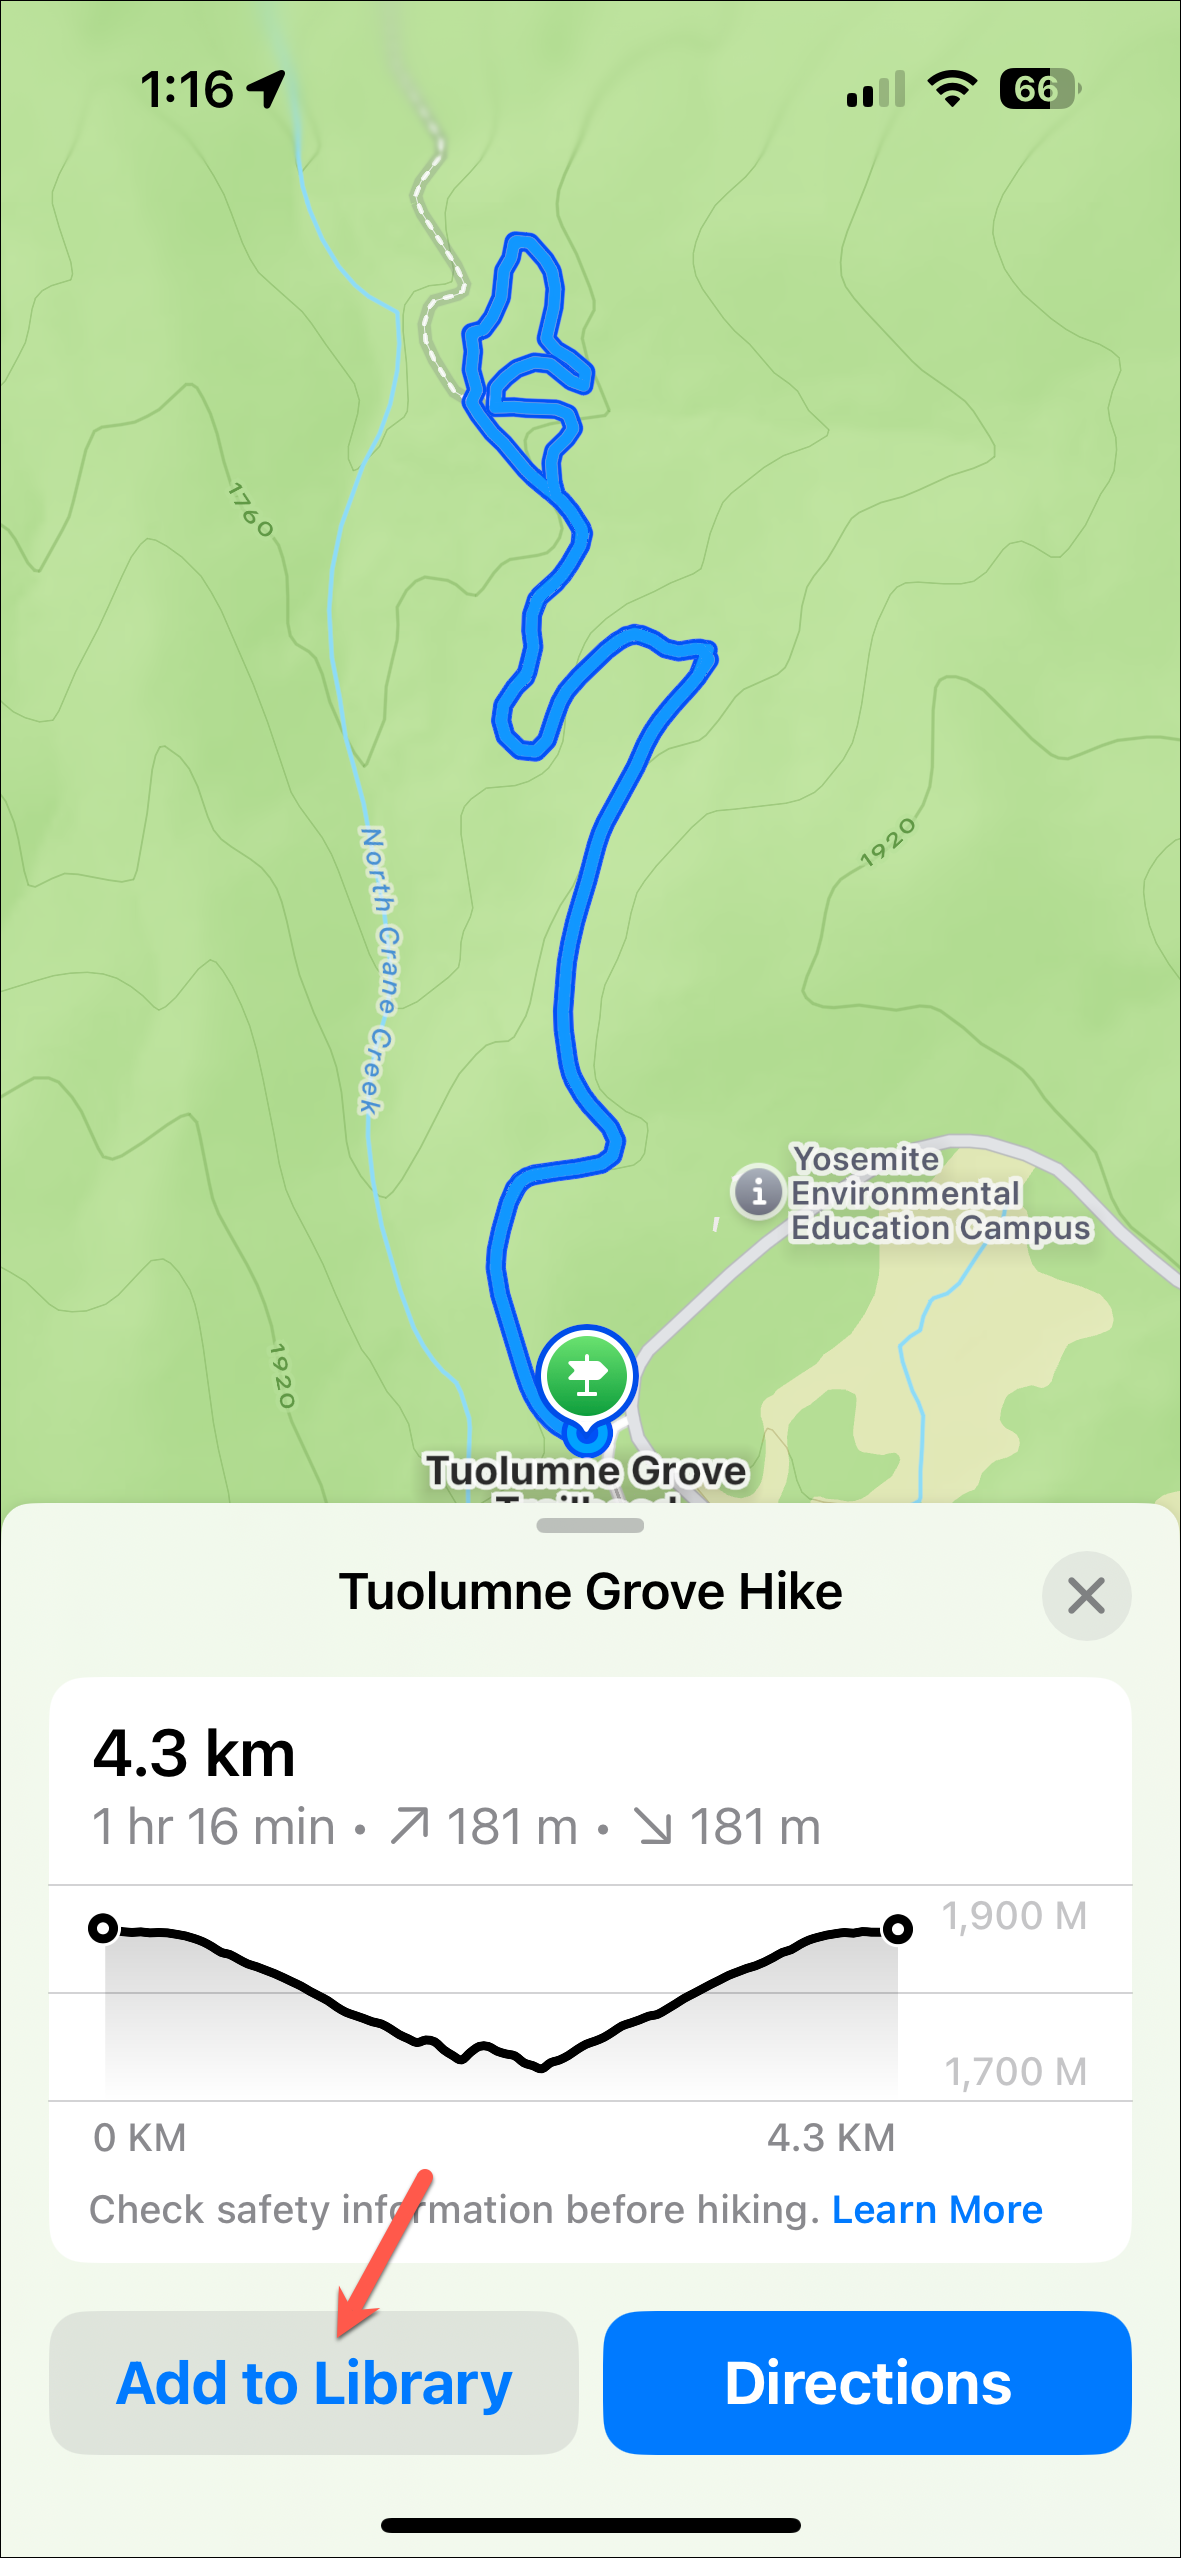
- If there's a hike already on Apple Maps, tap on it and you'll see the route for the hike and other information, such as distance, time, elevation, etc. Tap on 'Add to Library' to save it.
Creating custom routes
Apart from popular hikes and trails, you can also create and save custom routes for just about anything.
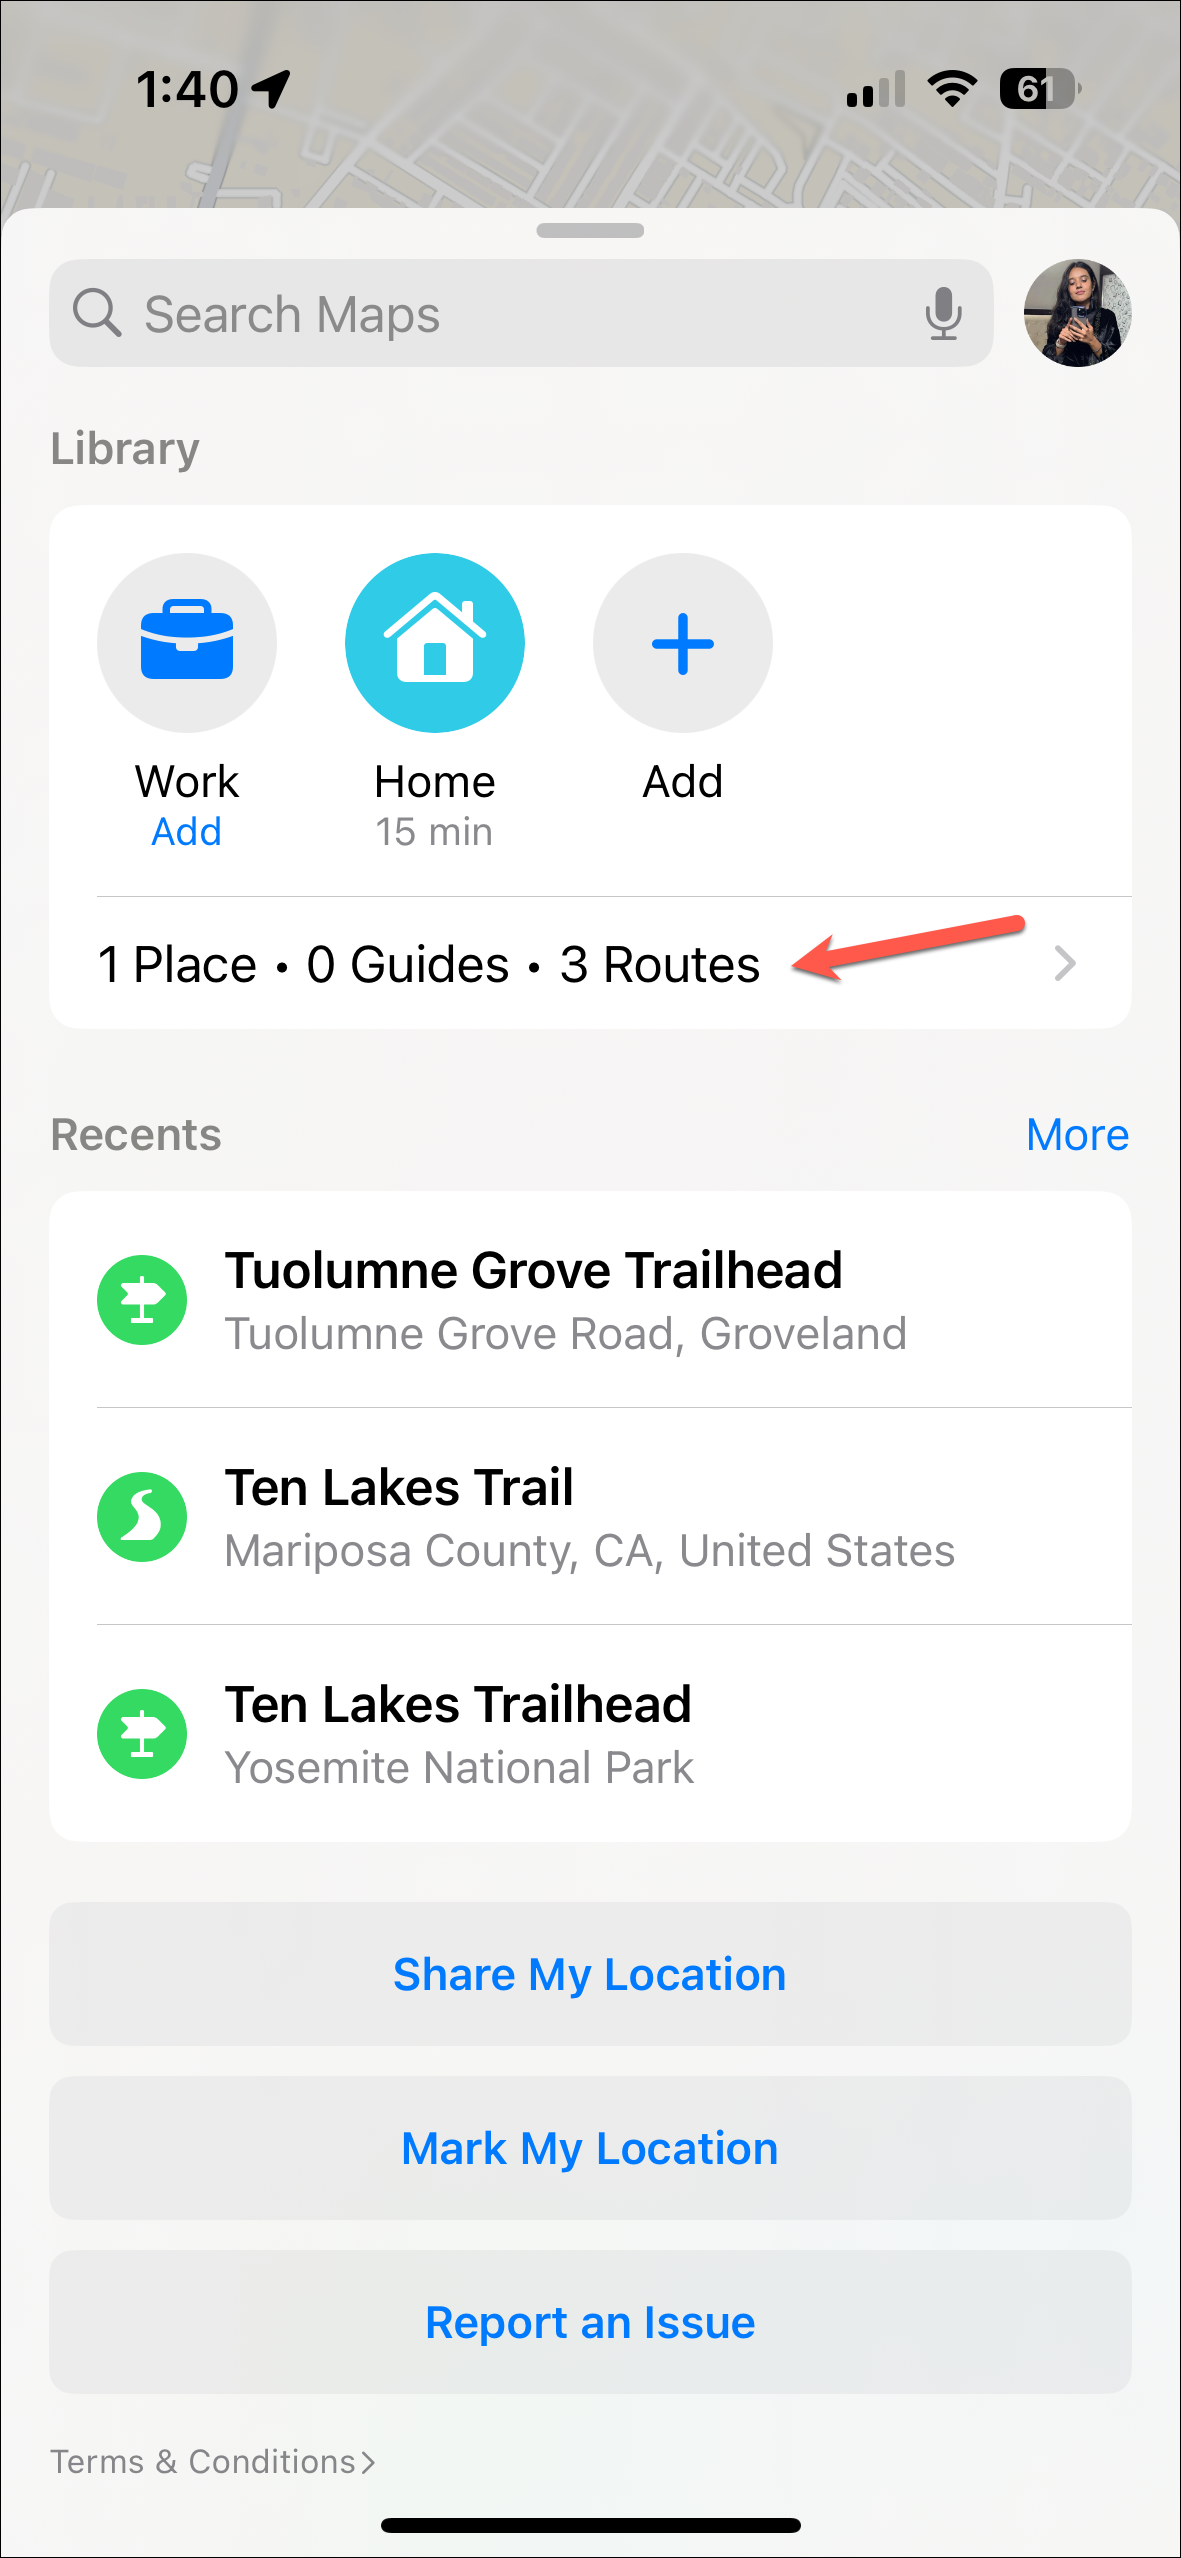
- In Apple Maps, swipe up on the 'Search Maps' menu to expand it.
- Then, tap on the 'Place, Guides, Routes' option.
- Further, go to 'Routes'.
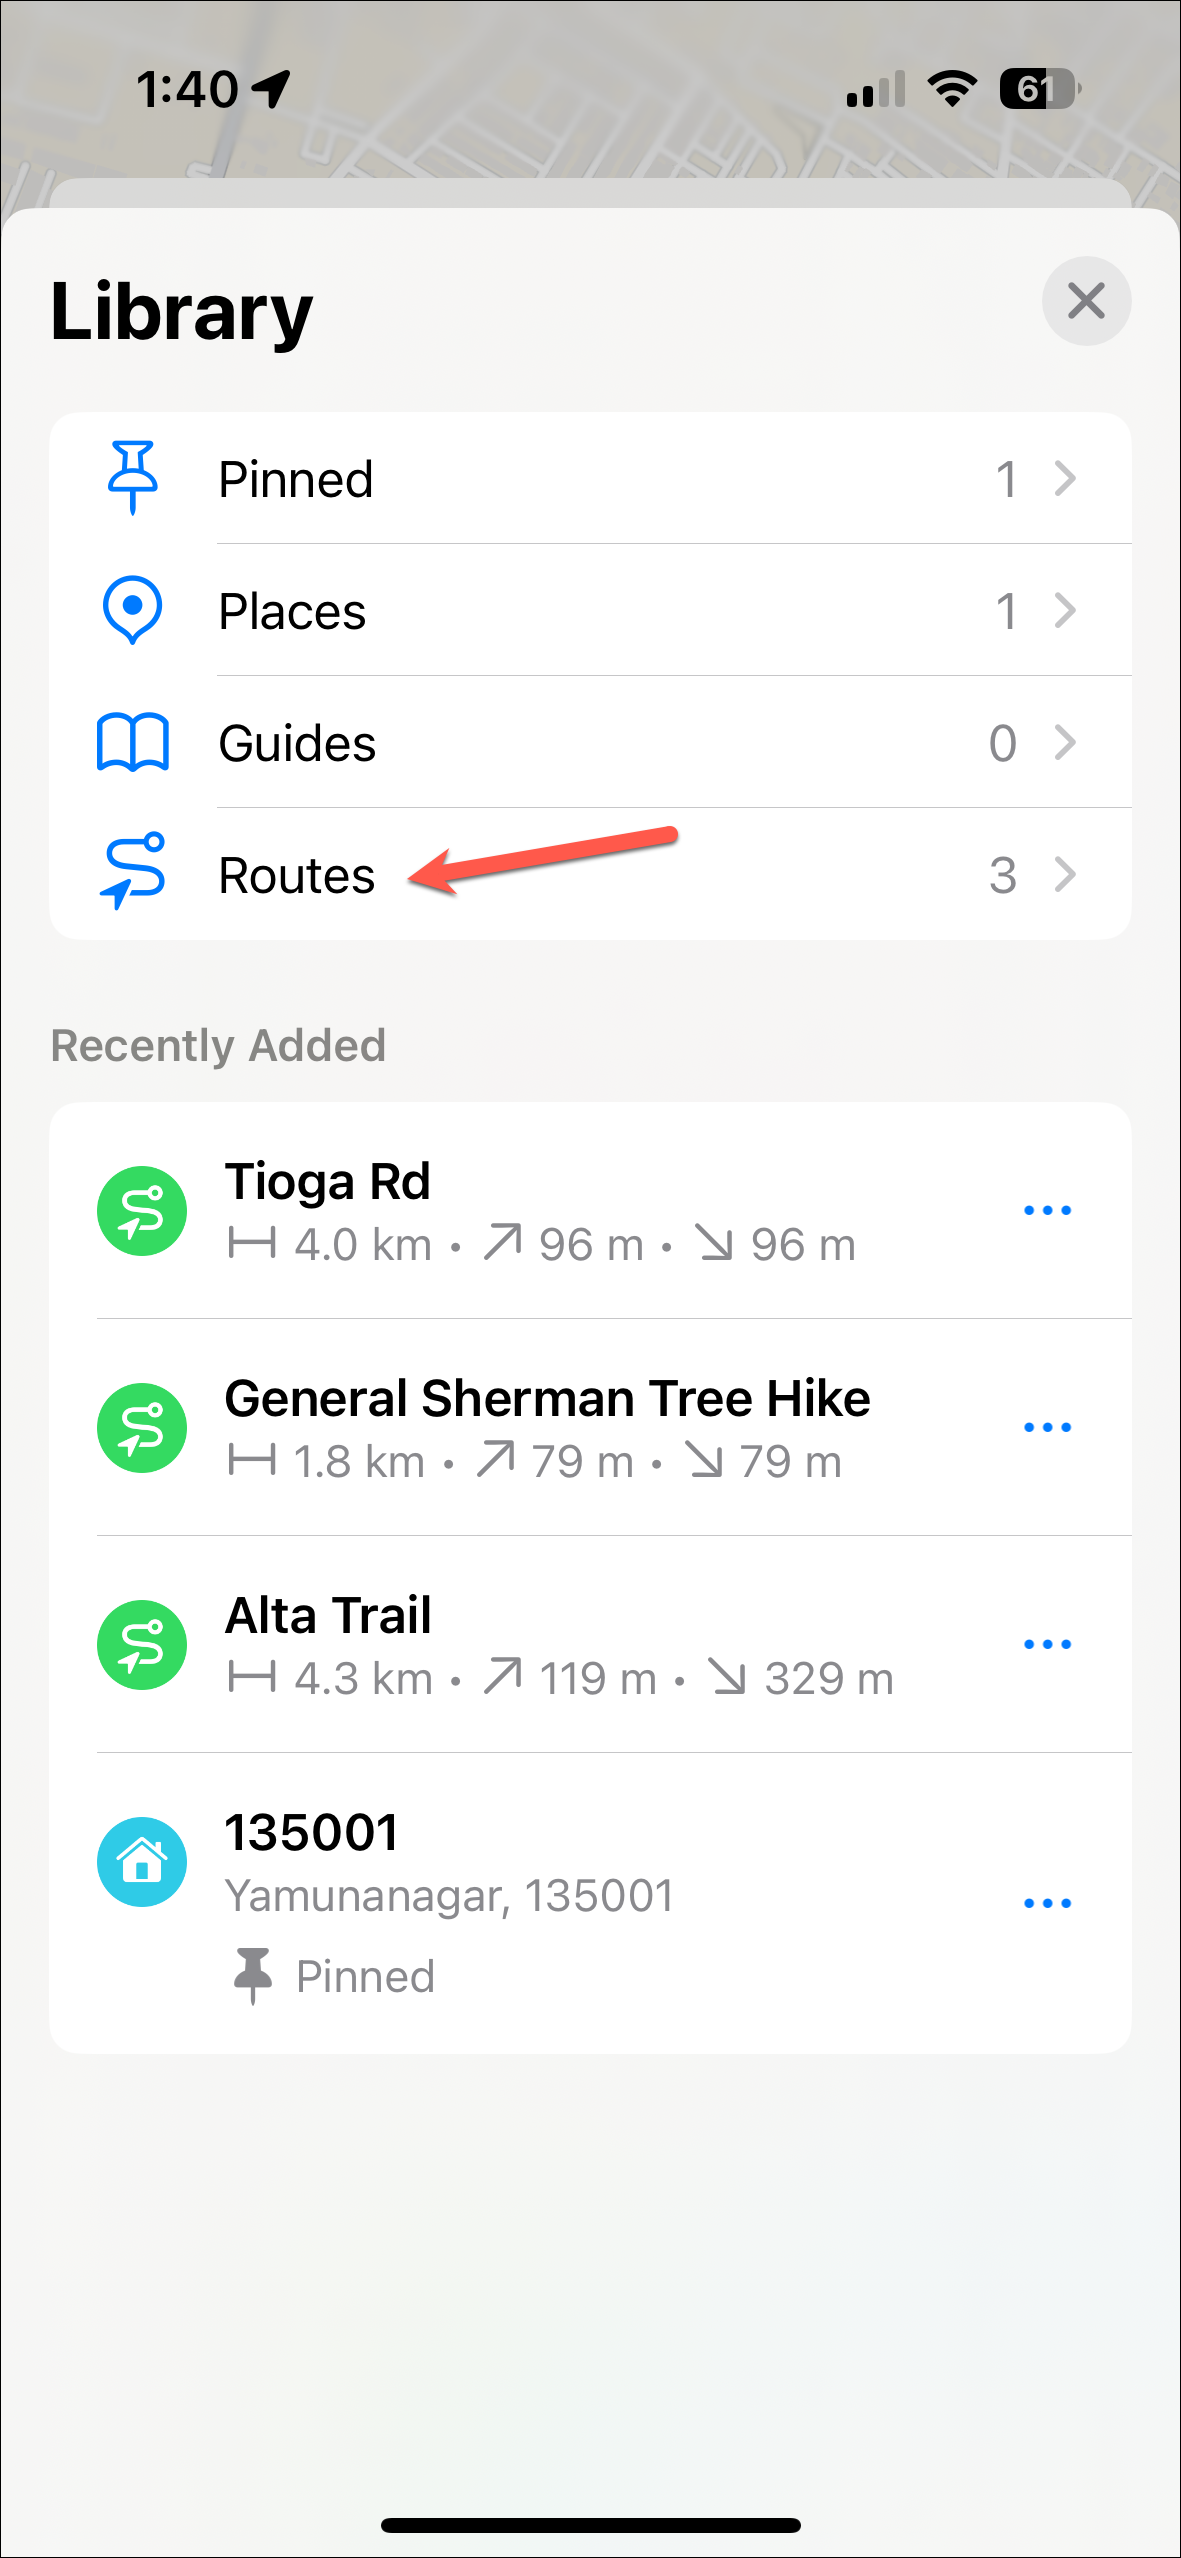
- You can access any saved routes from here. Tap on 'Create' button.
- Then, follow the same steps as above to create a custom route by choosing points on the map and saving it.

Things to Know
- With watchOS 11, you can also download your saved routes to your Apple Watch. The download will either start automatically when the watch is on the charger or you can manually start it.
- The detailed topographic trails are only available on in US and Japan at launch. But we hope that the feature will soon be expanded to more locations.

