
Survive on a Raft drops you on a tiny wooden platform in the middle of the ocean and asks a simple question: how long can you last as the waves, wildlife, and nightly enemies close in?
The loop is straightforward but punishing: pull floating crates out of the water, turn whatever you find into tools and structures, then race to grow your raft and gear before the next night hits. Each in‑game day the pressure ramps up.
Core survival systems: energy, health, and loot crates
Two status bars sit at the center of the experience: Energy and Health.
- Energy drops when you swim, fight, or perform other actions.
- If Energy hits zero, your Health starts draining until you eat or you die.
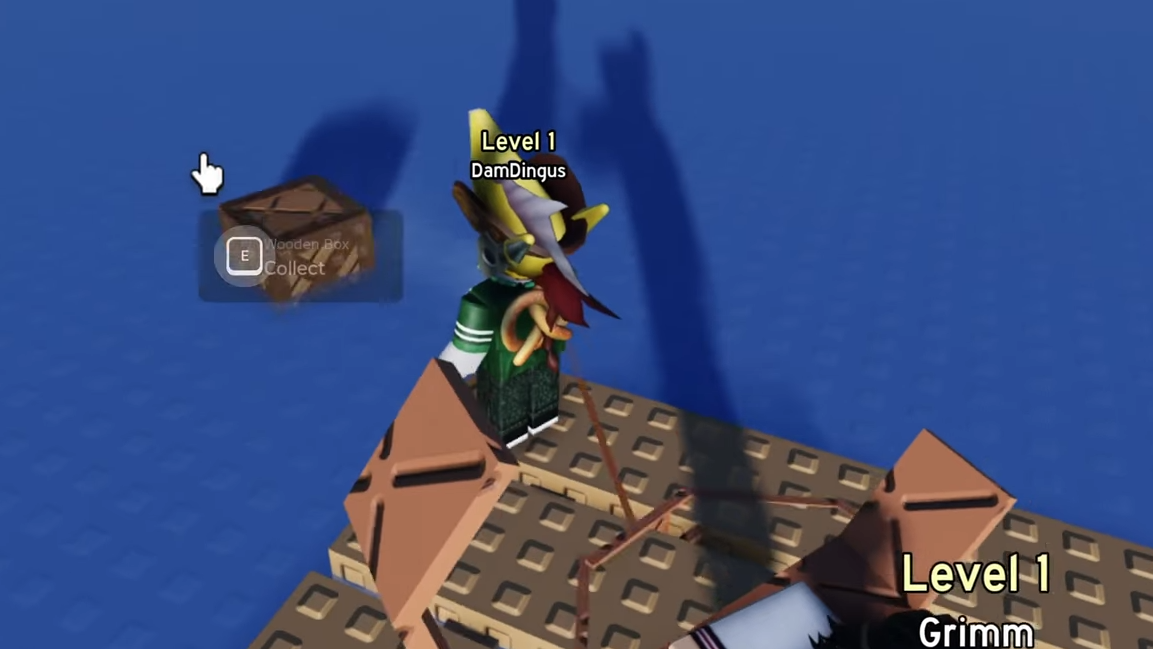
Your main early resources come from wooden boxes floating past the raft. Pulling them in is not optional; they are the foundation of your entire run.
| Element | Role | Early priorities |
|---|---|---|
| Energy bar | Gates how long you can swim, fight, and move before taking real damage. | Keep food on your hotbar and eat before Energy reaches zero. |
| Health bar | Determines how much punishment you can take from enemies or drowning. | Use food to top up between fights; avoid being in the water with no Energy. |
| Wooden boxes | Primary source of food, logs, stone, and other random items. | Hook as many as possible; open them immediately to see what you can craft. |
| Food items (apple, soda, raw chicken, etc.) | Restore Energy and usually some Health. | Save a small reserve for emergencies; never let your last food run out at night. |
Basic controls and how to access key menus
The control scheme is simple and built around quick access to building and combat.
| Action | Default input (PC) | What it does |
|---|---|---|
| Move | W, A, S, D |
Walk on the raft or on islands; swim when you are in the water. |
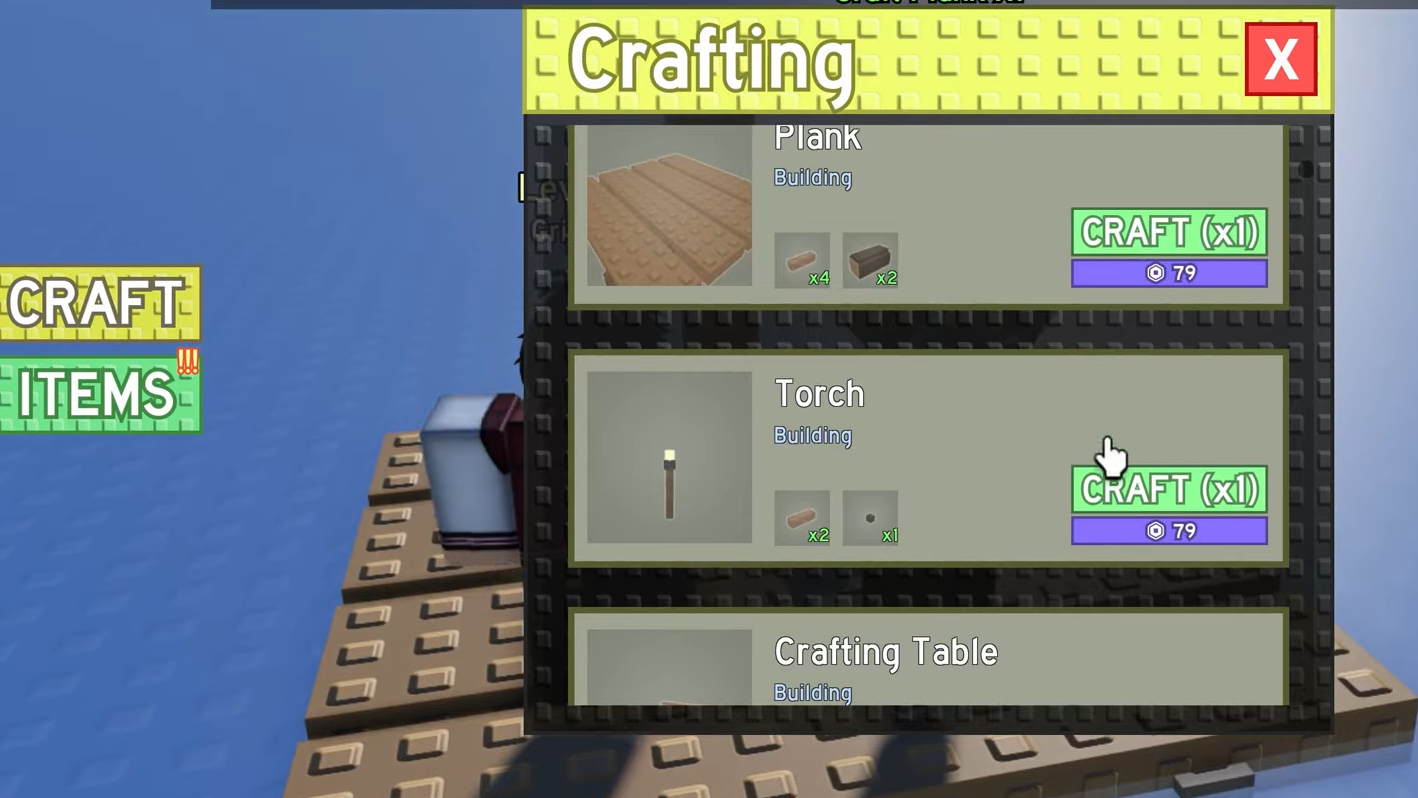
| Open Crafting | V |
Opens the list of items and structures you can build with your current materials. |
| Open Items | B |
Shows your inventory and lets you equip weapons, tools, and food. |
| Attack / Use item | Left mouse button (M1) | Hits with your weapon or uses the selected item. |
| Emotes (R15 avatar) | . (period) |
Plays character emotes; cosmetic only. |
On mobile, core actions (build, attack, interact) are exposed as touch buttons instead of keys, but the logic is the same: one button to open crafting, one to place structures, one to use items.
Early game: from bare plank to functional raft
The opening minutes decide whether you make it past the first night. Focus on three things: crates, basic weapons, and minimal infrastructure.
Prioritize crates and your first weapon
- Pull in every wooden box you can reach. Swim only if you have enough Energy and no immediate threats nearby.
- Open boxes and look for logs, stone, apples, soda, and any other food.
- Open the crafting menu with
Vand turn logs into wood, then into a basic club or similar melee weapon.
Getting a simple weapon online quickly is critical; you will use it to fend off sharks around the raft and basic enemies on islands.
Set up light, heat, and crafting
Once you can defend yourself, lay down the minimum building kit on your raft:
- Planks/floor pieces to slightly enlarge your raft and create a safer space away from the water’s edge.
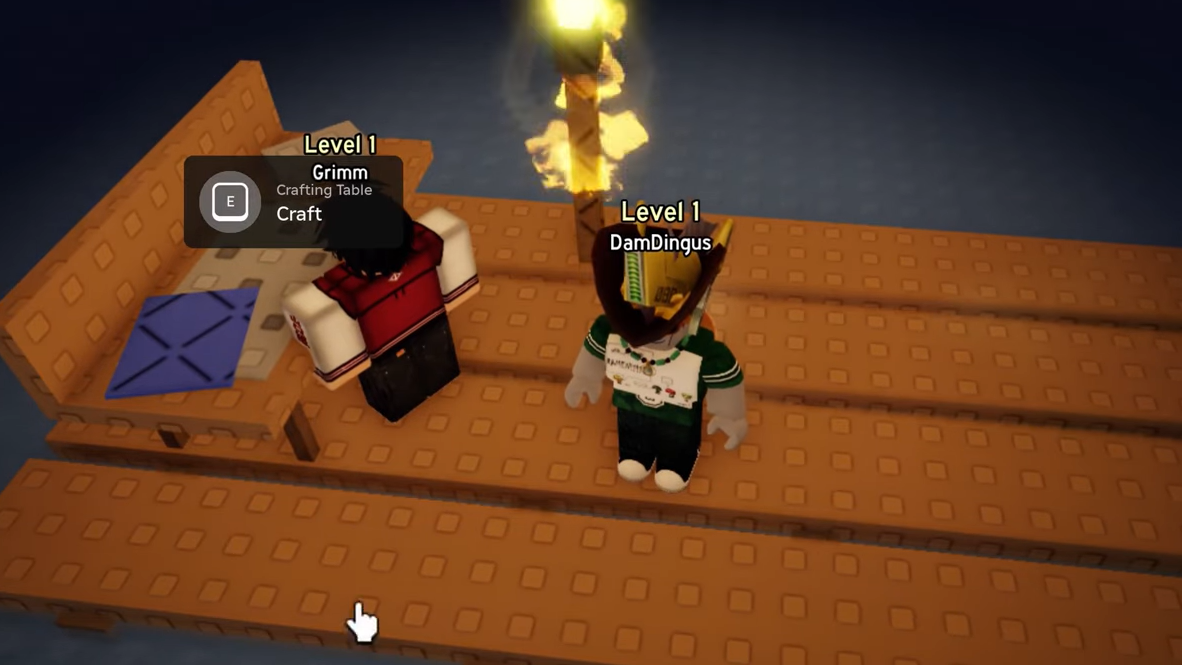
- A torch so you can see enemies at night. Darkness makes it easy to get cornered.
- A campfire to cook raw food, such as raw chicken, into safer and more effective meals.
- A crafting table, which unlocks more recipes than the default menu.
Loot catcher and item catcher: automating your resource flow
Manually chasing boxes works at first, but the ocean moves faster than you do. The game gives you tools to automate that flow.
| Structure | Function | Usage notes |
|---|---|---|
| Loot Catcher | Thrown or aimed tool used to grab distant boxes and pull them in. | Use to extend your reach early on before the raft is large. |
| Item catcher | Placed structure that passively collects fish and boxes floating past your raft. | Best mid‑game investment; reduces how often you need to micromanage crates. |
Build a Loot Catcher early, then aim for the item catcher as soon as you can upgrade your crafting table and gather the required materials. Even later in a long run, automatically gathered boxes can still contain strong loot, so these structures never stop being relevant.
Night cycle and defending the raft
Once the sun goes down, enemies begin to spawn and target both you and your raft. Each new day increases the difficulty, with more or tougher enemies.
- Lighting: Use torches or other light sources to see enemies approaching from any side of the raft.
- Space: Expand the raft footprint so you have room to move, dodge, and kite enemies instead of being forced into the water.
- Food on hotbar: Keep apples or other food selected during combat so you can quickly recover Energy and Health.
A critical mid‑game craft is the repair hammer. When enemies or sharks damage the raft, you can use it to quickly restore tiles instead of losing pieces of your base permanently.
Islands, enemies, and ores
Scattered islands are your only way to obtain higher‑tier materials such as ores. When one appears, you can sail there using a boat structure.
What to expect on beginner‑friendly islands
The easiest islands tend to be covered with basic enemies and ore nodes.
- Monkeys are common early enemies; they drop logs, which feed directly into your building plans.
- Other enemies, such as skeletons or tribesmen, may appear, but they are less efficient targets when you are just starting out.
- Chickens can provide feathers, used in future crafting paths.
Always bring a pickaxe before heading to an island; you will need it to mine ore nodes. If you arrive without one, you are wasting a visit that could have pushed your gear forward.
Ore and smelting
Island mining yields several ore types, including iron, copper, and others like platinum, coal, gold, and emerald. To use them, you must smelt them into ingots.
- Craft a furnace (or similar smelting structure) from your crafting table.
- Drop raw ore (for example, raw iron or raw copper) on the ground near the furnace tray.
- The furnace converts nearby raw ore into refined ingots over time.
These ingots unlock higher‑tier tools, weapons, and defensive items back at your crafting table, such as stone and metal tools, armor items like the life jacket, and more specialized structures.
Classes, Shells, and Roblox codes
Survive on a Raft extends beyond a simple “one character fits all” design. It includes multiple classes, such as a lumberjack archetype that gains better resource yields. To unlock classes, you spend a premium in‑game currency called Shells.
One way to earn Shells is built directly into Roblox’s promo code system.
Currently known Survive on a Raft codes
| Code | Reward | Status |
|---|---|---|
FlyingDutchman |
25 Shells | Active |
SorryForBugs |
Shells (no longer redeemable) | Expired |
25KLikes |
Shells (no longer redeemable) | Expired |
KrakenAndGardener |
Shells (no longer redeemable) | Expired |
To redeem a code, you must first like the experience and join the developer’s Roblox group, The Raft Studio, on its official group page. After that:
- Launch Survive on a Raft on Roblox.
- Click the Codes button on the left side of the screen.
- Type the code (for example,
FlyingDutchman) into the text field. - Press Enter to claim your Shells.

Crafting progression: blueprints, upgrades, and traders
The crafting table is your progression hub. Basic recipes come unlocked, but stronger items and more efficient structures require upgrades.
- Blueprints drop as loot. Use them at your crafting table to unlock new recipes.
- The crafting table itself can be upgraded to higher levels, granting access to better tools (like stone and then metal tiers) and utility structures (such as item catchers and advanced smelting).
- Occasionally, a trader may appear. Traders can offer rare items or materials in exchange for resources, helping you skip some grind if you have been diligent with crates and island trips.
Balancing upgrades is key: invest in survivability (weapons, armor, repair tools) before pushing into purely decorative or luxury items.
Food, farming, and long‑term runs
Short runs can lean heavily on apples, soda, and box‑sourced food, but longer sessions demand a more stable supply.
- Keep food equipped at all times to quickly refill Energy and Health during fights or long swims.
- Plant Seeds in crop plots to grow your own food. This smooths out dry spells when crates are stingy, or you spend extended periods on dangerous islands.
- Use fishing to add another layer to your food economy, catching fish while your item catchers and crops work in the background.
Once farming and fishing are online, the focus shifts from “will I starve tonight” to “how far can I push into tougher islands and late‑game enemies.”
Survive on a Raft works because all of these systems lock tightly together: crates feed crafting, crafting unlocks tools, tools open islands, islands power better crafting, and every loop ratchets the difficulty a bit higher. When it all clicks—the item catchers are full, the crops are growing, the furnace is smelting ore while you and your friends fend off a shark at sunrise—it feels less like a throwaway Roblox mini‑game and more like a compact, shared survival sandbox that can keep pulling you back out to sea.