
Audio output randomly switching in Windows 11 disrupts calls, music, and even professional workflows—especially when connecting or disconnecting monitors, USB devices, or peripherals with built-in audio. Some users report that even after setting their preferred audio device as default, Windows 11 overrides this choice, often after a reboot or when a new device is detected. This behavior can cause volume spikes, lost settings, and confusion in applications that rely on consistent audio routing.
Use Task Scheduler and SoundVolumeView to Lock Default Audio Device
Automating the process of resetting your preferred audio device every time Windows detects a new one offers the most reliable solution. This method uses a free utility and Windows’ built-in Task Scheduler to force Windows 11 to stick with your chosen device.
Step 1: Download SoundVolumeView from NirSoft and extract SoundVolumeView.exe to a folder, such as C:\Temp.
Step 2: Open SoundVolumeView.exe and find your preferred audio output device in the list. Double-click it to view its properties, then copy the value from the “Command-Line Friendly ID” field. This unique identifier will be used to set the default device via command line.
Step 3: Launch Windows Event Viewer (eventvwr.msc). Navigate to Applications and Services Logs > Microsoft > Windows > DriverFrameworks-UserMode. Right-click “Operational” and select “Enable Log.” This will allow the system to record device connection events.

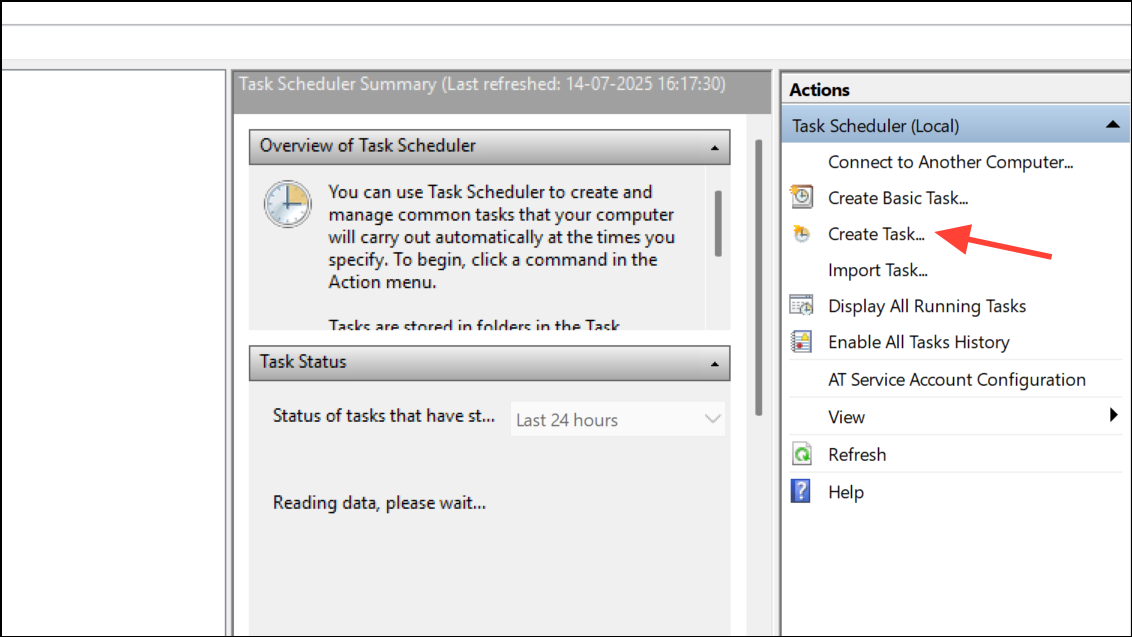
Step 4: Download the SetDefaultDeviceOnConnection.xml task file, or create a new task in Task Scheduler that triggers on device connection events. In the Actions tab for the task, set the program to run as C:\Temp\SoundVolumeView.exe with arguments /SetDefault [YourDeviceID], replacing [YourDeviceID] with the value you copied earlier.
Step 5: Save the task. Now, whenever Windows detects a new audio device, the task will automatically reset your preferred device as the default, preventing unwanted switching.
This method works in most cases, though some edge cases (such as certain software or VR headsets) may bypass the trigger. You can adjust or disable the task at any time through Task Scheduler.
Disable Unwanted Audio Devices
Disabling audio devices you do not use prevents Windows from switching to them automatically, especially for HDMI or DisplayPort-connected monitors and controllers with built-in audio.
Step 1: Plug in the device that Windows keeps switching to.
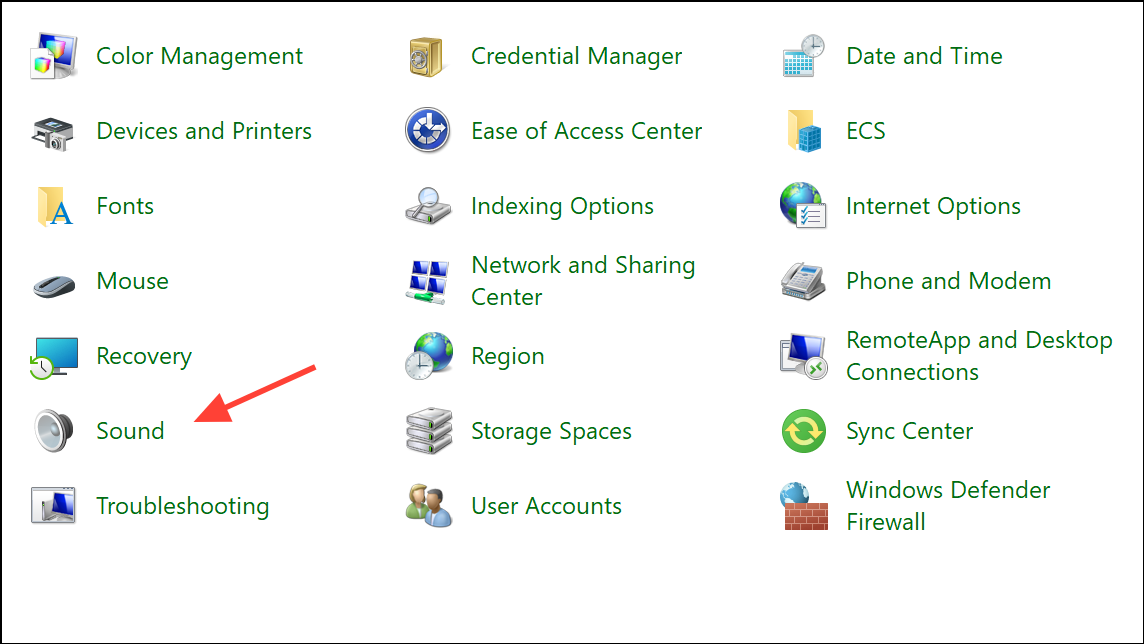
Step 2: Open Control Panel and navigate to Hardware and Sound > Sound. Go to the Playback tab.
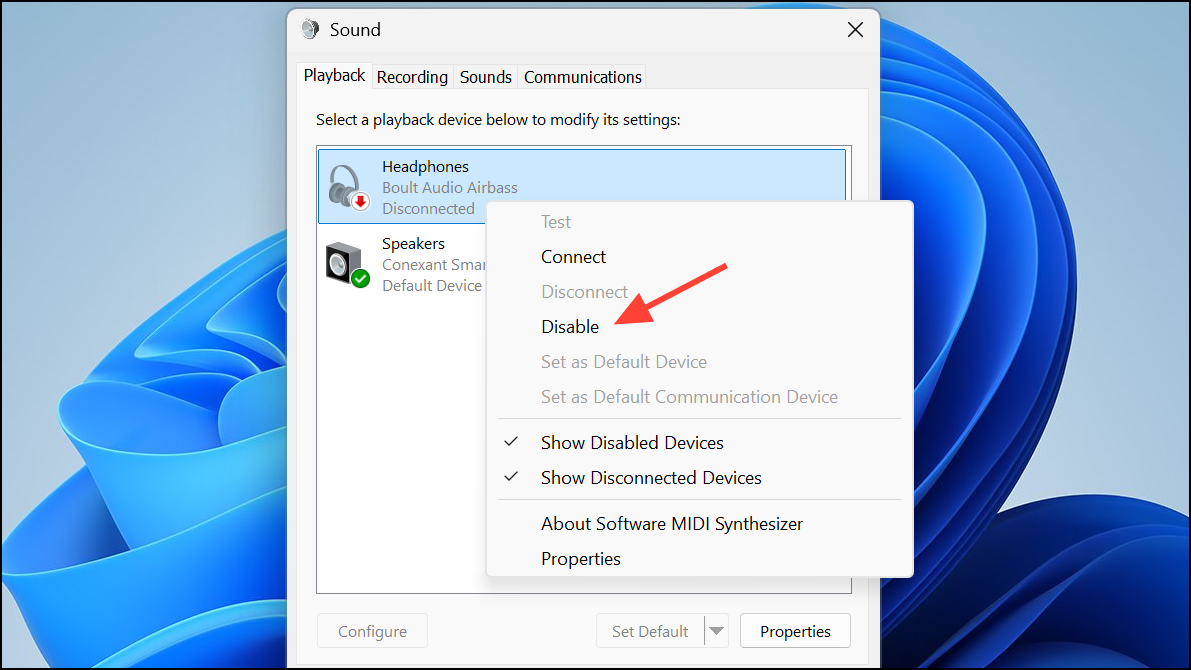
Step 3: Right-click the unwanted device and select “Disable.” Repeat in the Recording tab if necessary.
Disabled devices will not be set as default, even if reconnected. To use them again, right-click and select “Enable.”
Set Default Audio Device in Windows 11 Settings
Manually setting your preferred device as default is the most basic approach, but Windows may override this when new hardware is detected.
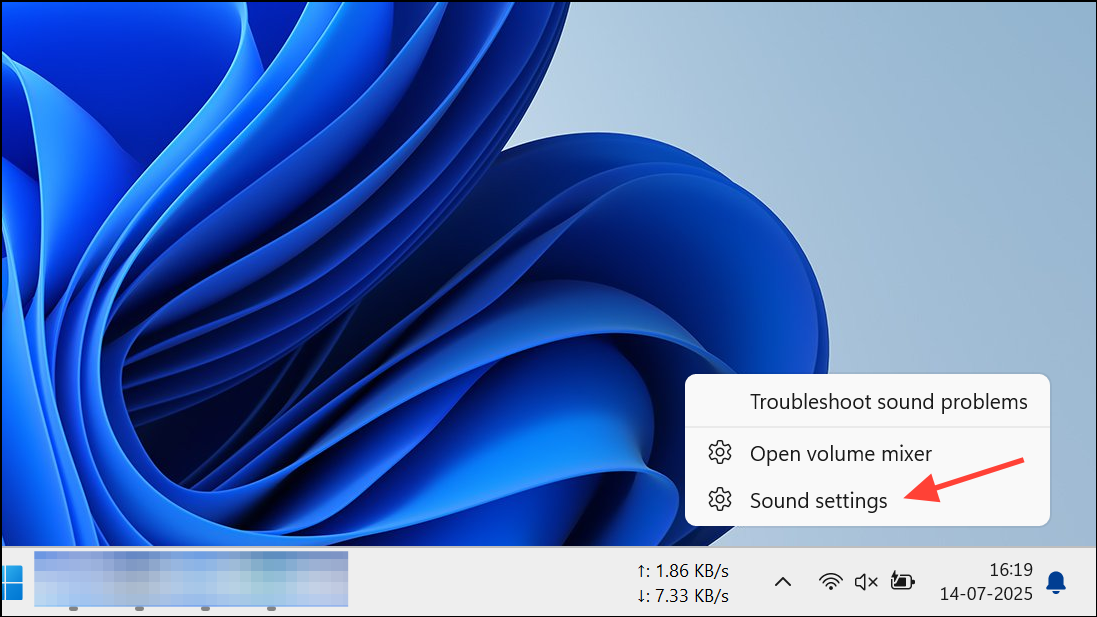
Step 1: Right-click the speaker icon in the taskbar and select Open Sound Settings.
Step 2: Under “Output,” click your preferred audio device.
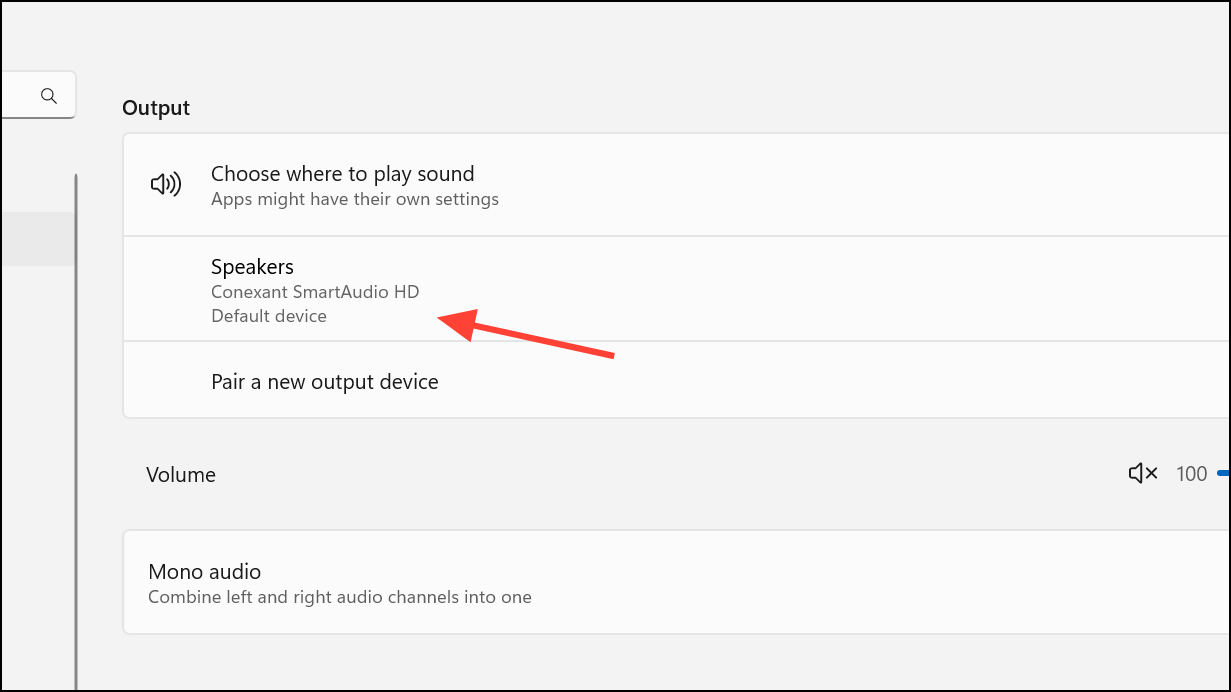
Step 3: Expand the dropdown for “Set as default sound device” and choose “Use as default for audio.”
While this sets your default device, it may not persist after connecting new audio hardware. Combine this with disabling unwanted devices for better results.
Disable Automatic Device Switching via Registry (Advanced)
Advanced users can edit the Windows Registry to prevent specific devices from being set as default automatically. This approach is risky—incorrect changes may cause system issues. Always back up your registry before making changes.
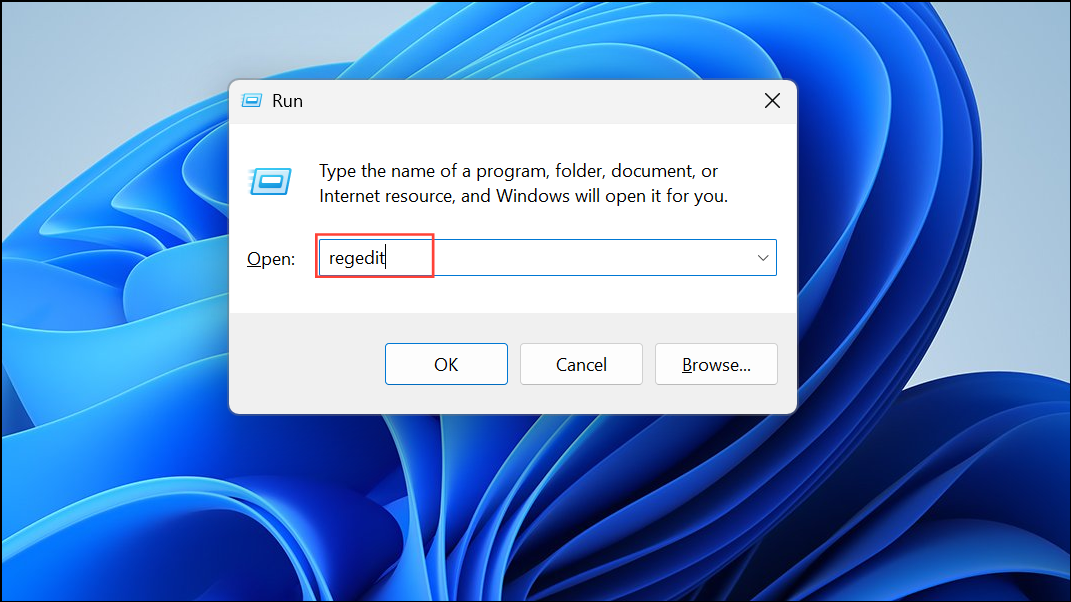
Step 1: Press Win + R, type regedit, and press Enter to open the Registry Editor.
Step 2: Navigate to:
HKEY_LOCAL_MACHINE\SOFTWARE\Microsoft\Windows\CurrentVersion\MMDevices\Audio\Render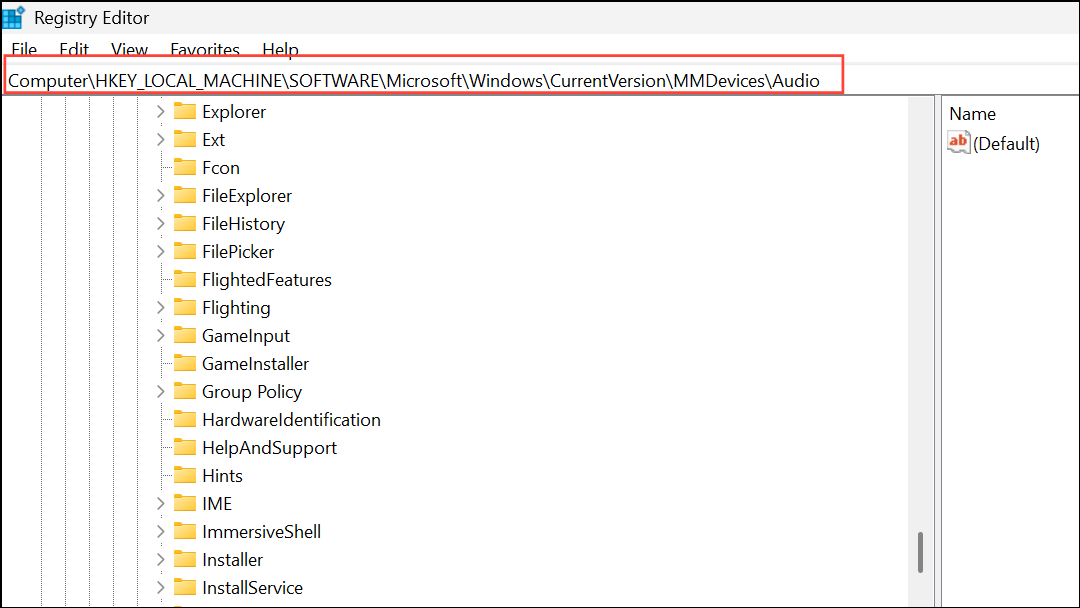
Step 3: Find the subkey for the device you want to prevent from becoming default. Devices are listed by GUIDs. You can identify them by checking the “FriendlyName” property in each subkey.
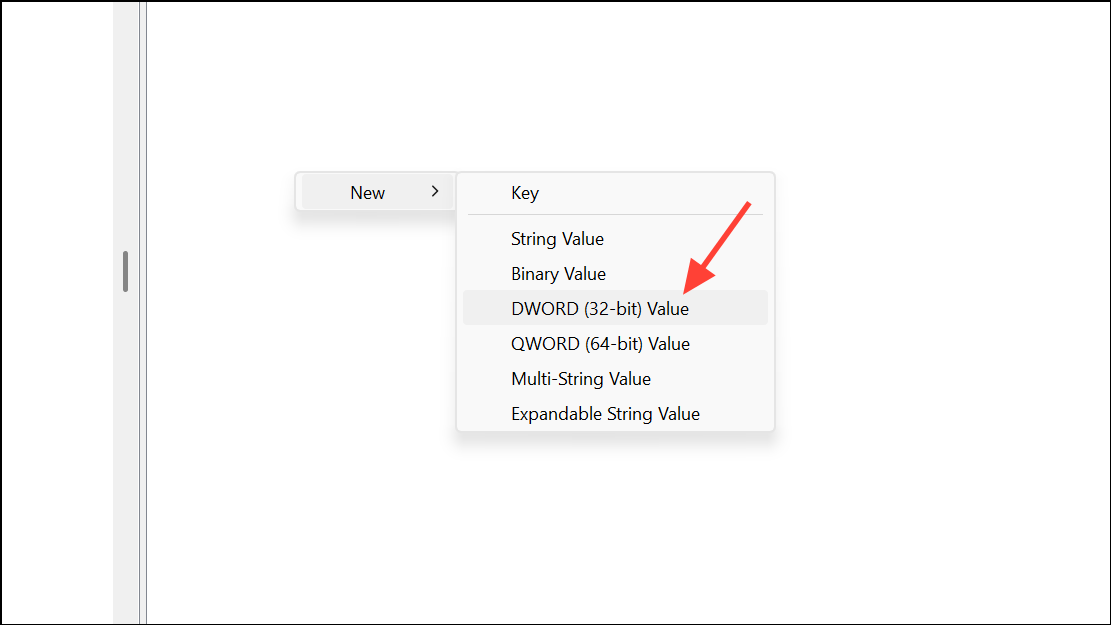
Step 4: In the device’s subkey, create a new DWORD (32-bit) value named Role and set its value to 0.
This may stop Windows from automatically setting that device as default. If you’re unsure, skip this method or consult with an IT professional.
Update or Roll Back Audio Drivers
Outdated or buggy drivers can trigger unwanted audio switching. Updating or reverting drivers often restores stable audio device behavior.
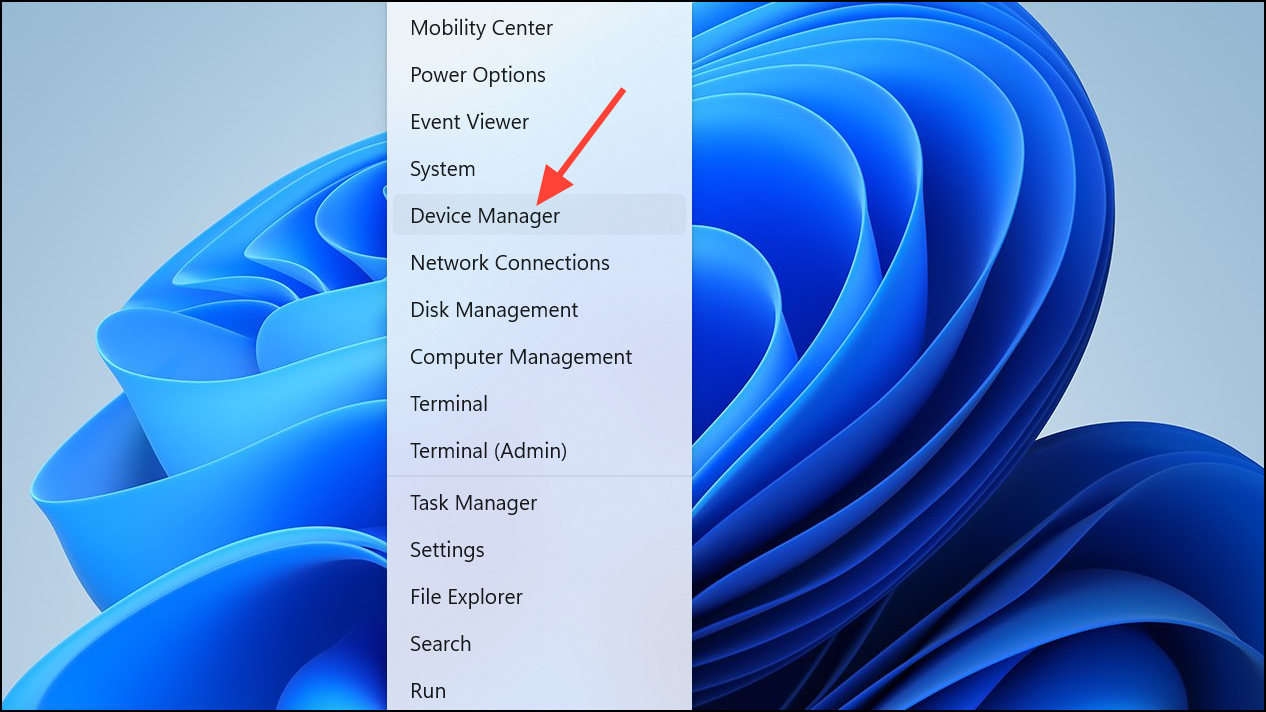
Step 1: Press Win + X and choose “Device Manager.”
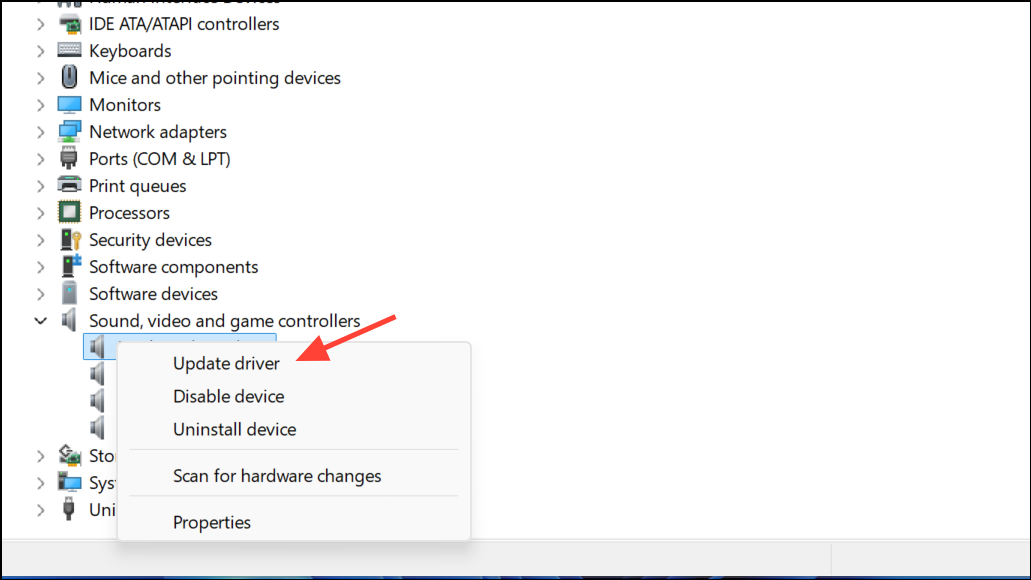
Step 2: Expand “Sound, video and game controllers.” Right-click your main audio device and select “Update driver.”
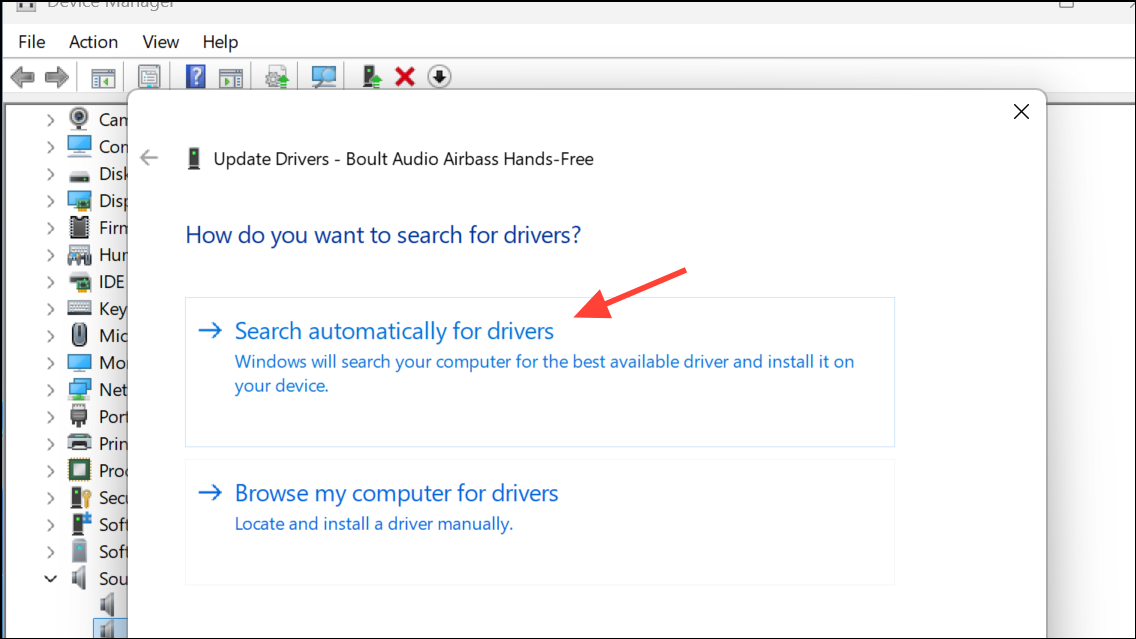
Step 3: Choose “Search automatically for drivers.” If the issue began after an update, select “Properties,” go to the “Driver” tab, and click “Roll Back Driver.”
Restart your computer and check if the behavior improves.
Run Audio Troubleshooter
Windows 11’s built-in troubleshooter can address misconfigurations that cause audio switching.
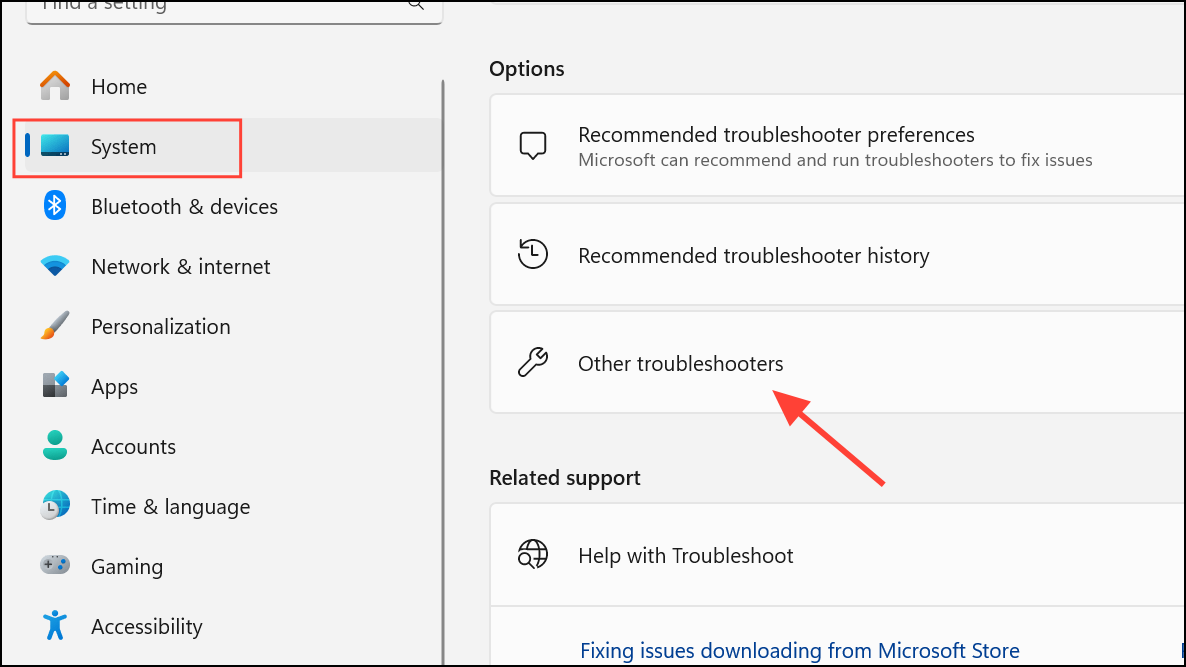
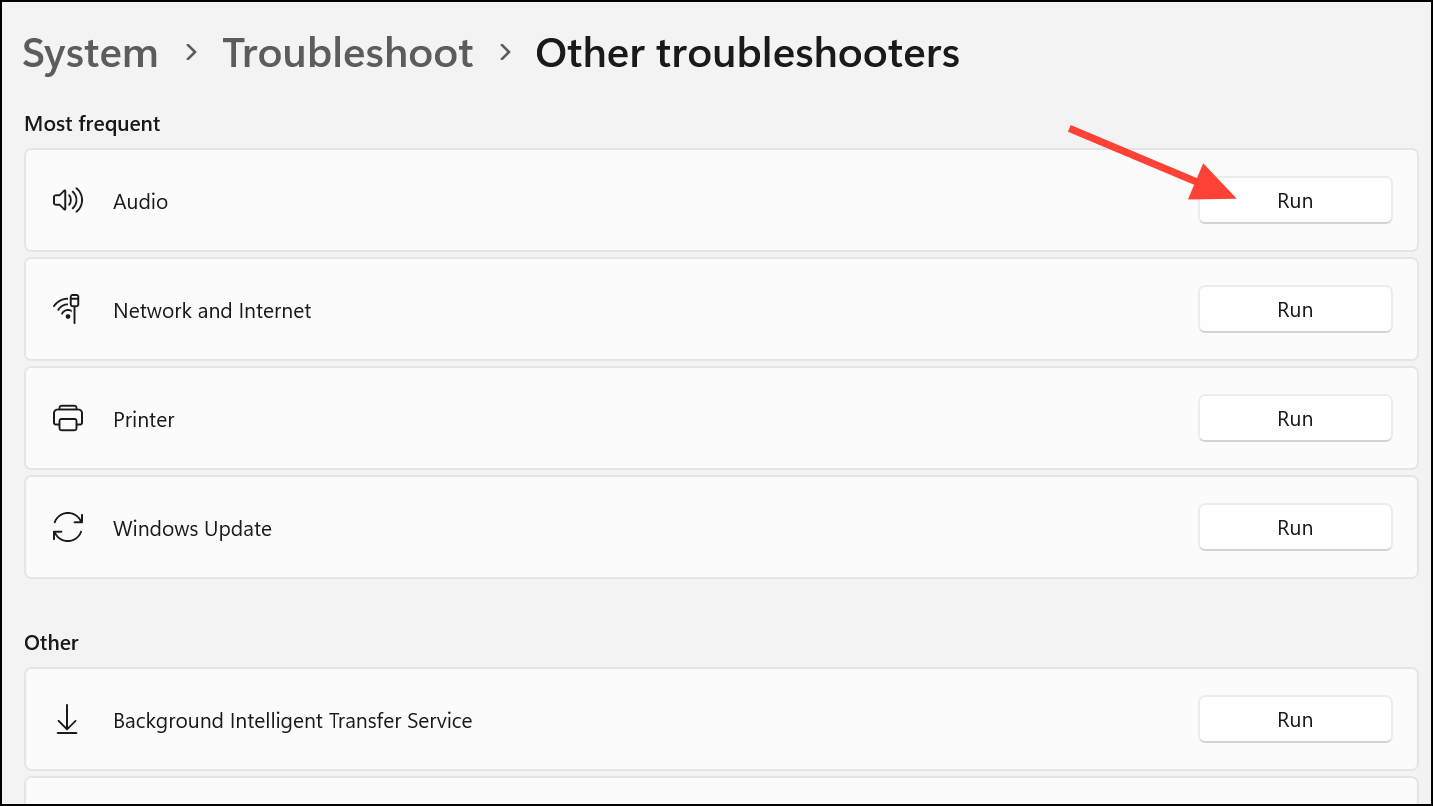
Step 1: Open Settings (Win + I), then go to System > Troubleshoot > Other troubleshooters.
Step 2: Click “Run” next to “Audio” and follow prompts to select your preferred device and apply fixes.
This process may resolve common issues, especially after hardware changes or updates.
Locking your audio output device in Windows 11 requires a mix of automation, disabling unused devices, and occasionally advanced tweaks. Combining these methods keeps your audio stable and stops Windows from making unwanted changes.