
Printing from Outlook provides a reliable way to keep physical records of important emails, schedules, and contact information. Whether you need a paper copy for meetings, backups, or reference away from your devices, Outlook offers options to print emails, calendars, and contacts directly from both its desktop applications and web interface.
Printing Outlook Emails
Step 1: Open Outlook and select the email message you want to print. For desktop versions, click on the message to highlight it. In the web version, open the message from your inbox.
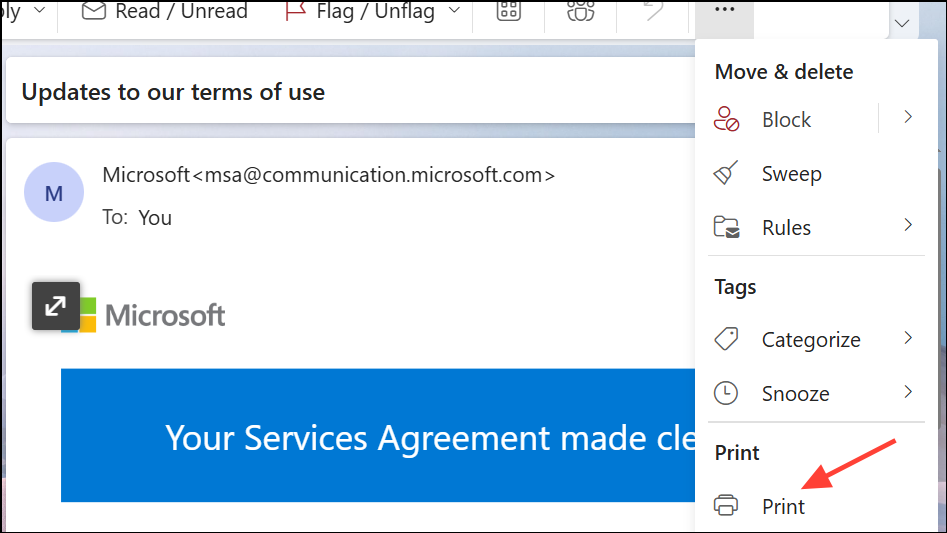
Step 2: On the desktop app, click the three dots on the top right and choose Print. In the web version, look for the Print icon or option, typically located at the top of the message window.
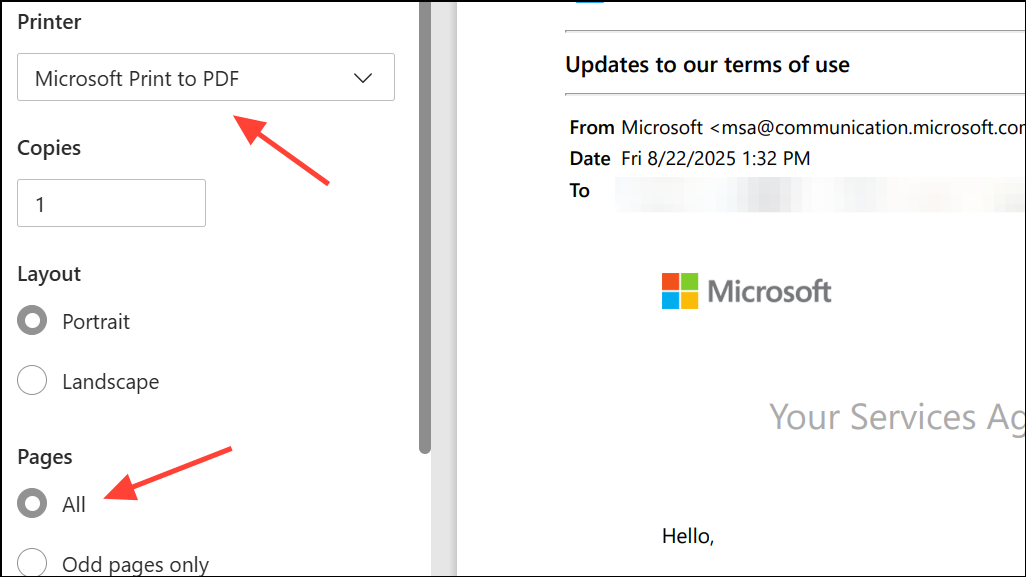
Step 3: In the print dialog box, select your preferred printer, layout, and specify the page range if needed. You can also choose to print attachments or adjust print style options, such as memo or table style, depending on the message format.
Step 4: Review the print preview to ensure the output matches your expectations, then click Print to produce the document.
Printing Outlook Calendars
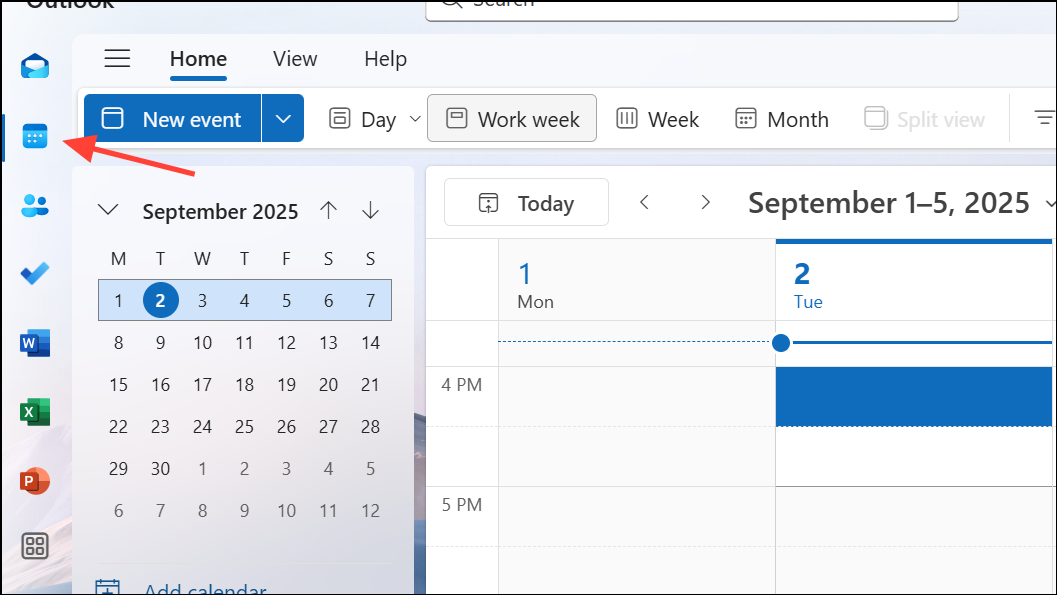
Step 1: Switch to the calendar view in Outlook by clicking the Calendar icon on the top left. On the desktop app, click the calendar icon in the navigation pane. In the web version, access the calendar from the sidebar or app launcher.
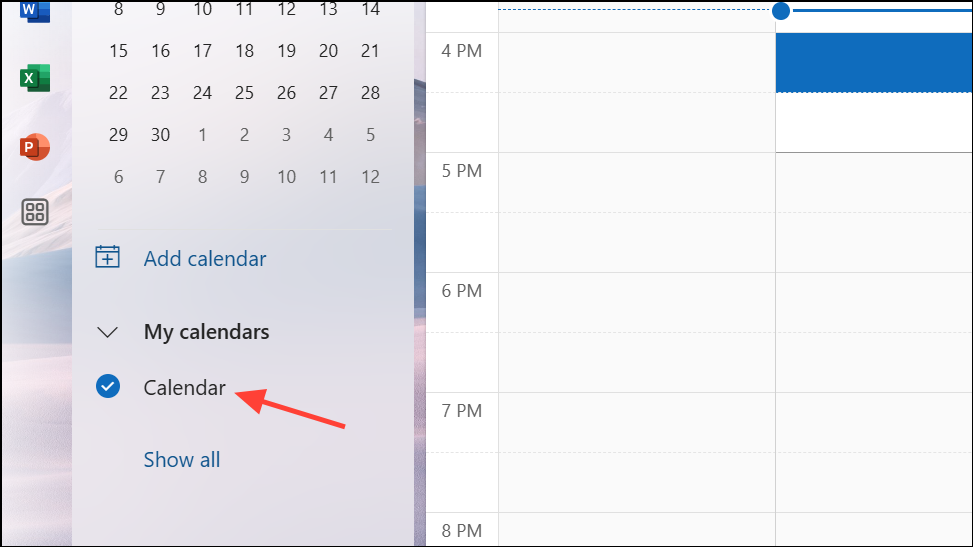
Step 2: Select the specific calendar you want to print. If you have multiple calendars, make sure only the desired one is checked or visible.
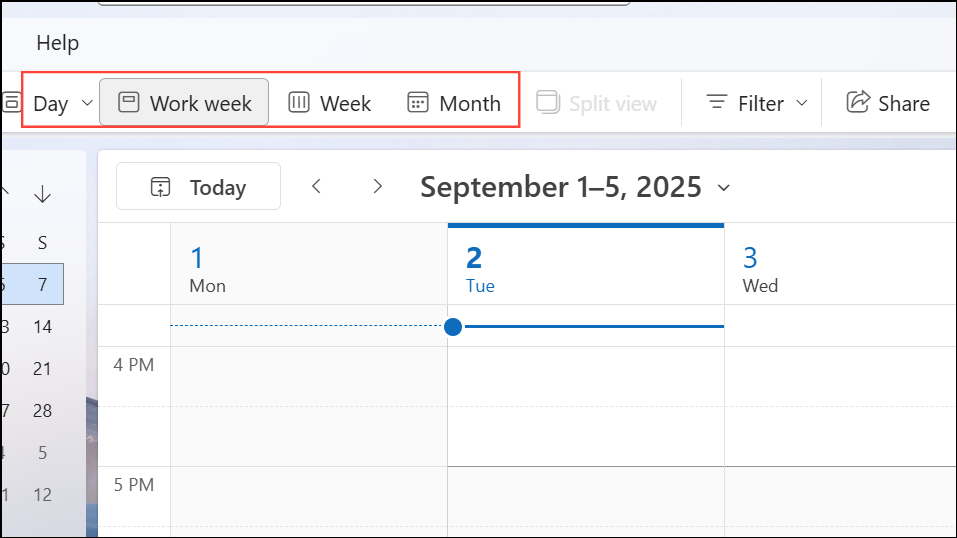
Step 3: Choose the calendar view that best fits your needs—such as Day, Work Week, Week, or Month. The selected view determines the layout and detail level of your printout.
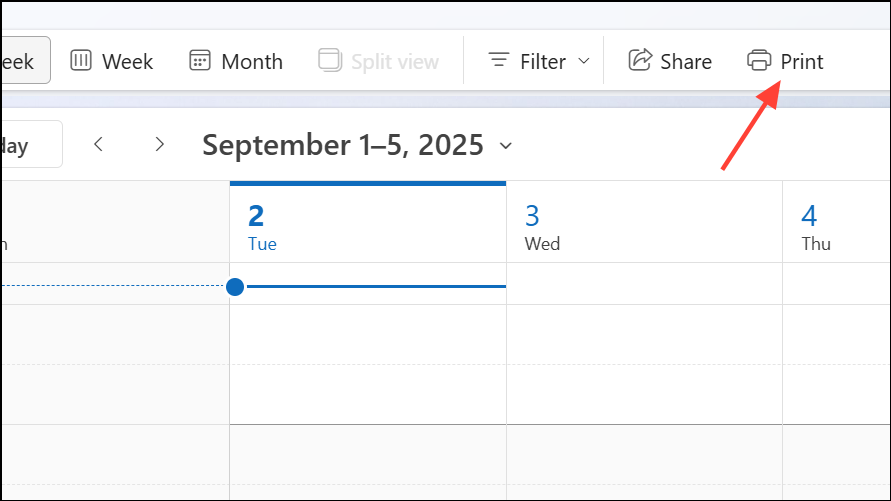
Step 4: Click the Print button at the top of the calendar, or select the Print button in the web version. A print preview window will appear, allowing you to adjust settings like date range, layout style (e.g., weekly agenda or calendar details), and whether to include a mini-month or a detailed agenda.
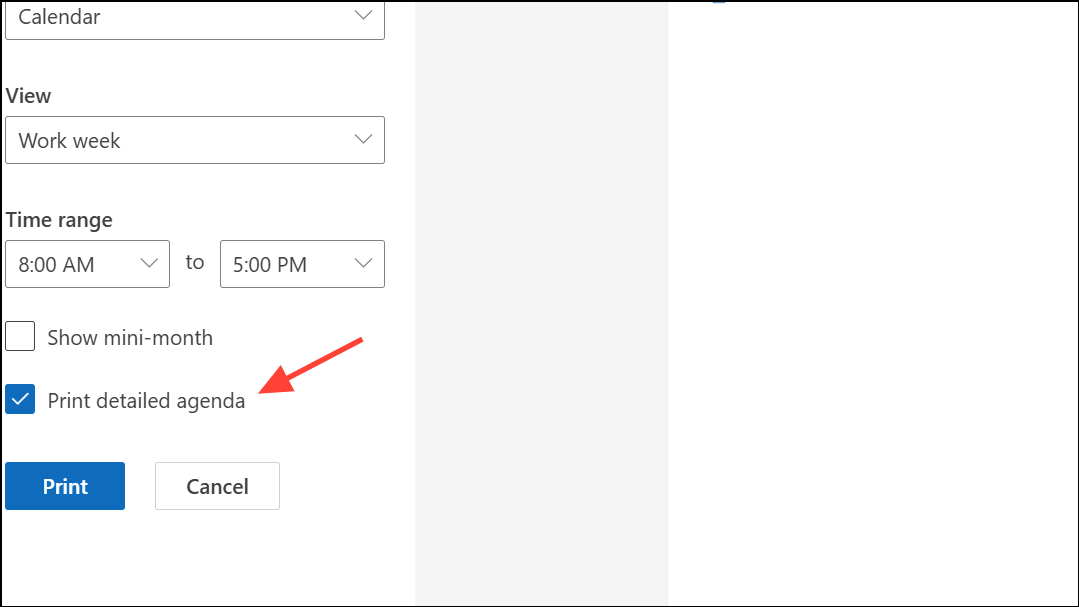
Step 5: If you need to print a calendar with full details, select a detailed select the Print detailed agenda option. By default, it will only print the regular calendar view.
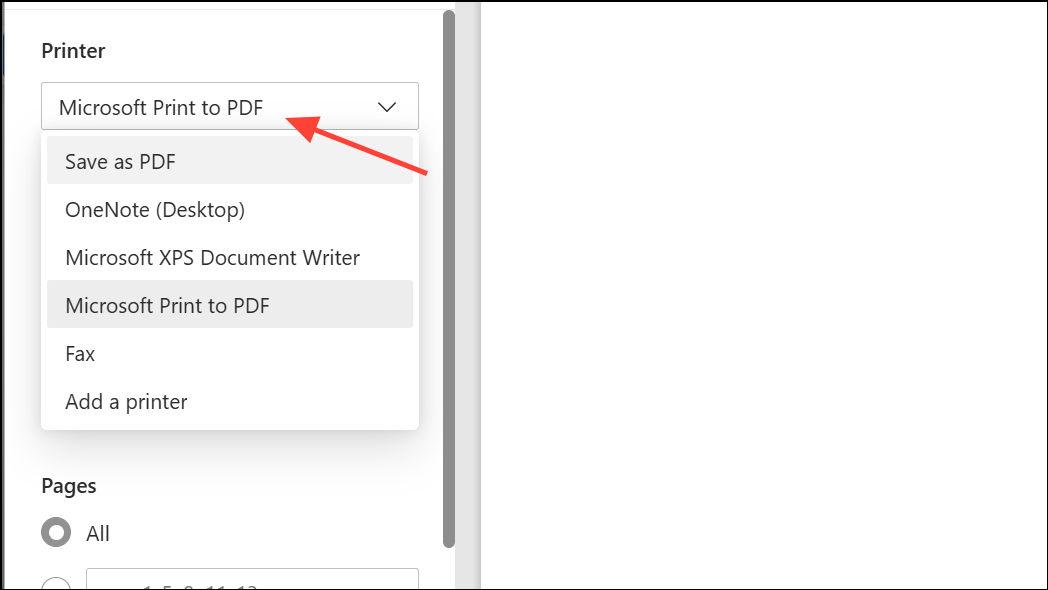
Step 6: Set your printer, number of copies, and any additional options, then click Print. If you prefer a digital copy, choose Microsoft Print to PDF as your printer to save the calendar as a PDF file.
Step 7: For web-based Outlook, you may also specify a custom date range and whether to print the detailed agenda. After setting your preferences, confirm by clicking Print in the dialog window.
Printing Outlook Contacts
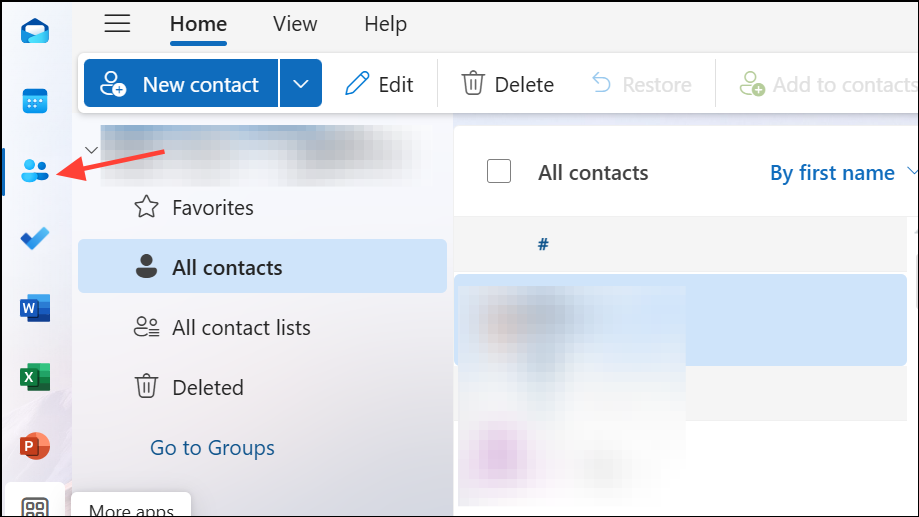
Step 1: Navigate to the People or Contacts section in Outlook. In the desktop app, this is available via the icon on the left side. In the web version, access it from the app grid or sidebar.
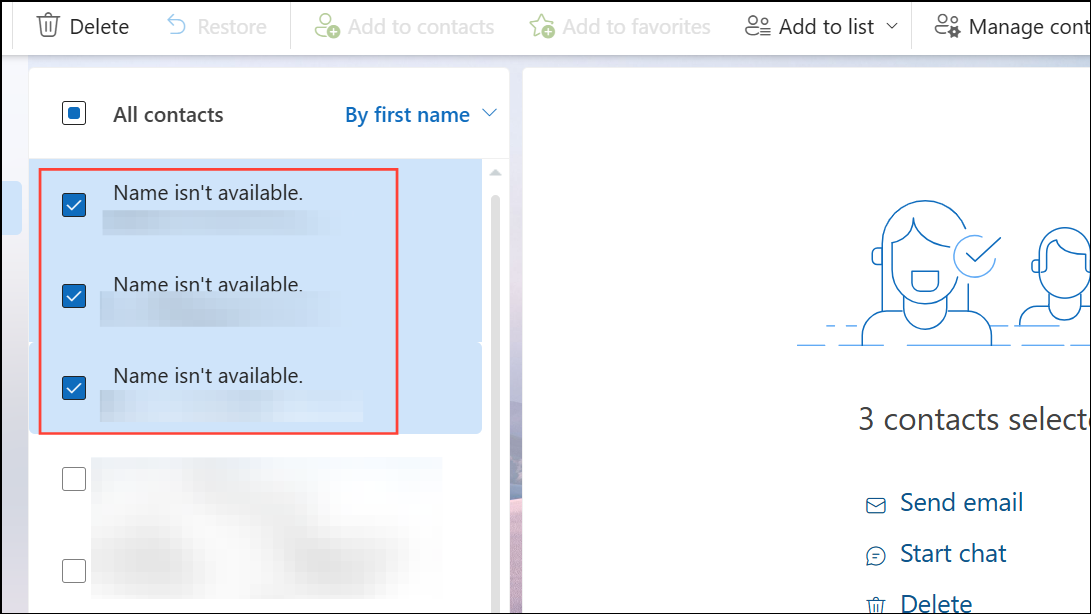
Step 2: Select the contact or group of contacts you wish to print. To print only a subset of your contacts, use the search or filter tools to display just those entries.
Step 3: Open the contact if you want to print a single entry, or keep the list view to print multiple contacts. Click File > Print in the desktop app, or use the Print option in the web version.
Step 4: In the print dialog, preview your contact information. Adjust print style, font, paper size, and header/footer settings as needed. For more detailed customization, use the Print Options or Define Styles features to select which fields and formatting to include.
Step 5: Specify the page range if you don’t want to print all listed contacts. Once satisfied with the preview and settings, select your printer and click Print.
Printing Pictures from Outlook Emails
Currently, Outlook does not allow direct printing of images embedded in the body of an email. To print a picture, right-click the image and select Save image as to download it to your computer. Then, open the file in an image viewer or editor and use the standard print function. Alternatively, copy the image (Ctrl+C), paste it into an application like Paint (Ctrl+V), and print from there. If the image is sent as an attachment, download it and print using your preferred image software.
Tips and Troubleshooting
- If print preview does not appear or is hidden behind the main Outlook window, minimize Outlook to bring the preview to the front.
- For issues with printer selection or output, refer to your printer manufacturer's support site or manual.
- Use
Ctrl+Pas a shortcut to open the print dialog in most Outlook interfaces. - If you need to print contacts or calendars from Outlook.com or Outlook on the web, follow the same general steps: select the item, choose Print, adjust settings, and confirm.
Printing from Outlook streamlines the process of keeping physical records of your communications, schedules, and contacts, making it easier to stay organized and prepared for offline tasks.