
Black bars or borders around your screen on Windows 11 often signal a mismatch between your display’s native resolution and the current settings, outdated graphics drivers, or incorrect monitor configurations. This issue can make your desktop look smaller than usual, leave unused space around the edges, and disrupt your workflow, especially after connecting to a new monitor or TV, changing cables, or updating system software. Addressing this problem involves checking both software and hardware settings to ensure your screen uses its full display area.
Adjust Display Resolution and Scaling in Windows 11
Step 1: Right-click anywhere on your desktop and select Display settings. This opens the main display configuration panel.

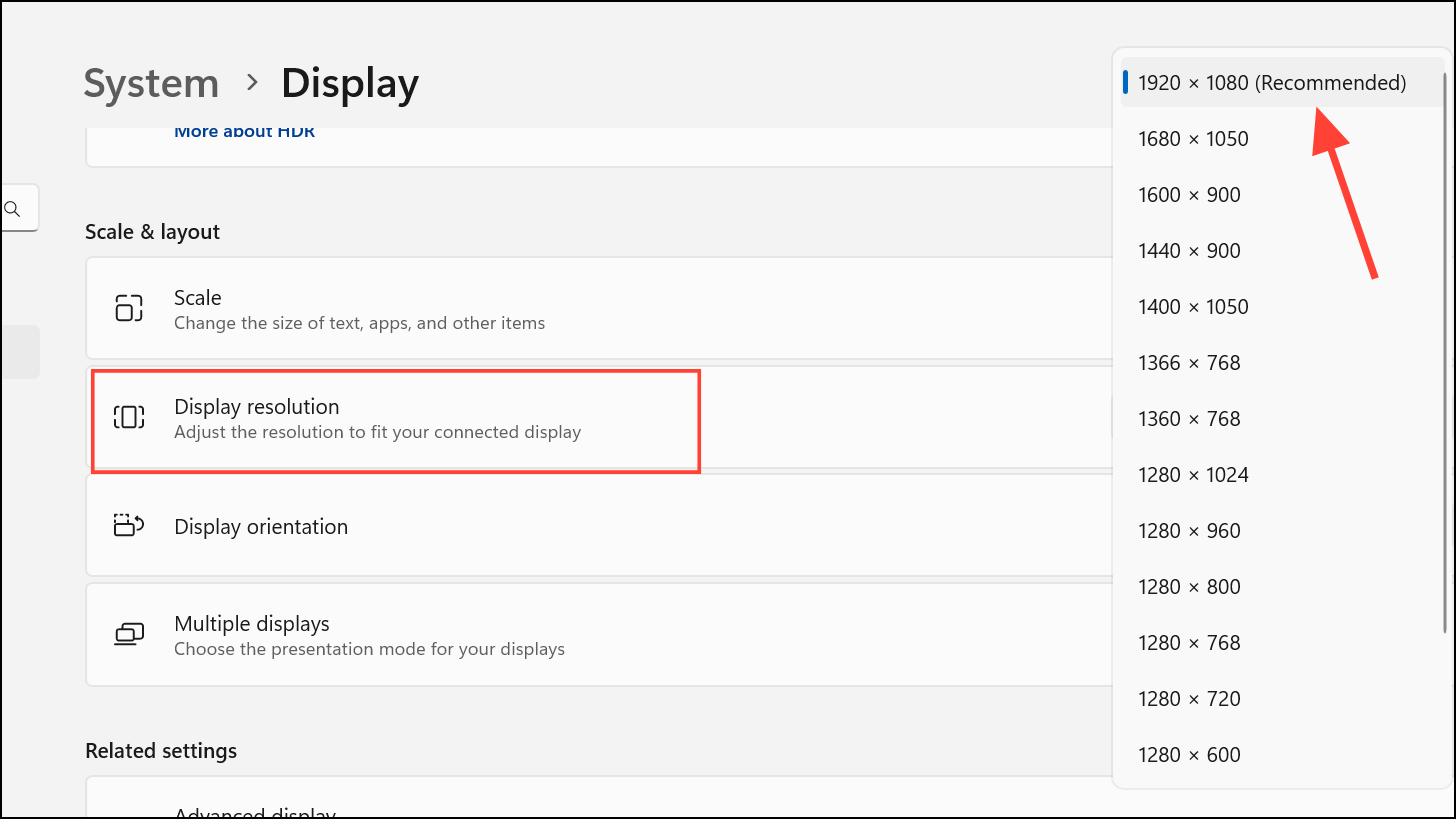
Step 2: In the Scale & layout section, find the Display resolution dropdown. Select the resolution marked as (Recommended) for your monitor. Using the recommended setting ensures Windows outputs a signal that matches your display’s native pixel grid, filling the entire screen without borders.
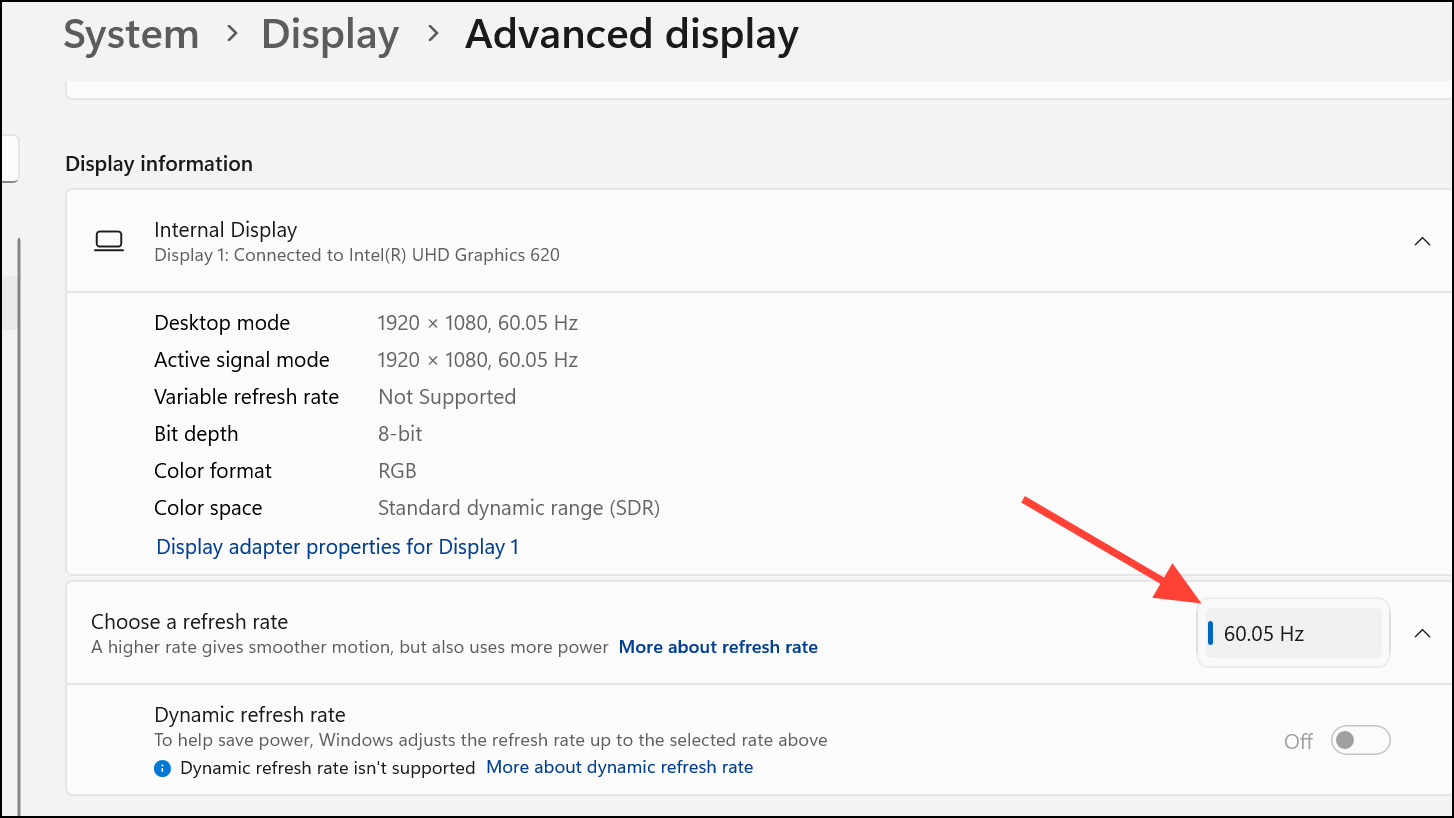
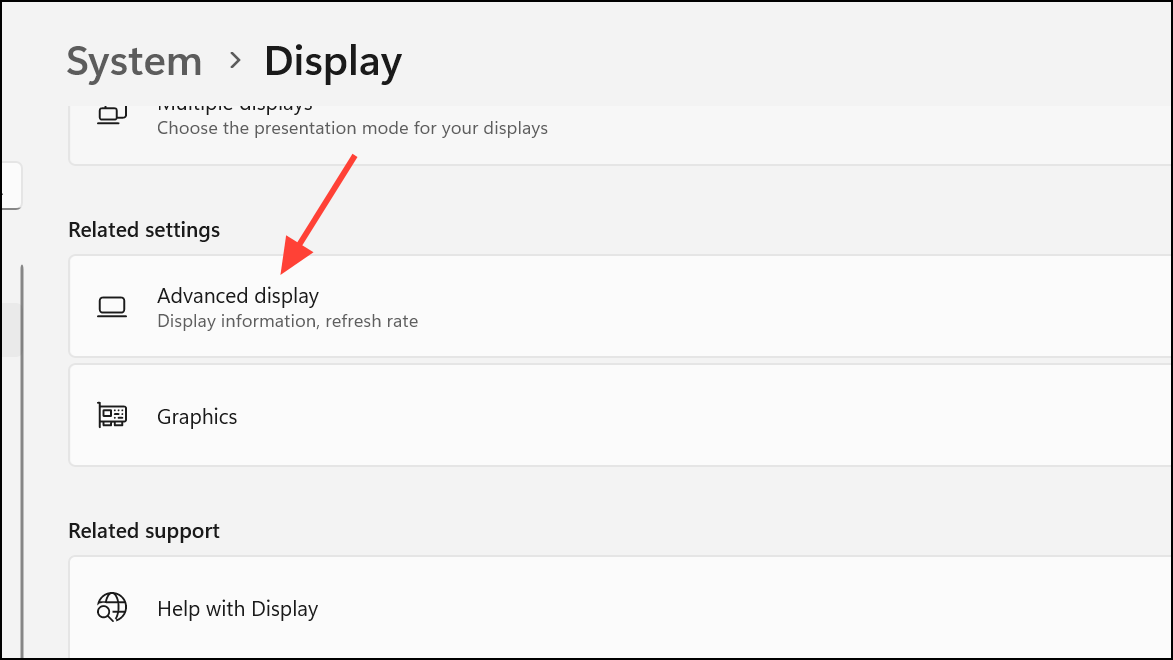
Step 3: Click Advanced display settings below the resolution menu. Here, check that the Refresh Rate matches your monitor’s supported rate (commonly 60Hz, 120Hz, or higher for gaming monitors). Mismatched refresh rates can sometimes cause display anomalies, including black borders.
Step 4: If you’re using multiple monitors or a TV, make sure each display is set to its native resolution and refresh rate. Inconsistent settings between displays can force Windows to use a common denominator, resulting in black bars.
Update Graphics Drivers
Outdated or corrupted graphics drivers can prevent Windows from communicating properly with your monitor, leading to improper scaling or resolution issues.
Step 1: Right-click the Start button and select Device Manager.

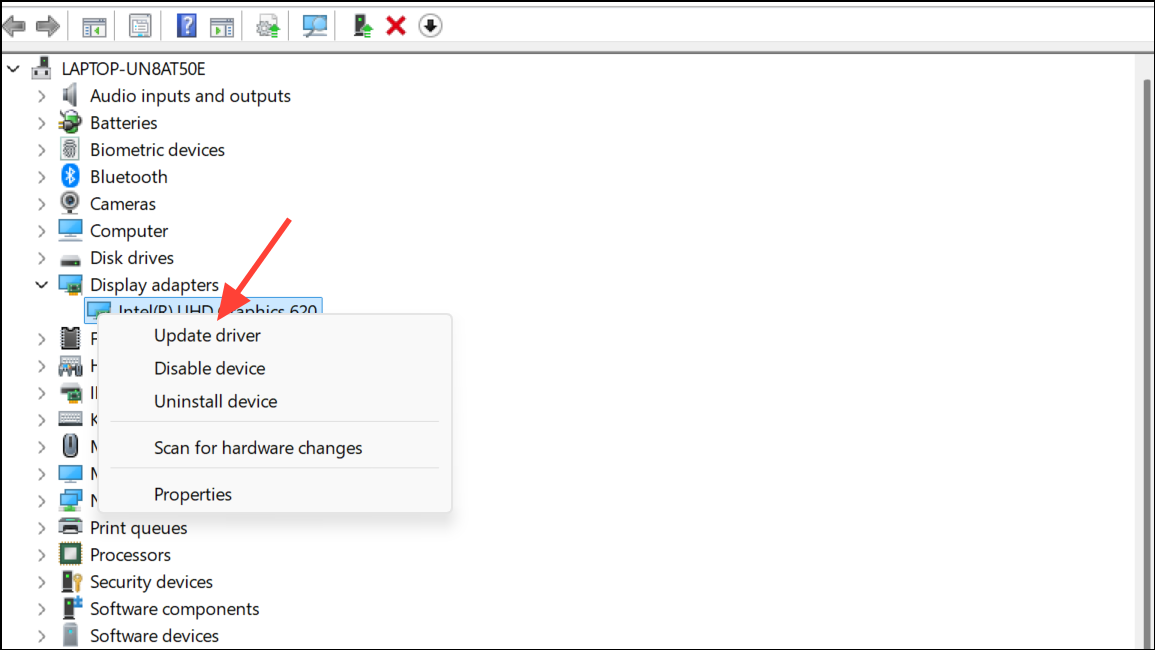
Step 2: Expand the Display adapters section. Right-click your graphics card and choose Update driver. Select Search automatically for drivers to let Windows find the latest version.
Step 3: If Windows doesn’t find a new driver, visit the manufacturer’s website (NVIDIA, AMD, or Intel) to download and install the latest drivers manually. Restart your PC after updating.
Updated drivers often resolve compatibility issues and restore correct display scaling, removing black bars.
Adjust Graphics Card Scaling and Overscan Settings
Many graphics cards include their own control panels that override or supplement Windows display settings. Incorrect scaling or overscan settings can create black borders, especially after changing resolutions or connecting to a new display.
NVIDIA Graphics
Step 1: Open the NVIDIA Control Panel from the Start menu or system tray.
Step 2: Under Display, select Adjust desktop size and position.
Step 3: In the Scaling section, choose Full-screen and set Perform scaling on: to Display. Click Apply.
This forces the GPU or display to stretch the output to fill the entire screen, eliminating black bars.
AMD Graphics
Step 1: Open AMD Radeon Software or AMD Adrenalin from your Start menu.
Step 2: Navigate to Display settings. Find the Scaling Mode option and set it to Full Panel or Preserve Aspect Ratio, depending on your preference. Disable Integer Scaling if it’s enabled, as this can introduce black borders at non-native resolutions.
Intel Graphics
Step 1: Open Intel Graphics Command Center from the Start menu.
Step 2: Select your display, then go to the Scaling section. Choose Maintain Display Scaling or Scale Full Screen to fill the display area. Apply the changes and check if the black borders are gone.
These control panels allow you to fine-tune how your GPU sends images to your monitor, which can resolve persistent border issues that Windows settings alone don’t fix.
Reset or Adjust Monitor Settings Using Physical Buttons
Modern monitors and TVs typically include physical buttons to access an on-screen display (OSD) menu. These menus let you adjust screen position, aspect ratio, and scaling independently of your computer’s settings. If your display is not using the full panel area, the OSD may be set to a non-standard aspect ratio or have scaling disabled.
Step 1: Locate the physical buttons on your monitor (often underneath, behind, or along the side). Press the Menu or Settings button to open the OSD.
Step 2: Navigate to Aspect Ratio or Screen Size settings. Set the aspect ratio to 16:9 (for widescreen monitors) or Auto, depending on your monitor’s native ratio.
Step 3: If you suspect a misconfiguration, use the OSD’s Reset or Factory Reset option to revert all changes. This can quickly resolve display issues introduced by accidental button presses or firmware glitches.
Some users have found that a quick reset via the monitor’s OSD immediately restores full-screen output, especially after a resolution change or connecting to a new device.
Check HDMI, DisplayPort, or Cable Connections
Loose or partially connected cables can cause the display to receive incorrect resolution or refresh rate information, resulting in black bars or borders.
Step 1: Unplug your HDMI, DisplayPort, or VGA cable from both your computer and the monitor. Inspect both ends for bent pins or debris.
Step 2: Firmly reconnect the cable, ensuring a snug fit. If possible, try a different cable or port to rule out hardware faults.
Step 3: If you’re connecting to a TV, check the TV’s input settings to confirm it’s using the correct picture mode (such as Just Scan or Full Pixel) to avoid forced overscan or underscan, which can introduce borders.
Reset Display Adapter Properties in Windows 11
Sometimes, even when the correct resolution is selected, Windows may fail to output the signal correctly due to a glitch in the adapter settings.
Step 1: Go to Settings > System > Display and click Advanced display settings.
Step 2: Click Display adapter properties for Display X (where X is your affected monitor).
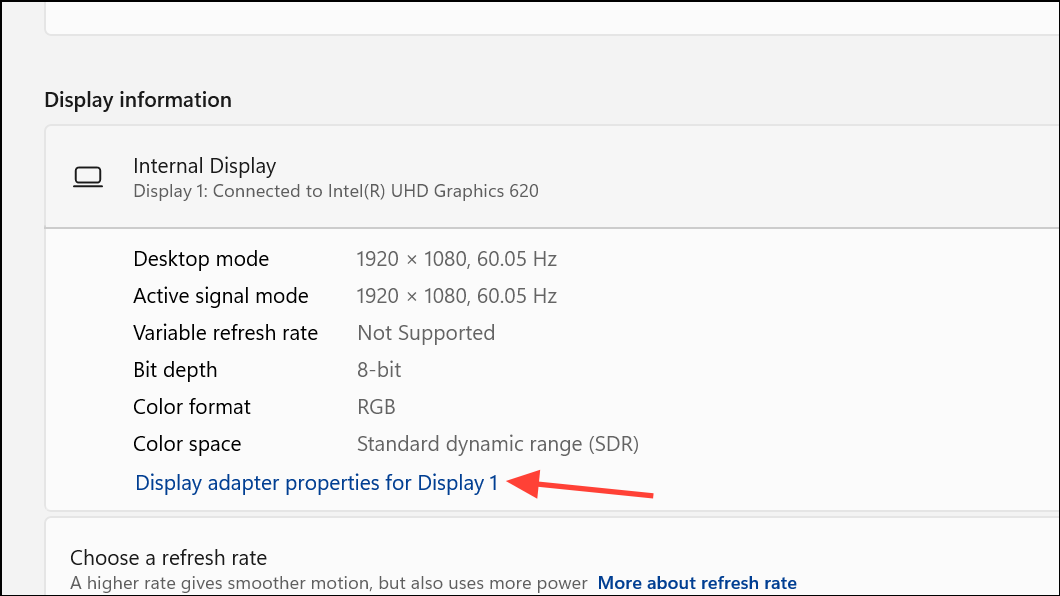
Step 3: In the Adapter tab, click List All Modes. Select your monitor’s native resolution and refresh rate, then click OK. This can force Windows to renegotiate the connection and restore full-screen output.
Other Considerations and Troubleshooting Tips
- Verify you are not using “Duplicate these displays” mode with mismatched aspect ratios, as this can force black bars to appear on one or both monitors. Use “Extend these displays” for independent resolutions.
- Some monitors have a permanent black border (bezel) as part of their design. Compare your screen with product images or reviews to confirm whether the border is physical or a display issue.
- If black bars appear even in your system’s BIOS or during boot, the issue may be hardware-related, such as a faulty monitor or graphics card. Test the display with another device to isolate the problem.
- After major Windows updates or graphics driver changes, always recheck your display settings, as updates can revert configurations to defaults.
Resolving black bars or borders in Windows 11 usually involves adjusting display resolution, updating drivers, tweaking graphics card scaling, or resetting monitor settings. A methodical approach ensures your screen uses every available pixel, restoring a proper full-screen experience.