Scanning documents directly into Google Drive on your iPhone is a quick and easy way to get paper documents, receipts, notes, and more into the cloud. However, iPhone and iPad users did not get to enjoy this feature on the Google Drive app, unlike their Android counterparts.
But that’s all in the past now. Google has added the ability to use your iPhone’s camera to scan documents and save them directly in your Drive account to the iOS app.
It’s simple to use the app to scan documents. Follow these steps.
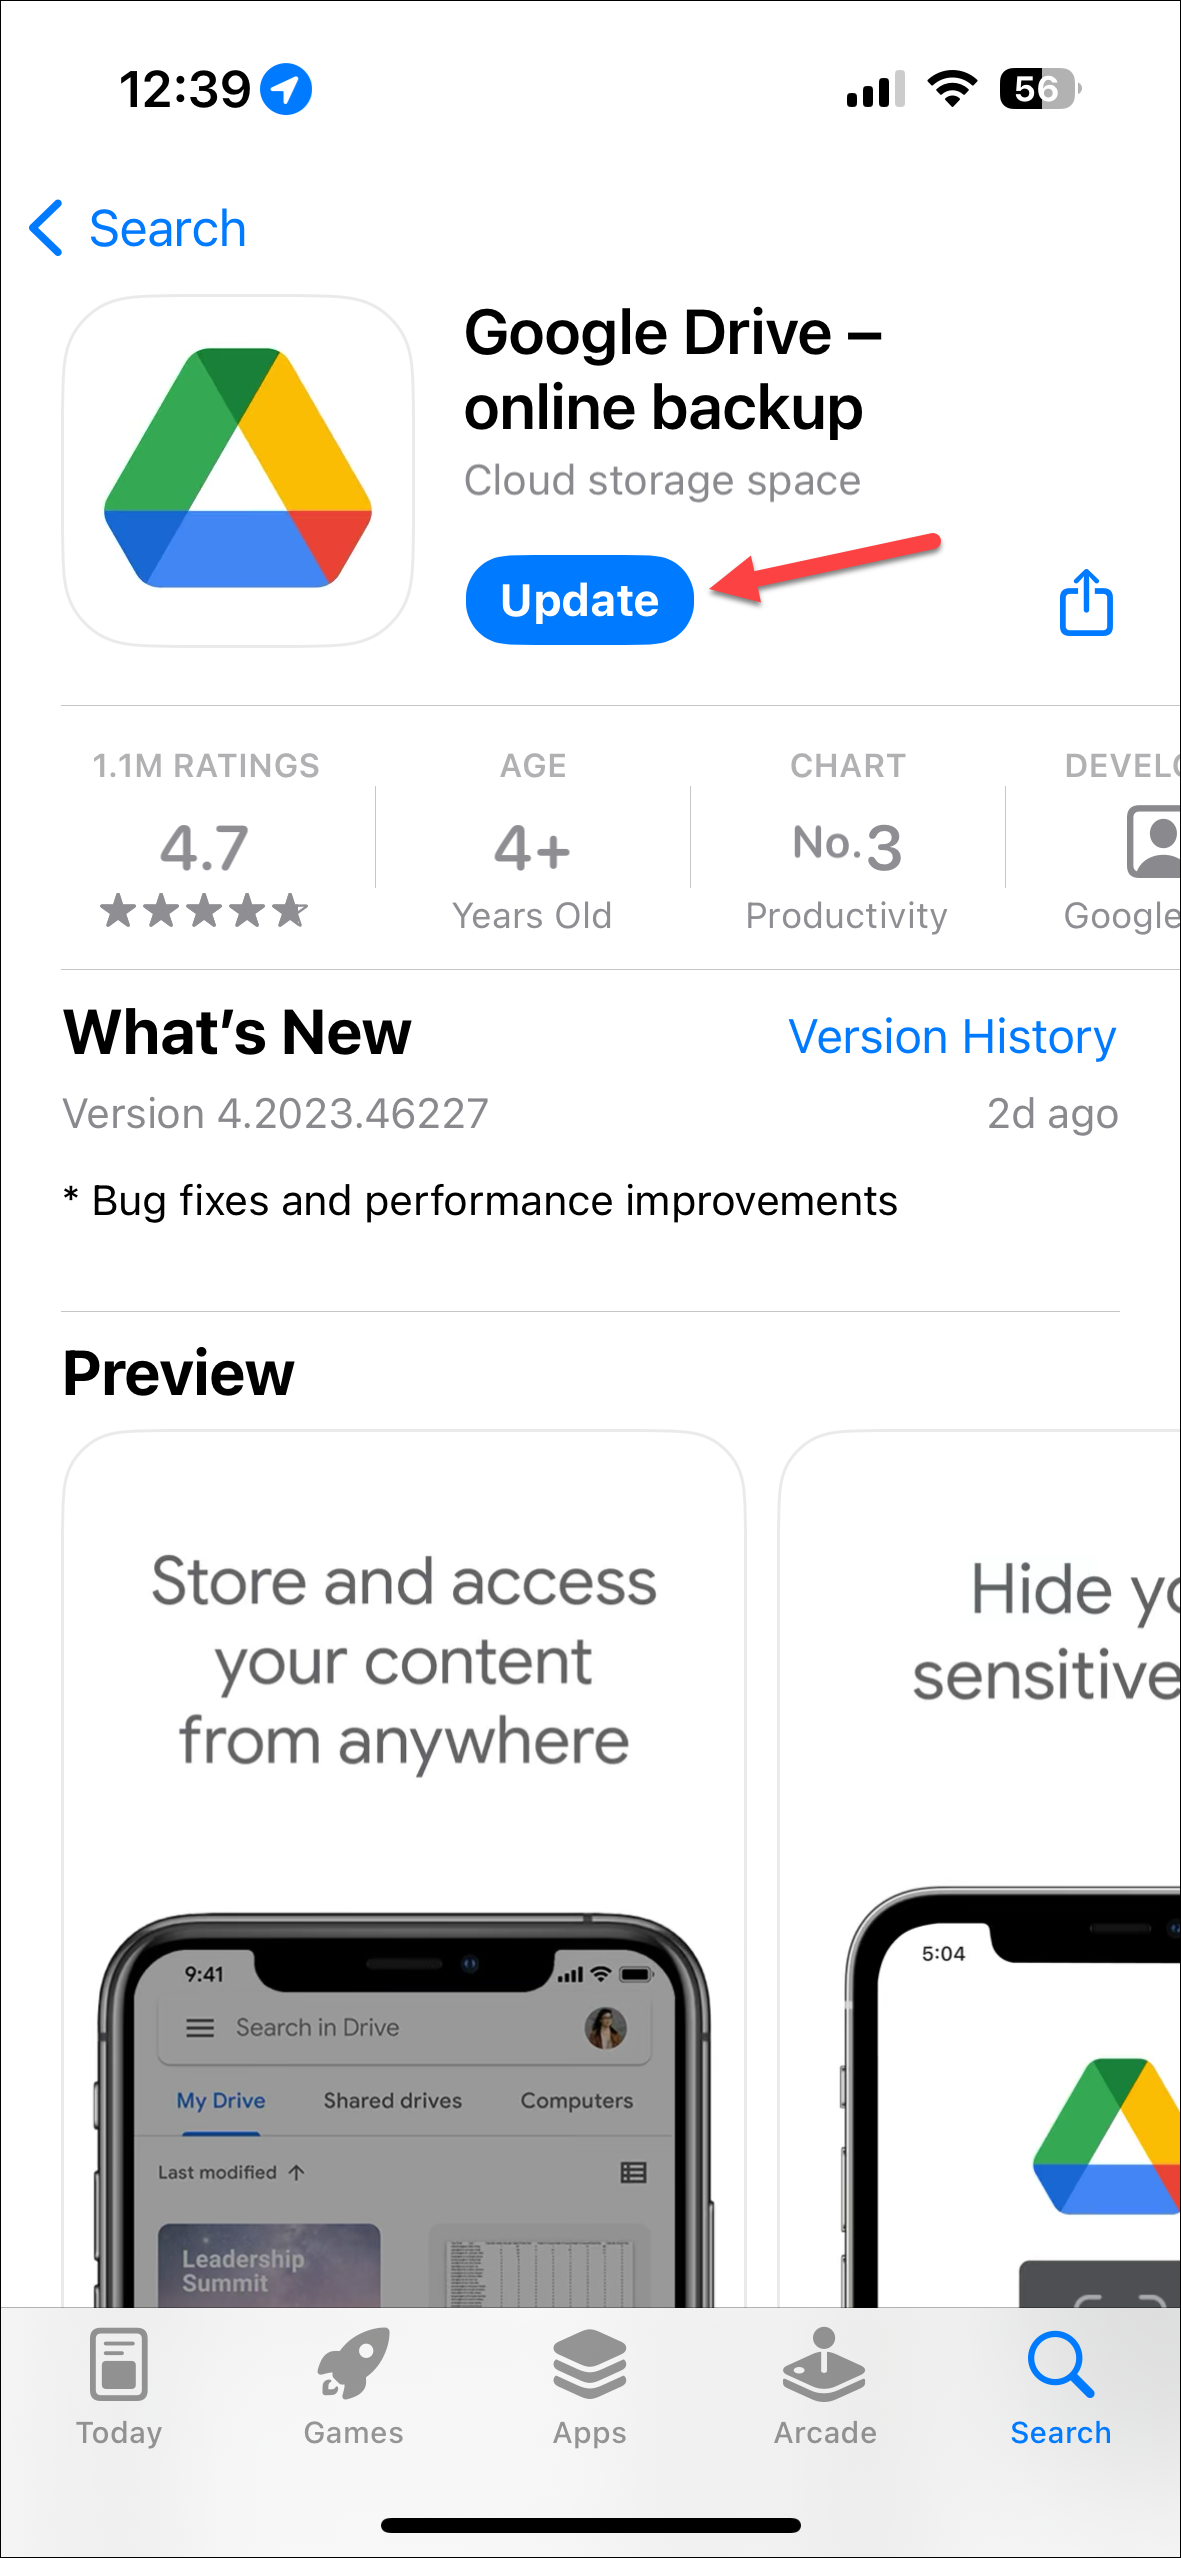
- Make sure you’re using the latest version of the app. If not, go to the App Store and update the app.
- After that, launch the Google Drive app from your iPhone’s home screen or app library.
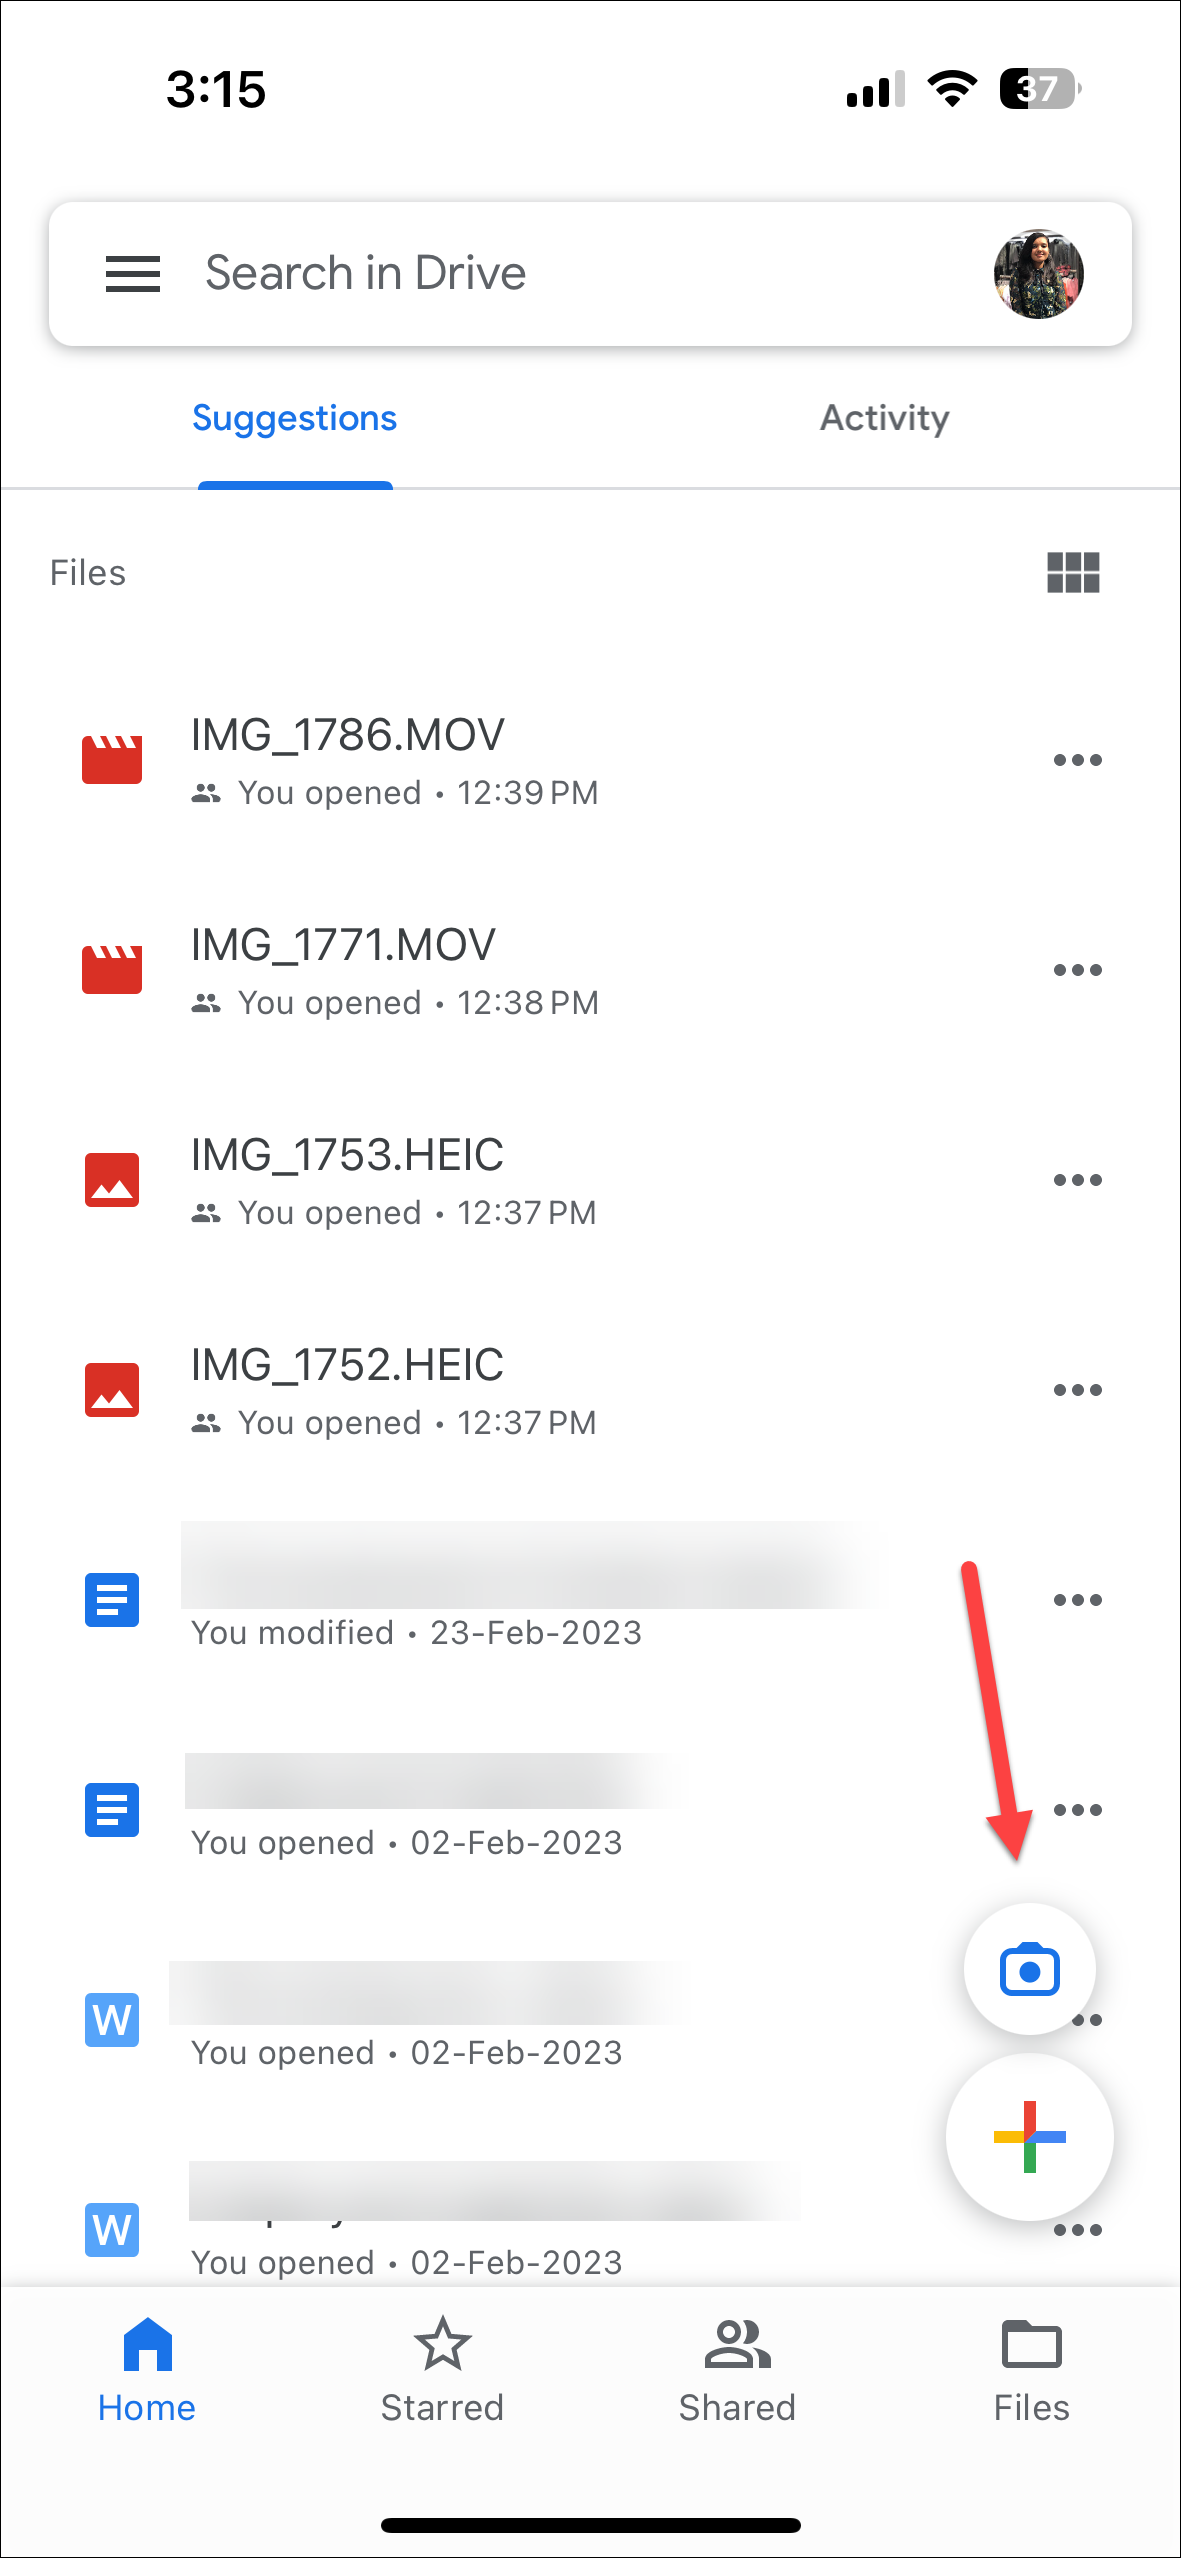
- At the bottom right corner of the app, tap the new ‘Camera’ floating action button above the plus (+) button.
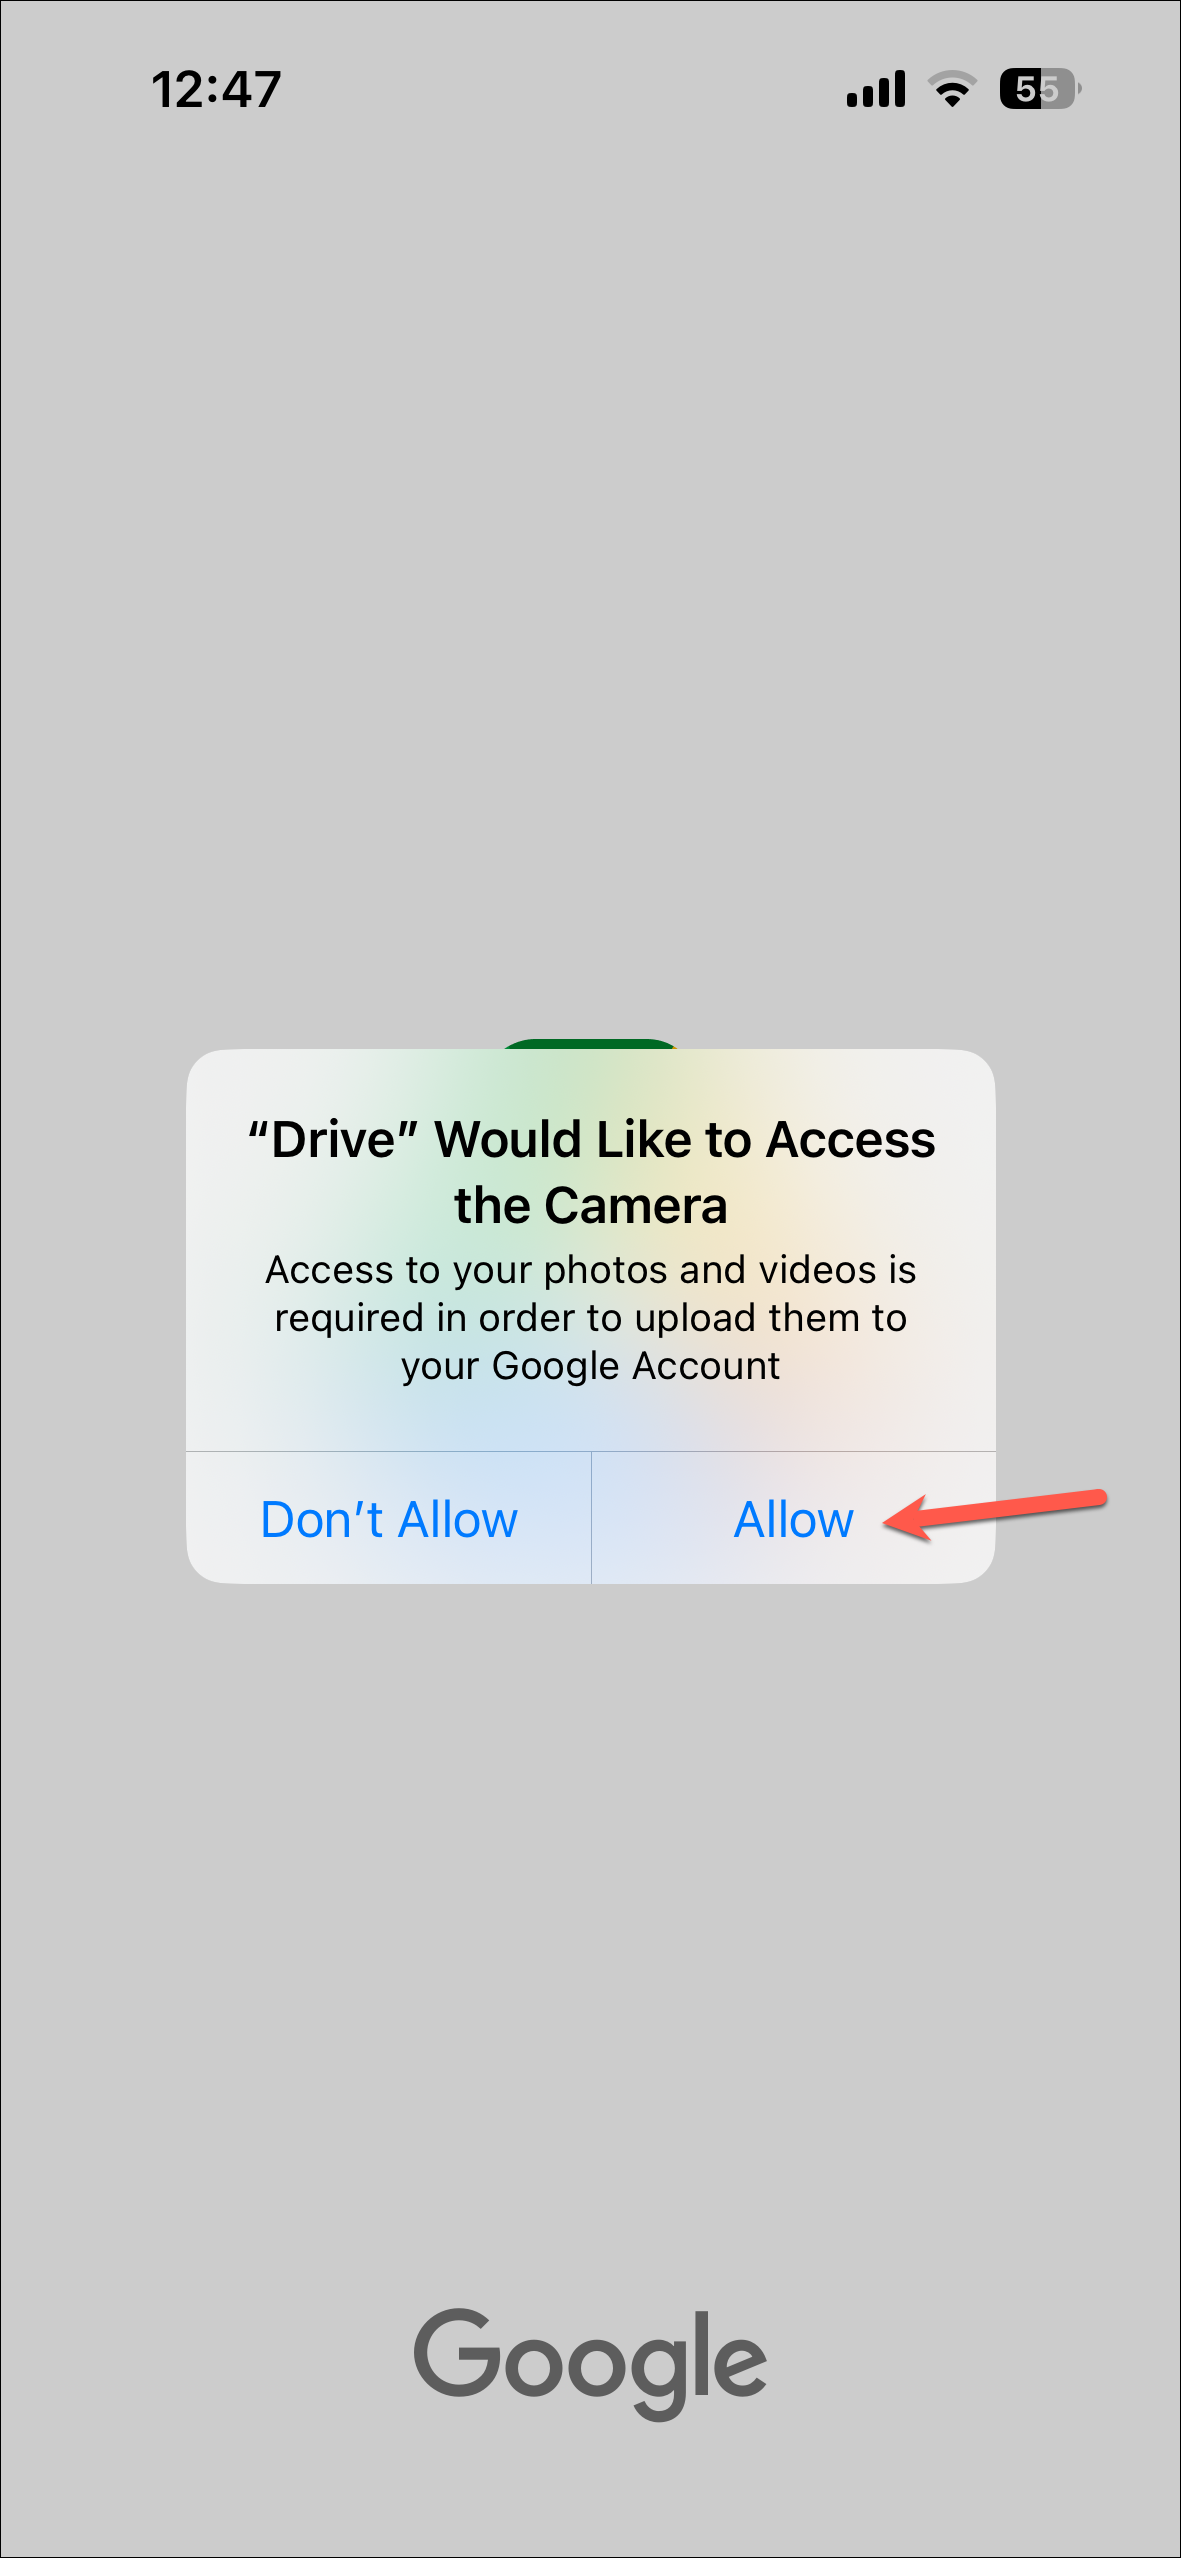
- This will bring up a permissions pop-up. Tap ‘Allow’ to let Drive access your iPhone’s camera.
- The camera scanner will be launched that can automatically take scans. You can also take manual scans using the ‘Camera Shutter’ button at the bottom.
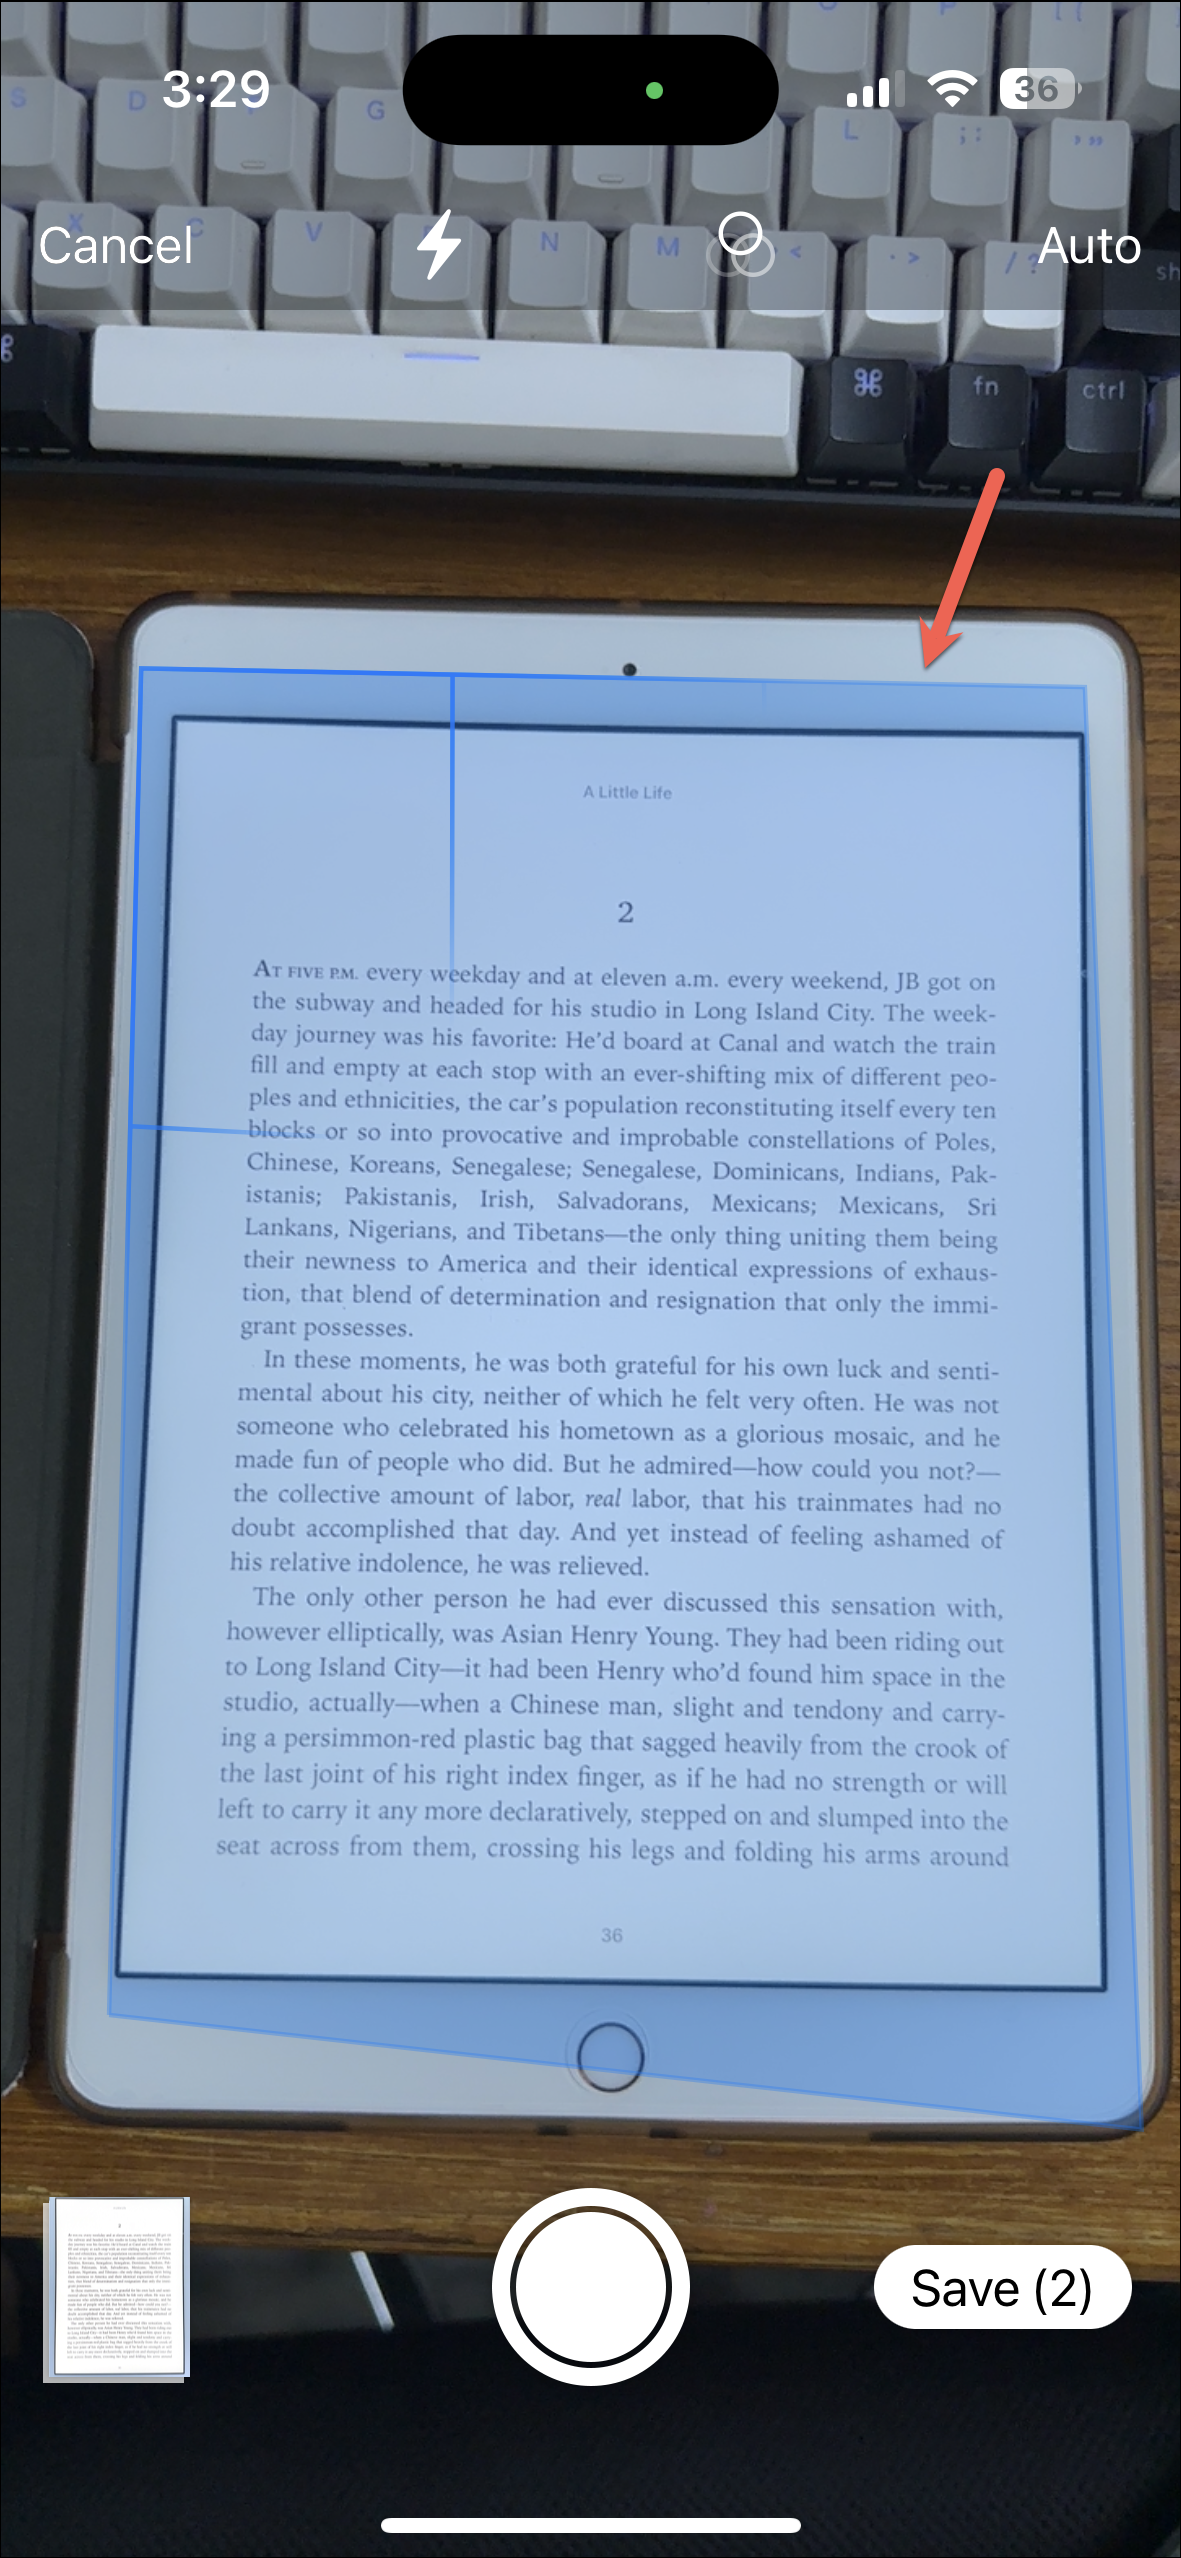
- Place the document you want to scan on a flat surface with good lighting. Avoid shadows and ensure the entire document is visible and legible.
- The camera will help you take the best possible scan by showing a blue frame in which you need to place the document; try to align the document within the frame on your screen. Google Drive will automatically detect the document’s edges and take a scan when ‘Auto’ mode is enabled.
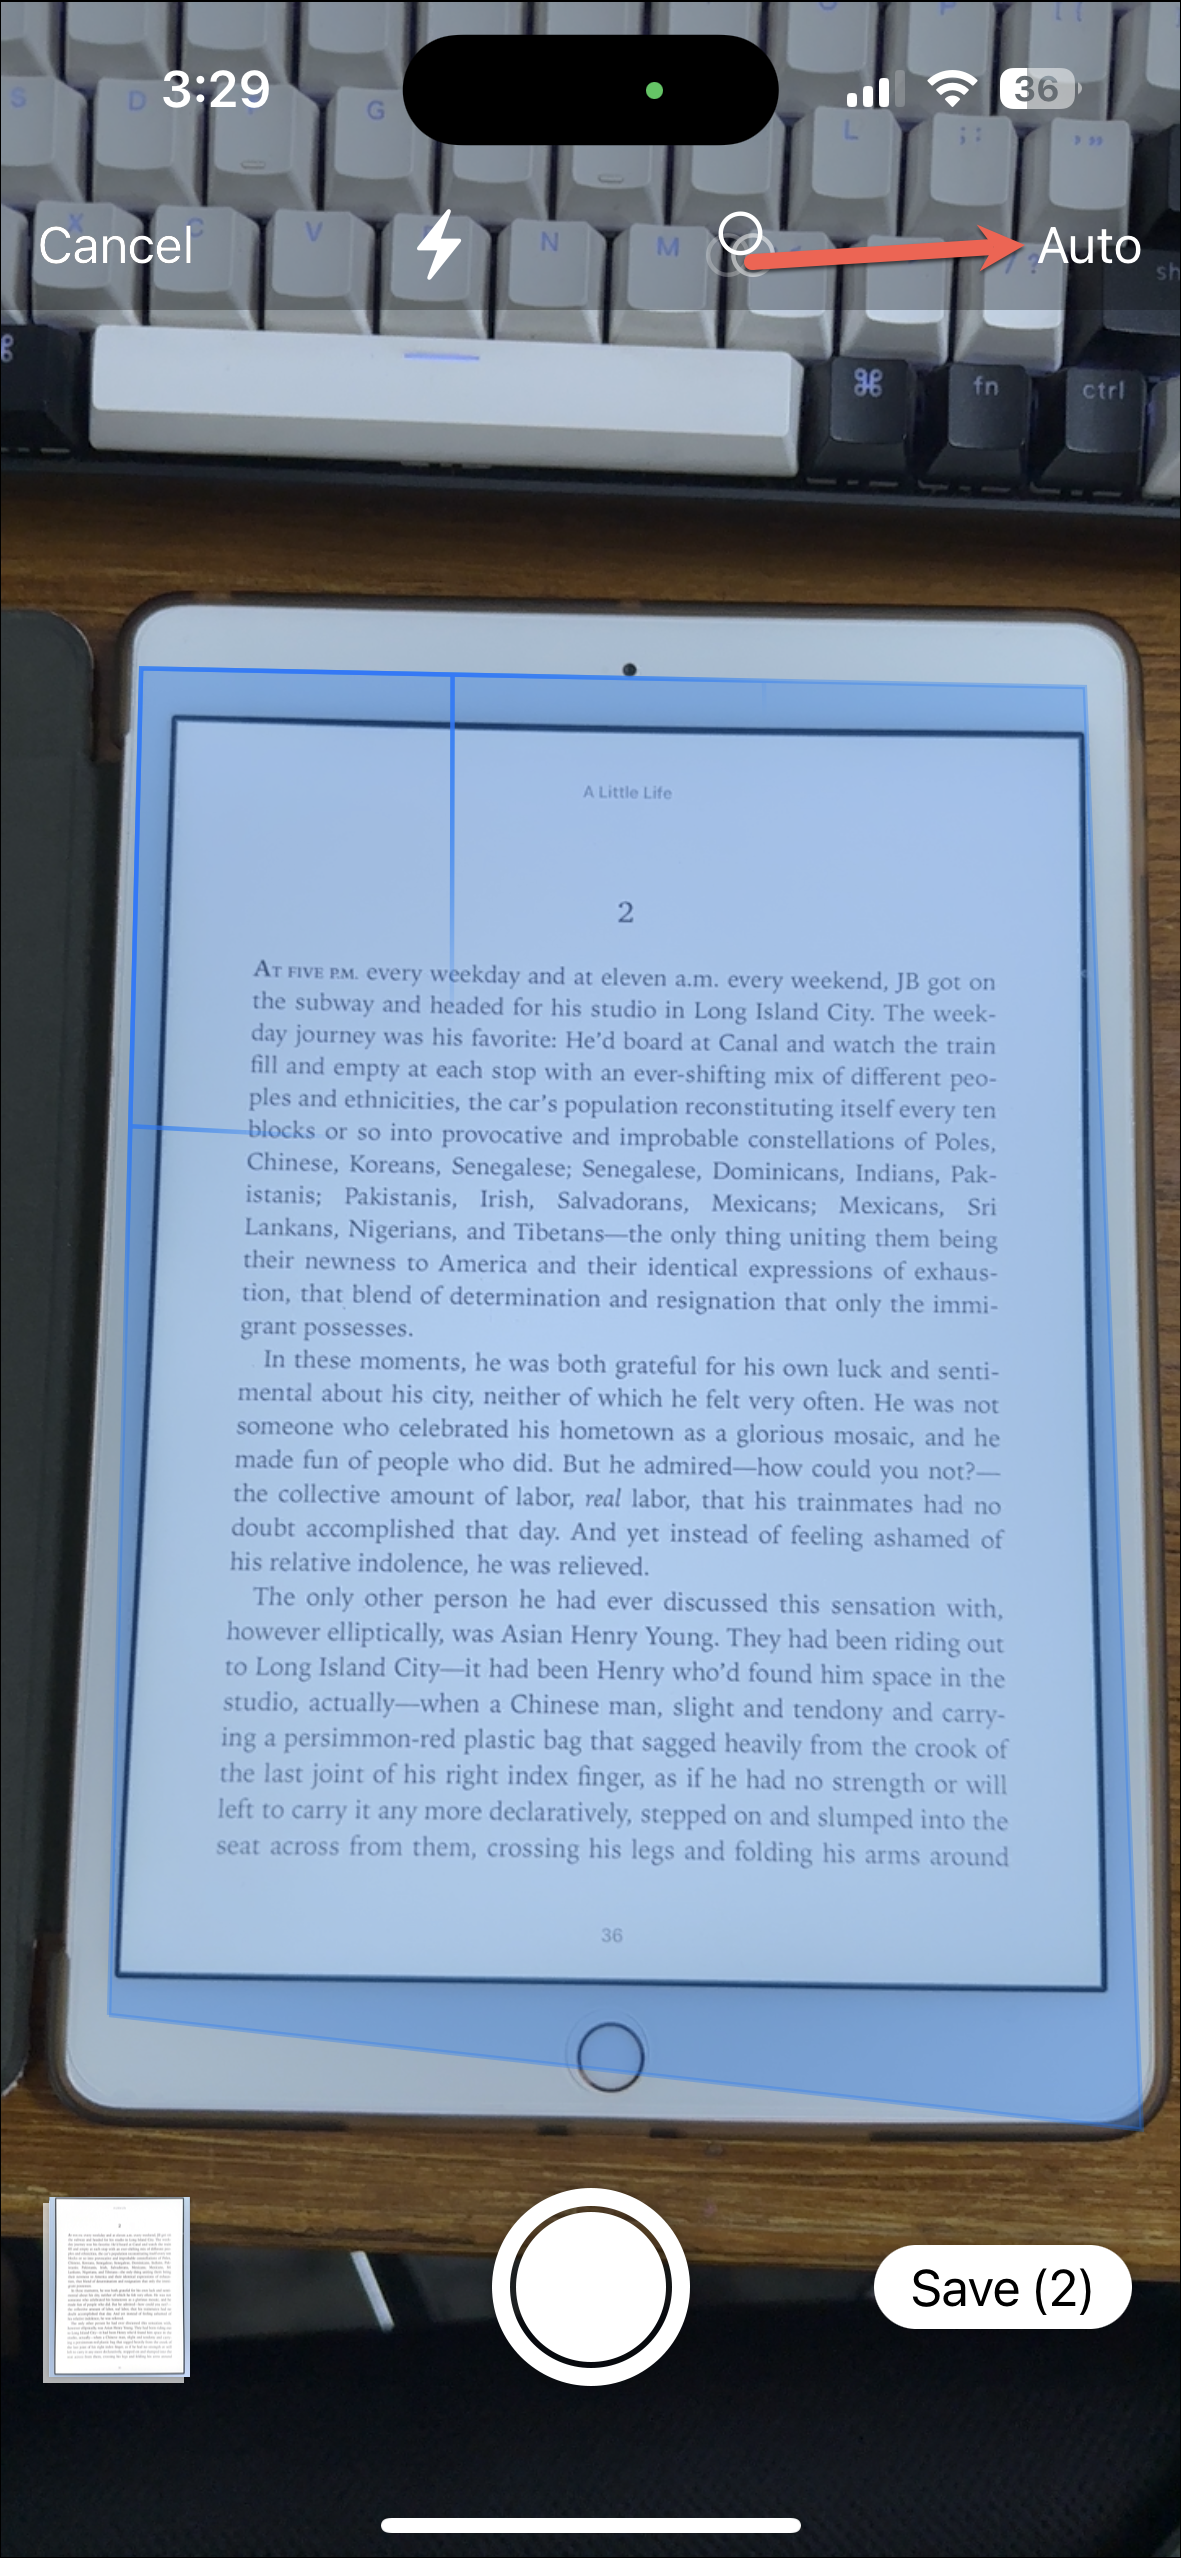
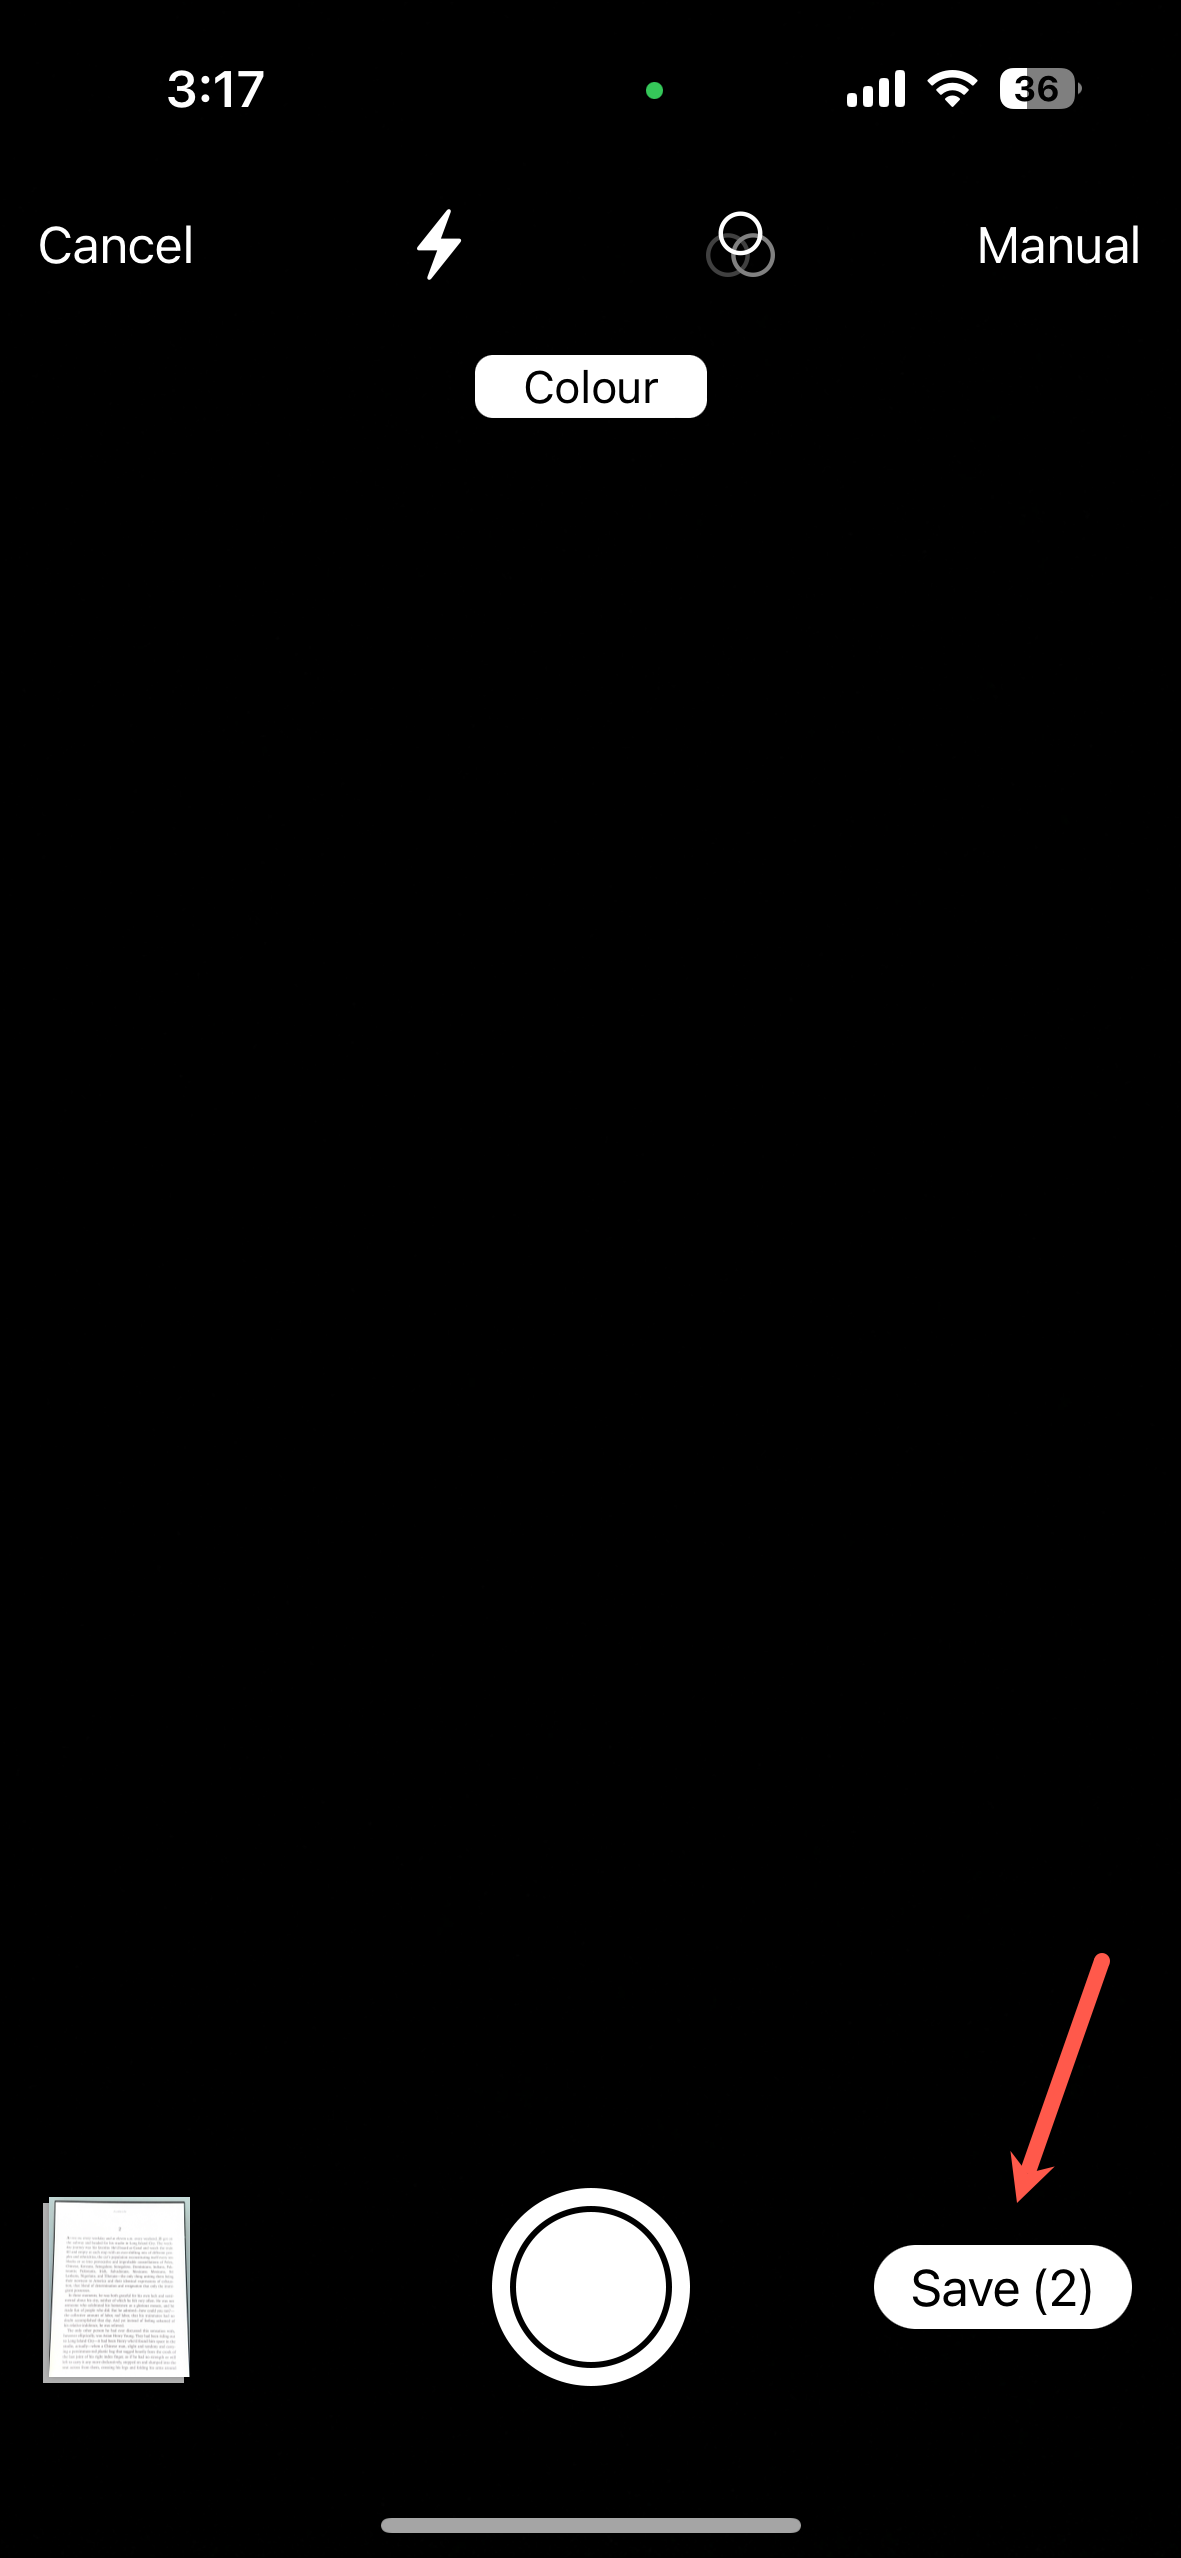
- To switch to manual mode, tap the ‘Auto’ option in the top-right corner of the screen.
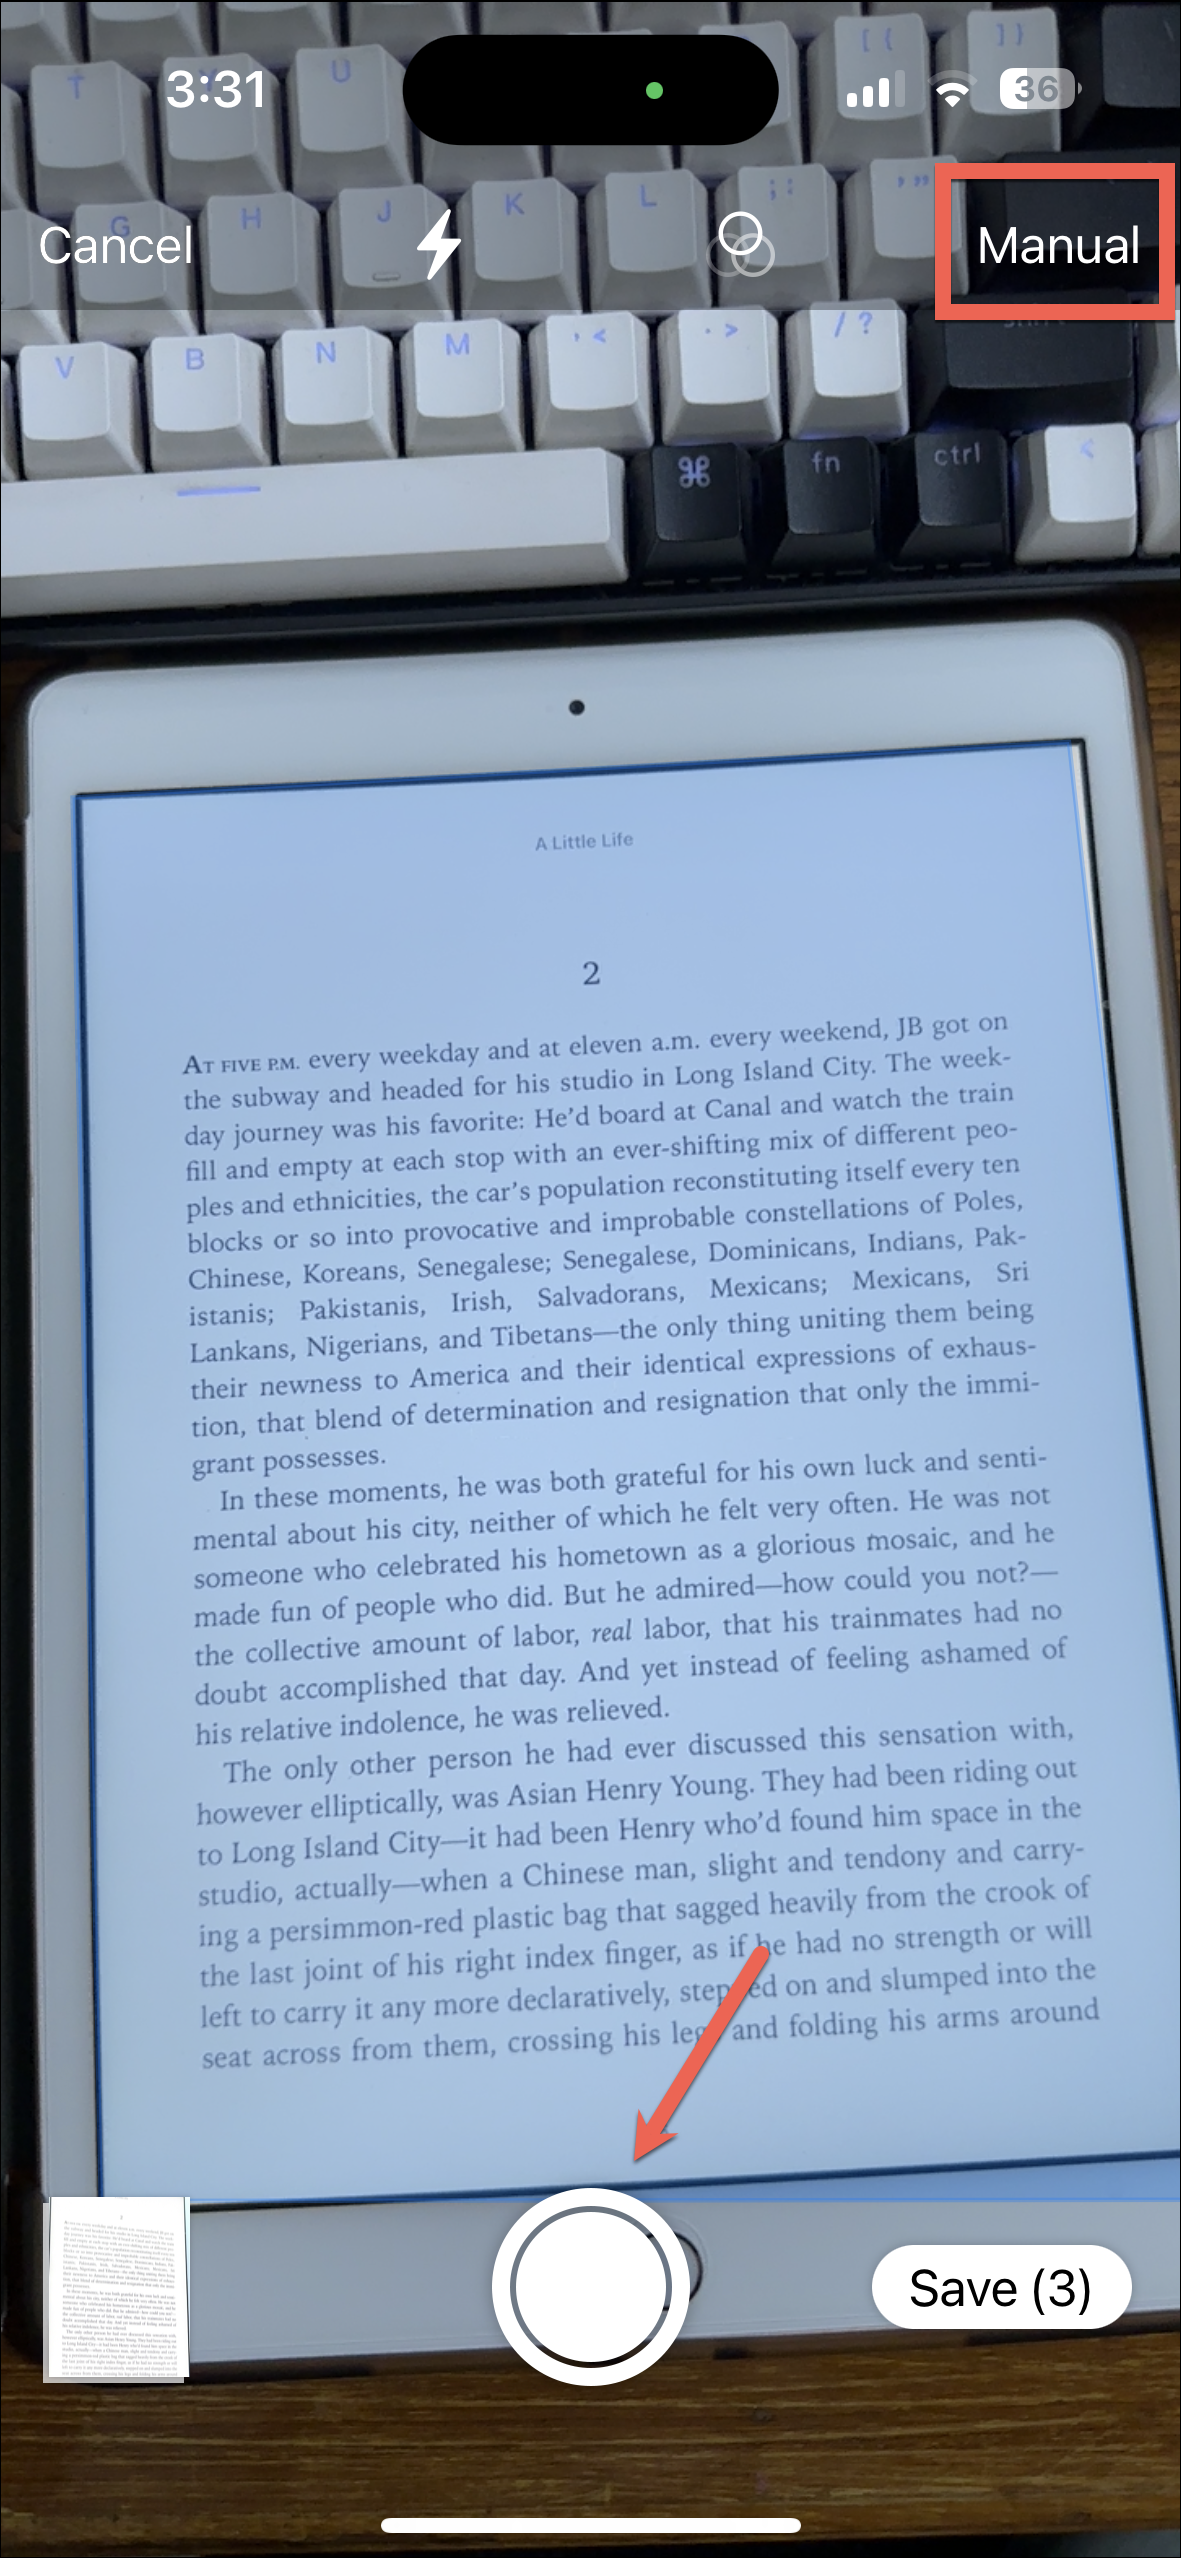
- It will switch to manual. Tap the ‘Shutter’ button to take the scan when you think the blue frame is aligned with the document as per your desire.
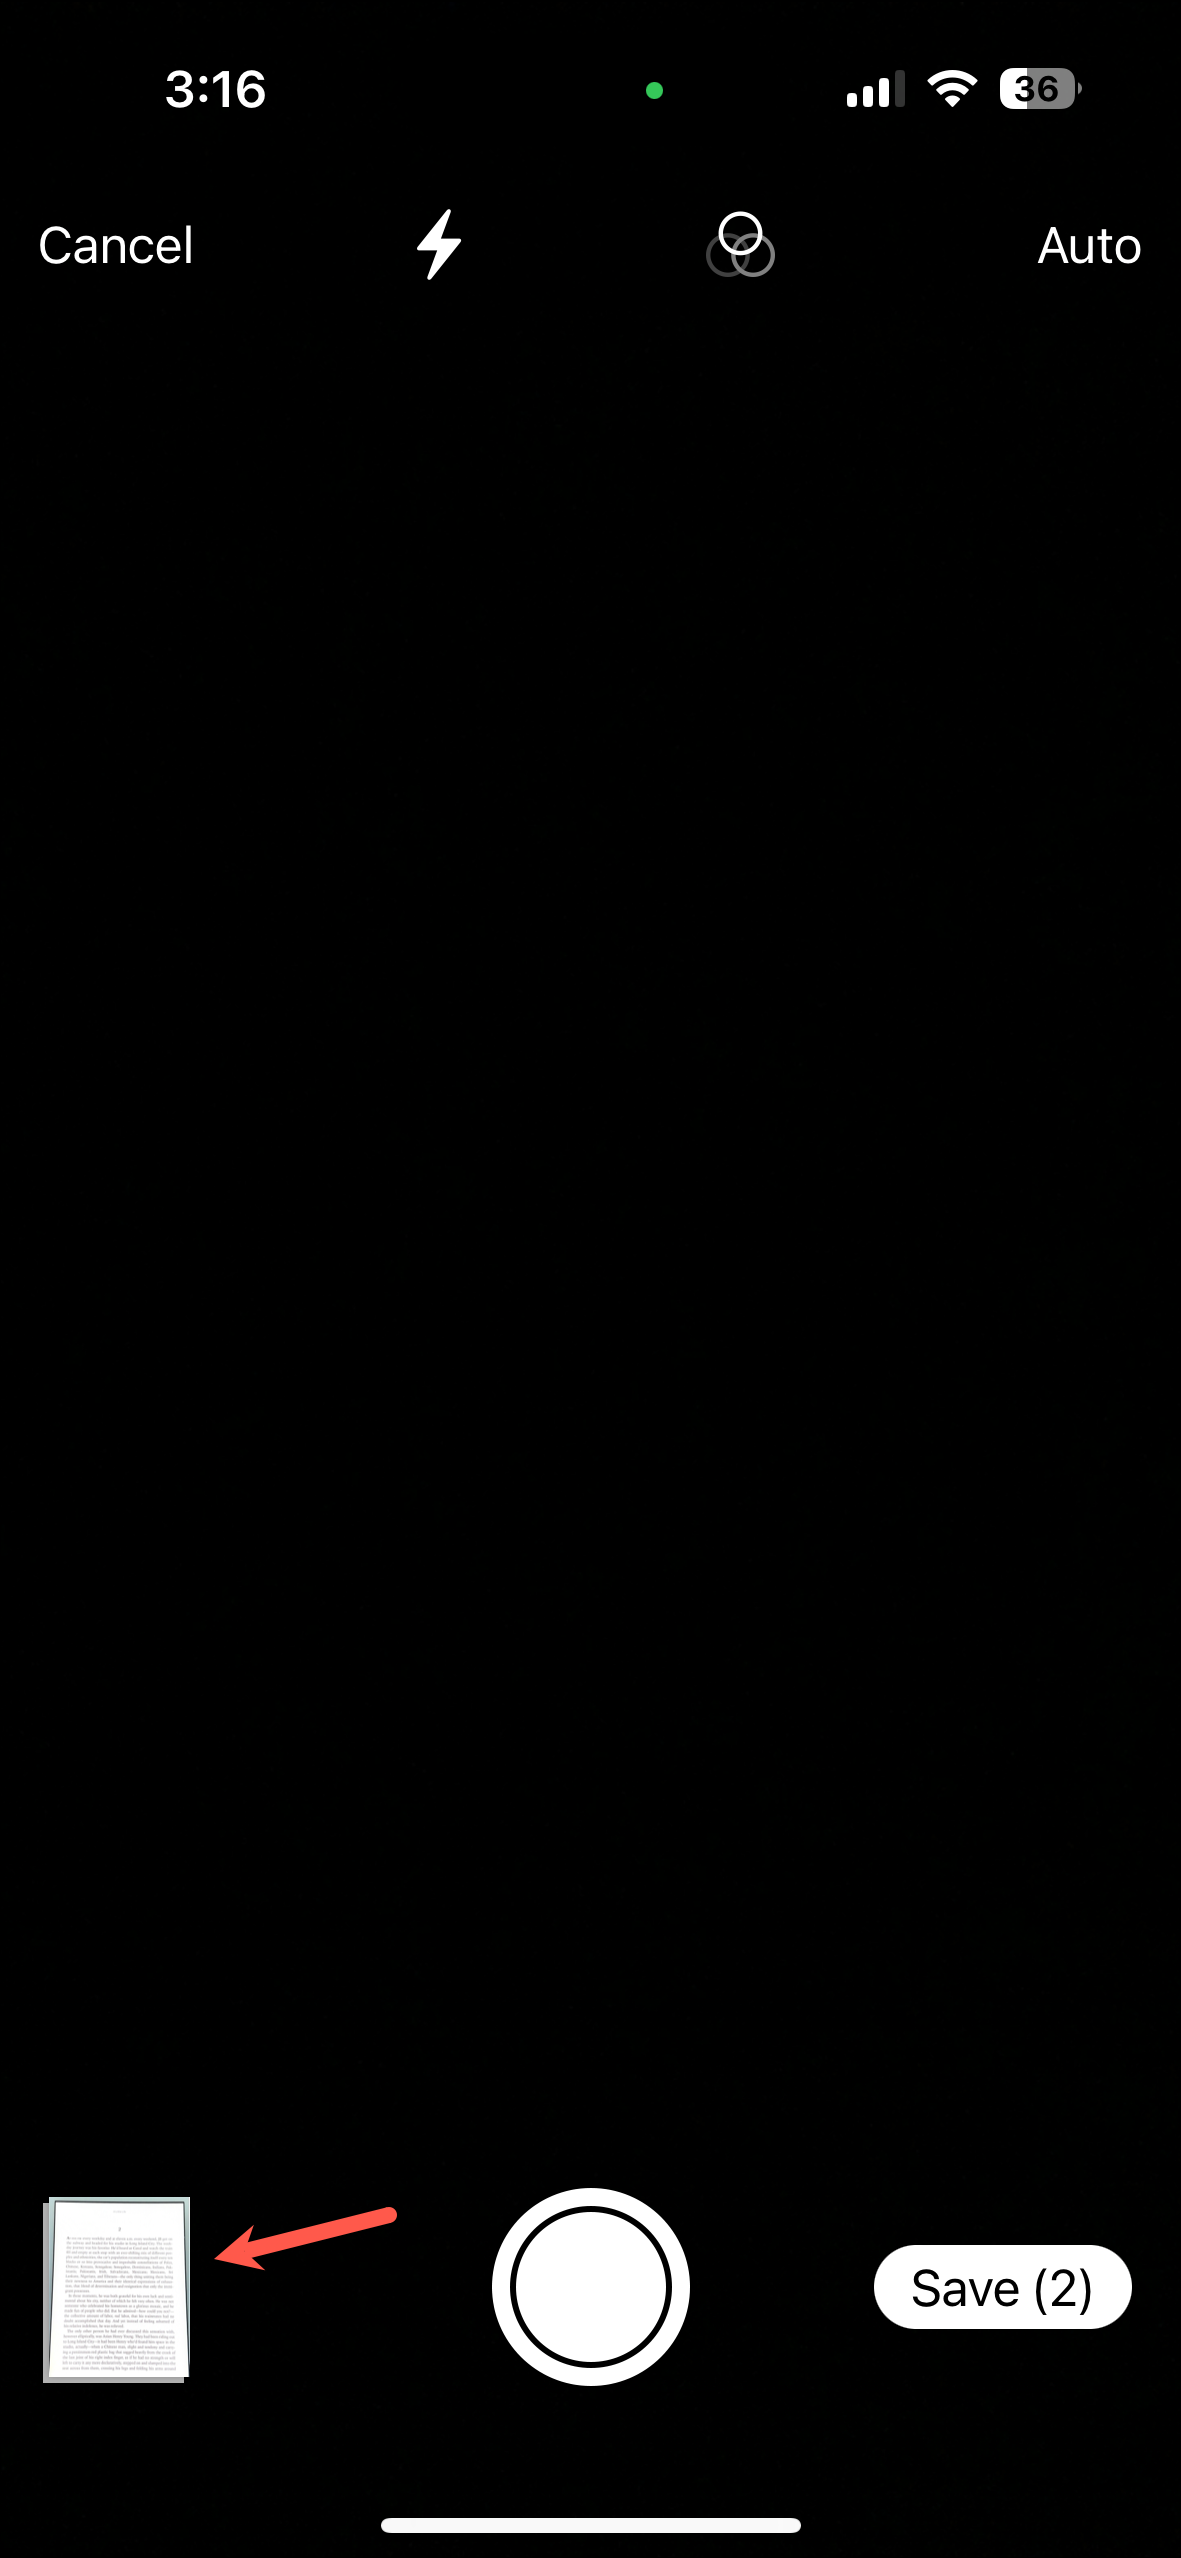
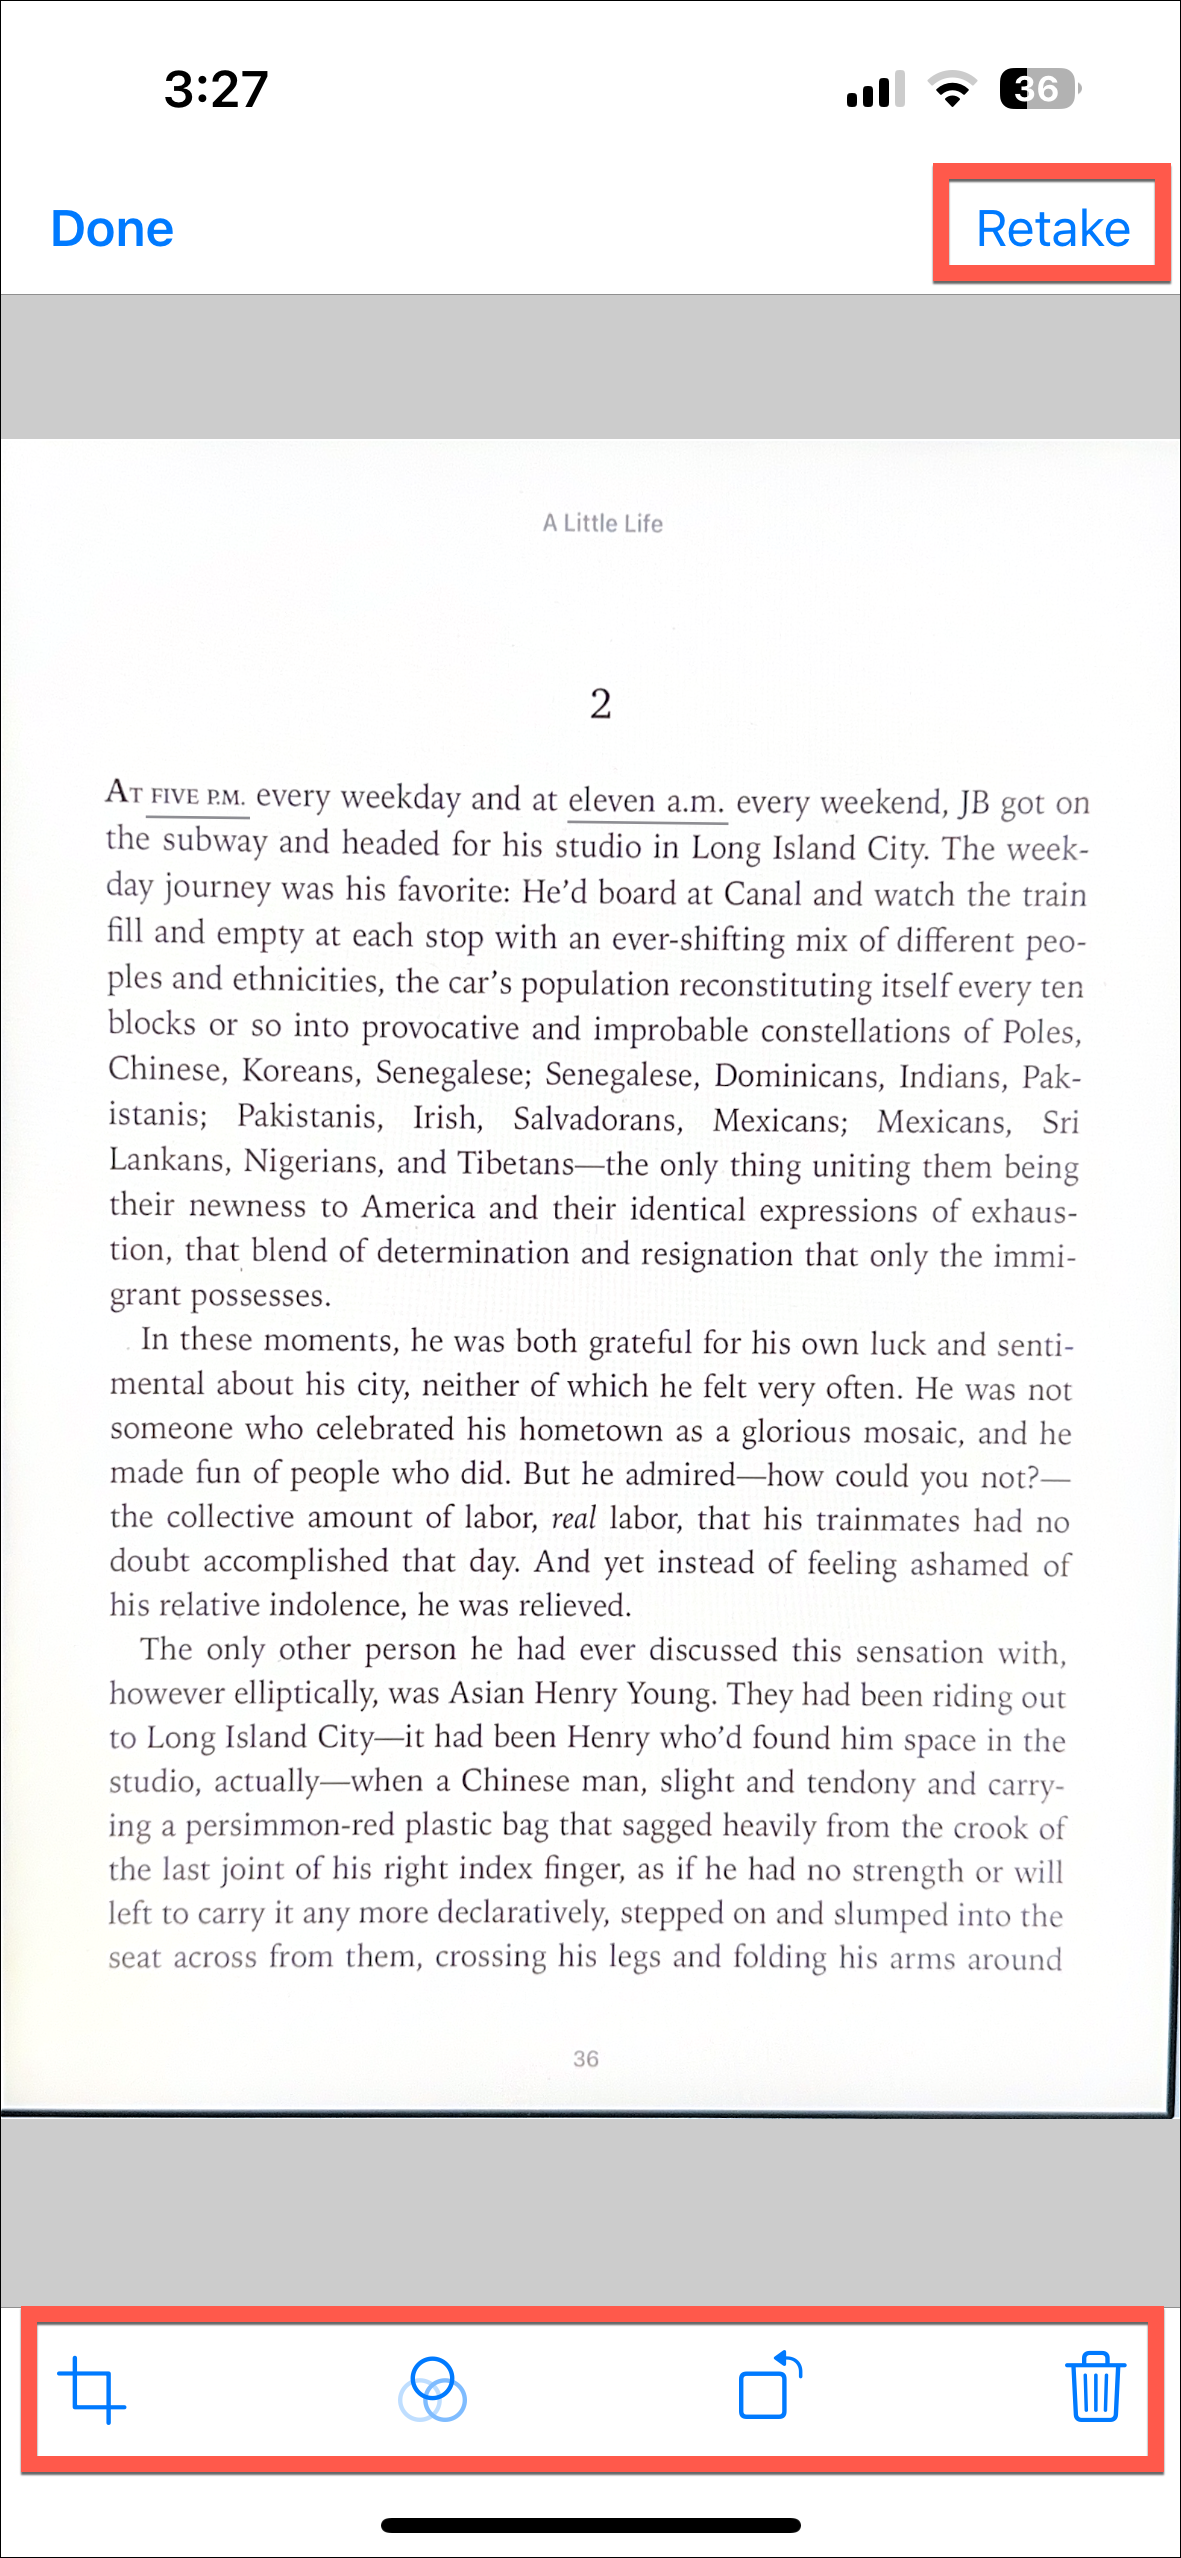
- To make adjustments to the scan, tap the preview thumbnail in the bottom-left corner of the screen.
- From here, you can adjust the edges of the document (crop option), apply filters like ‘Greyscale’, ‘Black & White’, and ‘Photo’, rotate the scan, delete it, or retake it.
- You can take multiple scans in one go. After completing the scan, tap the ‘Save’ button in the bottom-right corner of the screen.
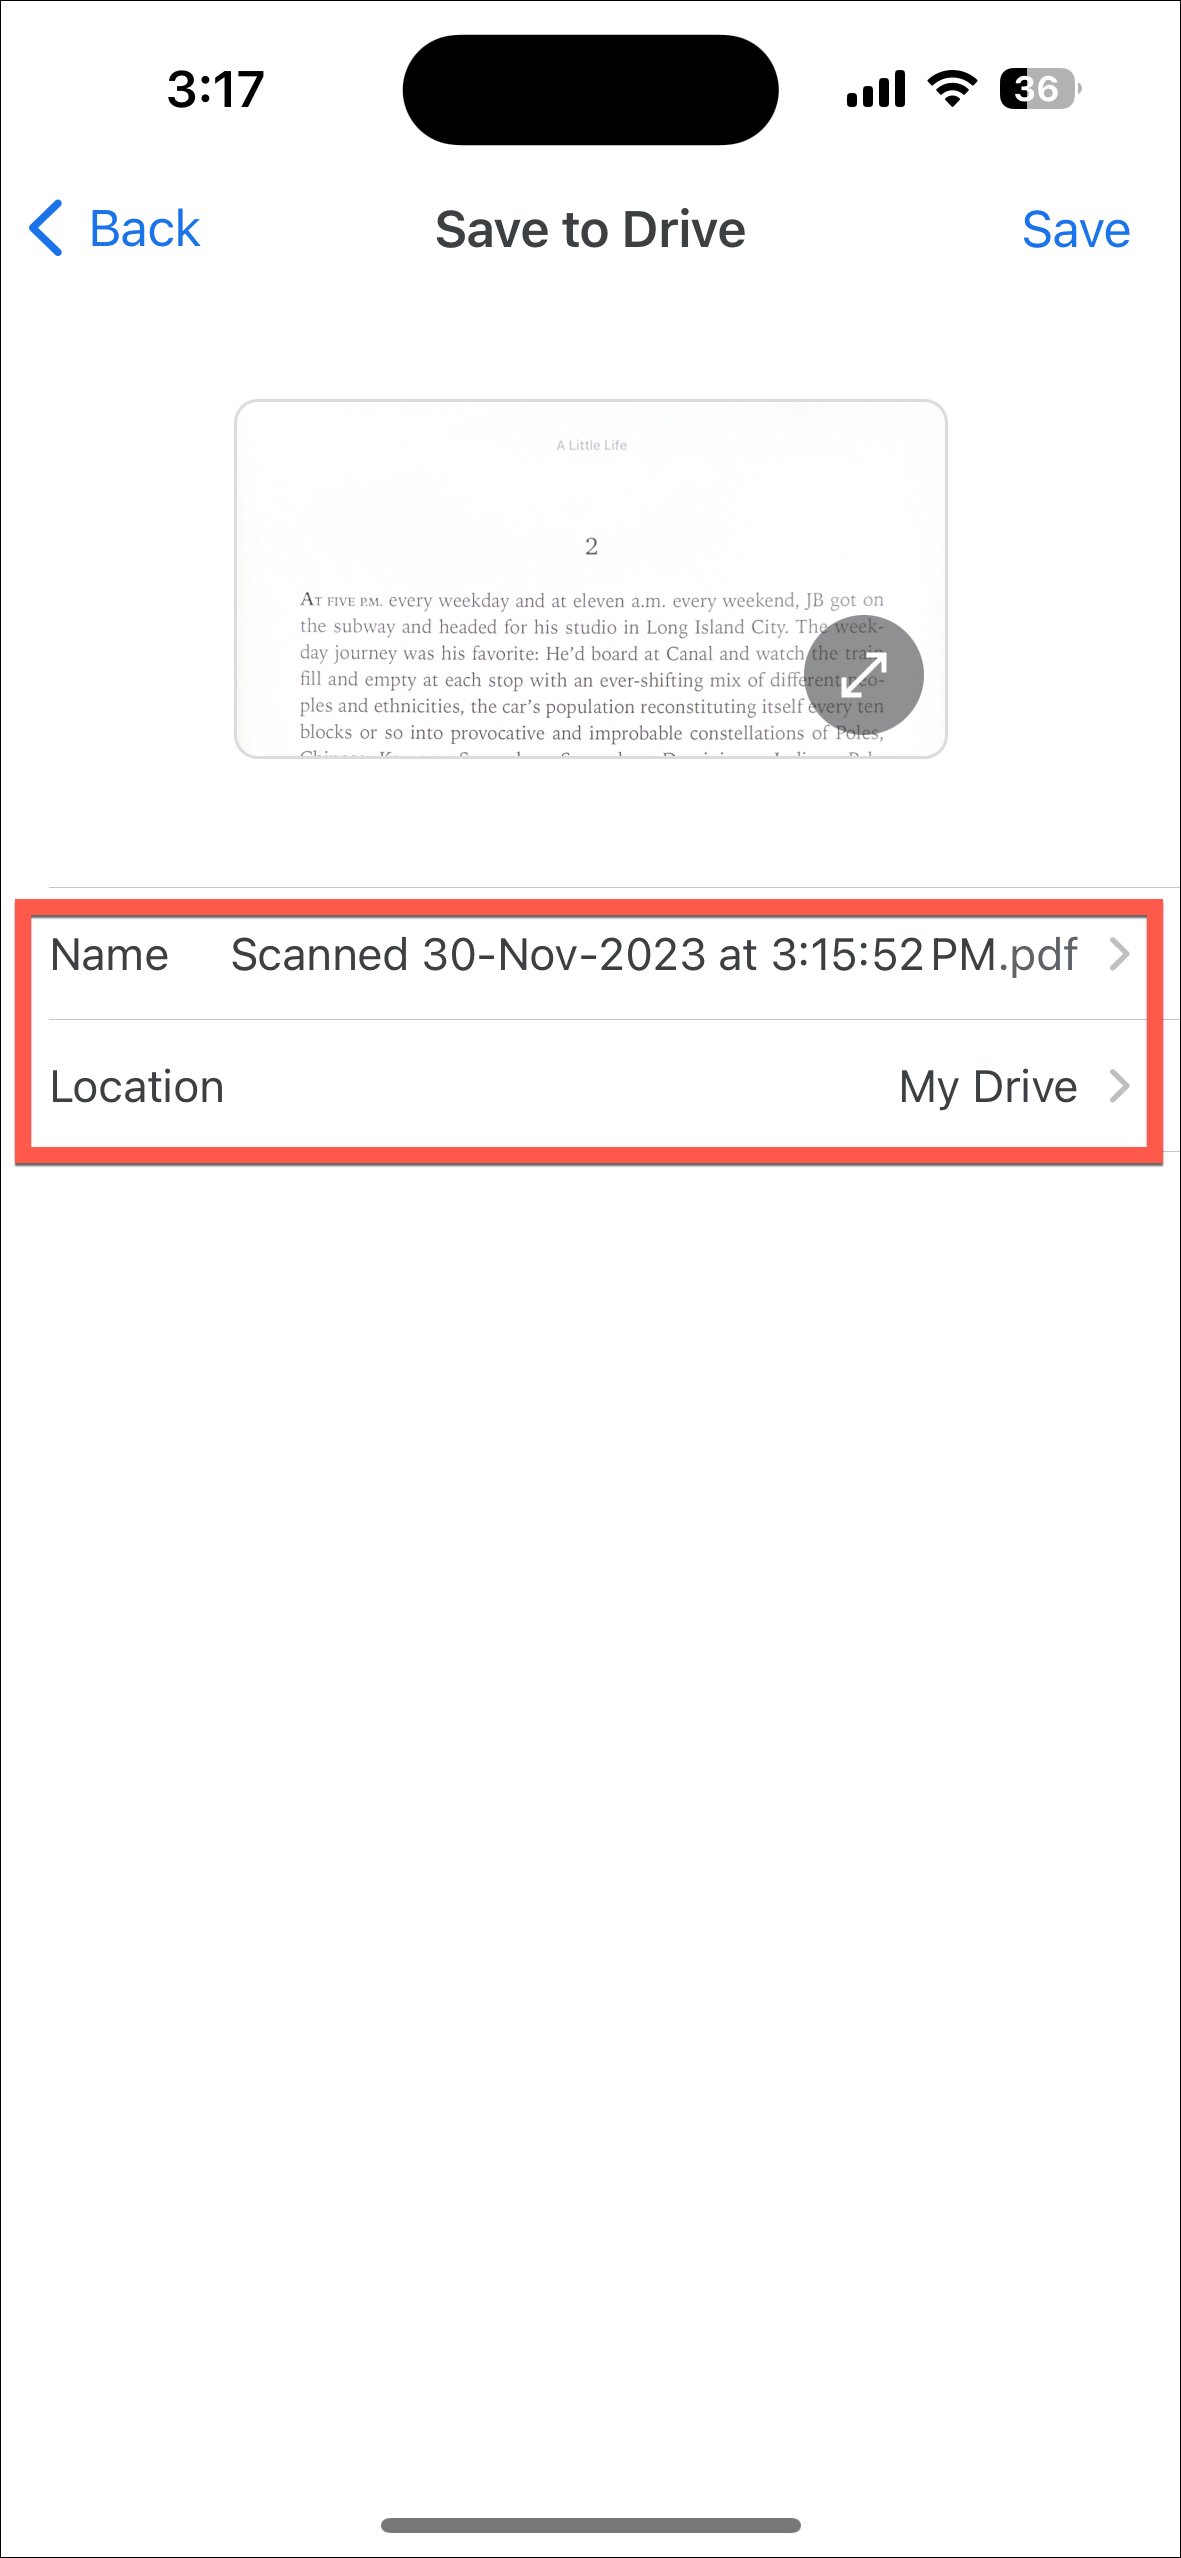
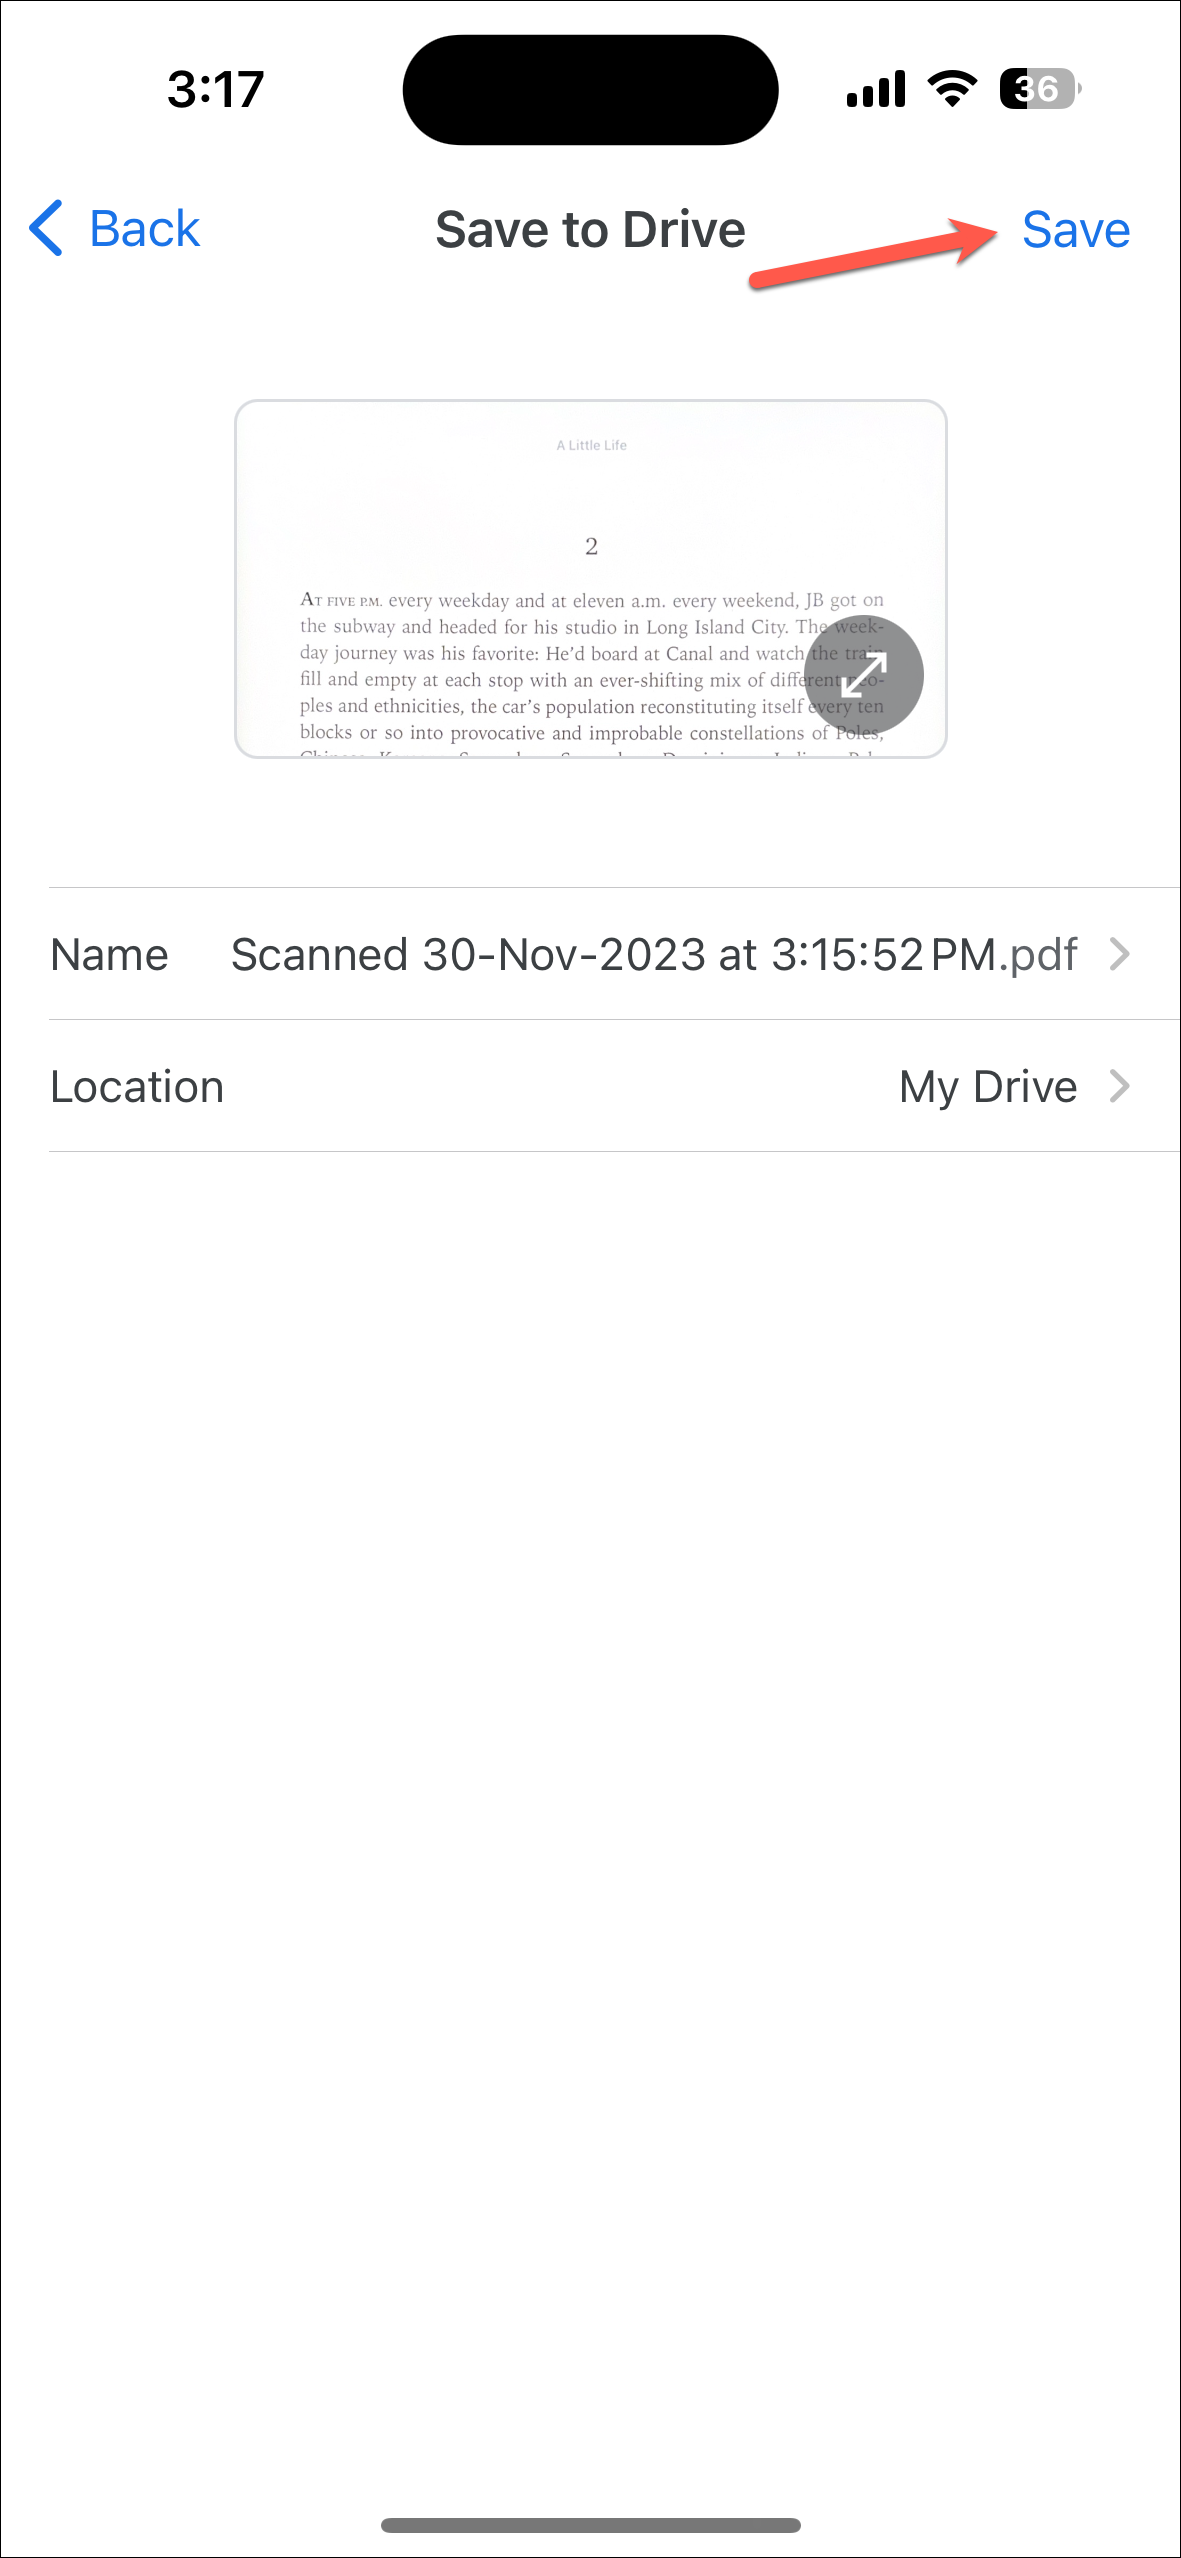
- Here, you can rename the file. By default, it names the file with the date and time. In the US, though, it uses AI to rename the files in the context of the document. Hopefully, the feature will be rolled out elsewhere soon. You can also select the location in Google Drive where you want to save it.
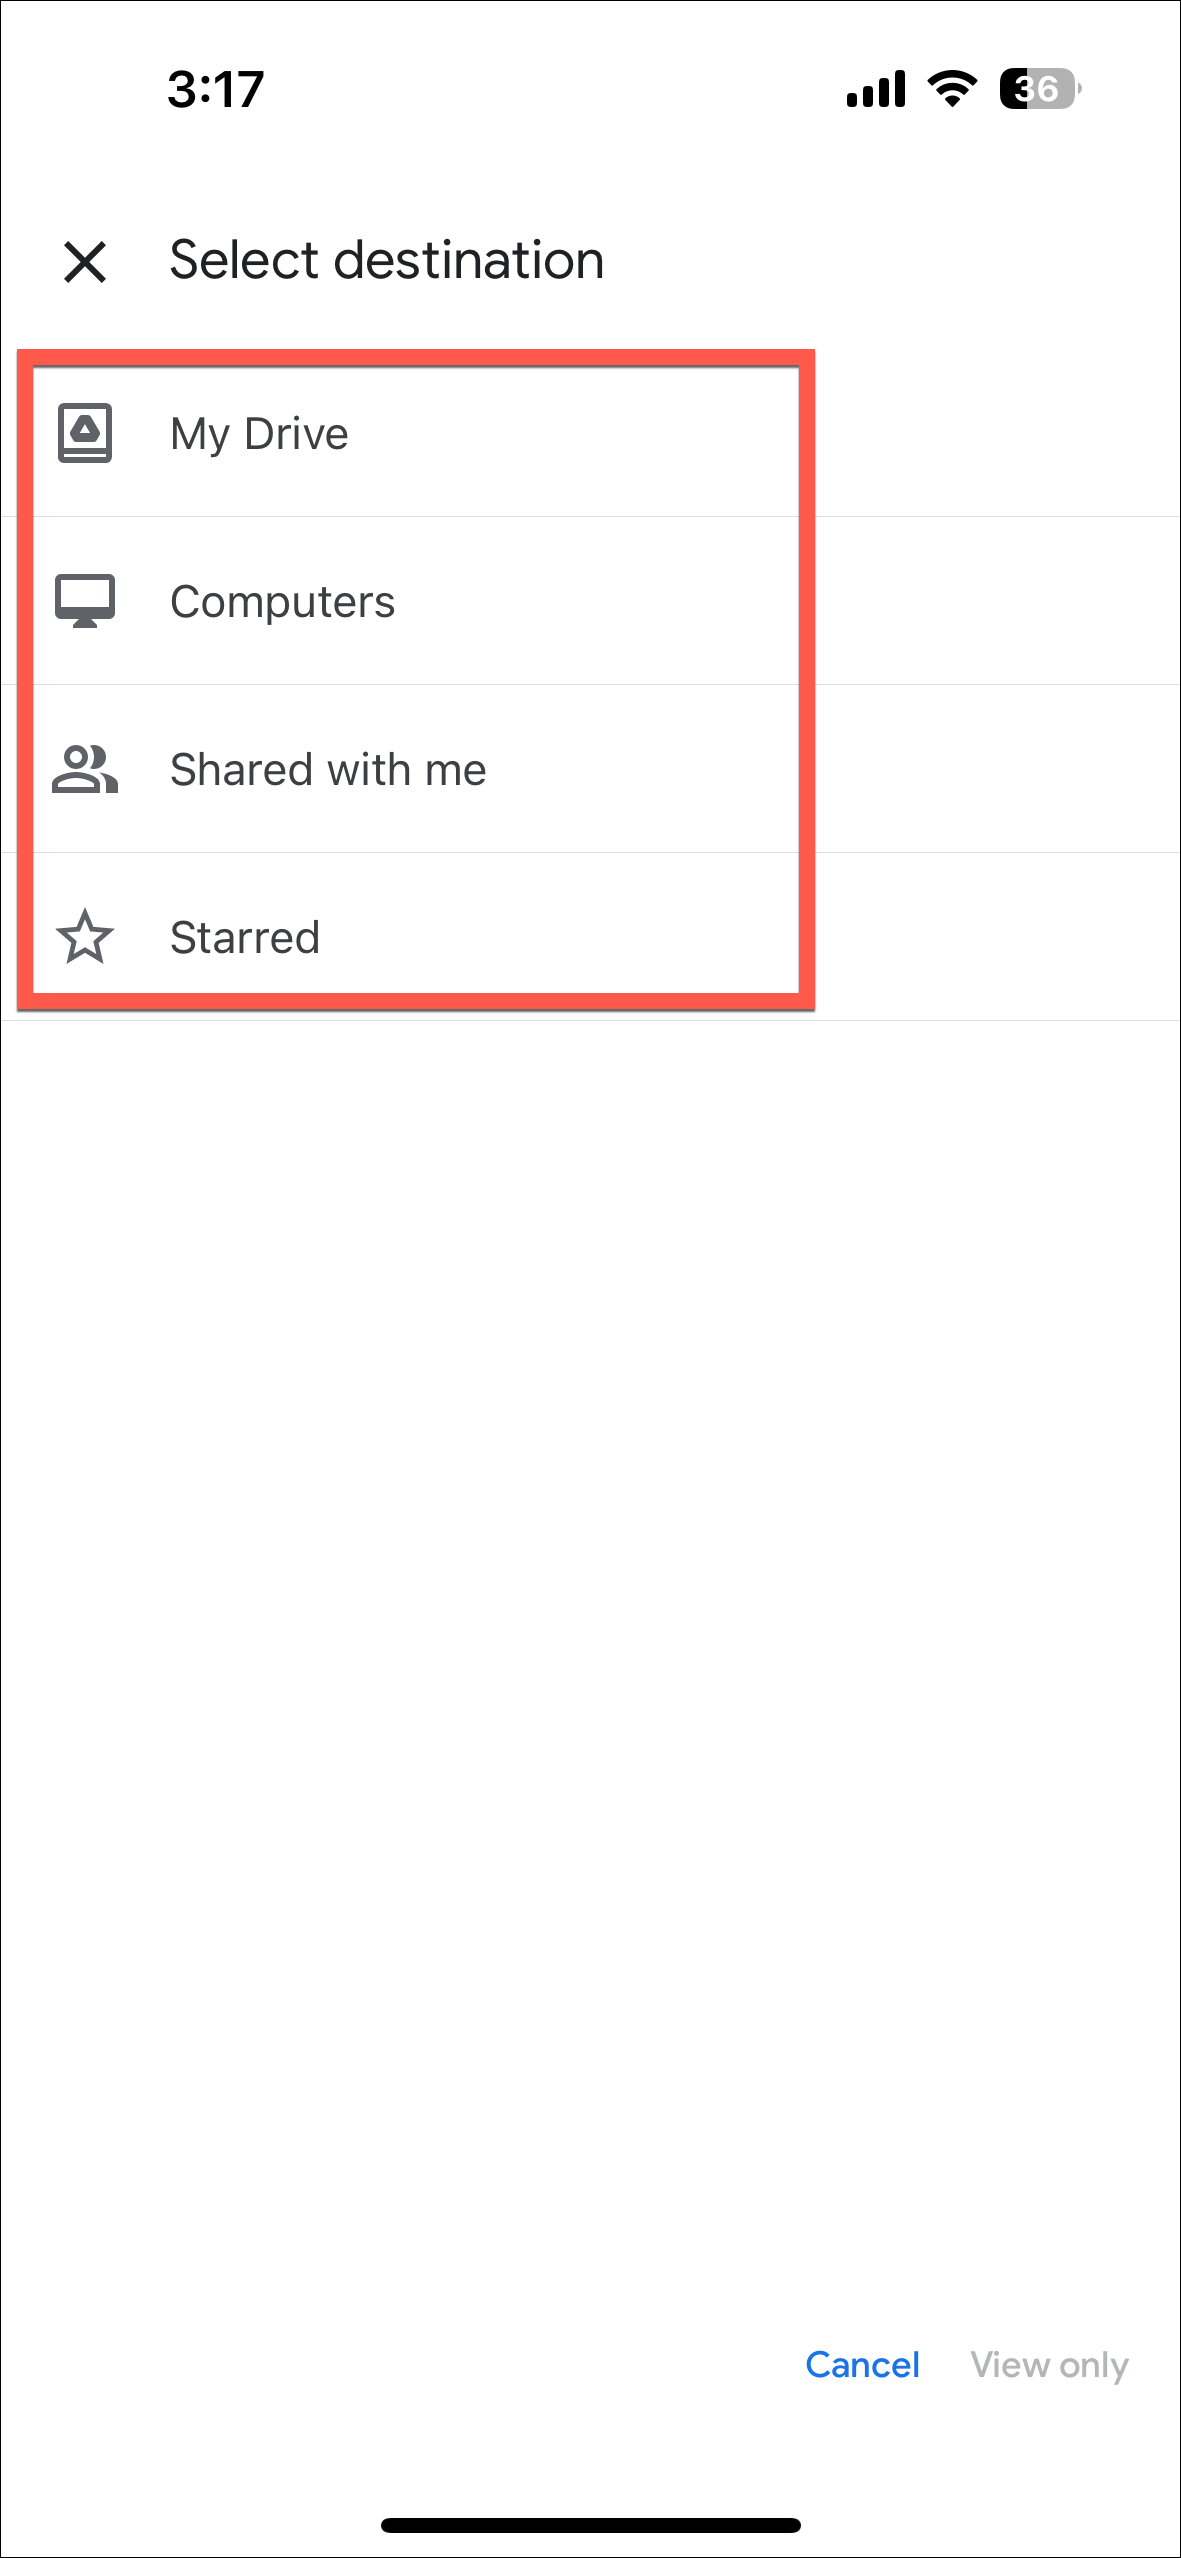
- Then, choose the destination where you want to save the PDF.
- Tap the ‘Save’ button to upload the scanned document to Google Drive.
Google Drive’s new document scanning feature for iOS makes it incredibly simple and convenient to digitize documents on the go. This eliminates the hassle of scanning documents with another scanner and then uploading them to Drive.


