
Contact Posters in iOS 17 have become the biggest hit of the season. Everyone wants to use them; they're that great. With Contact Posters enjoying the spotlight, some of it has also fallen on the 'My Card' feature in iPhone as it is directly responsible for creating your Contact Poster.
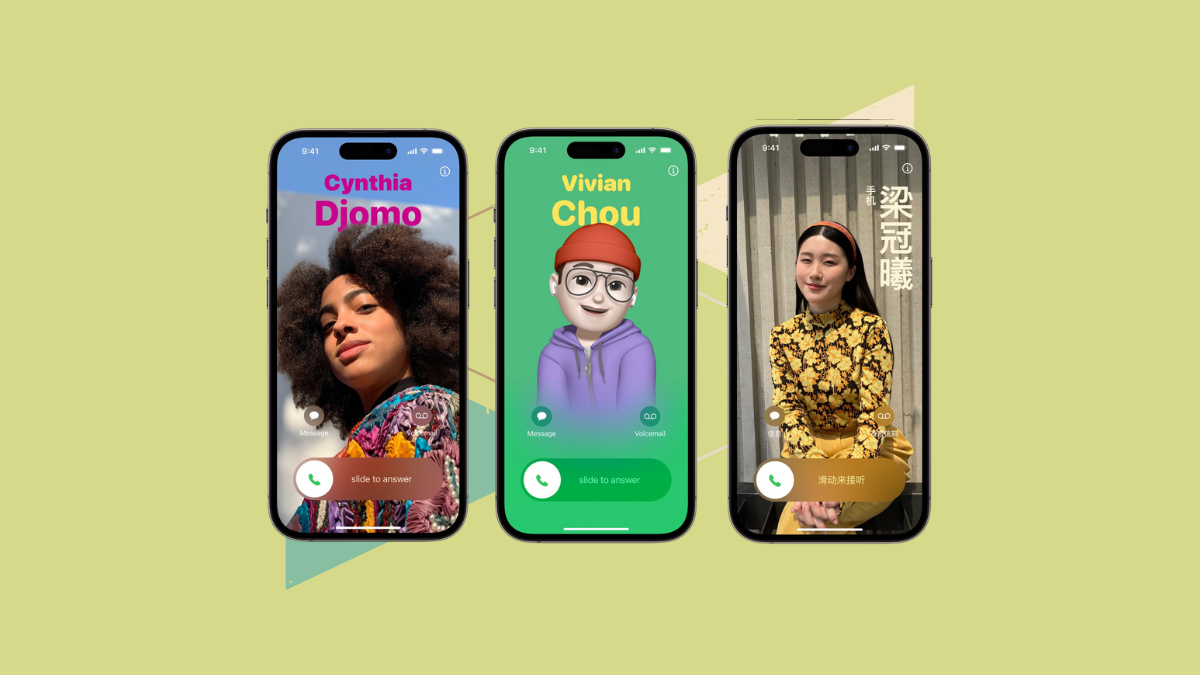
If you haven't yet set up 'My Card' on your iPhone, this simple guide will take you through the process.
Setting Up My Card in Contacts
iPhone automatically uses your Apple ID to create your contact card, so it doesn't take much time to set up 'My Card' on your iPhone. But you can further set it up by adding or editing your details. If this is your first time setting up your Contact card, you need to head to the Contacts app.
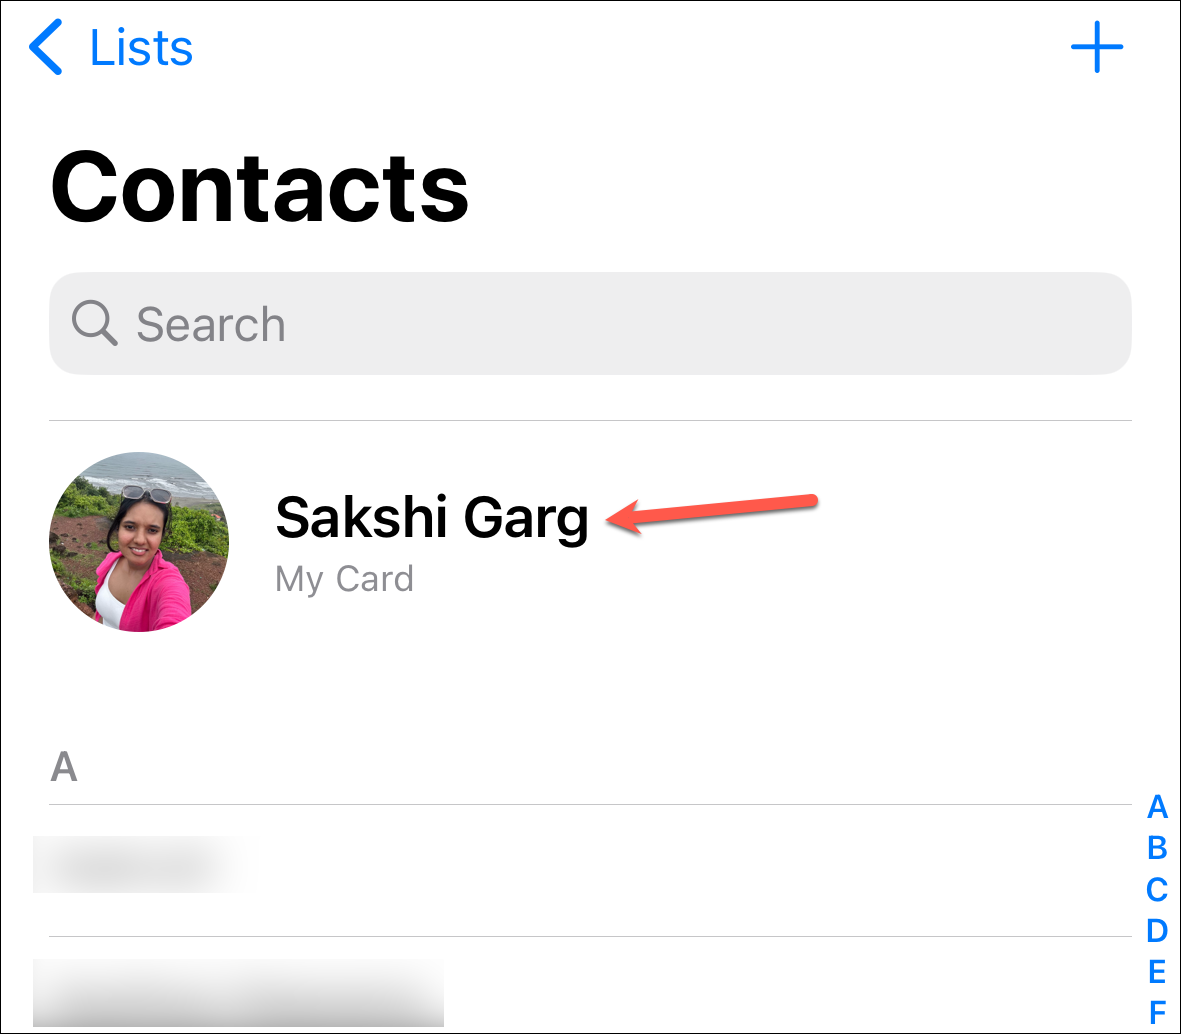
- Open the Contacts app.
- Then, tap 'My Card' at the top (scroll up if you aren't at the top).
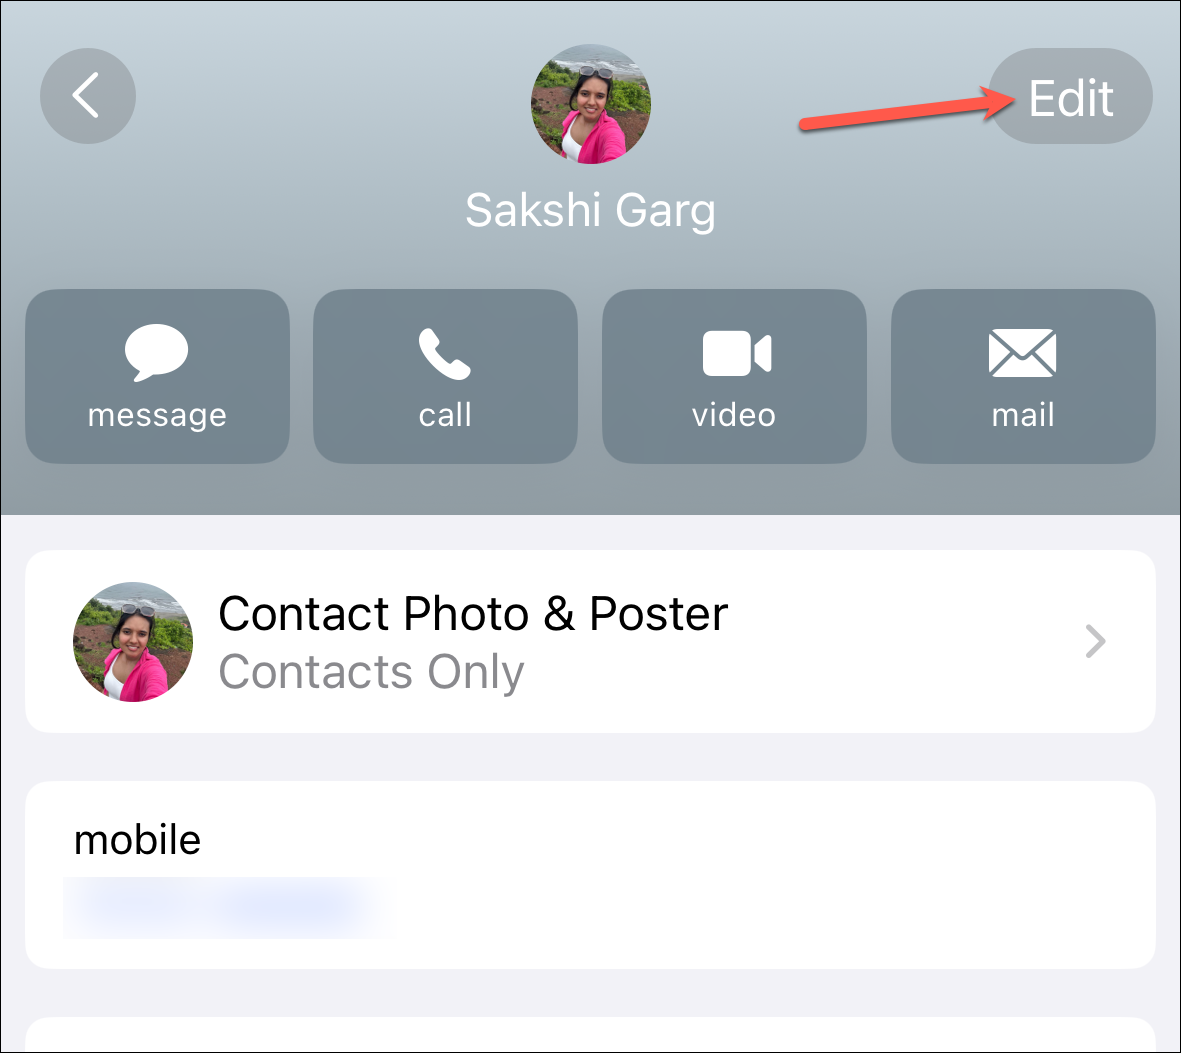
- Now, once you've opened your card, tap 'Edit' at the top-right corner of the screen.
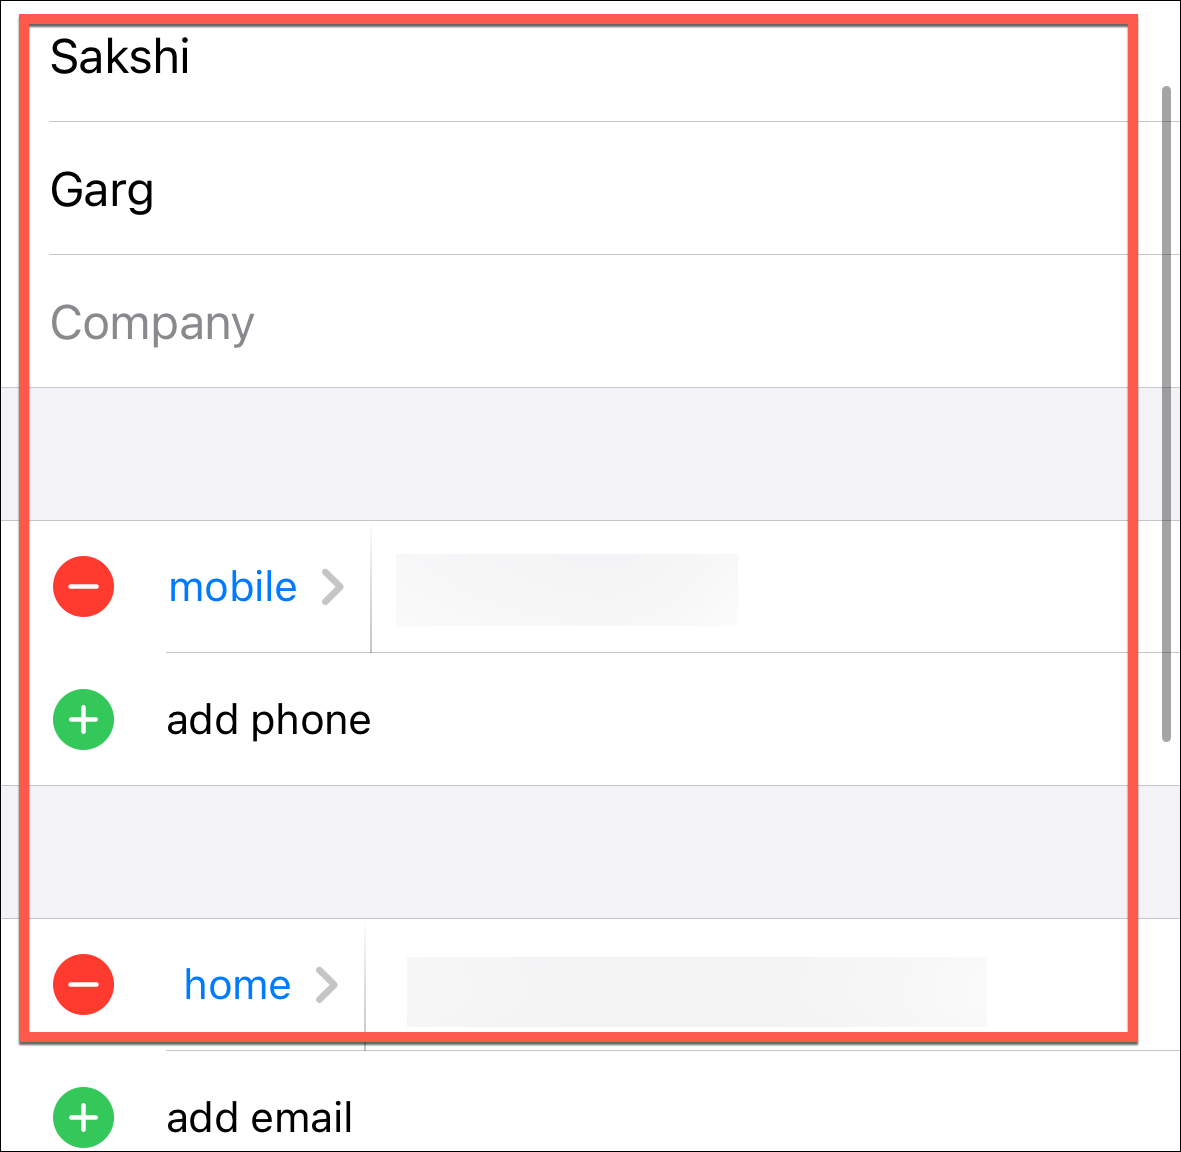
- You can enter information about yourself that you want. This includes your First Name, Last Name, Company, phone number, email address, home address, birthday, etc. With iOS 17, you can also edit your contact photo and poster and your pronouns in your contact card.
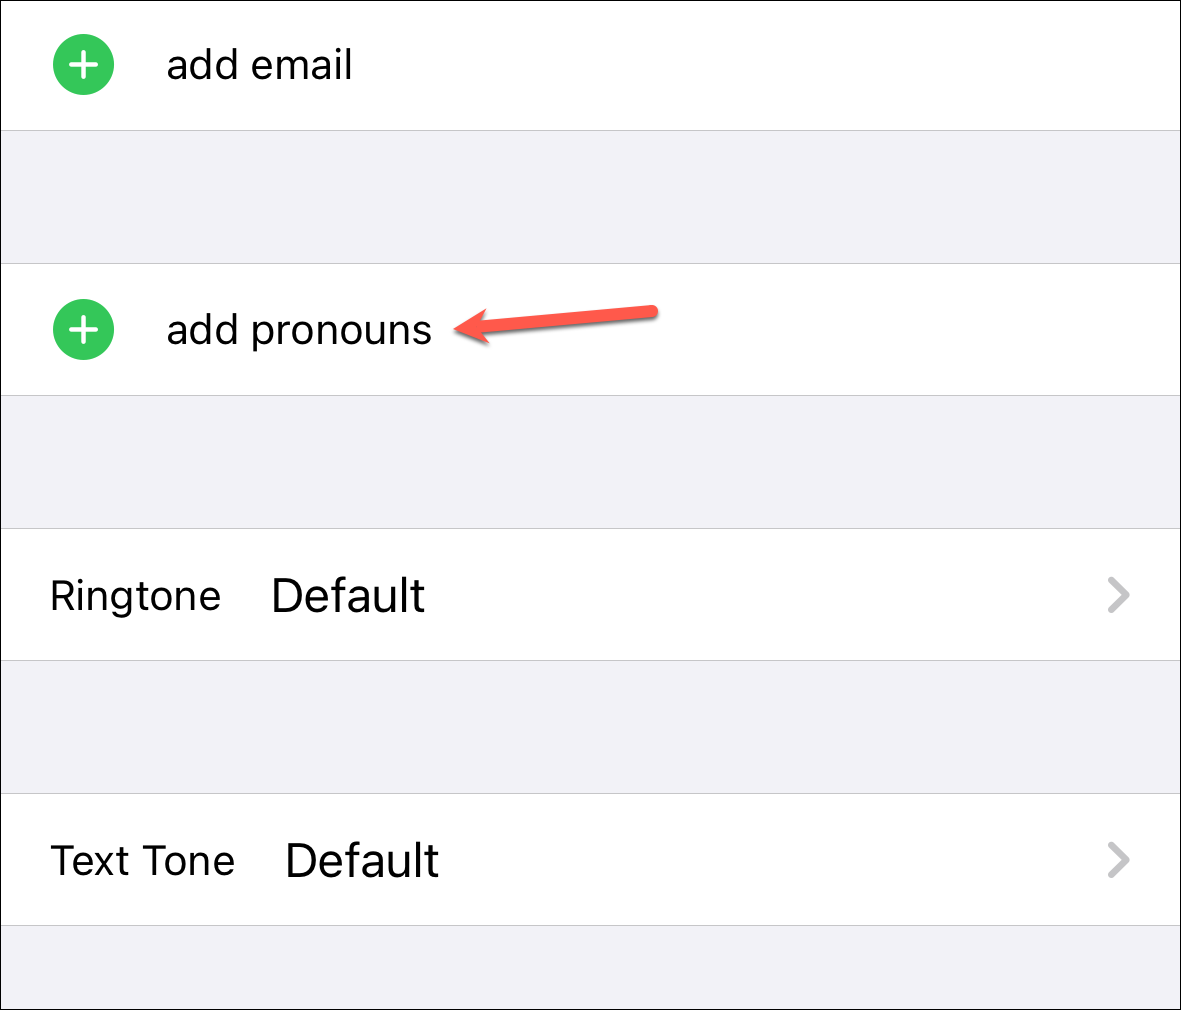
- For example, to add your pronouns, tap the 'add pronouns' field.
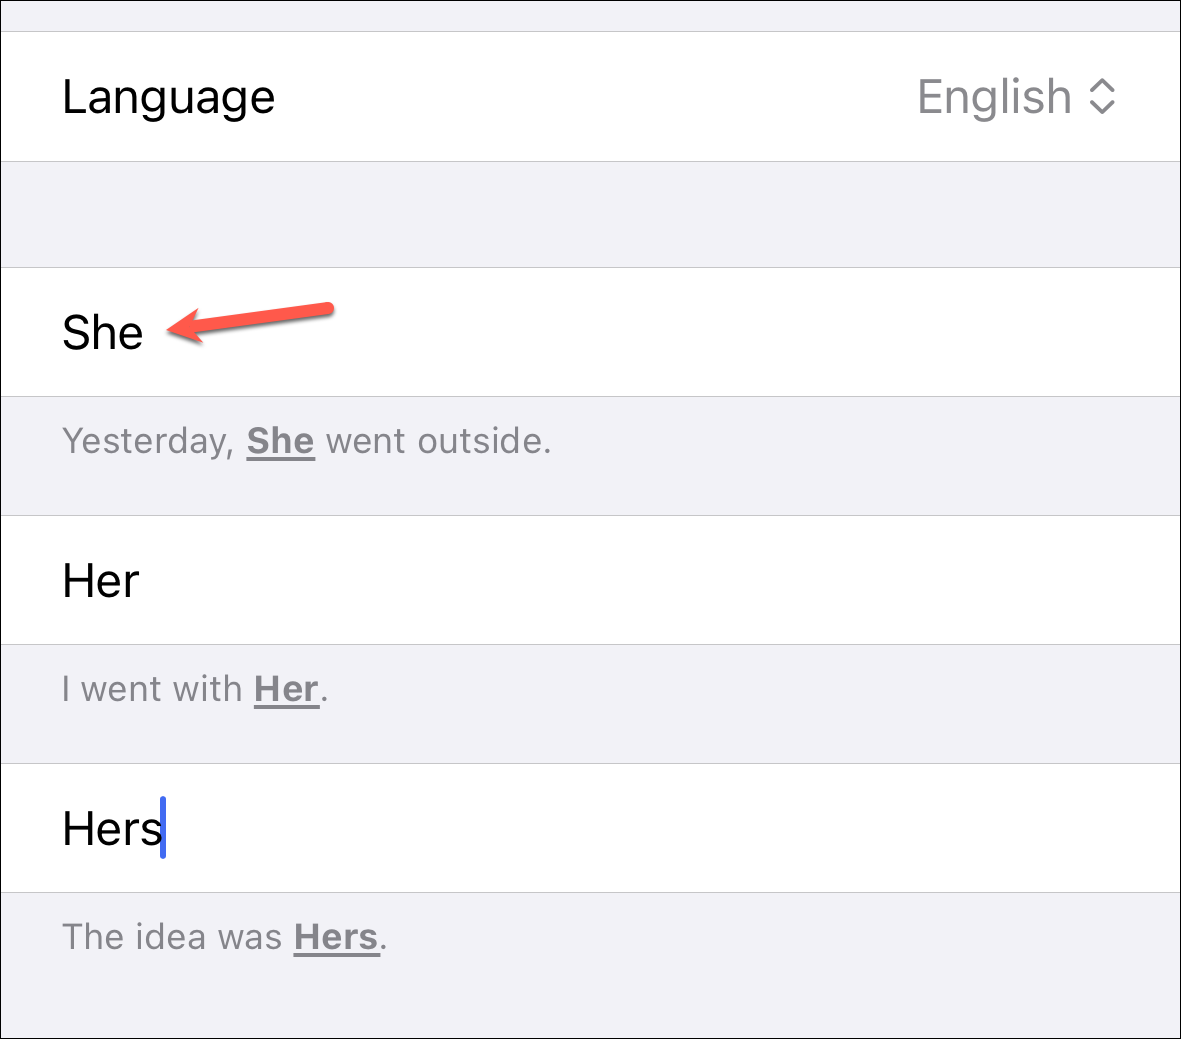
- Then, you can add your pronouns, like she/her/hers, he/him/his, or they/them/theirs in the respective fields.
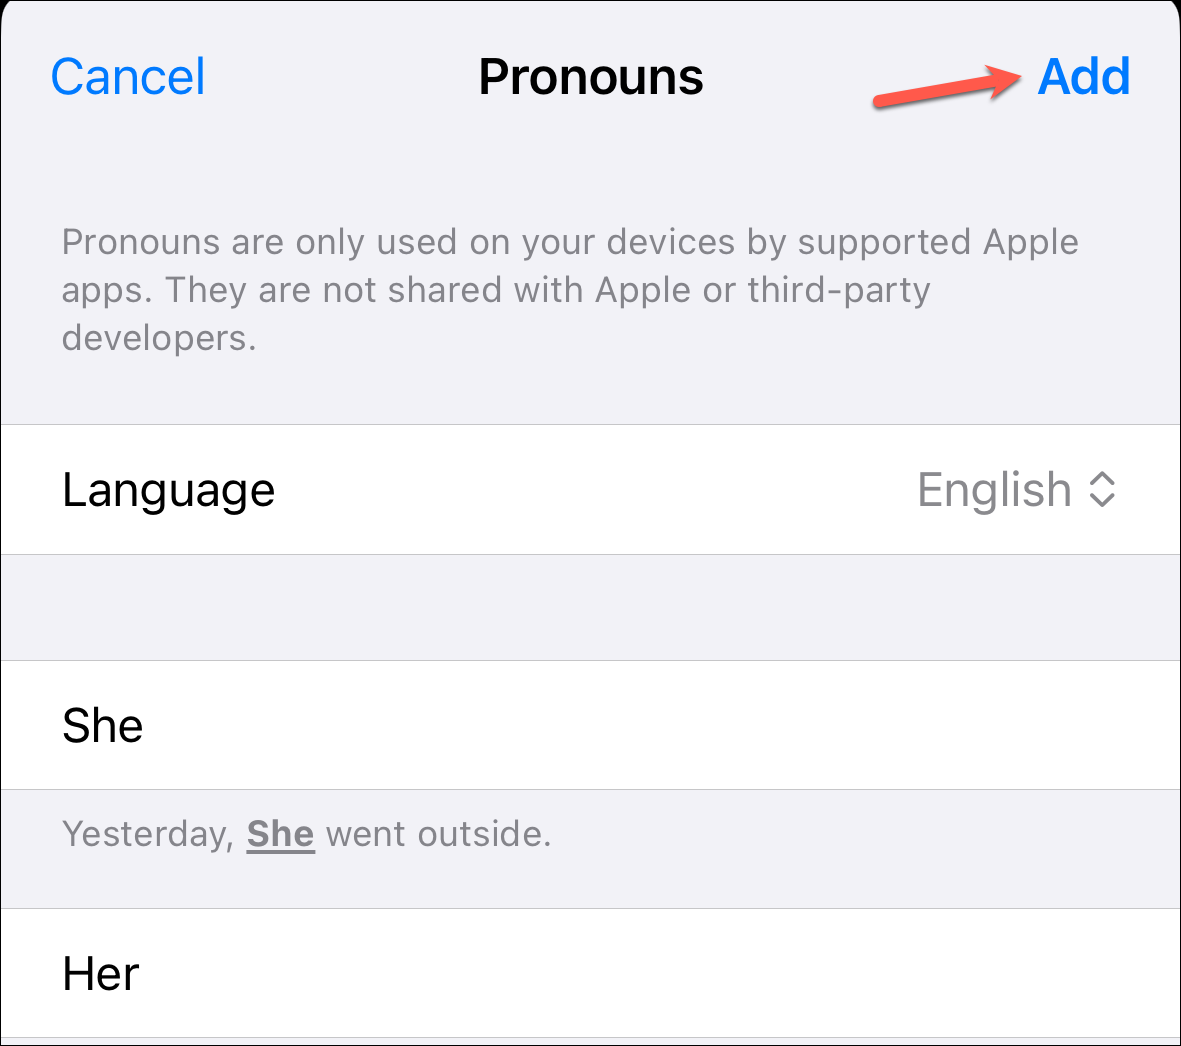
- Tap 'Add' in the upper-right corner of the screen.
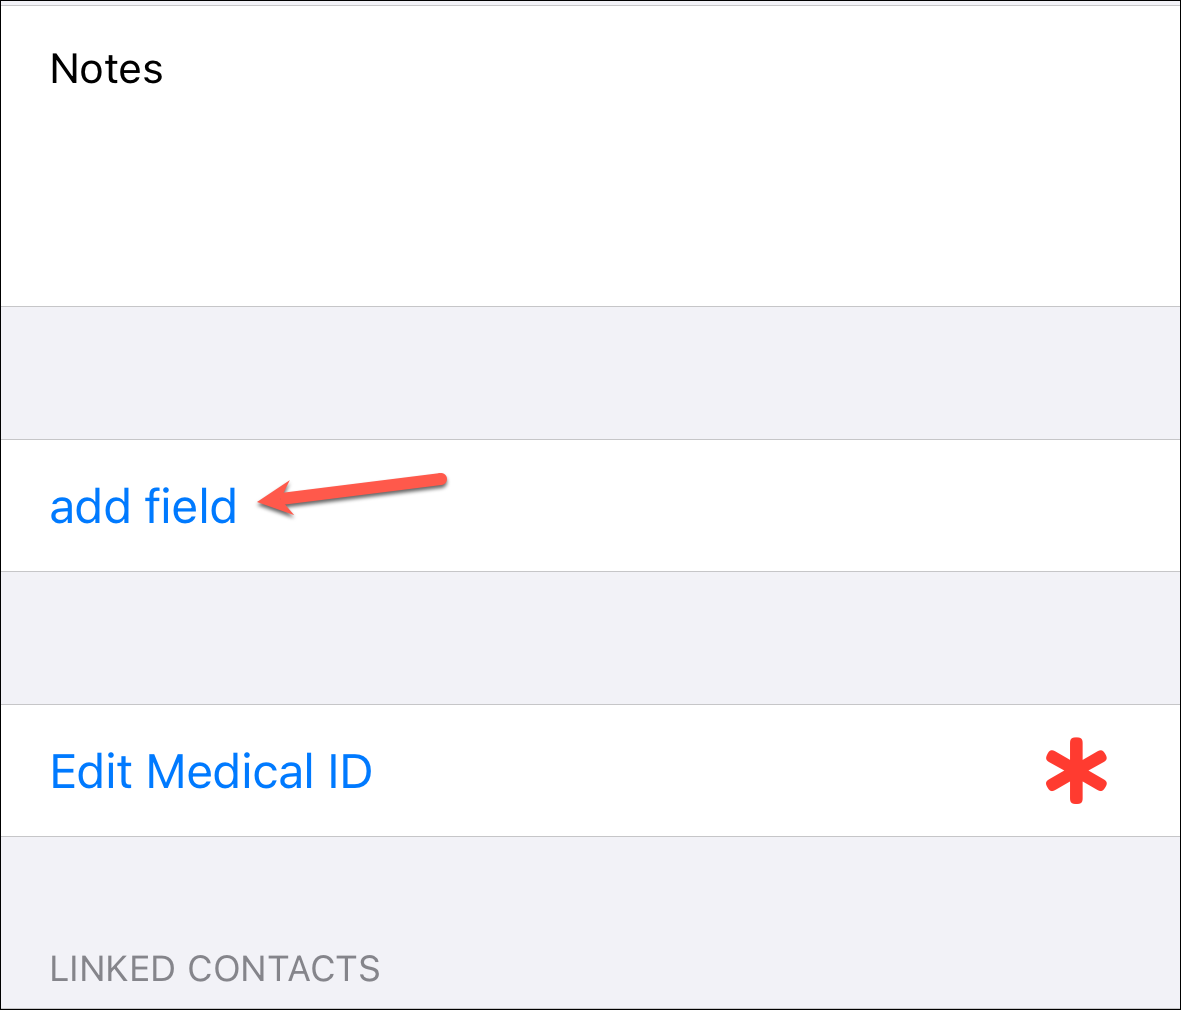
- The information that you want to add to your card is entirely up to you. You can even add more fields than are shown by default by tapping the 'add field' option.
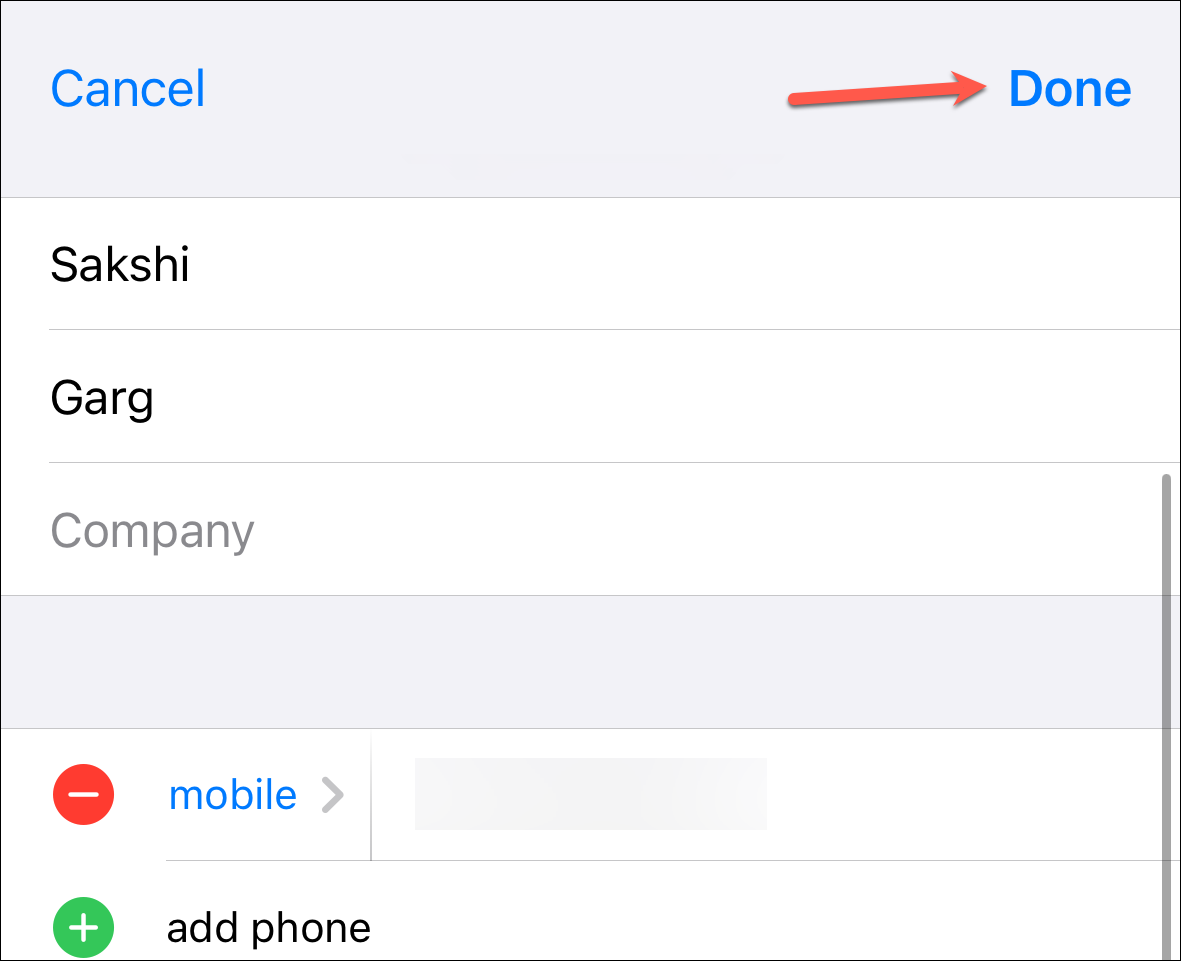
- After adding all the relevant information to the contact card, tap 'Done'.
Set Up New Contact as 'My Card'
If there is no 'My Card' at the top in the Contacts app, that's fine. You can easily create a new contact and set it up as 'My Card' for yourself.
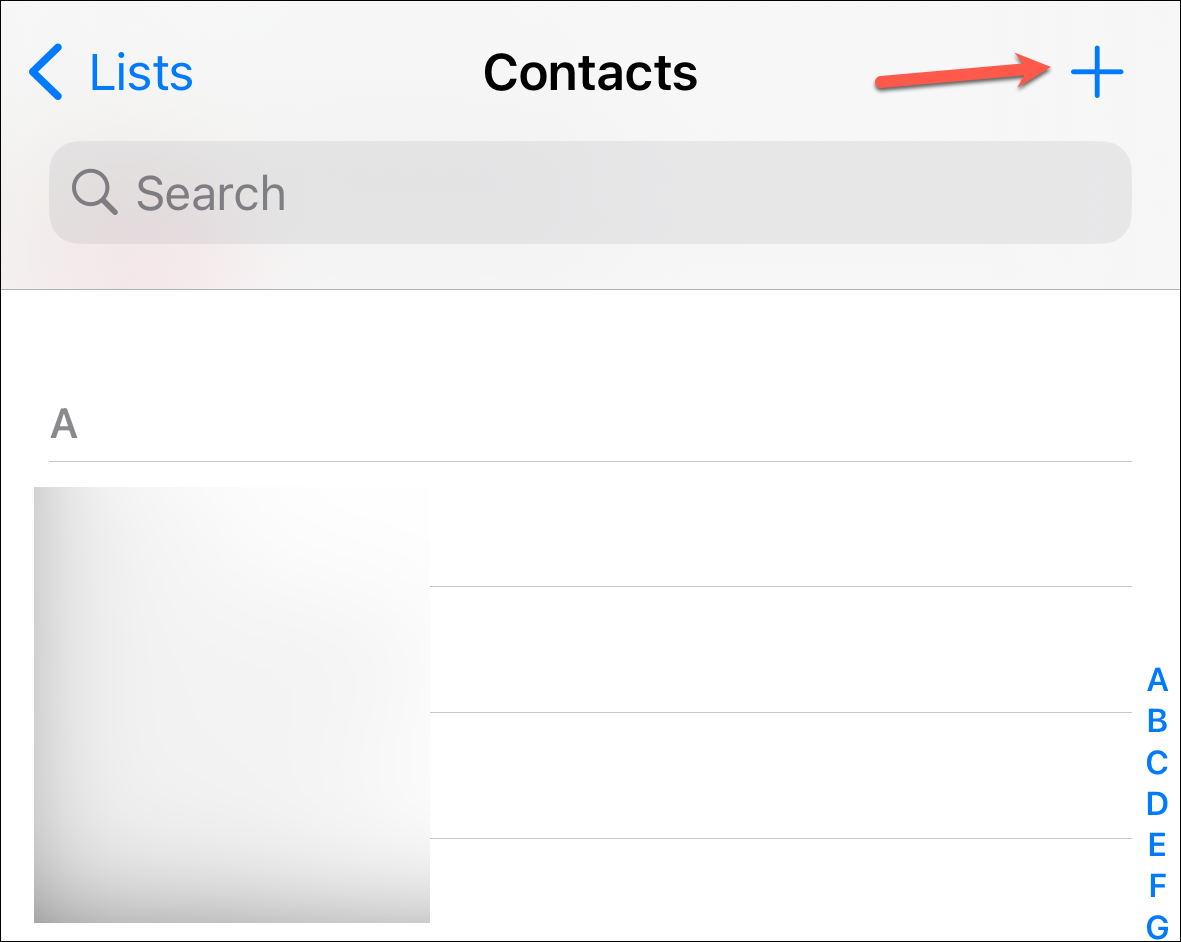
- Tap the '+' option to create a new contact.
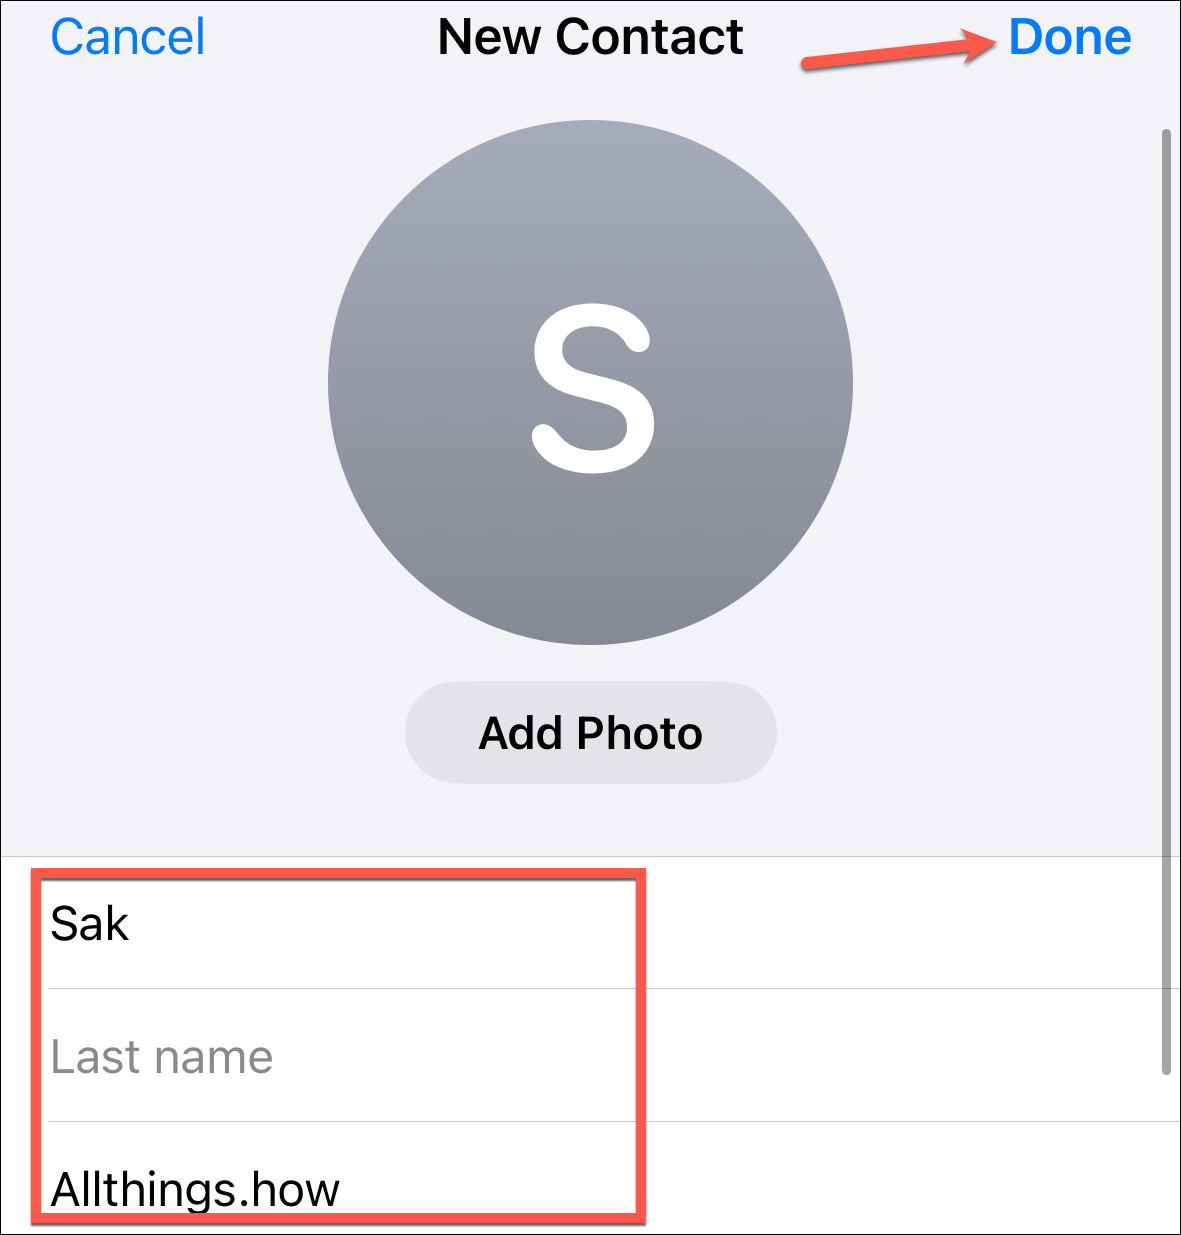
- Then, on the 'New Contact' page, enter your information (first name, last name, phone number, email address, etc.) and tap 'Done' to save this contact. Don't worry, you can always edit this information or add new information later by following the steps above.
- Now, return to the contact you just created from the Contact list and tap and hold it. From the options that appear, choose 'Make this My Card'.

It's extremely easy to set up 'My Card' on iPhone. You can now easily share it with people when you call or message them or when someone asks for your contact information, especially with the new NameDrop feature in iOS 17.