
A VPN (Virtual Private Network) enables users to securely connect to a private network over the internet as if they were directly connected to that network. Originally developed to allow remote employees access to a company’s internal network, VPNs are now widely used for various purposes, including enhancing online privacy and bypassing geographical restrictions on certain websites.
WireGuard is a modern VPN protocol that is lightweight, simple, and offers superior performance compared to traditional VPN protocols like OpenVPN and IPSec. It has implementations for Windows, macOS, and numerous Linux distributions, including Ubuntu 20.04, where it’s available through the official repositories.
This guide provides detailed instructions on setting up a WireGuard VPN server on a Ubuntu 20.04 machine and configuring a client on another Ubuntu 20.04 system.
Installation
We’ll begin by installing WireGuard on both the server and client machines. The wireguard package includes both the server and client components.
sudo apt install wireguardServer Configuration
Generating Security Keys
sudo su
cd /etc/wireguard
umask 077
wg genkey | tee private_key | wg pubkey > public_key
This sequence of commands does the following:
- Switches to the root user to ensure proper permissions.
- Navigates to the
/etc/wireguarddirectory, which requires elevated privileges. - Sets the file creation mask to
077to ensure that new files are only accessible by the owner. - Generates a private key and saves it to
private_key, then generates a corresponding public key and saves it topublic_key.
cat private_key
cat public_key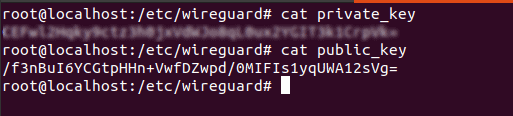
Note: Keep your private key secure and never share it publicly.
Creating the Server Configuration File
vim /etc/wireguard/wg0.conf[Interface]
Address = 10.20.43.1/24
SaveConfig = true
ListenPort = 51190
PrivateKey = <Server Private Key>
PostUp = iptables -A FORWARD -i wg0 -j ACCEPT; iptables -t nat -A POSTROUTING -o <INTERFACE_NAME> -j MASQUERADE; ip6tables -A FORWARD -i wg0 -j ACCEPT; ip6tables -t nat -A POSTROUTING -o <INTERFACE_NAME> -j MASQUERADE
PostDown = iptables -D FORWARD -i wg0 -j ACCEPT; iptables -t nat -D POSTROUTING -o <INTERFACE_NAME> -j MASQUERADE; ip6tables -D FORWARD -i wg0 -j ACCEPT; ip6tables -t nat -D POSTROUTING -o <INTERFACE_NAME> -j MASQUERADEReplace <Server Private Key> with the private key you generated earlier. The Address field specifies the VPN server’s internal IP address. Ensure that this address is on a different subnet from your server’s actual IP address.
ifconfig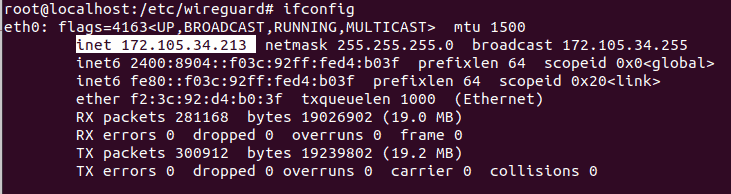
In this example, the interface is eth0. Replace <INTERFACE_NAME> in the configuration file with your actual interface name.
ufw allow 51190/udpStarting the WireGuard Service
systemctl enable wg-quick@wg0service wg-quick@wg0 startservice wg-quick@wg0 status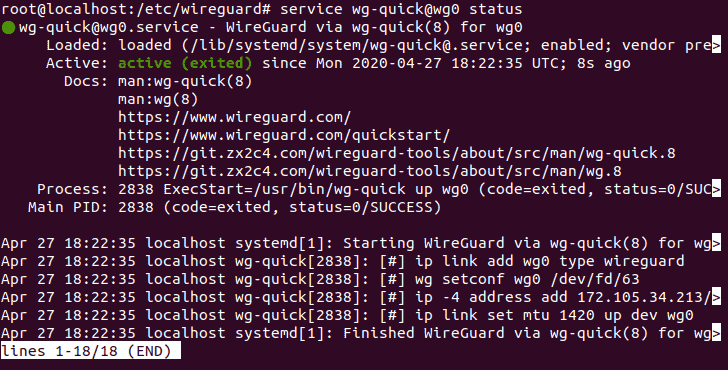
ip a show wg0
Your WireGuard server is now configured and running.
Client Configuration
Generating Security Keys
sudo su
cd /etc/wireguard
umask 077
wg genkey | tee client_private_key | wg pubkey > client_public_key
This will create client_private_key and client_public_key files in the /etc/wireguard directory.
cat client_private_keyCreating the Client Configuration File
vim /etc/wireguard/wg0-client.conf[Interface]
Address = 10.20.43.2/24
PrivateKey = <Client Private Key>
[Peer]
PublicKey = <Server Public Key>
Endpoint = <Server IP Address>:51190
AllowedIPs = 0.0.0.0/0, ::/0Replace <Client Private Key> with the private key you just generated. The Address field should be a unique IP in the same subnet as the server’s VPN address (e.g., 10.20.43.2/24).
Under [Peer]:
- Replace
<Server Public Key>with the public key generated on the server. - Set
Endpointto the server’s public IP address and the listening port. AllowedIPsspecifies all traffic should be routed through the VPN.
systemctl enable wg-quick@wg0-client
service wg-quick@wg0-client startservice wg-quick@wg0-client status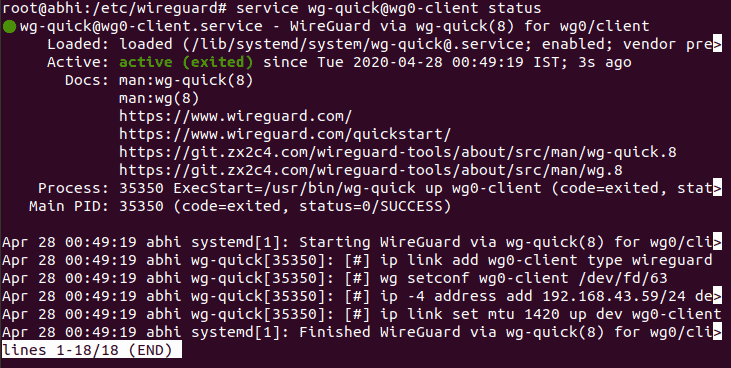
Adding the Client as a Peer on the Server
To establish a secure tunnel, the server needs to recognize the client as a peer.
service wg-quick@wg0 stopvim /etc/wireguard/wg0.conf[Peer]
PublicKey = <Client Public Key>
AllowedIPs = 10.20.43.2/32Replace <Client Public Key> with the client’s public key generated earlier.
service wg-quick@wg0 startTesting the VPN Connection
With both the server and client configured, it’s time to test the VPN connection.
ping 10.20.43.1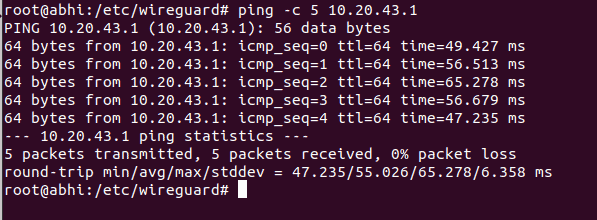
Successful replies indicate that the VPN tunnel is functioning.
wget:wget http://example.com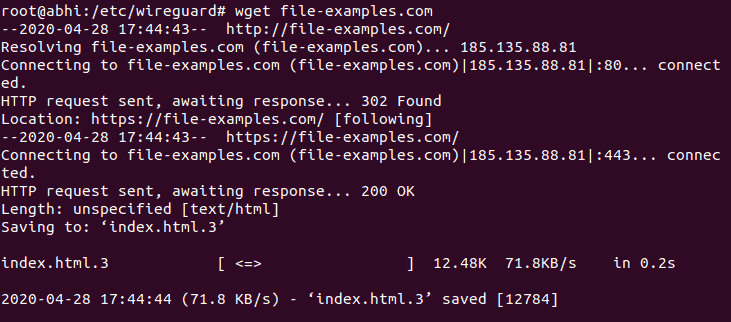
curl https://ipinfo.io/ip
The output should display the server’s public IP address, indicating that your internet traffic is being routed through the VPN server.
By following these steps, you’ve successfully set up a WireGuard VPN server and client on Ubuntu 20.04. WireGuard’s simplicity and performance make it a robust choice for secure communications over the internet. For more information on WireGuard’s features and capabilities, visit the official WireGuard website.