
Where Winds Meet has a flexible Photo Mode, but it is built primarily around framing the camera, not moving other players. Group photos are possible, yet they rely on a handful of toggles and some manual coordination rather than fine-grained pose control for everyone.
Open Photo Mode and switch to Pro mode
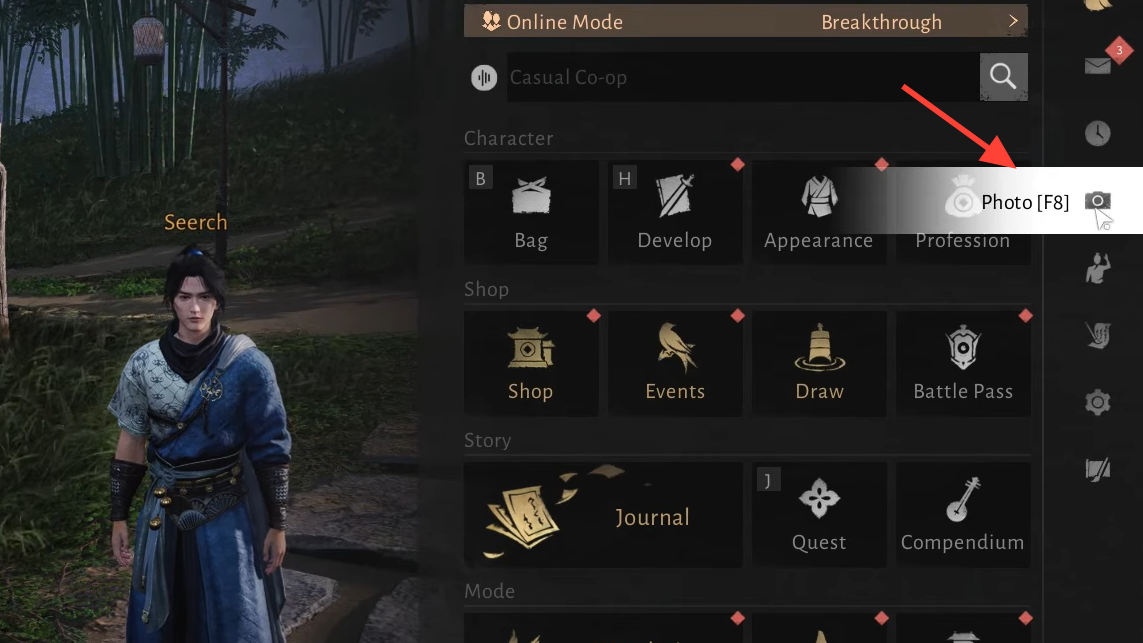
Step 1: Enter Photo Mode either by pausing the game and clicking the camera icon or by pressing F8 on keyboard. This works whether you are playing solo or in a group.
Step 2: Once Photo Mode is open, switch from Easy to Pro mode. Easy mode focuses on simple filters and a few poses; Pro mode exposes the full set of visibility, camera, and environment options that you need for group shots.
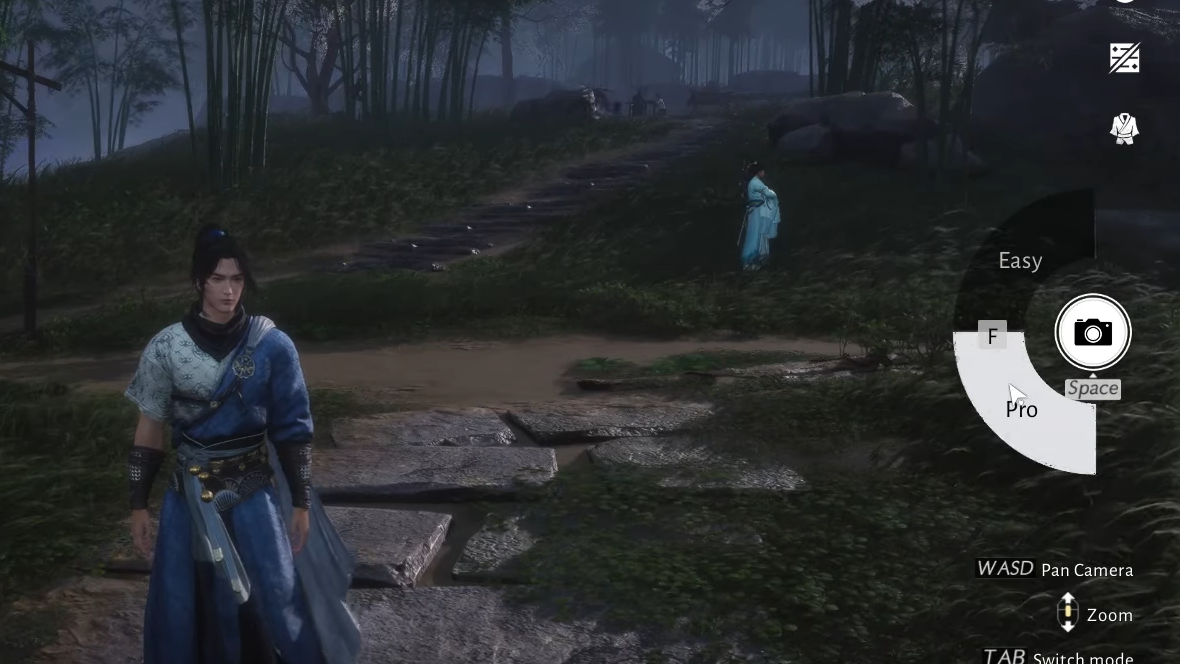
In Pro mode, you can still adjust lighting, filters, and templates, but you also gain control over weather, time of day, wind, and various hide/show toggles for characters and elements in the scene.
Make your party visible in the frame
Step 1: While in Pro mode, look at the row of icons along the bottom of the Photo Mode interface. One of these icons controls whether other players are rendered in your shot.
Step 2: Toggle the group visibility icon on. Players report this as roughly the second button in the Pro mode toolbar. When this is disabled, group members vanish from the frame, and only your own character appears, which is why some multiplayer photos look like solo shots.
Step 3: Confirm that your party members appear by panning the camera around your character. Use W, A, S, and D to move the camera, and right mouse button to orbit the view.
What you can and cannot control in group photos
Where Winds Meet lets you reposition your camera freely in Photo Mode, but it does not let one player directly move or pose other players.
- You can reposition the camera relative to the group.
- You can rotate your own character with the left mouse button.
- You can switch your own pose or emote using the pose menu.
- You cannot force a friend’s character to shift left or right.
- You cannot change another player’s emote or freeze their action.
That means composition is mostly about how you frame the scene and how well your group coordinates their own positions and emotes before you open Photo Mode.
Coordinate poses and positions before entering Photo Mode
There is no in-Photo-Mode chat, so you need to set things up while regular UI is still active.
Step 1: Decide on a spot and a background in normal gameplay. Use in-game chat or voice (Discord, etc.) to agree on the exact location and orientation, such as “everyone face the bridge, line up on the stone path.”
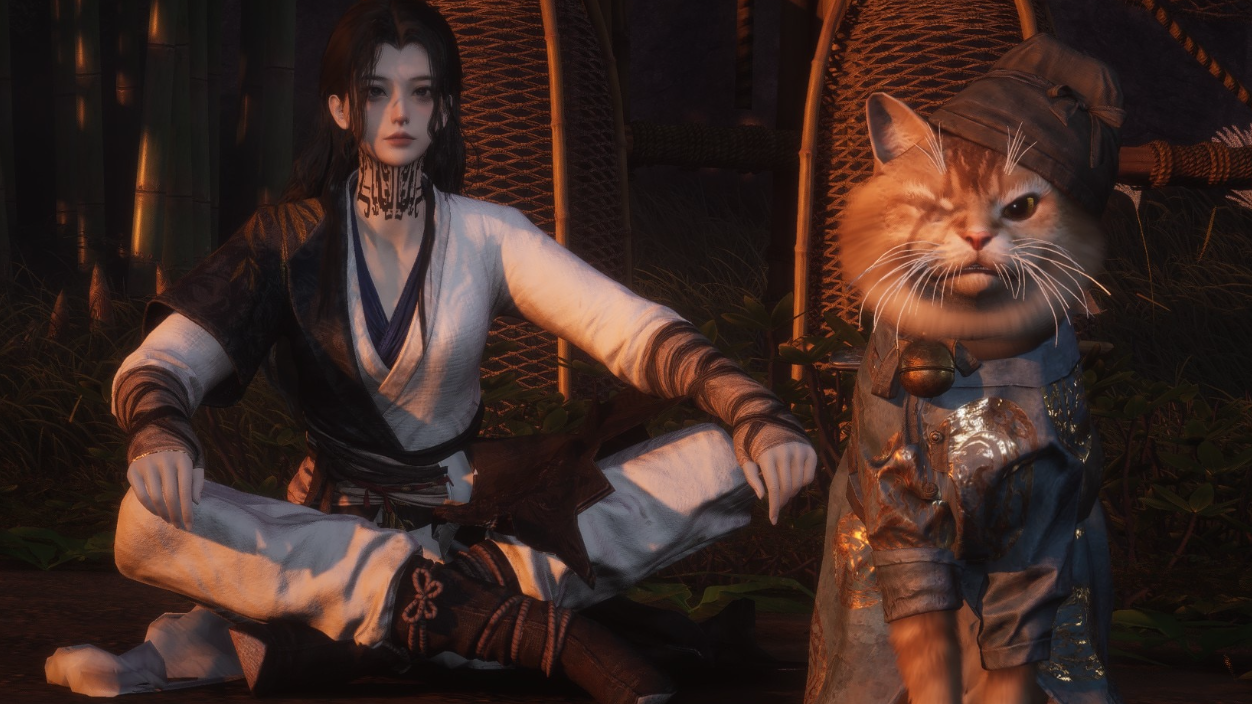
Step 2: Ask each player to choose and trigger their emote or pose in advance. For example, decide which character will use a sword stance, who will sit, and who will perform a more dynamic emote.
Step 3: Once everyone is positioned and emoting, then activate Photo Mode. Because poses and emotes are already running, you only need to fine-tune the camera framing and global settings.
Use Pro mode tools to refine the shot
With the group visible and roughly arranged, Pro mode’s tools help clean up the frame.
Step 1: Hide distractions. Use the Pro mode toggles to hide NPCs, random players, pets, or buildings that clutter the composition. Keep your party and key foreground elements visible.
Step 2: Adjust time and weather. Pro mode lets you switch time of day, lighting, weather, and wind intensity/direction. For cleaner portraits, soften harsh midday light and reduce extreme wind if it makes clothing or foliage too chaotic.
Step 3: Set camera position and focal length. Pan and orbit the camera so that all group members are in frame with comfortable headroom. A slightly longer virtual focal length (zoomed in a bit) helps avoid distortion at the edges for wide groups.
Step 4: Apply filters and templates if desired. Templates and filters can add framing elements, color grading, or community-made layouts. For large groups, choose layouts that keep faces unobstructed.
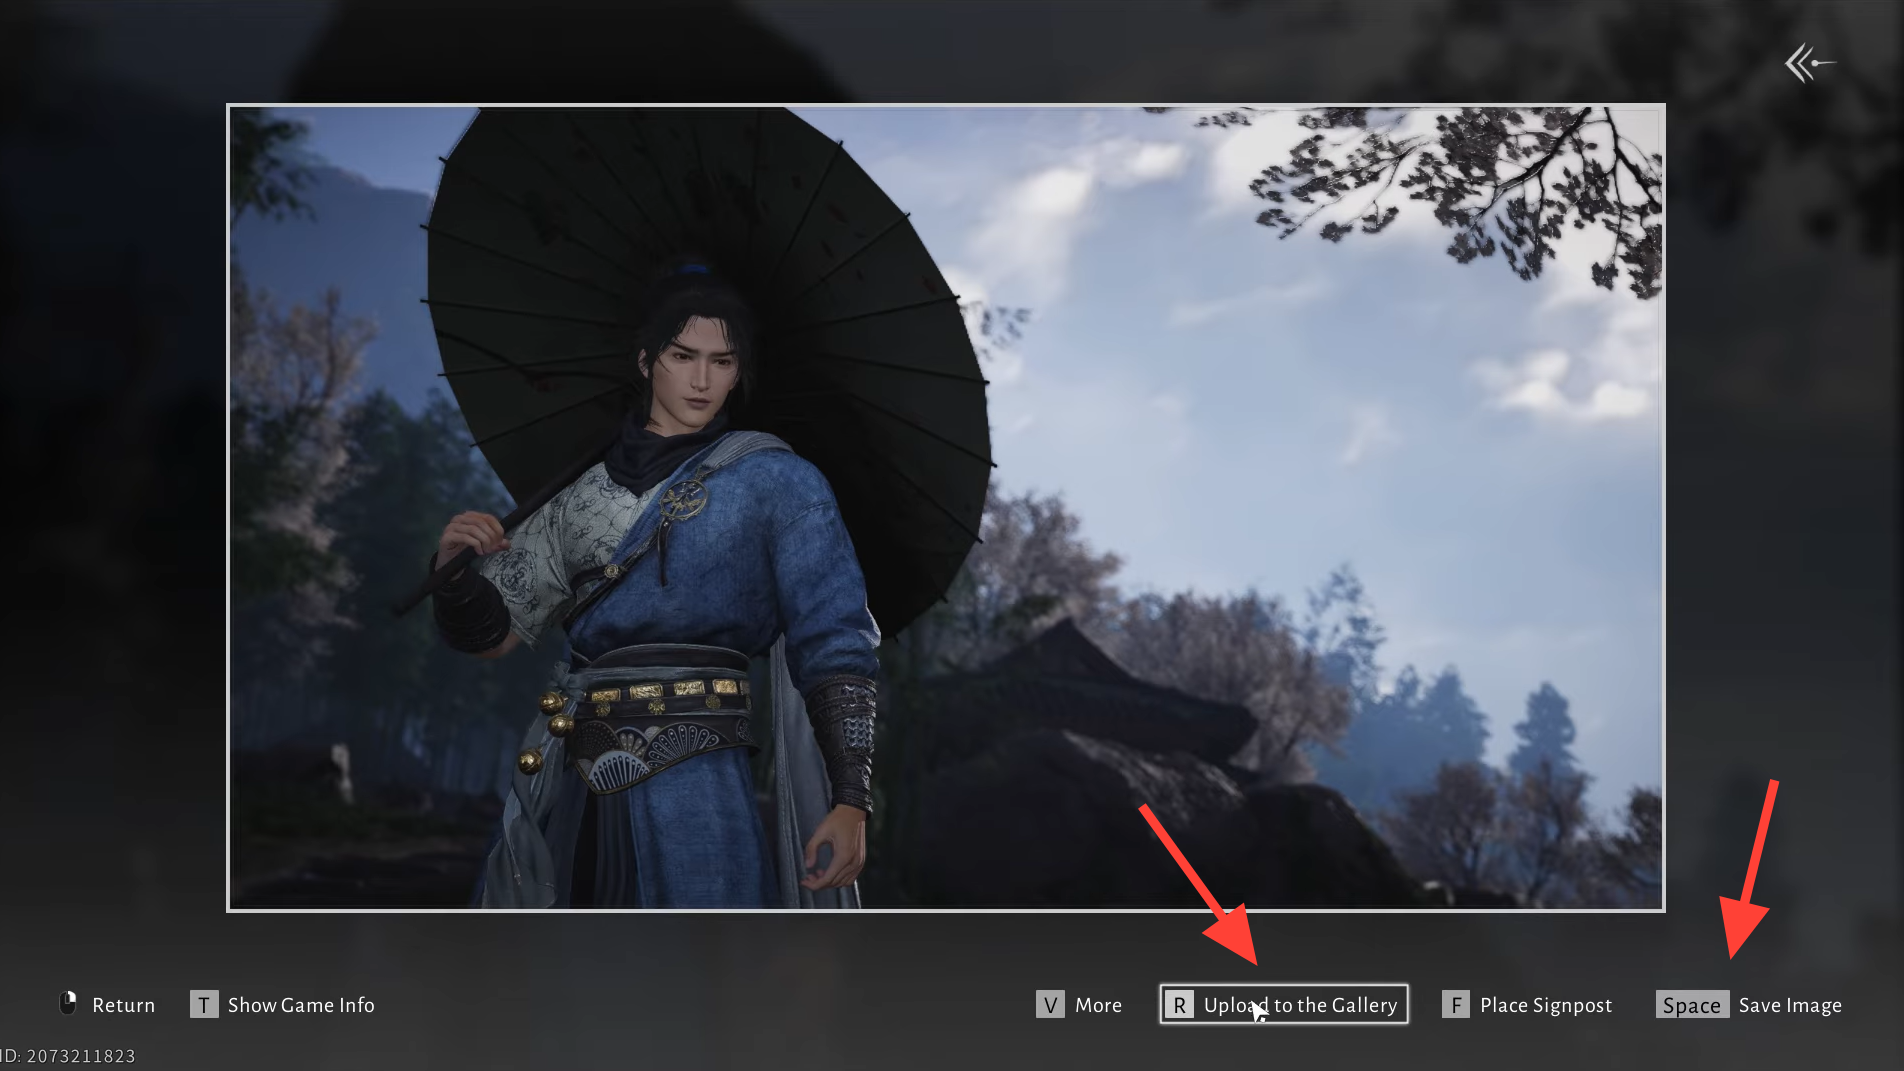
Step 5: Take the photo by pressing the space bar or clicking the camera icon. If someone blinked or emoted at the wrong time, quickly adjust and capture another frame.
Limitations of freezing emotes and complex poses
Some players would like to pause complex animations such as bridal carries or synchronized actions inside Photo Mode. At present, that kind of granular control is not exposed to the photographer.
- Bridal and similar contextual poses play out in real time; there is no separate Photo Mode “freeze frame” for them.
- Photo Mode does not include per-player playback controls (pause, rewind, frame advance) for these animations.
- Capturing them is a timing exercise: trigger the action in normal gameplay, then enter Photo Mode or fire the shutter at the moment you want.
For now, treat elaborate duo animations like live-action photography: rehearse once or twice, count down together, and capture multiple frames around the key moment rather than expecting a perfect static freeze.
Saving and sharing group screenshots
After snapping a group photo, the game can either save it via the built-in system or leave the image capture to external tools.
Step 1: If you rely on the in-game save option, use the “save” or “submit” functions shown in the Photo Mode interface. On PC, locally saved images are stored under your user profile in the roaming directory for the game.
Step 2: To use external screenshot tools (platform shortcuts or overlay software), hide the UI within Photo Mode first so menus and buttons do not appear over the image.
Step 3: Once the session is over, share the folder path with your group so everyone knows where to retrieve and edit the screenshots.
Group photography in Where Winds Meet leans on camera craft and player coordination rather than direct puppeteering of everyone in the shot. Enable the Pro mode group toggle, agree on poses before you open the camera, and treat complex emotes as moments to time carefully. With that workflow, the game’s powerful camera tools are enough to capture consistent, clean group portraits.