
Accidentally toggling overtype mode by pressing the Insert key can disrupt document editing, causing new text to overwrite existing content. On Windows 11, this legacy function remains active by default, even though most applications rarely require it. Disabling the Insert key streamlines text input, reduces editing mistakes, and helps maintain consistent document formatting.
Disable the Insert Key Using SharpKeys
Step 1: Download and install SharpKeys from its official website or the Microsoft Store. SharpKeys is a free, trusted utility for remapping or disabling keys on your keyboard. It works by writing changes directly to the Windows registry, so no background process is required after configuration.
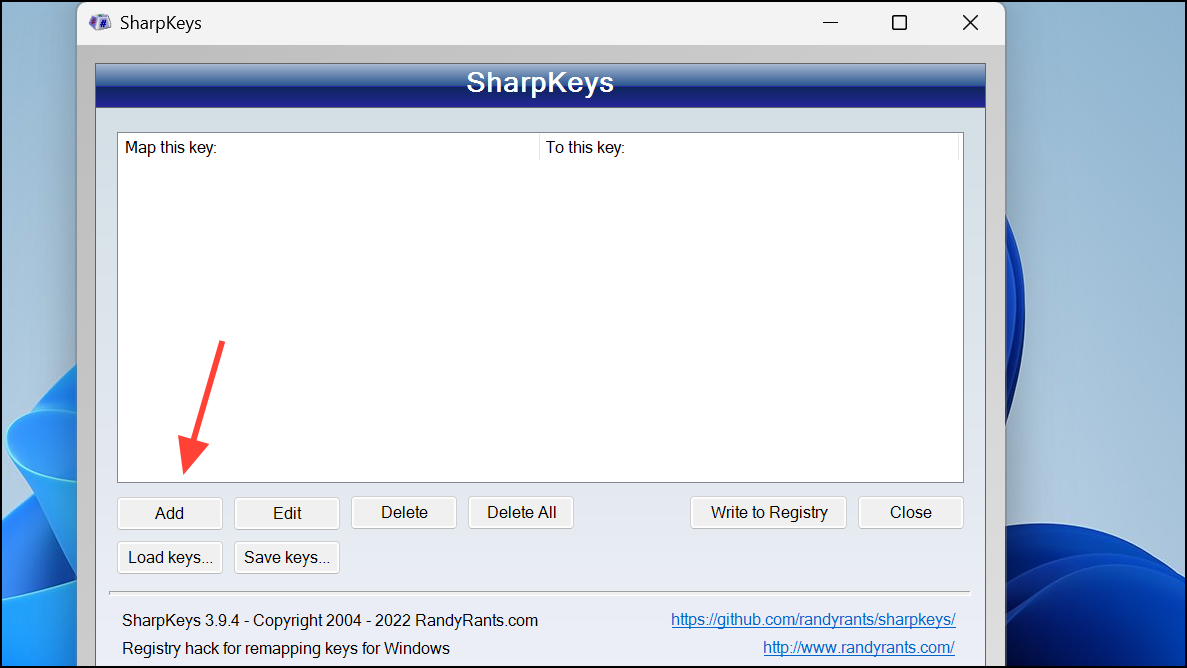
Step 2: Open SharpKeys and click the “Add” button to create a new key mapping. In the “Map this key (from key)” column, choose Insert from the list. In the “To this key (to key)” column, select “Turn Key Off.” This mapping tells Windows to ignore the Insert key press entirely.
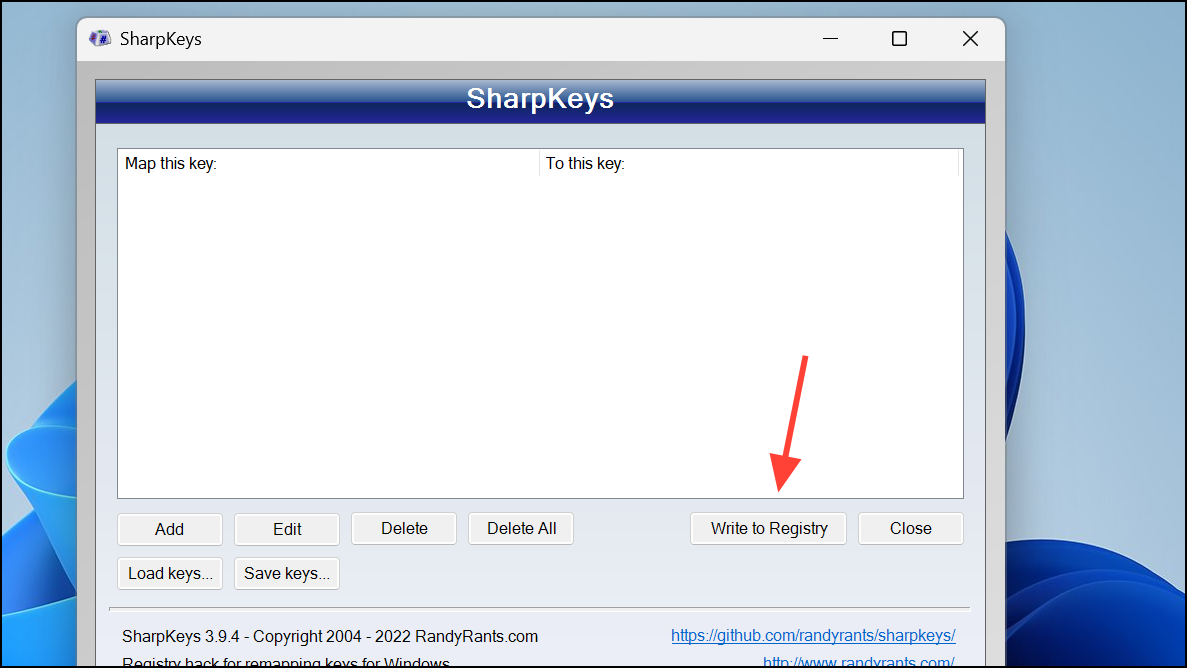
Step 3: Click “OK” to confirm the mapping, then click “Write to Registry.” This action updates your system registry with the new key mapping. A system restart is required for the changes to take effect.
Step 4: Restart your computer. After rebooting, the Insert key will no longer function, preventing accidental toggling of overtype mode across all applications.
Remap the Insert Key Using Microsoft PowerToys Keyboard Manager
Step 1: Install Microsoft PowerToys from the Microsoft Store or the official GitHub releases page. PowerToys is a suite of advanced utilities for Windows users, including a Keyboard Manager for remapping keys.
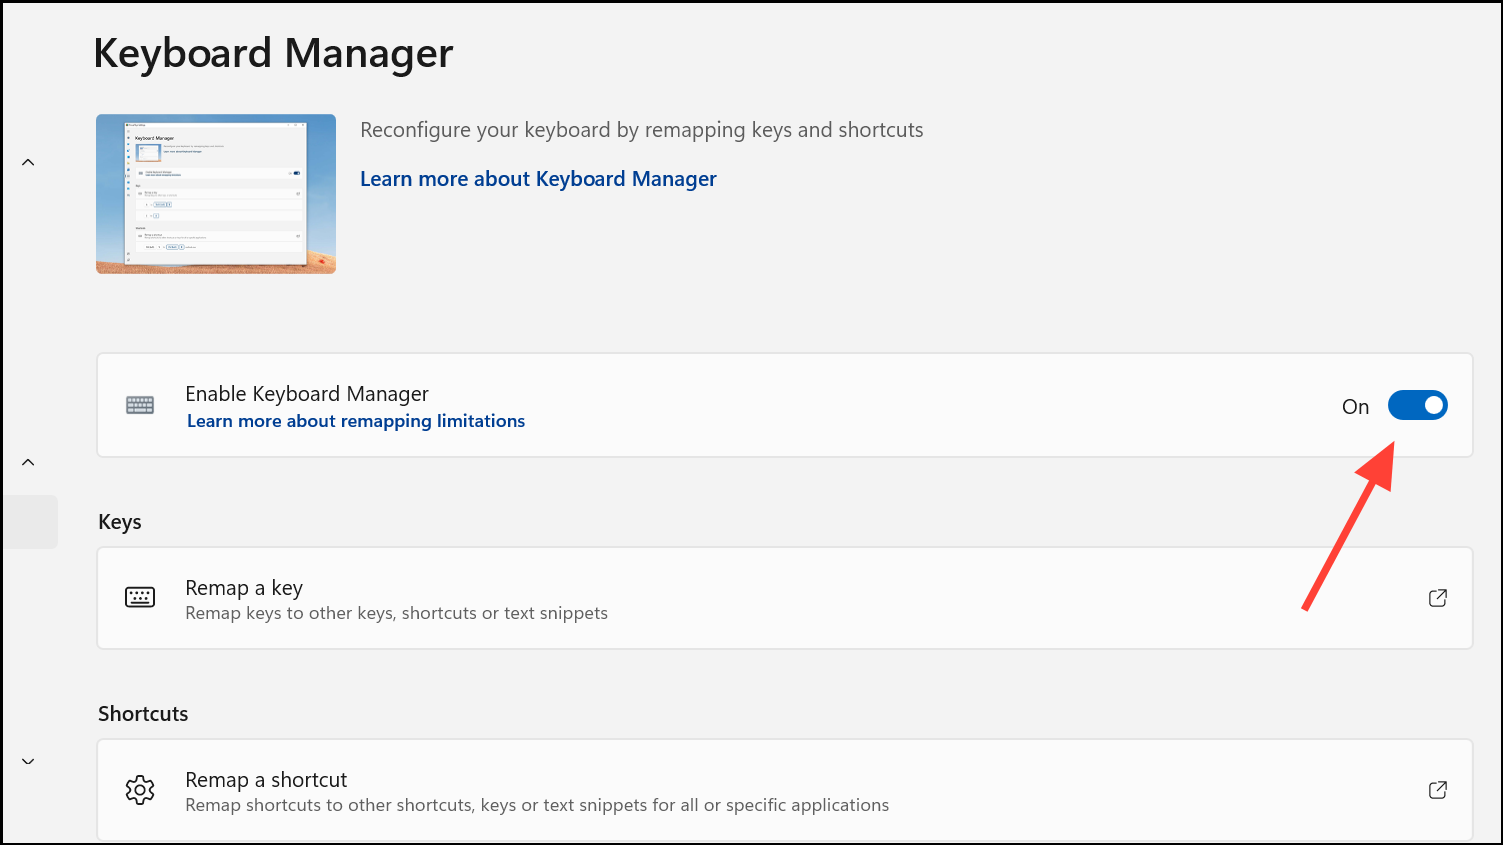
Step 2: Open PowerToys and select “Keyboard Manager” from the sidebar. Enable the “Enable Keyboard Manager” toggle if it is not already active.
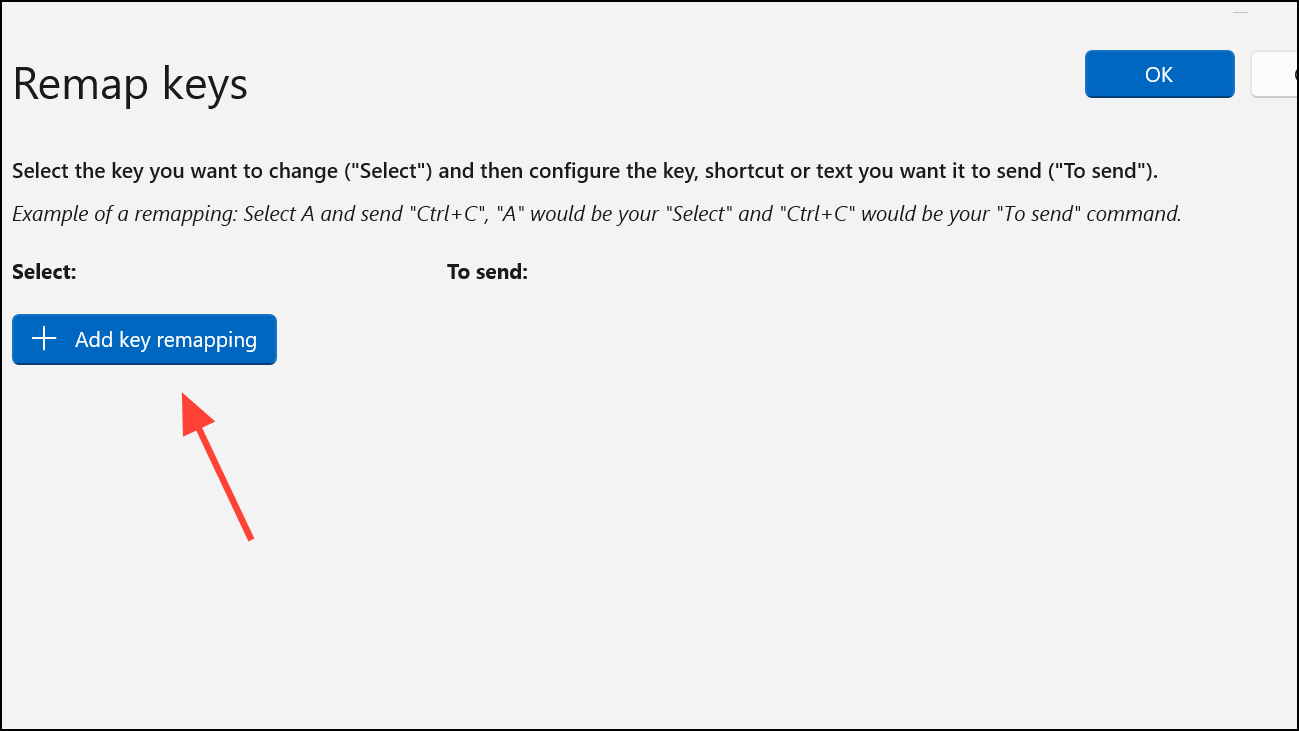
Step 3: Click “Remap a key.” In the remapping window, click the plus (+) button to add a new remap. In the “Key” column, select Insert. In the “Mapped To” column, select “Undefined” or “None” to disable the key’s function.
Step 4: Click “OK” or “Apply” to save the changes. The Insert key will now be disabled as long as PowerToys is running in the background. Note that this method requires PowerToys to remain active for the remapping to work.
Disable the Insert Key Using Registry Editor
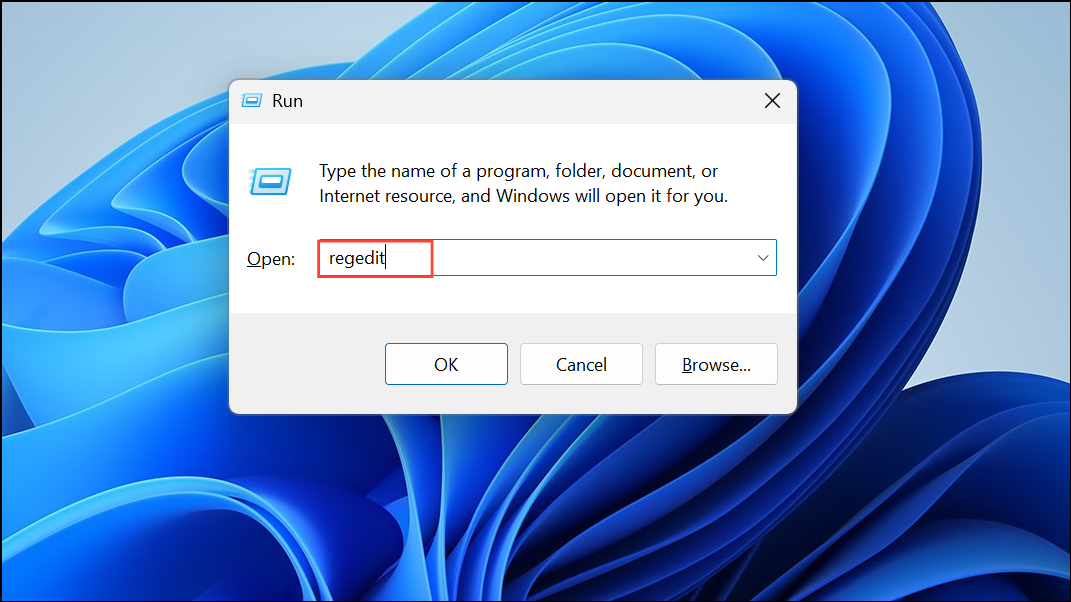
Step 1: Press Windows + R to open the Run dialog, then type regedit and press Enter to launch the Registry Editor. Accept any User Account Control prompts.
Step 2: In the Registry Editor, navigate to the following path:
HKEY_LOCAL_MACHINE\SYSTEM\CurrentControlSet\Control\Keyboard Layout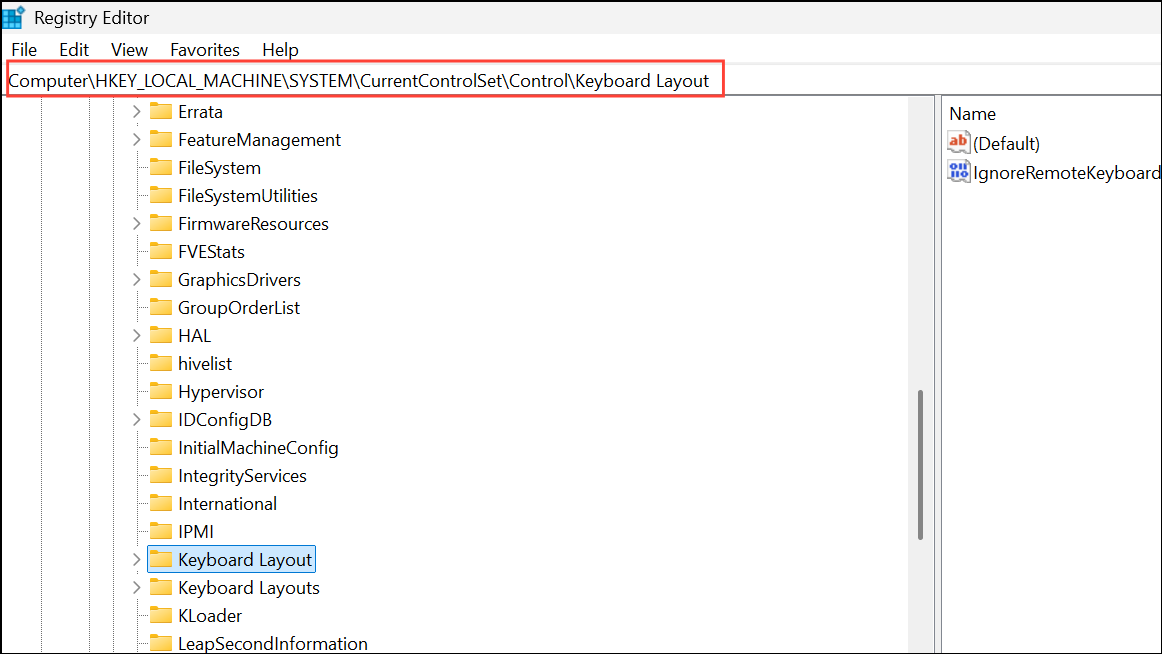
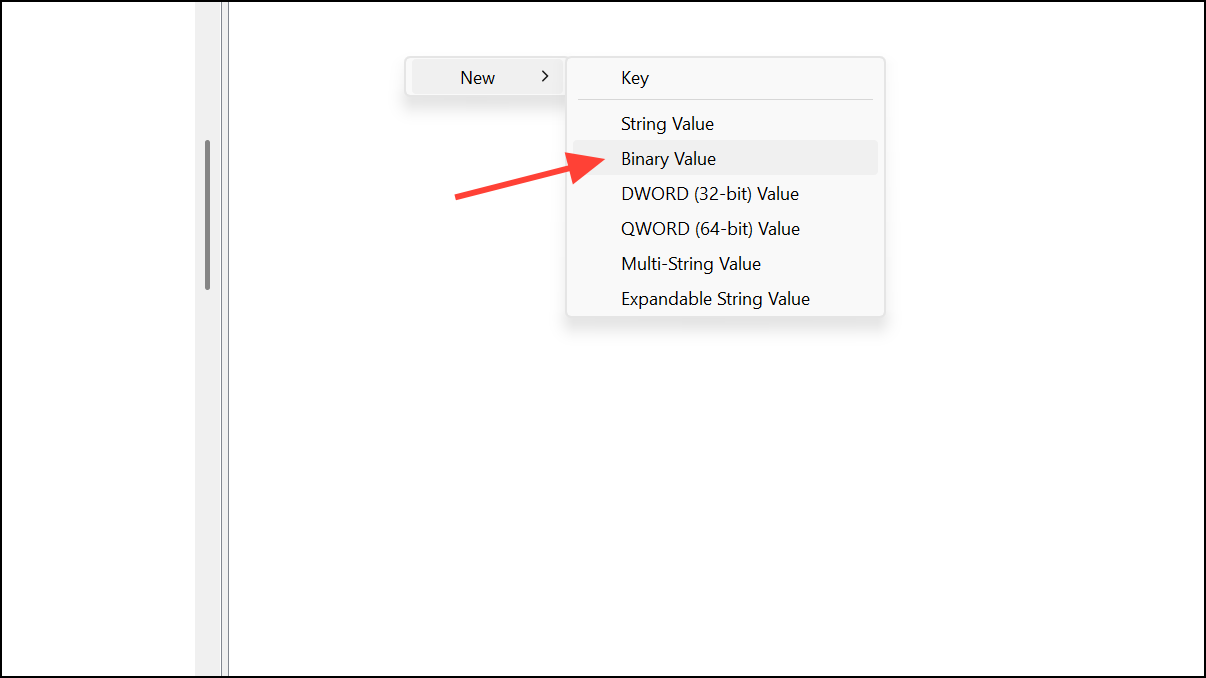
Step 3: Right-click in the right pane and select New > Binary Value. Name the new value (for example, Insert_Disable).
Step 4: Double-click the new value and enter the following binary data to disable the Insert key:
00 00 00 00 00 00 00 00 02 00 00 00 00 00 52 E0 00 00 00 00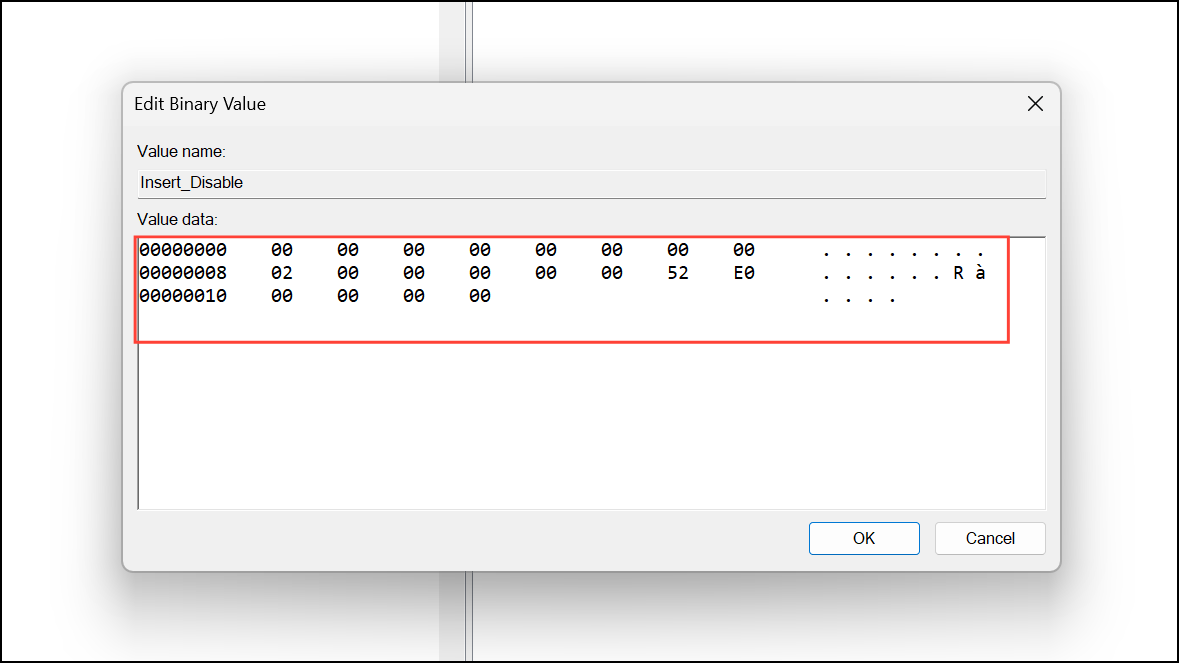
Step 5: Click “OK” to save. Close the Registry Editor and restart your PC for the changes to take effect. This method permanently disables the Insert key at the system level, and no additional software is required.
Alternative Approaches
Some users prefer hardware solutions, such as physically removing the Insert keycap (on mechanical keyboards) or blocking the key with a small object under the keycap to prevent accidental presses. While effective, these methods are not reversible without hardware repair and may not be suitable for all keyboard types.
Script-based tools like AutoHotkey can also be used to disable the Insert key, but they require a background script to remain running and may not be as straightforward for less technical users.
Disabling the Insert key in Windows 11 optimizes typing efficiency and eliminates accidental overtype errors. You can always re-enable the key by reversing these steps if your workflow changes in the future.