
Repeated low disk space warnings in Windows 11 can disrupt workflow, especially when they appear for drives intentionally kept small or used for system recovery. These alerts, while designed to prevent system slowdowns, failed updates, or data loss, can become unnecessary for users who actively monitor their storage or have advanced partition setups. Disabling or controlling these warnings requires a careful approach to avoid masking genuine storage issues.
Disable Low Disk Space Warning Using the Windows Registry
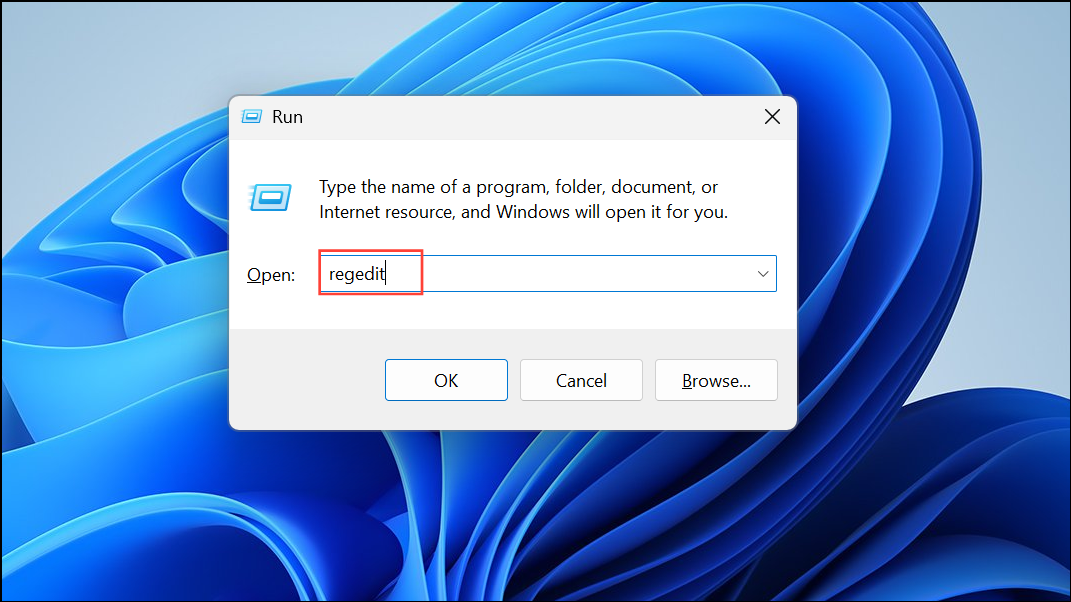
Step 1: Press Win + R to open the Run dialog. Type regedit and launch Registry Editor as an administrator by pressing Ctrl + Shift + Enter. This tool allows you to change advanced Windows settings.
Step 2: In Registry Editor, navigate to the following path by expanding each folder in the left sidebar:
HKEY_CURRENT_USER\Software\Microsoft\Windows\CurrentVersion\Policies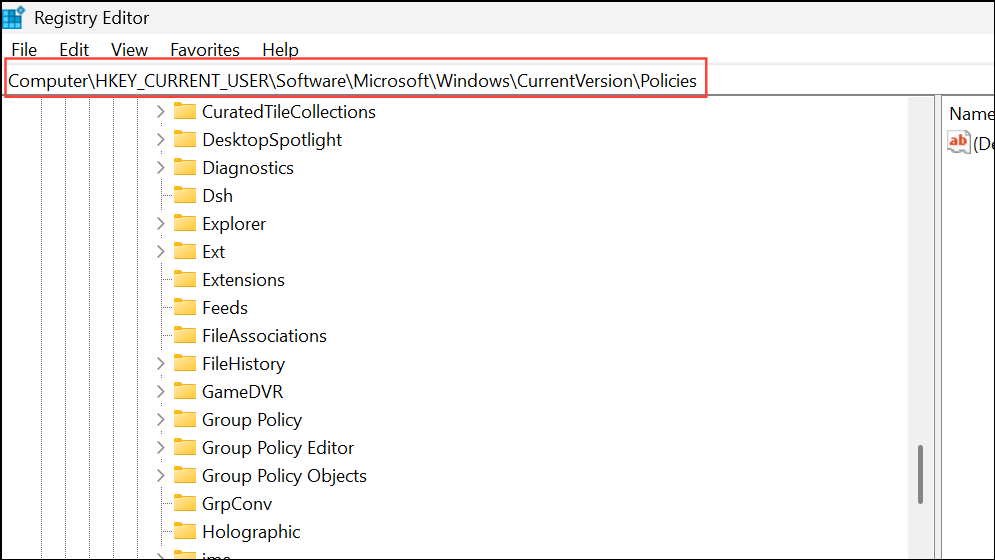
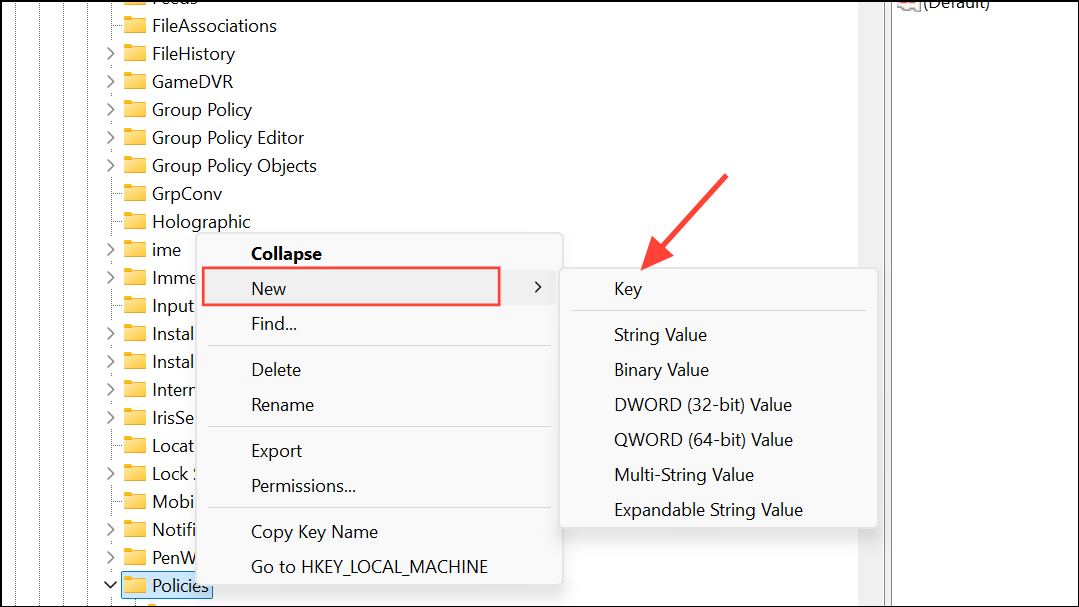
Step 3: Right-click the Policies folder. Select New > Key and name the new key Explorer if it does not already exist.
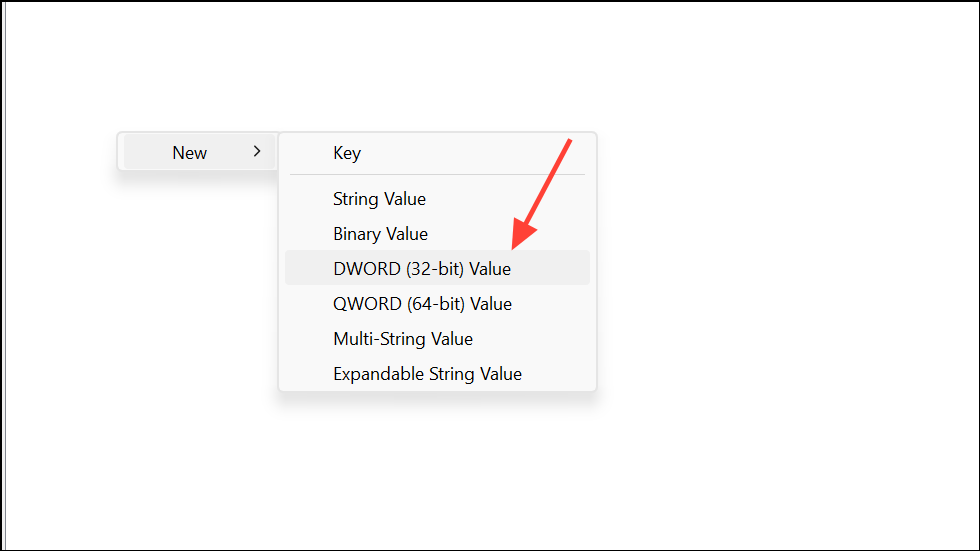
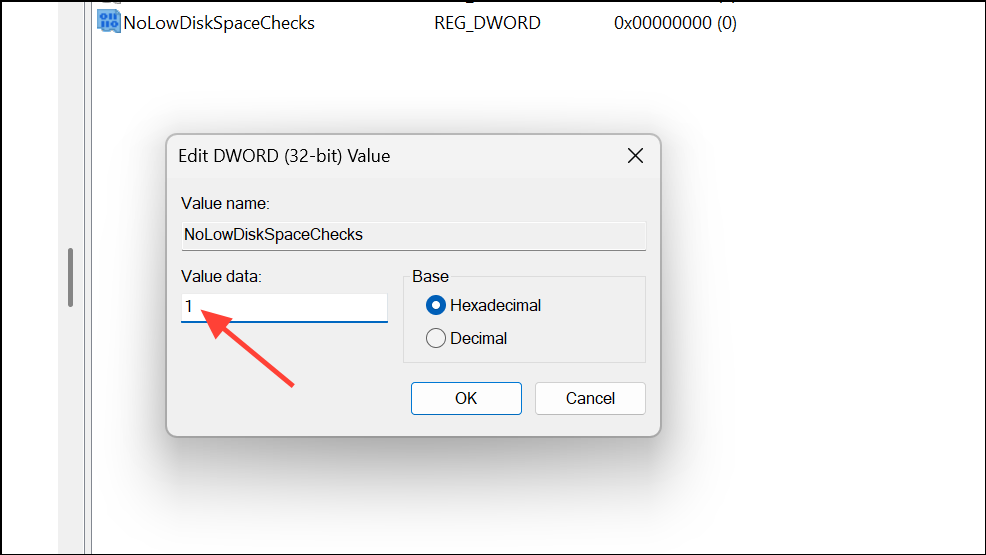
Step 4: Right-click the Explorer key, select New > DWORD (32-bit) Value, and name it NoLowDiskSpaceChecks.
Step 5: Double-click NoLowDiskSpaceChecks, set its value data to 1, and click OK. This tells Windows not to show low disk space warnings for your user account.
Step 6: Close Registry Editor and restart your computer to apply the change. After reboot, Windows will stop showing low disk space warnings for all drives in your session.
Be aware that editing the registry incorrectly can destabilize your system. Consider creating a restore point before making changes.
Hide Specific Drives to Prevent Warnings (Advanced Partition Management)
Some updates or configurations can assign drive letters to hidden recovery partitions, causing persistent warnings for drives that should remain invisible. Removing the drive letter from these partitions hides them from File Explorer and stops the warnings, without deleting any data.
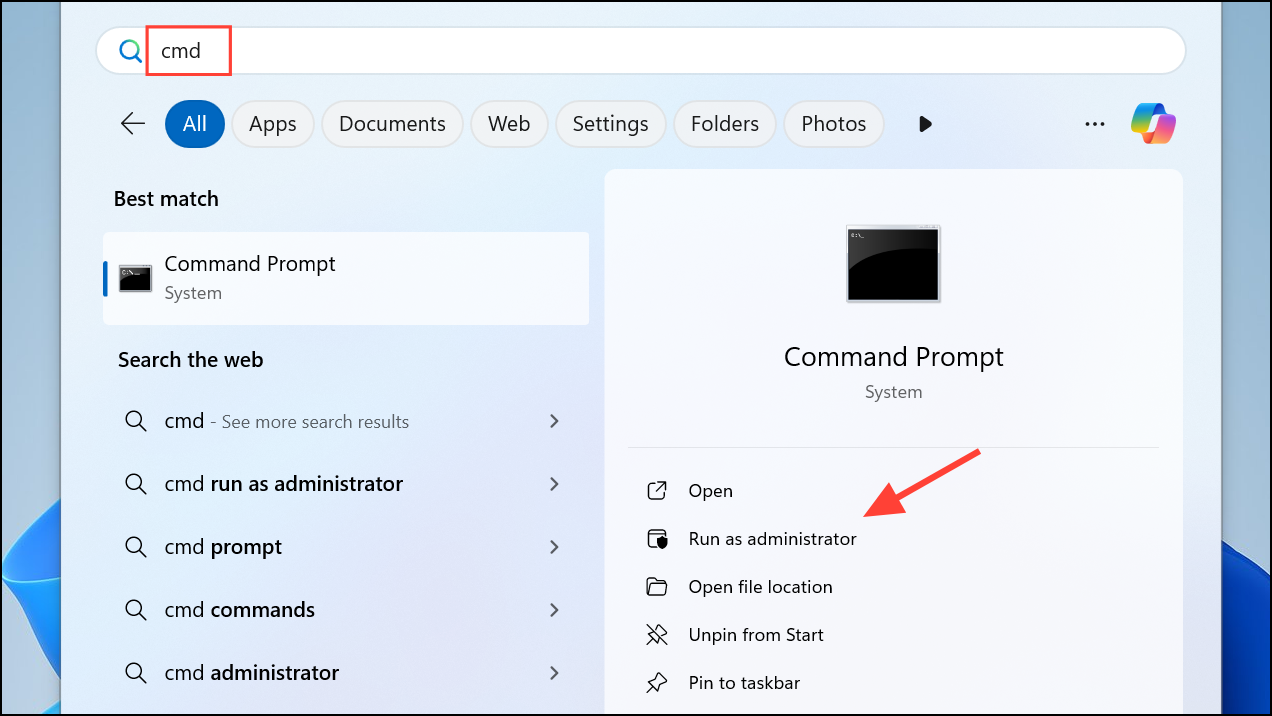
Step 1: Open the Start menu, type cmd, right-click Command Prompt, and select Run as administrator to launch with elevated privileges.
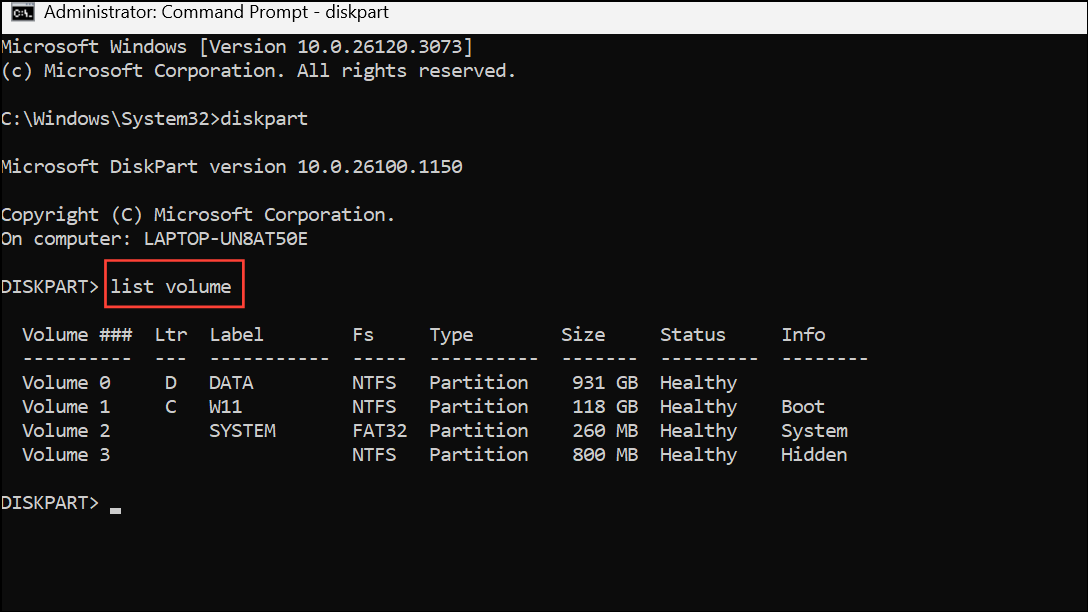
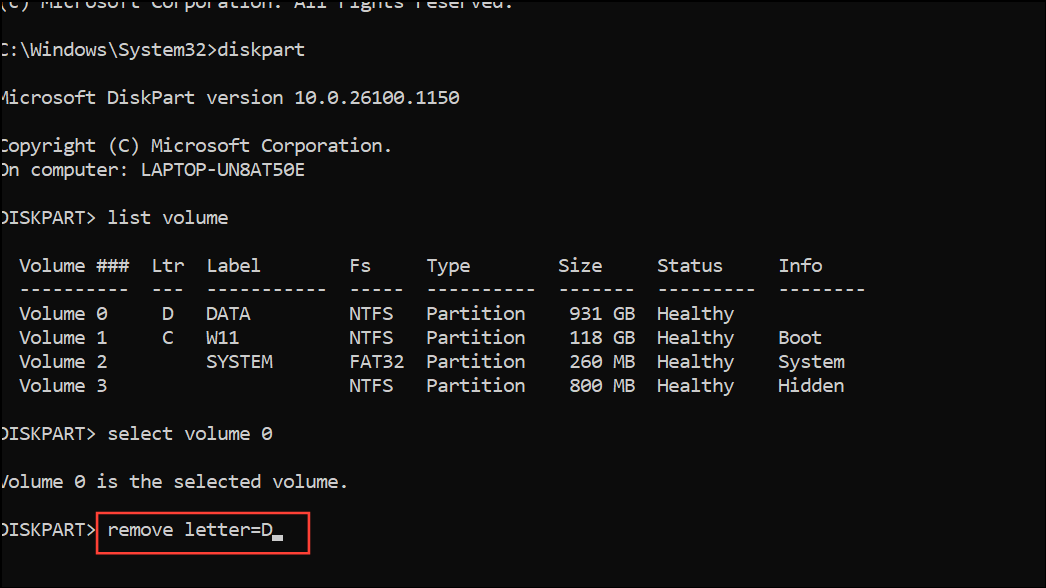
Step 2: In the Command Prompt window, type diskpart and press Enter. This tool manages disk partitions and drive letters.

Step 3: Enter list volume to display all disk volumes and their letters. Identify the volume number corresponding to the drive letter you want to hide (such as D:).
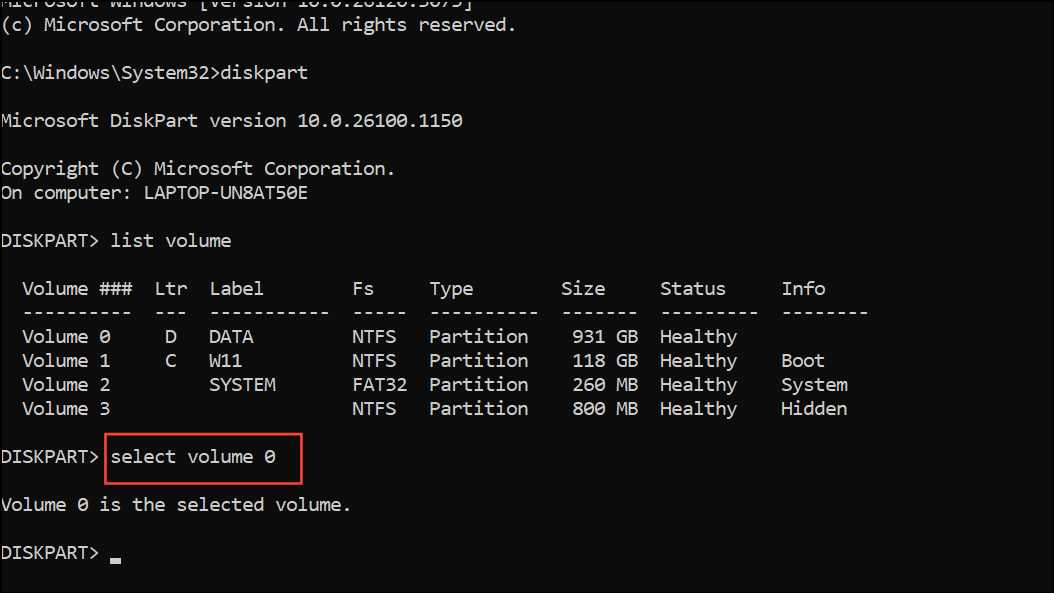
Step 4: Type select volume X, replacing X with the correct volume number for your target drive.
Step 5: Remove the drive letter by typing remove letter=Y, replacing Y with the drive letter to be removed (for example, remove letter=D).
Step 6: Close the Command Prompt. Restart your computer if the change does not take effect immediately. The hidden partition will no longer appear in File Explorer, and Windows will not issue low disk space warnings for it.
Removing a drive letter does not delete the partition or its contents. The partition remains available for system recovery or backup purposes, but is hidden from daily use.
Free Up Space to Prevent Warnings (Cleanup Tools)
Low disk space warnings can also be addressed by reclaiming storage. Windows 11 offers built-in tools to clear unnecessary files and optimize storage usage.
Disk Cleanup Utility
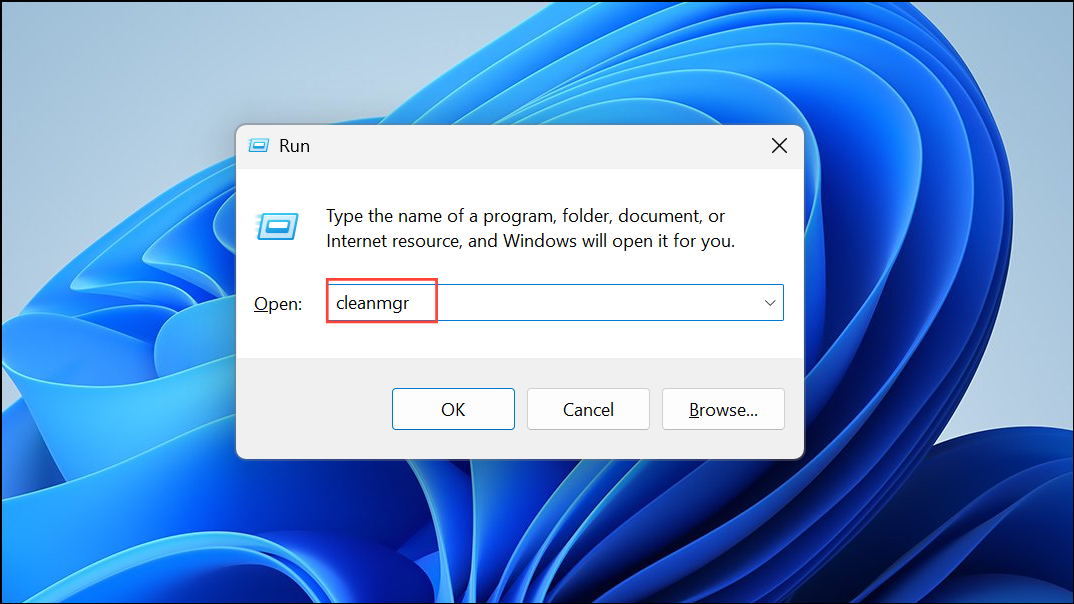
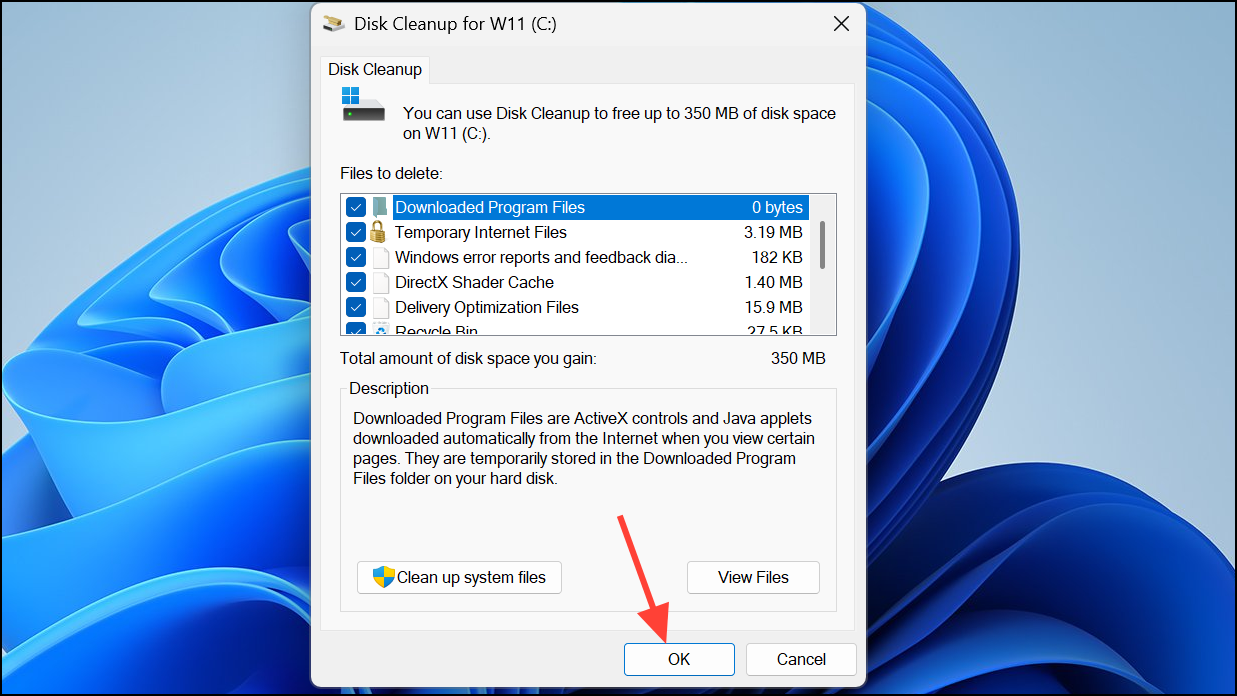
Step 1: Press Win + R, type cleanmgr, and press Enter. The Disk Cleanup tool scans for files that can be safely deleted.
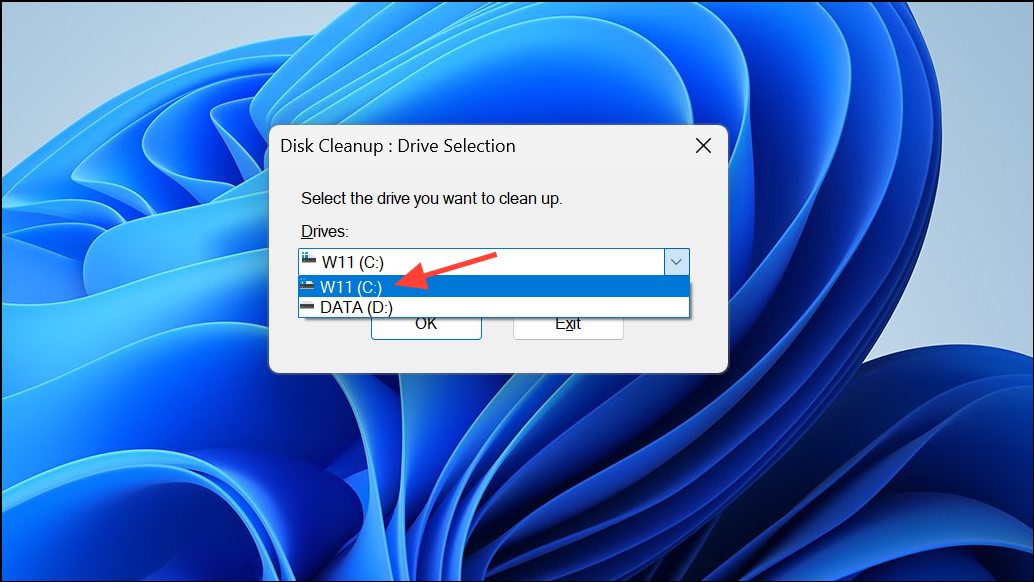
Step 2: Select the drive you want to clean (usually C:), then wait as the tool calculates how much space you can free up.
Step 3: Review the list of file categories, such as temporary files, Recycle Bin contents, Windows Update Cleanup, and more. Check the boxes for items you wish to delete.
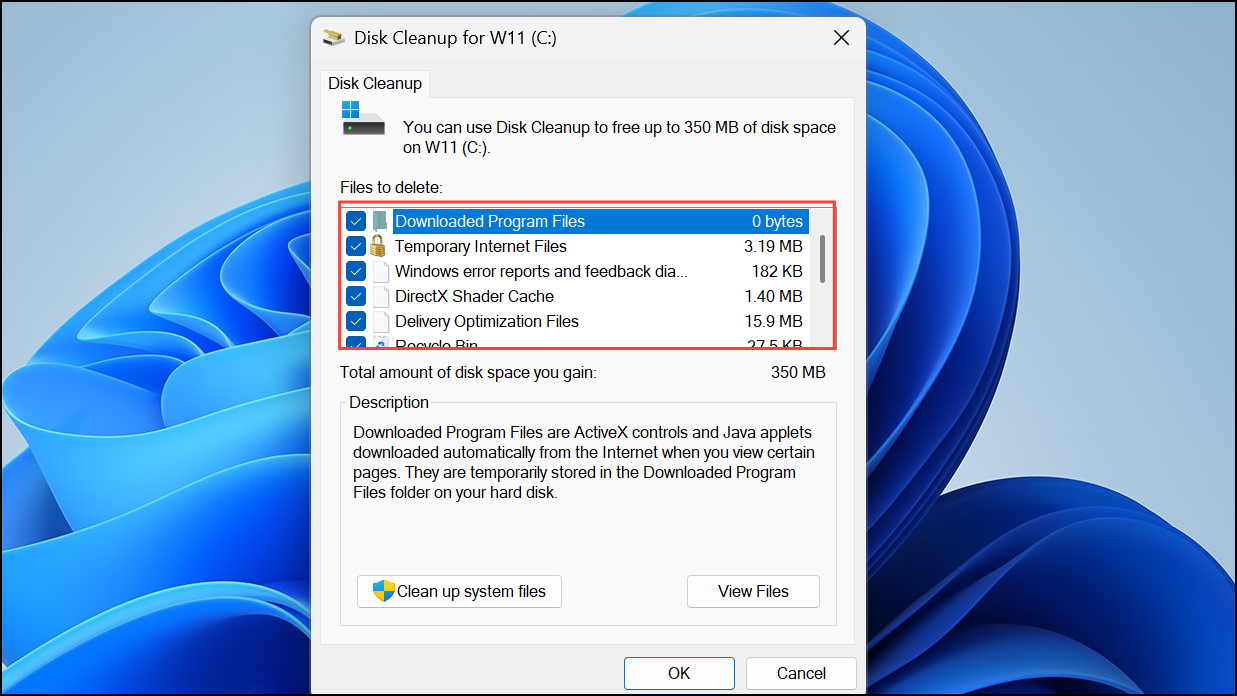
Step 4: Click OK to start the cleanup process. You can also click Clean up system files for a deeper scan, which can remove previous Windows installations and system restore points.
Storage Sense
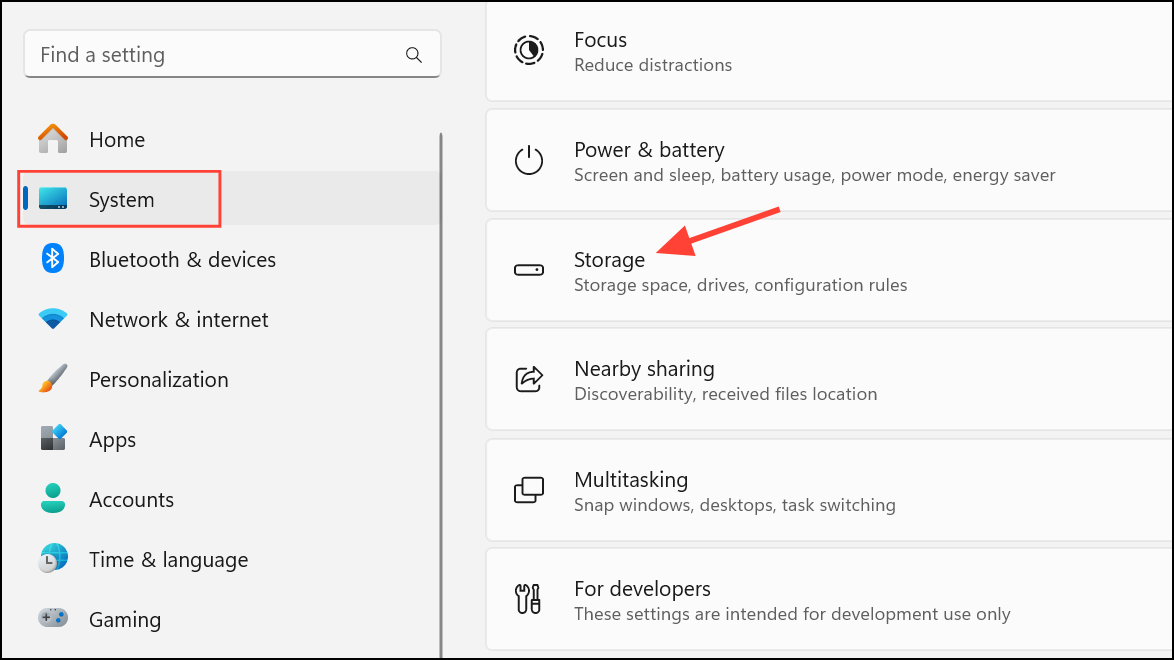
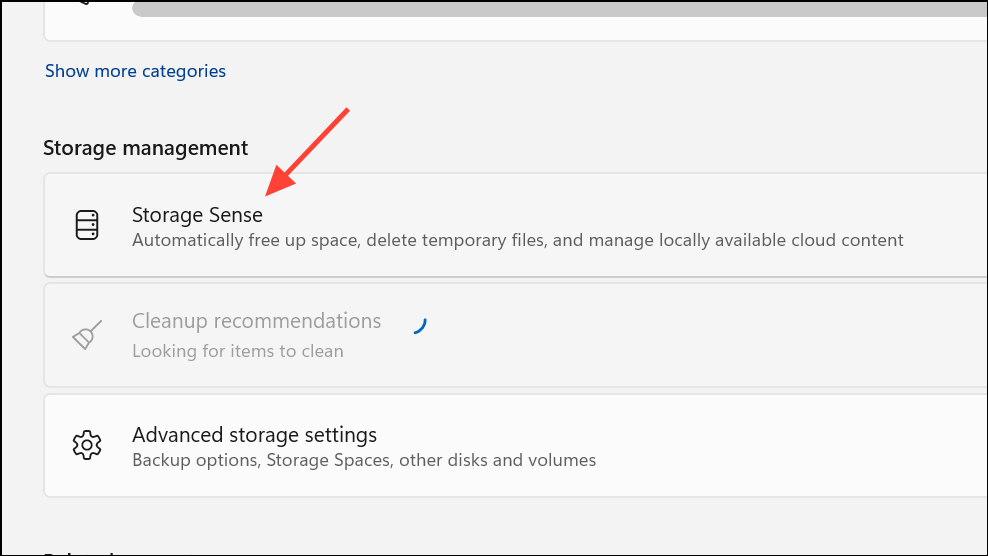
Step 1: Open Settings > System > Storage and enable Storage Sense. This feature automatically deletes temporary files and manages space based on your preferences.
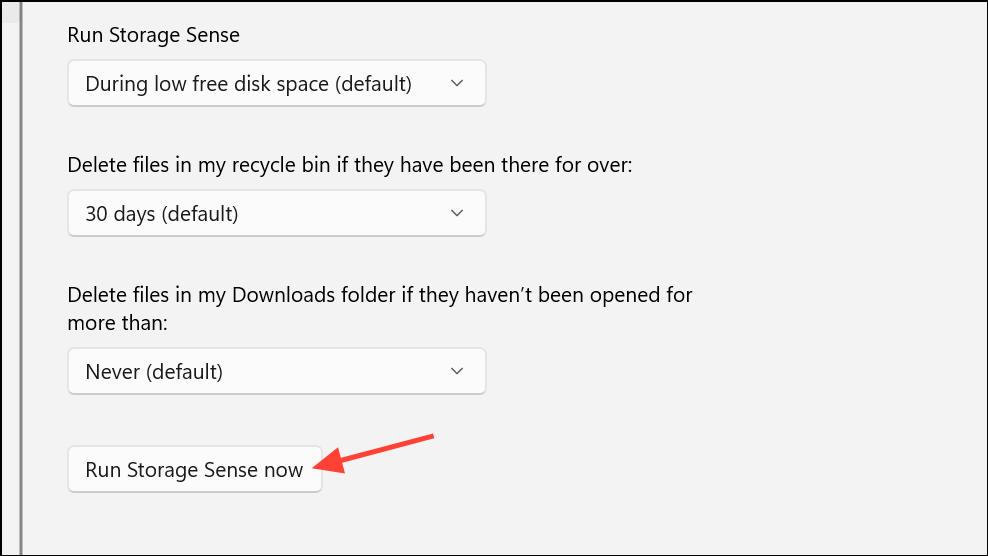
Step 2: Click on Storage Sense to configure how often it runs and what types of files it deletes (such as files in the Recycle Bin or Downloads folder after a specified number of days).
Step 3: You can also run Storage Sense immediately by selecting Run Storage Sense now in the configuration screen.
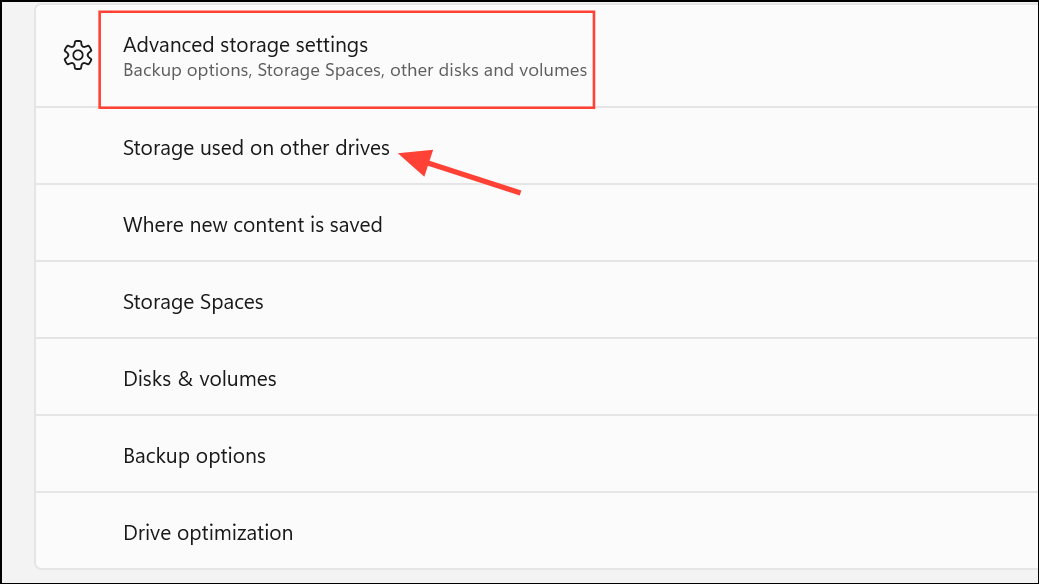
Step 4: Storage Sense focuses on the system drive by default. To manage other drives, use Advanced storage settings > Storage used on other drives in the Storage menu.
Other Storage Management Strategies
- Move personal files to a secondary drive or external storage to free up space on the main drive.
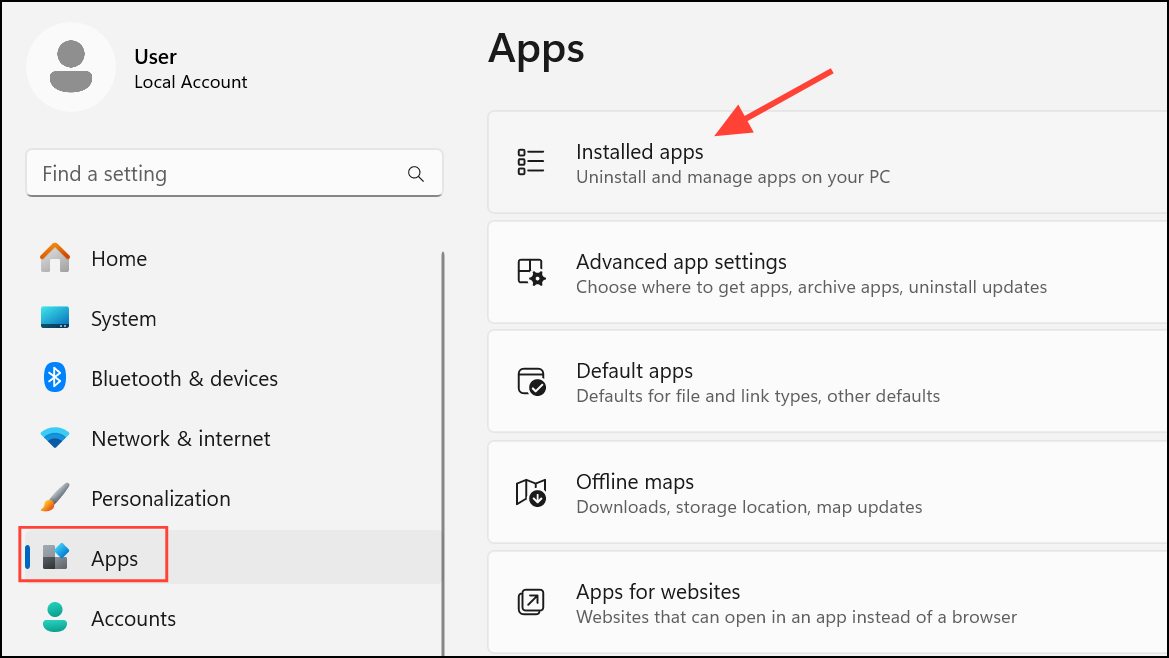
- Uninstall unused applications through
Settings > Apps > Installed apps.
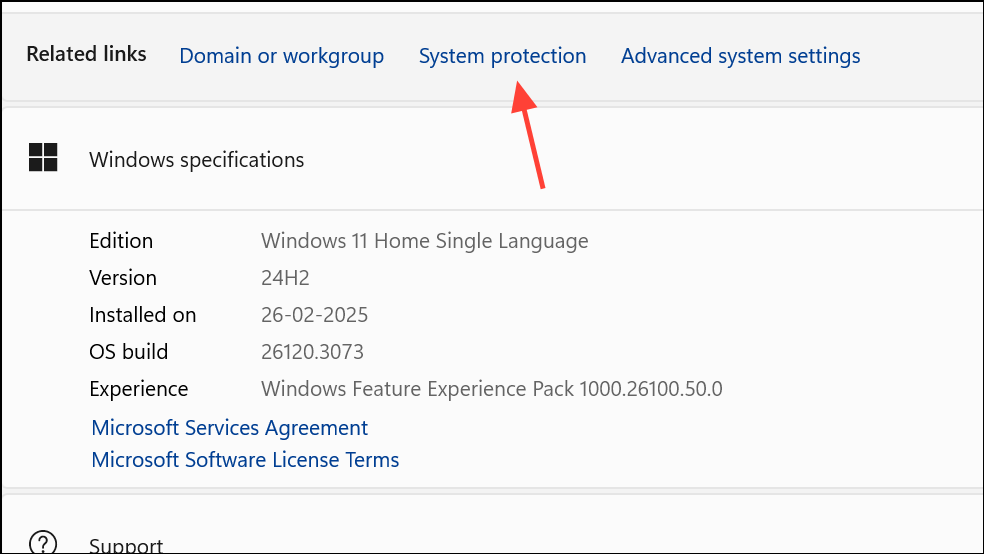
- Adjust System Restore settings to reduce the space reserved for restore points, found under
Settings > About > System protection.
- Consider third-party tools like TreeSize for graphical analysis of disk usage or CCleaner for targeted file removal. Always use trusted software to avoid data loss or privacy risks.
When moving folders such as Documents to another location, use the folder properties' Location tab to ensure Windows knows where to save new files.
Disabling or managing low disk space warnings in Windows 11 requires careful attention to both system safety and user needs. Whether you choose to suppress alerts, hide specific partitions, or reclaim space, these methods give you more control over your system's notifications and storage.