Learn how to turn off Scroll Lock in Microsoft Excel if it is preventing you from using arrow keys to navigate cells.
Learn how to turn off Scroll Lock in Microsoft Excel if it is preventing you from using arrow keys to navigate cells.
by Pallav Pathak
Using the arrow keys to navigate between cells in Excel is a fundamental feature for efficient data management. When Scroll Lock is activated, however, pressing the arrow keys scrolls the entire worksheet instead of moving between individual cells. If your keyboard lacks a Scroll Lock key, turning it off might seem challenging. Fortunately, there are several ways to disable Scroll Lock in Excel, ensuring smooth navigation.
Checking if Scroll Lock Is Enabled
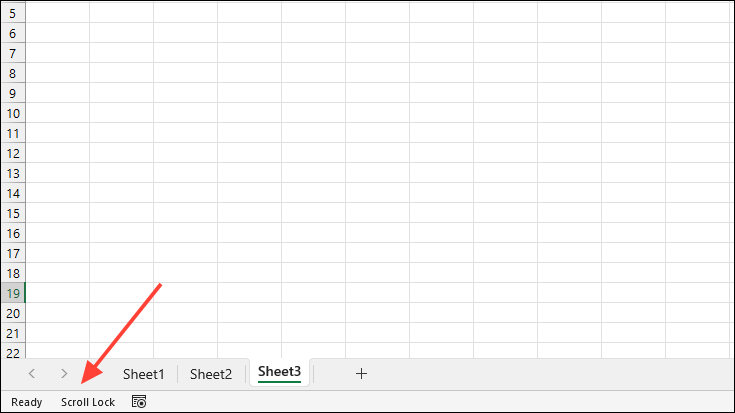
Before disabling Scroll Lock, it’s useful to verify if it’s currently active in Excel.
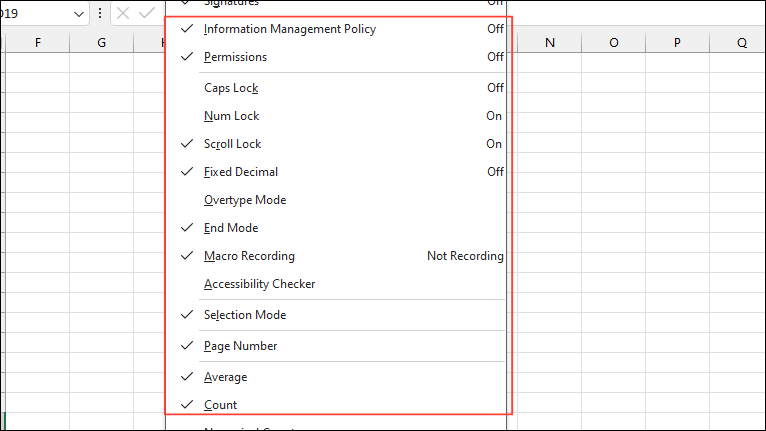
If you don’t see “Scroll Lock” in the status bar, you need to enable this indicator. Right-click anywhere on the status bar to open a contextual menu with various options.
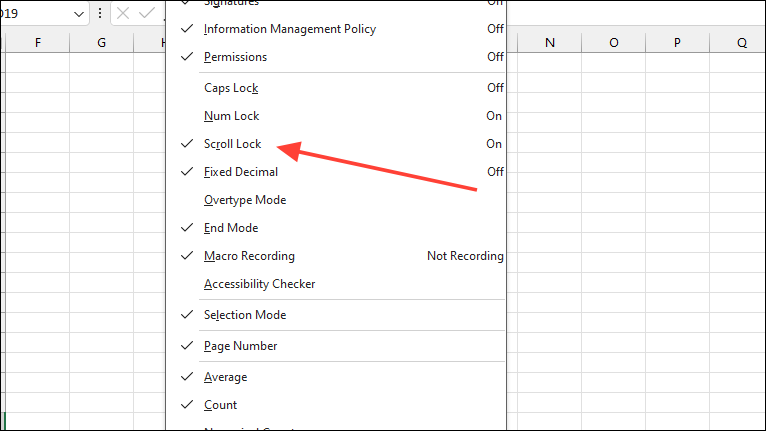
In the menu, click on the ‘Scroll Lock’ option to select it. This will ensure that the status bar displays the Scroll Lock status whenever it’s enabled.
Disabling Scroll Lock in Excel
Using the On-Screen Keyboard
If your keyboard doesn’t have a Scroll Lock key, you can use the On-Screen Keyboard in Windows to turn it off.
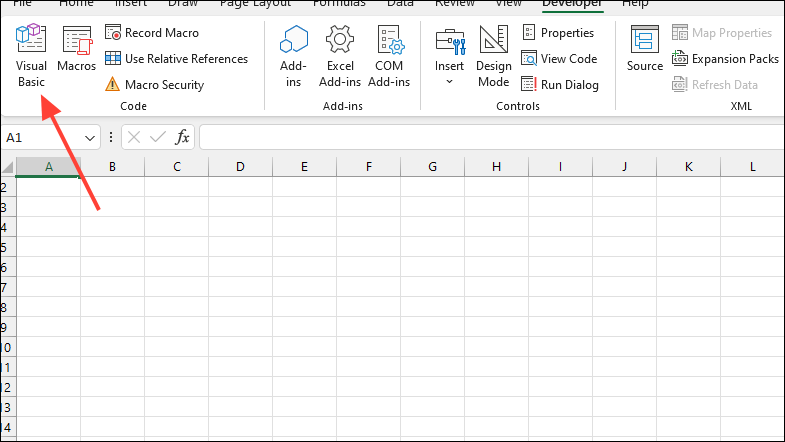
Press Ctrl + Windows + O on your keyboard to open the On-Screen Keyboard. Alternatively, click the ‘Start’ button, type ‘On-Screen Keyboard’, and select it from the search results.
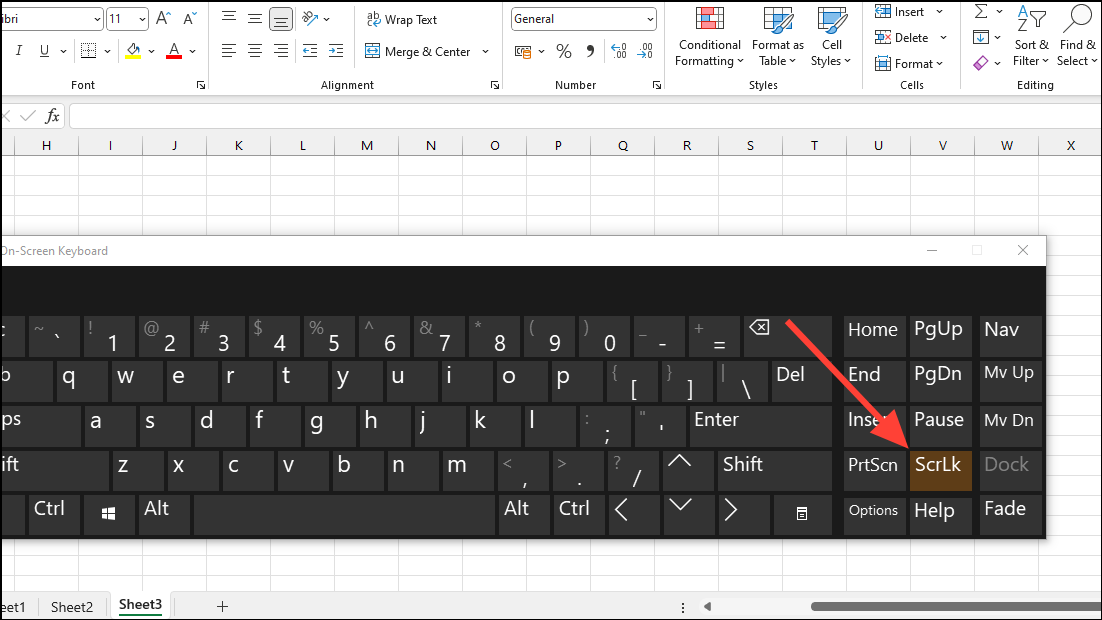
When the On-Screen Keyboard appears, look for the ‘ScrLk’ (Scroll Lock) key. If Scroll Lock is enabled, the key will appear highlighted or in a different color.
Click on the ‘ScrLk’ key to toggle off Scroll Lock. The key’s color should revert to match the other keys, indicating that Scroll Lock is now disabled.
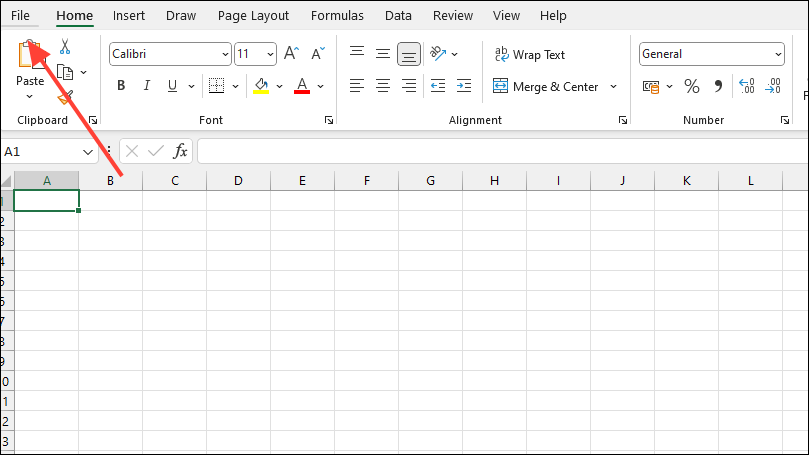
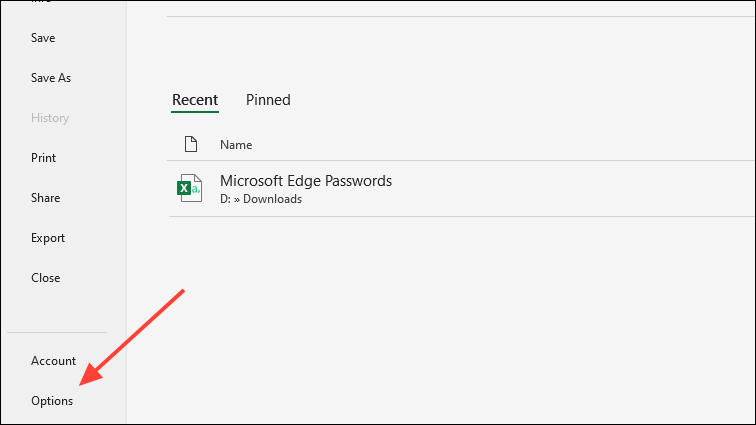
Through the Options Menu
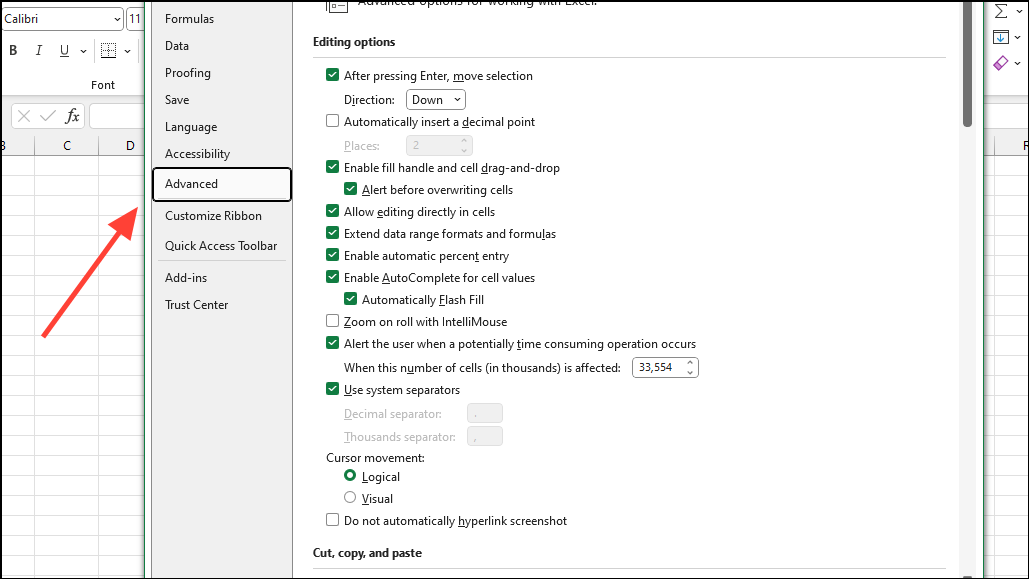
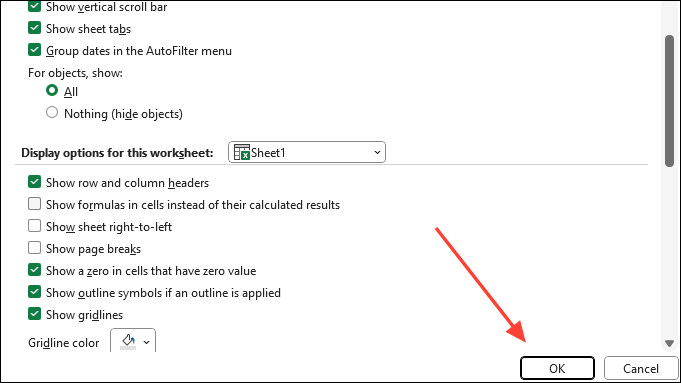
If the scroll bars are missing from your Excel worksheet, you might need to adjust the settings to re-enable them.
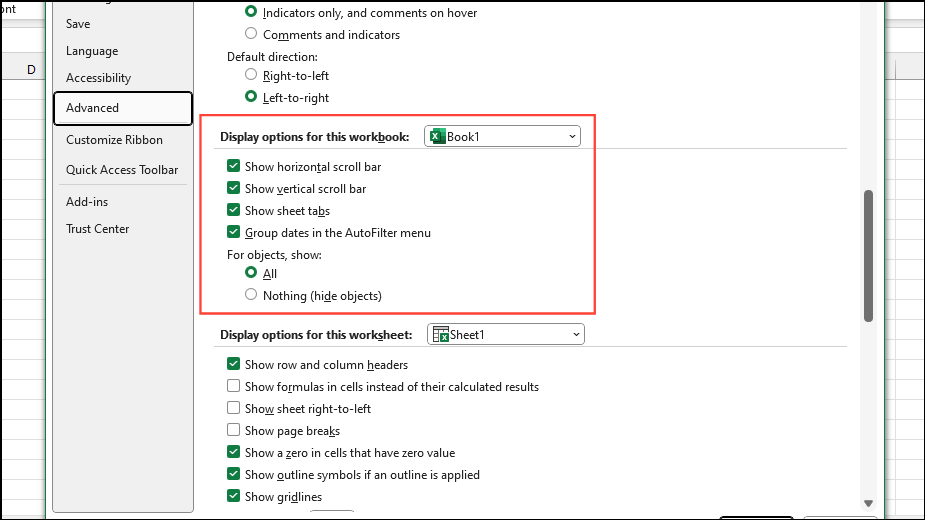
Scroll down to the ‘Display options for this workbook’ section. Ensure that both ‘Show horizontal scroll bar’ and ‘Show vertical scroll bar’ are checked.
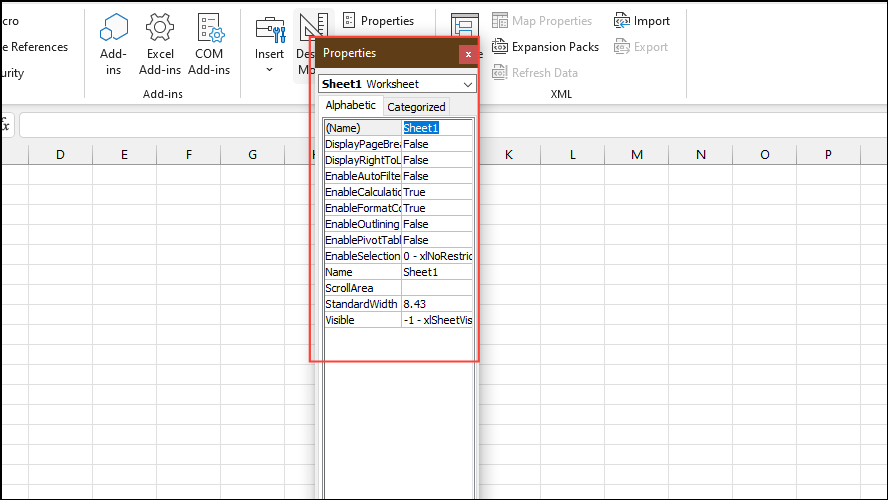
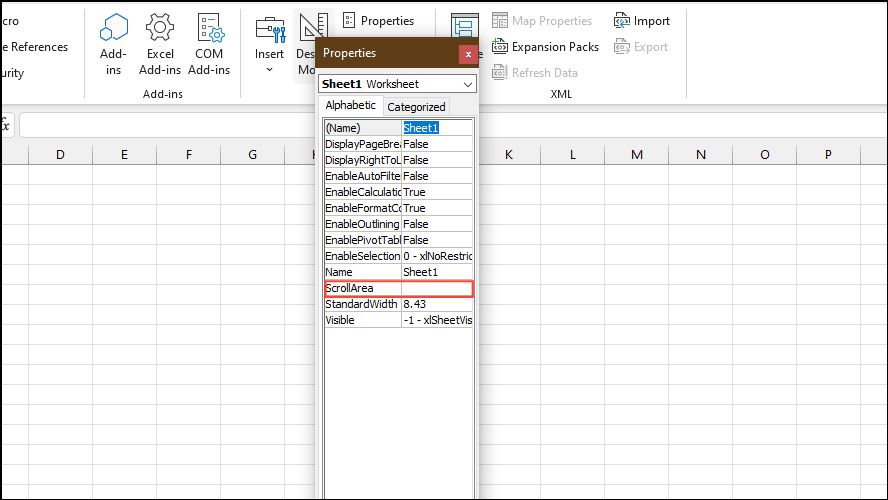
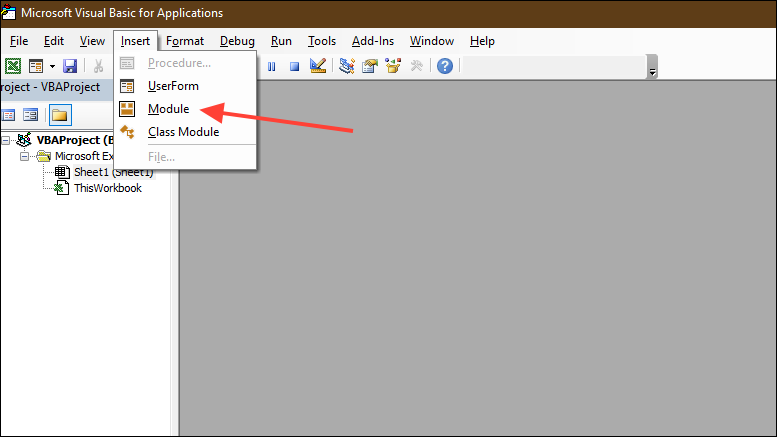
Select ‘DisableScrollLock’ from the list and click ‘Run’. This macro will reset the ‘ScrollArea’ for all worksheets, effectively turning off Scroll Lock.
By following these methods, you can easily disable Scroll Lock in Excel, even if your keyboard doesn’t have a Scroll Lock key. These solutions are applicable across all Windows systems, ensuring smooth navigation in your spreadsheets.